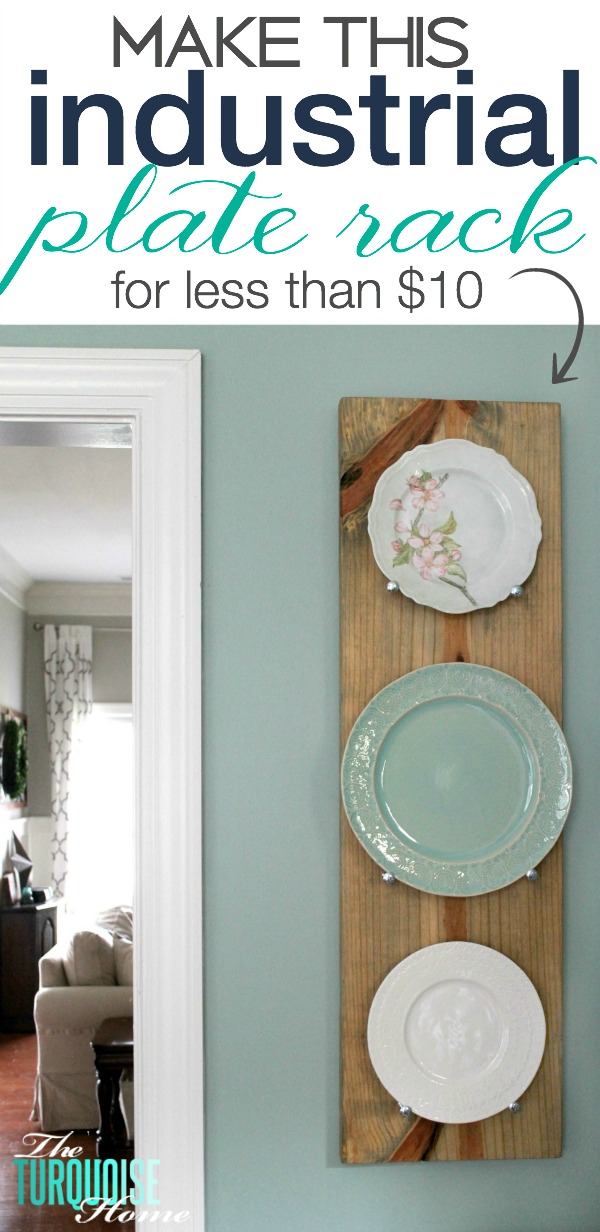
DIY Industrial Plate Rack
Make a DIY industrial plate rack for displaying special plates on the wall! You only need 2 supplies costing less than $10 and 6 easy steps to make it!
This simple, industrial plate rack has been a long time coming. And I’m so glad that I took a few hours to create a pretty, unique piece of wall decor using some items that I already had on hand! Even if you don’t have the items, it’ll cost you less then $10 to make this.
The other night I was taking a few minutes for myself and enjoying this gorgeous new book just released by the amazing Melissa Michaels of The Inspired Room. I’m a long-time reader of her blog and love her simple ideas about “loving the home you have.”
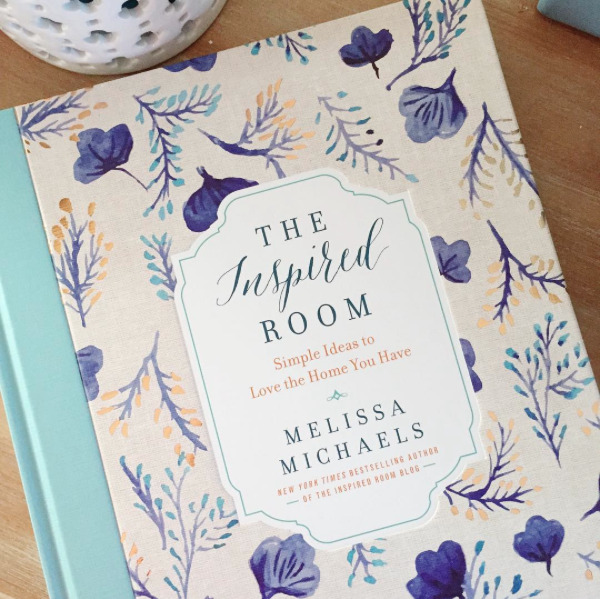
She was talking about how some of her best decorating comes at the last minute, or in a rush. She has a plate wall in her dining room and she said that she threw it up there right before a dinner party one night. In other words, she didn’t over think it and she loves it!
It started my mind churning and thinking about the 3 plates I have in my decor closet that I bought about 3 years ago to start my own wall hanging.
Only problem was, I never bought any more and I just shuffle them around in the closet. I had thought about hanging them directly on the dining room wall, but then I realized one of the plates was the same color as the wall, so that would look silly. So, I needed a back drop.
A couple of minutes on Pinterest, and I ran across this tutorial from Shanty 2 Chic. And bonus! I had some of the materials on hand. YAY!
Clearing decor closet clutter + using up materials on hand + quick and easy, beautiful project = a million $$ winner in my book!
I did have to run to the store to get the carriage colts, but those were less than a $1. And I had to return to buy gorilla glue after I turned my house upside down looking for the bottle that I know I have. I’m sure it’ll turn up soon now that I have a new bottle. (Some links are affiliate links, which helps you locate things easily and keep this blog running. See my full disclosure policy here.)
OK, so here’s what you’ll need:
- Carriage bolts (Mine are 2″ long)
- 2 x 12 x 8 board (I had about an 8 foot long piece just sitting in my garage since making a farmhouse table for a friend a couple of years ago. I’m thinking I need to make another for a Christmas gift!)
- Gorilla glue
- D-ring hangers
- Self-drilling dry wall anchors (if you’re not able to use a stud in the wall)
- Supplies on hand: miter or circular saw, sander & drill
How to Make a Plate Rack
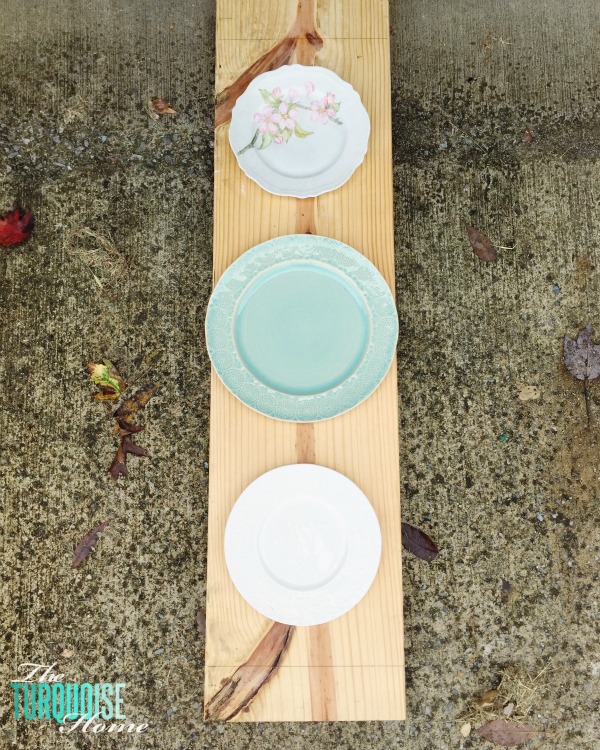
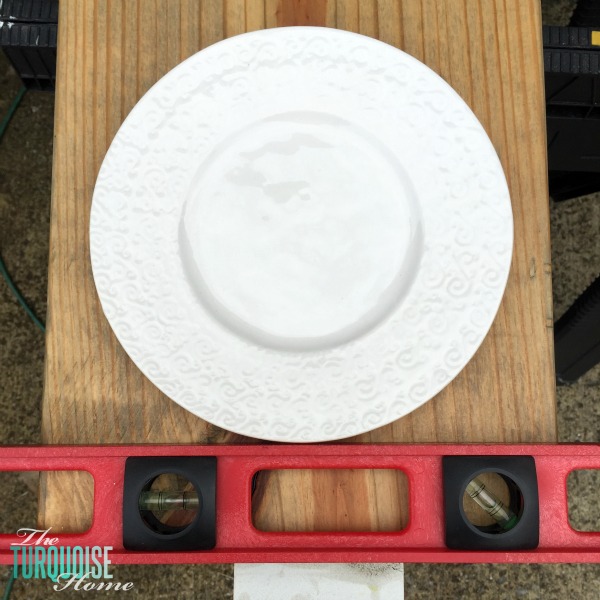
1. Determine Your Board Size
Figure out the size of your 2 x 12 board. I placed my plates on the board and measured between them using my level, then marked where to cut.
2. Cut the Board to Size
I cut my board down using my miter saw, but a circular saw would work, too.
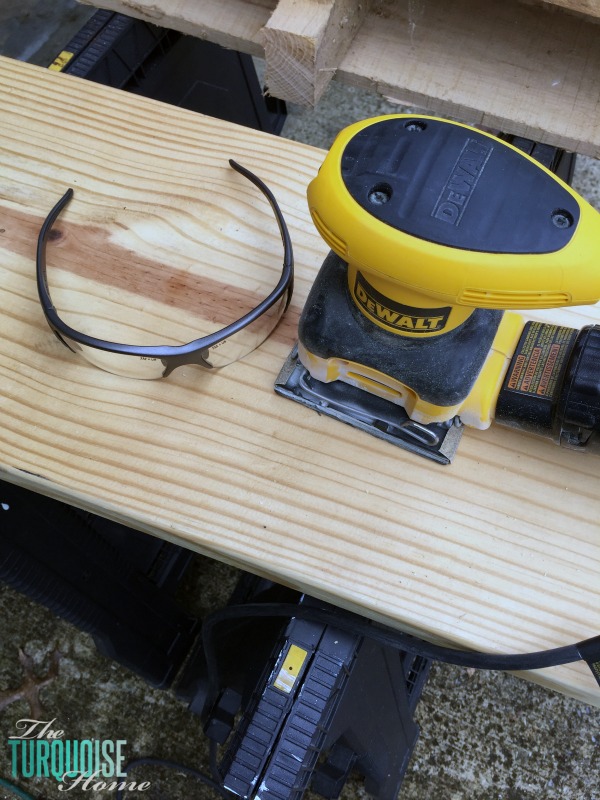
3. Sand Down any Rough Edges
Then I sanded the board to smooth out the rough edges and to remove any markings. Make sure to sand with the grain. I prefer to use this square-style orbital sander, rather than a circular orbital sander, because it’s less likely to make sanding marks on the board that will show up when you stain it.
Be sure to wear proper eye gear! Don’t want to get dust in your eyes! As a matter of fact, you need to wear them while cutting the board, too. 🙂
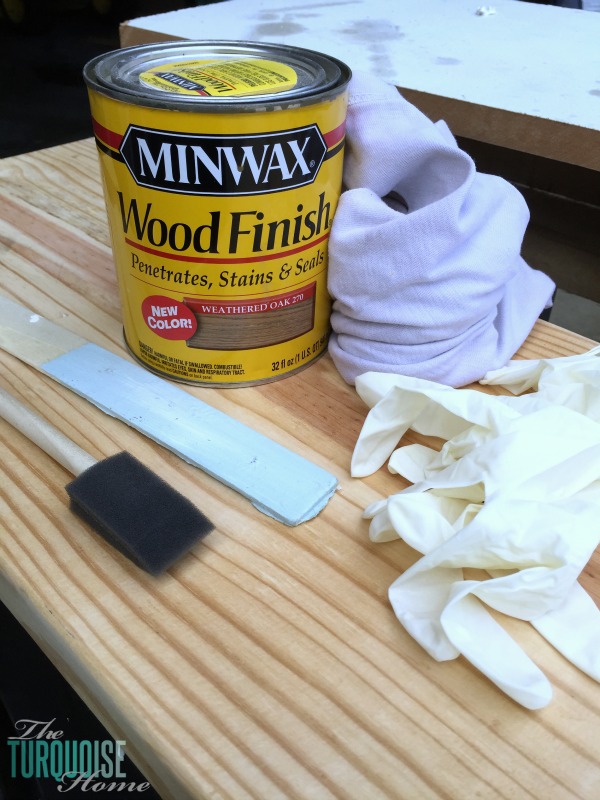
4. Stain the Board
Now it’s time for staining! I love this weathered oak Minwax stain color and use it all the time on most of my projects. It’s the color of my farmhouse table, which is in the same room as the plate rack, so they’ll match. How adorable!
Tip: I keep a box of disposable rubber gloves in my garage for when I’m using any type of stain or oil based paints. They have come in handy so many times.
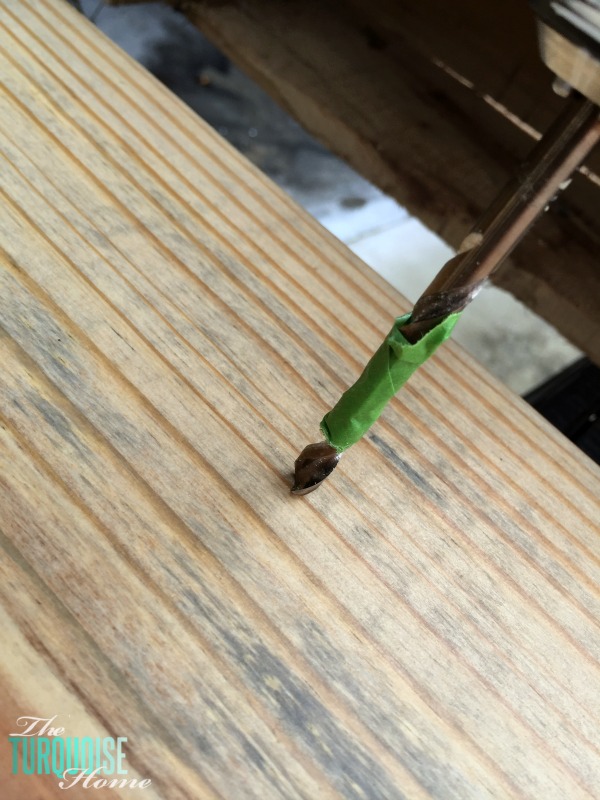
5. Add Bolts
Once the stain is dry, you’ll want to drill holes for your bolts. Now, I did placed all of the plates back on the piece of wood and created custom markings for each one. But my plates are all different sizes. So, if your plates are the same size, you may just want to use a tape measure to determine where your bolts will go.
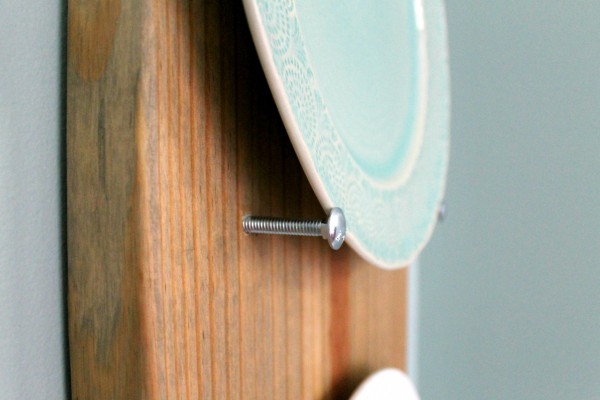
I used tape to mark where I stopped drilling. I only wanted about a half an inch of the bolt to go into the wood and 1 1/2 inches of the bolt sticks out to hold the plate.
Then, I glued the bolts in place with Gorilla glue. Although, you’ll need to be careful and keep an eye on the bolts for a little while after you put the glue in, because Gorilla glue expands as it dries. Mine seeped out around the screws and I had to wipe it up. If I’d just left it to dry, I would have had lovely white glue rings around each screw. Not cute!
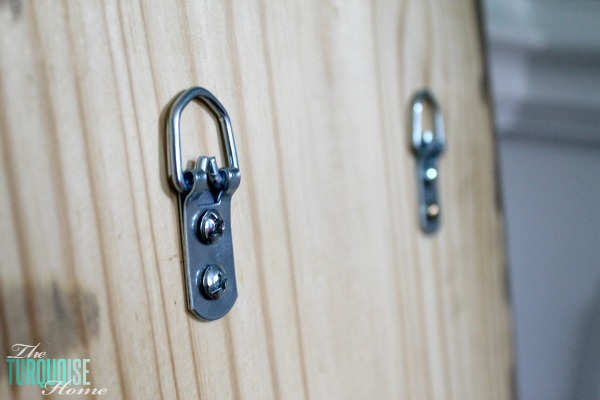
6. Attach Hanger to the Back
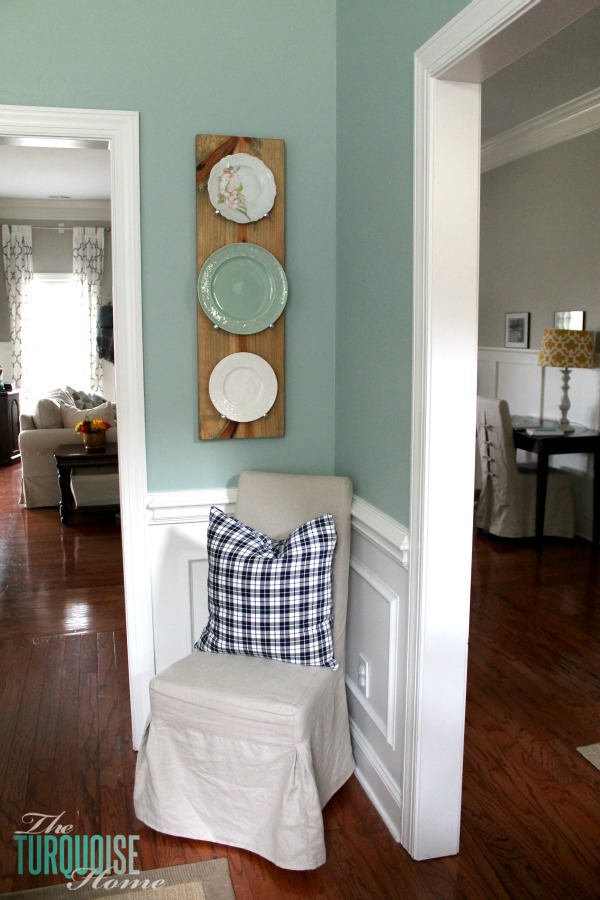
The glue dried overnight and then I hung it up with D-rings and self-drilling wall anchors (I love those things!). I wanted to drill it into a stud, but the studs were on either side of where I wanted to hang the plate rack. But I’ve hung plenty of large, heavy items with these wall anchors and they are fabulous. I’ll never use anything else!
Now, you just add the plates! I added a little bit of velcro behind the top of each plate, so it didn’t fall off, just as an extra safety precaution.
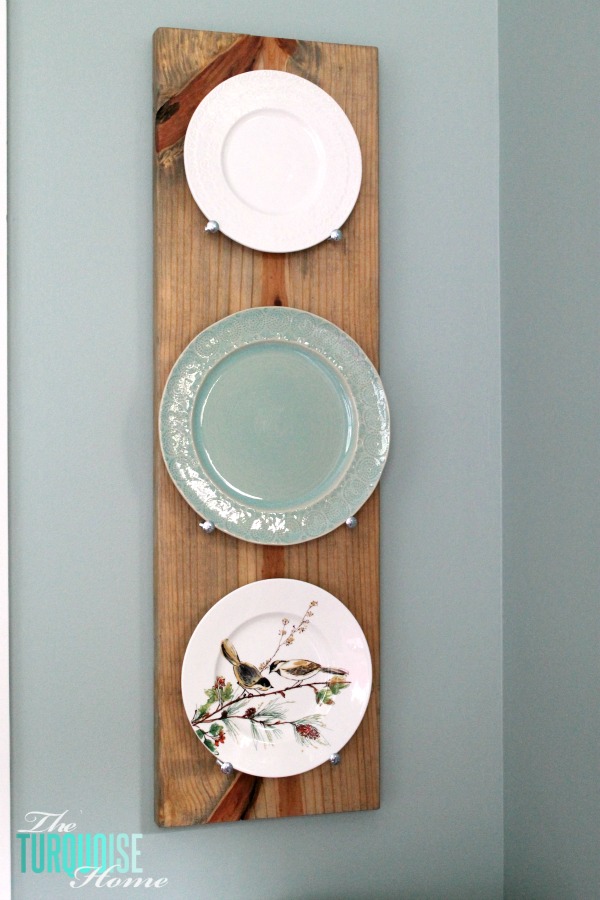
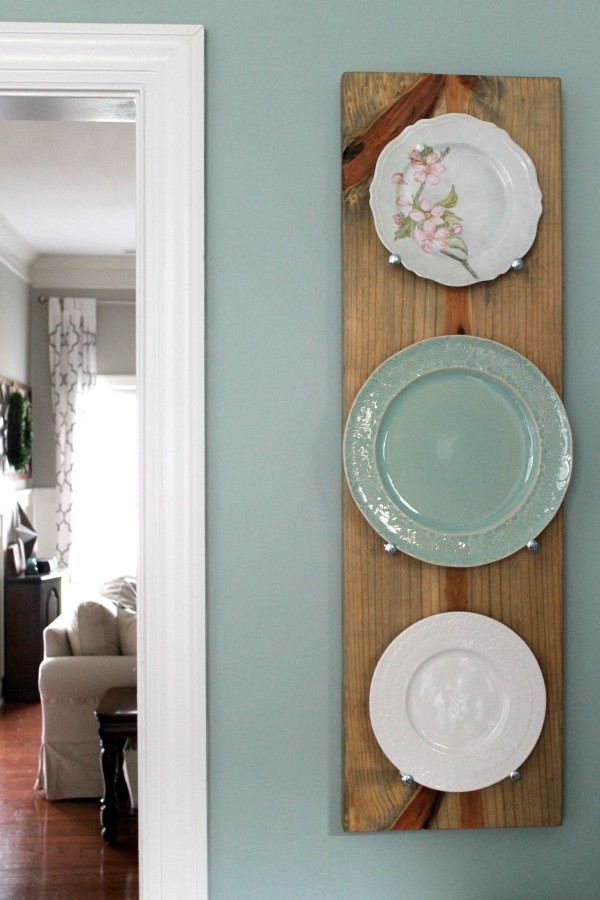
And there it is! My pretty, industrial plate rack. And now I don’t have to shuffle these plates around in the closet anymore. I can admire them out on my wall.
The white and turquoise plates are from Anthropologie.
And I found the dogwood plate on eBay years ago. I bought it because growing up, my grandparents had dogwood trees in their front yard.
My Grammy would tell me the story of the dogwood tree over and over again. Somewhere I still have a newspaper clipping with the story on it with her handwriting addressing it to me.
Gosh, it feels so good to do a project again. And to finally have a DIY industrial plate rack for displaying my plates. I love it!
And lest you think my house is clean, I kicked all of the toys behind the wall so that you wouldn’t see them in the pictures. #reallife #lifeofablogger 🙂
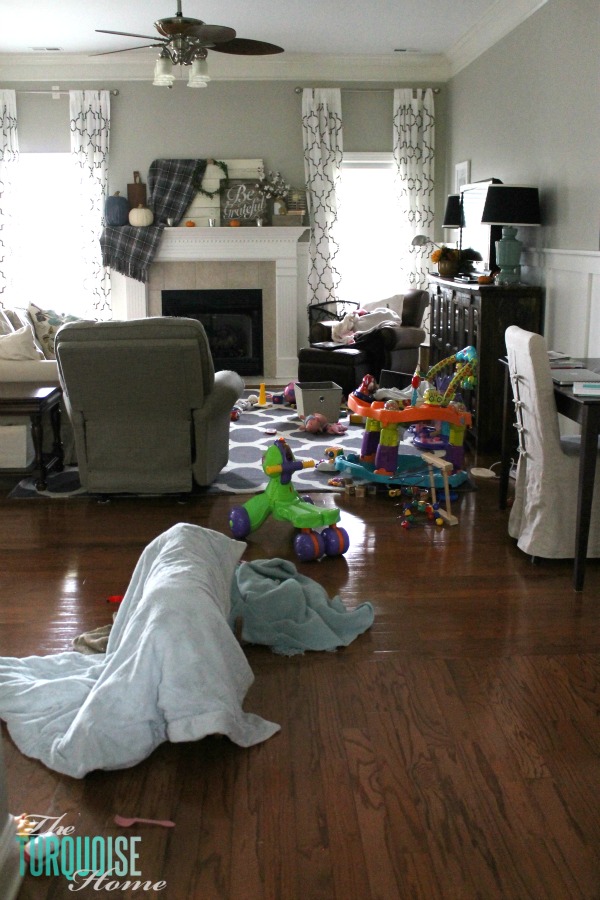
Hehe! Nobody wants to see that on Pinterest, but it’s my daily life with kiddos.
Ok, so your assignment this week is to pick up a project that you’ve been meaning to get to for a long time. It may be simple, it may be big, but just start. It’ll feel so good, I promise! And then come back and comment and let me know.
More Posts You Will Love:

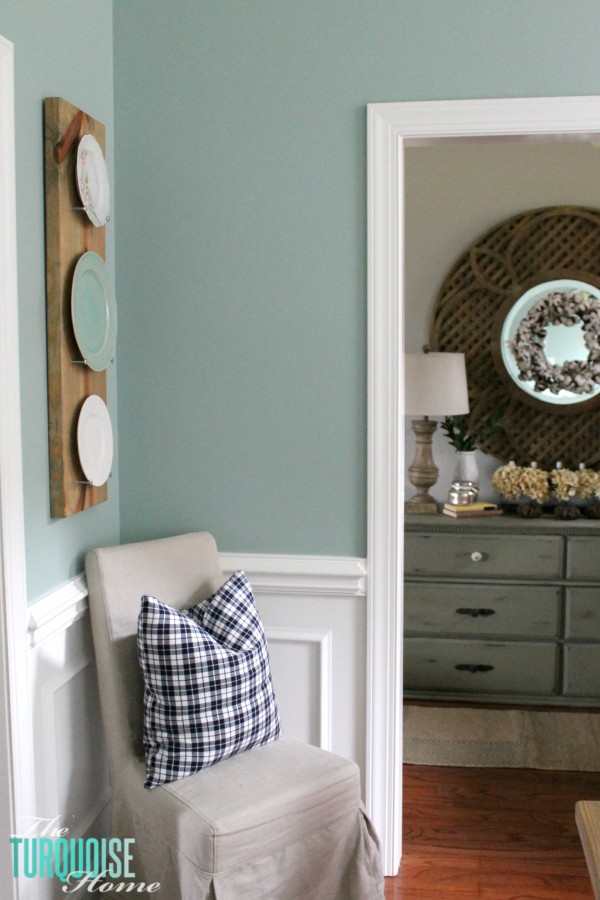
Love the wall color! What color is it? So pretty with all your decor.
I love your idea. I have one question: did you use carriage bolts on the top of the plates? If not, what makes the plates stay in place?
Oh! I’m glad you brought that up. Honestly, the plates lean back a little bit, so they don’t need anything on top. BUT because I have little kids and I’m afraid they’ll toss a toy or throw a ball and knock them off, I put a small piece of velcro on the back of the plates to secure them. It’s not a permanent solution, because I wanted the option to change the plates if I want to or just take them off. 🙂 But you could definitely put carriage bolts on the top of the plates if you wanted them to stay there permanently.
Love it, awesome job! It looks beautiful! And haha to the toy picture. Add a pile of laundry to be folded on the couch and you have the state of our living room, too! 😉 #reallife
We normally have a pile of laundry on the couch. It was still in the dryer at the time of the picture, for the 3rd day in a row. #laundryday
Laura, the plate rack is awesome! I love how simple it is, but how it also pops the plates out. Had to stop by and see the tutorial. Pinning!
Thank you, Deb! I looked at making it more complicated, but I kept coming back to simple. Keep it simple is sometimes the best way! Thank you for pinning!!