DIY Big Sis and Lil Sis T-shirts
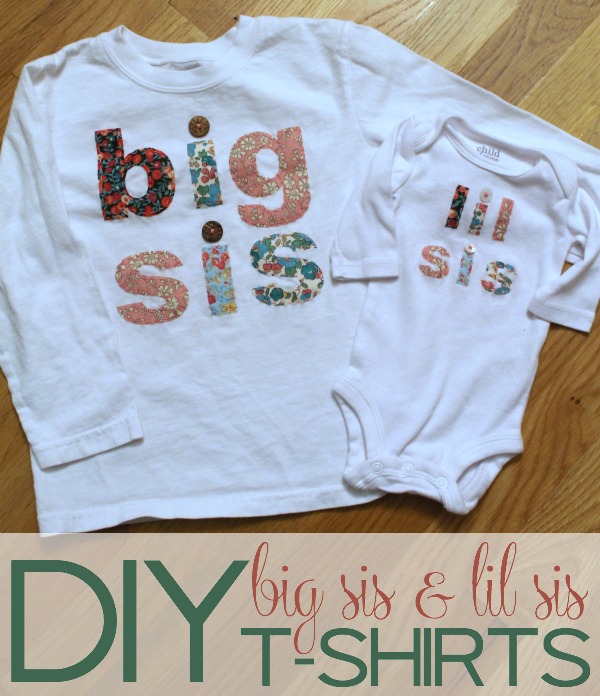
This adorable big sister shirt and “lil” sister matching shirt set would make a great gift for any sweet girl welcoming a new baby sister.
If you’ve been around for very long, then you know I LOVE my Silhouette CAMEO. It makes my life so much easier (like when it cut out 70+ music note garland pieces in a few minutes) and it makes me look so much craftier than I am (like when I made these cute teacher’s treat jars back in August).
I wish I had more time to think up ways to use it, but alas… I love that it helps me accomplish the things I want to accomplish with great speed and efficiency.
DIY Big Sis and Lil Sis T-shirts Tutorial
I have seen these fabric “big sis” and “lil sis” t-shirts on etsy for a long time. They are so adorable and I wanted something to have for my girls to wear when they meet each other in just a few weeks. Eeek!!
I looked around at buying them, which is my go-to these days instead of DIY, but I just couldn’t bring myself to buy them when I KNEW I could make them with the help of my Silhouette.
Step 1: Wash and iron your fabrics.
This is so obvious, but I washed the t-shirt and onesie and forgot to wash the fabric for the letters. Oops! #preggobrain I had to wash a whole other load of laundry to start the project. Oh, the horror!
Step 2: Iron all of the fabrics, just because it’ll make life easier.
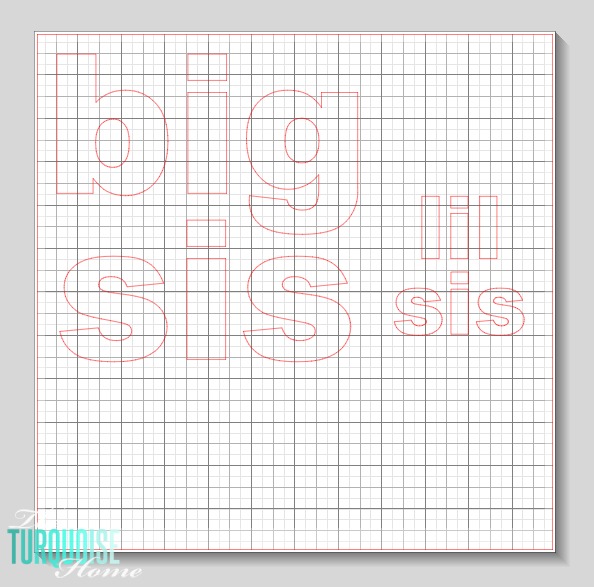
Step 3: Create your design in the Silhouette Studio software.
I measured the shirts to see how large the design should be and typed up my lettering. I used the font Arial Black because I wanted simple block letters.
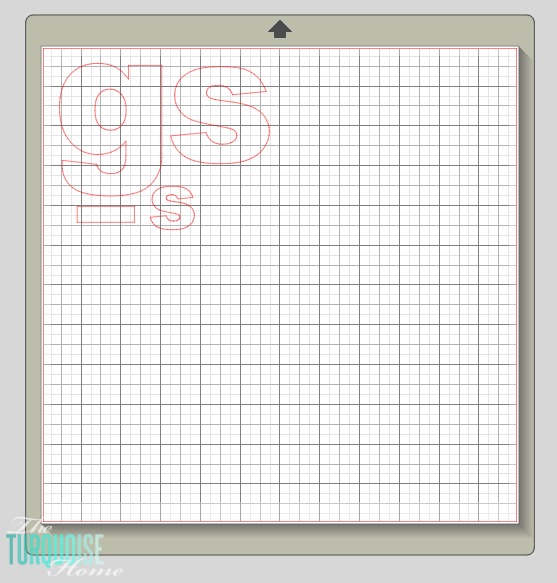
Step 4: Once I had my lettering figured out, I picked out which letters would have the same fabric and grouped them together to get ready to cut.
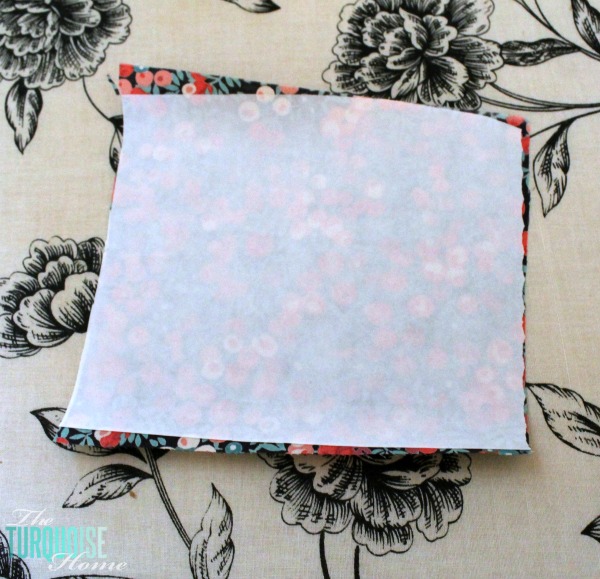
Step 5: Cut Out the Fabric
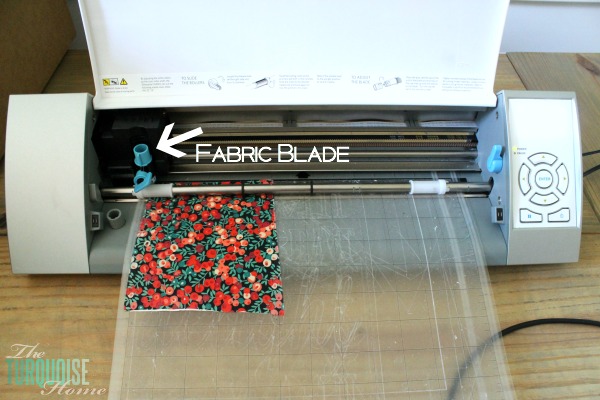
I cut out a square of each fabric that would be big enough for cutting out the design pieces selected. And I cut out a piece of Sewable Fabric Interfacing and ironed it on the back.
This stuff helps the fabric blade cut through the fabric easily and keeps the fabric from fraying. It also will adhere the fabric to the shirts to keep them in place while you sew them on.
Notice the blue tipped fabric blade that I use only when cutting fabric. It’s the same idea as keeping a pair of scissors just for cutting fabric. It keeps it sharp!
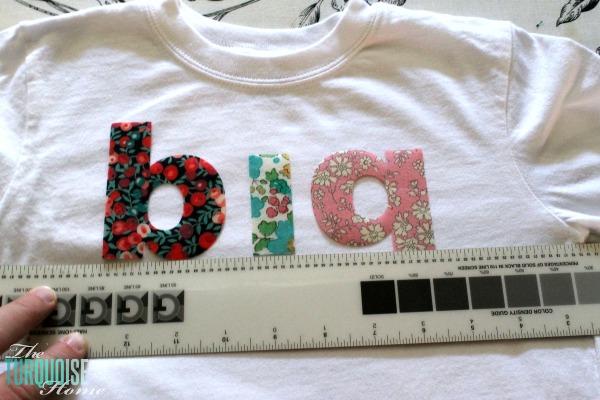
Step 6: Arrange Letters on the Shirt
Once all of the letter have been cut out, arrange them on the shirt. I used a ruler to guide me in keeping everything straight and centered.
Step 7: Iron the Letters Down
Then just follow the directions for the Sewable Fabric Interfacing and iron the letters down. The interfacing will hold everything in place while you sew around the edges.
Being the no-sew girl that I am, I chose to hand stitch a little embroidery stitching around each letter. I think it looks so cute with that around each letter. And I sewed a button over each “i” for a fun texture addition.
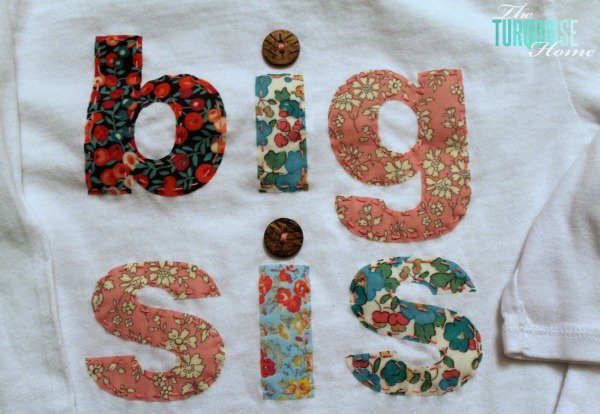
Put on adorable children and admire your handiwork.
I’m so glad that I made these instead of buying them for much, much more than I spent. I used fabric that I bought on a trip to New York two years ago. I already used these fabrics in Miss A’s room and I love that I get to use them again. I like that there’s a little history behind the shirts. I just grabbed a few buttons from my button stash. But it would be cute to get some pink heart buttons or other fun buttons to use.
I can’t wait to share these with my two girls wearing them. One more project crossed off the list. Woohoo!! #lessthanthreeweeks
Silhouette Inspiration
Do you need some ideas for how to use this awesome crafting tool? Check out all of my Silhouette crafts HERE.


So cute! Also, wanted to let you know that there is a link party on Wednesday at my blog – hope to see you there! Can’t wait to party with you!