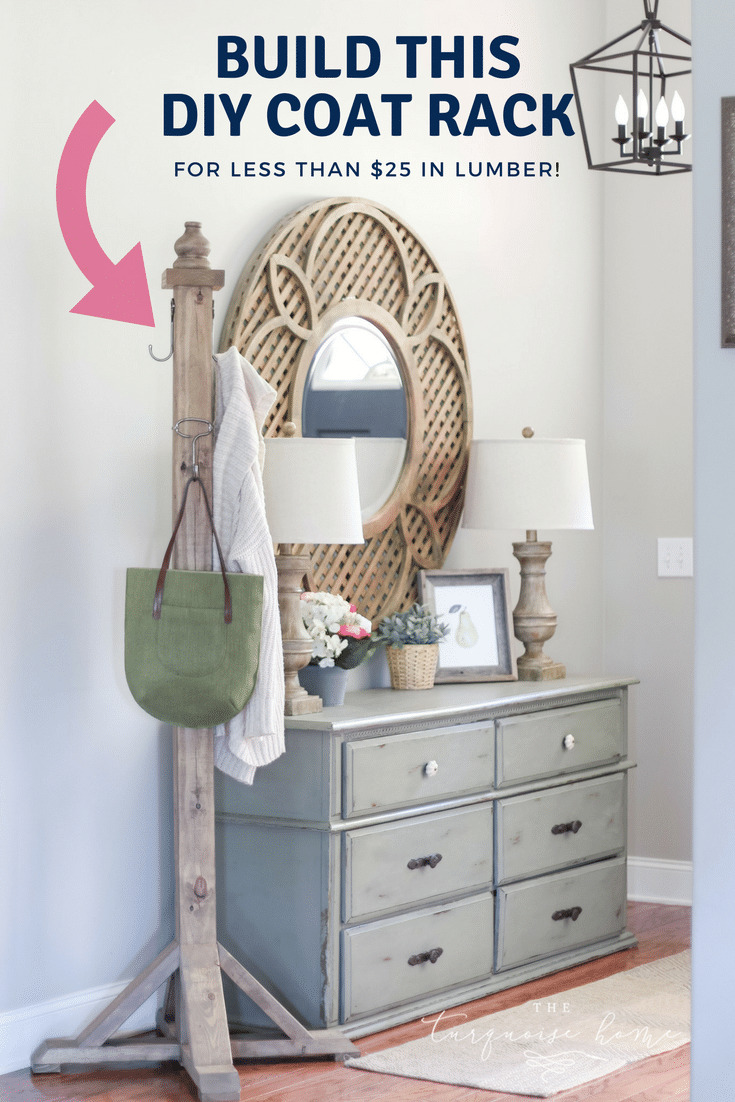
How to Build a Wooden DIY Coat Rack
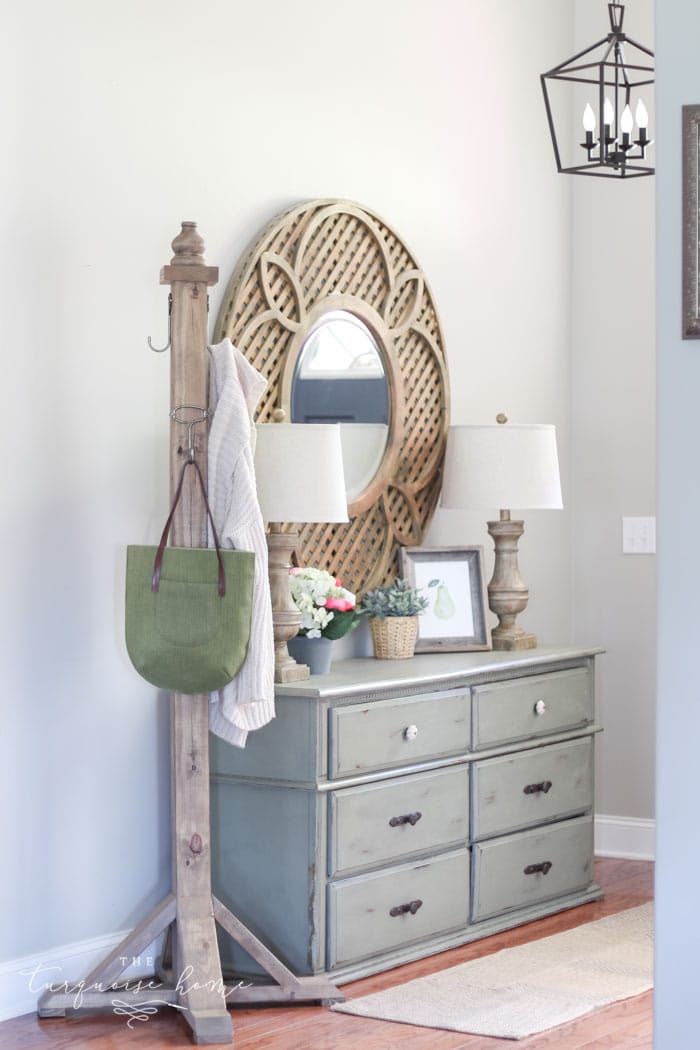
This wooden DIY Coat Rack is made from simple pine boards at your local home improvement store for less than $25 in lumber. It’s an easy build and will provide ample hanging storage in your entryway for guests to hang their coats and bags!
As a southern woman with a certain level of hospitality expectations, I find it terrible that it’s taken me this long to make a space for my guests to hang their coats and bags. Really, I’m not sure where my priorities have been. 😂
As I’ve been brainstorming everything decluttering lately and the function of my home, I realized that I was really lacking a hanging space in my entry way. Many apologies to my guests over the past 6 years who have had to find the nearest empty space to lay their things when coming over to my home. 🤦🏼♀️
The remedy has arrived, though! It’s in the form of a super easy DIY standing coat rack that I built quickly one morning last week while my daughter was at preschool. I got the plans from Shanty 2 Chic and followed them exactly! Super easy and a great first project for someone wanting to get into building your own furniture.
This post contains affiliate links for your convenience. See my full disclosure policy here.

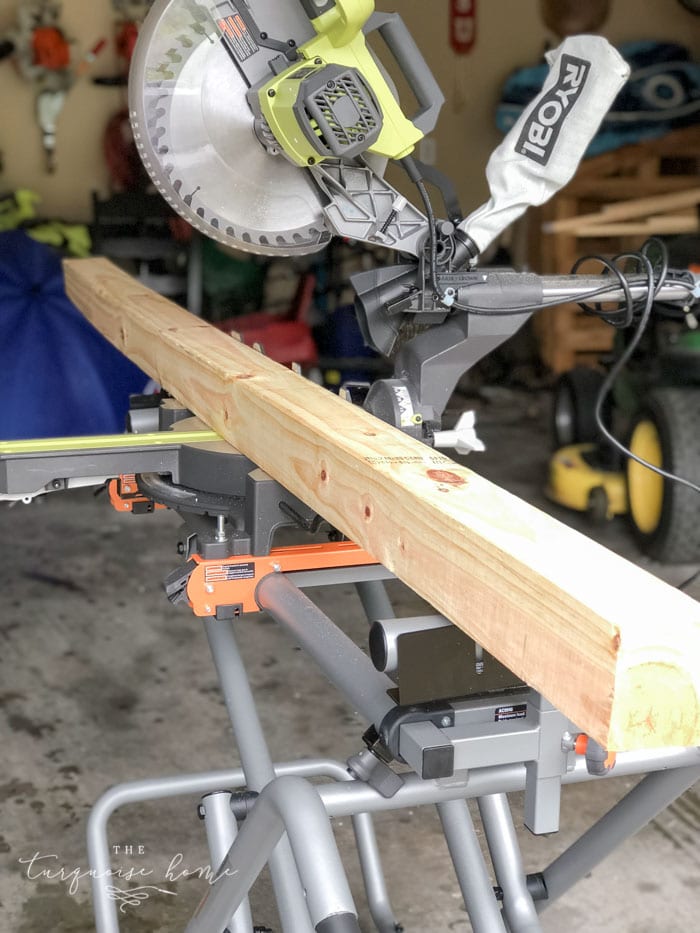
I was pretty excited to use my new 12 inch sliding miter saw that I got at the end of last year. I’ve used it once or twice for small cuts, but this was my first project. I was excited to use it on some boards that needed the larger size blade. It was so much easier to cut my 4 x 4 post than with my previous 10 inch (non-sliding) miter saw. I also thoroughly enjoy the laser that shows me that I’ll be making my cuts perfectly! That came in handy big time with the angled cuts I had to do. 🙌🏻
While there was a little bit of learning curve with the new miter saw, it didn’t take me long to figure out all of the ins and outs of my latest building tool. Love it!!
I also purchased a rolling miter saw stand, which is a seriously sweet upgrade from my previous saw set up, which was manually moving my miter saw from the floor to a table and back. No thanks!!
My new saw is attached to the stand, which I keep folded up in the corner of my garage. Seriously. When I’m ready to use it, I just wheel it outside and open it up and I’m ready to go! It’s the easiest thing ever and I wish I had made the purchase sooner! (I need to make a video sometime to show you just how magical it really is!)
Let’s get back to the coat rack, though – and I’ll share how I made it…
Supplies & Tools you’ll need for a DIY Coat Rack
- 1 – 4 x 4 x 8 foot board
- 1 – 2 x 4 x 10 foot board
- 1 furniture foot (for the decorative top)
- 1 scrap piece of 2 x 6 (~5.5 inches wide)
- 1 scrap piece of 1 x 3 (approximately 16″ long)
- 4 decorative hooks – the ones I bought are no longer sold, but these hooks would be great!
- Miter Saw
- Drill
- Sander
- Kreg Jig
- 2.5 inch Kreg Jig screws
- Brad Nailer
- Wood Glue
- 2 inch wood screws
- Stain and/or paint of your choice
- Brush
Steps to Build a DIY Coat Rack
Step 1. Cut your 4 x 4 post to 6 feet.
I am thrilled that my local hardware store now offers untreated 4 x 4 posts! Yay! I had trouble finding one perfectly straight, but it was close enough. I cut off the end that was the most curved and it’s hard to tell that it’s not straight now!
Step 2. Cut 4 pieces of the 2 x 4 at 13.5 inches long.
One end will be cut straight and the other end will be cut at a 45 degree angle. The 13.5 inches is measured from the long point to the other straight end. (See a photo of them 3 pictures down.) These will be the legs of the DIY coat rack.
Step 3. Measure the width of your 2 x 4 legs and you will cut the 1 x 3 into 4 pieces at that length.
It should be around 3.5 inches, but the exact measurements of 2 x 4’s vary around the country, so it’s best to measure first before cutting. These will be the feet of the legs.
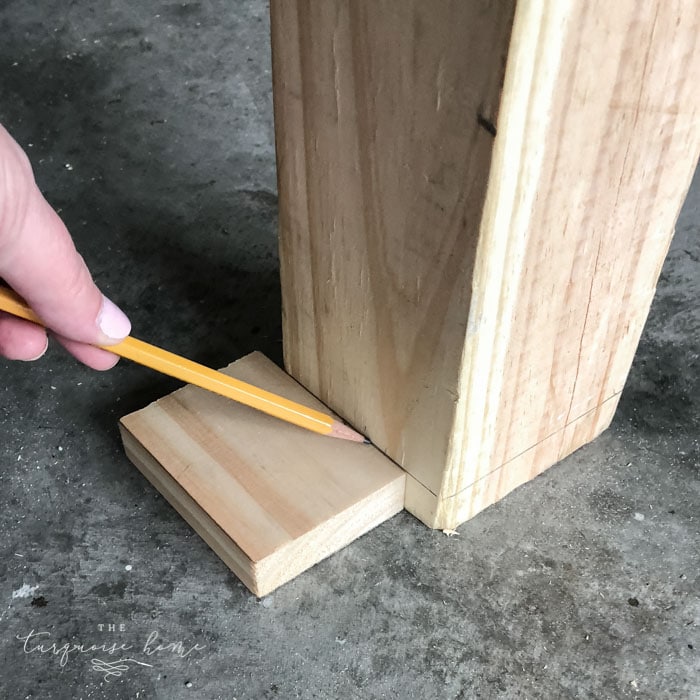
Step 4. Use one of the “feet” pieces to measure along the bottom of the 4 x 4 post.
This will give you the line for where to attach the legs to the post.
Tip: I would attach your legs a little lower than the line you draw, because I put mine exactly on the line and the post was just a little bit taller than the legs. I ended up having to cut off a half an inch of the post with a hand saw for it to sit correctly on the legs.
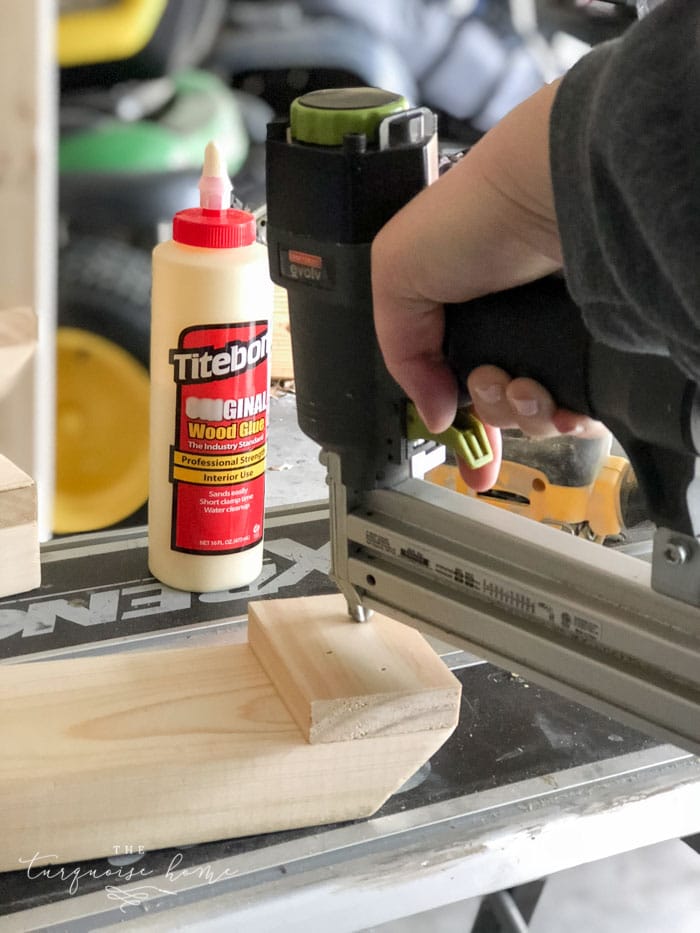
Step 5. Attach the 1 x 3 feet to the 2 x 4 legs
Attach the two pieces on the bottom of the angled end of the legs, flush with the long angled end. Use wood glue and your brad nailer to attach.

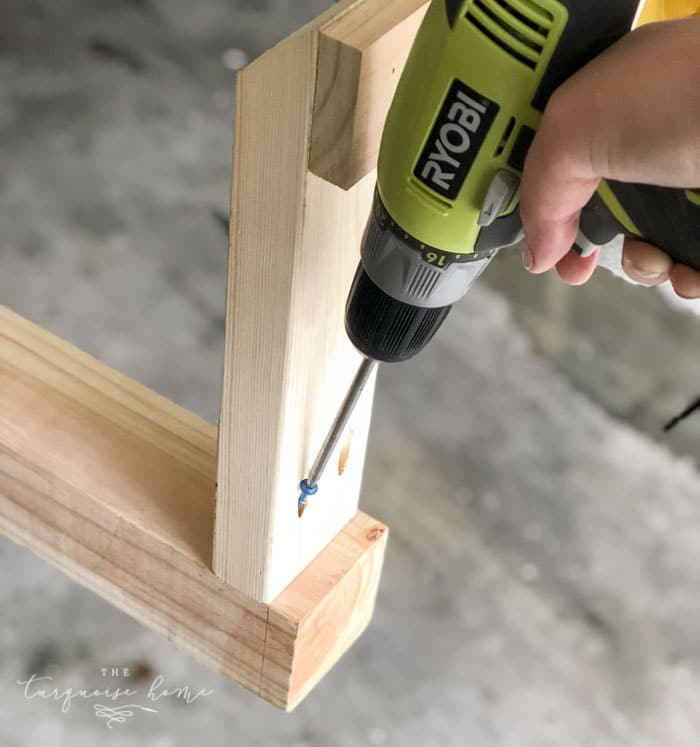
Step 6. Drill 2 – 1.5 inch Kreg Jig holes to the straight end of the legs – on the under side.
Step 7. Attach the legs to the 4 x 4 post at the line you made earlier with the feet.
Just remember my tip to attach them right below the line you drew so that your post won’t be taller than the legs. Use wood glue and 2.5 inch Kreg Jig screws to attach.
Step 8. Cut 2 x 4 into 4 pieces at 13 inches long.
These will have 45 degree angles on both ends that are perpendicular, not parallel. The boards should be 13 inches long from long end to long end. These are the braces attached between the legs and the post.

Step 9. Attach the braces to the post and legs with wood glue and your brad nailer.
Step 10. Cut a 5 1/2 inch by 5 1/2 inch scrap piece of board.
You can use a scrap 2 x 6 to make this easy and just have to cut a 5 1/2 inch piece from the board. Or, you can be like me and take a 2 x 8 (which is all I had) and cut a 5 1/2 x 5 1/2 piece out of it. I used my new sliding miter saw, which made this super easy to get the cuts!
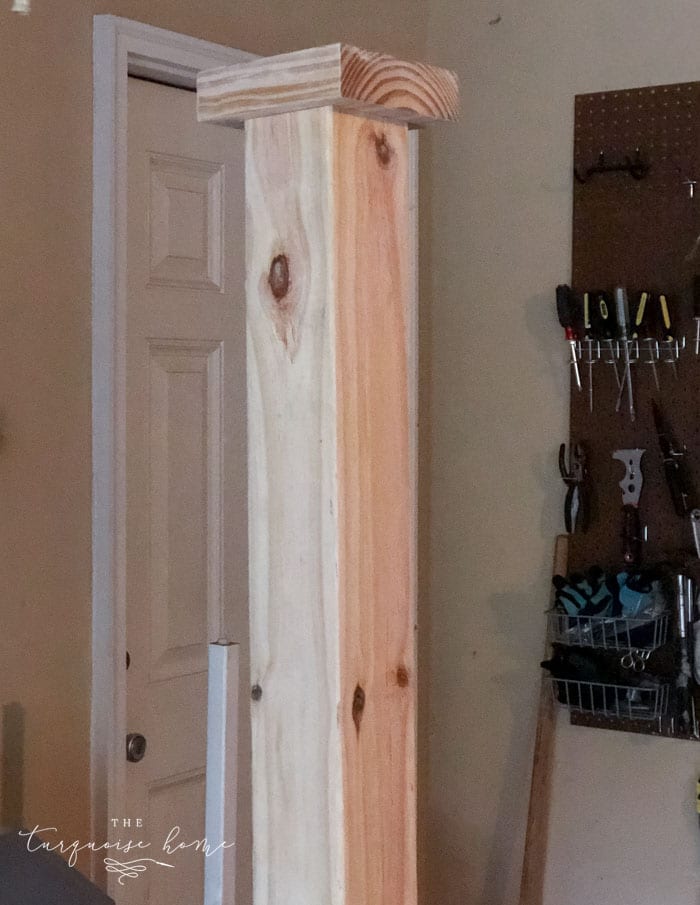
Step 11. Screw the 5 1/2 inch scrap piece to the top of the post using wood glue and wood screws.
Step 12. Attach the furniture foot to the top of the post and scrap piece of wood.
Pre-drill a hole into the center of the 5 1/2 inch wood scrap with a drill bit that is a little bit smaller than the screw on the bottom of the furniture foot.
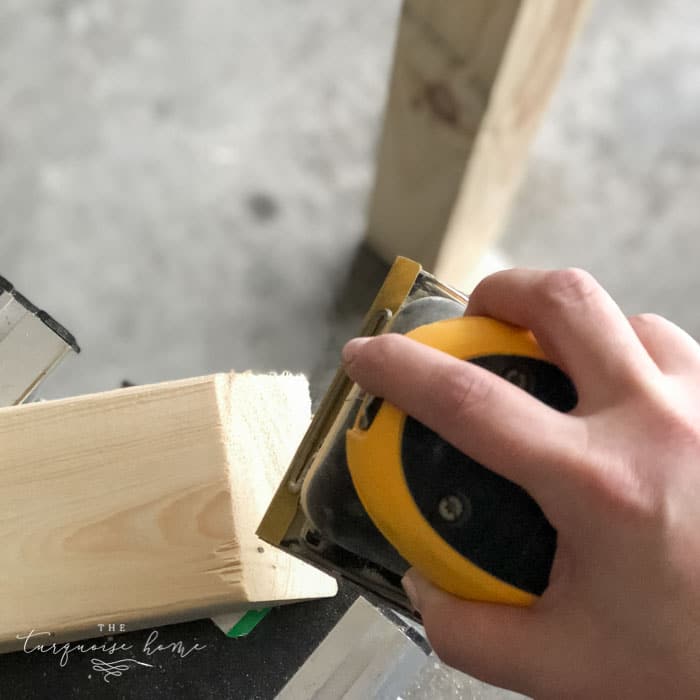
Step 13. Sand everything with a fine sandpaper.
I used my handy DeWalt sander, which I love. I actually sanded down everything before I put it together, but either way is fine. Wipe everything down with a damp lint-free cloth to get rid of all the dust.
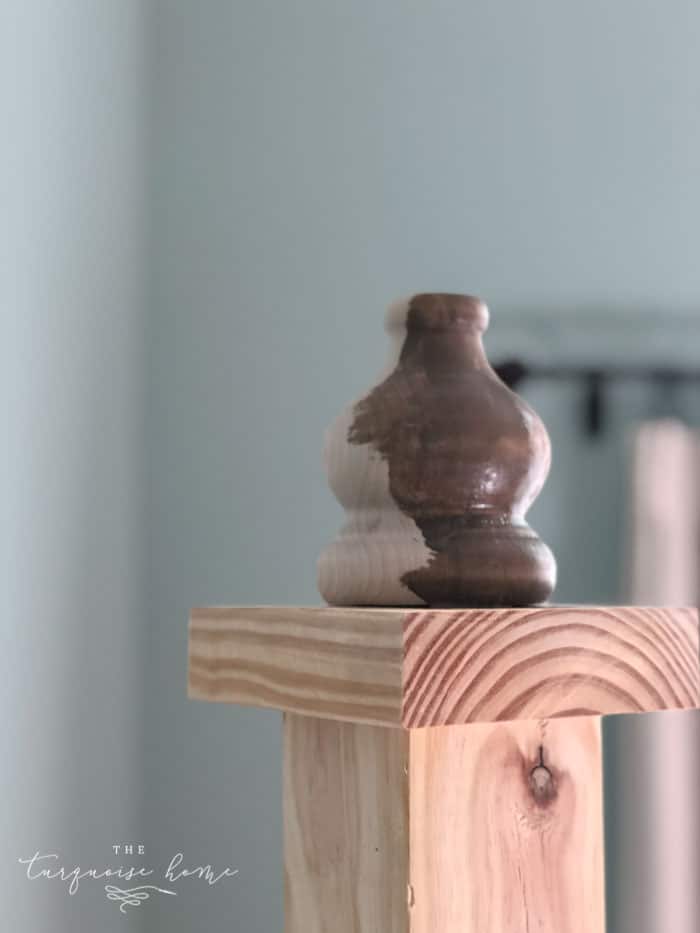
Step 14. Stain or Paint.
I used my favorite stain, which is Weathered Stain from Old Barn Milk Paint. I just love how easy it is to apply. It’s no VOC and non-toxic, so I can apply it inside without any fumes and best of all it’s water based, so it cleans up like a dream. Oh, and maybe the real best part is that I LOVE the color. No mixing together different stains to get the right look. This color is always my favorite!
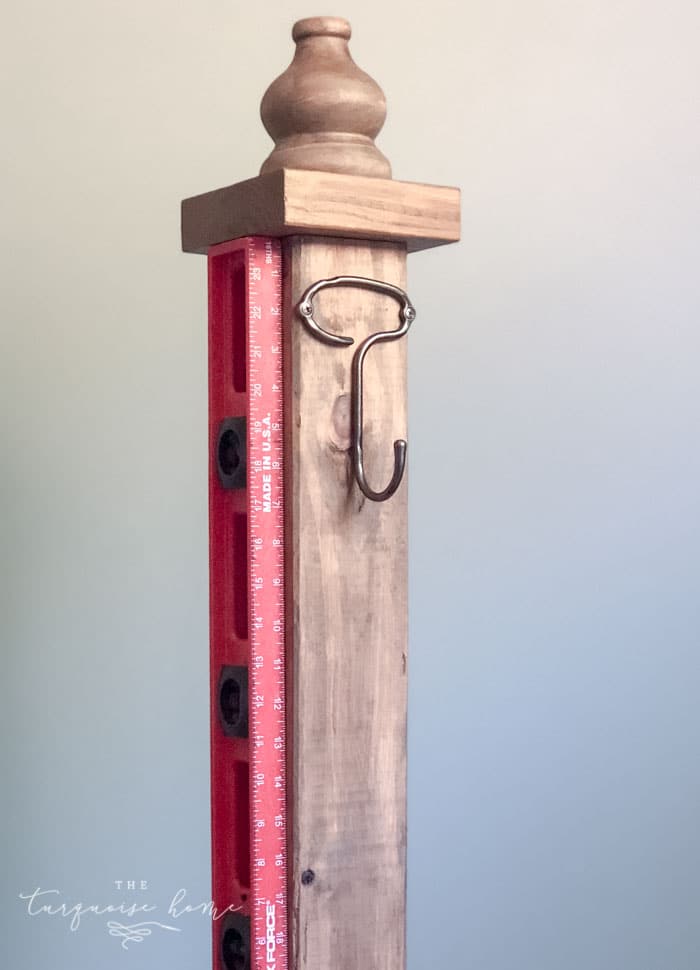
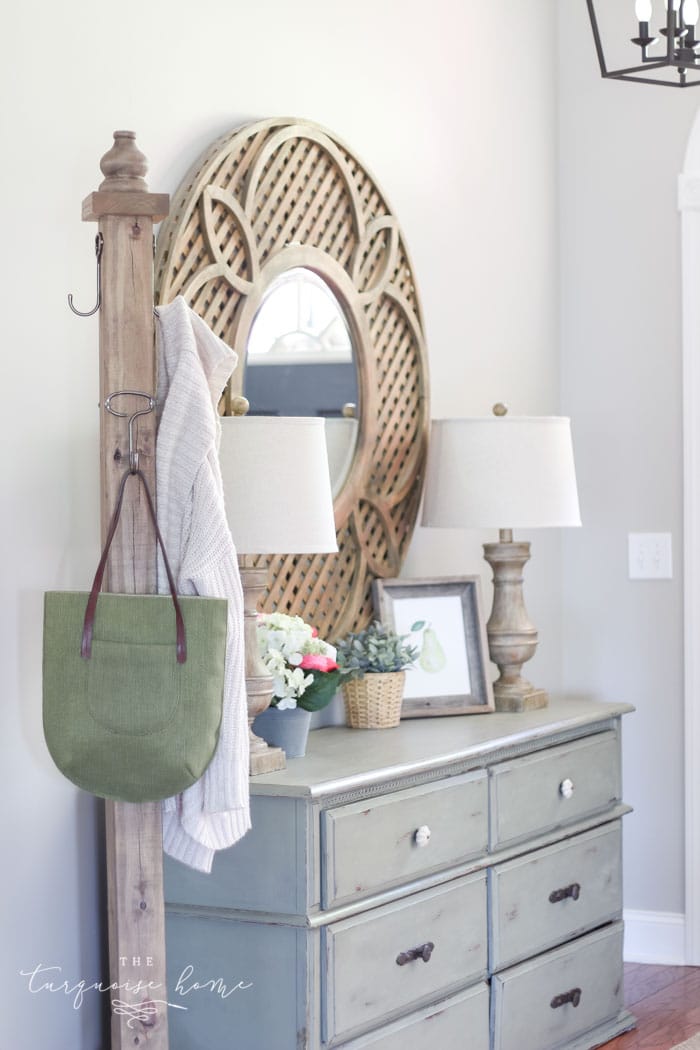
Step 15. Add your hooks!
I always pre-drill the holes when attaching something like this. Just make sure your drill bit is smaller than the screw you’ll be using. I grabbed these adorable modern hooks, here! I put them 2 inches down on two sides and 13 inches down from the top of the post on the other sides.
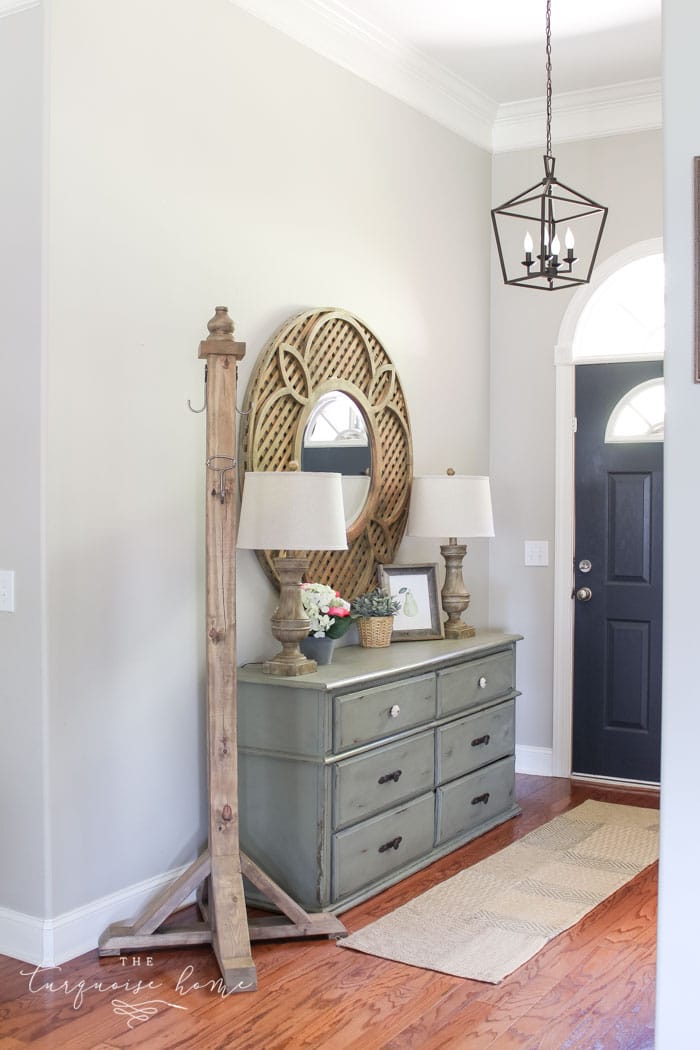
That’s it! You’re finished building your new coat rack and you can now greet guests properly and give them a perfect place to hang up their coats, bags and scarves! Enjoy!
Shop the tools I used in this post by clicking the images below!

More Posts You Will Love:
- How to Choose the Best Entryway Rug
- 17 Stunning, Easy-To-Install Entryway Lighting Fixtures
- DIY Lamb’s Ear and Peony Wreath
- Spring Table Decorations
- 15 Small Entryway Storage Ideas