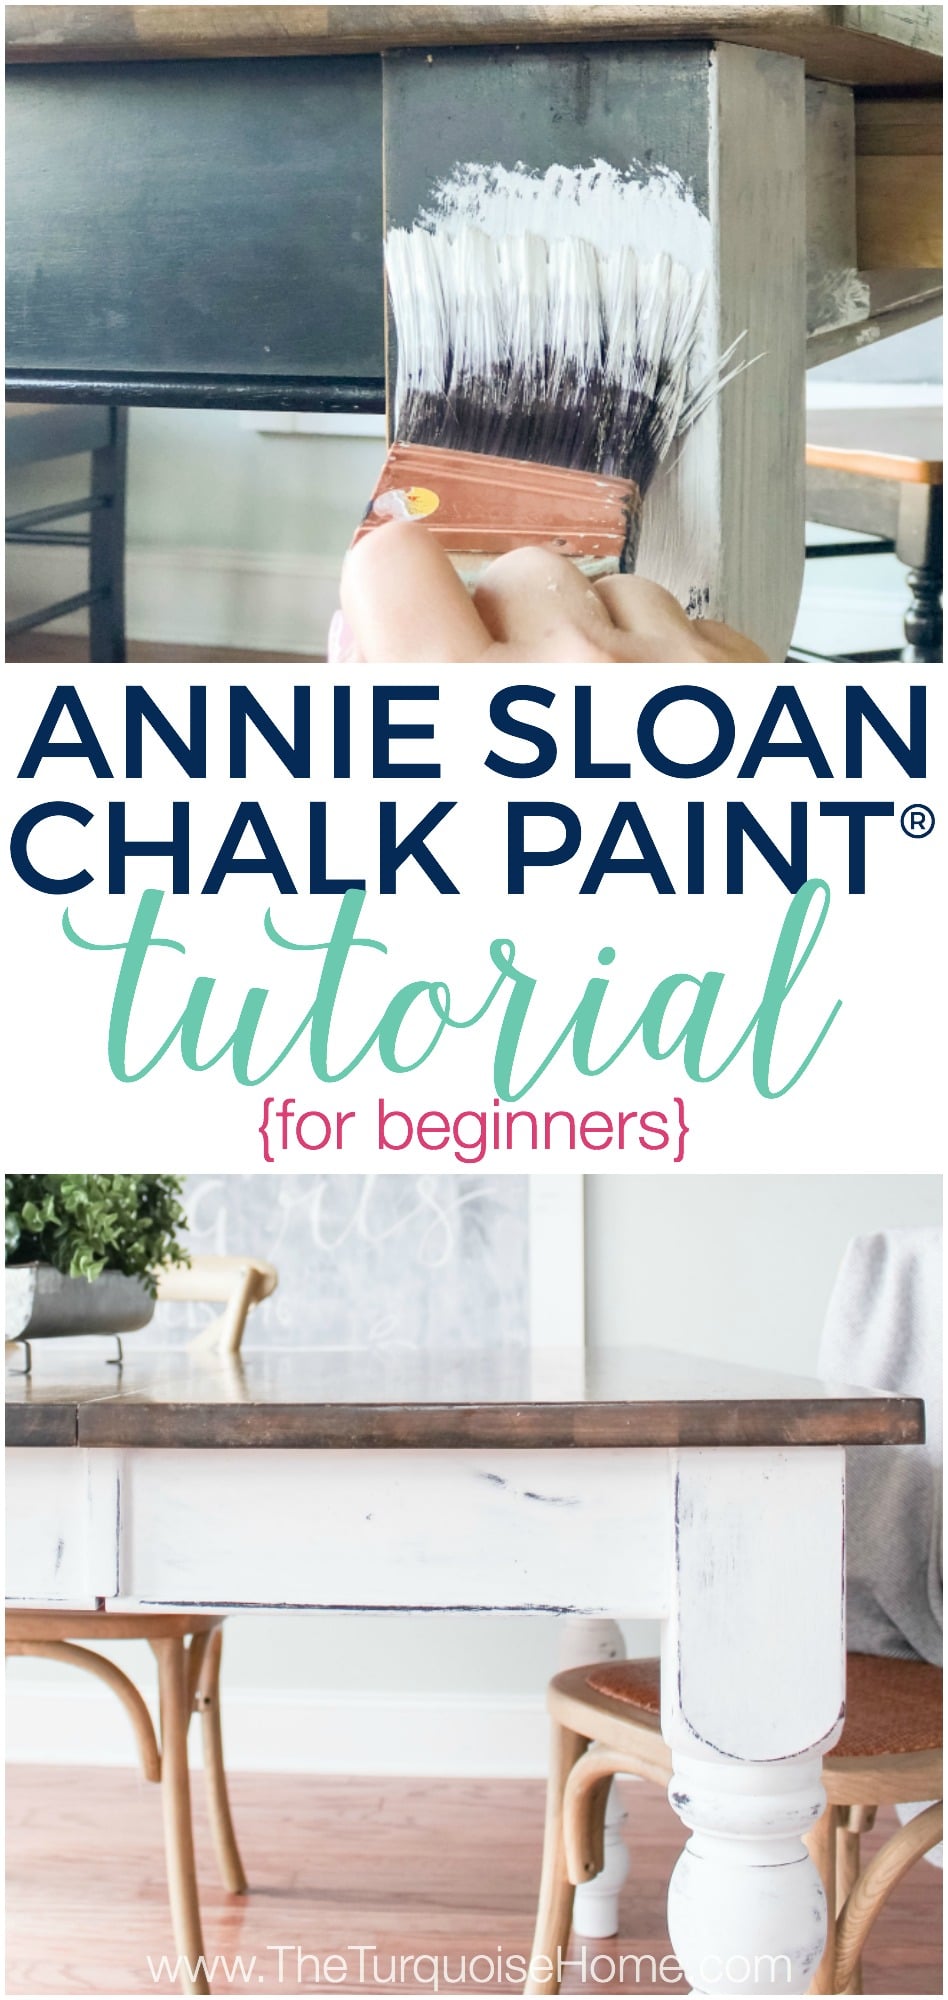
How to Use Annie Sloan Chalk Paint® {beginner tutorial}
Annie Sloan Chalk Paint® is one of the easiest ways to transform an older, outdated piece of furniture. The best thing about it is there’s no need for primer and once your surface is ready, you can jump right in! Instant gratification!
I’ve been using various forms of chalk-like paint for years and I’ve used all kinds of brands, but I find that Annie Sloan Chalk Paint® is one of my favorites.
I keep coming back to it for my quick transformation ideas. I’ve painted furniture with “normal” paint as well and I much prefer the imperfect nature of chalk paint® to the painstaking process of priming and painting the regular way.
This post contains affiliate links for your convenience. See my full disclosure policy here.
First, some thoughts on painting with Chalk Paint® …
- First off, if this is your first time to use Chalk Paint® you’ll want these tools to make your project go quickly and easily!
- If you are nervous about trying Chalk Paint® for the first time, then I would start with a small item that is insignificant. While I did my first project on a large dresser, it was a cheap one from Craigslist. But once you get that first project under your belt, you will have the confidence to tackle more significant projects!
- I would only use this type of paint (chalk paint) if you are going for the distressed, chippy look. I’ve never actually tried to use it to paint something without distressing it, but I have painted several pieces of furniture with this chalk-type paint and it definitely will chip with continued wear. If you want a more full coverage paint, look into Fusion Mineral Paint.
- The brush I use depends on what type of look I want. If I want a more brushed finish, I’ll use a natural bristle brush made for chalk paint (like this one). But if I’m going for a more solid finish with distressing afterward, then I’ll use my normal Purdy brushes that I love.
- Don’t use this type of paint if imperfections bother you.
- This is thick paint. If you paint from the can with the lid off, it will thicken up even more. So, I will either pour it into another container (I like this kind) or I will add a little – teeeeeny bit – of water to it every so often and stir to thin the paint.
- It dries quickly, in about 20 minutes. But definitely let it dry completely before moving on to distressing or applying the wax.
Supplies You will Need to Use Annie Sloan Chalk Paint®
- Drop Cloth. You will need a drop cloth or other material to protect your surfaces.
- Painter’s Tape. I exclusively use this kind of painters tape, but you may have areas you need to tape off if you don’t want them painted.
- Brush. I explained above which brush I use in which situation, but I mostly just use these.
- Paint. Obviously. 😜 You can get Annie Sloan Paint® here or by searching for a local supplier here. (If you can’t find it online, try Rustoleum’s Chalked Paint.)
- Damp rag and cleaning solution (optional). You definitely want your surface to be clean and free of all dust and debris.
- Lint Free Cloth. I use old cut-up t-shirts, but if you don’t have some of those lying around, I recommend these.
- Fine Grit Sandpaper. Used for distressing.
- Wood Putty. (Optional) As a side note, I used wood putty on the corner of my first Chalk Paint® project and the color looked a little different over the putty than it did everywhere else. It’s not super noticeable on that piece, but you may want to test it out in an inconspicuous place first.
Steps to Use Annie Sloan Chalk Paint®
1. Choose Your Project Piece.
As I recommended above, I would choose something small and insignificant as your first piece in order to build your confidence. And then from there, the sky’s the limit! Or go big or go home – you choose! 😜
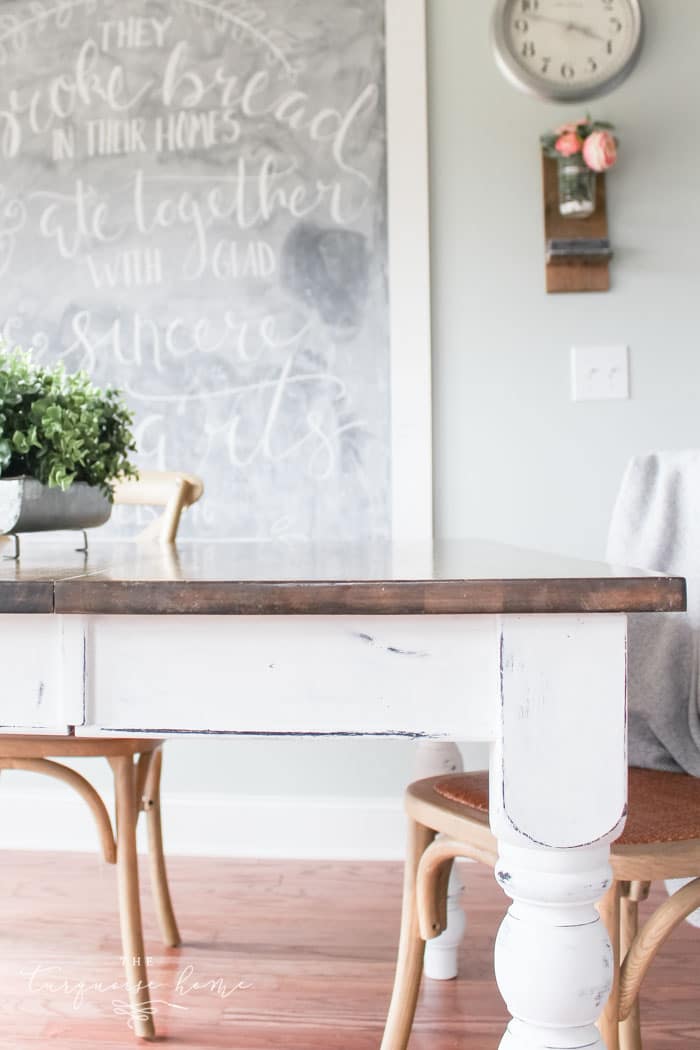
In this project I painted the base of my kitchen table. It’s a part of my eat-in kitchen makeover and you can see the design plan here.
2. Gather your Supplies.
See the supply list above.
3. Remove Hardware & Putty Holes (if needed).
If your piece of furniture has any hardware that can be removed, then remove it. If it can’t be removed, then tape it with painters tape. If you plan on changing out the hardware, then you may need to putty it and sand it down.
If there’s any part of the piece that needs sanding, then now is the time to do that. Although, I like all of the imperfections and how Chalk Paint® brings those out.
4. Prep your surface.
You may not need to prime your surface, but you most definitely want it to be clean. I painted our kitchen table legs and they were so caked with food (ewww … gross!) that I had to use Krud Kutter.
I usually just use a damp rag, but it just depends on how dirty your furniture is. Usually a warm, soapy dish cloth will do the trick! Just be sure to finish up with a damp cloth only to make sure no cleaner or soap residue is left behind.
Also, use this time to tape off any other areas of your project that you don’t want painted!
5. Apply the first coat of Chalk Paint®.
Yay! The fun part begins! At least this is the fun part for me because I love a good transformation. Everyone says to brush in the direction of the grain, and that is perfectly fine, but it depends on what I want the finished product to look like.
If you are going for a smooth finish with distressing, then use a regular paint brush and go with the grain. I do find that there will be some brush strokes at the end, so just know that you will be able to see them some when you are finished.
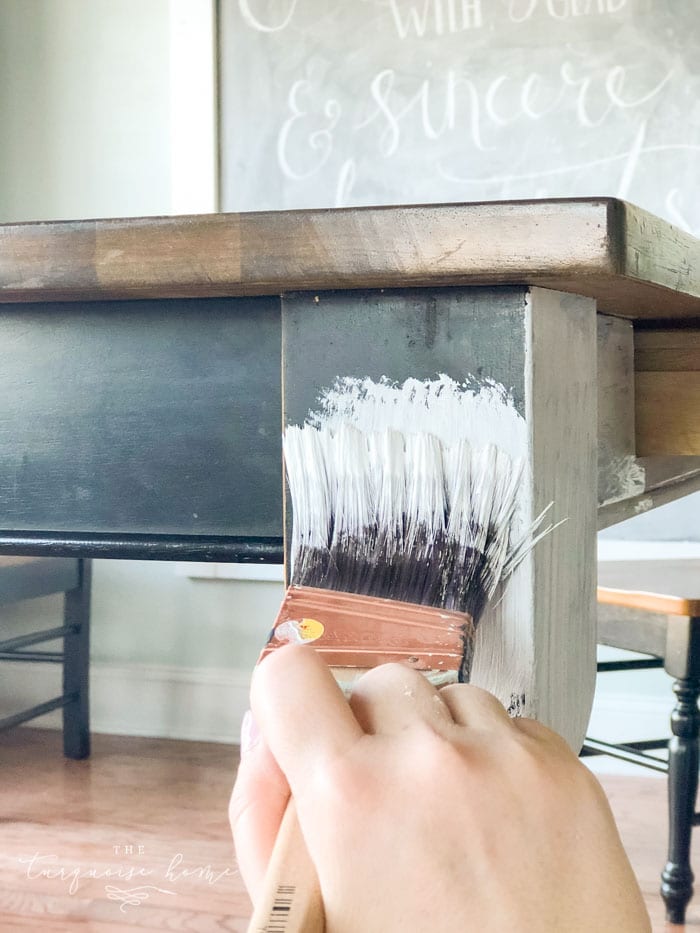
If you are going for a more imperfect, messy look, then I would use a natural bristle brush and would suggest doing 1 heavy coat. I’ll show you what it looks like on a desk I painted…
Chalk Paint® dried in about 20-30 minutes, so you can come back for the second coat pretty quickly. Depending on how large your project is, you may be able to start the 2nd coat whenever you finish the first!
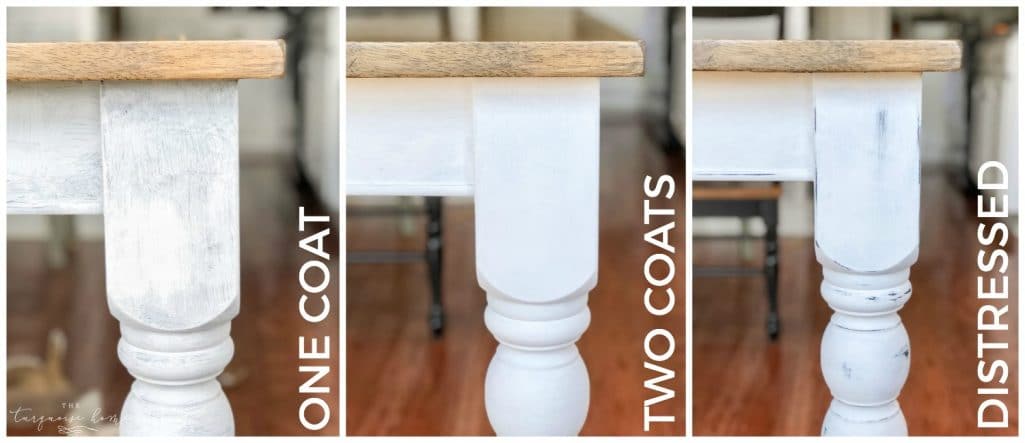
6. Apply the second coat of Chalk Paint®.
You will most likely need a second coat of paint if you want full coverage. Just paint it on like you did the first and you will see most of the big brush strokes go away. If not, just go over those brush strokes once more after the second coat has had a little bit to dry.
If your paint is getting too thick at this point, at just a smidge of water to thin it out. It wouldn’t be a bad idea to pour some in another container and add the water to that. A little goes a long way and you can always add more if you need to!
And if the paint goes on a little too thick at this point, you can always sand it down and repaint or just sand it a little. This paint is very forgiving!
7. Clean up your paint brushes.
Just wash your brushes in warm, soapy water to clean them up. I make sure and don’t let the water run down into the bristle base when I’m washing them and always lay them flat or hang them up from their handles to dry.
My Purdy brushes last me decades when I take care of them properly. Yes, literal decades!
8. Distress your project.
I recommend only using Annie Sloan Chalk Paint® when you are planning to distress your project. I find that it tends to chip anyway, so I would hate for you to use this and then the project gets chipped and you hate it.
The only exception would be if you are planning on sealing it with clear polycyclic. I’ve heard that works well to seal everything in and prevent future wear.
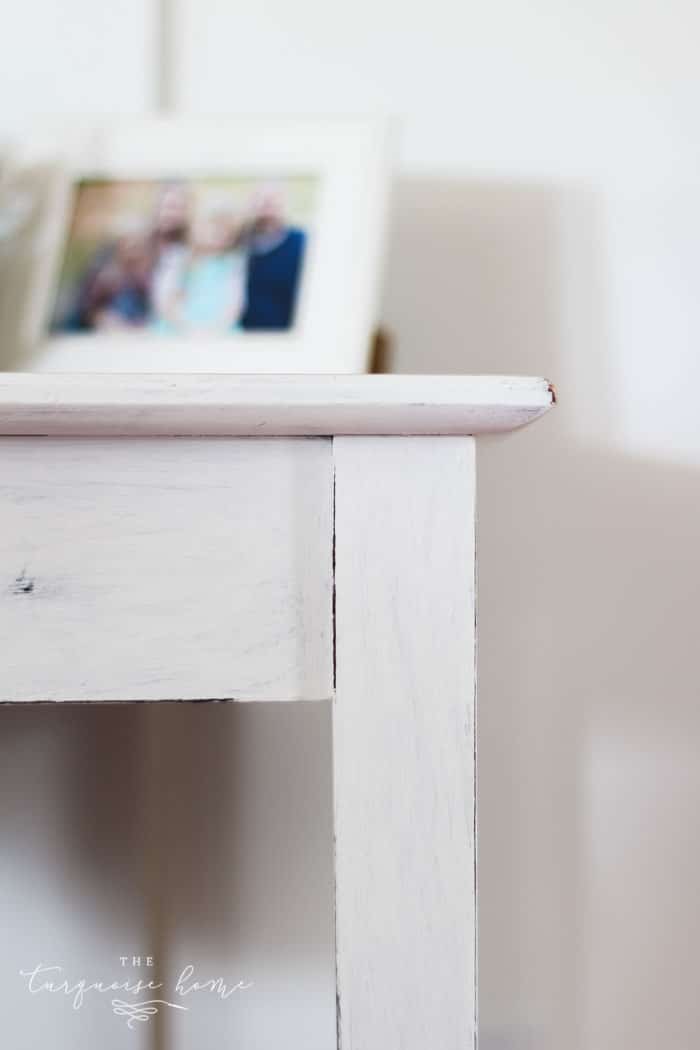
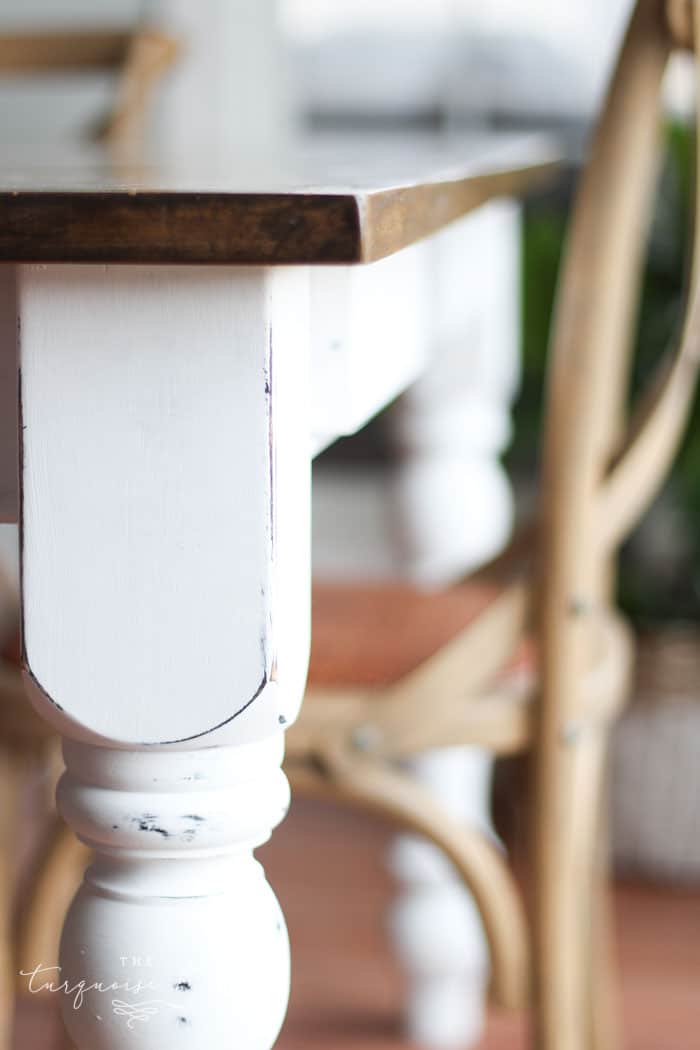
I use a fine grit sandpaper (usually 180) to lightly sand the corners and edges that would naturally get worn with wear. Just a couple light passes with the sandpaper will do the trick.
I also will rub a damp cloth on the places where I want some very light distressing.
Annie Sloan recommends distressing after you apply the sealing wax, but I’ve tried it both ways and I much prefer to do it before the wax. It’s just easier to distress and then the chalk paint wax seals it allll in, and I don’t have unsealed spots where I distressed it. I will say that distressing the chalk paint without sealing wax does create a bit of a dusty mess, but it’s easy to clean up!
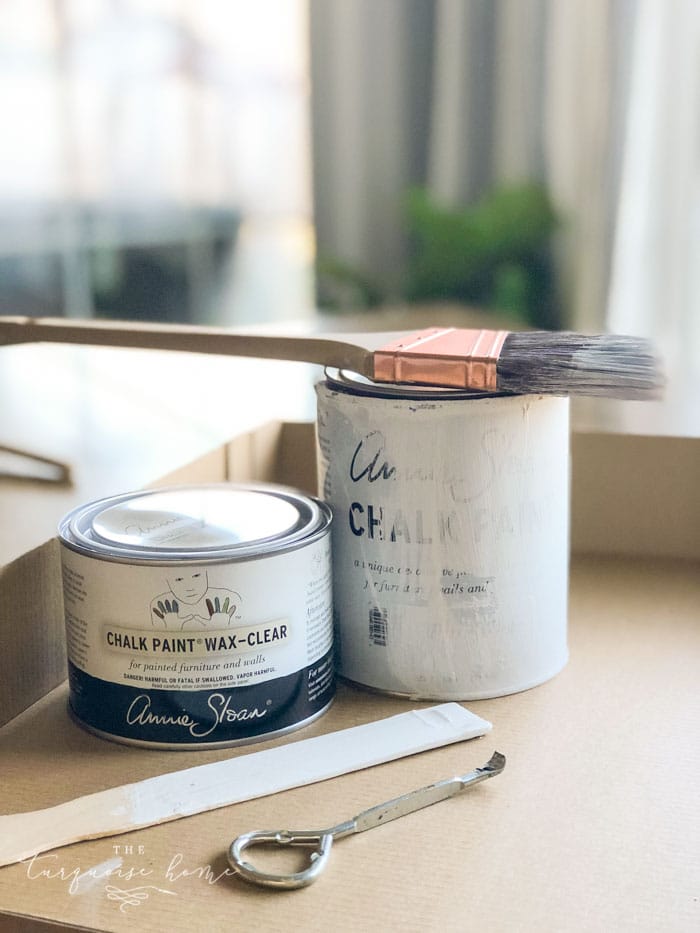
9. Seal your project with Wax.
I like to use the clear sealing wax on all of my projects. I did use the dark wax to highlight a baby crib I painted. I like the look, but it’s a more difficult creative process to master in my opinion. Either way, I use clear way to seal the whole project first.
You can use a wax brush specially made for applying wax. Or you can use an old t-shirt or lint-free cloth to apply the wax.
You want to apply a thin layer of wax to the whole project, then lightly wipe off any excess wax.
If you are using a brush to apply the wax, wash it out with mineral spirits.
10. Buff your Project.
Once the wax has hardened (about 24 hours later), you can buff the wax to a shiny finish with a t-shirt or lint-free cloth. I like to do this step as it gives the final product a smooth finish.
Yay!!!
You’re finally finished with your project and you can step back and admire your gorgeous “new” piece of furniture!
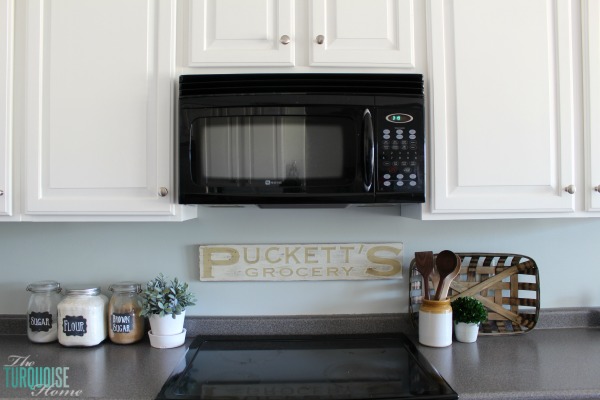
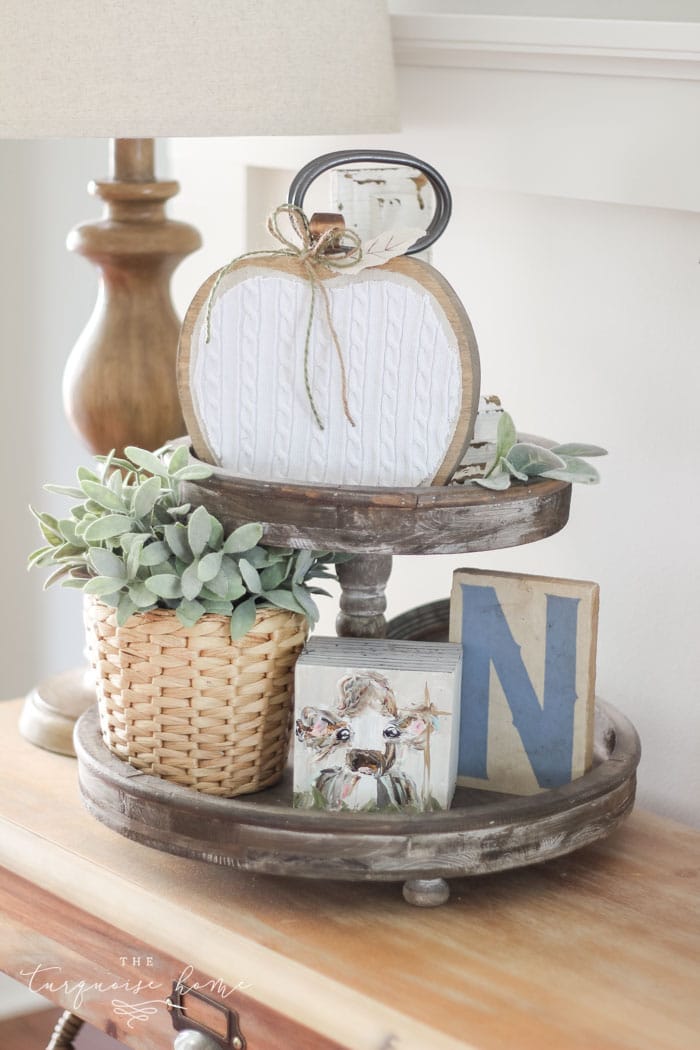
As a reward for reading this monster of a post about painting, you get a sneak peek of our in-progress eat-in kitchen. 😉 I’m LOVING how it’s coming along. It’ll be done soon!! 😍
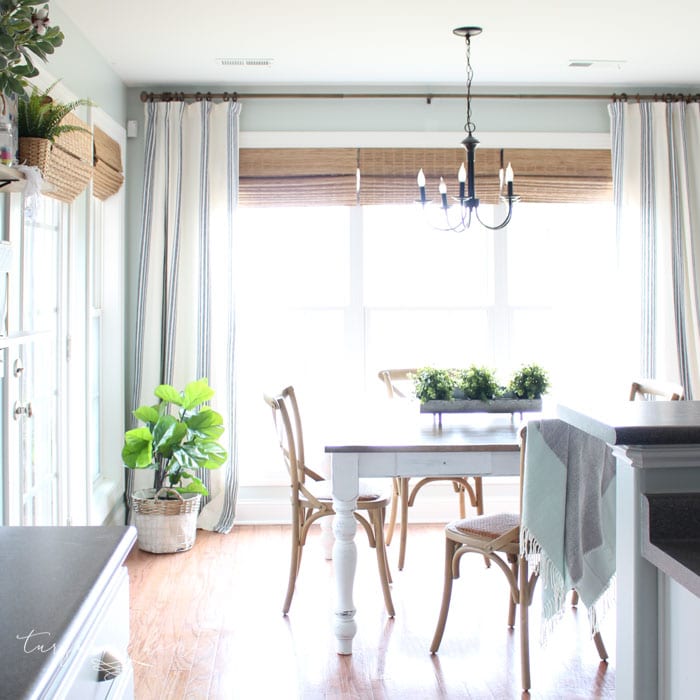
Scroll and click/tap images below to shop my Eat-in Kitchen:

Thank you for taking the time to read this whole post! I know it’s super long, but I didn’t want to leave out any steps!
Let us know about your experience with Chalk Paint® or any tips or tricks you’ve found in the comments! Or if you have questions, please leave them in the comments below!


you can airbrush or use a sprayer with chalk paint, i used annie sloane specifically, you just need to thin it down first. it should only require one coat for full coverage however you will go through alot more paint.
Hi there,
Can I use choke paint on my Parker furniture and what preparations would I have to do first? Thank you
Savka
I have black mill due in the grout of my shower, as much as I clean I can not get rid of it. I’m thinking, if I wire brush as much of it off as I can. Then paint the grouting with Annie Sloan will that solve my problem?
Advice would be appreciated…
I have just painted an old mirror and drawers off a dressing table , I cleaned it with meths then rubbed down etc . I then painted with french linen let it dry then lacquered it , unfortunately it has dried a little brownish , can you advise !!!
Will chalk paint work well on rattan chairs, if I seal them with wax? They get very frequent use so I’m concerned about durability.
Hmmm, I’ve never used it on rotten, but I think if you get in the grooves it would work. I think it would be a pain to wax and paint, though, because of all the detail. good luck! Laura
Would you use this paint to finish the top of an old oak desk? The top has been sanded before and is in need of refinishing. The rest of just original varnish.
What if I determine after some time passes that a well-used table should have a clear polycyclicn finish rather than only wax and the wax has obviously already been applied? Is it possible to then remove the wax somehow to apply the other finish? Also, if crayon or marker marks show up what is the best way to remove them? Thanks!
I’m not sure, Bev, about changing to a polycrylic finish after the wax has been applied… I wonder if sanding it would be the solution? But that would take off the finish as well. Hmmm … I’d have to google that on. And then I just rub the crayon or marker off of mine and I’m sure it takes the wax with it, so I’ll just reapply some wax to that spot after the crayon or marker spots are gone. Hope that helps! Laura
Can I use chalk paint on faux brick panel and what color would I use to give it a brick look-tks
We recently painted a large coffee table and all went well until we buffed the wax. We are left with a “patchy” finish. How can we remove the wax, then perhaps give the table a third coat of paint. We thought we could then finish the table with a light varnish rather than the wax. HELP
Mineral Spirits
Awesome beginner’s tutorial! Thank you. I plan to chalk paint my grandmother’s vintage cedar chest we use as a coffee table. Very excited! Thank you for sharing!
Yay, Susan! I’m so glad it was helpful! xo, Laura
Can I use and airbrush to apply this paint.
I am not sure! I have no experience with airbrushing.
Probabaly a silly question, but I can’t seem to find the answer. Will this work on pieces that are not 100% real wood? Thinking older bedroom suites.
Wow! Thank you for this tutorial. I am on Spring Break this week and have two small projects I have been thinking about. With your tips, I know I can do them both with chalk paint. Thank you, Cynthia
One of the easiest ASCP tutorials to follow. Thanks for sharing your process! I feel pretty confident now.
I have the same chandelier, good taste! Your home is lovely. Thank you for sharing your chalk paint tips.
It’s a real beauty and I love your new curtains!
This looks great! Thanks so much for sharing your process! I am also in the process of redoing my eat-in kitchen area, and I have a couple of questions. I bought an old table from an antique store, and my dad built a bench to go with it. I am wanting the exact look that you have here – white paint with dark coloring showing through the distressing. The problem is, the table top is wood stained, the table bottom has been painted, and the bench is unfinished wood. Should I paint them all the same color (maybe black) first in order to get the distressing to look the same? And if I am wanting to seal it with polycyclic, do I still seal it with wax? Thanks so much!!!
Hi Amy! Yes, I would paint them all black first and then chalk paint over that to get the same distressed look on all of them. It sounds like it will look great! And there’s no need to wax it if you want to put polycyclic over it! 🙂 Happy projects!! xo, Laura