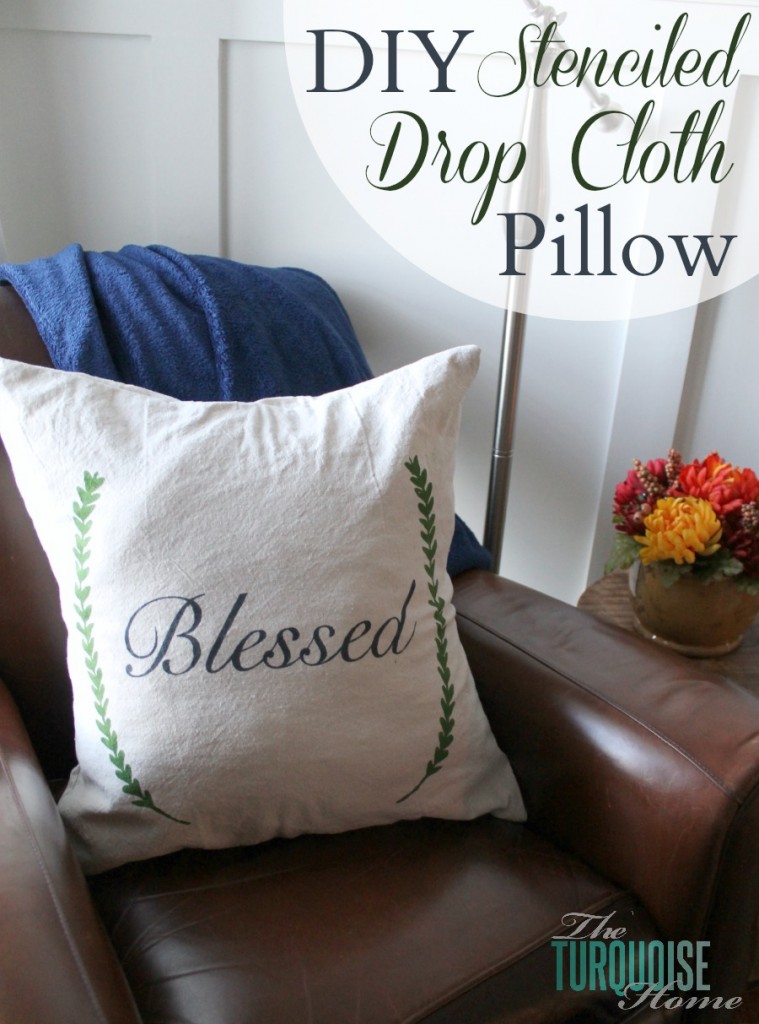
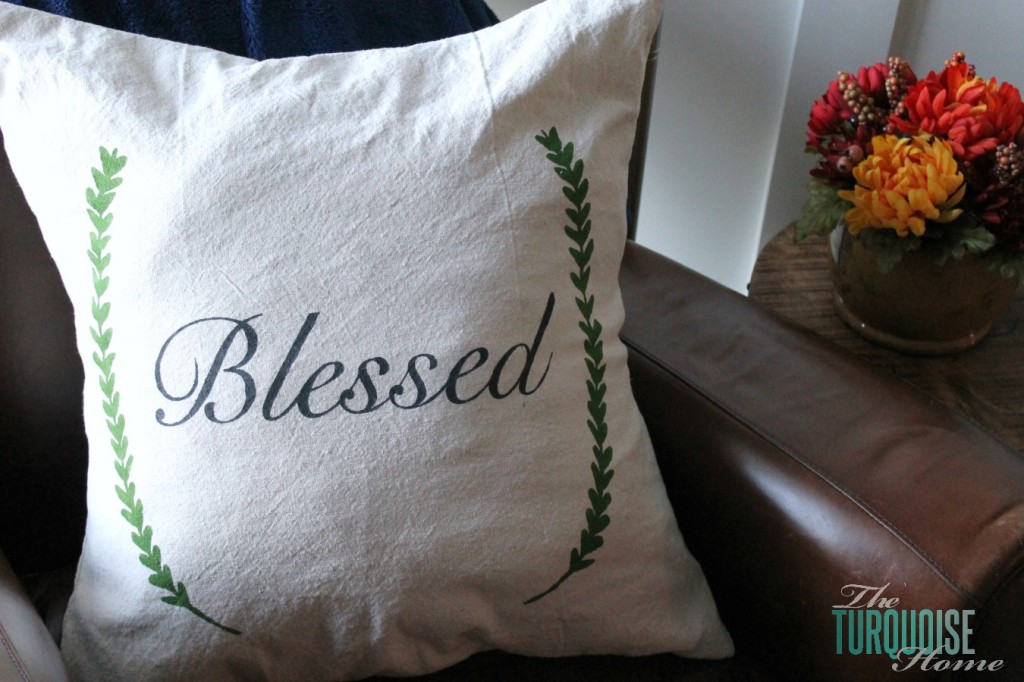
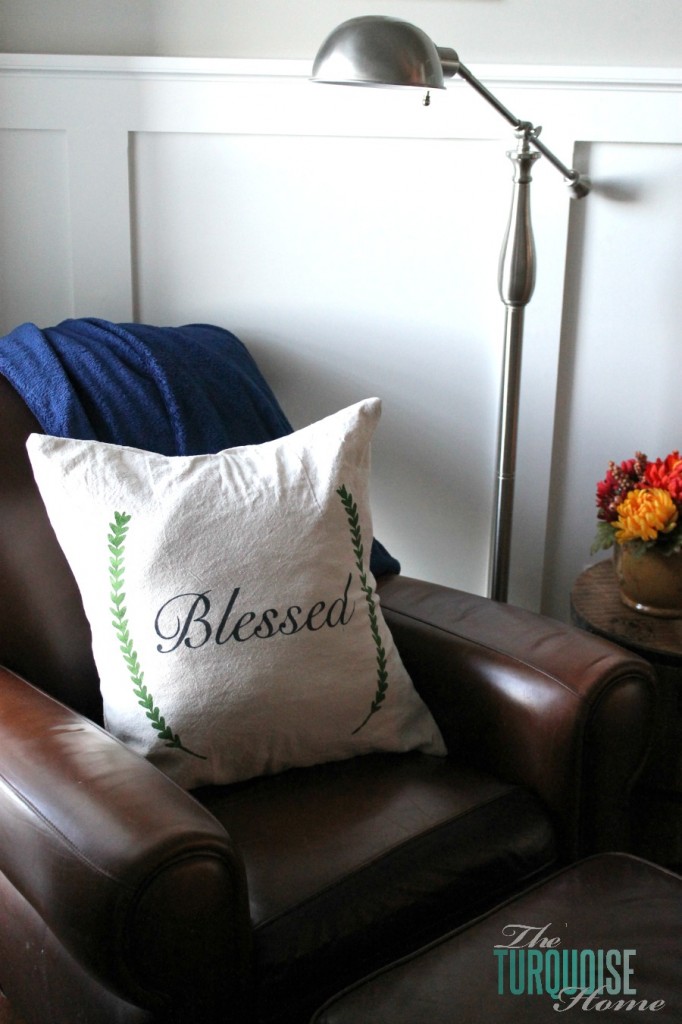
DIY Stenciled Drop Cloth Pillow Cover
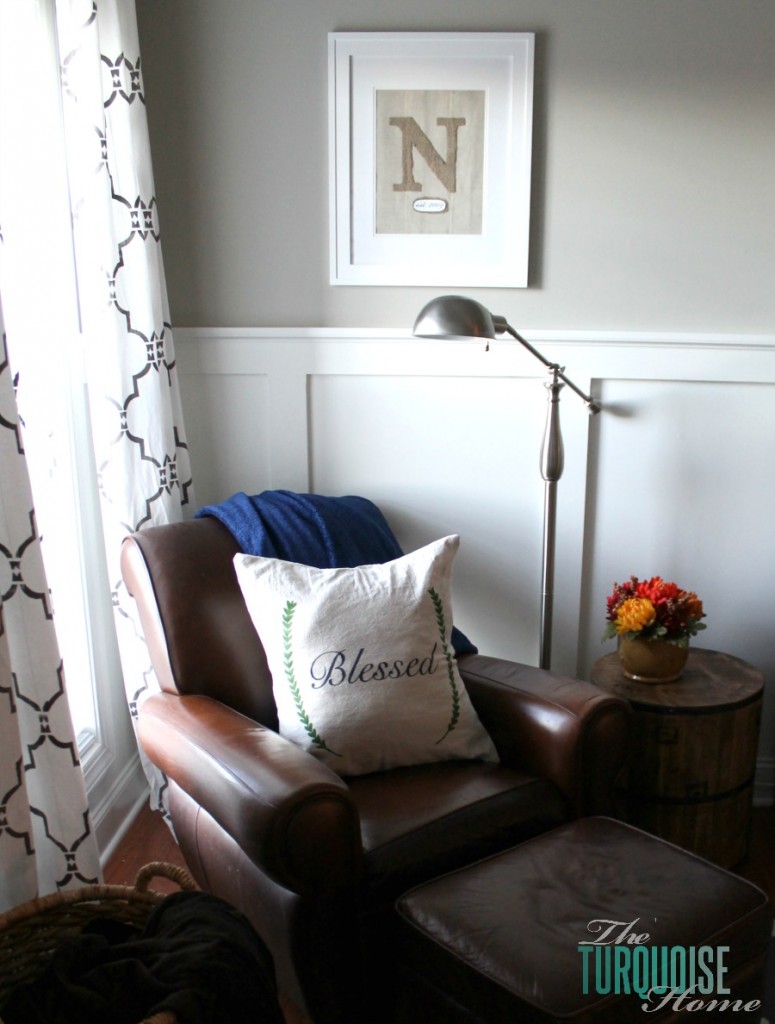
This DIY stenciled pillow cover is the perfect way to easily create a custom pillow while using up extra fabric on hand. The pretty decor will serve as a reminder of our blessings this holiday season and all year long.
Well, if you’ve been hanging around here lately, then you’re not going to be surprised by today’s post. Not one bit.
You see, today, I not only combine my love for my Silhouette Cameo and contact paper, but also drop cloths! Three of my new favorite things. 🙂
When I got to thinking about all the things that I am thankful for, I just kept going back to one word: “Blessed.” I am incredibly blessed with a fabulous husband; beautiful & wonderful daughter; lots of loving, extended family; loyal friends; a beautiful home; a gracious Savior and so many other things.
So, I decided to make a craft using the word “Blessed.” I am in need of some more throw pillows. Well, need’s not really the right word. But I have a small stack of pillow inserts in my home just waiting for someone to make or buy pillow covers for them.
I had some extra drop cloth material left over from my curtains, and I’m kind of obsessed with stencils and paints. So, what they hey! My thankful craft plan was formed. This post contains affiliate links for your convenience. See my full disclosure policy here.
Supplies for DIY Stenciled Drop Cloth Pillow Cover
- Drop cloth pillow cover in the size of your choice. Mine was 20 inches x 20 inches and I used this tutorial to make it.
- Silhouette Cameo
- Contact paper
- Design in the Silhouette Studio
- Scrap piece of cardboard to slip in my pillow
- Foam craft brush
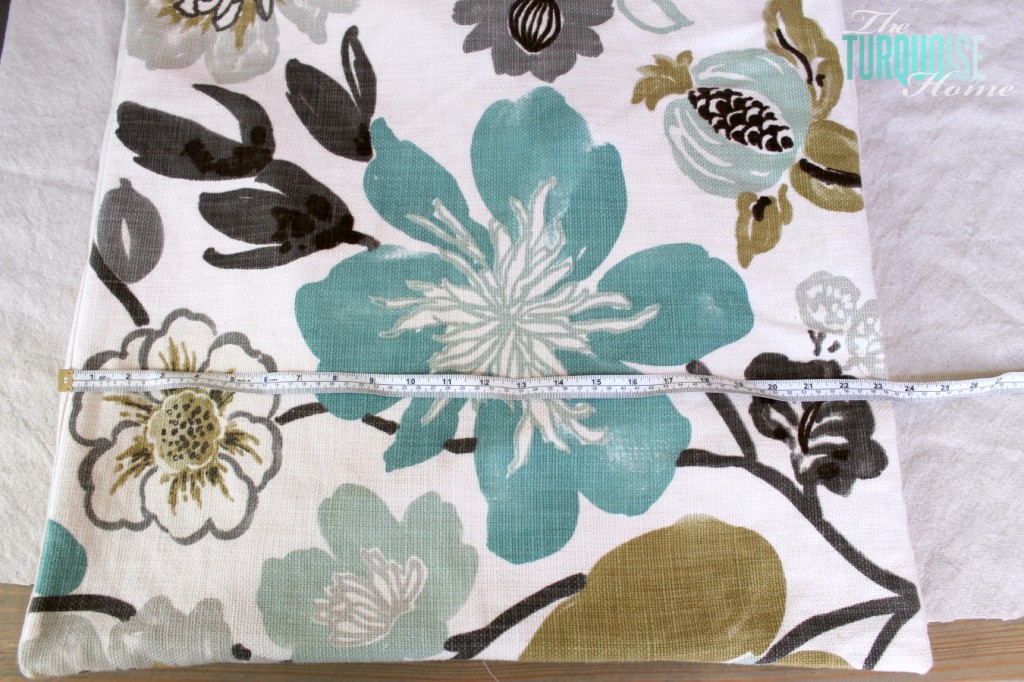
First, I made the pillow cover. I used my other pillow covers to measure out my material. I didn’t have quite as much drop cloth material as I wanted, so I ended up making the pillows to be 20×20 inches. The pillow insert it for a 26×26 inch pillow cover, but I like a full pillow. So, it worked.
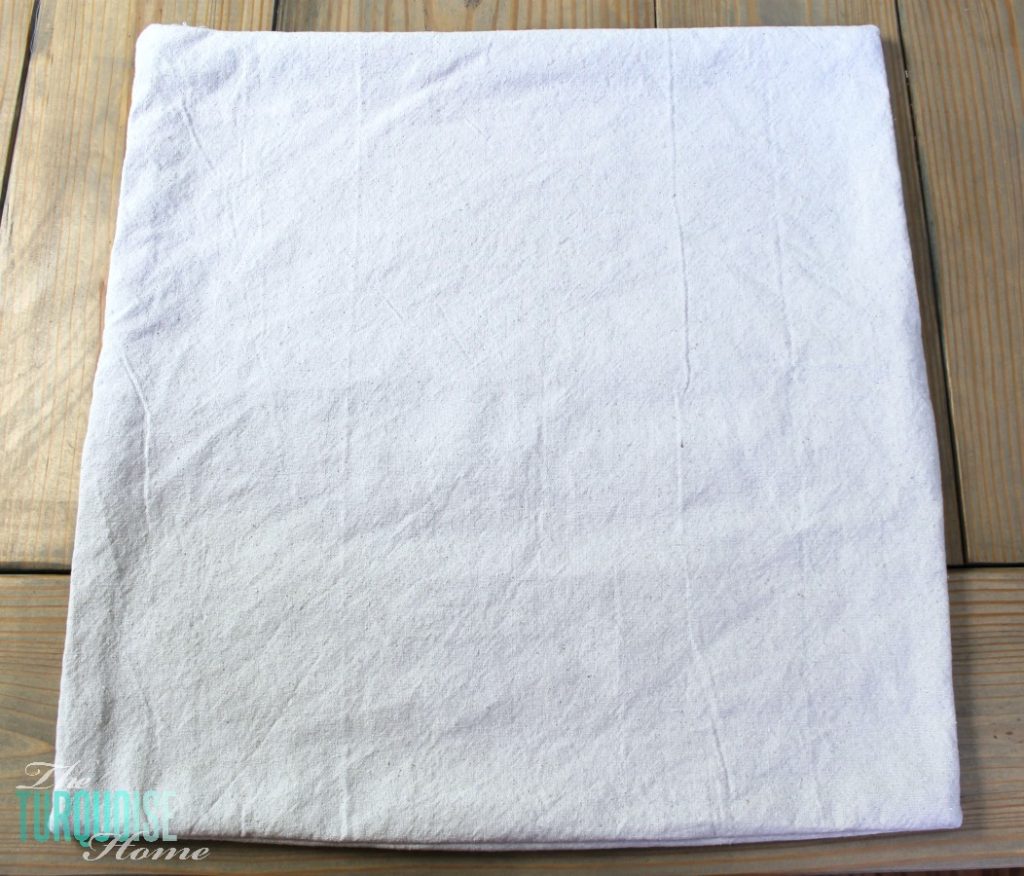
If you need a tutorial on how to make an easy pillow cover, I wrote a tutorial HERE.
I used my Silhouette and contact paper again to create the stencil. You can read about how to create stencils with contact paper HERE. This time using a script word to stencil was much easier than when I used it on my pallet signs, because I learned how to weld with my Silhouette. Basically it cut the one word as one piece instead of each individual letter. World officially rocked!
I inserted a piece of cardboard into the pillow before I painted to keep the paint from seeping through to the back of the pillow.

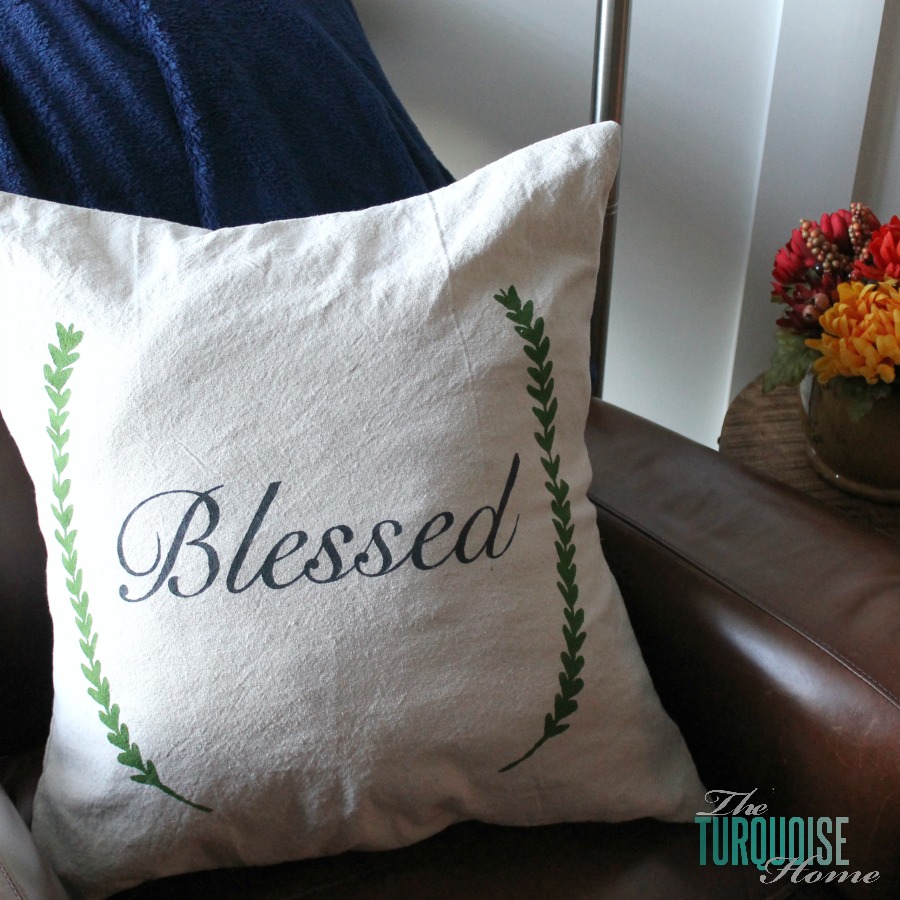
I used the same font for “Blessed” as I used on my pallet signs: Chopin Script. And I super love the laurels that you see floating around on Pinterest and other places in chalkboard art. So, I found this digital file on etsy and converted the .png file to a cut file. I used this tutorial to show me how to convert it. I loved learning how to do that! It gives me so many options!!
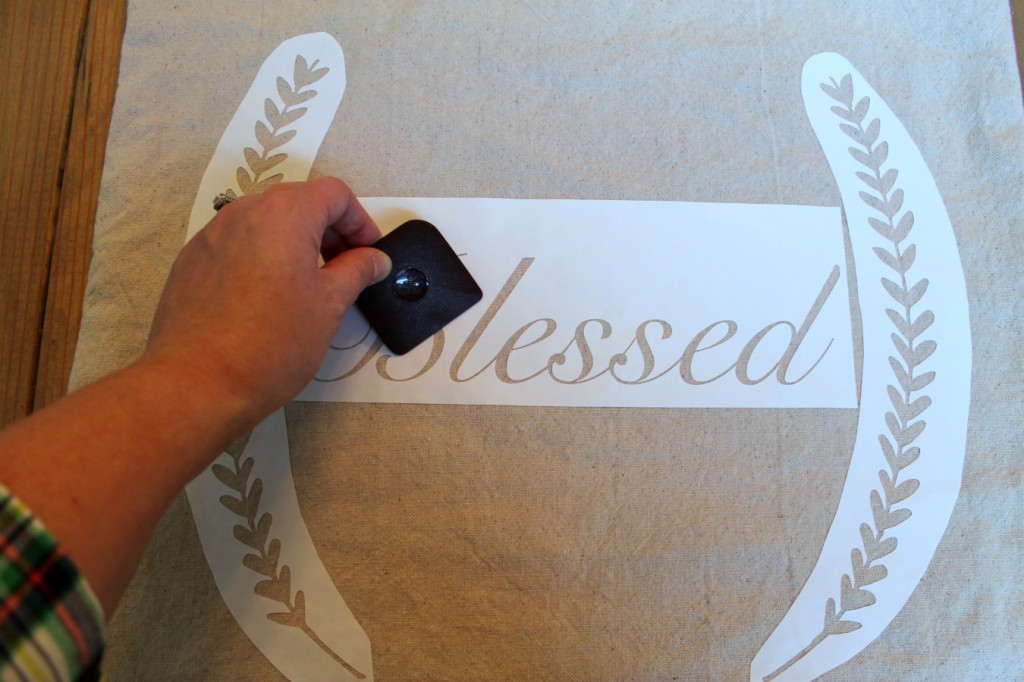
Once I had the stencils made, I placed them on the pillow, pulled the designs out and started stenciling. I did use my Pampered Chef food scraper to press down the contact paper stencil before painting. It really helps to seal it down and not let the paint get underneath.
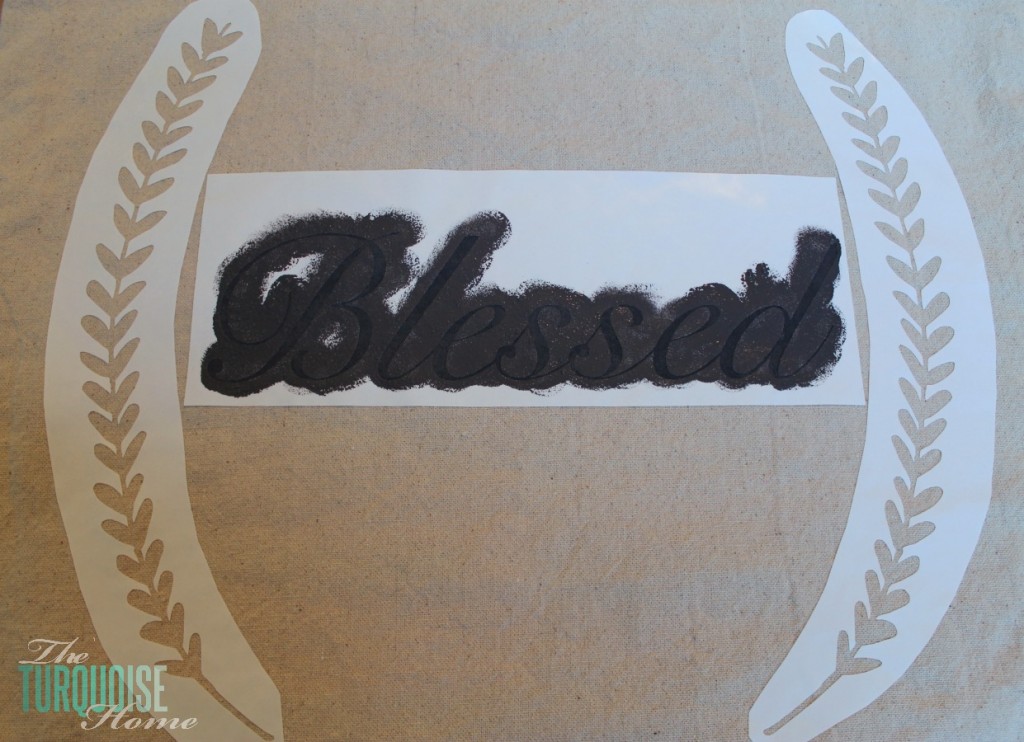
So, I didn’t just take my paint brush and start swiping the pillow, I used a little foam stenciling brush and dabbed the paint on in an up and down motion. You’ll want to be sure and use just enough paint to color the fabric. Too much paint and you’ll push it under the stencil and not get crisp lines.
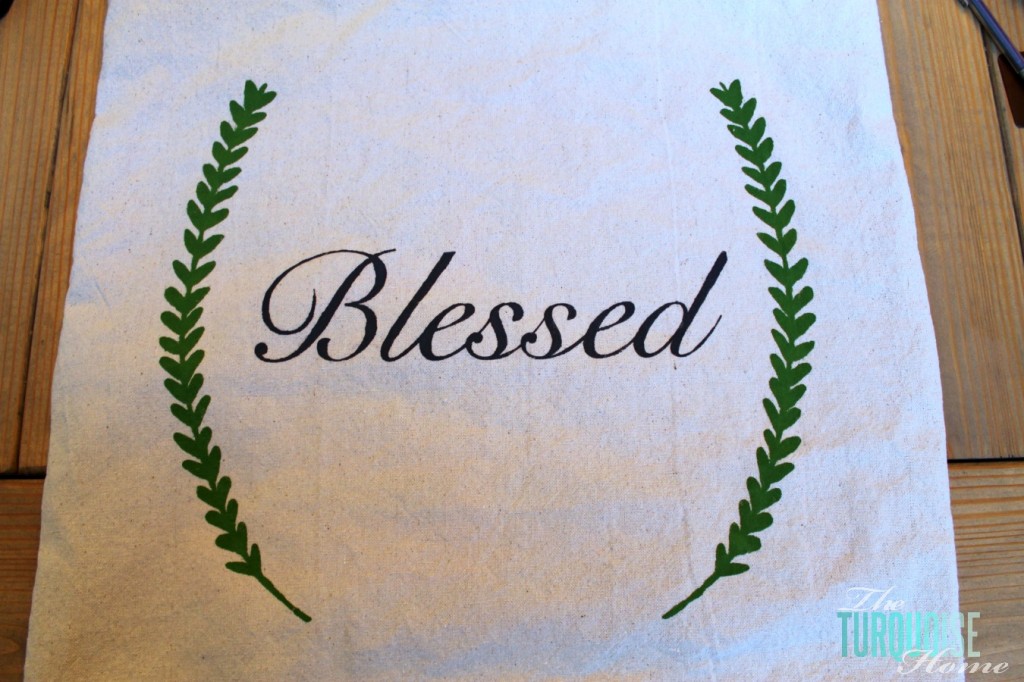
Once I finished painting, I pulled the stencils up and admired my work. 🙂 I loved it! It was so simple and free {to me} because I just used items I had on hand. Nothing better!

this contact form downoad anydesk
hop over to here https://crypto-mining.club/en/mining/siacoin-go-pool-miner-gpu-miner-for-siacoin-sc/
What kind of paint did you use
I love your blog and I am your newest follower. Just beautiful blessed pillow. I am going to try and make it. Glad that God crossed our paths my new friend. xoxox Happy Holiday Season to you and your family .
Yay! So glad our paths crossed too! I know you’ll love it. It’s one of my favorite projects of all time!
Great project !!
I would love you to come and share @ Craft, Create & Inspire linky party !!!
Look forward to seeing you there 🙂
http://lemonpaperdesigns.blogspot.co.uk/2013/11/craft-create-inspire-linky-party-8.html
Claire x
I love this idea! Very nice!
This is such a pretty pillow cover and easy to make! Thanks for the tutorial. I pinned you, followed you, and liked you! 🙂
There are like 5 amazing tutorials rolled into one here! I love this project, thank you so much for sharing at Redoux!
So simple and pretty!
Love the pillow! THANKS for linking up!
Hi Laura, just saw that you posted this on “The Silhouette Challenge” and had to stop by and tell you how cute it is. I haven’t attempted a craft like this with my Silhouette yet. Maybe I might consider making one after this great tutorial you wrote!! And, by the way you have a great site, I’ll for sure be following you!
Thank you, Courtney! Welcome to The Turquoise Home. 🙂
Love the Pillow! And the tutorials, Thank you for those !!
Quick questio…you say we can run the contact paper through the Silhouette without the mat…I thought it was too thin to do that. Or maaybe I am using the wrong contact paper….It sure does open up some more options that way. And then just don’t weed beofre applying to the drop cloth? Sorry..just want to be sure I understand better before getting in knee deep…LOL
hanks again for the tutorials and sharing that lovely pillow!
Hi Bev, I run contact paper through the Silhouette by itself all the time. I bought this kind at Lowe’s and it’s white. Made by Duck brand. I just have to set my blade at 2 to cut the top sticky layer, but not cut through the whole thing. I just did some thing morning and it worked great. And yes, I carefully pull the contact paper from the backing very carefully to keep the letters or designs from separating. And then I weed it once it’s on the pillow or whatever I’m making. I find it easier this way. And I’m so new to Silhouetting that I just learned the term “weed.” 🙂
This is just lovely! I need a silhouette sooooo bad. 🙂
These are wonderful! We found you at the Moonlight and Mason Jar Linkup.
Beautifully done! Simply lovely! I’d love for you to share it at my weekly link party! Hope to see you there!
I just LOVE this. I need to get a Silhouette, and some drop cloths. Thanks for the inspiration!
This is so pretty! I love that you used drop cloth to make the pillowcase. I ‘d love for you to link this up to our All Things Thursday Blog Hop that goes live at 8pm central tonight. Hope to see you there!
Blessings,
Nici
This turned out great! I love it! I have some dropcloth here and don’t know why I never think to stencil it.
I love the simple elegance of this, and I have serious Silhouette envy, I keep seeing all these beautiful projects made using them – humm Christmas is coming…
I love the pillow. You did a great job with the stencil.
What a perfect reminder for the holiday season! Great job, Laura!
Love this! Is a Silhouette used for cutting or printing out stencils? Oh no, I think I may need to add this to my Christmas list. Heehee!
Hi Dee! It’s a cutting machine, which cuts out any shape or pattern you can imagine from numerous materials. I love mine!!
Oh wow! Looks like I need to add this to the list!
I love the simplicity of this! Beautiful!
This corner just keeps getting better and better! Love the way this turned out!
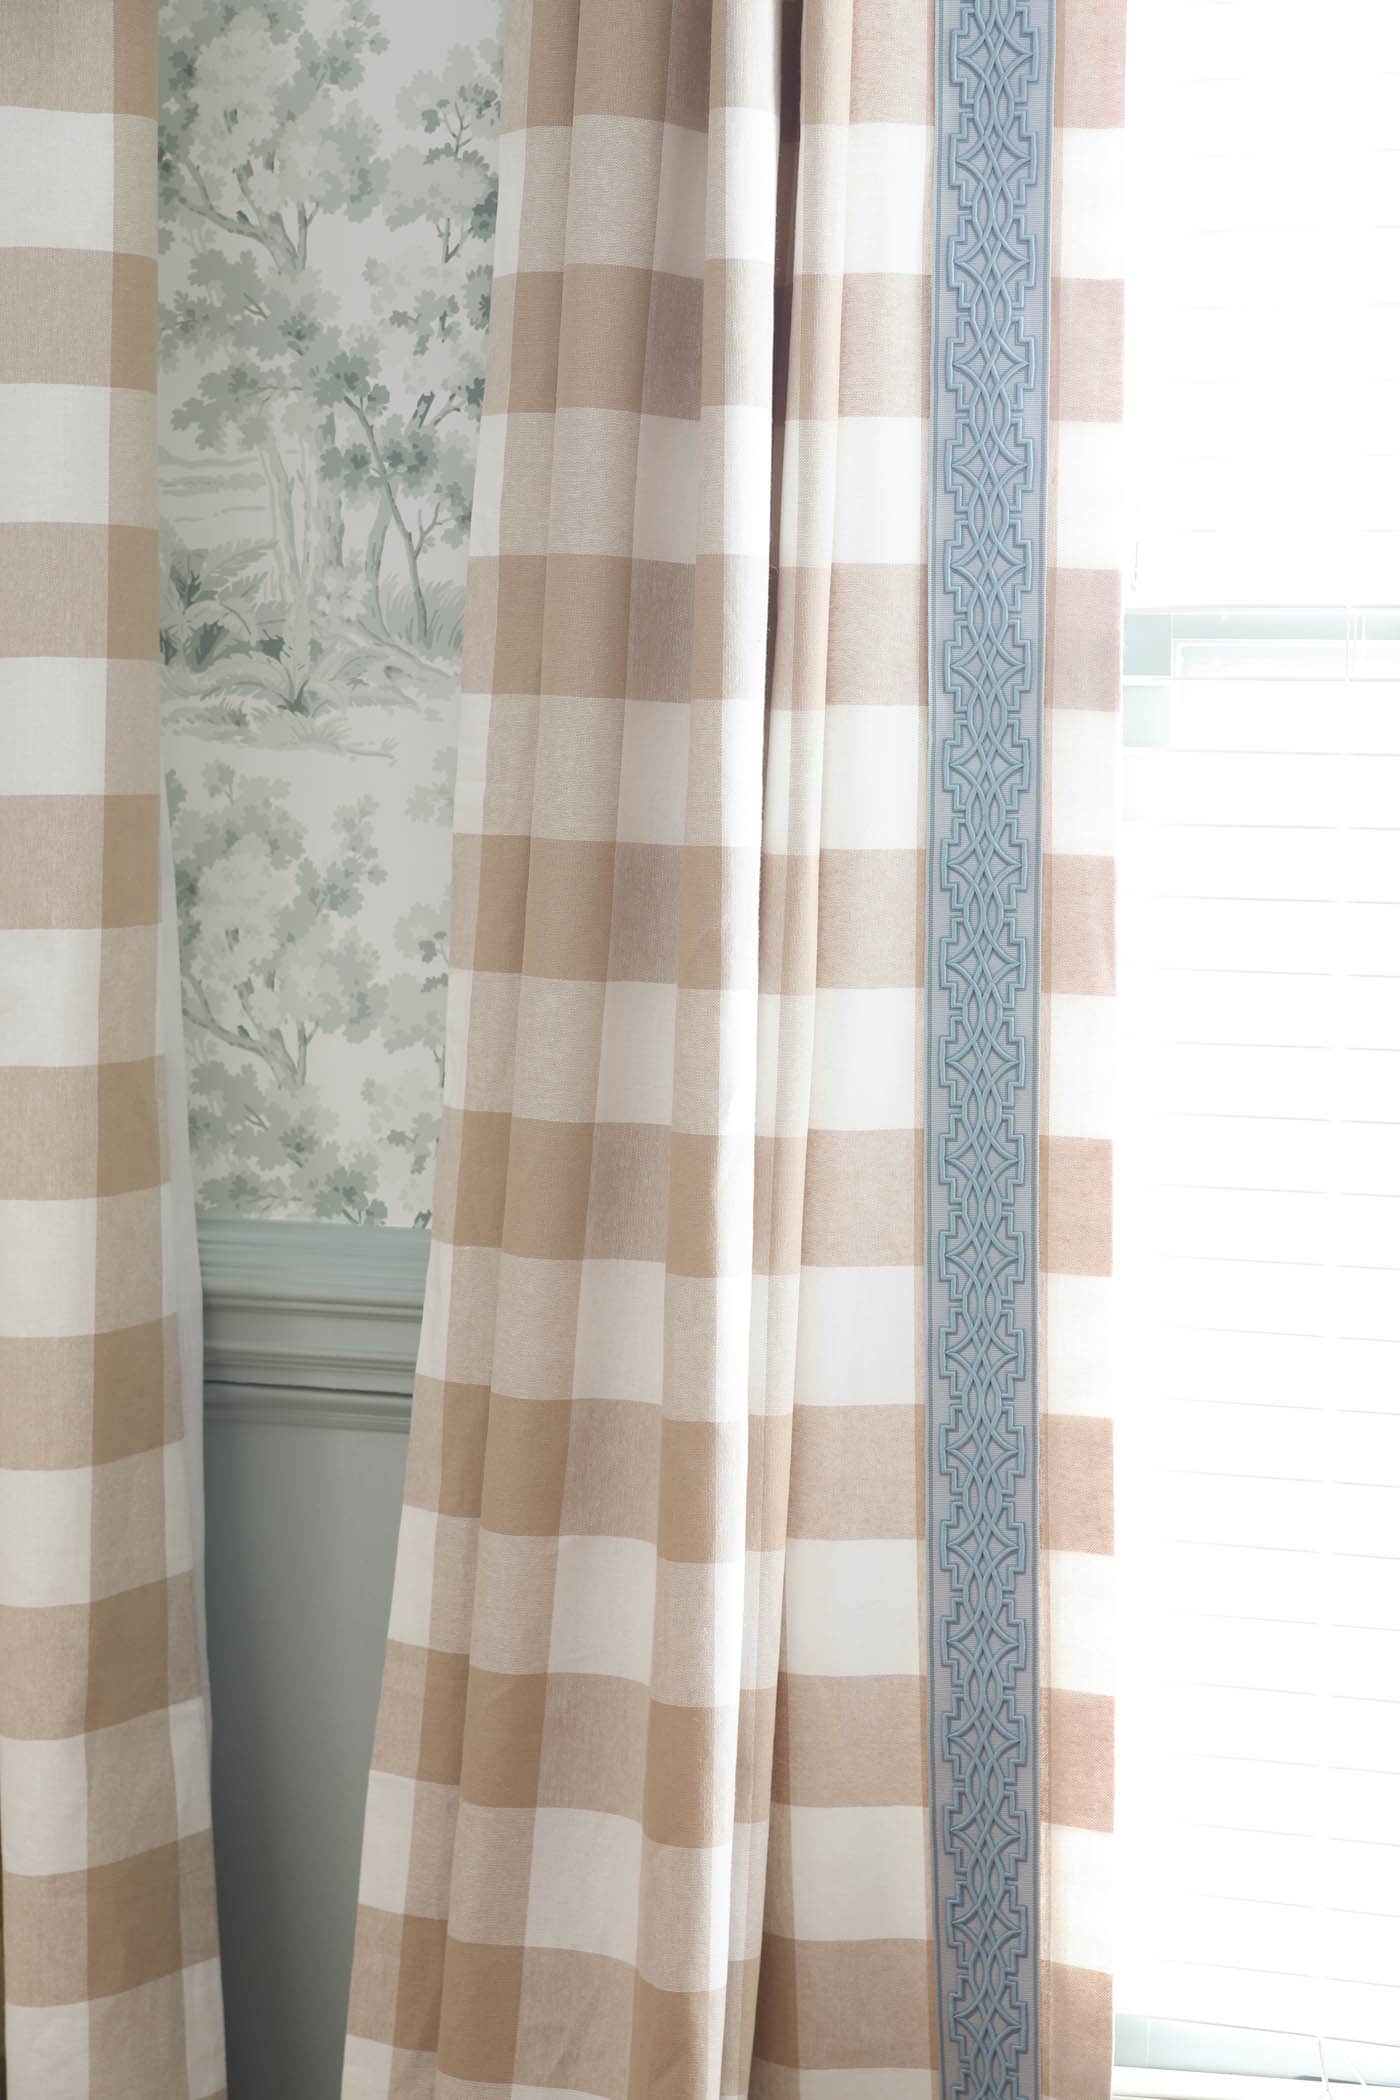
I love this pillow and I adore those curtains in the background! 🙂 You did a wonderful job!!
Thank you, Lisa!
This is gorgeous! I love myself a good dropcloth pillow or anything! I’m sharing on my FB page today 😉
Hugs,
Jamie
This is so beautiful! I haven’t gotten around to making drop cloth pillows yet, but I love the idea of writing something special on them.. Perhaps I will have to do something winter-y!
You have so many great ideas for how to use drop cloths! I am already planning on making some drop cloth curtains, thanks to one of your previous posts. Thanks for sharing your ideas. Are you running out of drop cloths, yet? lol On my blog, I have been writing a lot of posts about what you can do with old DVD cases. I still have a bag full of DVD cases so I will have to come up with some more ideas.
This pillow is gorgeous! I am loving the look of that dropcloth all over your space – – totally my style, as well. And I’m really impressed by how precise your stenciling turned out with contact paper. I didn’t have such luck when using vinyl on a onesie – – I think the ribbed fabric just didn’t take to it – – but seeing how great this turned out, I might venture to try vinyl or contact paper again on sturdier fabrics. Thanks for the inspiration!
(Oh, and you should totally post this project in our Silhouette FB group! I think the gals would love to see it.)
I feel so blessed to know you, Laura! And to be inspired by you on a regular basis.
You’re so sweet, Lauren. Thanks for leaving such great comments. 🙂 You’re the comment queen, for sure! And I think it would be hard to stencil a onesie. Definitely give it another try! I’ve stenciled several fabrics and had pretty good success. So it’s definitely doable. 🙂
Love the pillow. Stenciling fabric is on my list of things to do!
love it….say did you bleach the fabric first or is that the actual color? Christine from Little Brags
I didn’t bleach it, just pulled it out of the package, washed it and that was it!
Love your pillow! I adore anything drop cloth!
Thank you, Selene!!
Shoooot… I know who you are LAURA!! Just a typo above!! Oopsie!
Haha!! Just saw this comment. I get “Lauren” a lot because people run my last name together with my first name. 🙂 Thanks for stopping by, friend! I can’t wait to see what you do with your Silhouette!!
I LOVE this pillow, Lauren!! I have got to jump on the drop cloth train!! I love the neutrality of it… but have yet to use it for a project!! What?!? I know! I love your list of blessings. Sometimes it’s nice to write them all out… it makes us really “see” what we have been blessed with! I’m getting a Silhouette soon!! Pinning this now, for when I get my machine! Woot!!