One family’s attempt at DIY Home Decor and Dramatic Before and After Makeovers that will surely inspired you to create a space YOU love!
This is the home that inspired The Turquoise Home blog! In February 2012, we closed on this foreclosed builder basic home and started dreaming of how we could DIY our personal stamp on everything. It was a blank slate in an amazing neighborhood and we couldn’t wait to get started creating a space we loved.
Back then we had just gutted and remodeled a 100-year-old, but needed a little more room. We were keeping an eye on the market when this one home caught my eye. It was in a prime neighborhood with fantastic schools, but it was staying on the market and dropping $10k every week! I had to go see what was wrong with this house and why no one was buying it!
It turned out to be the perfect-sized house for us at the perfect price. I believe a little divine intervention was saving it for us. And I have been on a mission ever since to create a cozy home that we love.
I’ve tackled so many DIY projects that have made the home our own. But I still have a ton of work left to do. I hope it inspires you to create a home that you love, too!
Living Room
The living room started out as this massive long room with high ceilings.

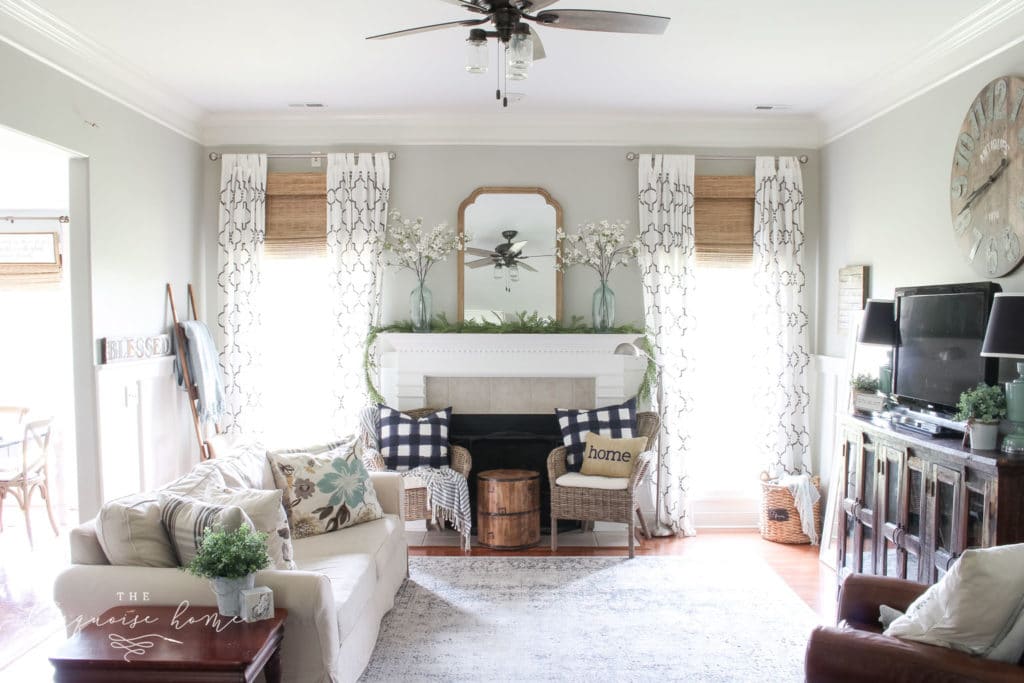
In the first few months I kept thinking that the walls needed some architecture to break up the vast amount of space. So, I added a board & batten treatment. I also stenciled some curtains (for cheap!) and hung them high to highlight the tall ceilings and give the room some height.
I painted the walls the perfect color gray and added in a bunch of decor, which I love to change out for all the seasons.
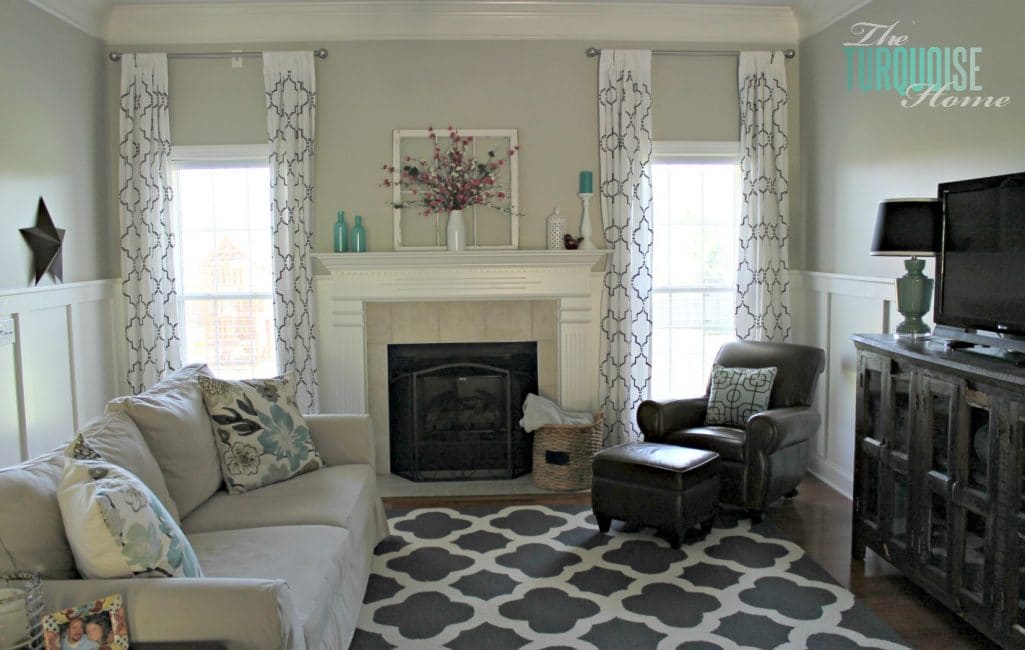
Here’s the original Living Room Makeover post that I did in 2013.
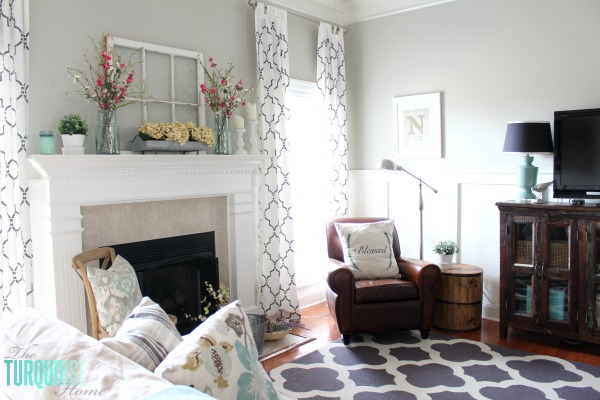
And here are the Living Room pictures from Spring 2016 …

… and the Living Room in Spring 2017 …
I made the framed initial burlap art out of some scraps I had. And the “blessed” pillow is made from a drop cloth. Sometimes I just get a wild hair and go looking through my supplies and figure out something, anything to make.


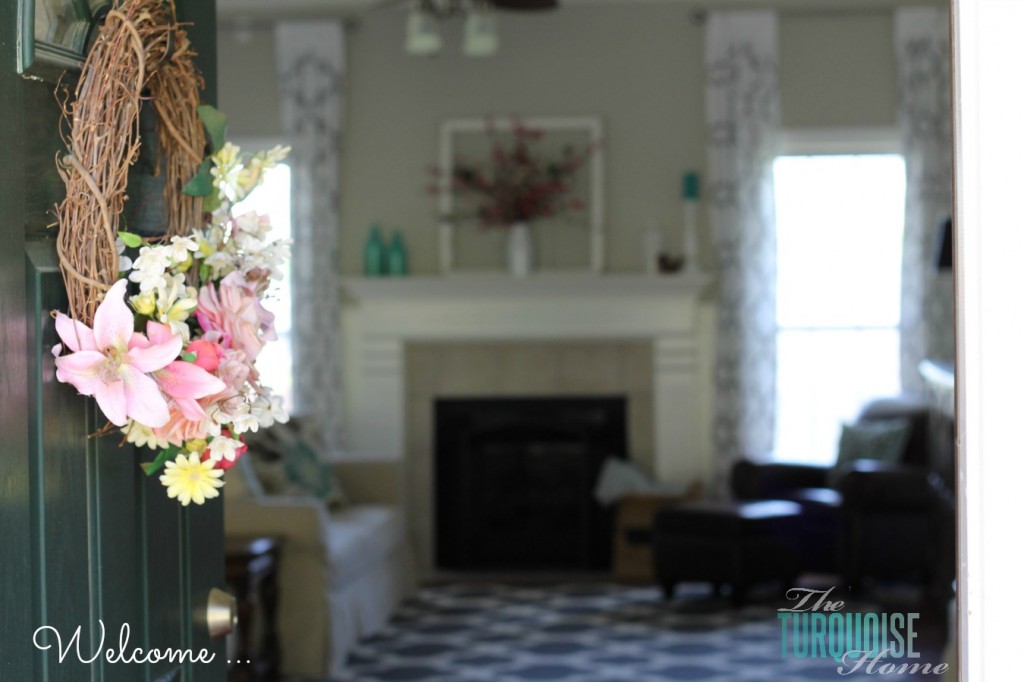
Entryway
The entry way was simply a plain, beige box when we first moved in. Really, all of the rooms could be described that way. My furniture that I brought from the old house was really too small.
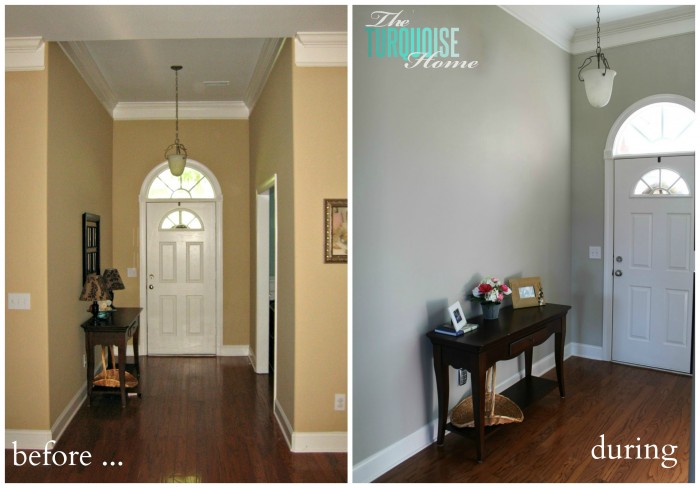
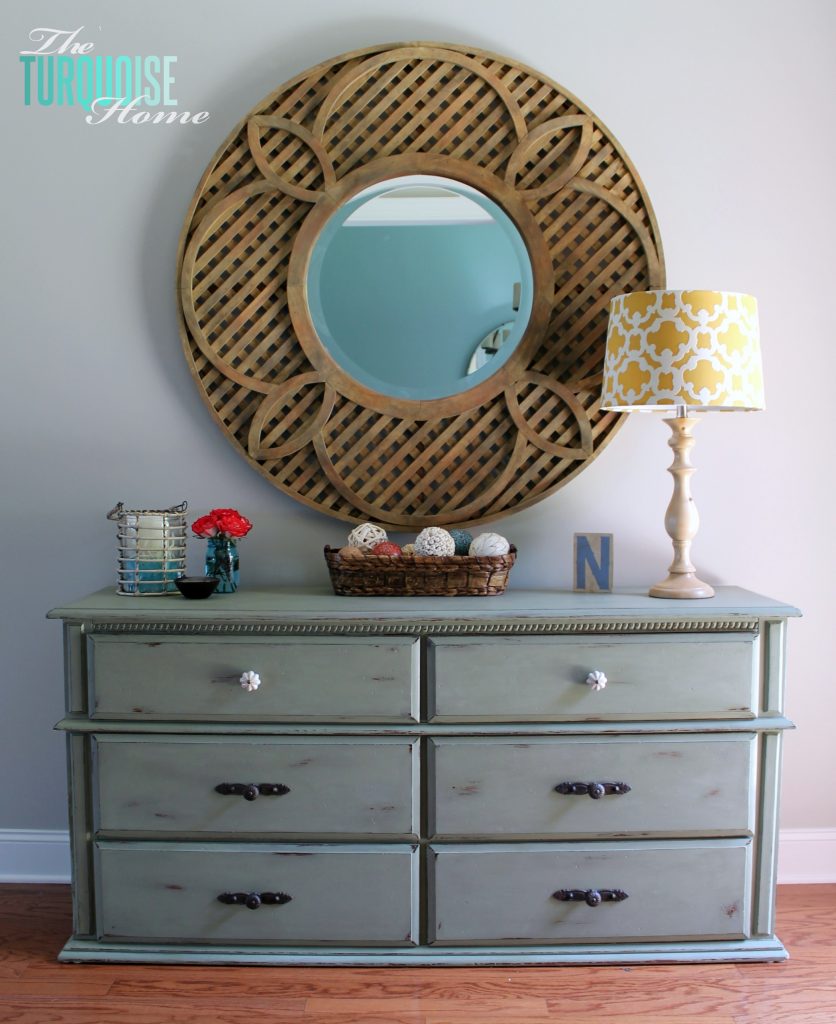
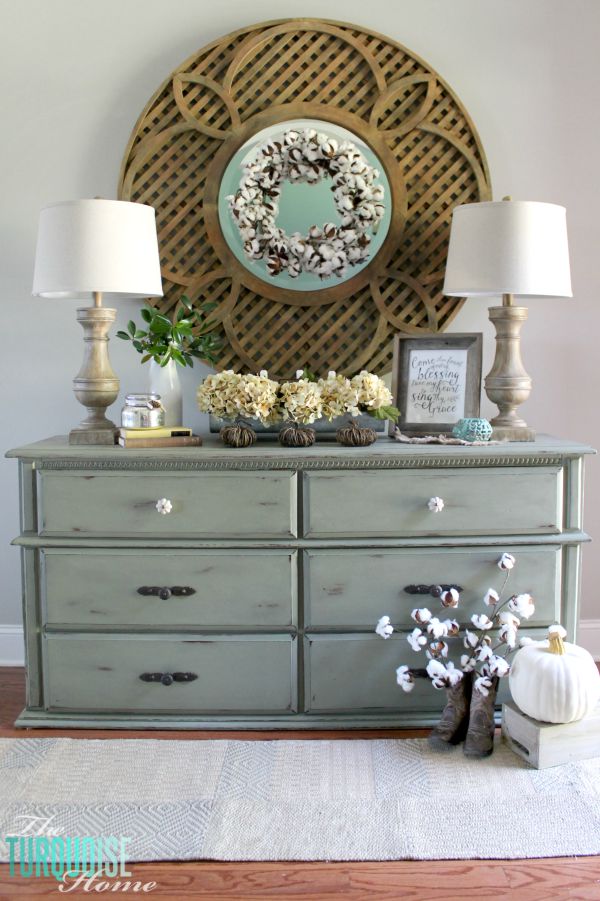
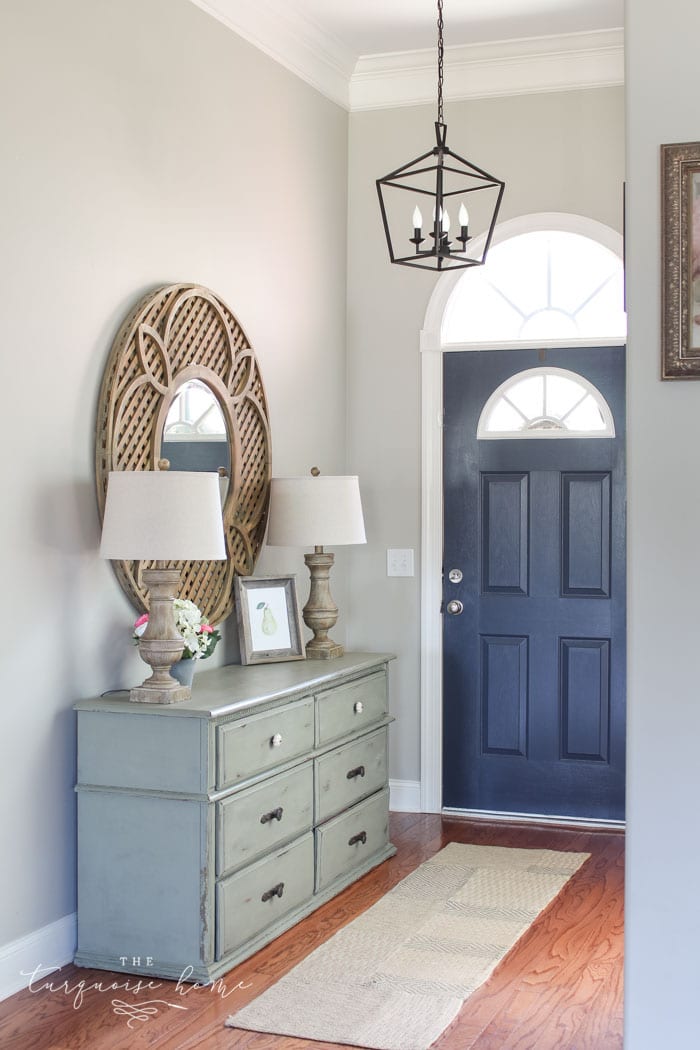
This picture below was the original “done” entry way. Today, it still has the dresser, which I painted in Annie Sloan Chalk Paint Chateau Gray and the Pottery Barn lattice mirror. But the decor has changed quite a bit!
At one point I painted the door Hale Navy by Benjamin Moore. I still love it, especially paired with my Revere Pewter gray walls!
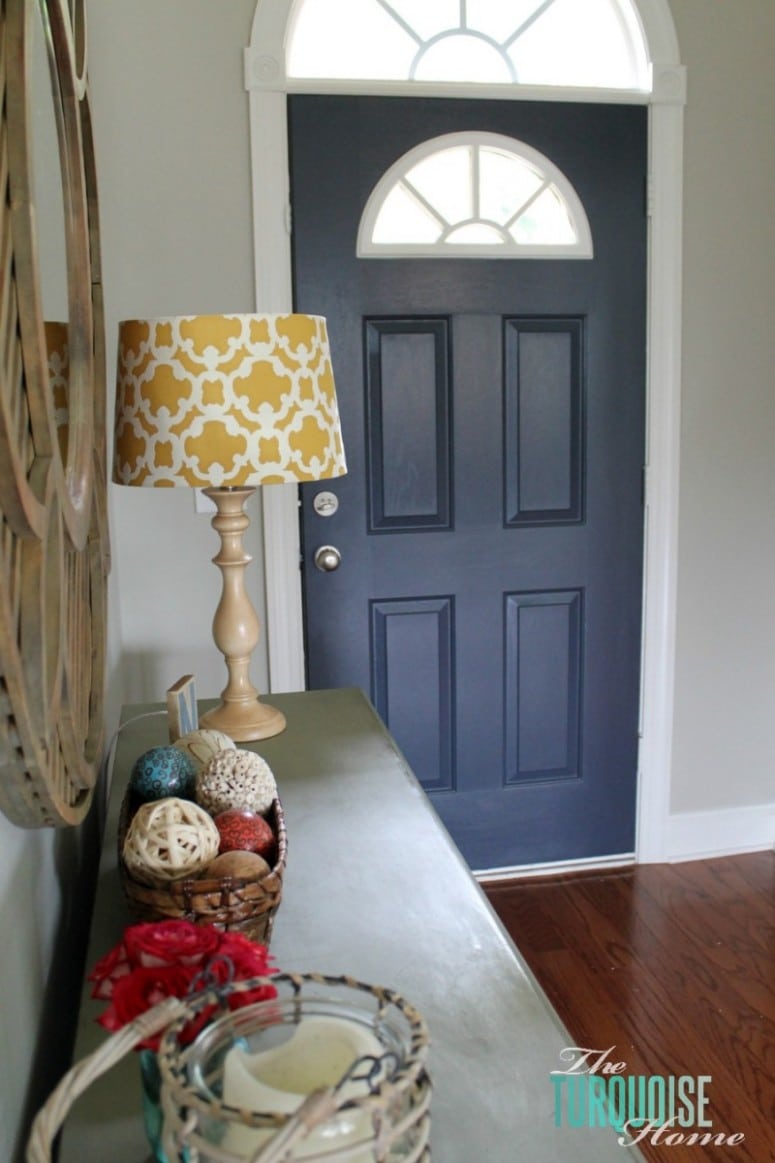
The most recent pictures of the entry way are from Fall 2015. It usually looks like a variation of this …
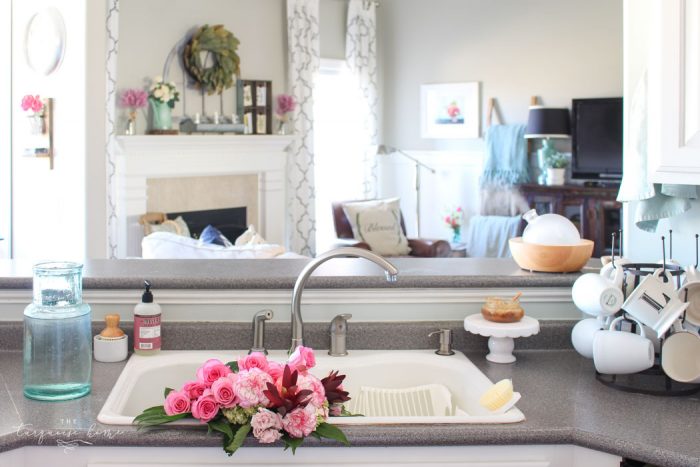
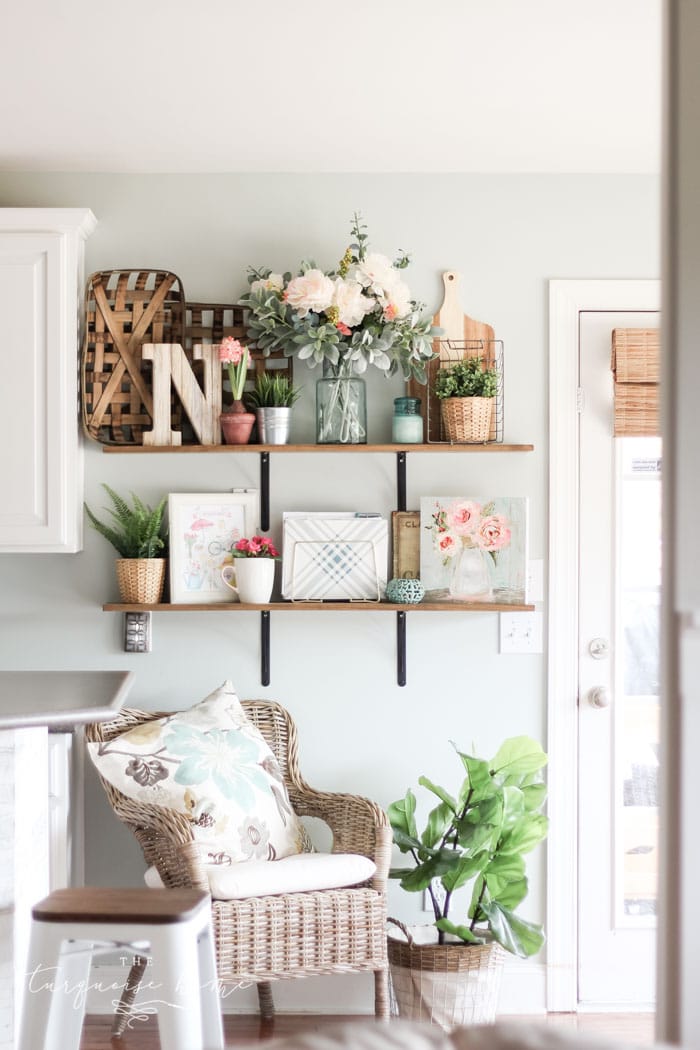
Kitchen
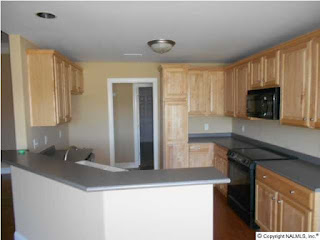
The kitchen truly is the heart of the home and I spend a lot of time in there because I cook regularly for my family. I also have two rug rats who have endless food and drink needs, but I digress.
As soon as I walked into the house the first time, I knew I would paint these cabinets white. It only took me nearly 4 years to do it!
I painted my kitchen cabinets simply white {find out how to paint them without fancy equipment HERE} and painted the walls a new, lighter color …
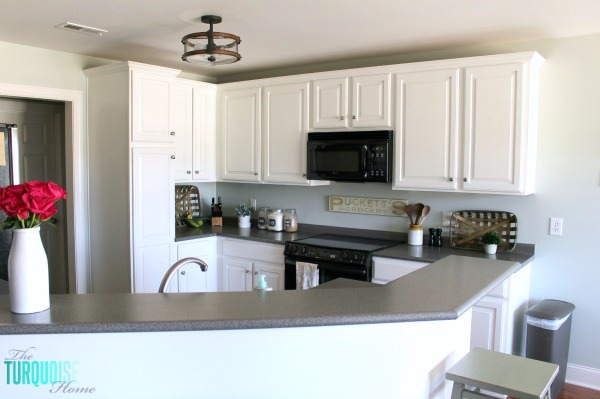
I replaced the old lighting with new, farmhouse lighting, which I love. I rounded up my favorite farmhouse lights on a budget here.
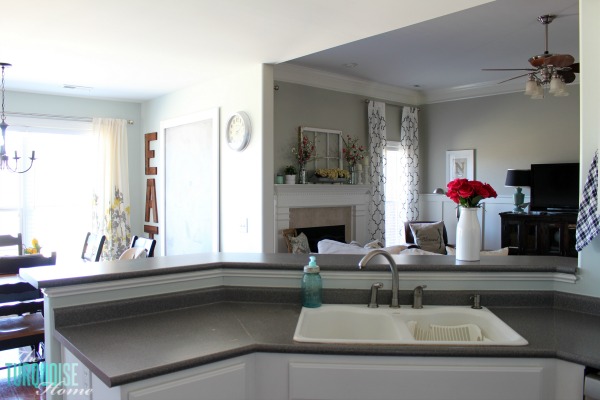
I made the oversized “EAT” sign and the huge chalkboard, too. Ahhh! It’s so much more airy and light. It feels more open!
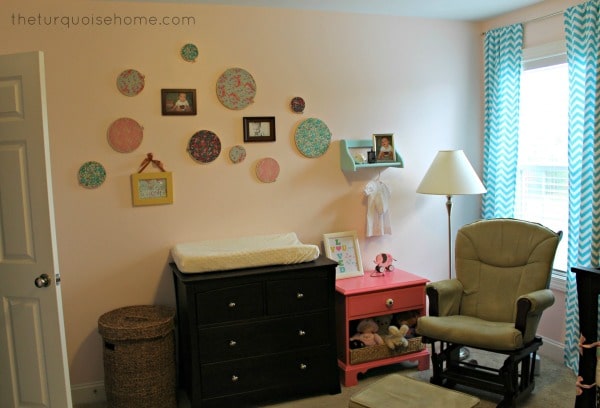
Pink & Turquoise Nursery
This nursery was my first nursery decorating adventure. It started out as a very blank canvas. We painted the walls a pretty, blush pink and decorated with bright turquoise and bright pinks, some of my favorite colors.
The before picture was just a blank beige room, so I won’t even bother you with a picture. 🙂 I made the chevron curtains, in my first attempt at DIYing window treatments. (Pardon the “old” pictures. I think these were taken on my old point and shoot camera.)
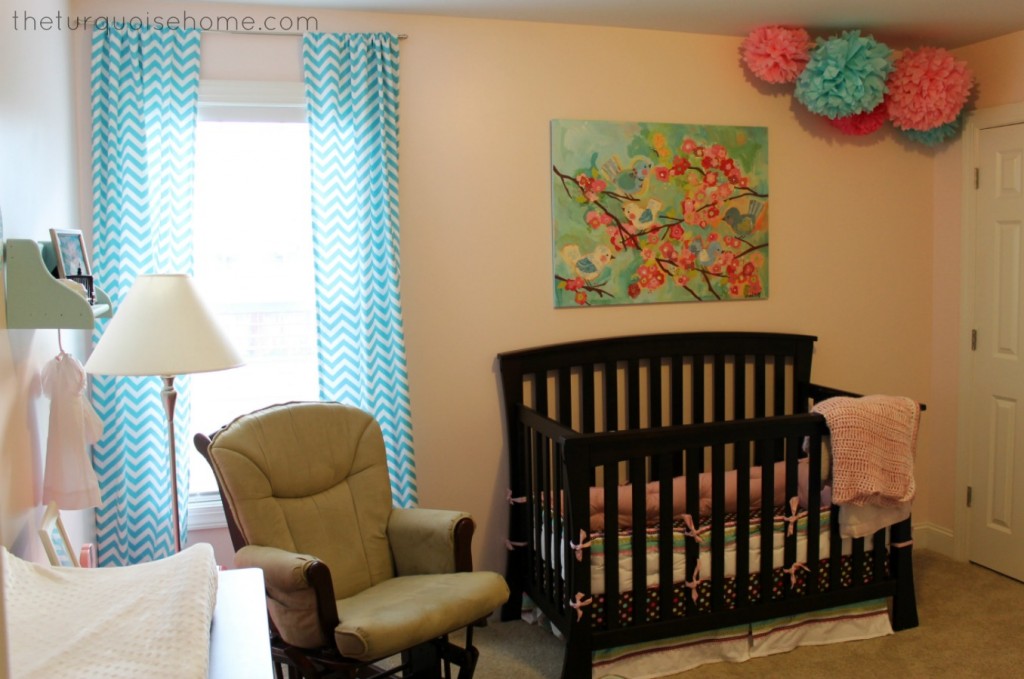
I loved, it then, but I would change so many things in there now. Of course, everyone’s style evolves over time. In a fun surprise, I had another daughter and got to decorate a whole new room for her! (see next section)
Today Miss A’s room is gold, white and pink with fun polka dots. I’m trying to convince her to get rid of the big bird picture over her bed, but she’s not parting with it anytime soon. So, until then I’ll wait to reveal the “big girl room.”
Before we moved out, I took pics of her big girl room:

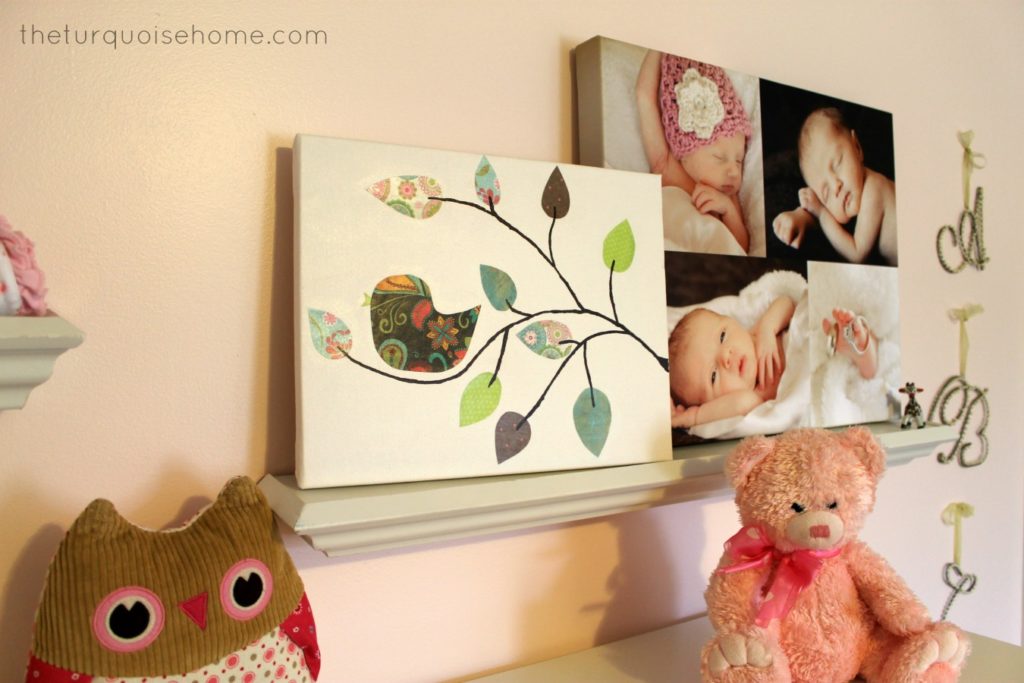
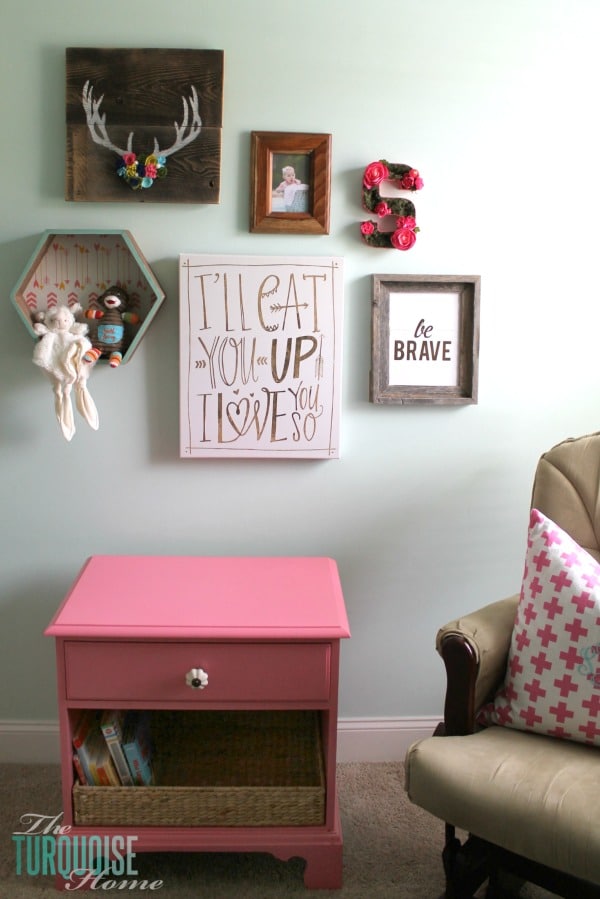
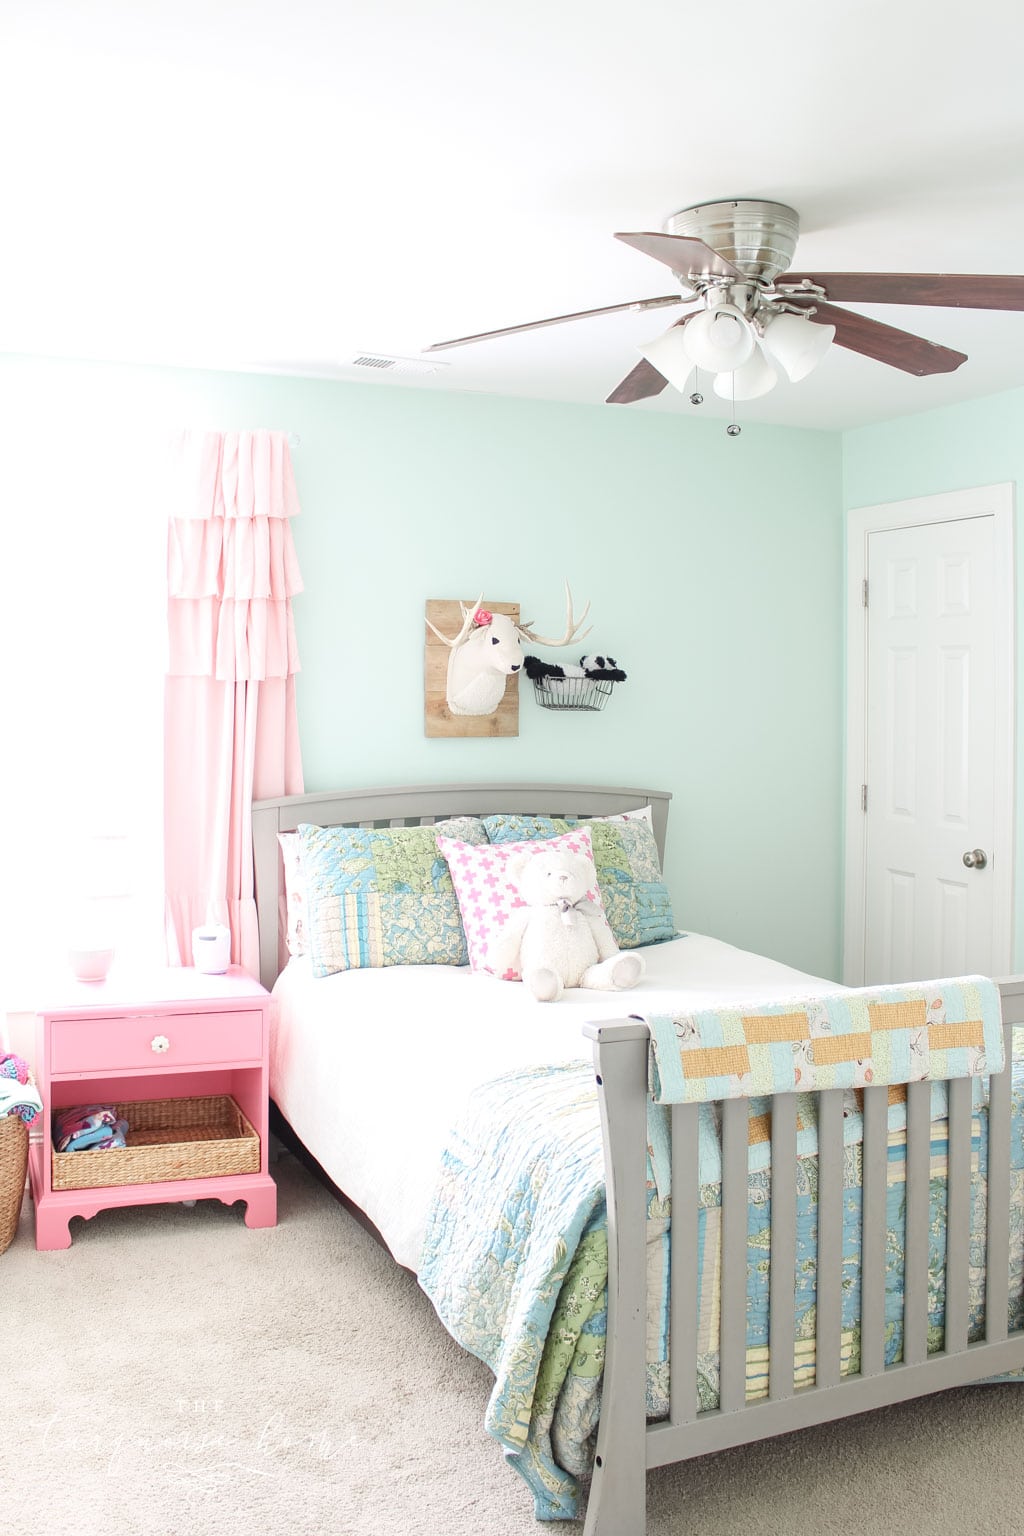
Girl’s Woodland Nursery
There are a ton of DIY projects in this room! I painted the crib and dresser passed down from my oldest daughter’s nursery. I just wasn’t digging the dark wood look anymore.
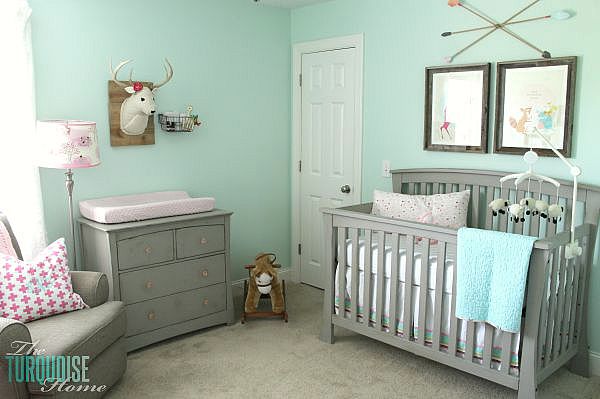
I wanted a faux taxidermy on the wall, but couldn’t find any that I loved in my price range, so I made my own! The arrow decor was also a DIY project and the prints over the bed (deer and armadillo) were the inspiration for the whole room. I covered a plain lamp shade in some cute, coordinating fabric for a quick and cheap spruce up!
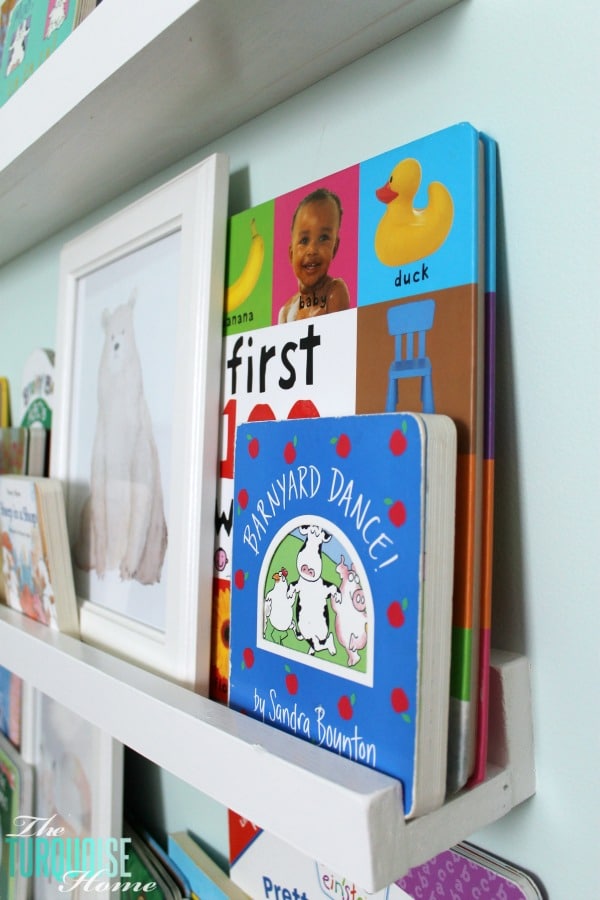
I made the sweet bookshelf ledges for $10/each and my baby is now 16 months old and LOVES to read. I owe it to the bookshelves where she can pick and choose which book she wants to read. It’s one of my favorite DIY projects in the room.
I also made a cute floral initial art that is on a gallery wall. Check out the room reveal for all of the links to the decor and DIY projects!
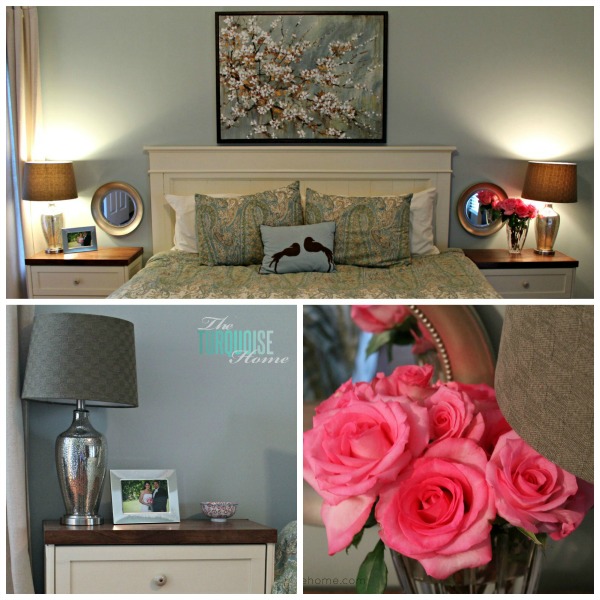
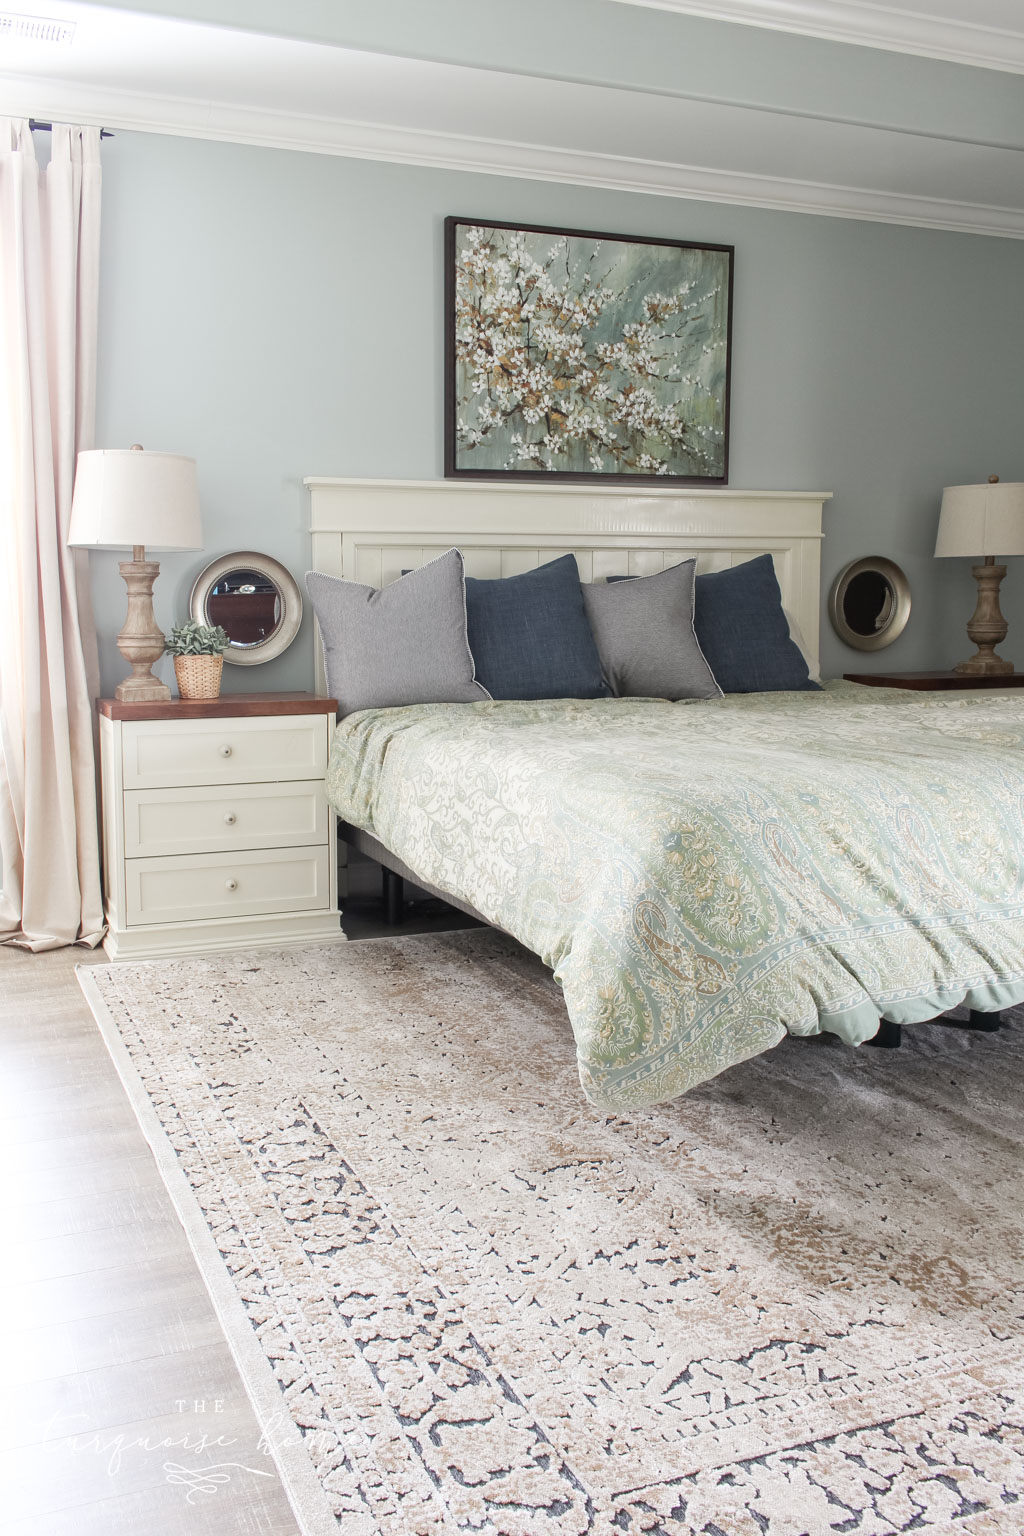
Master Bedroom
Our bedroom was the recipient of my very first DIY project – my night stand IKEA hacks. And then my second DIY project was the farmhouse headboard. It still looks just like this, but I have hopes to transform the rest of the room either by the end of this year, or next year! We’re coming for you master bedroom!
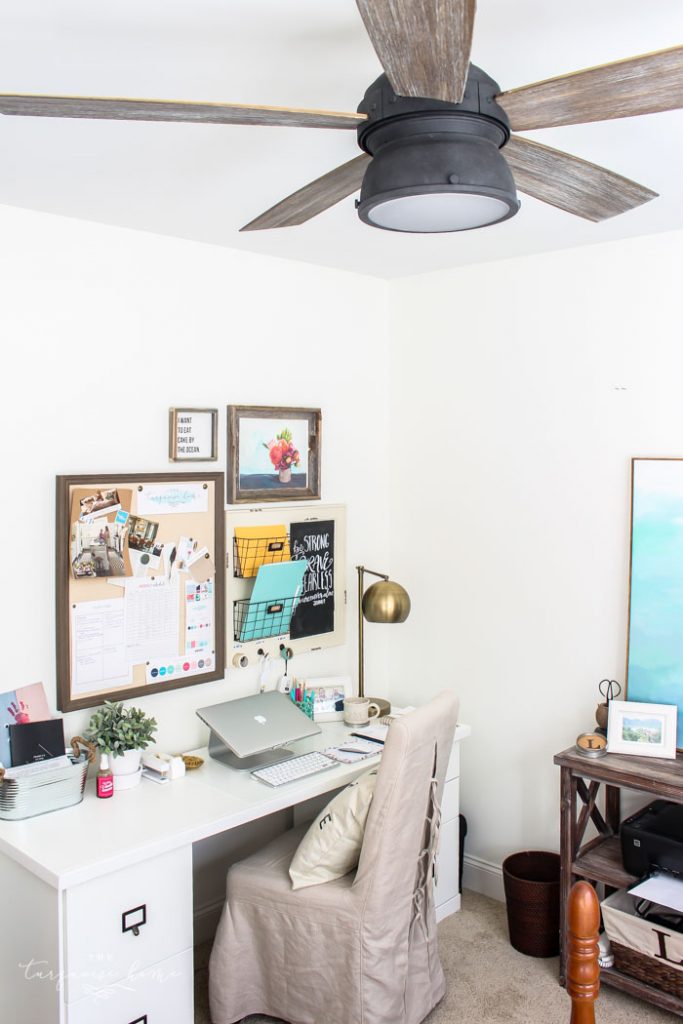
Guest Bedroom/Office
My office has taken many forms over the past four years as I’ve worked from home. I’ve had an office in the dining room and the living room, but as my family needs have changed I am now keeping office hours in a corner of the guest bedroom.
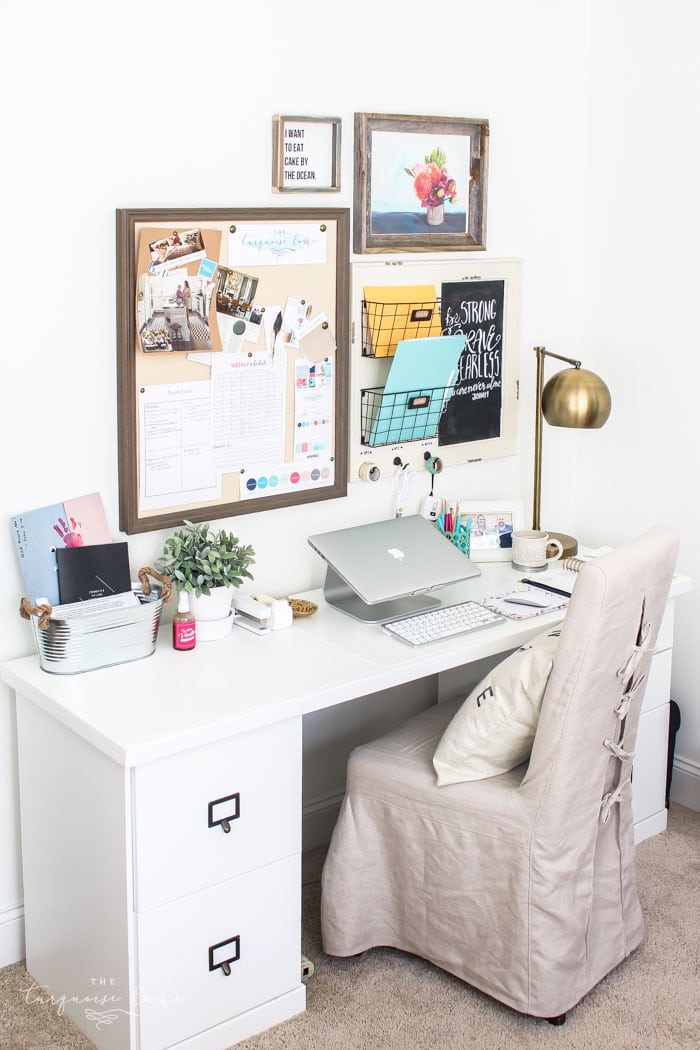
So I am tackling the guest bedroom/office combo and have created a plan for my vision to come together. I recently painted the room Simply White (Benjamin Moore) and set up my office corner. I have a few more projects to tackle before the room is complete – for now!
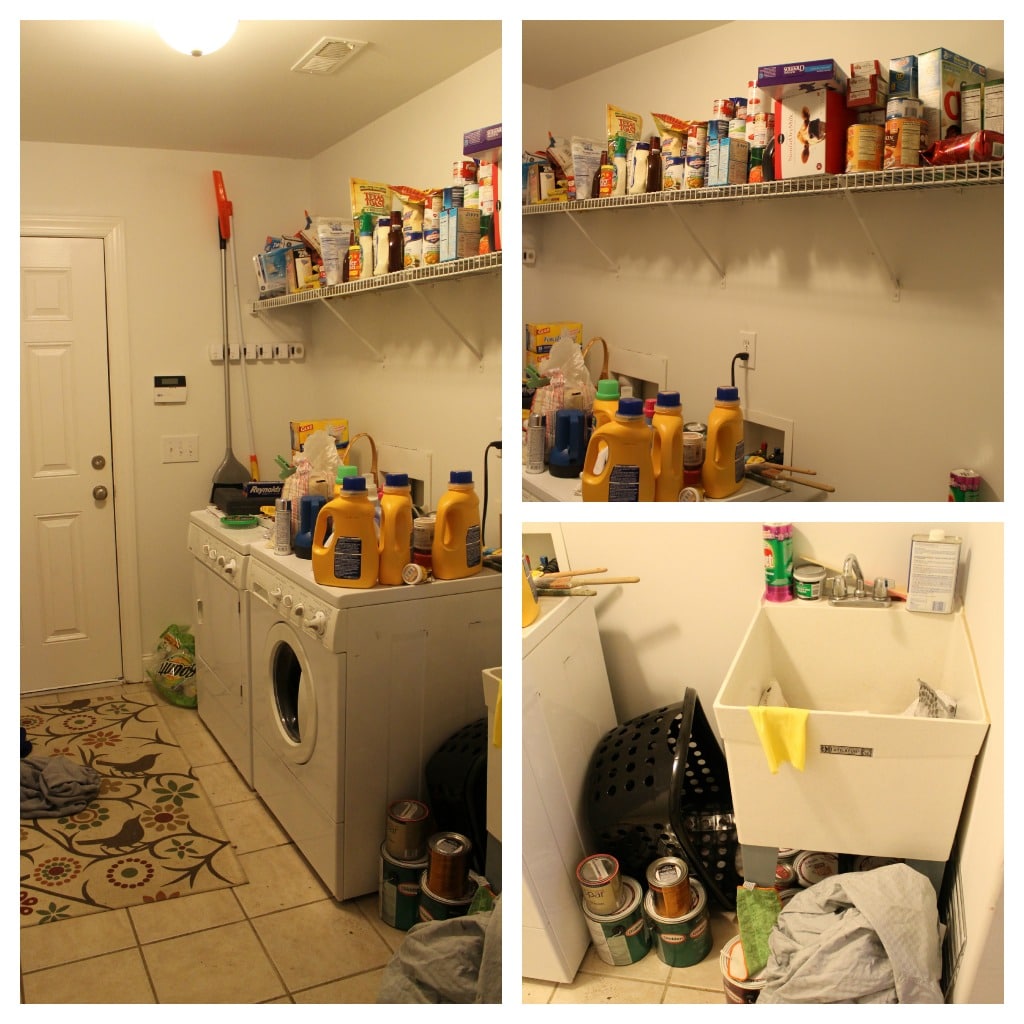
The Laundry Room
Y’all! Whenever I think of my laundry room, a wave of shame washes over me. Ha! Well, not really, but I think every year that I’ll put the last touches on it and share it here on the blog. Here’s how it looked shortly after we moved it. Terrible!!
I have made MANY improvements to this room, but I have struggled with the last few touches. I actually made a DIY chandelier for this room and hated it. So, I have to find the motivation to make another one, or the money to buy one.
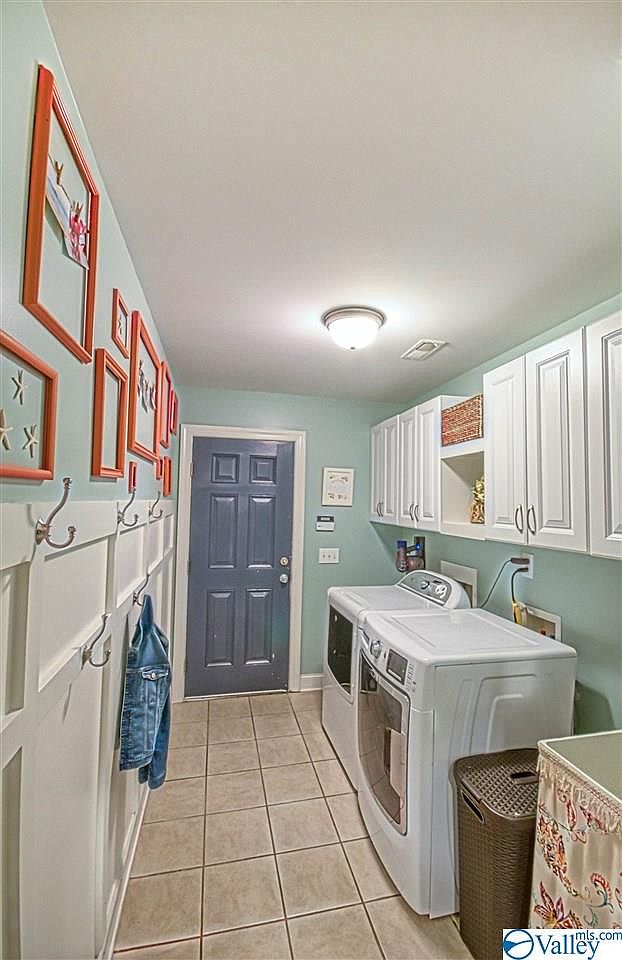
I never did buy a new light fixture for this room, but I think it turned out pretty cute! This is how the laundry room looked when we moved out of that house. So, it came a long way from the beginning! I’m pretty proud of that little room.
Master Bathroom
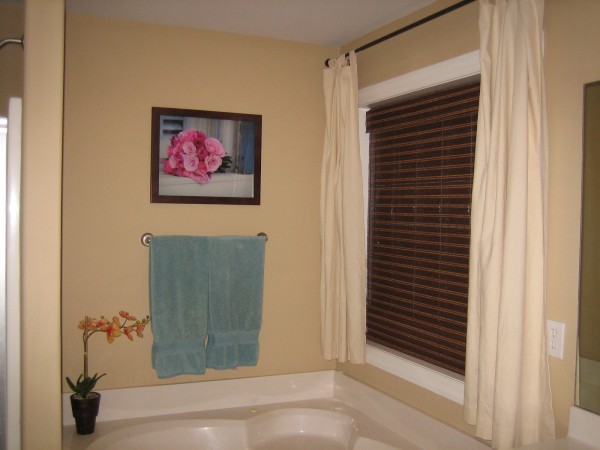
I have made MANY improvements to this room, but I have struggled with the last few touches. I actually made a DIY chandelier for this room and hated it. So, I have to find the motivation to make another one, or the money to buy one. Agh!! I *hope* to have this one revealed this year… maybe! Just maybe!
I have made MANY improvements to this room, but I have struggled with the last few touches. I actually made a DIY chandelier for this room and hated it. So, I have to find the motivation to make another one, or the money to buy one. Agh!! I *hope* to have this one revealed this year… maybe! Just maybe!
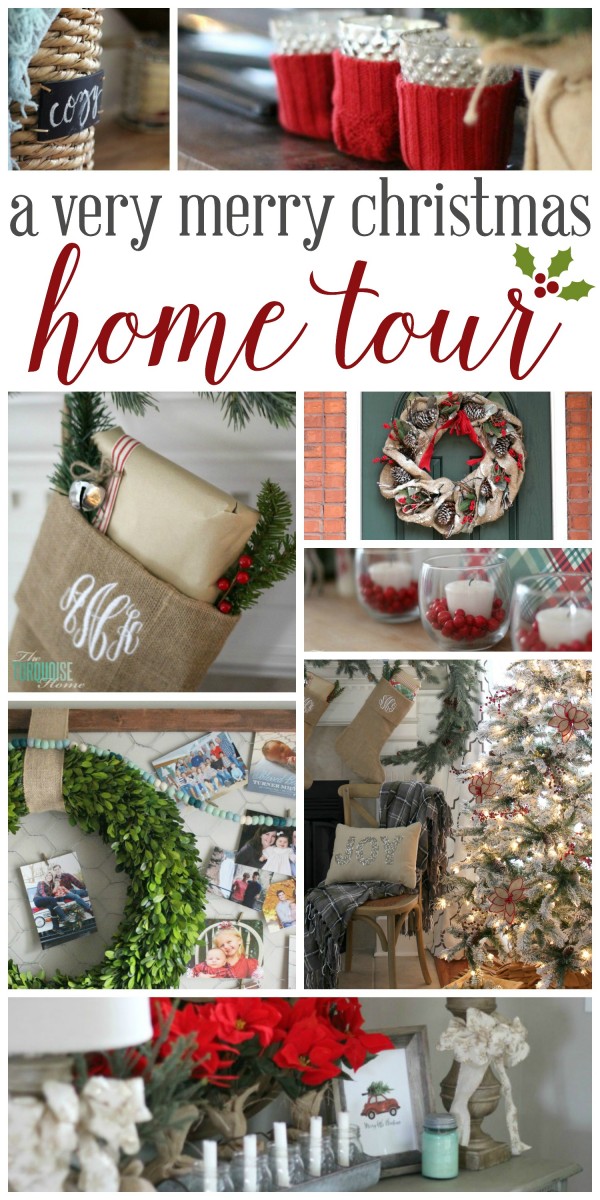
And just for fun, you can see how I decorated for Christmas last year …
Christmas Home Tour
I hope you enjoyed the little tour of my home! As I finish projects and complete new rooms, I will add them to the tour!
Have a wonderful day!
Laura
Updated: May 2020 – We moved out of this house in late 2019.