DIY Ironing Board Hanger
This easy DIY ironing board hanger tutorial will show you how to create your own custom ironing board hanger. It’s the perfect way to make your laundry room cute without losing function!
After this week, y’all are going to think that I am never going to post about anything but my Silhouette, paint and contact paper. And you might be right today and tomorrow. 🙂 I think I’m just so happy to have an easy solution for stenciling. And maybe someday soon I’ll branch out with my Silhouette and use a different medium on a different kind of project.
But for now I’m just getting my feet wet and getting started, so contact paper and paint it is!
You may have forgotten that I’ve been working on my laundry room. Oh for almost a whole year. It’s hands-down the most frequently asked question I get from my friends. “Have you finished your laundry room, yet?”
Nope, not yet.
I still have to make a couple of things. You see, it’s been on the back burner for other things like summertime, Haven, fall and now the holidays.
But I did finally finish a project I’ve been wanting to do since, oh say, January. I have had the materials on hand and ready to go forever. Just haven’t taken the time to finish it.
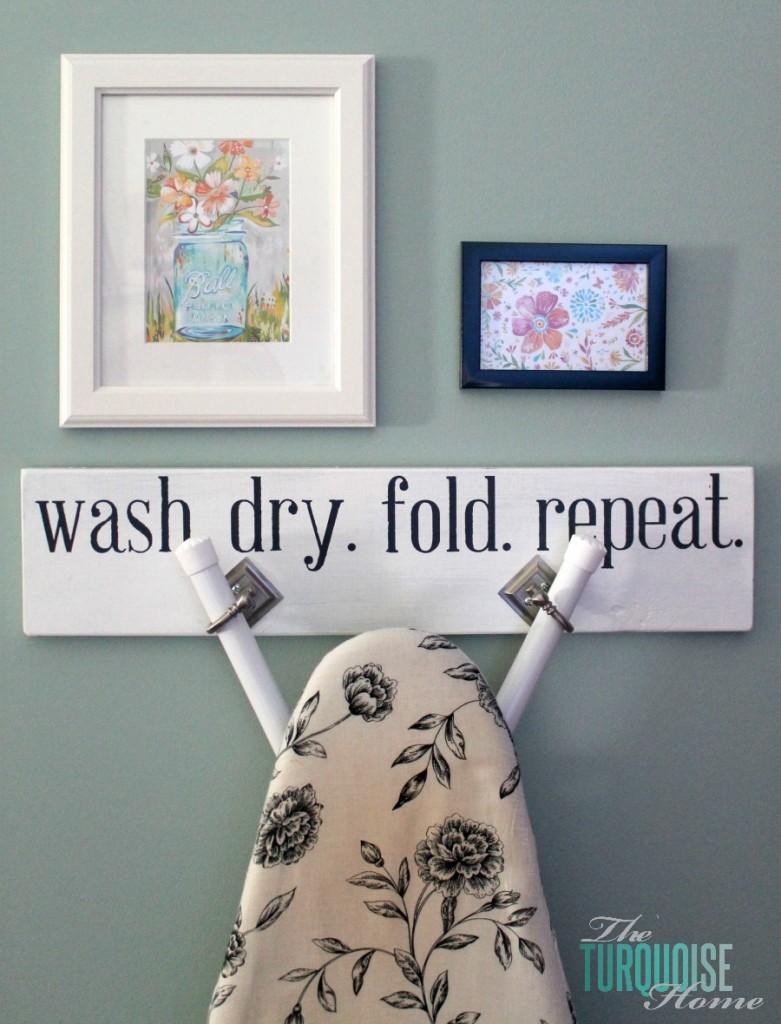
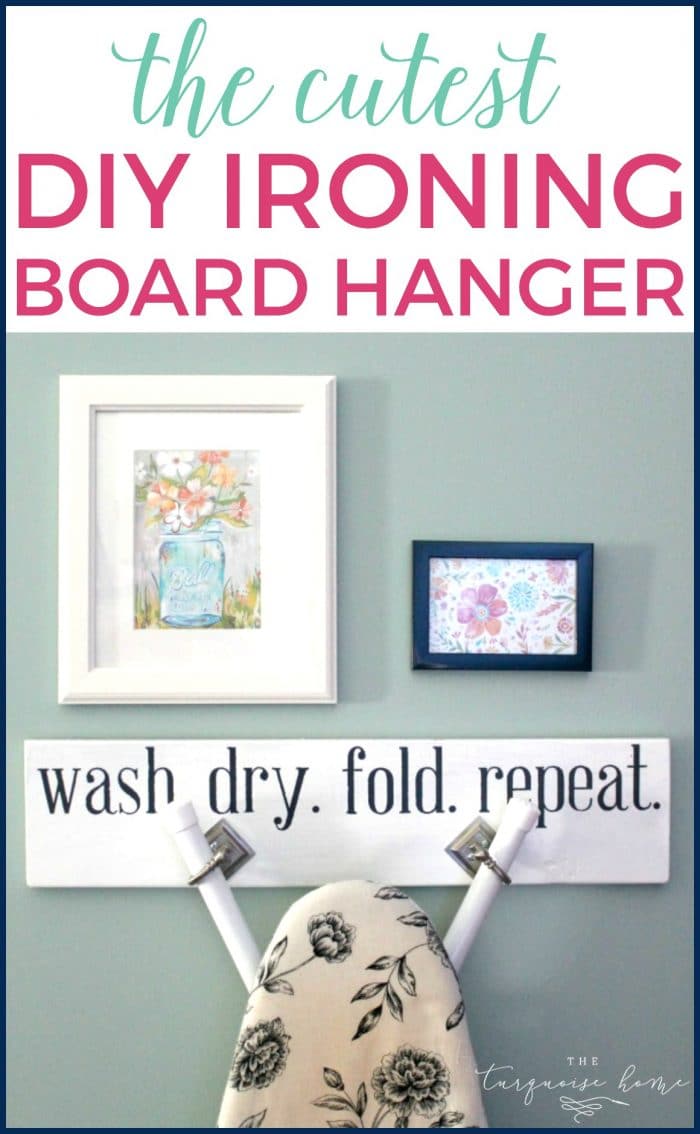
I made this ironing board hanger that you may have seen floating around the Interweb already. {I was originally inspired by this hanger from The House of Smiths.} I thought it was the perfect way to hang up my ironing board in a fun and pretty way.
What you’ll need:
1. Silhouette {I have a cameo.}
2. Contact paper
3. Paint
4. Board
5. Hooks
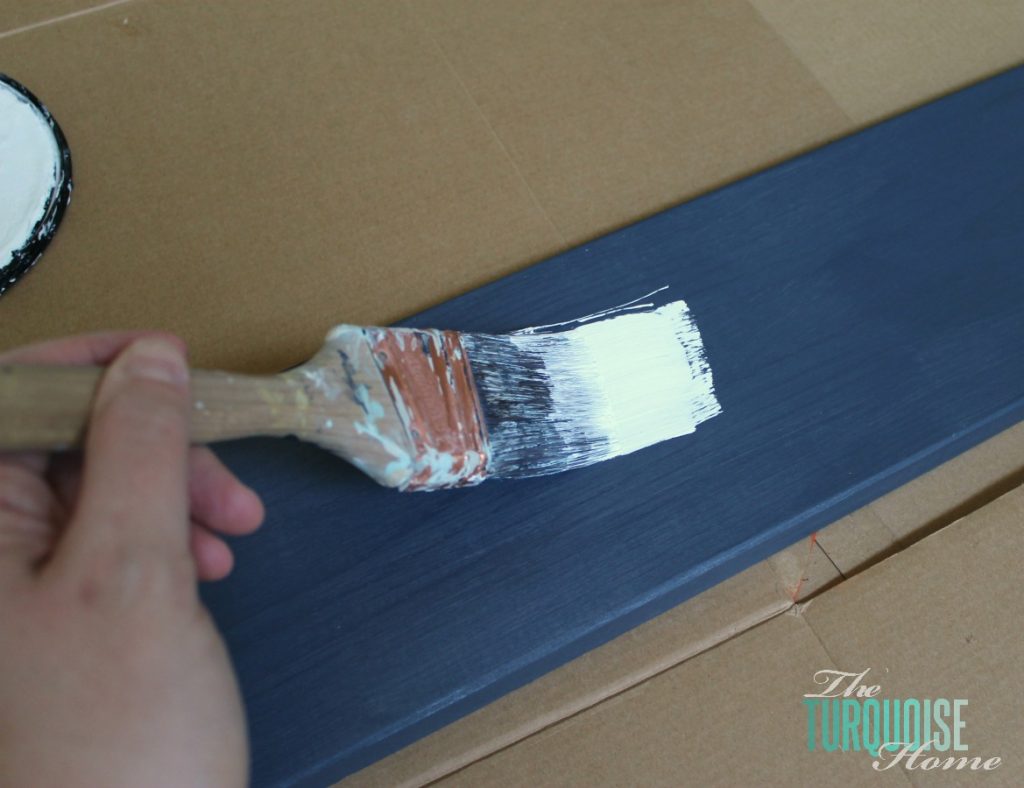
First, I found a board from my scrap wood pile and painted it navy and then painted a second coat of white. I planned to distress it some, but decided not to after I finished it. I may change my mind and still distress it at some point.
Then I put the board and ironing board on the ground and figured out where to place the hooks.
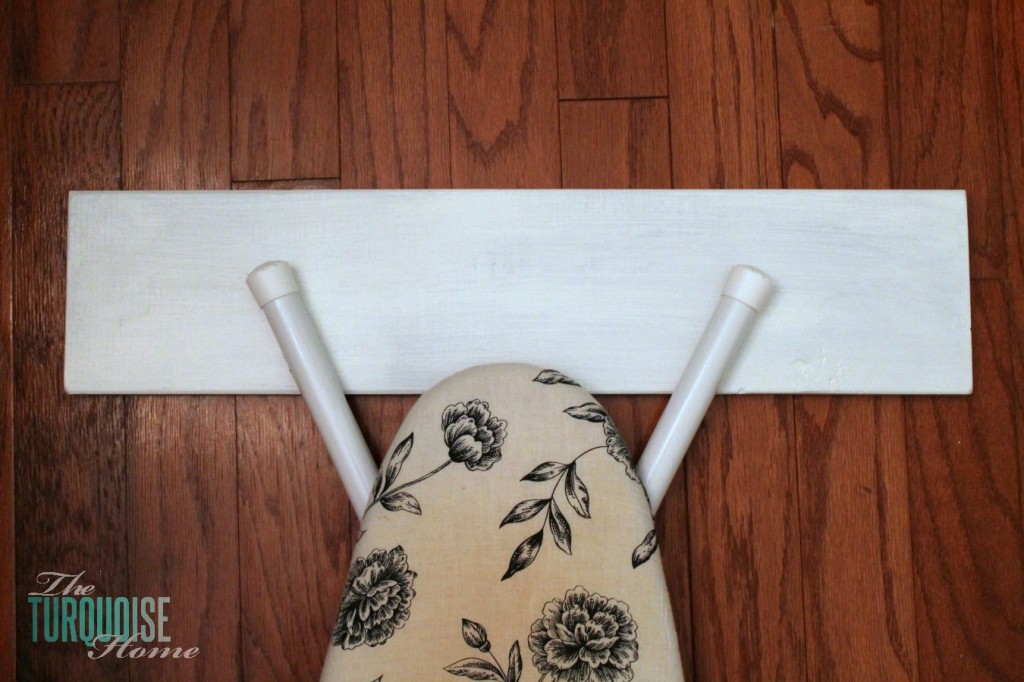
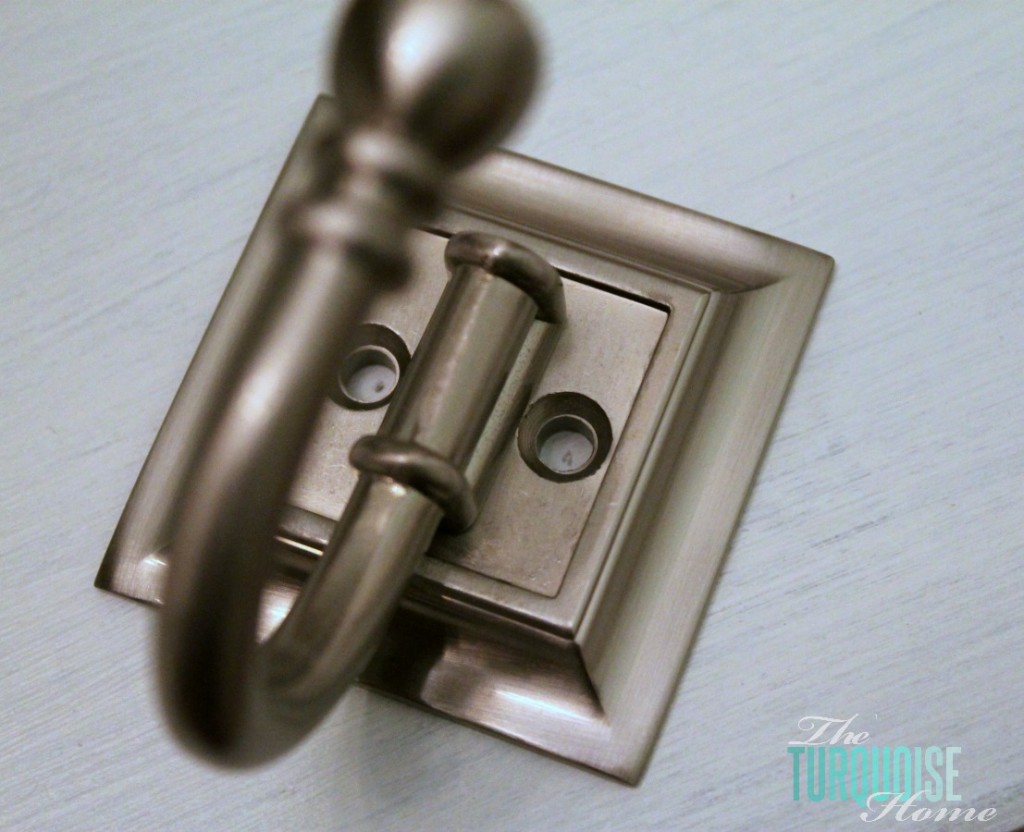
I marked the middle of the holes where I was supposed to drill and drilled some screws into the right places. It would have been a lot easier if my ironing board had T-legs. I even thought about buying a new ironing board just for this project. But that would be silly. I do hope to buy a new ironing board cover soon, because the one I’ve had since we got married is pretty singed, as you can clearly see. 🙂
Then I used Photoshop Elements to create a blank document that was the same size as the board. This helps me visualize where the words will be placed and what size font I’ll need. {I used the font: Abraham Lincoln.}
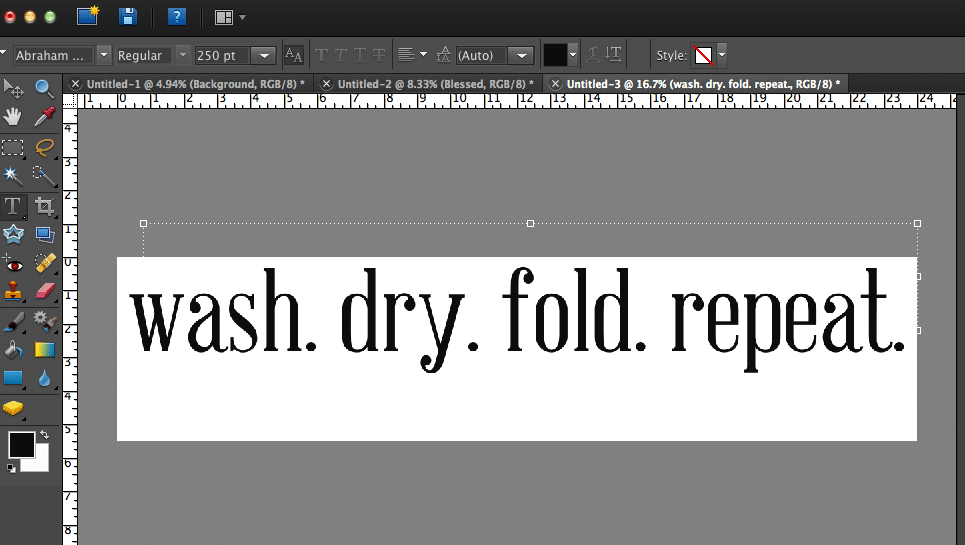
Then I used the same font size and placed them in my Silhouette studio. But just changed the placement so I could cut them out all at one time.
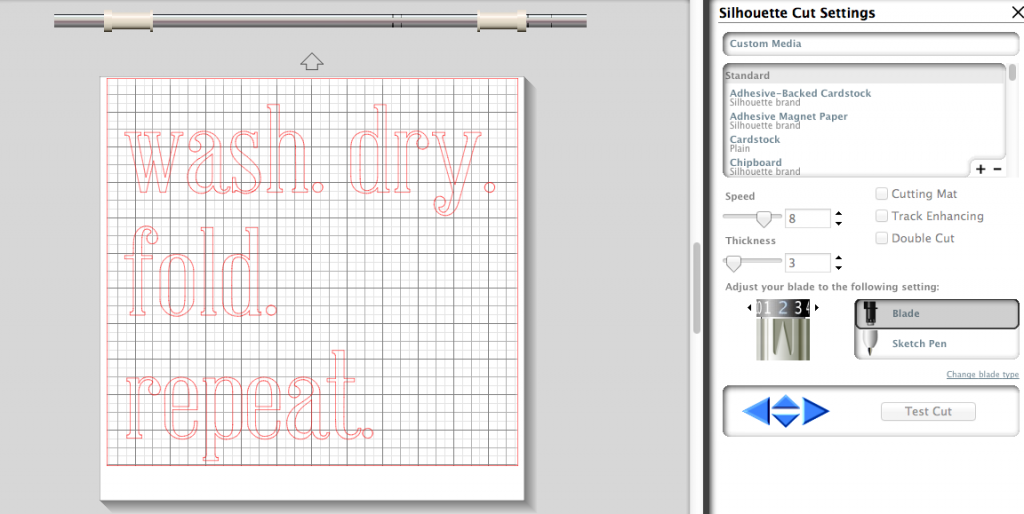
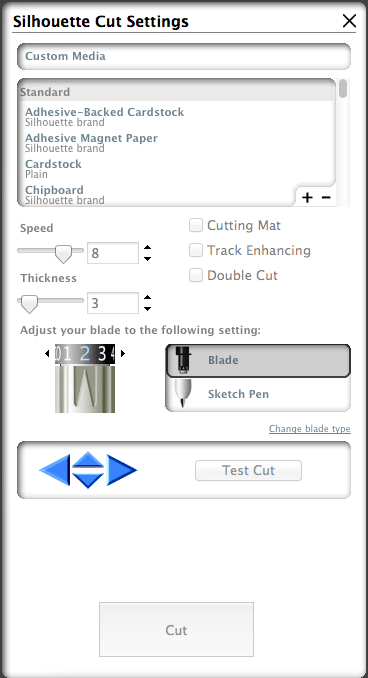
Here are the cut settings I used to cut the stencil out of the contact paper. Make sure to un-click the cutting mat, because you can feed the contact paper directly into your Silhouette.
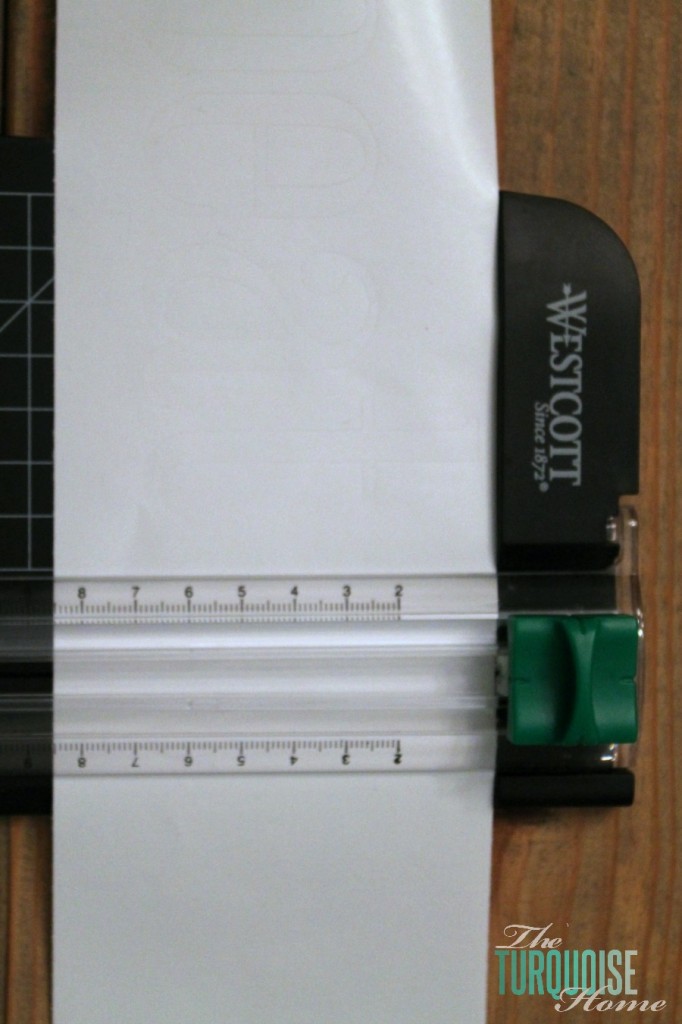
Once I had my contact paper cut out, I separated the words with my paper cutter. This kept the lines pretty straight so that i was easier to line up the stencils.
Then I placed them on the board, before I peeled off the back of the contact paper, making sure they could all line up correctly.
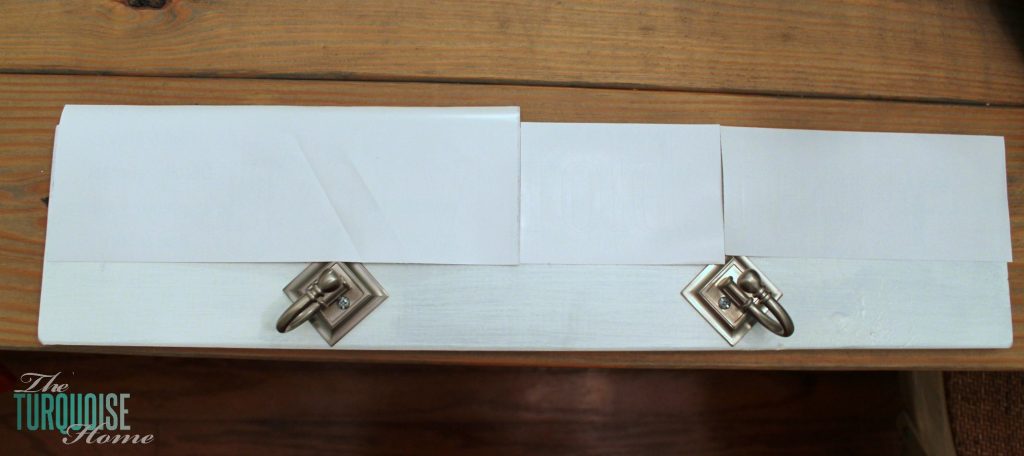
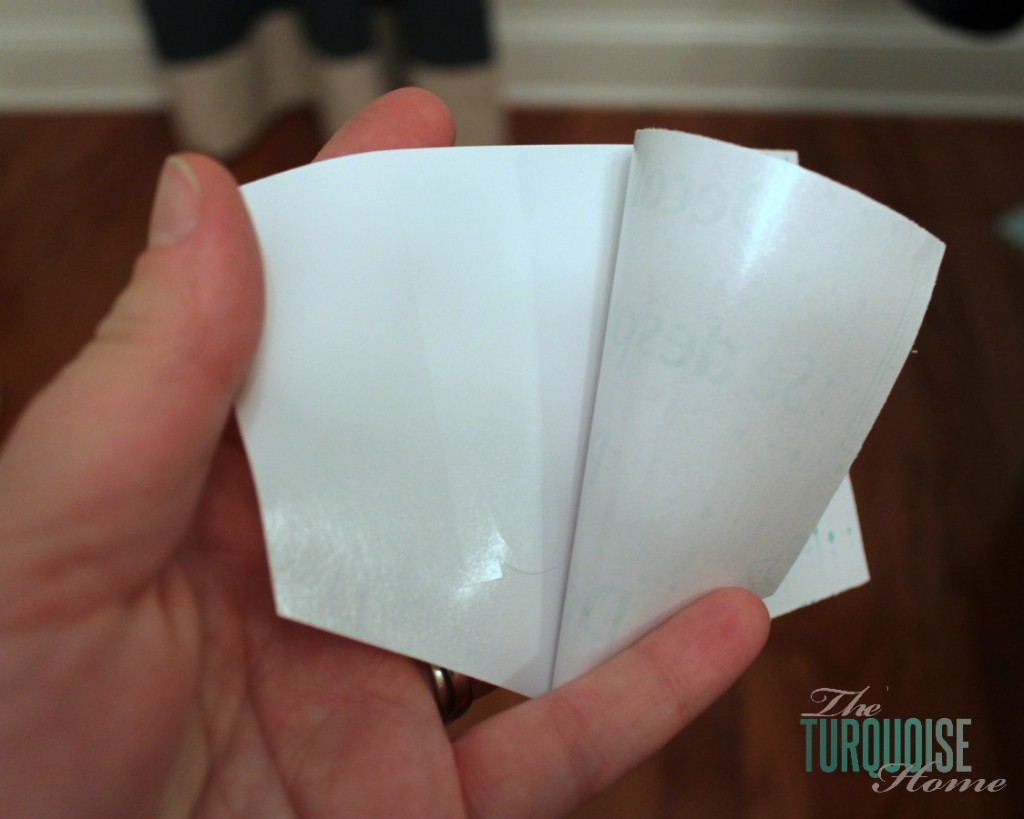
After they were arranged correctly, I took the first word and peeled the back off of the contact paper. I made sure to keep the stencil cut out in tact.
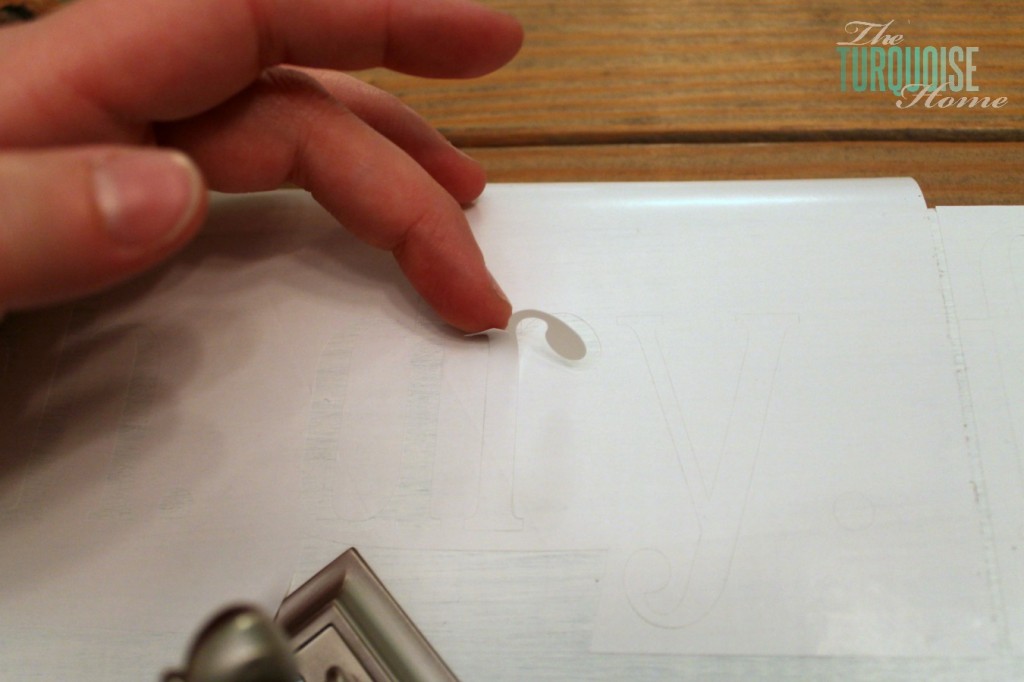
Once the stencils were all in place, I carefully pulled out all of the letters where I wanted the paint to show through.
Then I painted them with some navy paint I had on hand.
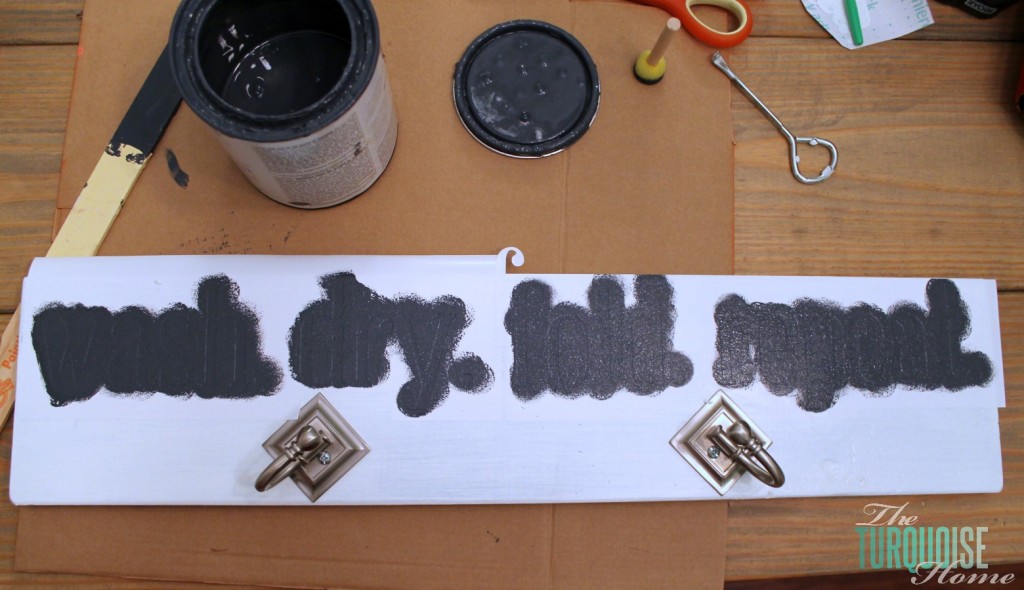
I pulled up the contact paper pretty quickly after that. You don’t want to let the paint dry on there or it might peel back the paint. Mine did a little bit in some places anyway and I just went back with a tiny brush and touched it up.

I staged it with some cute Katie Daisy prints in the dining room. Ha! My laundry room has no natural light, so I wanted to show it off in a little brighter spot. And goodness! Someone go buy this girl a new ironing board cover. Yikes!!
I’m so excited to finally get the ironing board hanging up in the laundry room instead of leaning against the wall in our bedroom! Yay!!
P.S. I finally hung it up in the laundry room with this awesome system!
More Posts You Will Love:

I’ve looked high and low for the hooks (or anything like them) so I can hang my ironing board. Love your idea. Where did you find them?
They are from Lowes.
Featuring YOU over on my blog today! Thank you so much for linking up to {wow me} wednesday! 🙂
Ginger @ GingerSnapCrafts.com
Congratulations…this post is featured on Create It Thursday #30! Thanks for sharing such a great idea with us last week!
What a fabulous idea to hang the hooks for the ironing board at an angle! I would have never thought of that! It turned out so adorable AND practical!! Best of both worlds, right?
Great work!
🙂
hugs x, Crystelle
Crystelle Boutique
This is seriously amazing! I had no idea that you could do something other than stick it behind a door or in a closet.
🙂
I don’t have a Silhouette machine but I’d love to have one since you can do so much with them! I love this ironing board hanger–such a cute and practical project. Pinning this and hoping to do something similar in my laundry room! I’m hopping over from The Weekly Creative. Have a great week!
laura, i just love this idea! pinned it:) thanks for sharing the how to’s!
Oh how fun and creative is this. I love this idea. Mine is just leaning behind the door and falls over half the time. Love the sign, so cute. Thanks tons for linking to Inspire Me. Hugs, Marty
What a cute idea!!
Okay this is just downright awesome! My husband is on me constantly about putting the ironing board away and i”m just too lazy or busy or distracted. I have a matching set of curtain tie backs that I am not longer using for that purpose, I wonder if I could repurpose them for this project!!!! And then I would make everyone happy?! (oh and ps I need a new ironing board cover WAY worse than you hehe) Thanks for sharing this. I think I’m going to go try it right now! I would absolutely love it if you linked up with us at the Link It or Lump It party this week.
I think two curtain tie backs would work perfectly! Thanks for stopping by!
Such a cute idea! Love the combination of the stencil and functional ironing board hanger. I would love to get mine on a hook and off the wall, it’s always leaving scratches. I know the feeling with the Silhouette, I can’t stop with mine either!
Funny … my old ironing board hanger was an over the door hanger. And my ironing board was always leaving scratches too!
So cute Laura and totally practical. My ironing board doesn’t have a permanent home right now and is always getting in the way. Problem solved!! Pinning:) Have a great weekend!!
What a great idea! Love how you provided a tutorial and how you pulled it together! While the idea is awesome, it is even more perfect with the sign. Bravo!
how awesome is this??? Just AWESOME!! Thank you for sharing 🙂
Very cute! I dream of having a laundry room that isn’t in the dungeon (basement). Where I can line dry some of my clothes and not have to climb stairs with towering baskets. And of course so I can have cute decorations like this in there!
Finally having a chance to go through all the Silhouette Challenge project inspiration– I’m like a [big] kid on Christmas but earlier!!
If I had ironing board legs like that, I’d probably leave it up to the beau to create some concoction, it probably would have been functional but no where near as fabulous as yours!! Oh and you stole my heart with the black and white (since I’m OBSESSED haha)!
Keep on being fabulous!!
Thank you, Trisha!!
Ooo, I so wish I had some cute place to hang my ironing board instead of just shoved behind the dog food in the corner of my laundry room! Maybe I’d use it more! 😀
Oh! I love how this turned out!!
I’m also a Cameo newbie…so contact paper – YEAH!!!!!! I want to make some signs for my bedroom makeover – so the timing is PERFECT!!! LOVE the ironing board hanger! Girl, they sell ironing board hangers cheap…just sayin’! lol lol I can tell you use it for crafting. Mine get scorched frequently! lol
Very cute idea Laura! When they day comes to redo my laundry room I need to remember this… it’s a small space. 😉
This is a great project! I’m still getting my feet wet with my Portrait and I just may have to make an ironing board hanger too! 🙂
How wonderful, this will go onto my todo list. I like this idea.
What a great idea! Your sign turned out great!
This is going to have to be a “must have” project for when we get around to making the laundry room pretty. What a great idea and you did such a great job!
GENIUS. Love it. I need one stat.
🙂
I like your transfer technique! Stopping by via the Silhouette Challenge.
This is such a cute project! I’m a Silhouette newbie so I’m glad to find out that I can use contact paper to make stencils! YAY! 🙂 I love how your ironing board hanger turned out!
Laura, you are hitting it out the park with these contact paper tutorials. I love your creative method of laying down the contact paper in one whole piece and then peeling out the letters one at a time. Genius! And I just may need to tackle a project like this; perhaps it will make ironing a little more fun than it is?
Thanks for participating in this month’s Silhouette Challenge and for inspiring us with your creativity!
Thanks, Lauren, for putting the Silhouette Challenge together. I loved being a part! And you should definitely tackle an ironing board holder. Such an easy project. 🙂 I’m using the contact paper method in several of my Christmas decorations. Can’t wait to share more coming soon!
Great project! Looks super simple too!
I am in love with this!! And I am happy you gave step by step instructions. I think I may need to make one for myself!
What a neat idea! I’ve never seen one of these before. Very cute and functional!
Laura, this is fabulous! I had never thought about making my own ironing board holder…I just stand in the store isle and moan about how none of them are ever sized correctly for my mongo ironing board! No excuses now! And thank you for the settings you use for contact paper, I have a project I’d like to use it on, but had not experimented with it yet…now I can just get going!
I’m so glad the settings were helpful!
So cute! I have a project on my to-do list that I was thinking about using contact paper with as a stencil, but I’ve never used it before and wasn’t sure how it would work out…so this tutorial is perfect!! Thanks for sharing!
Yay! Awesome!! So glad this was helpful. I really found it easy to work with after I made my large signs a couple of weeks ago. Just takes a little practice and you’re off and running! 🙂
An ironing board hanger! I’ve never seen this – hard to believe I’ve missed them with all the “browsing” I do! This is definitely now on my “to do” llist and I love how you stenciled it. Contact paper is a great way to make stencils. BTW, you should see my ironing board cover, it’s even worse than yours ; )
Love it! Love it love it! I think it’s super cute! Good job!
I love this idea! My ironing board hangs over the door to the attic. Yes, the attic. I’d love to have a nice laundry room with an ironing board hanger like yours! BTW – there are some sewing patterns for ironing board covers out there if you’re feeling adventurous. Plus, you get to customize your fabrics!
yes … I’ve thought about making my own ironing board cover, but I bet it’d involve sewing and I try to stay away from my sewing machine. 🙂