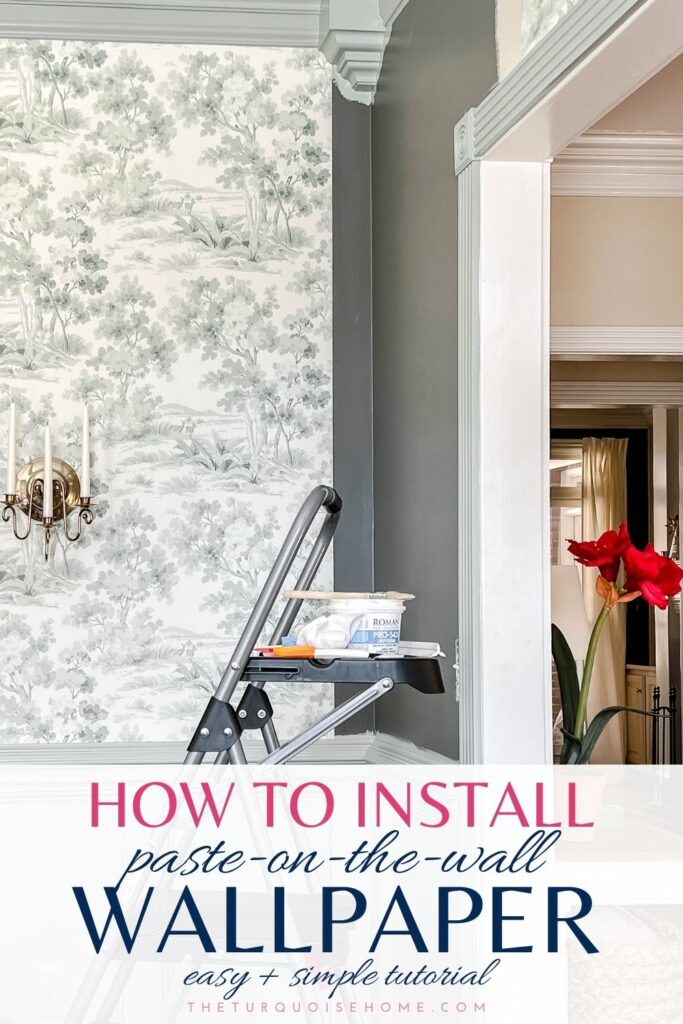
How to Install Paste-on-Wall Wallpaper
Learn how to install wallpaper yourself with this step-by-step guide. Get the best tips and tricks for hanging wallpaper from a home DIYer who’s installed it in her own home!
I’ve recently hopped on the wallpaper train (and shared how to pick wallpaper here). And I’m loving it!
I’ve just installed it in my dining room (the third room I’ve wallpapered in our home) and it’s the largest wallpaper project I’ve tackled so far!
As most home decorating trends go, they all experiences highs and lows in popularity. The once popular wallpaper is now back on trend and hotter than ever! It’s a lovely way to bring texture, color and pattern into your home.
And while it may be a controversial topic (people tend to love it or hate it), if you are ready to add it to your home, I’ll show you how!
This post contains affiliate links for your convenience. See my full disclosure policy.
Supplies & Materials You Will Need to Install Wallpaper:
- Wallpaper – I chose this beautiful toile wallpaper for my dining room. I’ve shared how to pick wallpaper here.
- Chalk line or pencil
- Level
- Wallpaper smoother tool
- Brush or paint roller for paste
- Wallpaper adhesive (or paste)
- Straight Edge
- Tape measure
- Utility or craft knife
- Sponge
- Wallpaper roller
- Scissors
A couple of tips about supplies: I’ve used this particular brand of wallpaper adhesive twice now. It’s awesome and easy (for me) to find in stores and online.
I’ve now used 3 different types of utility knives to hang wallpaper, and I’ve finally found my favorite! This craft knife is easy to hold, super sharp and easy to change the blade. I found it in my craft drawer and it was perfect! Don’t forget the extra blades. I change the blade out every 2-3 pieces of wallpaper.
Many of the tools needed for wallpapering can be found in a kit. I bought this wallpaper kit before I wallpapered my powder room, and I used several of the tools again this time around!
Want to Save This?
Enter your email below and I’ll send it directly to your inbox!
How to Install Paste-on-the-wall Wallpaper
This tutorial is for hanging wallpaper that comes unpasted and in the instructions it says to “paste the wall” before hanging the wallpaper. In my opinion, this is the easiest way to wallpaper.
The other two types of wallpaper installation are:
- Pre-pasted wallpaper (my tutorial for that is here)
- Paste-the-paper wallpaper. I think this is almost the same application as what we’re talking about here, but you just paste the wallpaper instead of the wall. 🤷🏼♀️
This is a DIY project that may seem super daunting. But it reminds me of wrapping a present, just on a much larger scale and backwards. 😜 So, maybe start small if this is your first time wallpapering.
I wallpapered my dining room for this tutorial, but I used this same method in my powder room previously. The powder room was much smaller and MUCH easier. I got comfortable doing that room first.
So, like I said, start in smaller spaces with less obstacles and work your way up to a full room. Or just do one wall, or inside of a picture frame box on the wall. But either way, just do it! What’s the worst that could happen?
Before you get started, you’ll want to remove everything from the walls, including light switch overs or wall outlet covers.
1. Decide where to start and end the wallpaper.
If you’re wrapping the wallpaper around the entire circumference of the room, you need to pick the most inconspicuous place to begin and end the paper.
And usually that is above the door which is most frequently used! That’s where I’ve started and stopped all of my projects and it’s worked out great.
The wallpaper pattern is NOT going to match up when they meet back up, which is why you want it to be the least obvious place.
2. Make a level vertical line where you will hang the first piece of wallpaper.
It’s very important to keep the wallpaper level throughout the installation. So, starting with a level line is the first step.
Keep checking back for level-ness as you go.
One of the easiest places to get off level is when you’re going around or over a door or window.
I always check for level at corners. It’s imperative that you round a corner and end at a level line. Otherwise your whole next wall will be wonky.
2. Cut a piece of wallpaper that is at least 2 inches longer than the wall on top and bottom.
Leave two extra inches on either end of the wallpaper. This leaves plenty of room for cutting off the wallpaper at the top and the bottom trim to create a straight line.
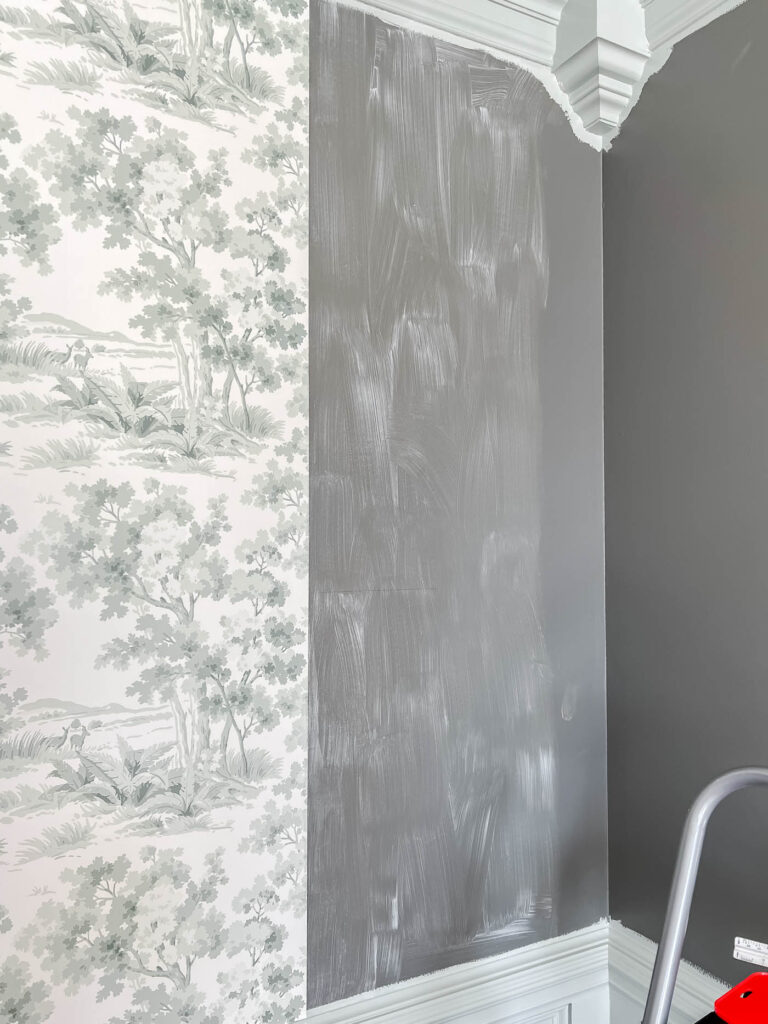
3. Paste the wall with wallpaper adhesive.
I use a wallpaper brush when I install wallpaper, but most any brush will work! You will want to cover the entire space where that section of wallpaper will go.
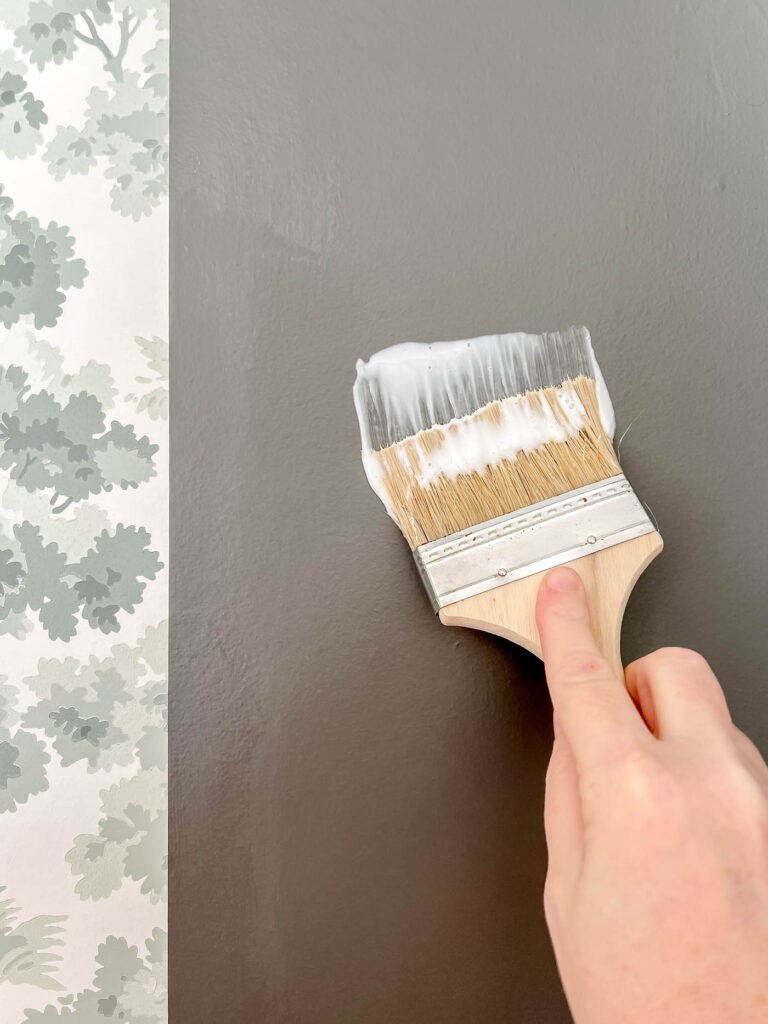
The key is to get plenty of paste on the wall, but not so much that it drips. Sometimes if I have to adjust the paper too many times, I’ll pull it back and add more paste to the wall. I’d rather err on the side of too much paste, and have to clean it off, rather than not enough paste.
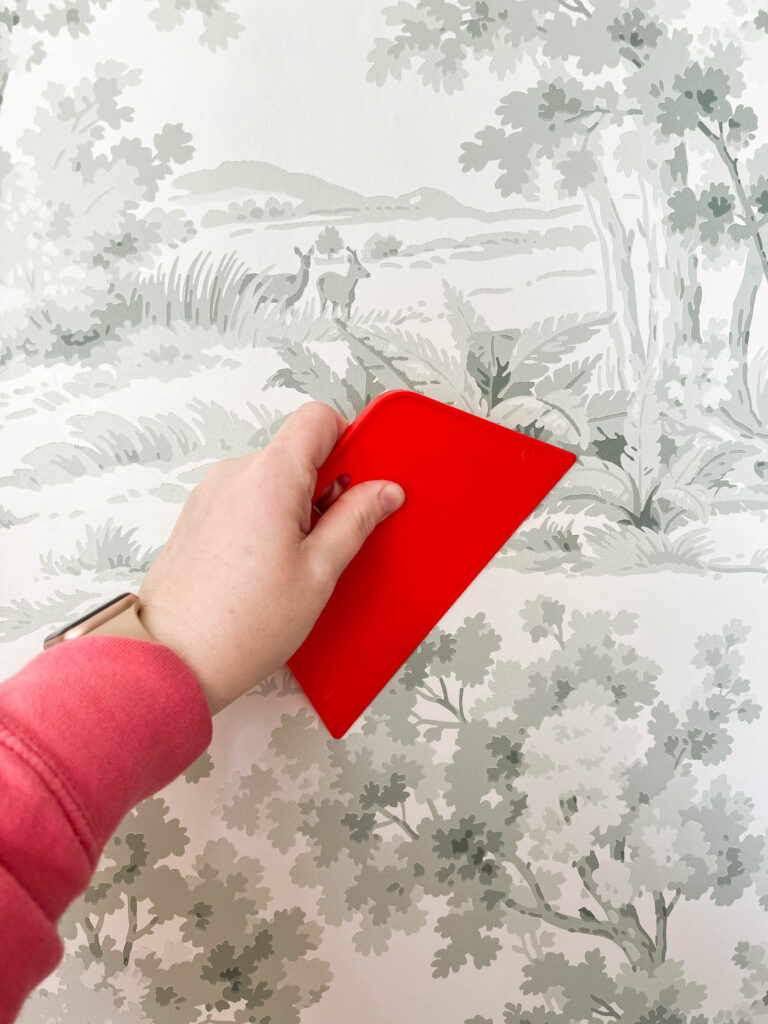
4. Smooth Out Any Bubbles with the Wallpaper Smoother
Once you have the wallpaper piece in place, smooth out any bubbles with your wallpaper smoothing tool.
I always run my hand over the pieces to confirm I’ve gotten all of the bubbles out.
5. Cut Away the Excess Paper at the Top and the Bottom
Once you have at least the top half of the wall in place, you can cut away the excess paper at the top.
It’s important to use a straight edge with your utility/craft knife to make sure the cut is straight! Don’t try to free hand this, no matter how straight you think you can make a line.
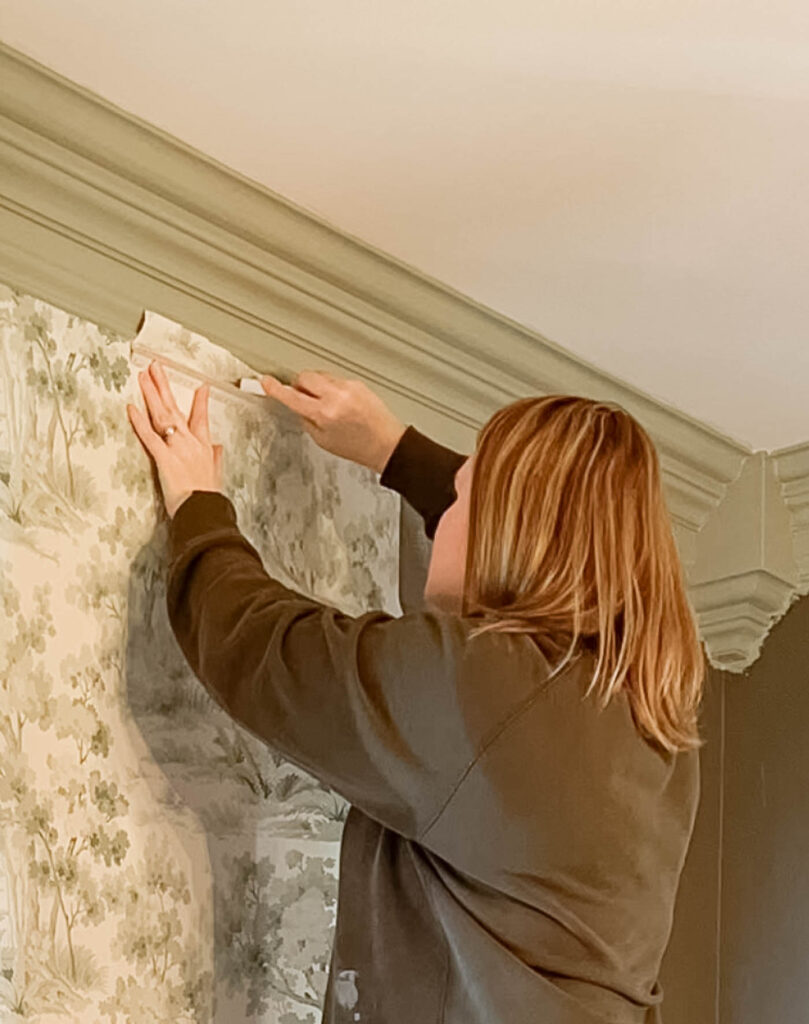
Sorry this photo is so bad. I had to screen grab it from a video, but I hope it still helps you visualize the process!
The utility knife you choose is so important. The blade has to be super sharp or it’ll tear the paper! I use this craft knife and change the blades every 2-3 pieces of wallpaper.
6. Roll along the seams of the wallpaper to keep them smooth.
I just use the wallpaper smoothing tool to do this, but you want to make sure the edges of the wallpaper are smoothed down where they meet. There’s a wallpaper roller that comes in this wallpapering kit, if you want to use it!
7. Remove any excess adhesive with a damp sponge
I always wipe down the paper with a damp sponge before moving on to the next piece. You don’t want to wait until it’s dry. It’s so much easier to remove the excess paste while it’s still wet!
8. Line up the pattern of the next piece of wallpaper
Now that you have the first piece of wallpaper on the wall, hold the roll up to it and match the patterns. Then you’ll cut off the top of the paper, leaving only 2-3 inches extra at the top.
9. Follow steps 2-8 and keep repeating until you finish the room!
Tips for How to Install Wallpaper
I’ve learned a few things in my wallpapering experience, so let me share some of the things I’ve learned!
Lining up the pattern and keeping it level are the two hardest parts about wallpapering.
Oh, and corners and wallpapering around doors and windows can be hard as well.
Tip #1: Make sure you end on a level vertical line when wrapping the corner.
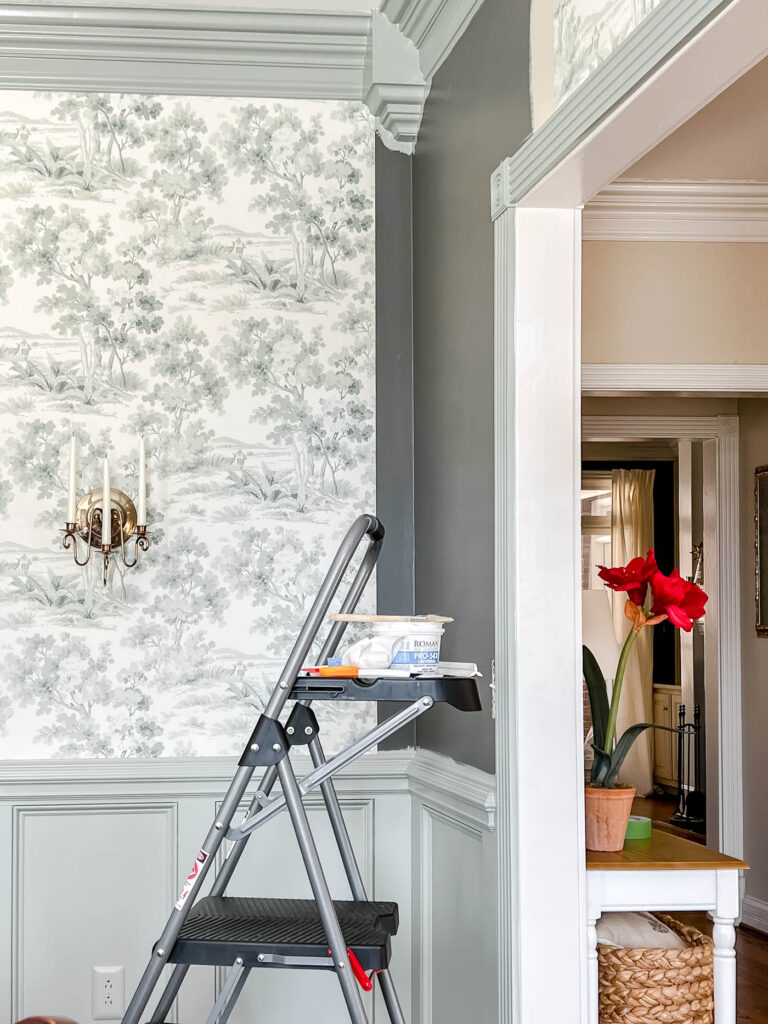
My corners were especially hard in the dining room because I was dealing with a corner crown moulding piece that juts down onto the wall.
So, I would slowly try fit the piece into place, while holding it up with painter’s tape. This helped me get the top part in place and find a level ending point. Then I would draw a level line all the way down the wall and make sure the whole piece ended at that level line.
It’s so important to end on a level line when wrapping around the corners because otherwise the whole next wall will be off kilter.
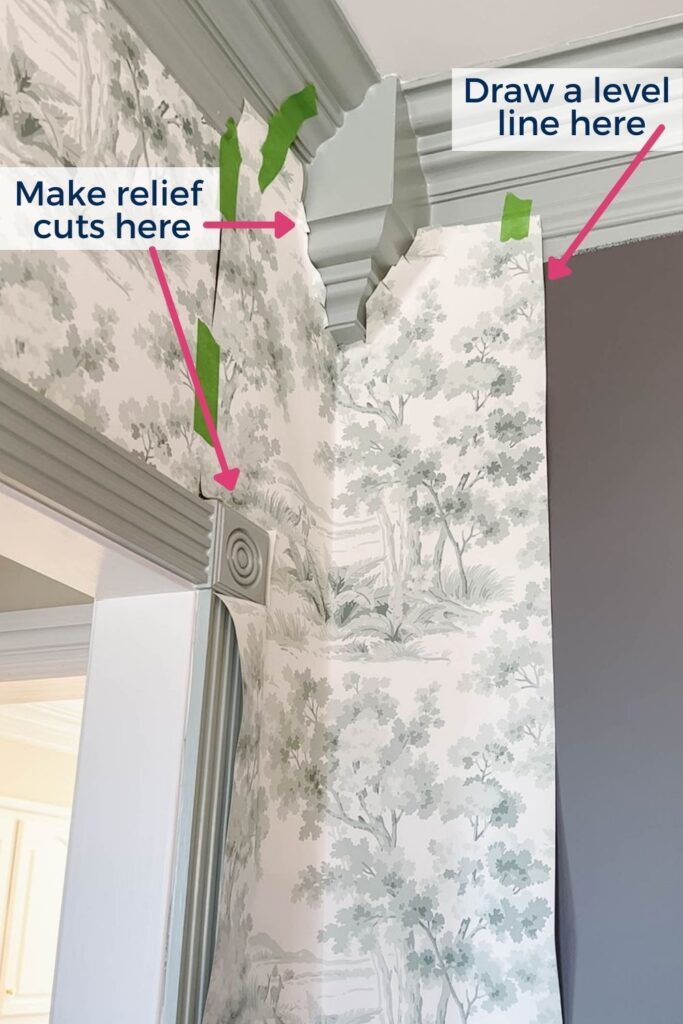
Tip # 2: Make relief cuts when wallpapering around obstacles.
Whenever you’re wrapping a corner or papering around a door or window, you’ll need to make relief cuts in the corners with scissors to help the paper lay correctly.
See how I cut away the paper in the corner to fit around the crown moulding piece? It took me a series of small cuts to get it to that place.
Tip #3: Go SLOW
Those corner pieces took me 1-2 hours to get right. I had to psyche myself up to do them and made sure I had plenty of time to not rush the process. I didn’t want to make a wrong cut and have to throw away the whole piece of paper.
Tip #4: Order plenty of paper!
It’s always better to over order rather than under order. I’ve used a wallpaper calculator every time I’ve wallpapered and it’s always recommended exactly what I’ve needed. I’ve never needed to go back to order more.
Ordering what you need the first time keeps you from ordering from different color batches. There’s a lot of waste when wallpapering due to matching the pattern at the seams, so you’ll need more than you think! So, don’t skimp. It’s not worth it.
Frequently Asked Questions about Installing Wallpaper
How do you apply wallpaper paste to the wall?
You can either use a brush or roller to apply wallpaper paste to the wall. I personally use a brush that I got in this wallpaper kit and it works great!
What is the best paste to use for hanging wallpaper?
I have used this Roman Pro-543 wallpaper adhesive and it works well! It washes off easily and makes it easy to maneuver the wallpaper while it’s still wet. But once it dries, it adheres wonderfully!
Do I have to paint the wall before wallpapering?
As long as the wall is smooth and you’ve filled any holes, it’s fine to paint over whatever is already on the wall. The walls I’ve wallpapered over had been painted in the last 2 years, so it wasn’t necessary to paint them again.
If you are wallpapering on a new wall, make sure you have at least 1 coat of primer before wallpaper. Wallpapering over drywall is never a good idea. The wallpaper will destroy the dry wall when you try to remove it.
And if you feel extra ambitious, you can paint the walls with a wallpaper primer. This is supposed to help with wallpaper shrinking and removal down the road. But I’ve never tried it.
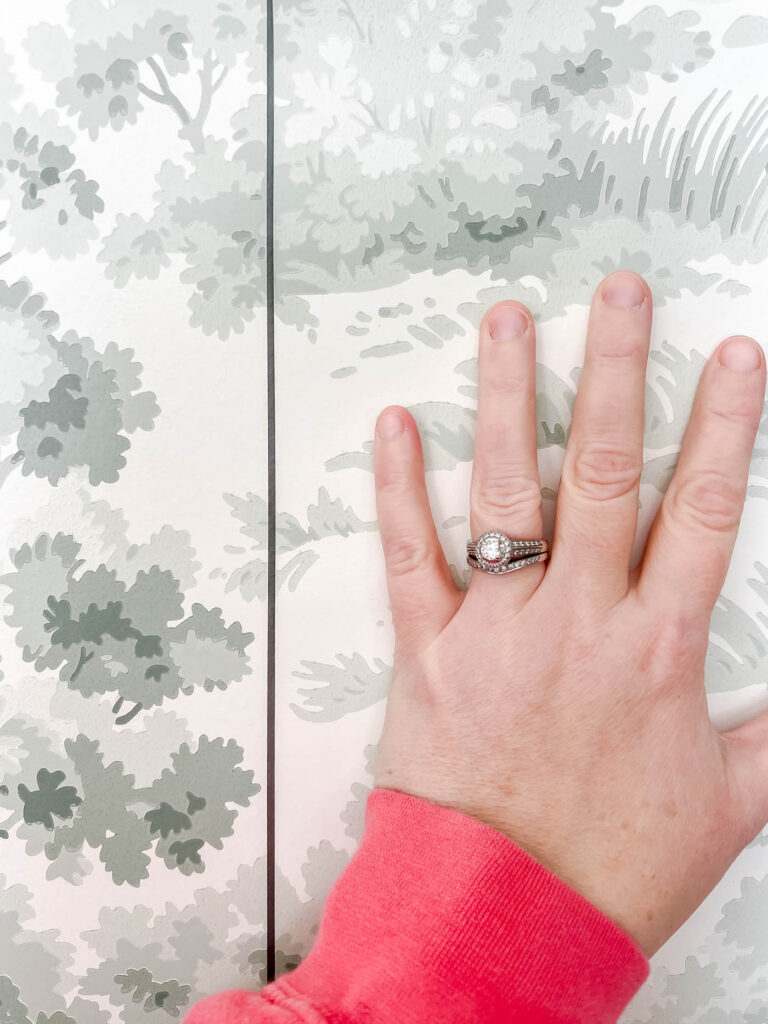
Should wallpaper seams overlap?
No! The seams should be butted up to each other, matching the pattern. But don’t overlap the seams.
I hope you found this tutorial helpful! If I missed any key topics or questions, please leave them below in the comments. Let me know how your wallpapering endeavors turn out! I’d love to see them over on Instagram.


I am a survivor of the last wallpaper fad and it never will come off using paste so be very happy with it. We tried everything to remove after 15 years of loving the look but nothing works Finally you decide to paint over and those seams show or the best way is to retexture your walls with sheet rock putty and start from scratch. This took a professional
It’s beautiful I had a similar pattern but one day it will be a lot of work that you had no idea was coming.
Just warning you 2037 will be here before you can blind an eye.
Hi there! Anybody who has ever had to remove wallpaper is staunchly against it, in my experience.
I have heard that adhesive has improved all these years later and it’s not as hard to get off now. (I have friends who have installed and removed the same wallpaper recently ease, so fingers crossed!) BUT, these walls in my house were all wallpapered and painted over before I ever moved in. So what’s another couple layers?! 😜