Traditional Laundry Room Design Plans: Timeless Ideas for a Beautiful, Functional Space
Plans to update an old hunter green laundry room into a traditional, yet modern green space with bead board and a beautiful checkerboard floor!
It’s been almost 2 and a half years since we moved into our 25ish-year-old home. And while we’ve accomplished quite a bit, one room that hasn’t changed at all is the laundry room! While I’ve painted almost every other room on the main floor, this is the one room that still has the original yellow walls.
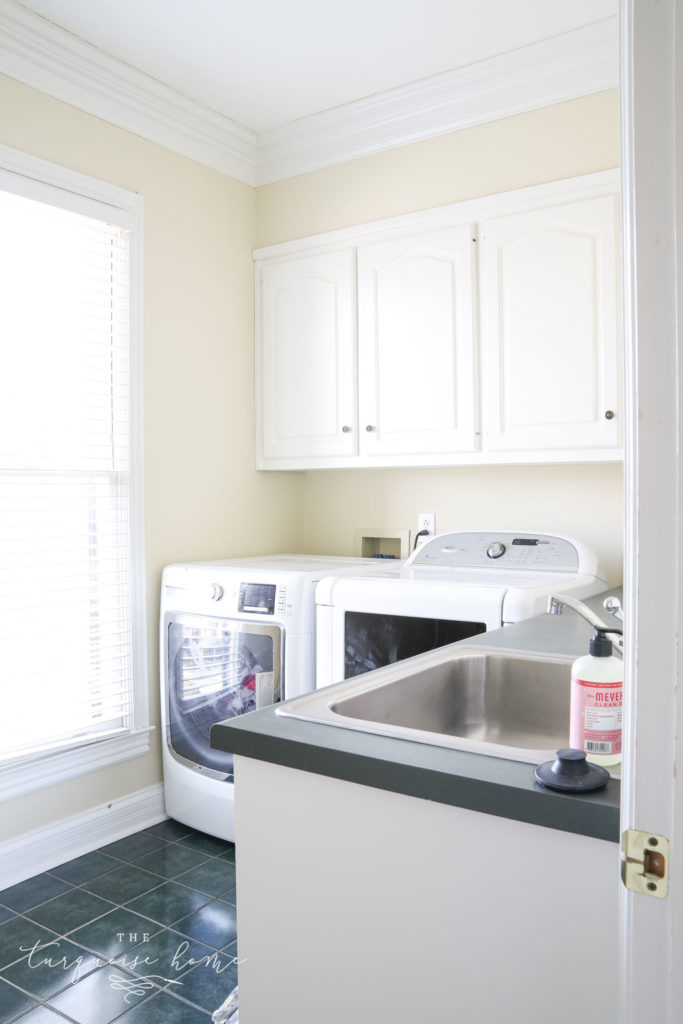
Not only does it have the original wall color, but also the original hunter green tile and hunter green countertops.
But those are all cosmetic things, that aren’t too hard to change! Yay!!
Or at least cover them up in a phase 1 makeover. ☺️
What I Love About This Laundry Room
I don’t ever want to sound ungrateful for my home just because I’m changing the cosmetics. So, when we were buying our home I was looking for a few things:
- Natural light
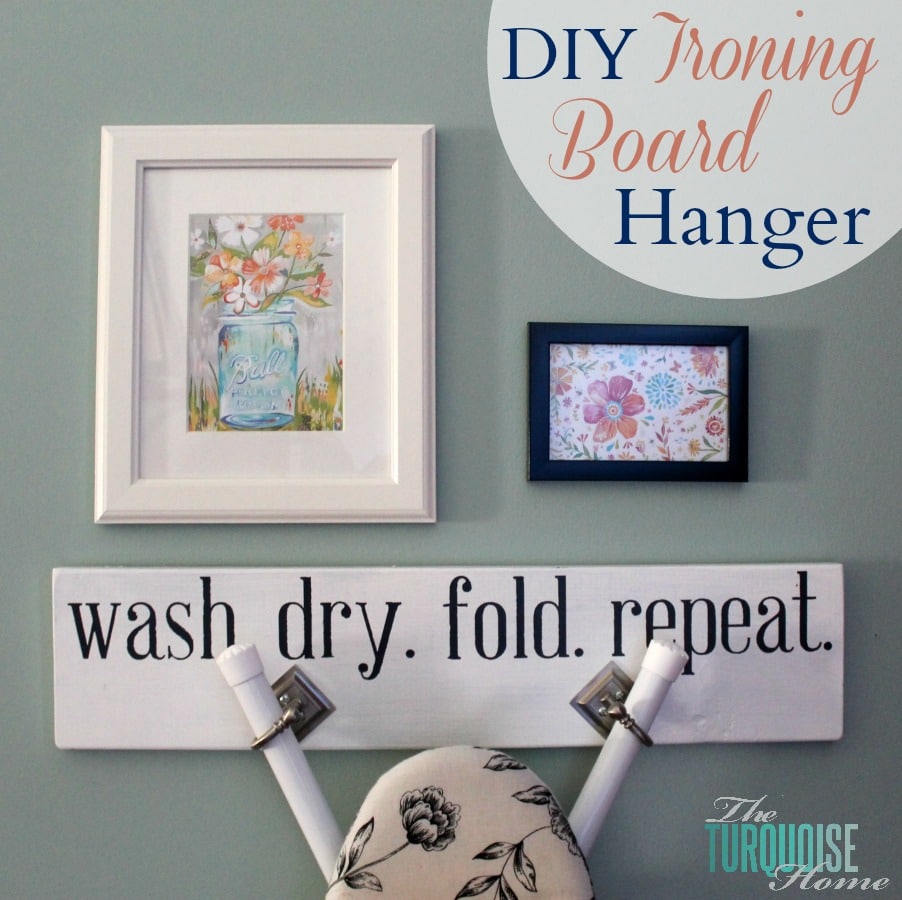
- Large enough for space to fold laundry, space for a drying rack and the ability put up an ironing board and not feel cramped.
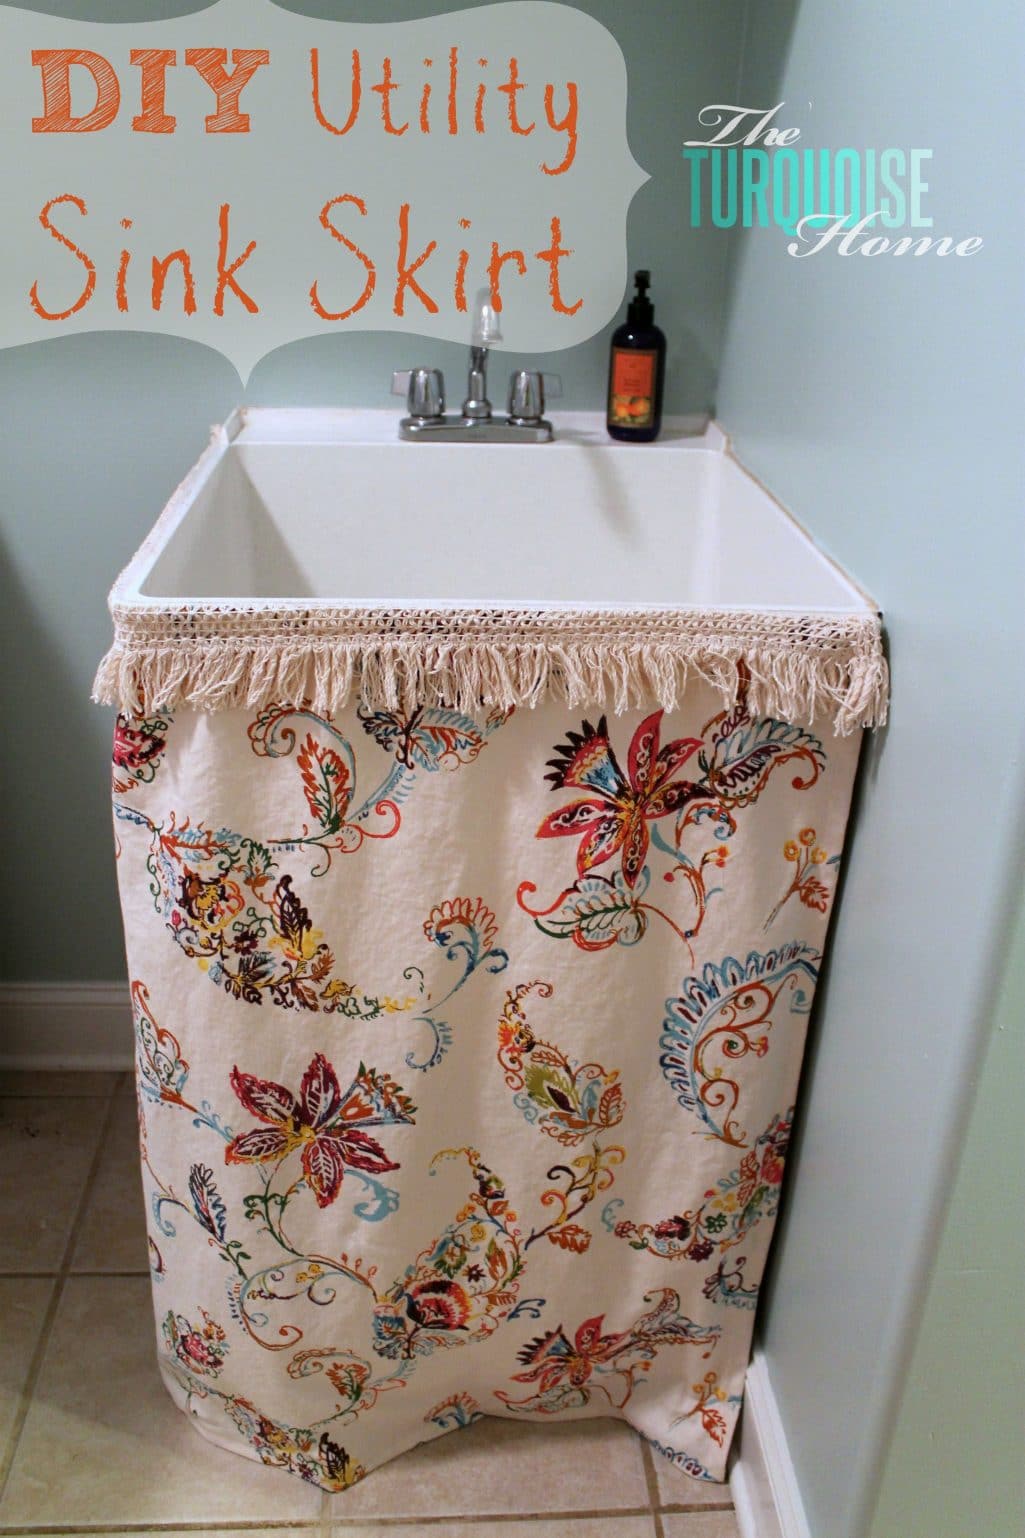
- A sink
- And NOT a pass through laundry room
This laundry room checked off all of my boxes and I LOVE how it’s not too big and not too small. The natural light is so nice for getting out stains and be able to actually see them. After our old pass-through laundry without any natural light, I’m so grateful for this designated work room!
It also has plenty of storage with the cabinets above the washer and dryer. They hold all kinds of household items like light bulbs, pantry back stock and cleaning supplies. And then one side has a lot of the girls’ arts and craft supplies. It really is a wonderful workhorse in our home.
And now it’s time to make it pretty!
Laundry Room Design Plan
Back in the fall, I hired an interior designer, Sydney Collins, to help me complete with a design concept for the connecting dining room, butler’s pantry and laundry room. I wanted the rooms to flow together since you can see all 3 rooms from the kitchen, and they will need to “speak” to each other.
The dining room is almost finished (woohoo!), so it’s time to start on the other two rooms.
I’m lumping the butler’s pantry design in with the laundry room mood board because it’s so small, it didn’t feel like it needed its own design board.
So, without further ado, here’s the design board for the laundry room and butler’s pantry.
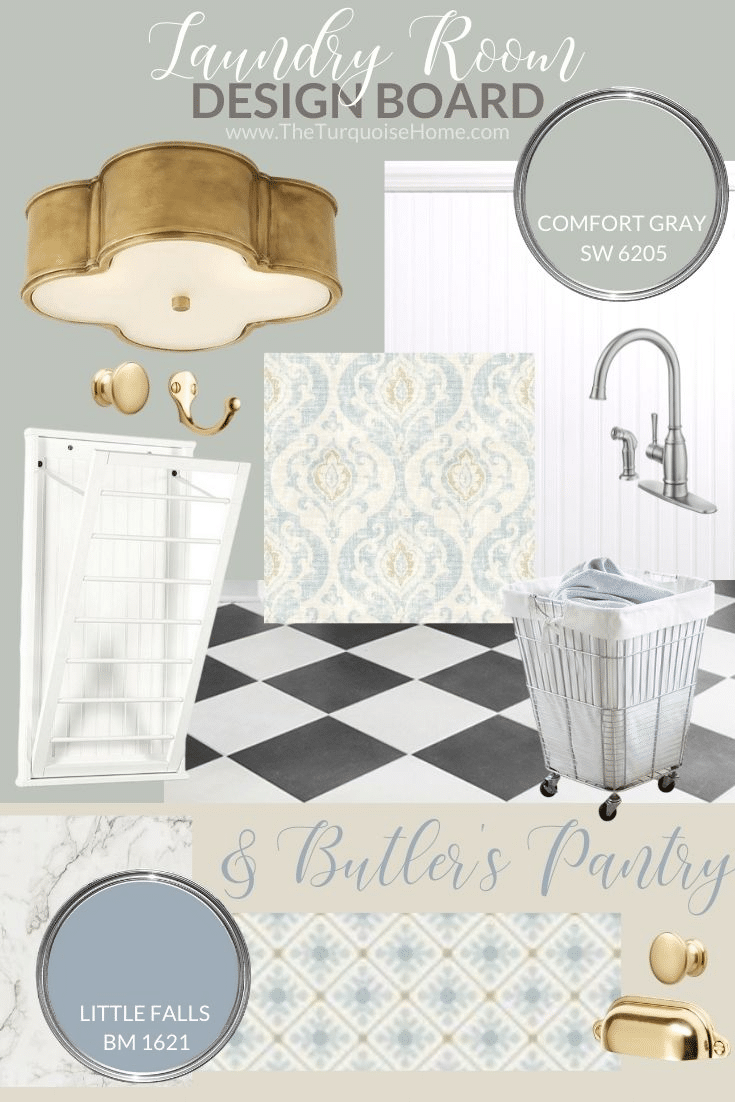
It’s classic, subtle and colorful and going to be so, so good! Let’s talk about some of the changes I’ll be making.
Laundry Room Makeover To-Dos
A lot of these updates are going to be DIY projects. I’m not ripping anything out or gutting a single thing (except the sink faucet). I’d like to do a complete gut at some point, but it’s not today. I’m literally putting lipstick over everything and it’ll be transformational!
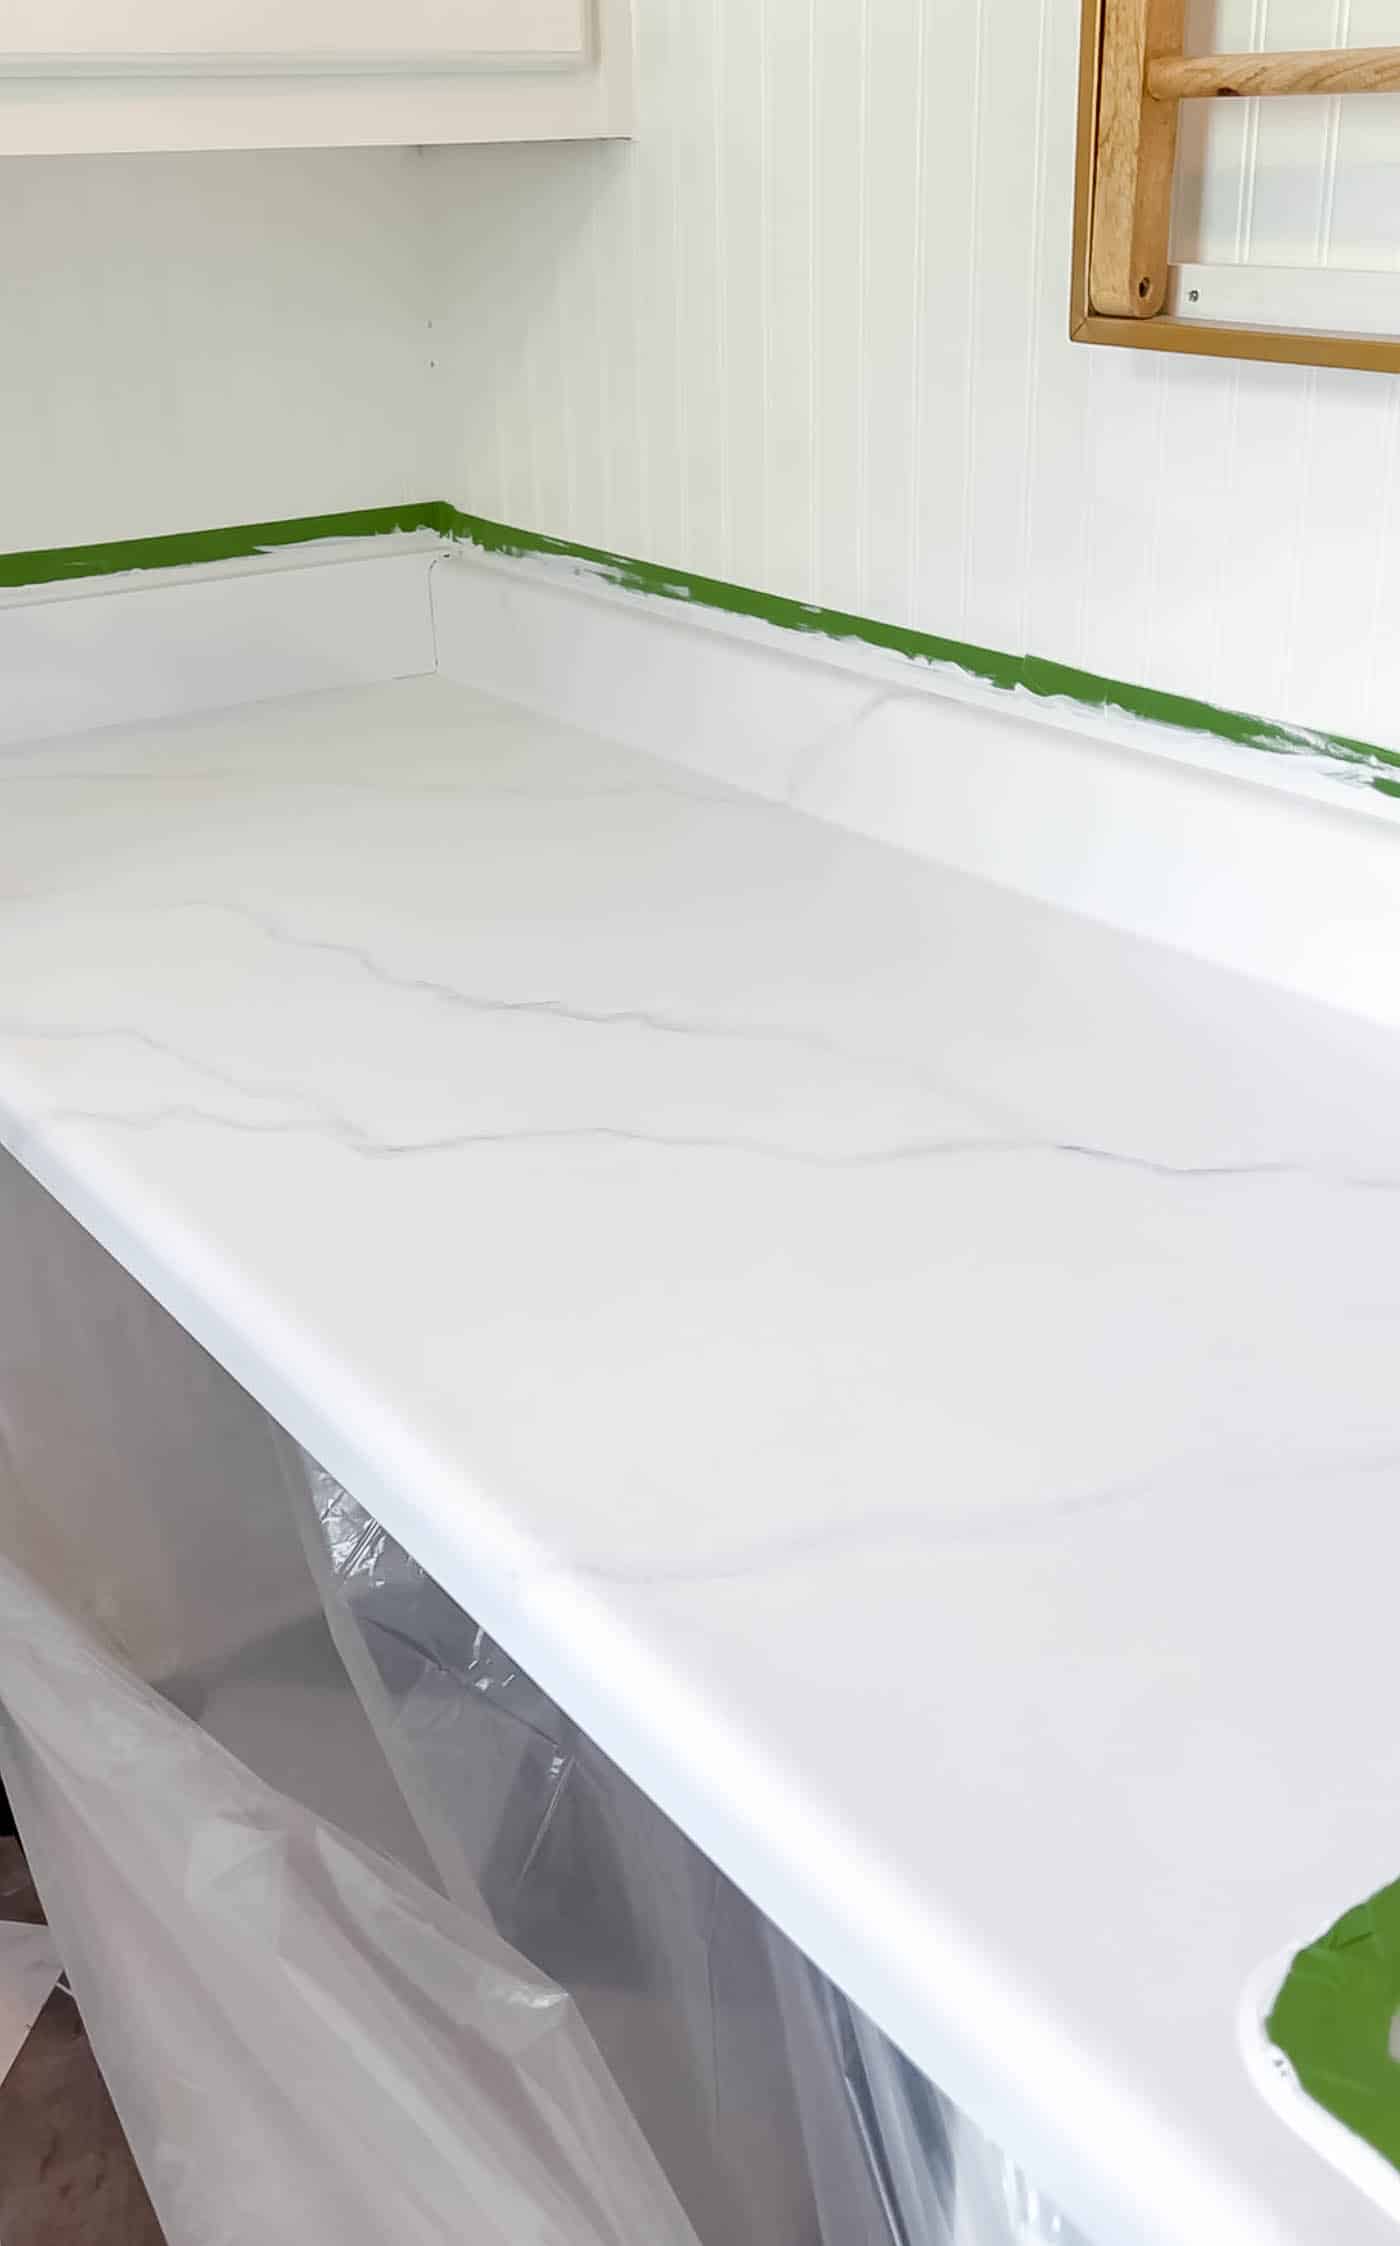
- Paint the countertops with countertop paint. Probably in a marble-looking finish.
- Replace the builder-basic faucet and sprayer with something a little bit prettier. I’m doing a stainless steel faucet because the sink is stainless and I’m not changing it now.
- Replace the boob light with a gorgeous flush mount light. This light is a splurge, but I’m all about saving up for good lighting these days!
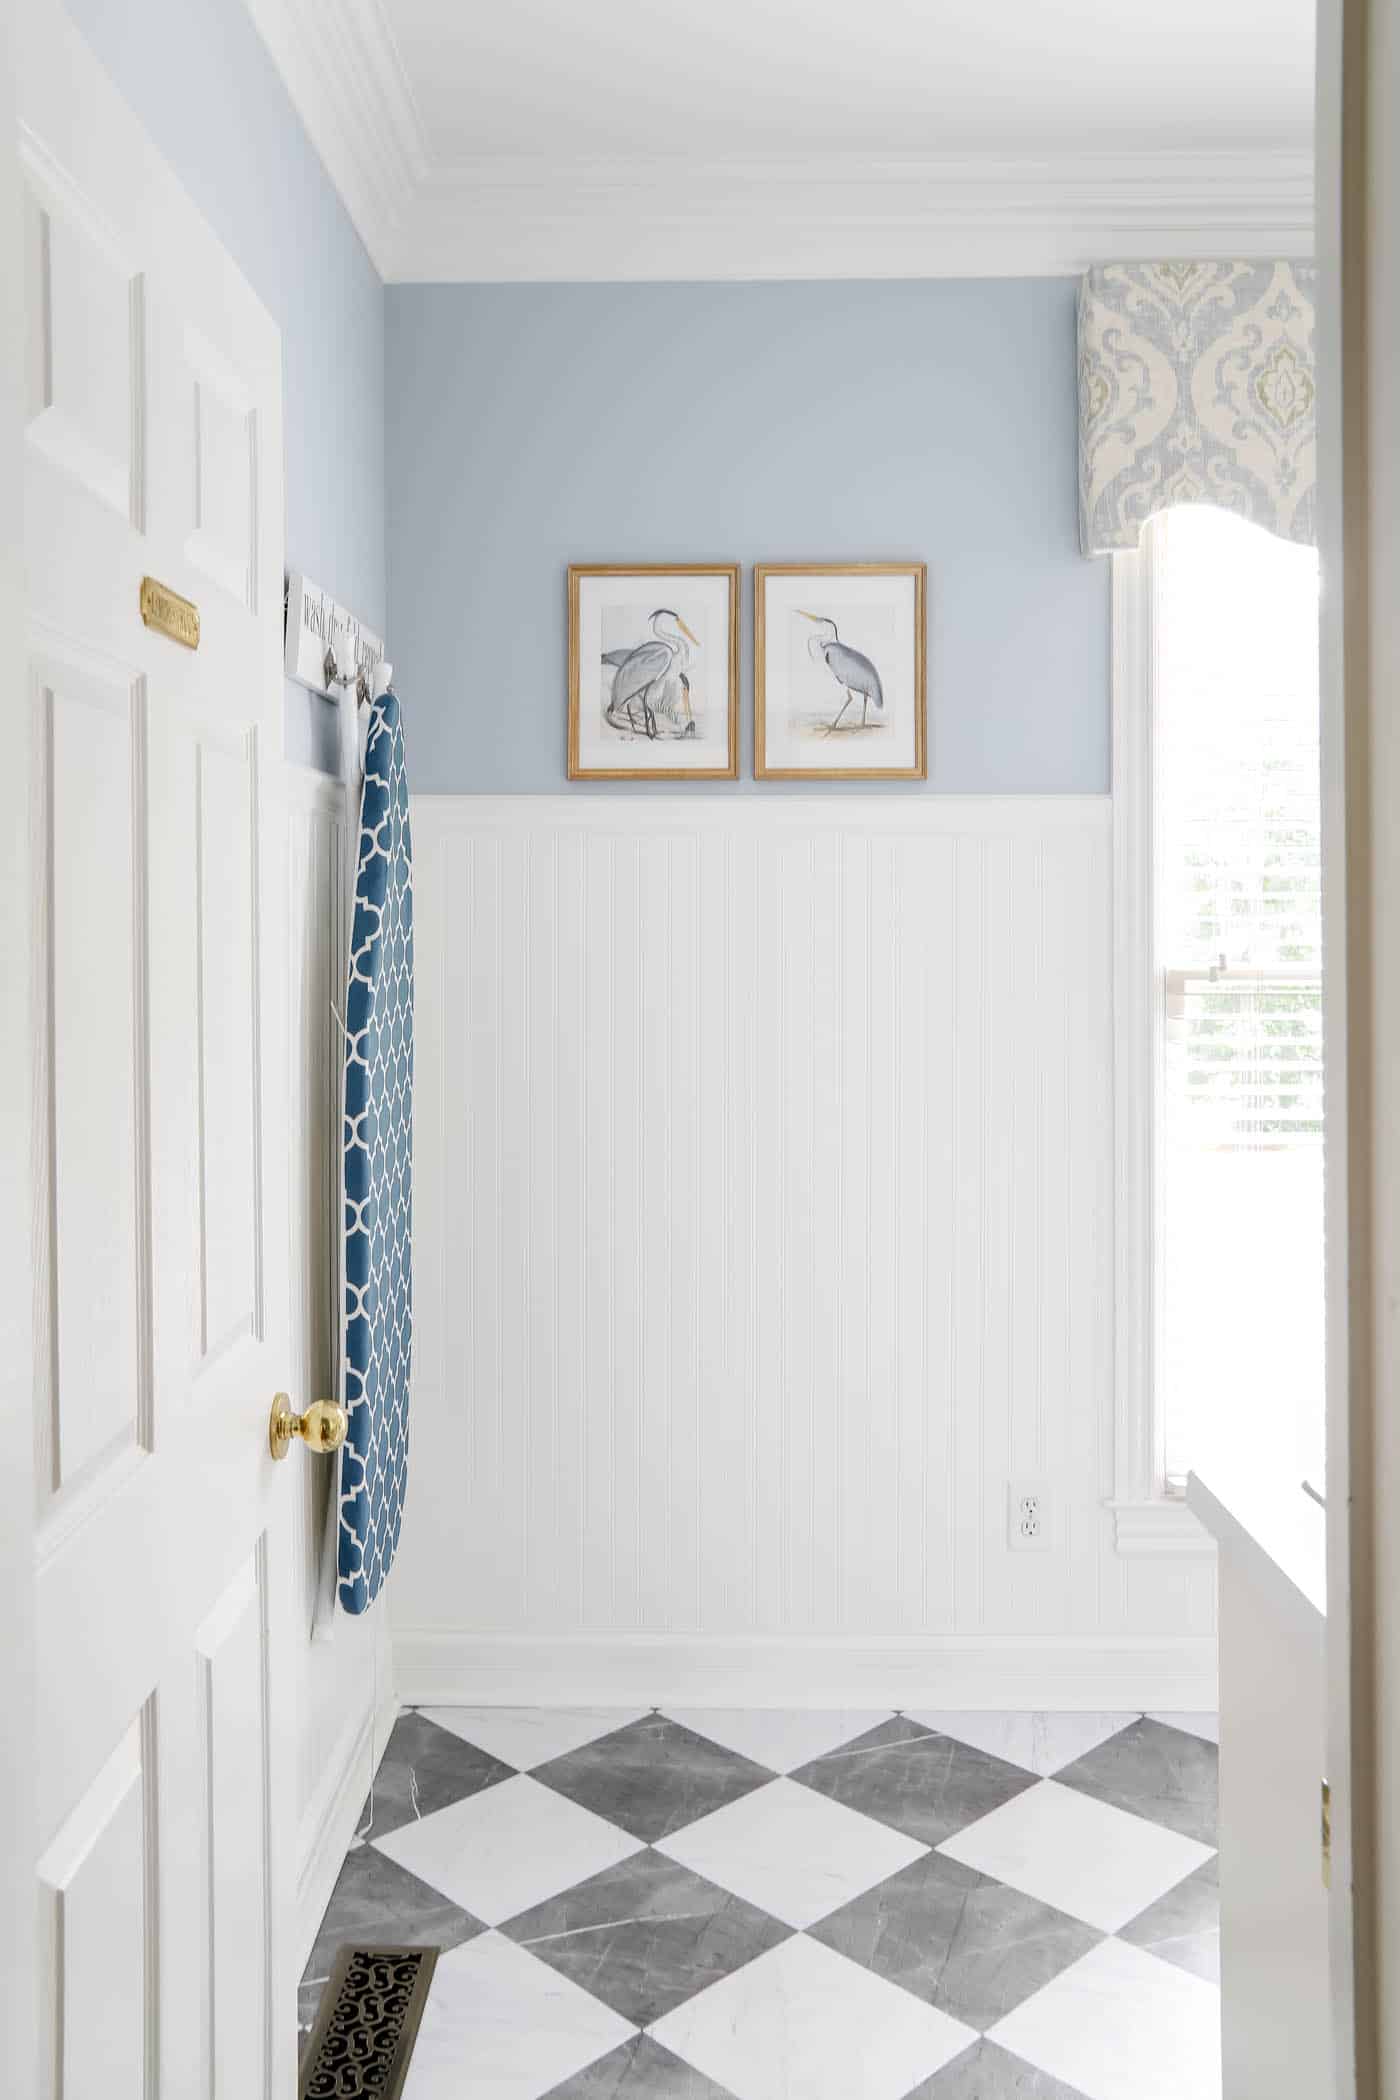
- Add a pretty pattern by way of window treatments in this damask fabric.
- Add bead board to the walls three quarters of the way up the wall. Either paint it Simply White or Comfort Gray.
- Paint the walls the opposite of the bead board. (I still need to decide which element will be which color.)
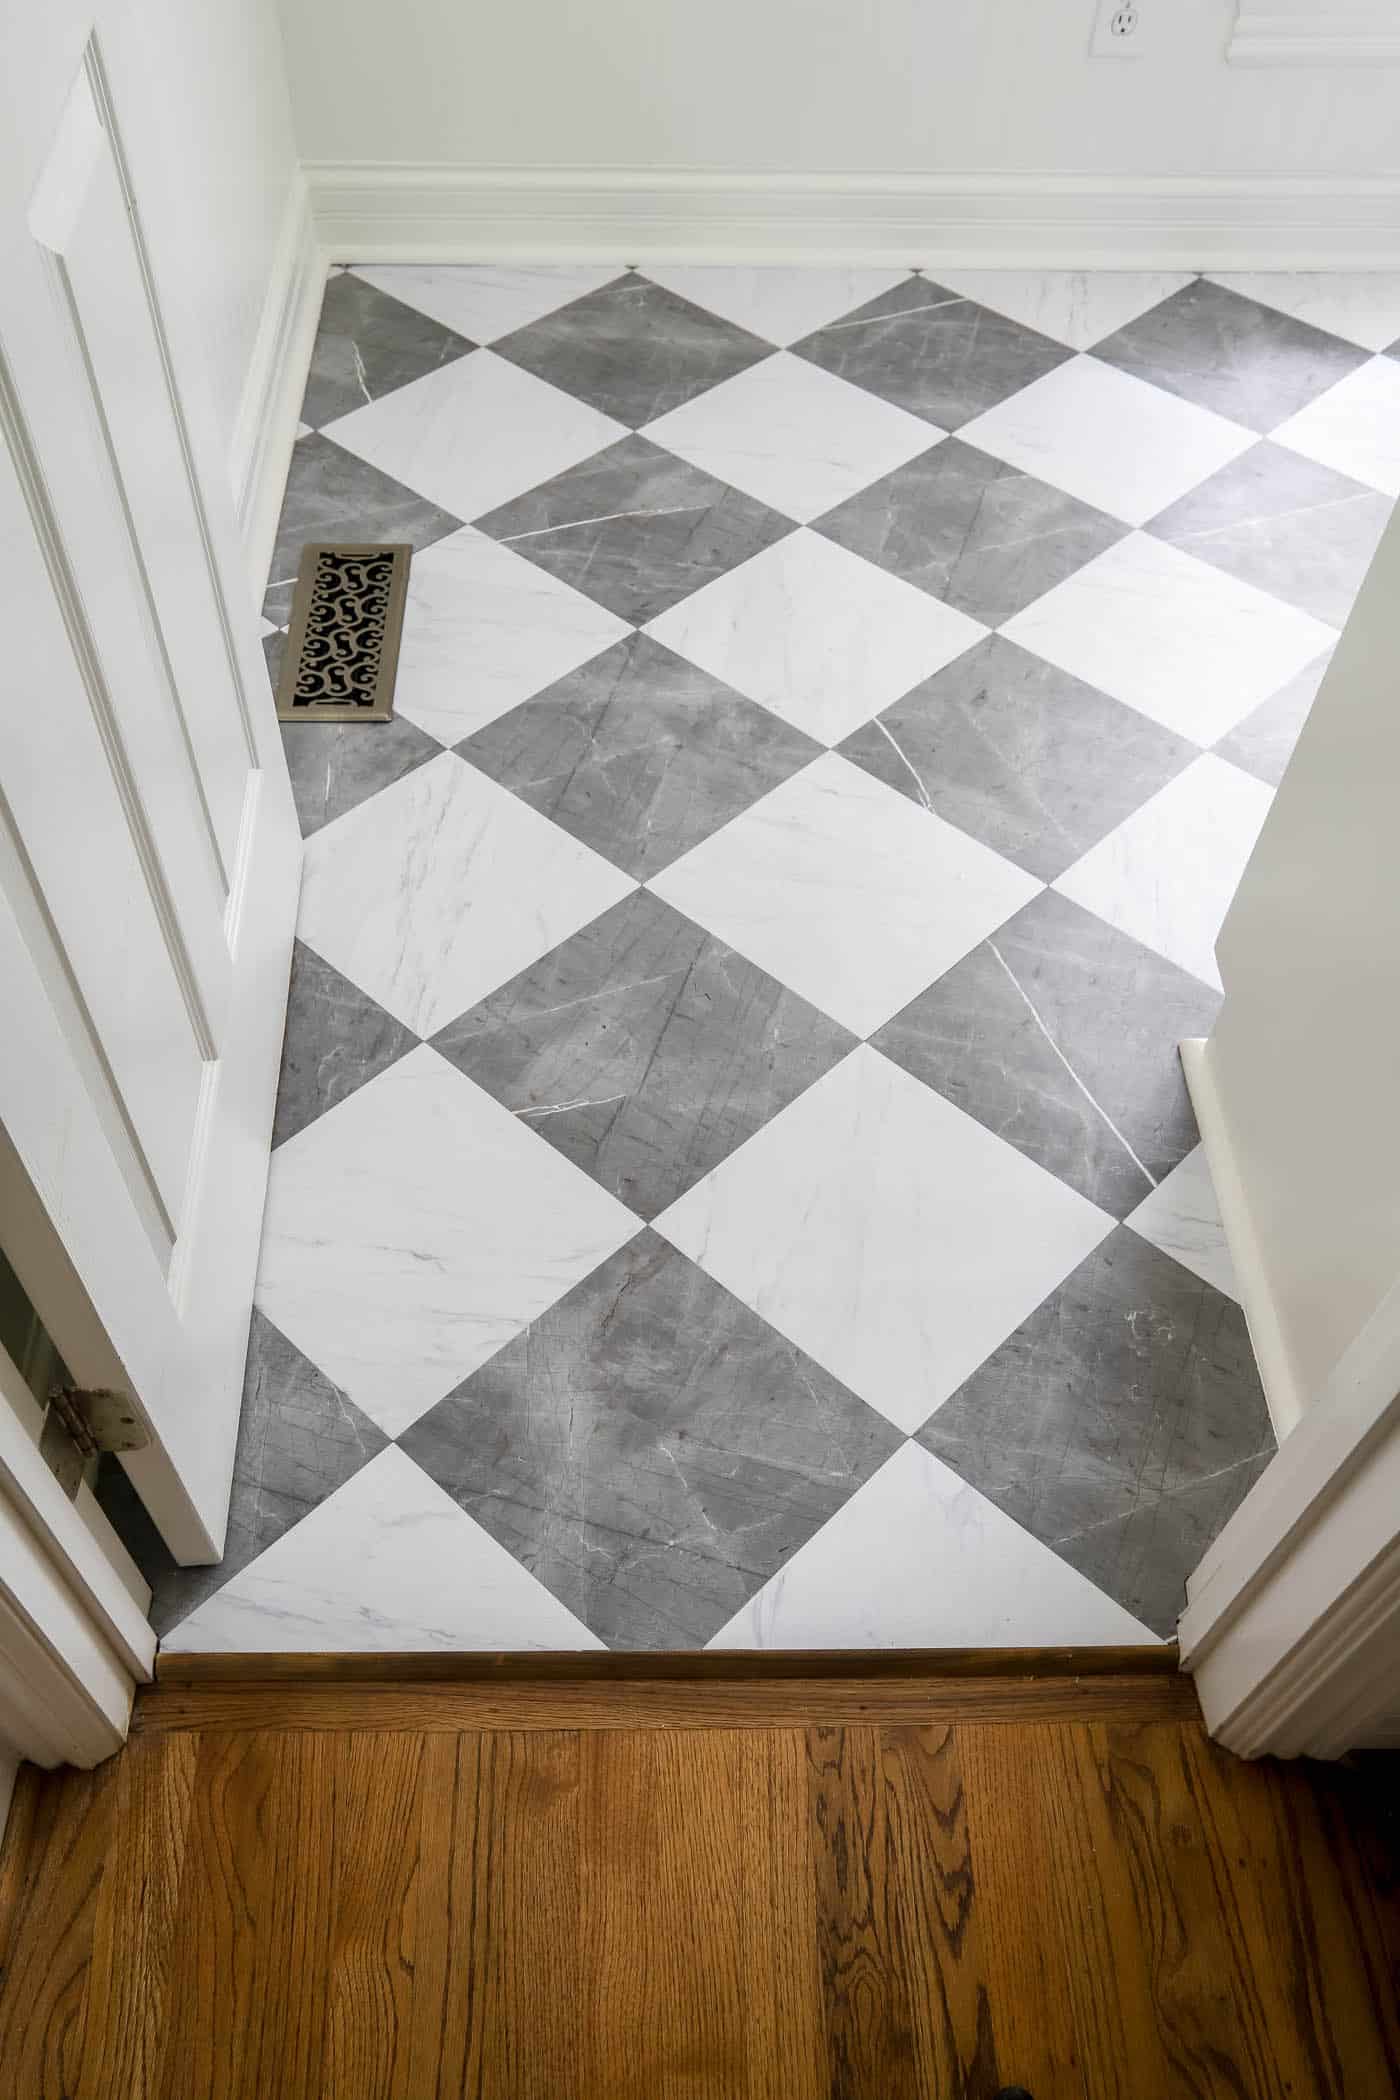
- Add checkerboard “marble” flooring over the existing tile floor. (I have been on the hunt for a DIY flooring option that looking like black and white marble tiles. So, when Chris Loves Julia released their floor tiles with Wall Pops this week, I set my alarm and ordered them! They’re out of stock, but more inventory is coming in August, I believe.)
- Replace the hardware. And maybe add some hooks for mops & brooms.
I’d love to replace my washer and dryer while I’m at it, since they are 10 years old and not the best, but we’ll see if that makes the budget cut!
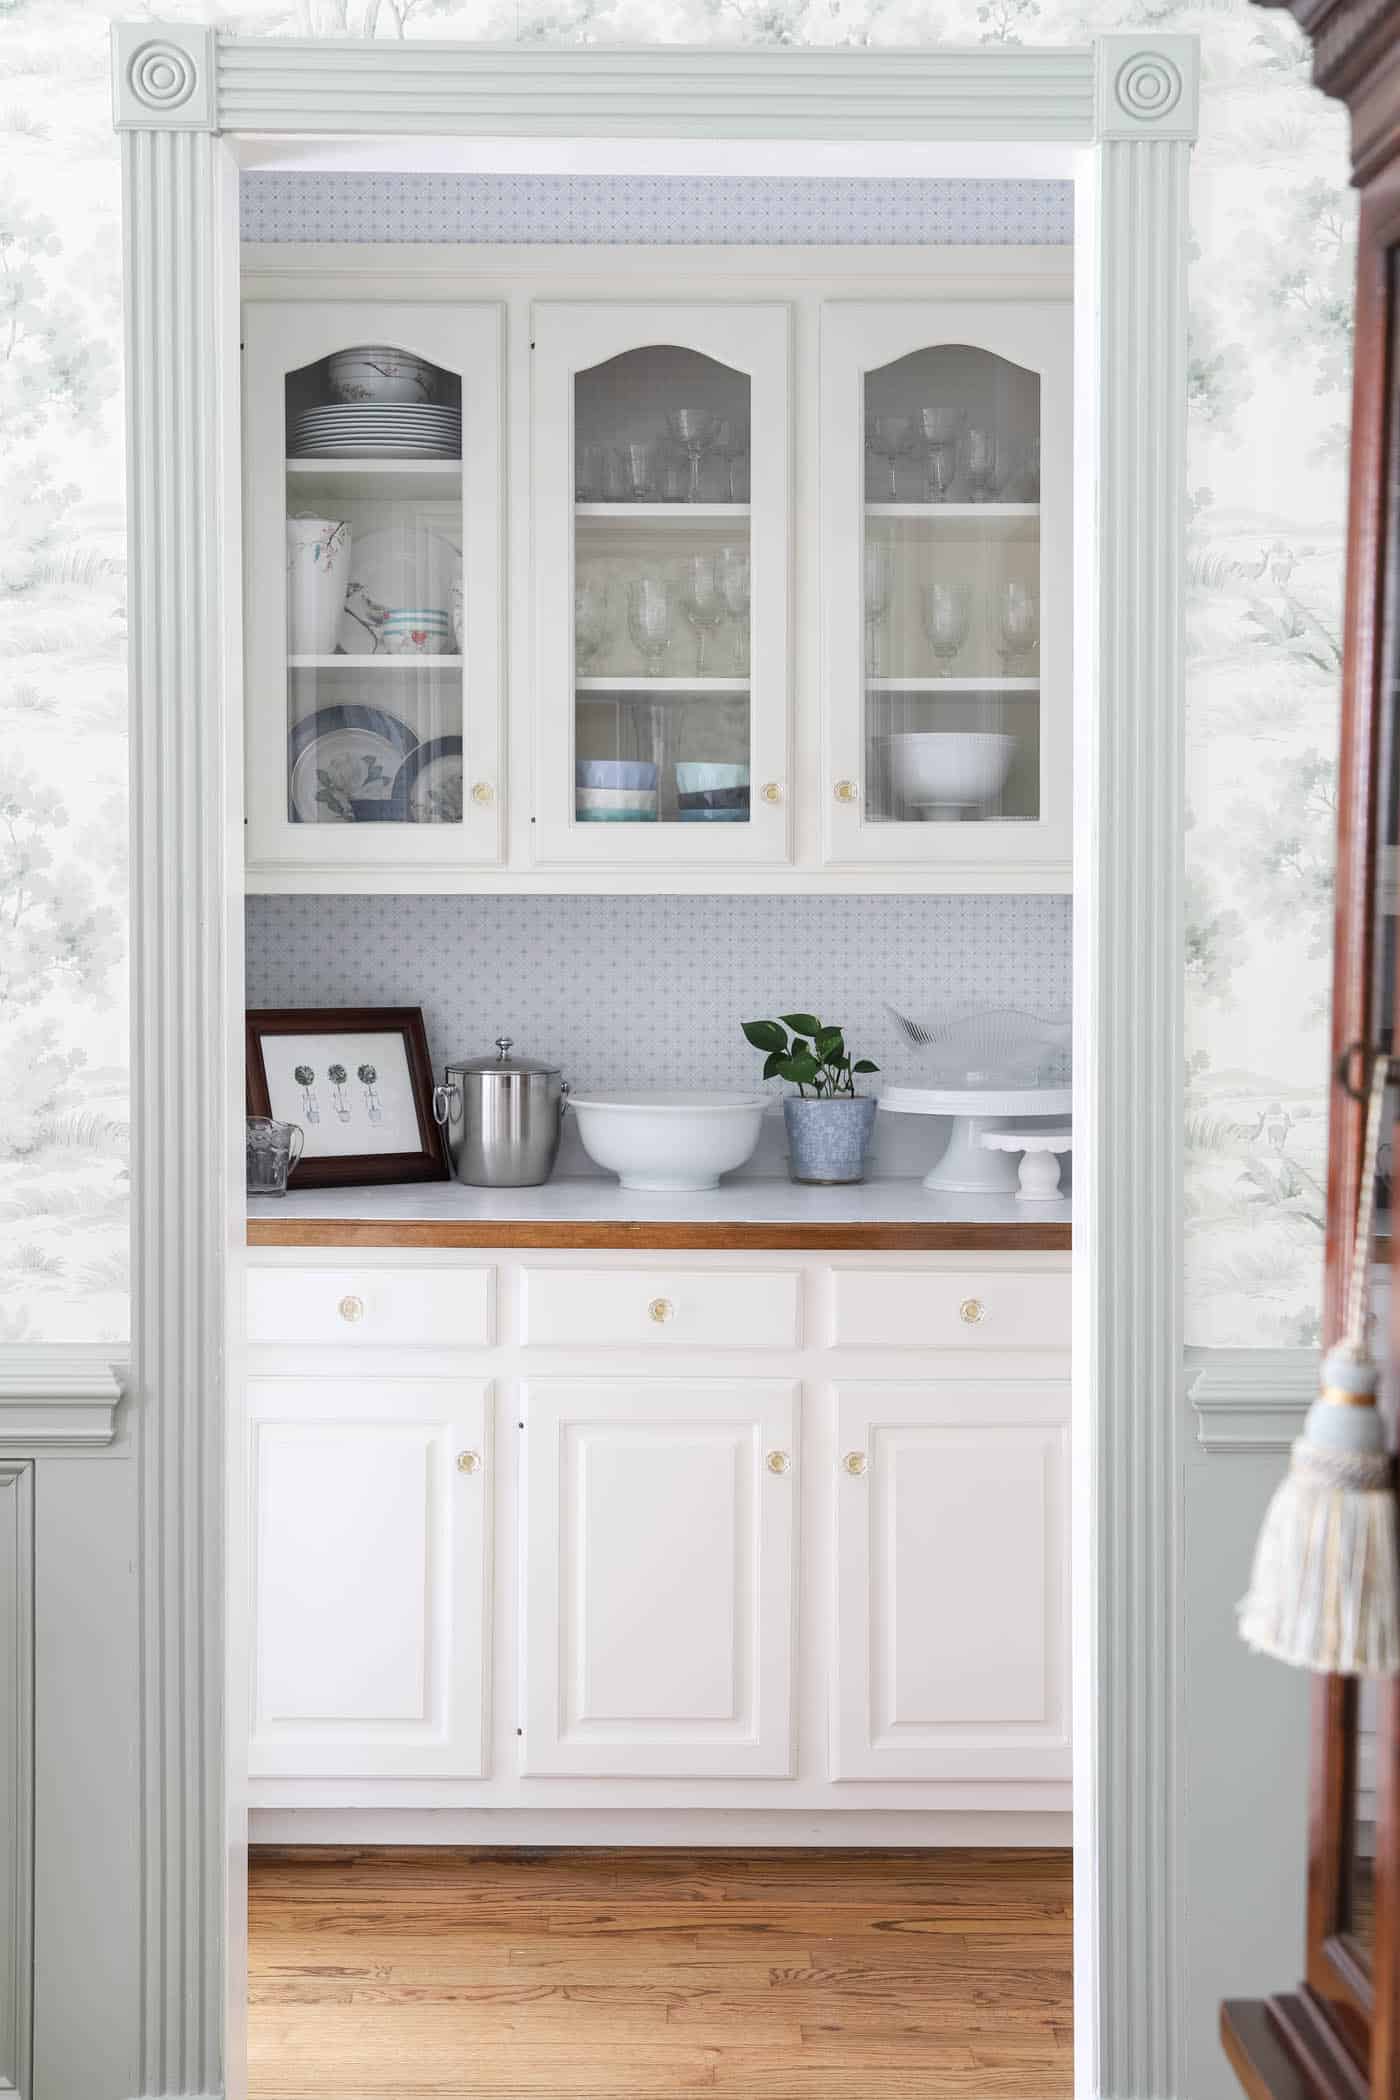
Butler’s Pantry Makeover To-Dos
And then I’ll tackle the butler’s pantry either after the laundry room, or I may do them all at the same time. We’ll see how it goes!
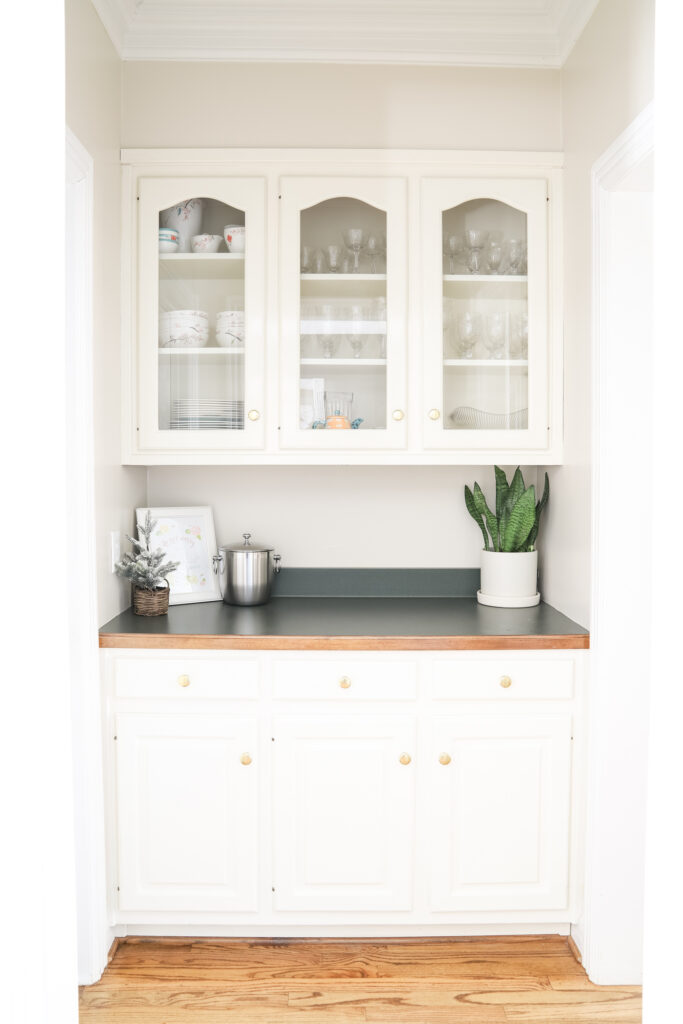
- Replace the countertop with real marble.
- Paint the cabinets in Little Falls (BM).
- Install this gorgeous geometric wallpaper with pops of metallic gold!
I think that covers it! It’ll take me a few months to have the budget for everything and get all of the DIY’s done, but the laundry room flooring is on it’s way! I’ll probably tackle the countertops first, but then the floors will be next.
I can’t wait to share the progress along the way and try some new DIY projects in the process.
Sources for the Laundry Room & Butler’s Pantry Makeover
Tap an image below to shop some of the sources I’ll be using.

I’d love to hear your thoughts in the comments below!!
xo, Laura
You have wonderful paint. Doing laundry will be more enjoyable
Can you tell me the dimensions of your laundry room? We are redoing the back part of our house that includes the laundry room, back bathroom and pantry room. I would like to get an idea of the size of your space.
All the colors and finishes you’ve picked out are gorgeous and flow so well together.
Thanks so much, Angela! It’s a 7′ x 10′ room. 🙂
Love all your color choices and everything always looks so calm and peaceful.
Thank you, Janey! It’s how I talk myself into doing laundry – lol!
Love your choices as usual. Can’t wait to see the end of the project.!! Lots of work ahead, good luck.
Thank you, Patti! It will be a lot of work, but I can’t wait to see it finished!
xo, Laura
I have been hoping to tackle my own laundry room next winter. The drying rack has been on my mind for several years. Ballard Designs was my inspiration, but will go with the option of Home Depot as their home catalog came in the mail yesterday, looks comparable and considerably less expensive.
I have the Pottery Barn drying rack that is, I believe, $130ish. It’s still pricy. But I used it every single day and LOVE it!! I’ll have to take a look at the Home Depot ones. I bet they are perfect! xo, Laura
Can’t wait to see your after!
Thank you, Melanie!!