How to Upgrade Your Home with Beadboard
Are you looking for a way to freshen up your home without breaking the bank? Beadboard is a classic and versatile material that can add depth, texture, and charm to any room.
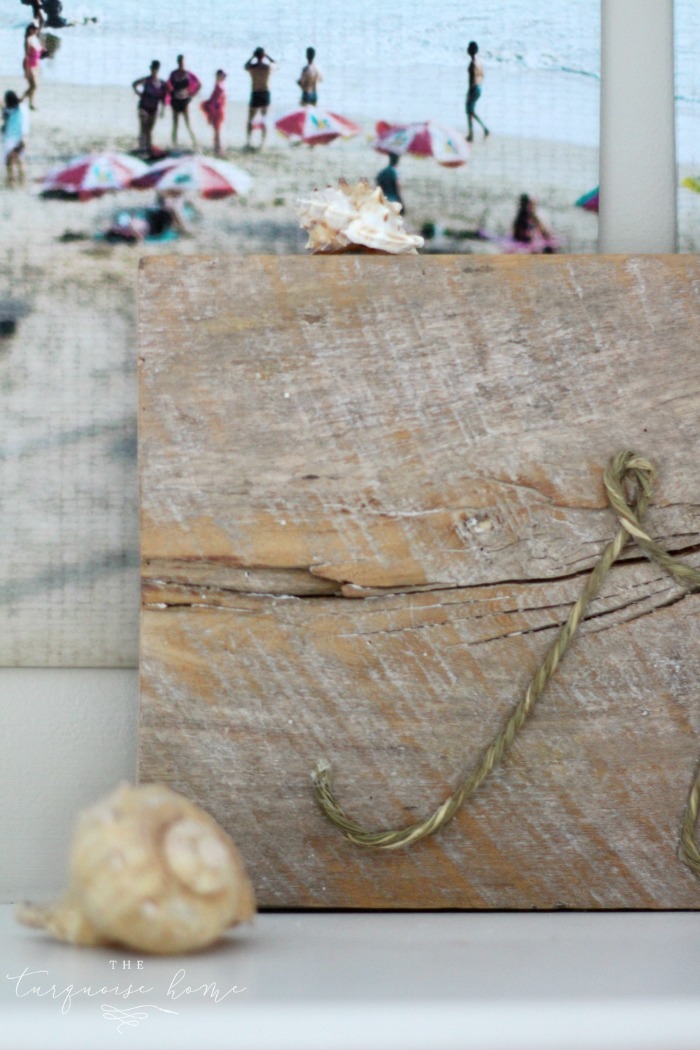
Whether you want to create a coastal-inspired bathroom, a cozy country kitchen, or an elegant hallway, beadboard can help you achieve your desired look. In this blog post, we’ll introduce you to the basics of beadboard and show you how to use it to enhance your home’s style and functionality.
I’ve installed a number of wall treatments, including board and batten and picture frame molding.
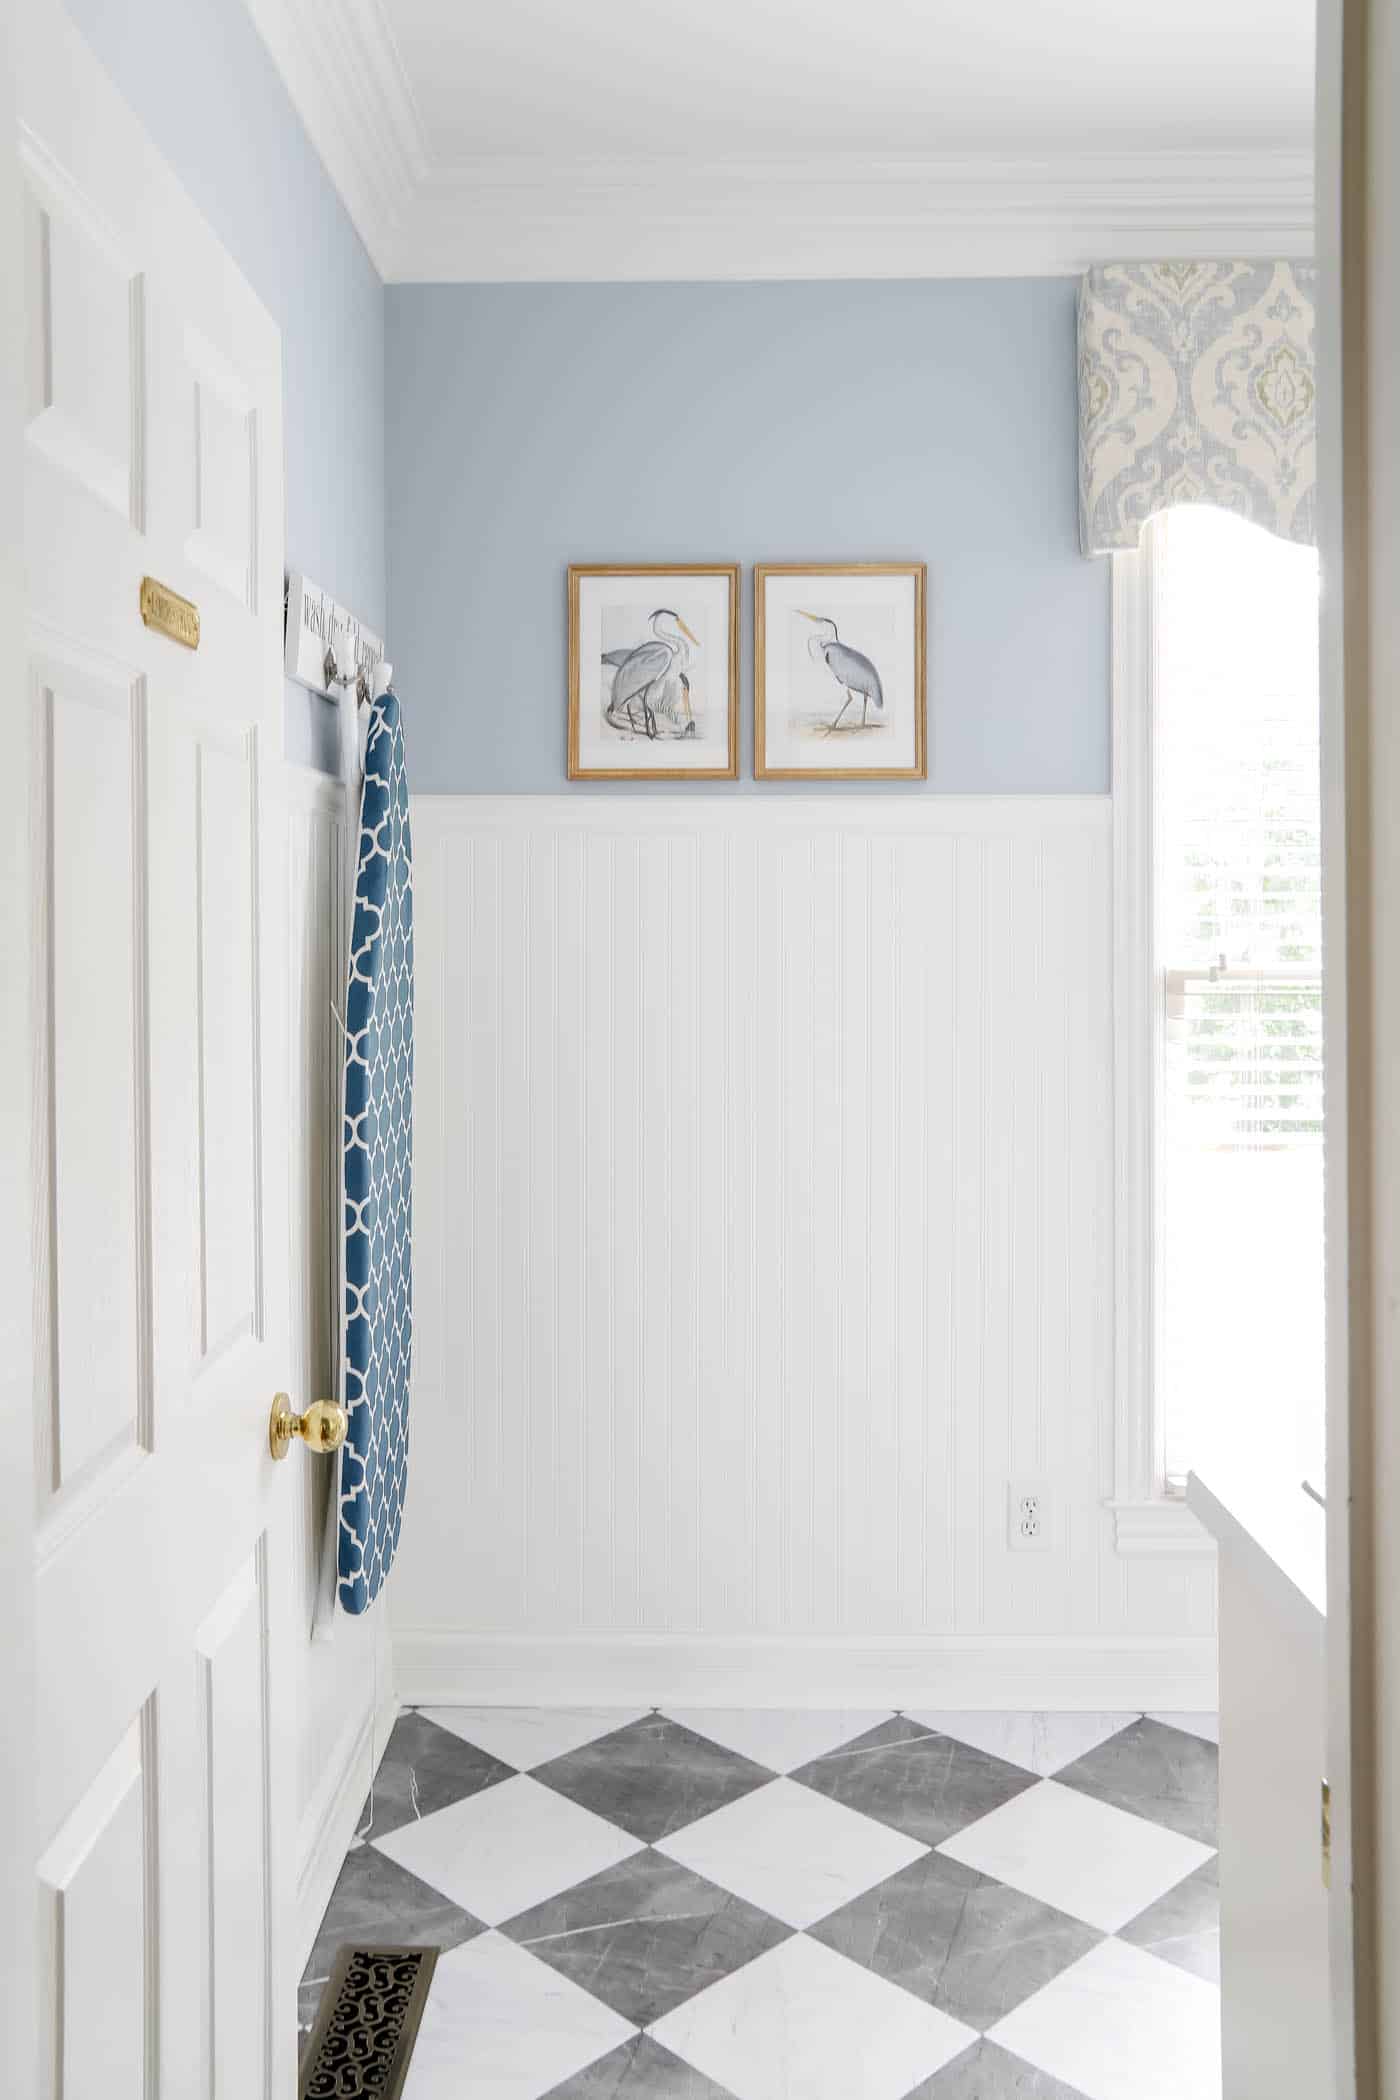
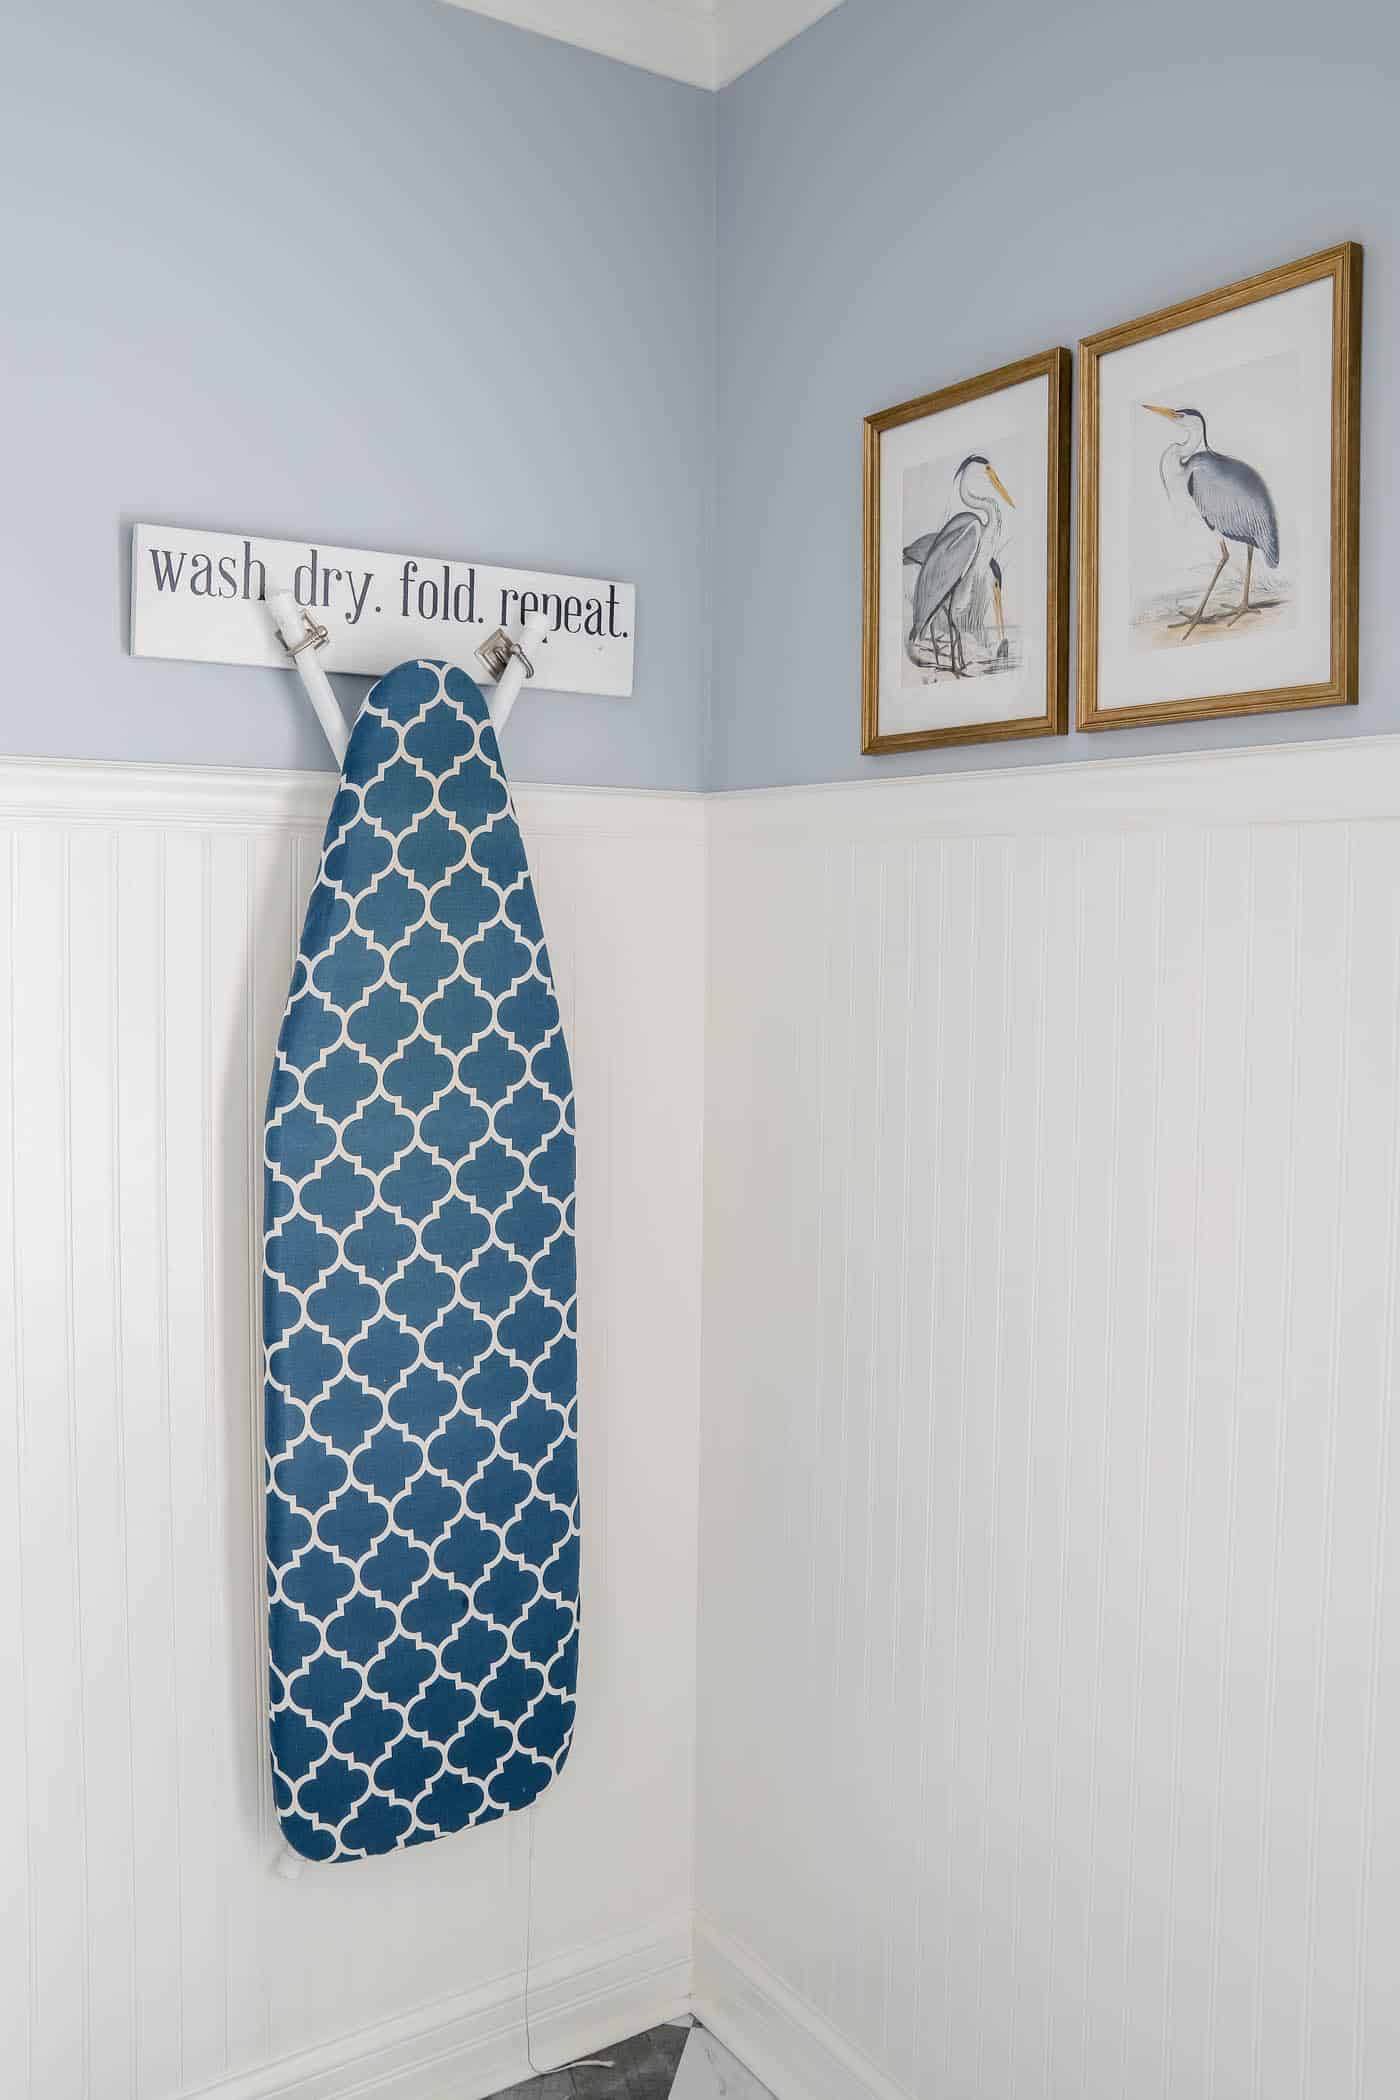
But I recently installed beadboard in my newly made-over laundry room! It’s a beautiful wall treatment that doesn’t cost too much, especially if you only do a portion of a small room, like I did.
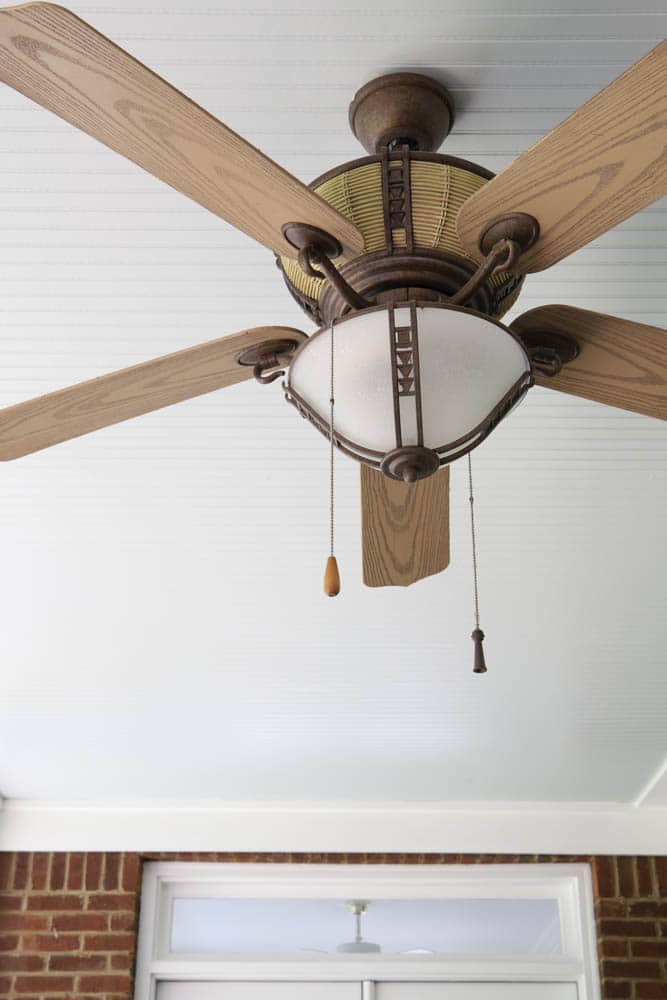
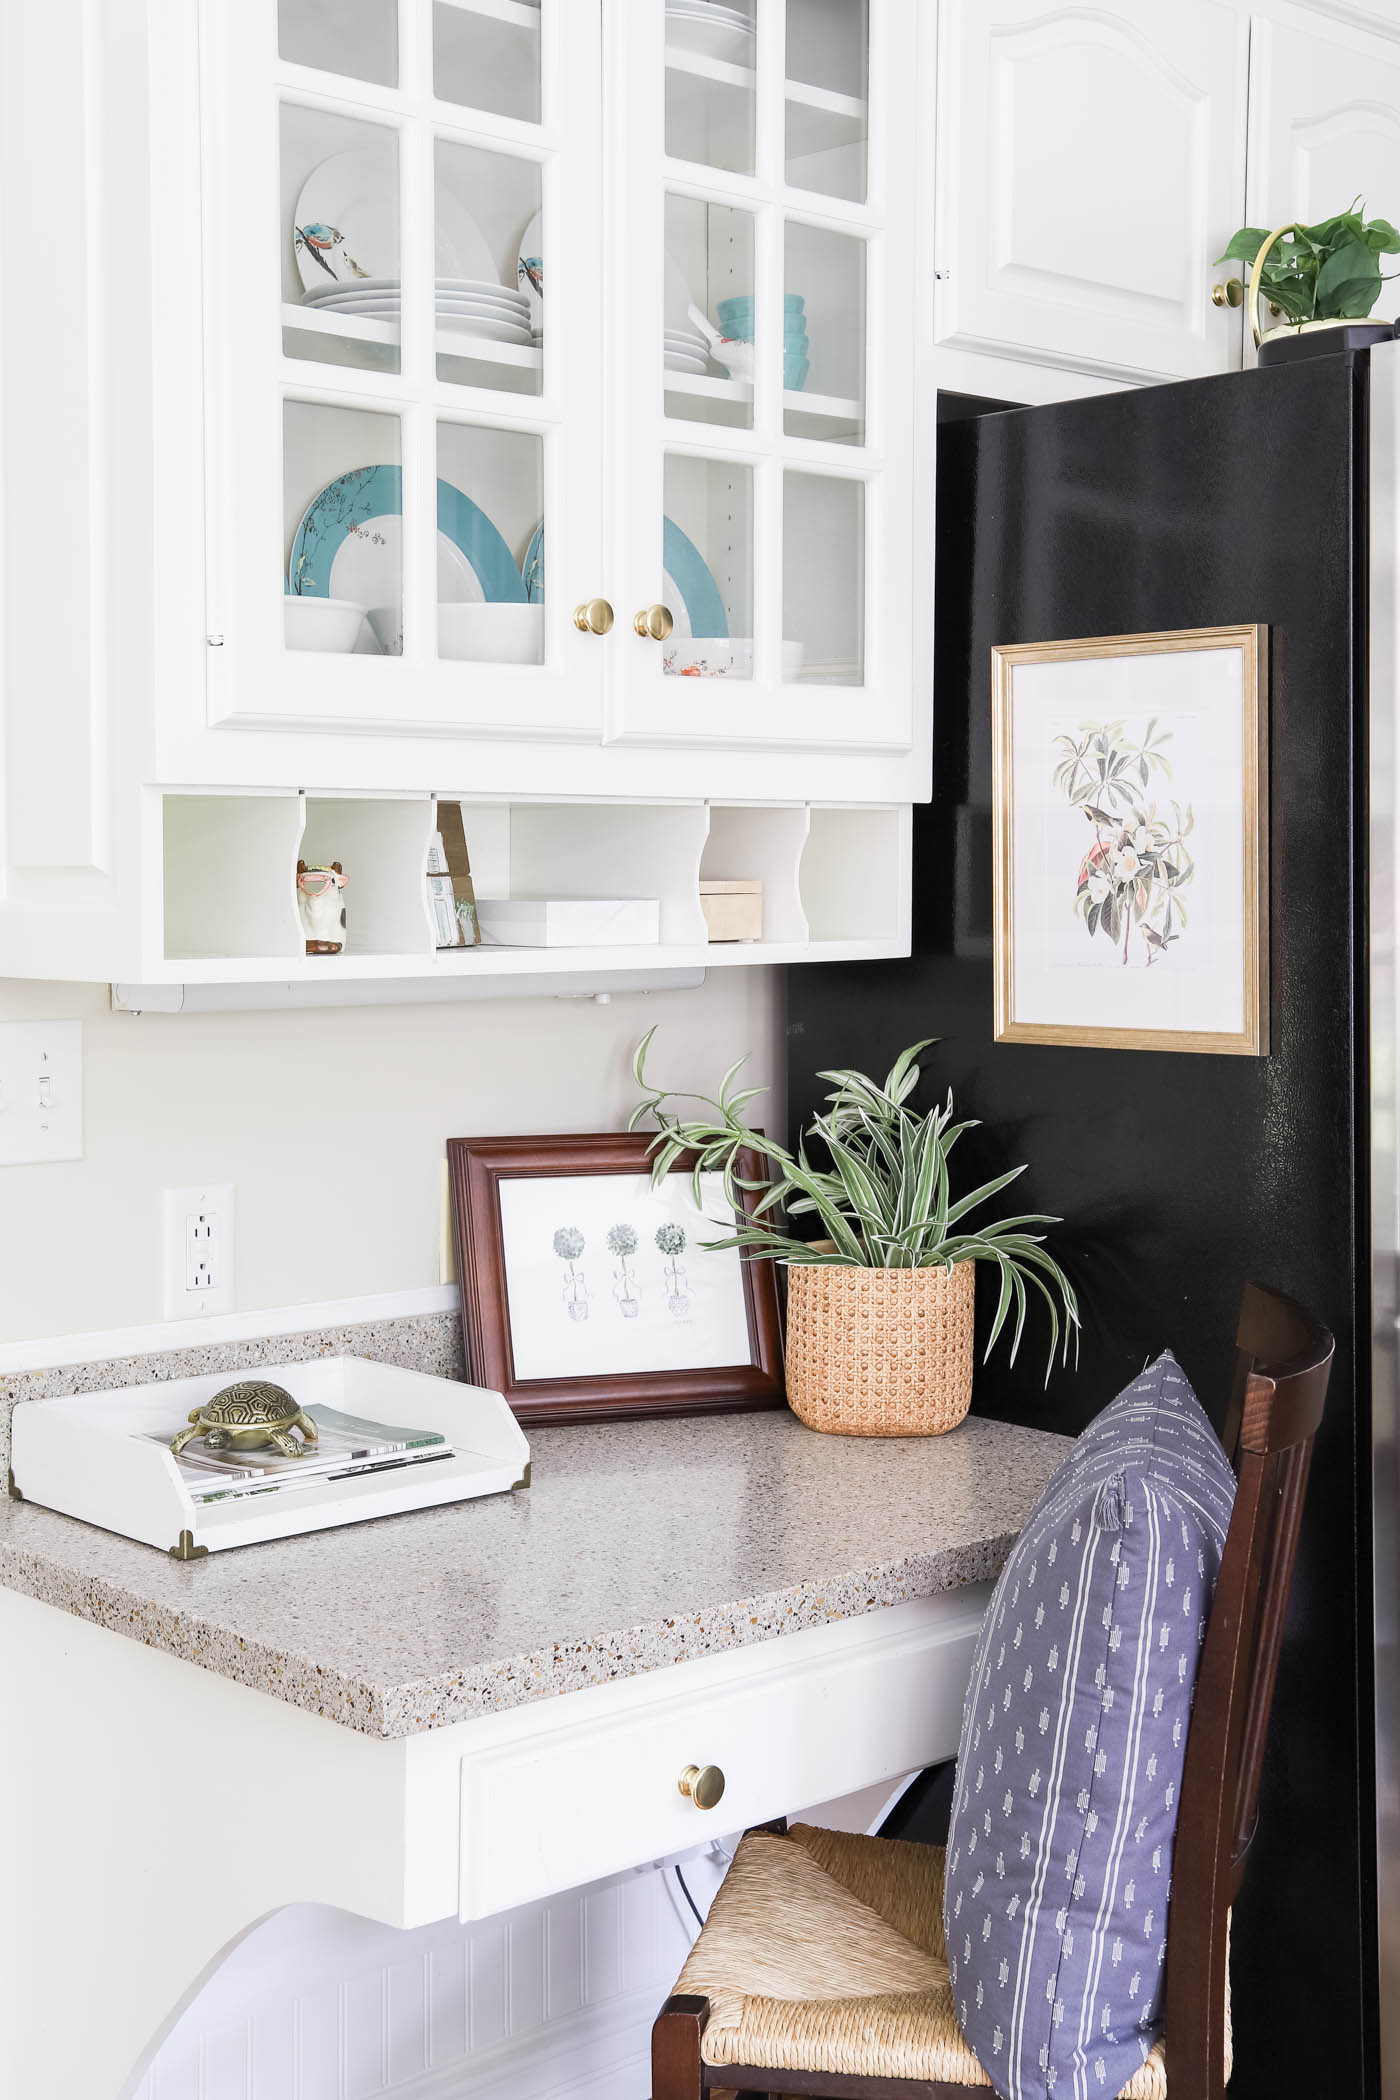
We also have beadboard on the ceiling of our back porch and the half wall of the screened-in porch. It’s such a beautifully traditional style and I love it throughout the home.
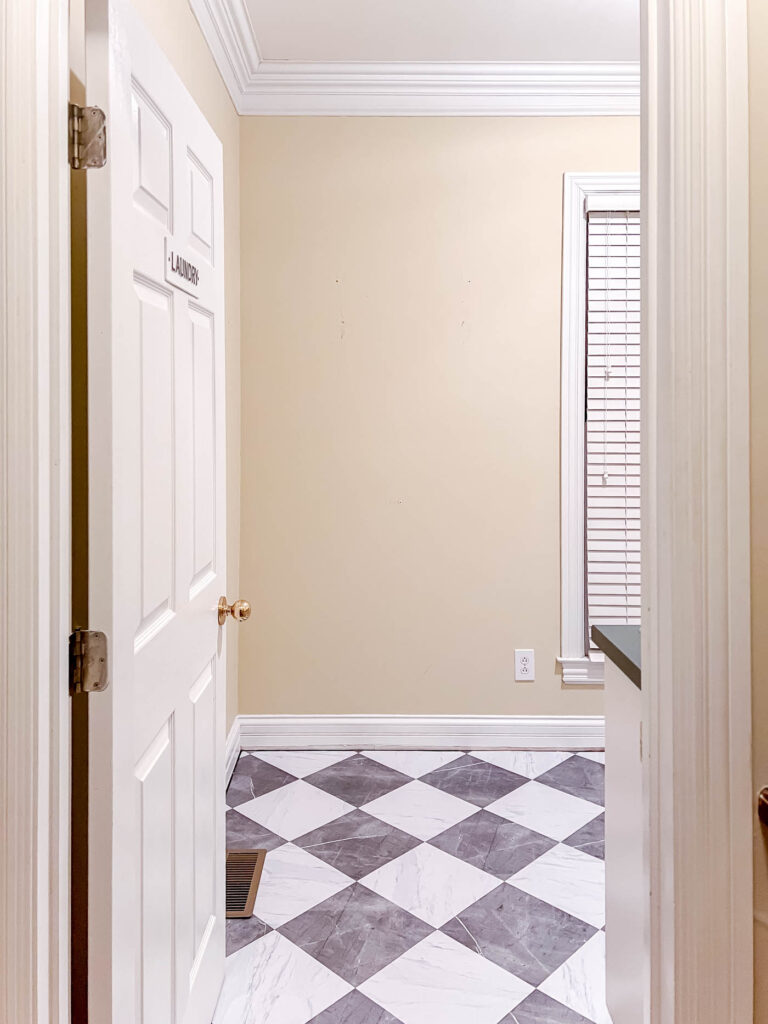
Let’s not forget how this laundry room looked when I first started. It was in desperate need of some character and interest! (And this was after I already added checkerboard peel & stick tiles to the floor!)
What is beadboard?
Beadboard is a type of paneling made of narrow, tongue-and-groove boards that fit closely together to create a flush, seamless look. The boards are usually made of wood, MDF (medium-density fiberboard), or PVC (polyvinyl chloride).
You can also get the look in paneled sheets that mimic the tongue and groove look.
Beadboard gets its name from the small, rounded ridge (or “bead”) that runs along the edge of each board. This bead adds subtle detail and shadow lines to the surface and helps to create a cohesive pattern across the entire wall.
Where can you use beadboard?
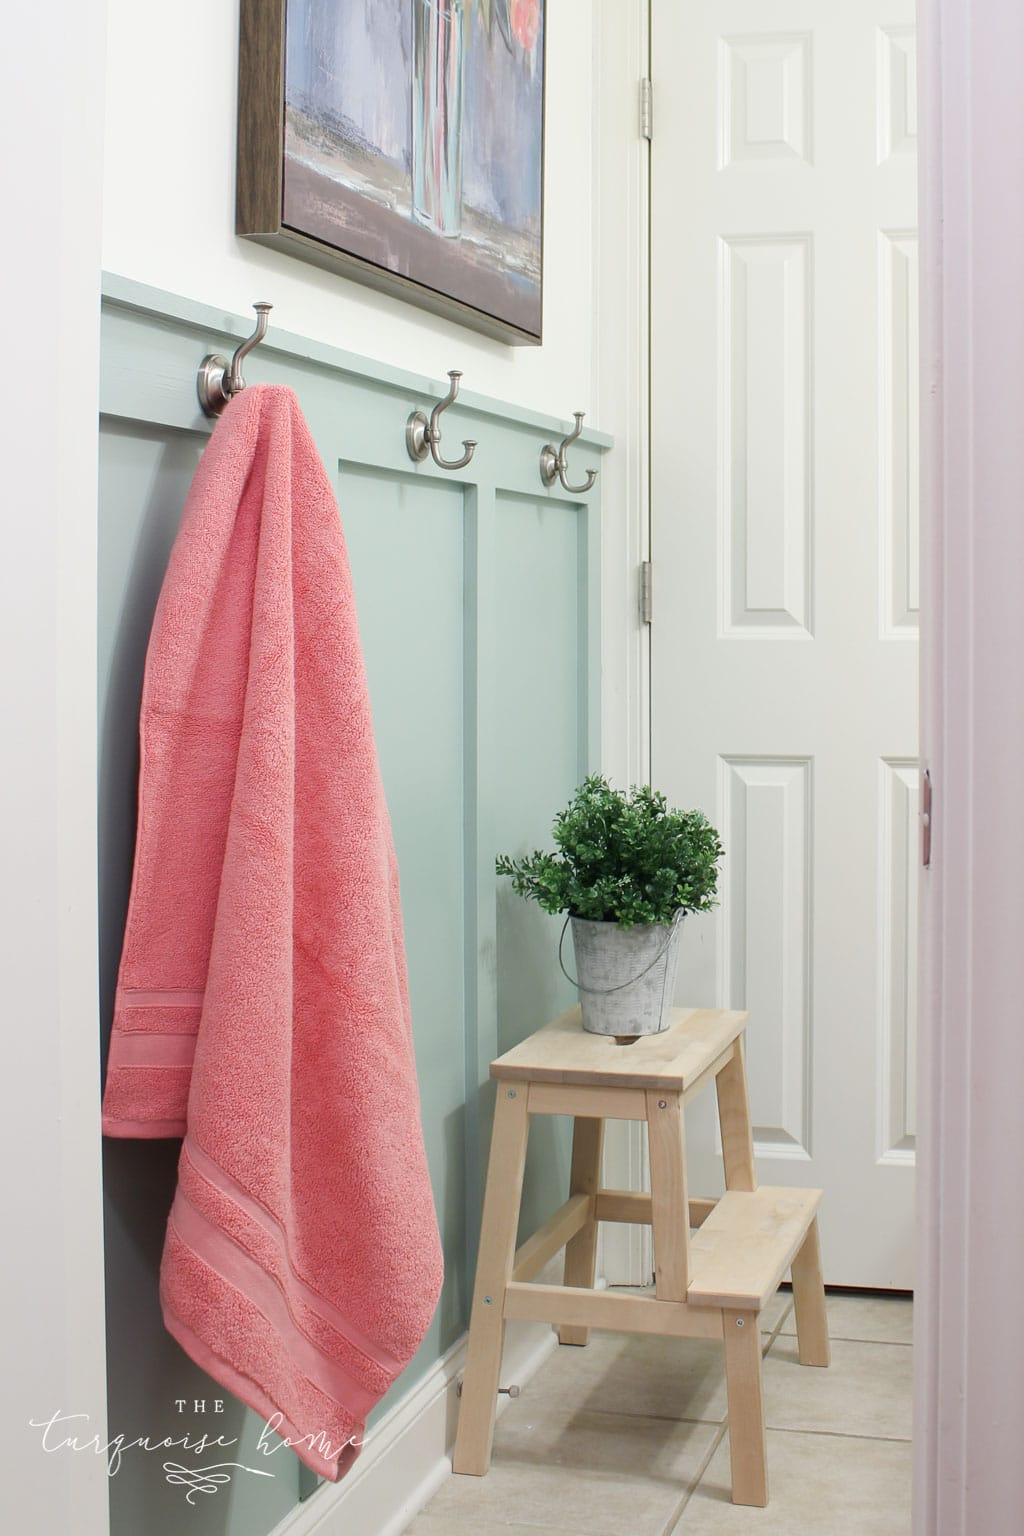
Beadboard can be used in any room of the house, from the mudroom to the laundry room to the bedroom. It can be used instead of wainscoting on the lower half of a wall, then topped with a vertical chair rail or molding.
Beadboard can also be used as a full-wall treatment, covering the entire wall height, from floor to ceiling. This can make a room feel taller and more spacious, as well as add texture and warmth. Full-wall beadboard can work well in living rooms, dining rooms, and bedrooms, especially if paired with crown molding or painted in a soft, neutral color.
It’s also an excellent ceiling cover for unsightly ceilings or if you want to cover over a popcorn ceiling without the messy removal process. It’s a beautiful way to add a custom look to the 5th wall of the room. My back patio has beadboard on the ceiling.
Beadboard vs. Wainscoting
Beadboard is commonly used interchangeably with wainscoting, but they aren’t quite the same thing.
Wainscoting is a combination of a baseboard, then a flat board attached to the wall, then finished with a chair rail or molding on the top. It can also have added dimension with some type of picture frame molding on top of the flat board.
Wainscoting protects the walls from scuffs, scratches, and moisture, while also adding visual interest and style.
Beadboard, on the other hand, is a grooved panel that can cover any size surface on the wall. But, it can be used as a wainscoting treatment if it only covers the lower part of the wall and is finished with a chair rail.
Beadboard used as wainscoting is particularly popular in bathrooms, where it can create a spa-like atmosphere and evoke a sense of vintage charm.

This post contains affiliate links for your convenience. See my full disclosure policy.
Supplies Needed to Install Beadboard
- Beadboard panels
- Circular Saw
- Jigsaw
- Liquid Nails construction adhesive
- Caulk gun
- Measuring tape
- Level
- Nail gun
- Brad nails ( or panel nails)
- Poster board or printer paper for templates, optional
- Outlet Extender Boxes
- Wood Filler
- Caulk
- Paint
- Paint Brush and Roller
How do you install beadboard?
Installing beadboard might seem intimidating, but with the right tools and techniques, it’s a relatively straightforward process.
1. Measure the Walls and Buy Your Supplies
First, you’ll need to measure your wall and determine how many boards you’ll need. You’ll also need to choose the type of beadboard you want (wood, MDF, or PVC).
Make a note if you want to use the beadboard panels for the entire wall or just a portion of the wall. If you aren’t going to use the paneling on the whole wall, either choose the height to be one-third of the wall height or two-thirds of the wall height. This is the most visually appealing.
I decided to make mine the height of two-thirds of the wall.
2. Cut the Panels to Size
Once you have your materials, you can start by marking the height of the wainscoting or full-wall treatment on your wall. Cut your boards down to size with a circular saw or have them cut at the hardware store.
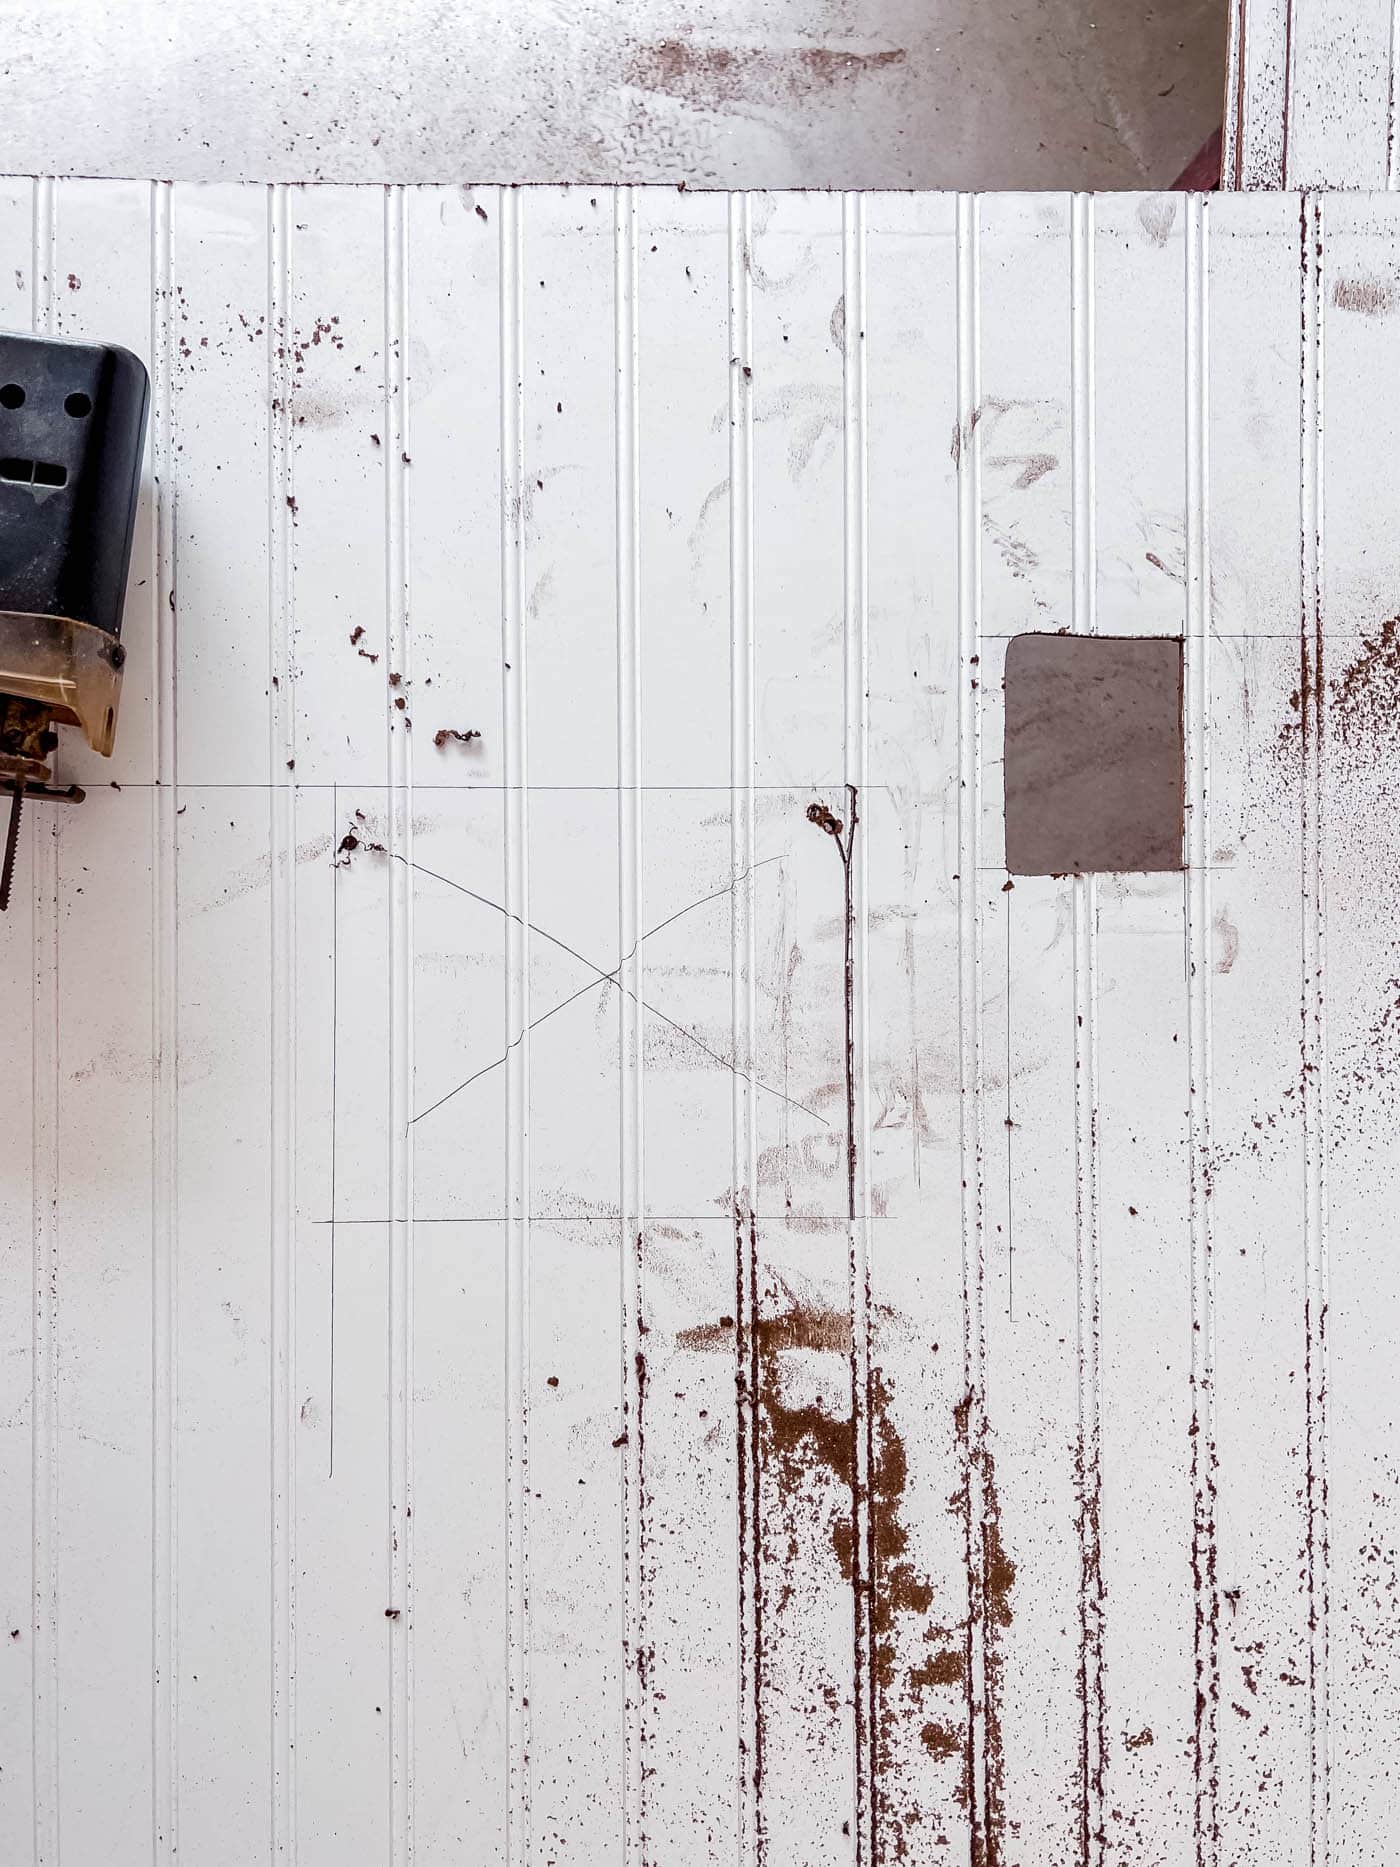
Cut out any openings where the panels will cover an electrical outlet or light switch.
Make a template with poster board or computer paper to cut around any obstructions on the walls like window casings or door frames.
3. Attach the Panel to the Wall
First, dry fit the panel on the wall to make sure it fits.
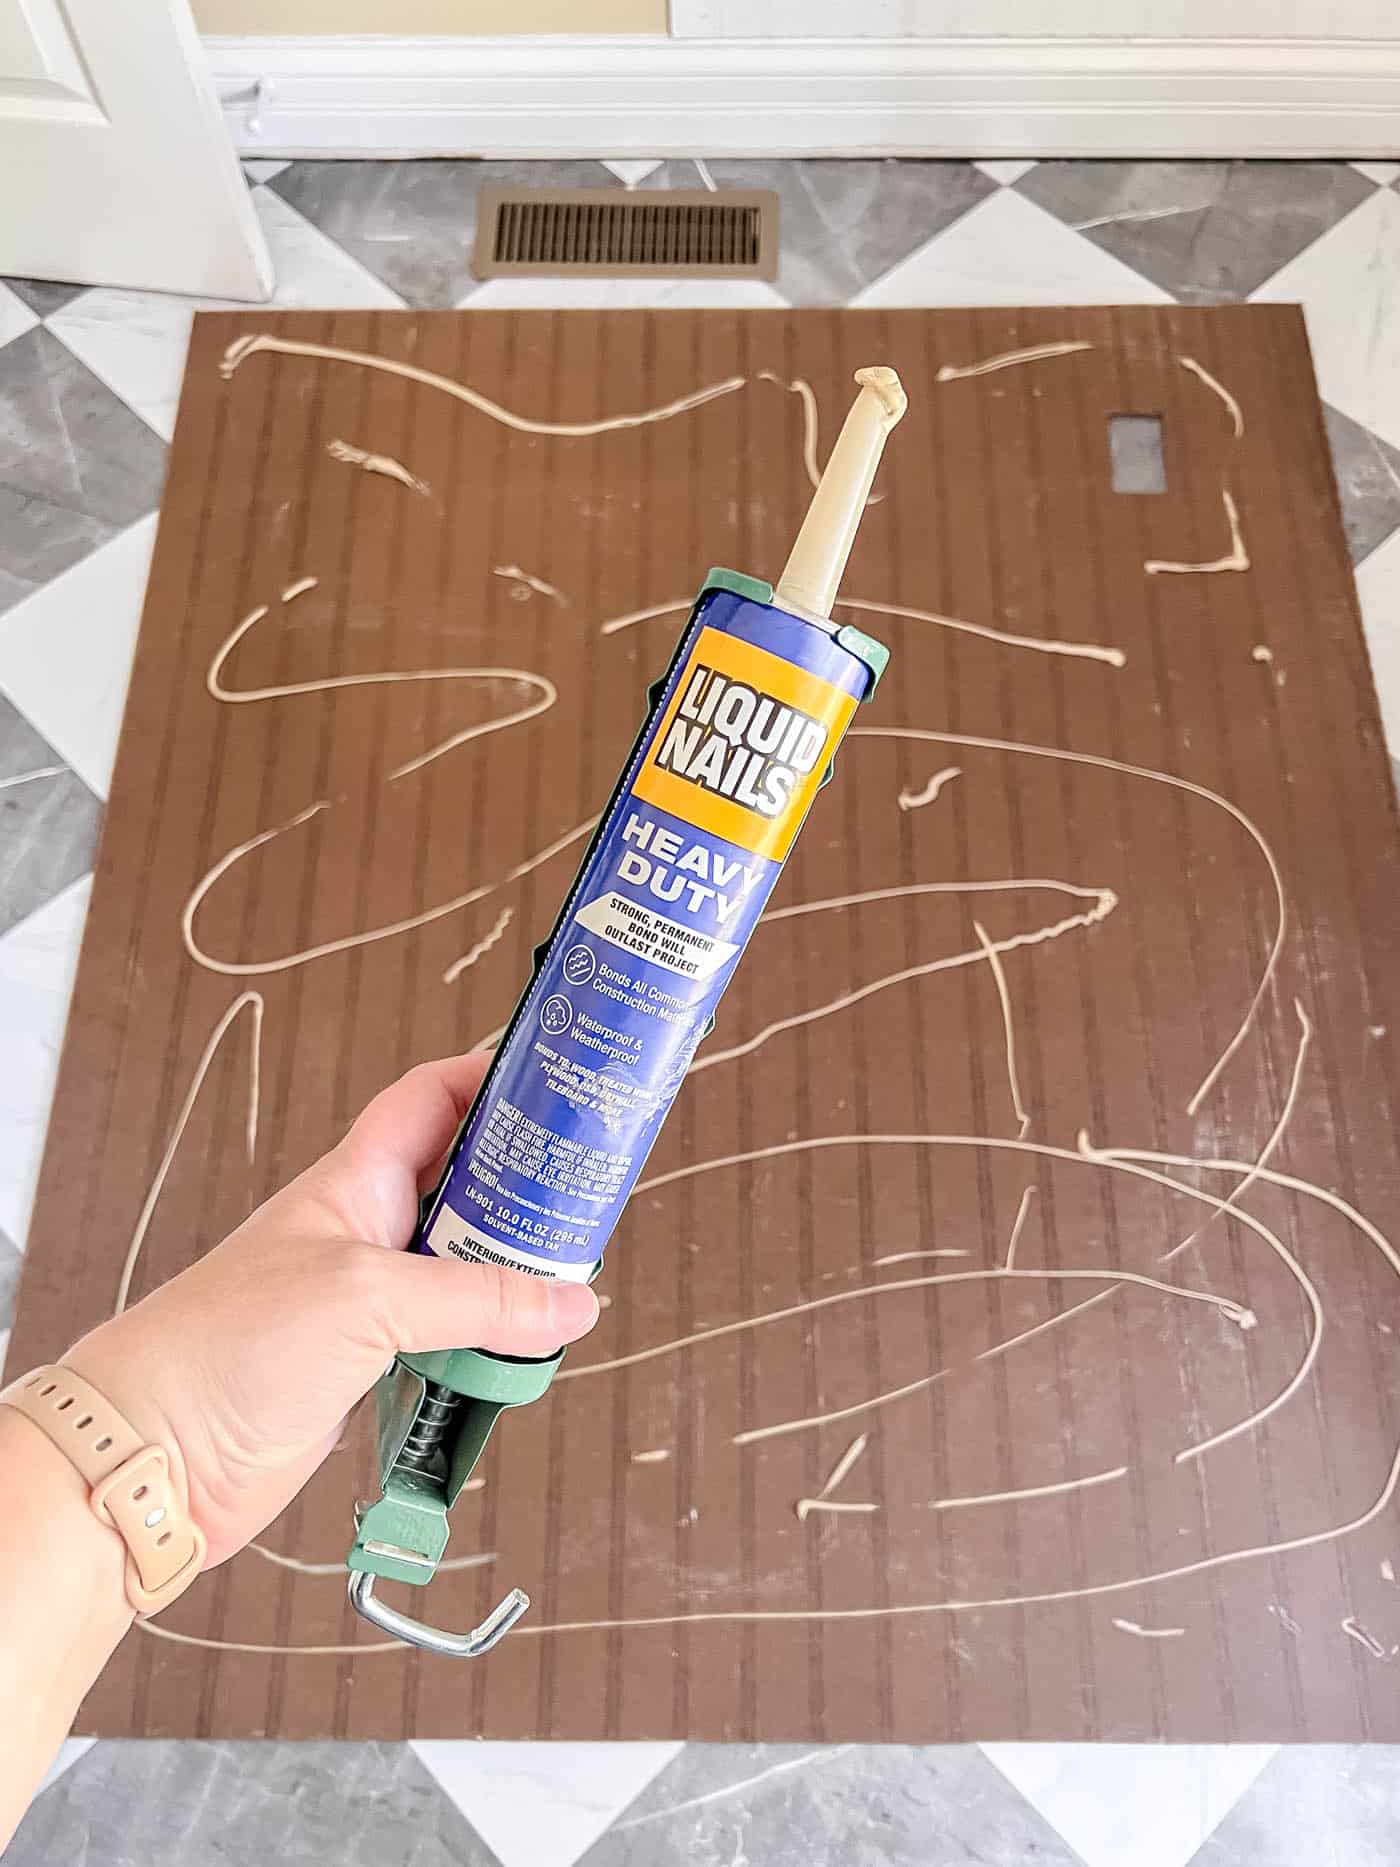
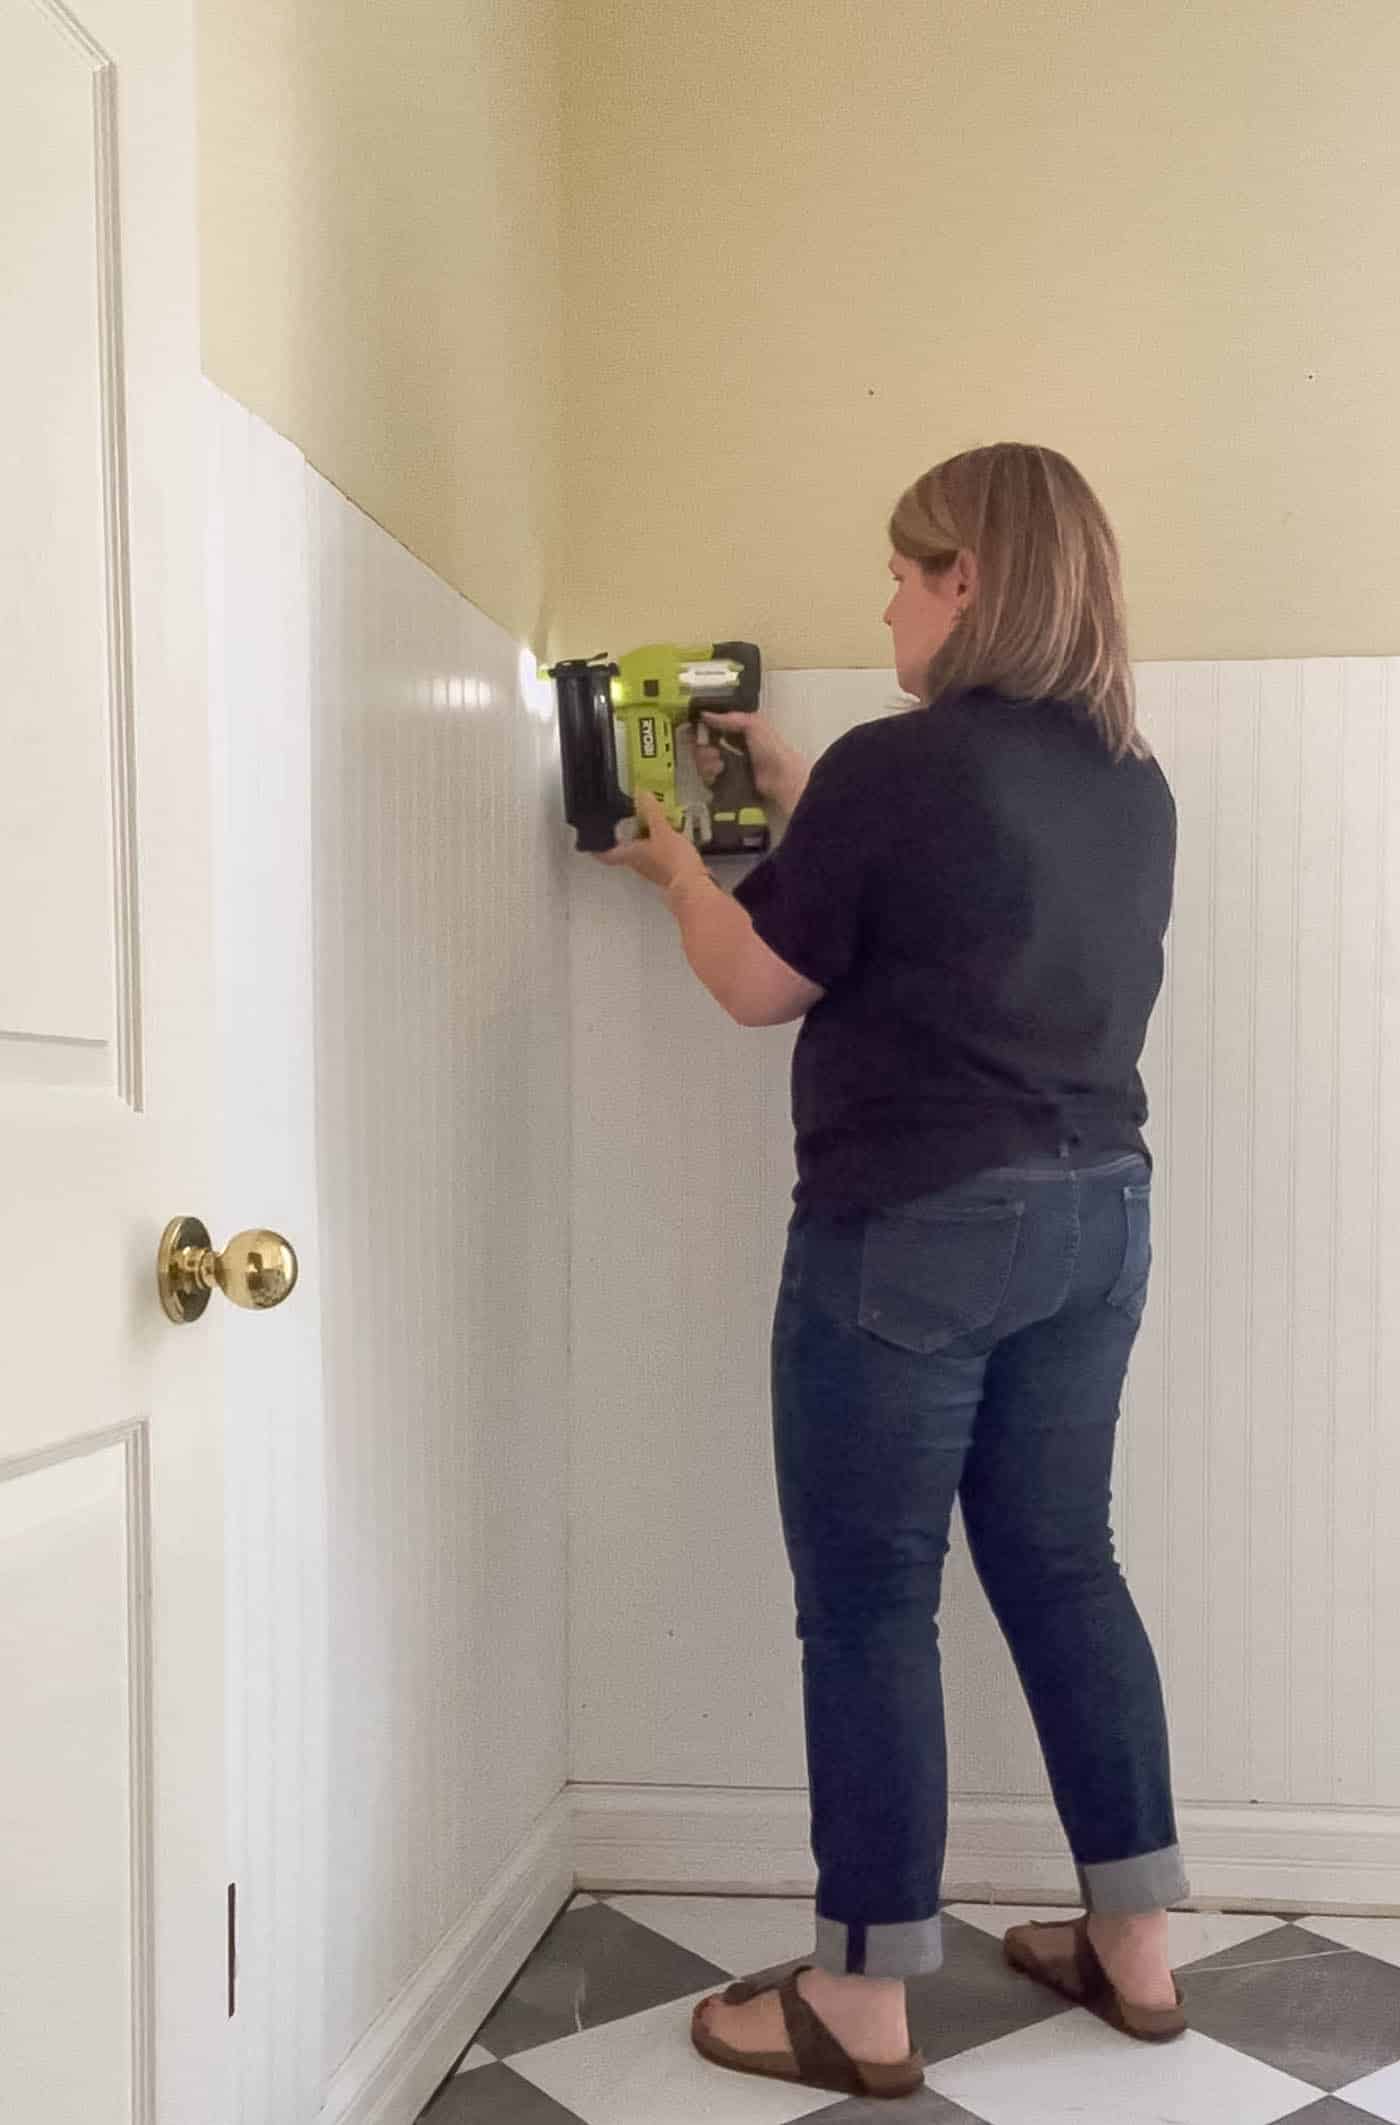
Then, you’ll apply adhesive (either construction adhesive or liquid nails) to the back of each panel, and press them firmly onto the wall. You’ll also need to nail or screw each panel into place to ensure it’s secure and level. I used the brad nails and my nail gun to secure the panels to the wall.
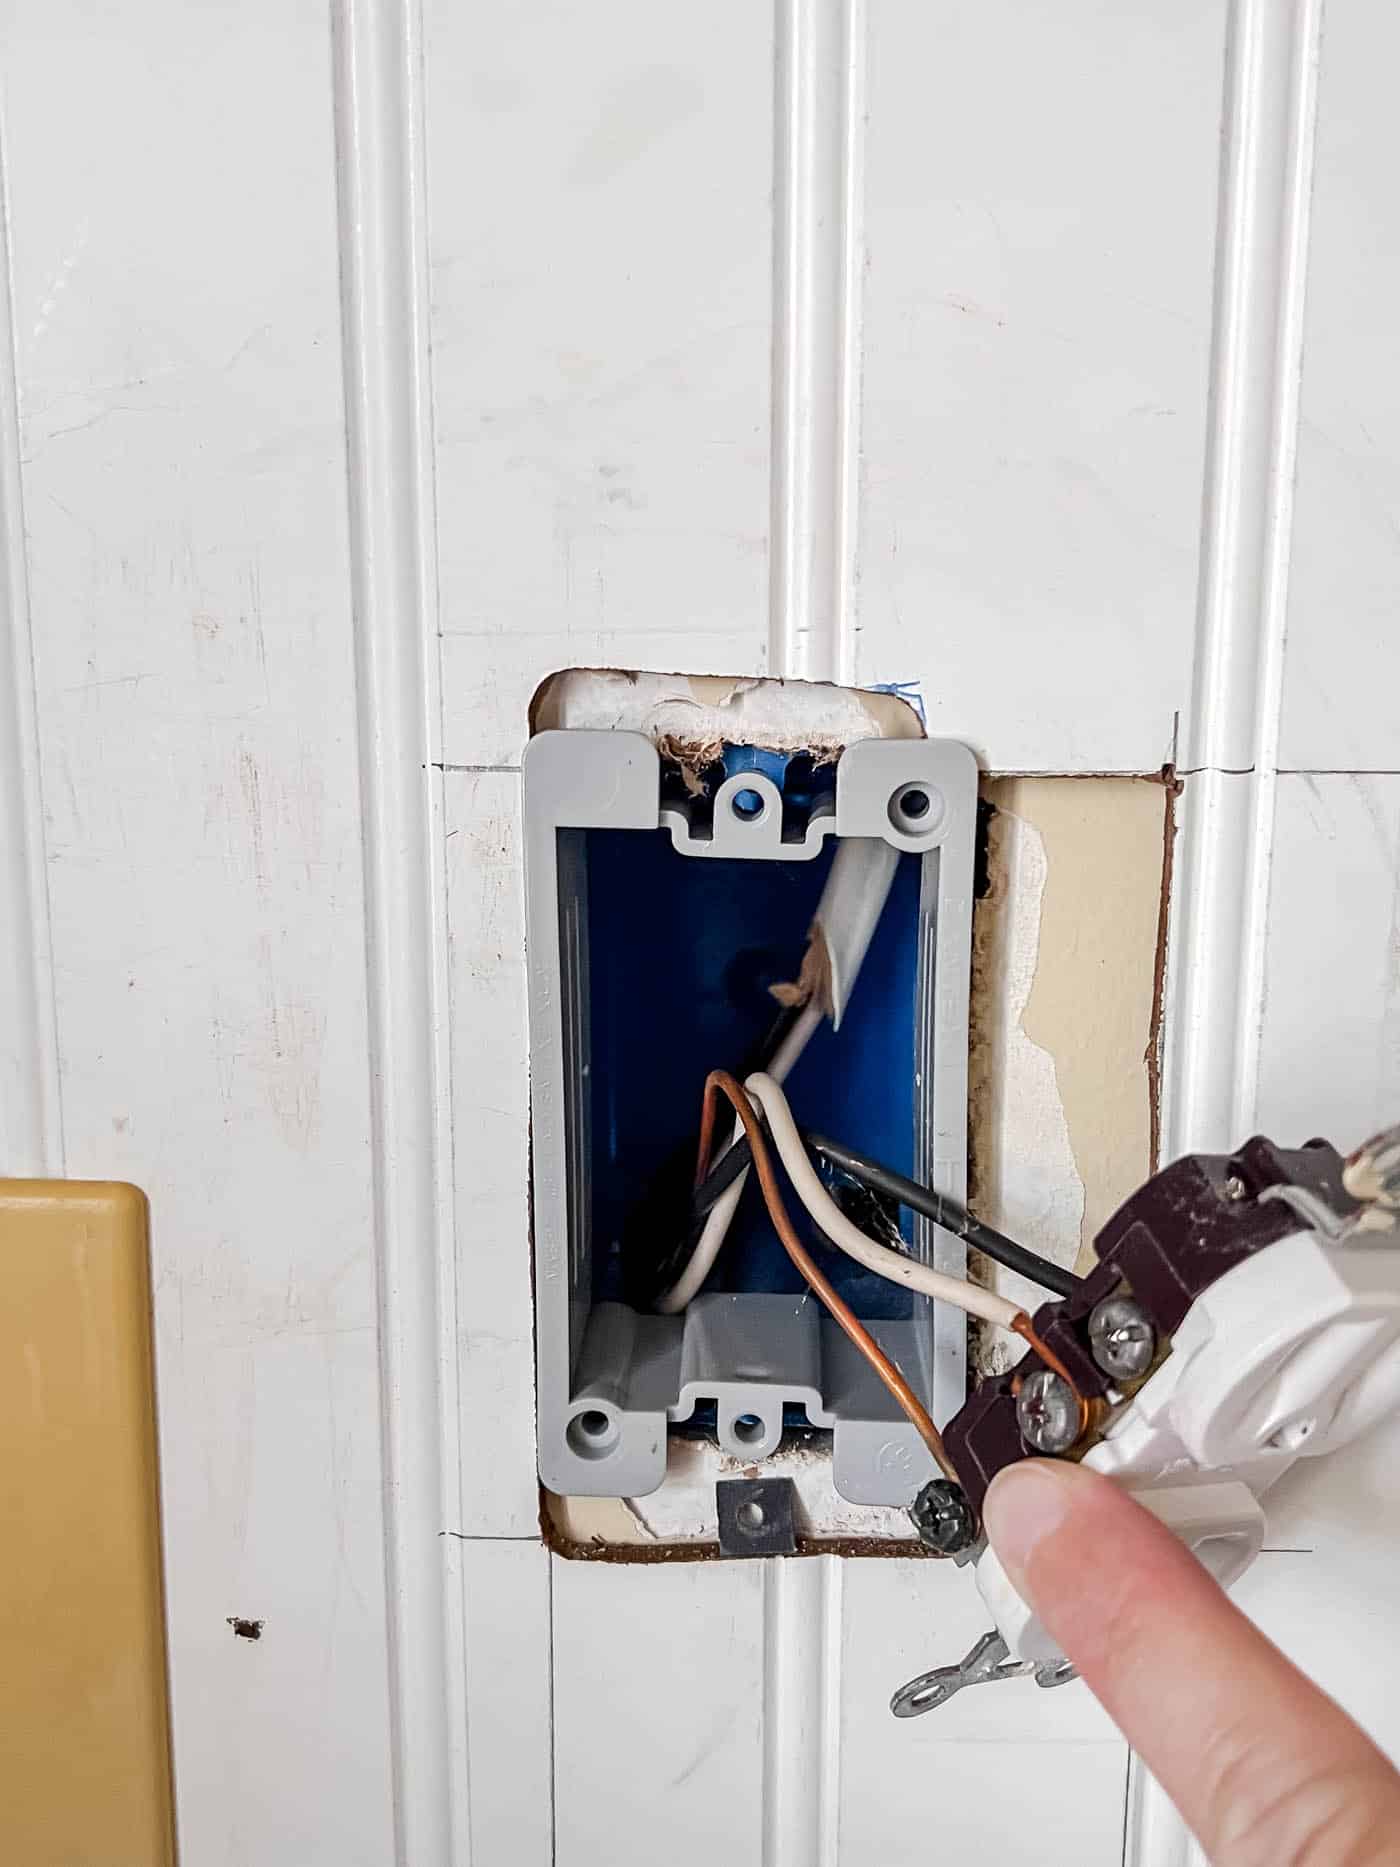
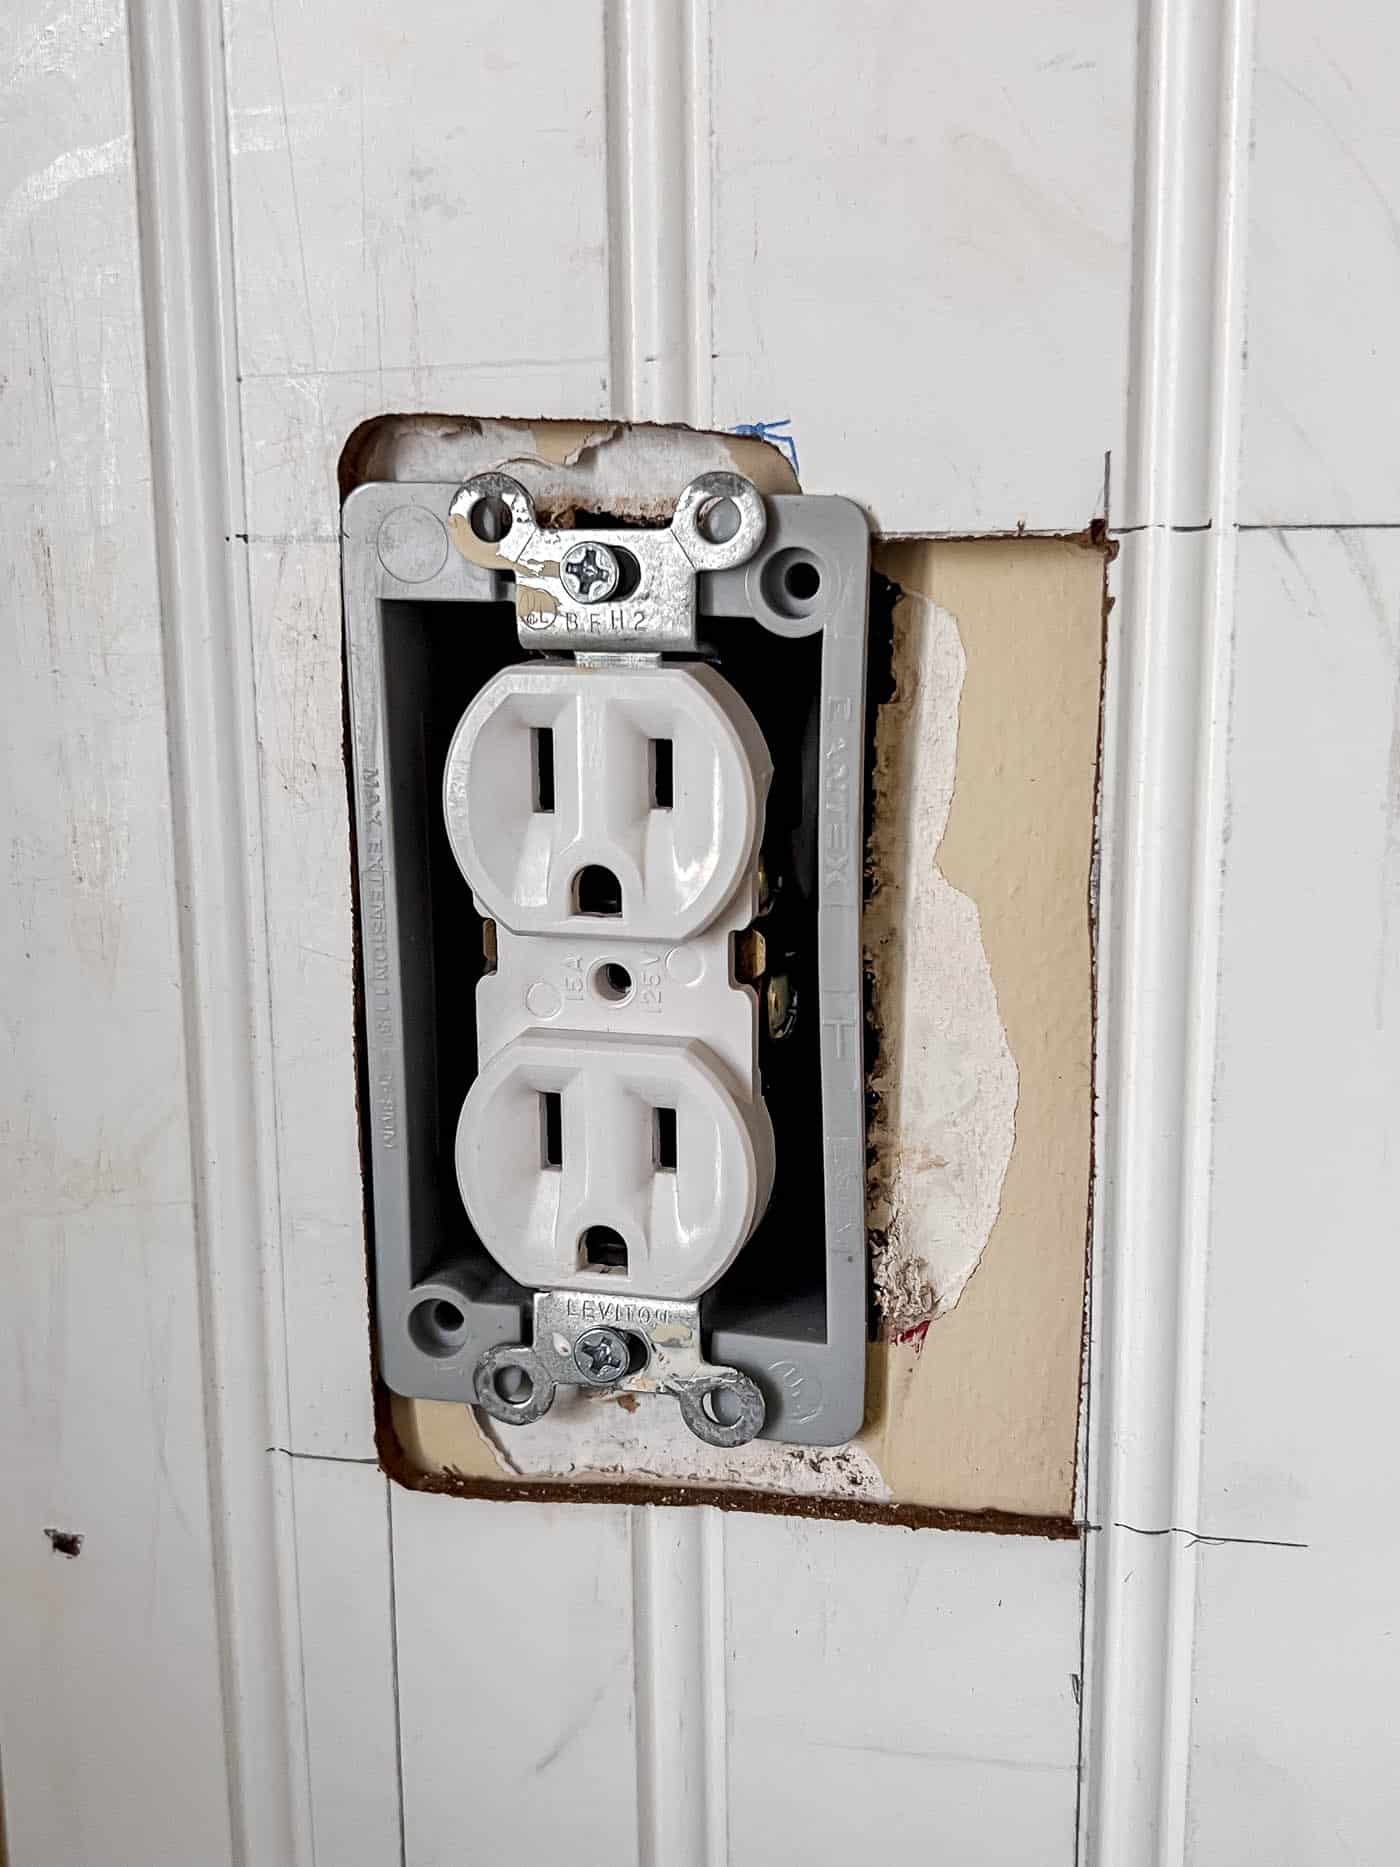
4. Install Outlet Extender Boxes
If you have any panels that are around your electrical outlets, then you’ll most likely need to install outlet extender boxes. These simply allow you to secure the outlets out a little further to compensate for the depth of the beadboard panels.
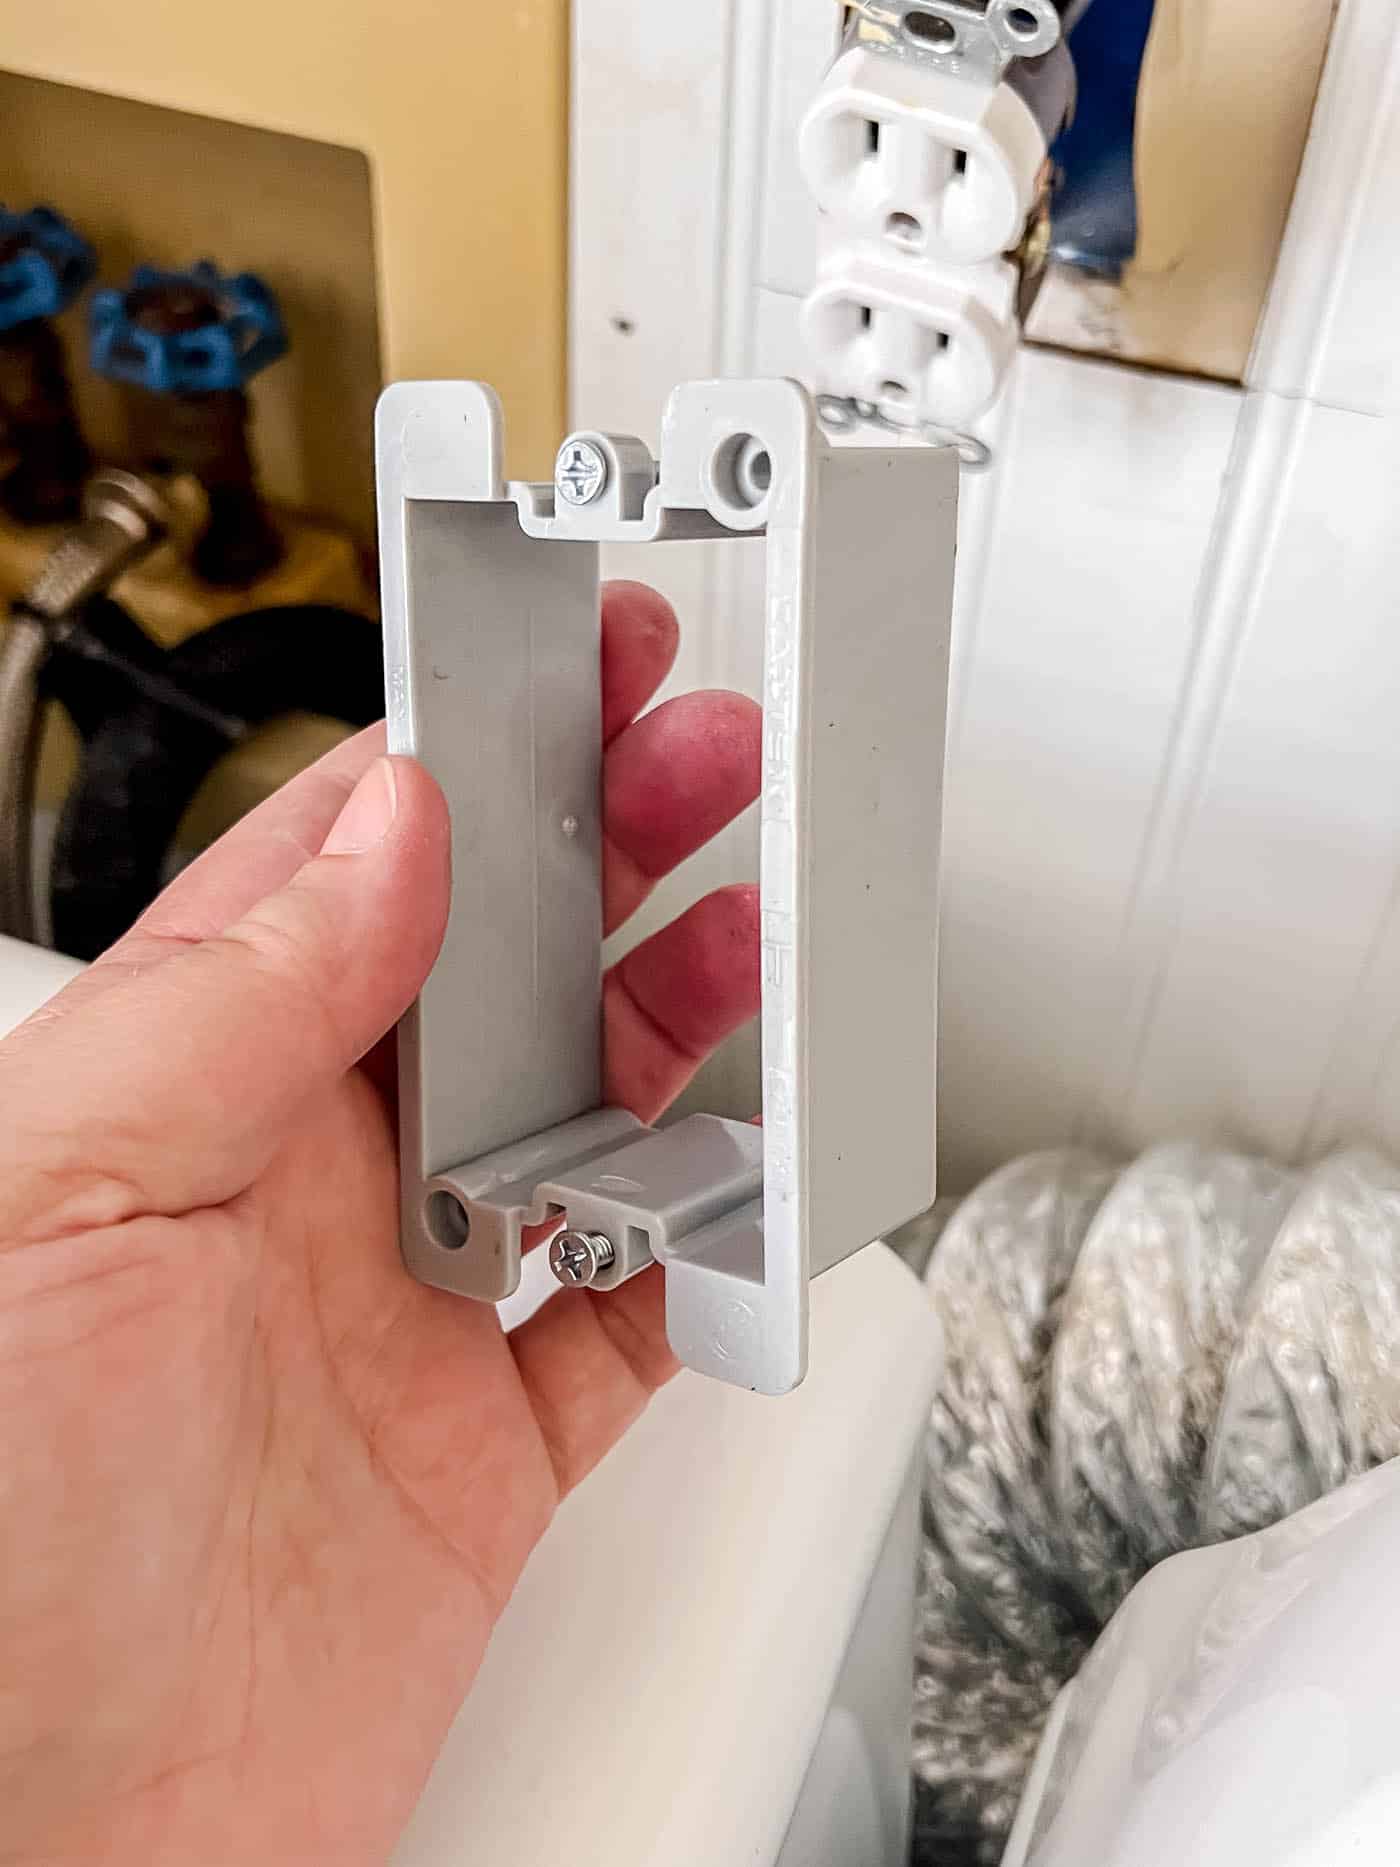
Unscrew the electrical receptacle from the existing outlet box, then thread the receptacle through the new box and screw it all into place.
5. Finish the Boards
Once all of the beadboard panels are installed, you can fill any gaps or nail holes with wood filler or caulk, and then sand and paint the surface to your desired color and finish.
How can you customize beadboard?
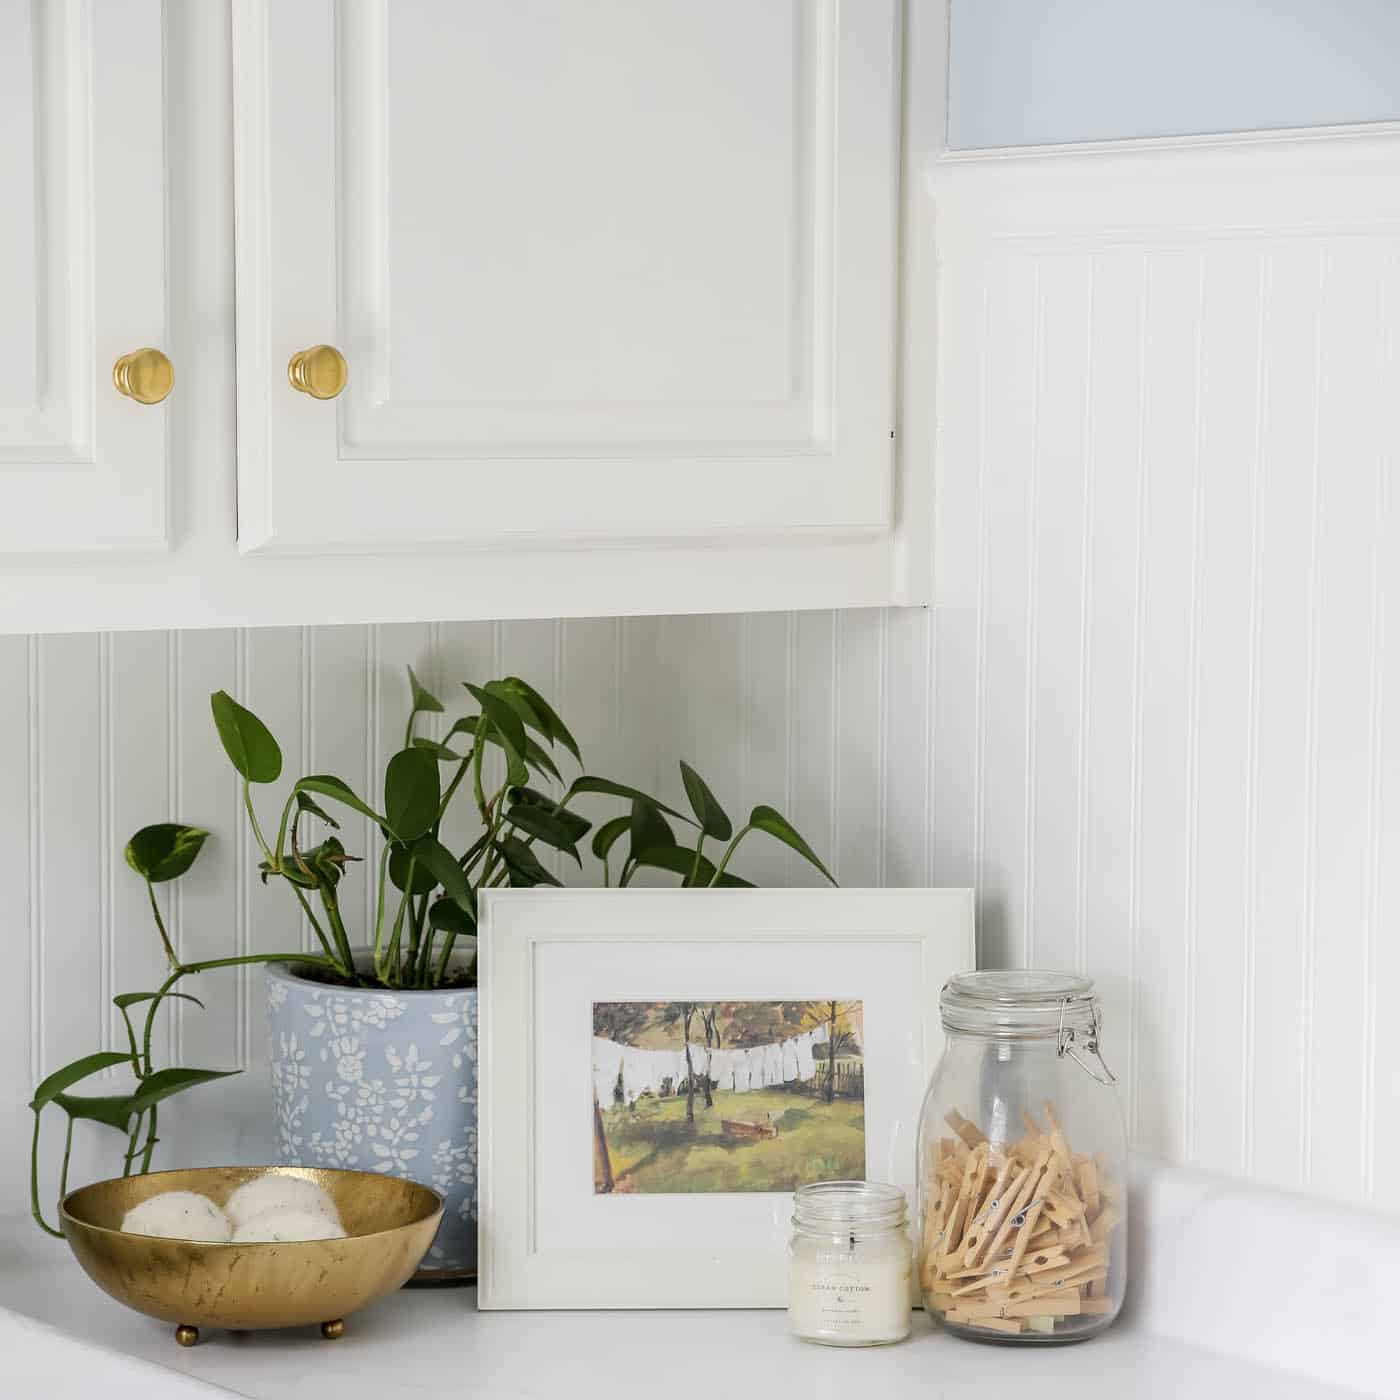
Beadboard is a flexible material that can be customized to suit your personal style and preferences. For example, you can paint it in any color, from bright and bold to soft and subtle.
To create a finished and polished look, you can add a wainscoting cap (also known as chair rail) or baseboard molding to your beadboard wainscoting.
Add a peg board rail to the top of the beadboard to make the wall functional for holding bags or other items.
Final Thoughts
In conclusion, beadboard is a simple and effective way to upgrade your home’s style, durability, and value. Whether you’re a seasoned DIYer or a novice home improver, you can use beadboard to create a customized and beautiful space that reflects your personal taste and creativity.
So, why not give beadboard a try? With its endless possibilities and budget-friendly price point, beadboard is sure to be a timeless and classic addition to your home for years to come.
More Posts You Will Love:
I’m only finding 4×8 beadboard which means the height is 48 inches and I want it to be 2/3rds the height of the room so that’s about 61″ tall. What beadboard did you buy to achieve this higher look? I wish you had provided affiliate links to a home improvement store on this blog. Thanks!
Hi Erin! I had put the affiliate links on the post, but it looks like they link to sold out items. I hate it when that happens! But I found more here… these are 96″ tall and 48″ wide. And this is the size I used to get the height in my room. I cut my board down to the height I needed, but these should work for your project! Hope that helps! 🙂 – Laura
I love it- so pretty!!! Would love to know what color the blue is on top please.
Hi. The paint color is Benjamin Moore Blue Heather. Hope this helps!
I’ve loved watching your ideas and taste mature. These changes and colors are really lovely. Good job!!
Aww, thank you! You’re so kind! xo, Laura
Great job!! Looks so beautiful! Love the color.
Thank you so much, Linda! I really enjoy it! xo, Laura
That came out really nice. What a difference from the plain tan walls. Good job Laura! We just put beadboard down a long hallway to break it up, Its full of doors. 2 barn doors, guest bath, garage, basement, and laundry room its so much better.
I know that looks great!! And I love dressing up a long hallway with a wall treatment! Such a great way to make it less doorsy. 🙂