DIY Gray Wash on Wood Technique
Learn how to create a gray wash effect on raw wood with a simple paint mixture. It’s a quick 5 step process!
You may or may not remember the DIY planters I made a little while ago, but they were only halfway finished. And I’ll share a little secret – I only finished one of them to take the photo and halfway finished the other one until last week when I decided it was time to finally complete them. #reallifeconfessions
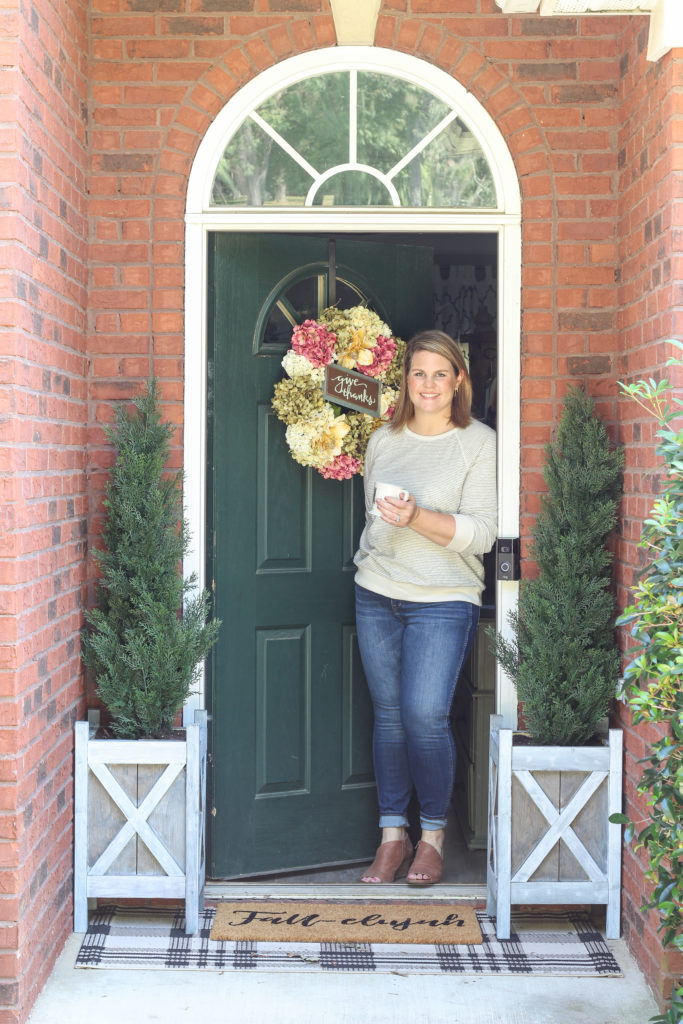
And I wanted to showcase them both in my fall home tour, so it was a good deadline for me to have to finish them. I’m a natural procrastinator, so a deadline helps me out a lot!
I’ve always wanted some greenery on my front stoop, so getting them in place was on my to-do list. But it took me a while to figure out how I wanted to finish them. Did I want to leave them natural and just put a protective coat on them? Or did I want to paint them or stain them? What color?
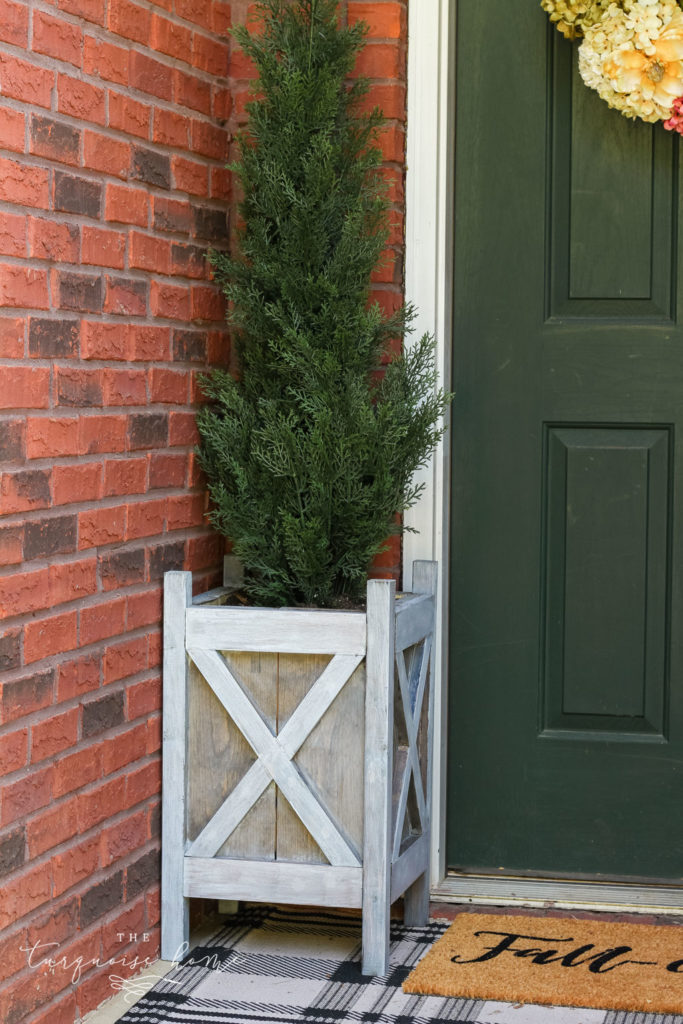
In the end I did a combination of both paint and stain to achieve a gray wash look. I love how it turned out, so I thought I’d share this super easy technique.
What You’ll Need for DIY Gray Wash Wood Technique
- Dark stain (like Minwax’s Dark Walnut)
- White paint (I used some Benjamin Moore Simply White latex paint I had leftover from the girls’ bathroom makeover)
- Paint brush for paint (these are my favorite paint brushes)
- Sponge brush or brush for stain
- Lint-free rags (to wipe off paint)
- Outdoor sealer (if your piece will be outdoors)
Want to Save This?
Enter your email below and I’ll send it directly to your inbox!
How to Apply DIY Gray Wash Wood
Honestly this “technique” is so simple, it feels silly to make steps for it. But I know sometimes the most simple tutorials are the most helpful!
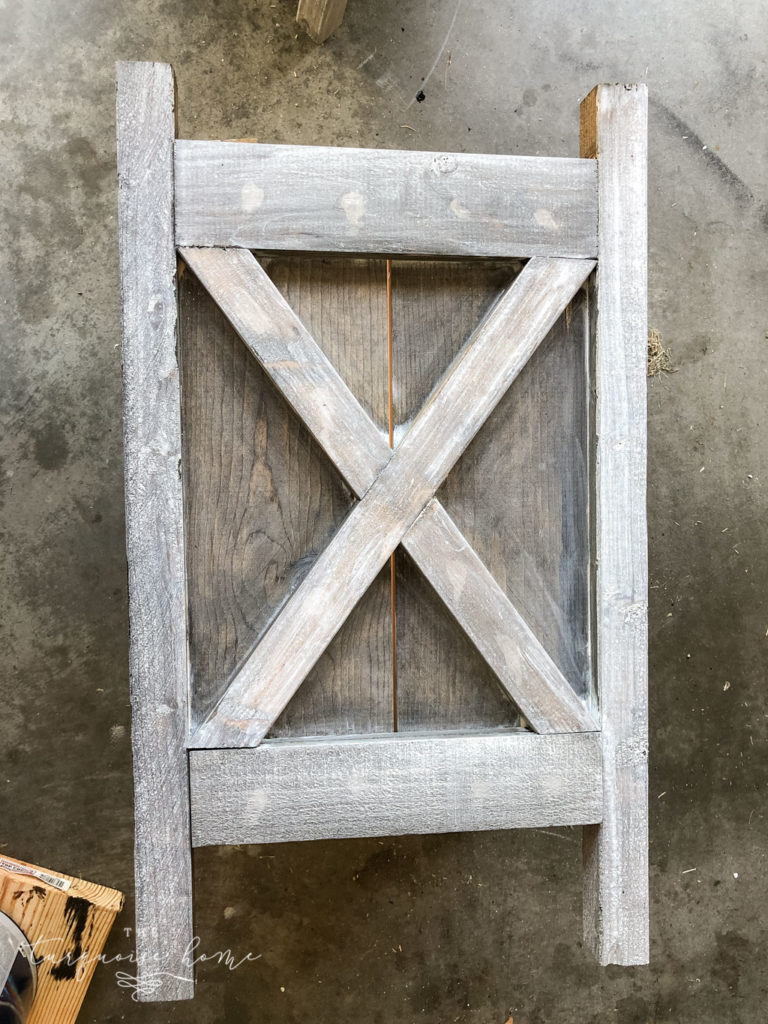
Step 1. Stain your wooden piece.
Dark stains work best since we’ll be covering them up with a paint mixture, so I chose Minwax’s Dark Walnut.
Step 2. Let the stain dry per the instructions on the can of stain.
Step 3. Make paint wash mixture.
Mix 50% white paint and 50% water together in a bowl or my favorite paint pail. Stir until completely combined. You can add more water depending on your paint coverage preference, but I found the 50% combination to be just right!
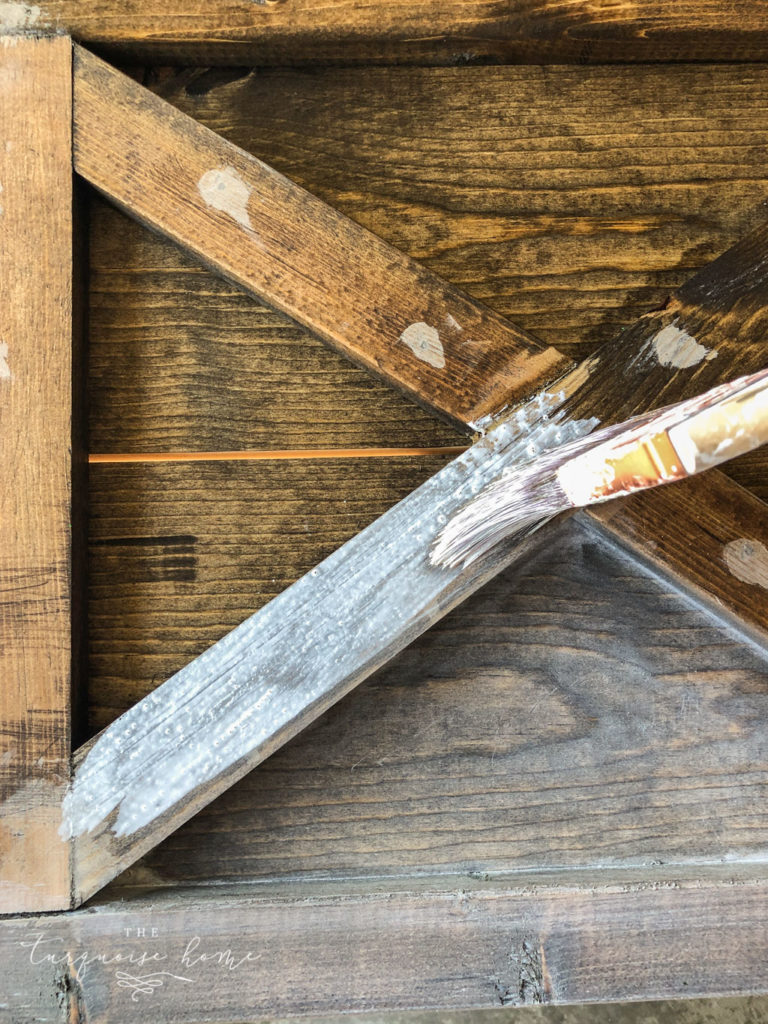
Step 4. Brush the paint mixture over the stain.
Working this in small spots a little at a time.
Step 5. Wipe off paint mixture after about 30 seconds with a lint-free rag.
You don’t want the paint to sit on the stain too long or you won’t get the grayed effect you’re going for.
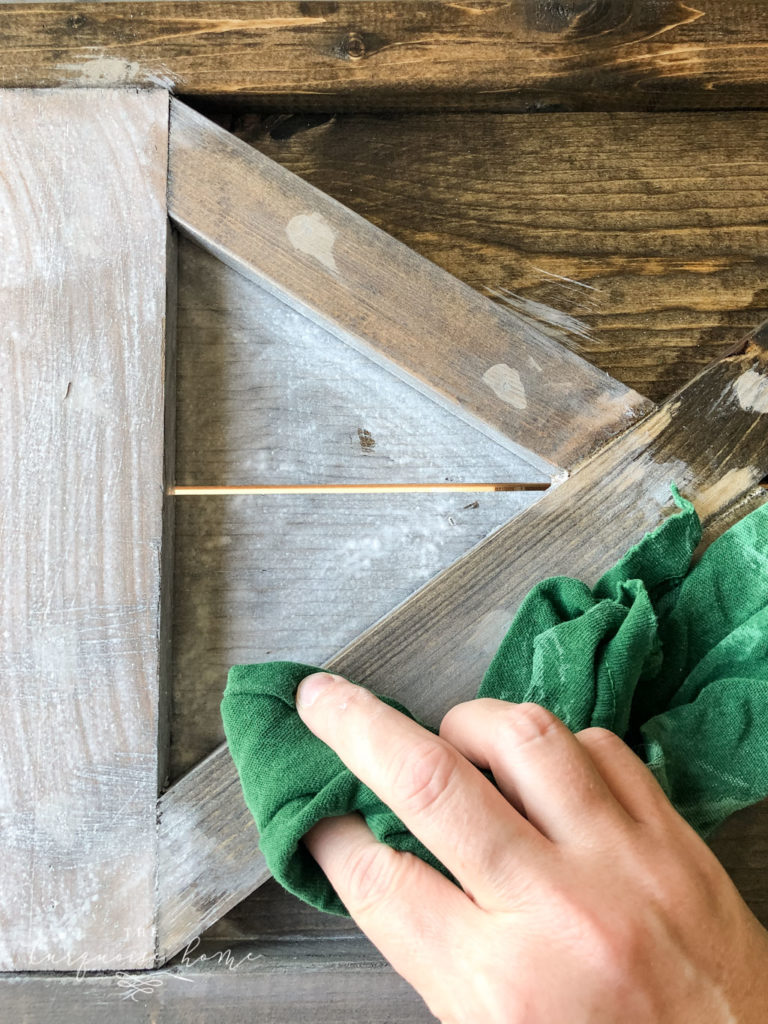
Step 6. Continue painting and wiping over the whole piece until it’s covered and looks gray washed!
You’ll now have a beautifully gray washed piece to enjoy! If you’re going to put your piece of furniture outside, like mine, you’ll want to seal it with an outdoor wood sealer, like this.
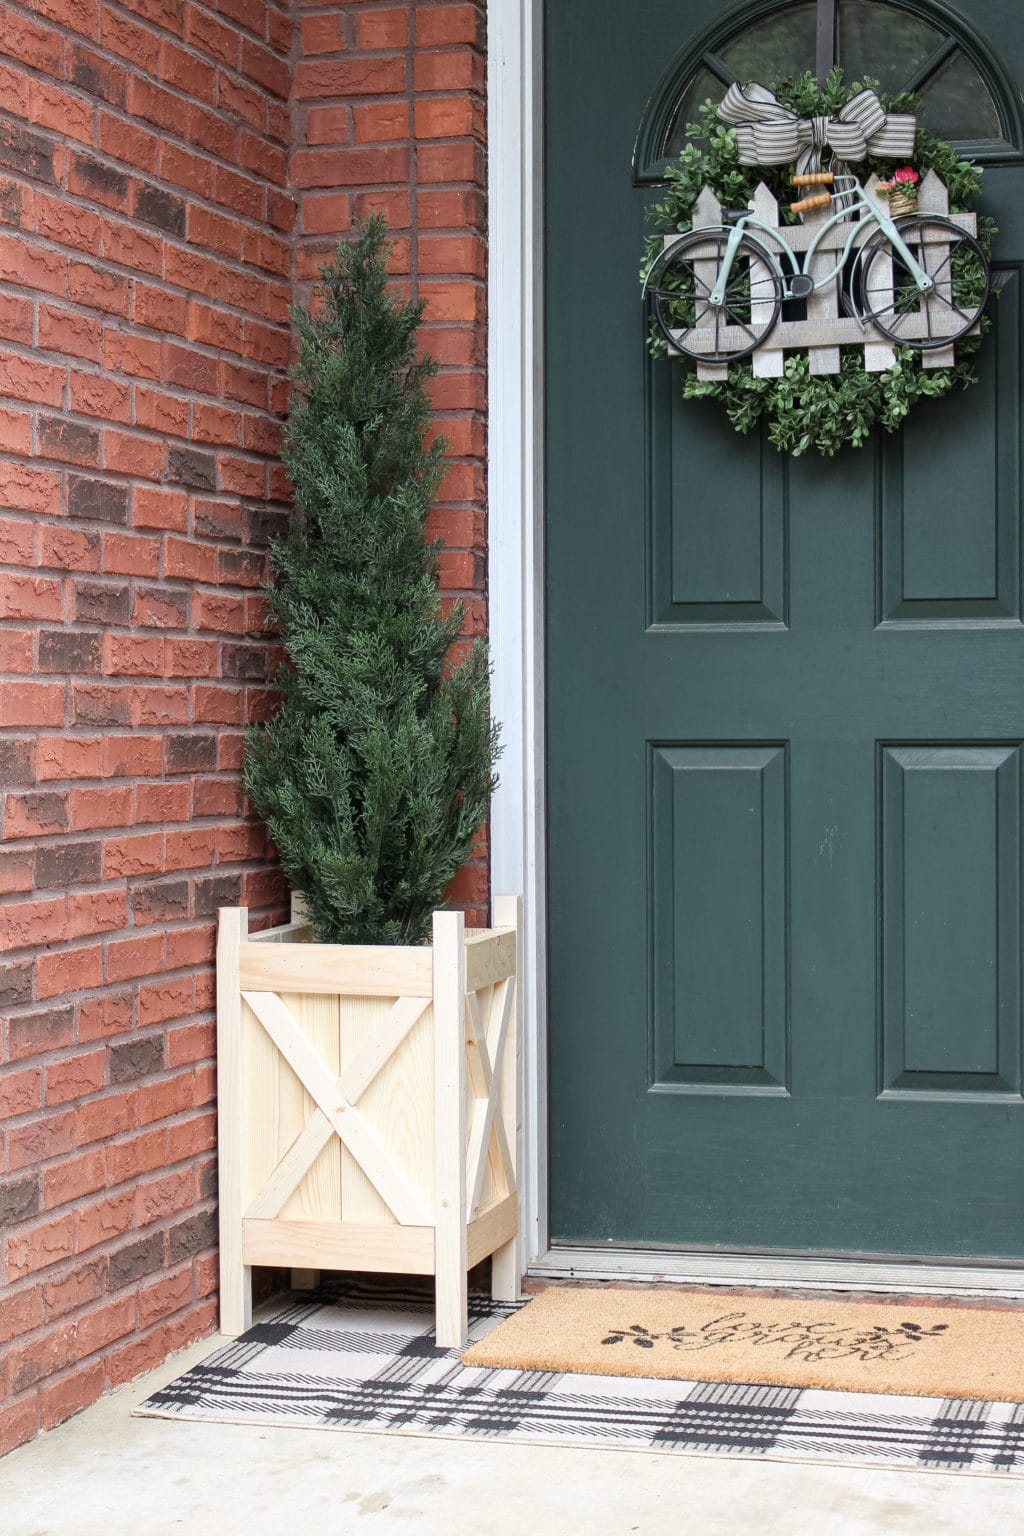
I ended up painting the X’s on my planters with the water/paint mixture, but I didn’t wipe it off. I had filled the nail holes on the X’s before I knew what finish I would be using. I thought I would just paint them, so it wouldn’t matter.
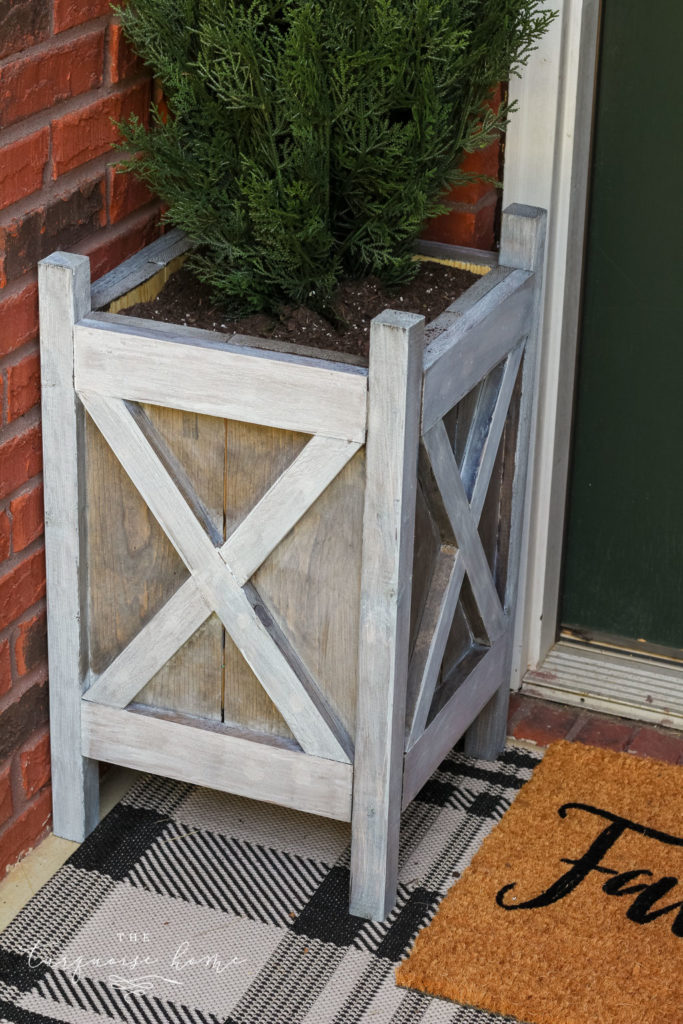
But when I wiped the white paint mixture off the X’s, the filled nail holes showed up too much. But I kind of like how the X’s now stand out more. Anyway, the rest of the planters have the “gray washed” effect … and I love how they turned out!
More Posts You Will Love:


Will this work on pressure treated wood?
Hi Sally, you can definitely stain pressure treated wood, but it takes the color differently than non-pressure treated wood. In my experience, it turns darker when pressure treated. Thanks! Laura
So Pretty! I love the x design on the planters and the two tone look, really nice! Funny story about faux greenery, I purchased some faux shrubs that look like boxwoods to put in planters by my front door. We just had some professional landscaping done around our porch (which included real boxwoods) and while visiting with the landscaper, I mentioned my fake shrubs on the porch, and he said he had seen them earlier and thought they were real ones we had found to add to the yard, lol! They definitely make some good quality fake greenery and flowers nowadays. He said he has used faux forsythia from Hobby Lobby for his booth at the Home and Garden show and had someone ask where he found forsythia blooms in winter!
Thanks for the great DIY! I always wondered how to get that grey look on wood.
Looks great! Are the evergreen shrubs real or faux?
I was going to ask the same question!
Hi Brenda and Carmen! They are faux and I love them! https://amzn.to/2op2sGH
Love all your tips and ideas, with paint and different techniques. Also, the fall printables you sent out a few days ago are so cute. Thank you so much.
Aww, thanks so much Karen! So glad you love them! xo, Laura
Thank you, Karen!! I appreciate your support so much!
Where did you get the wooden planters?
Hi Susan! I made them! You can find the tutorial here: https://theturquoisehome.com/diy-wood-planter-boxes/ xo, Laura
The planters look great! I have a sofa frame in my classroom that is already a dark wood. Do you think I could just try to watered down paint technique, without staining it first? It definitely needs an update.
Thanks!
Hi Jenny! I’d try it out in an inconspicuous spot first and see how it does. It might not adhere very well if the stained wood is sealed. So, you might end up having to sand the sealer off first, but that sounds like a big job to me. I’d just try it in a little spot and go from there! Thanks for reading!! xo, Laura