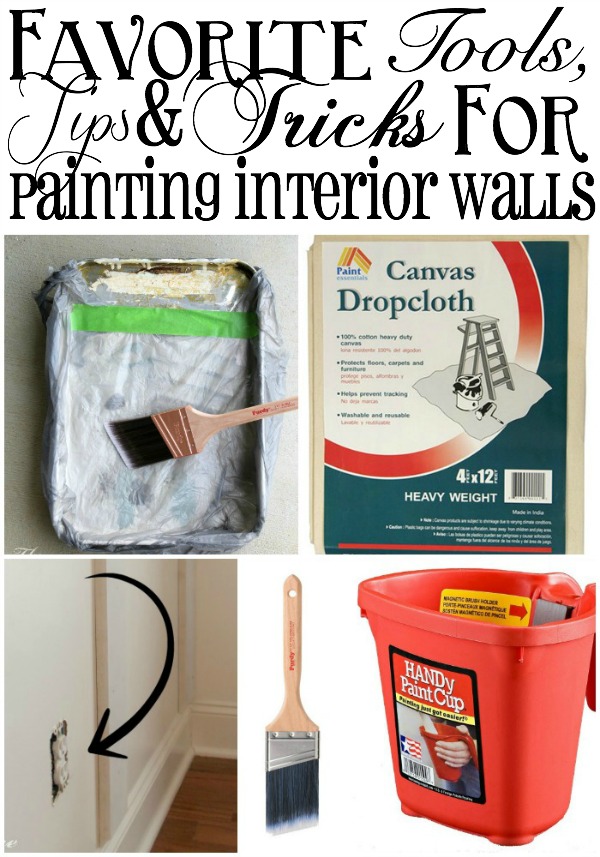
My Favorite Paint Tools, Tips and Tricks
The foundation of any room makeover is the paint on the walls. And it’s such an easy DIY project. With a few helpful tips, tricks and tools, you’ll be painting like a professional in no time!
You may have figured out by now that I like to paint. I do. I go through stops and starts, but I really do like painting as an inexpensive way to change the whole look of a room!
While I’ve painted furniture and painted kitchen cabinets, what I’m talking about here is painting the interior walls of my home. I know you may think I’m crazy, but I’d rather paint that than just about anything else. Why? Because it is the cheapest and easiest way to completely transform a space.
So, let me share some of my favorite tips and tricks from years of painting – and being pretty good at it. 🙂 I’ve found that I much prefer my paint jobs to ones I’ve hired out. I have always, always regretted hiring a professional when it comes to painting walls.
Favorite Tips for Painting the Interior of the Home
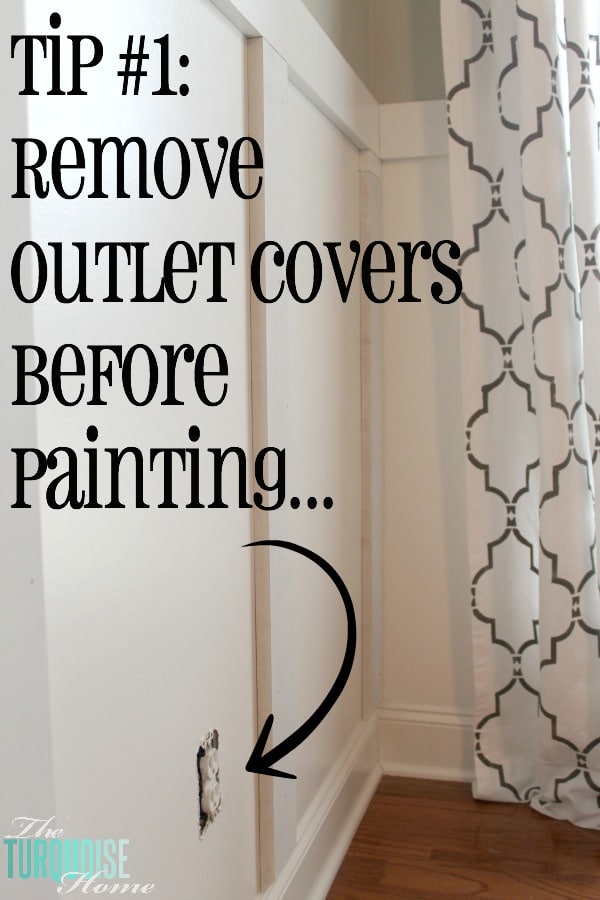
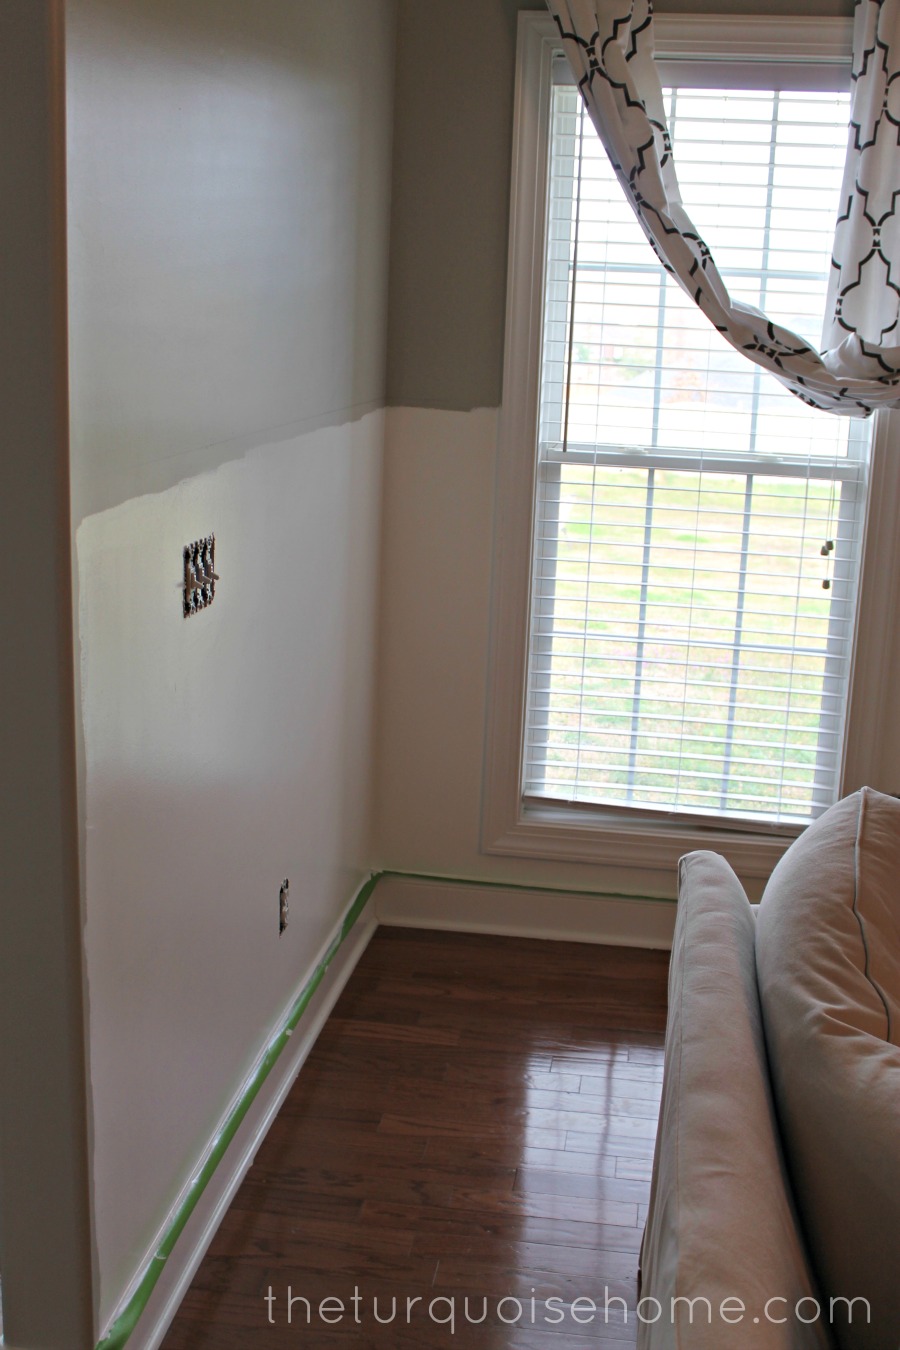
- Remove Outlet Covers: Remove all outlet covers before you start painting. No one wants to see a room with the previous paint color on an outlet. {Trust me, I have some in my home from the previous owner.} And you inevitably will get paint on an outlet cover. Just take them off!
- Tip: while you have the outlet covers off, run them through the dishwasher to take off all the dust and grime that they accumulate over the years.
- Tape the baseboards off: I just tape the bottom of the wall where it meets the baseboards, because it protects the baseboards from splatters when rolling. And while I love using a nice brush and can cut in without taping it off, it is nice to not have to be so careful on the bottom. (Honestly, I don’t even do that anymore, but if you’re new to painting, I would recommend it!)
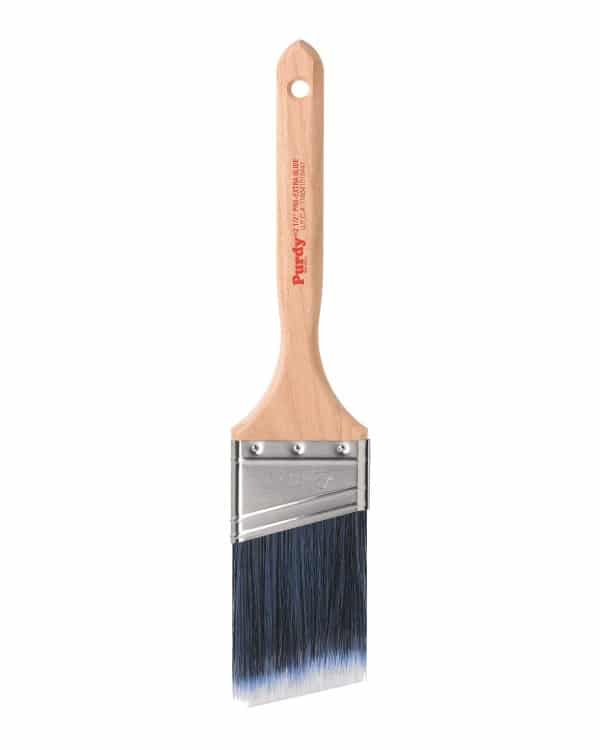
- Use a High Quality Brush: Use a Purdy brush for trim work. I know they are more expensive than other brushes, but trust me, they are worth it! With the way they wash clean after each use, they will last you longer than any other brush you can buy. I’ve had some of mine for more than 15 years and they are still my go-to workhorses. Just make sure to take care of them and they will take care of you!
- Paint Clothes: Wear paint cloths. Once again, you’ll inevitably get paint on your clothes. I have a shirt that’s covered in paint, so I use it always. And some old workout pants are the perfect choice for paint pants. Don’t ruin your good clothes!
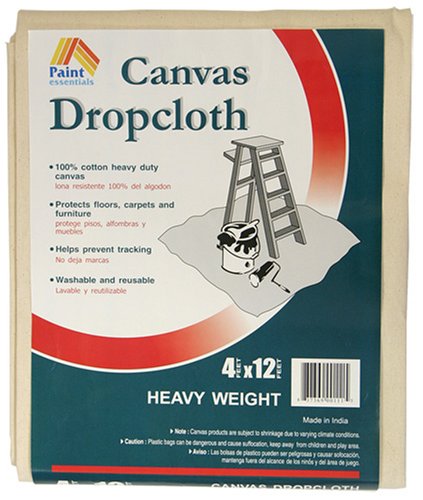
- Drop Cloths: Use them. I know you think you won’t spill paint (talking to myself here), but it’s just better to protect your hardwoods or carpet with a drop cloth. {And if you don’t spill any paint on them, you can always use them for other projects.}
- Trim First: Trim the room walls before you roll them. This helps the paint look better in the end!
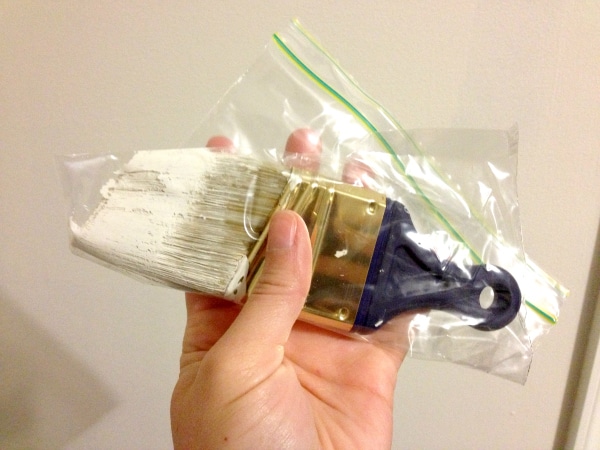
- Wrap Up the Brush: If you need to stop painting for any more than 10-15 minutes, then wrap your brush or roller in a trash bag or plastic wrap, and tape the ends. Then place in your fridge until you’re ready to resume painting. {If you’ll be longer than 24 hours, go ahead and stick it in the freezer. And if you’re using your Purdy paint brush, then it’s probably easier to just clean the brush out and let it dry.}
- Roll at Multiple Angles: When you roll the walls, make sure you don’t just roll straight up and down, roll at varying angles to make sure you get a good solid coat of paint on the walls.
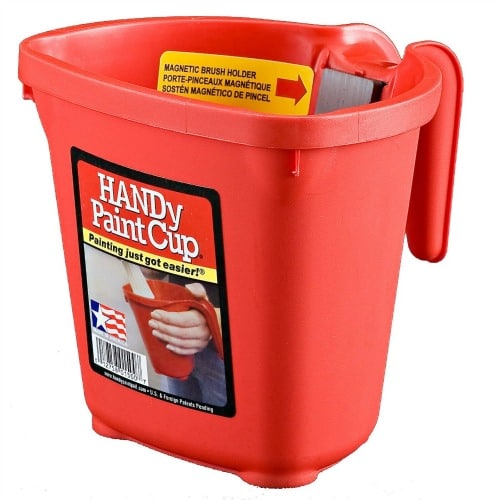
- Use a Handy Paint Cup for trimming out the room: I LOVE this thing! It fits nicely in my hand (no cramping) and there’s a magnet on the back to hold my brush while I’m moving spots or taking a break.
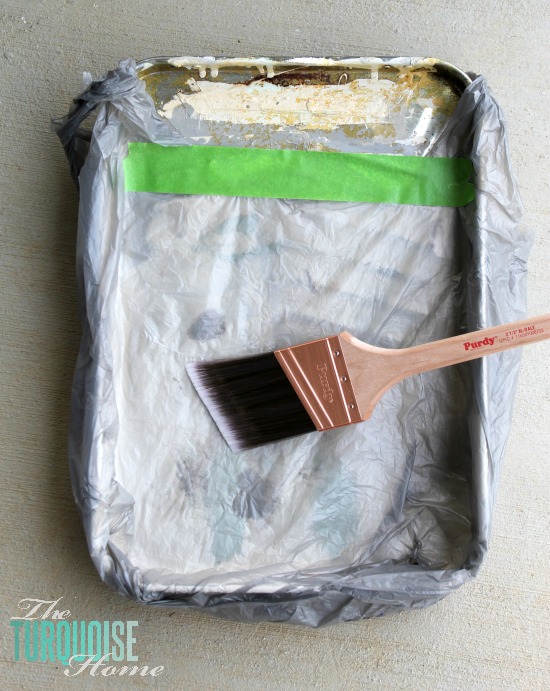
- Use a Tray with a Liner: I LOVE the HANDy paint tray with liners because the cleanup is so easy. But, I used to use an old metal paint tray covered with a grocery bag (as pictured above). Tape it down for easy clean up after painting.
- Store Leftover Paint in a Detergent Bottle: If you ever have a small amount of paint leftover, or need to mix a custom blend on your own, use an empty laundry detergent bottle to store the paint. I love the pour spout!
Which one is your favorite tip? Do you have any other paint tips or tricks to share?
MORE POSTS YOU WILL LOVE:
- Paint a Room in 5 Easy Steps
- Organized Paint Storage (with free printable labels)
- How to Paint Kitchen Cabinets without Fancy Equipment
- How to Paint Outlet Covers


After reading this post I also want to say that my favorite paint tools tips and tricks. I get a lot of ideas from this blog. I am going to apply this for my home. Many many thanks for sharing with us.
Those are all very helpful. Some of them I do use already. I love the one about putting a trash bag over the toilet. Totally doing that next time! I love that my husband loves to help me if he thinks it’s his idea. So I’ll get everything out and start to paint and he swoops in and takes over thinking he’s helping. I can sit back and have a glass of tea. All in the master plan =) CJ Holmskovec http://www.rentonpainter.com
Good post! I use dollar store shower curtain liners as drop cloths since they’re dirt cheap and I tape them to the baseboard with painters tape. I like your empty detergent bottle tip!
Great tip, Lauren!
So excited to stumble across these painting tips. We are currently in the process of painting our kitchen and living room and these tips are going to make the process much easier. Thanks for sharing!
Oh, and as a DIY on the purchased Paint Cup, the thicker fountain drink cups and 33oz plastic containers of Maxwell House ground coffee that have a grip-able handle are nice also when you only want to tote a smaller amount of paint.
More great ideas, Cindy! Thanks!! 🙂
Nice post Laura. I know lots of these tips and I agree. I’m always picking apart hired painters work. At first it looks fine and over time you see the imperfections. Splatters, roller debri painted in. It’s a time suck to do it yourself. But it is WORTH it. Our homes deserve it whether owned or rented. Ok, so when those outlet and switch covers are off is when we should vacuum that space and tighten/adjust the screws. Don’t we hate covers that are crooked? The beauty of a great job is in the prep, so sand, hammer in those nail pops, spackle. Fix any water damage, use “Kils” paint to seal off water marks, ink… Flat brushes work best for us, just angle them and let them flare a bit when trimming. Have the store add Tint to your primer coat. That’s cheaper than 2 coats of colored paint. Use the best paint you can afford. Benjamin Moore is some of the best. We ask painters what they like best and that’s the most common response. Oh, here’s a trick our last pro painter told us they do to brighten the appearance of a job. Painting the corners makes it look like a second coat was done when it was not! Then they used it on us. Sometimes pro painters take short cuts when you aren’t watching. Shameful.
Ha! I love that last tip about painting the corners. Sneaky painters. 🙂 Thanks so much for sharing some EXCELLENT tips!!
Great tips! I’d never heard the one about refrigerating your brush, or wrapping the tray in plastic. Genius. I actually kind of feel like painting a room 😉
PS-I love turquoise too 🙂
Taping the grocery bag to the paint tray is GENIUS! Seriously. I always struggle with what would be the best way to cover the tray. Now I know! 😉
Pinning for my next paint project!
~ Ashley
Thanks so much, Ashley!
I love the plastic bag over the paint tray. Great tip.
Traci
Laura, Great tips. I love the little cup idea and lining the paint tray for easy clean up!
Nice post! Thanks for the mention!
Great tips!! I always tape the screw to the outlet cover after removing it because I will always lose at least one and have to make a run to the hardware store if I don’t!
Great tip!!