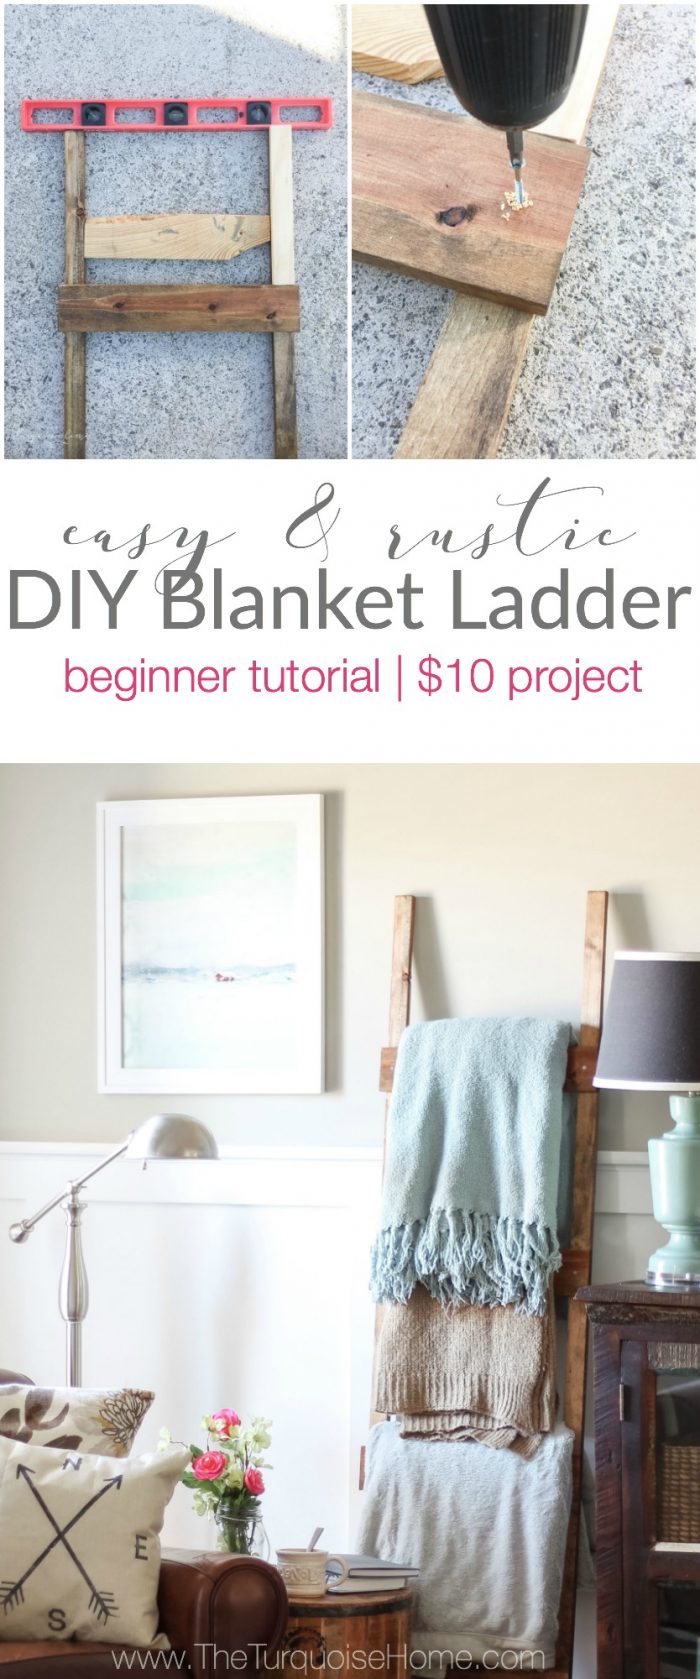
Easy & Rustic DIY Blanket Ladder for less than $10
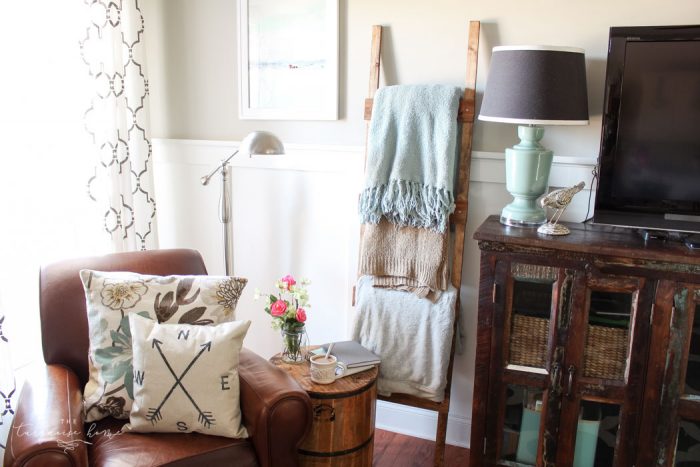
Build an easy DIY blanket ladder that not only stores and displays blankets neatly, but adds simple farmhouse charm to your home! The supplies cost less than $10 and take less than 30 minutes to make!
I’ve had a blanket ladder on my wish list for a couple of years, and I finally just bit the bullet and made one! It couldn’t have been easier. And like most DIY projects that I tackle, I wonder why it took me so long!
It’s also incredibly cheap. The total lumber cost for me was less than $10. I actually had one of the boards on hand, so it was less out of pocket, but I factored in the cost of the board I already owned. Some links are affiliate links for your convenience.
Supplies You’ll Need for a DIY Blanket Ladder
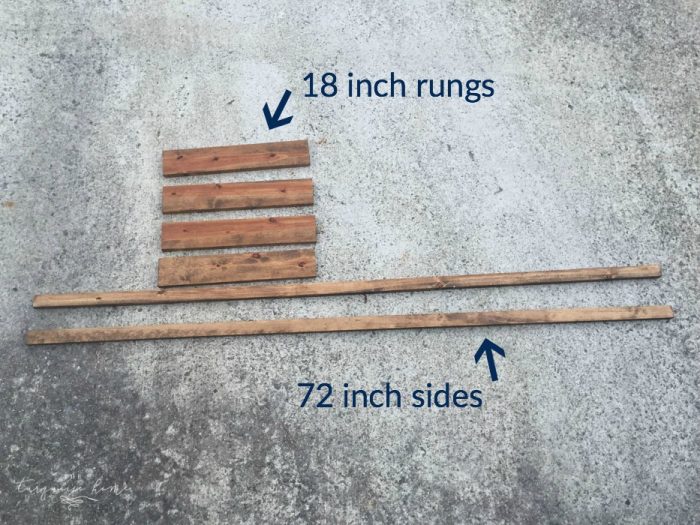
- 2 – 1 x 2 x 72 boards. These will be the side pieces of the ladder. And if you buy them at this length, make sure they are the same length.
- 1 – 1 x 4 x 96 board. This will be cut down for the rungs. You actually just need 6 feet of board, but the saw cuts into a little bit of the wood, so I went with an 8-foot piece to give myself some wiggle room.
- Drill (drill bits recommended, but optional)
- Circular Saw or Miter Saw. I absolutely love my Miter Saw. It makes cuts like these such a breeze. This is the one I have —>>> here.
- Wood Screws
- Ruler or tape measure
- Wood glue
- Paint brush or foam brush
- Stain or paint in the color of your choice
- Some scrap wood pieces (optional)
Note: As always when buying lumber, do a “level check” by laying it on the floor in the hardware store to make sure the boards are straight. Otherwise warped boards will make building a ladder (or anything else) a little wonky.
How to Build a DIY Blanket Ladder
Step 1. Cut down the 1 x 4 x 96 into 18-inch long pieces.
These will be your ladder rungs.
2. Sand all of your wood pieces to knock off any rough edges.
You don’t want your ladder to snag your blankets!
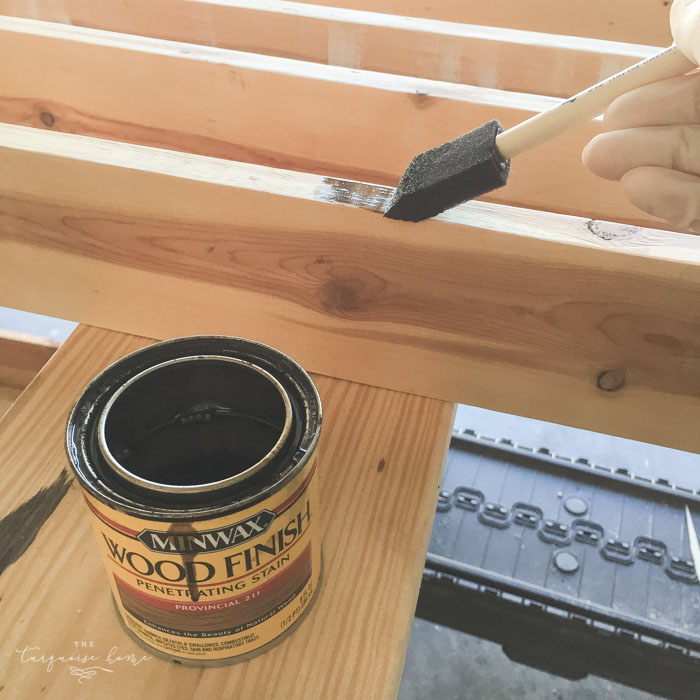
3. Stain or paint your wood pieces in the color of your choice.
I chose to stain mine with Minwax’s Provincial. Let the stain dry for a day or two so that your house and blankets don’t stink. (Another pretty stain color is dark walnut.)
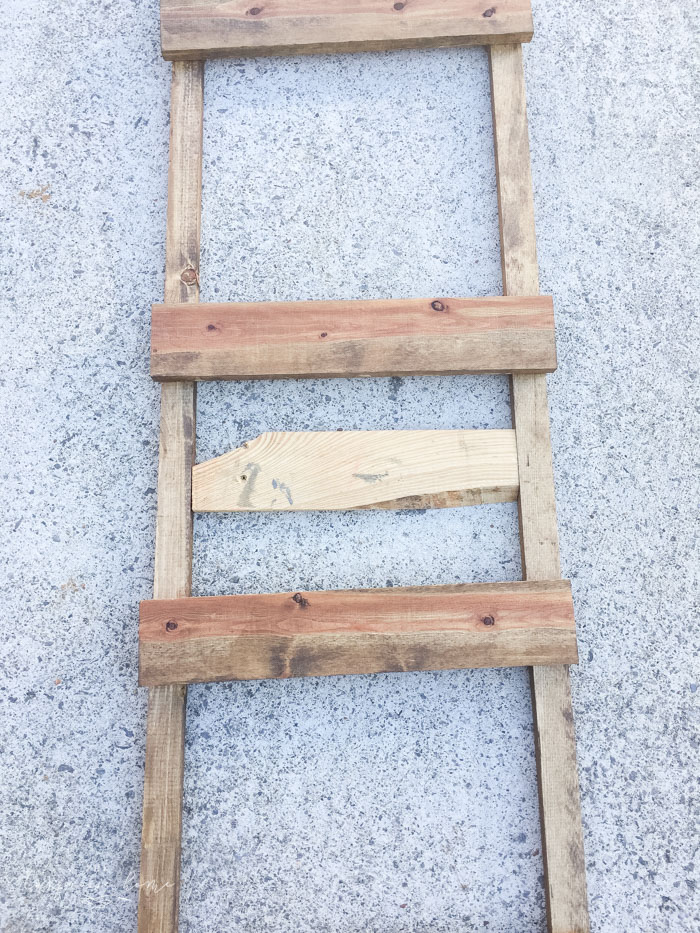
4. Lay your ladder sides down on a flat surface.
My driveway wasn’t completely flat, so my ladder was a teensy bit wonky, but not too bad. I should have done it on the garage floor, or inside the house. You live and learn, right?

5. Make some guides.
I cut down some scrap wood pieces from the scrap pile to act as a guide for building my ladder. I cut one piece to 14.5 inches to fit between my two ladder sides. And then one 12-inch piece to measure the distance from the top of the ladder to the first rung, and between each subsequent rung.
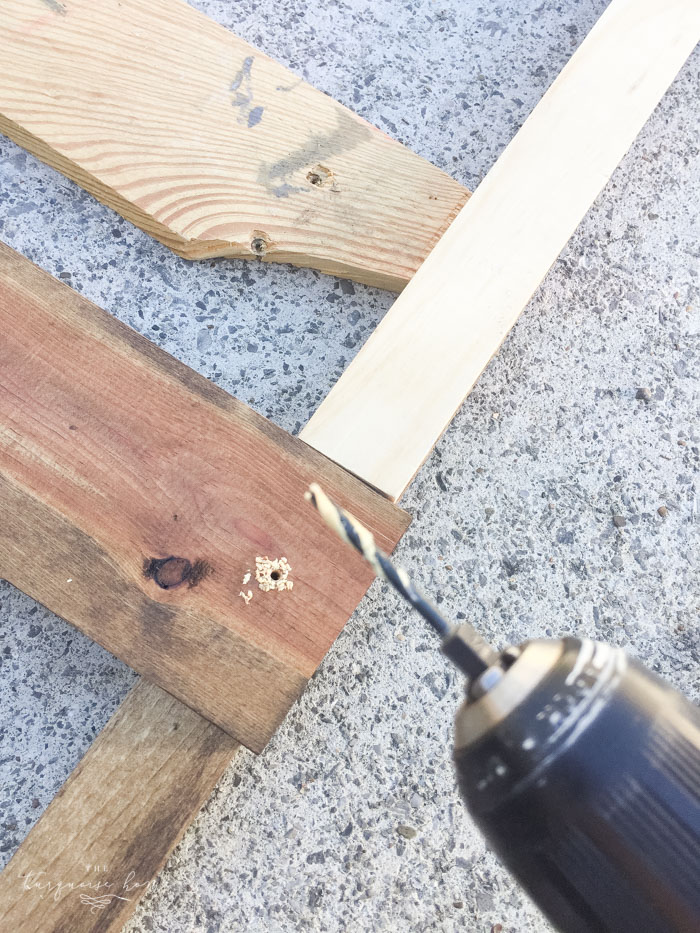
6. Pre-drill holes.
Once I set the first rung in place, I pre-drilled a hole with a drill bit so that I wouldn’t split the wood when I screwed the screw in.
Tip: use two screws in each rung to keep it stable. I didn’t do this and wish I had!
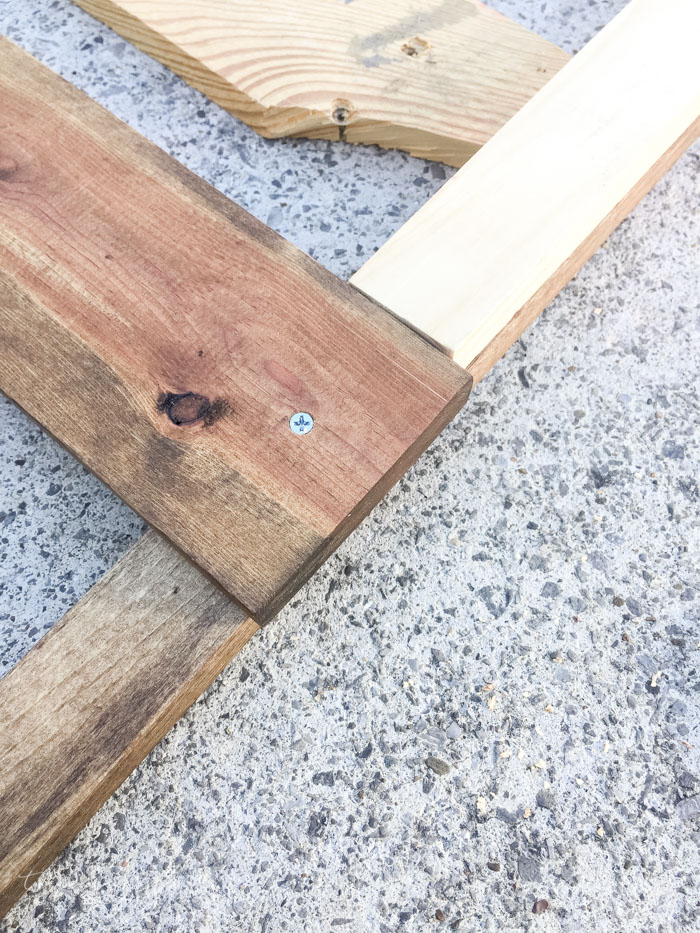
7. Screw in each rung.
Now screw in the rung with a 1 – 1.5 inch wood screws. (Two in each rung, if possible. It’ll be more sturdy, I promise!)
8. Repeat with each rung until it’s complete!
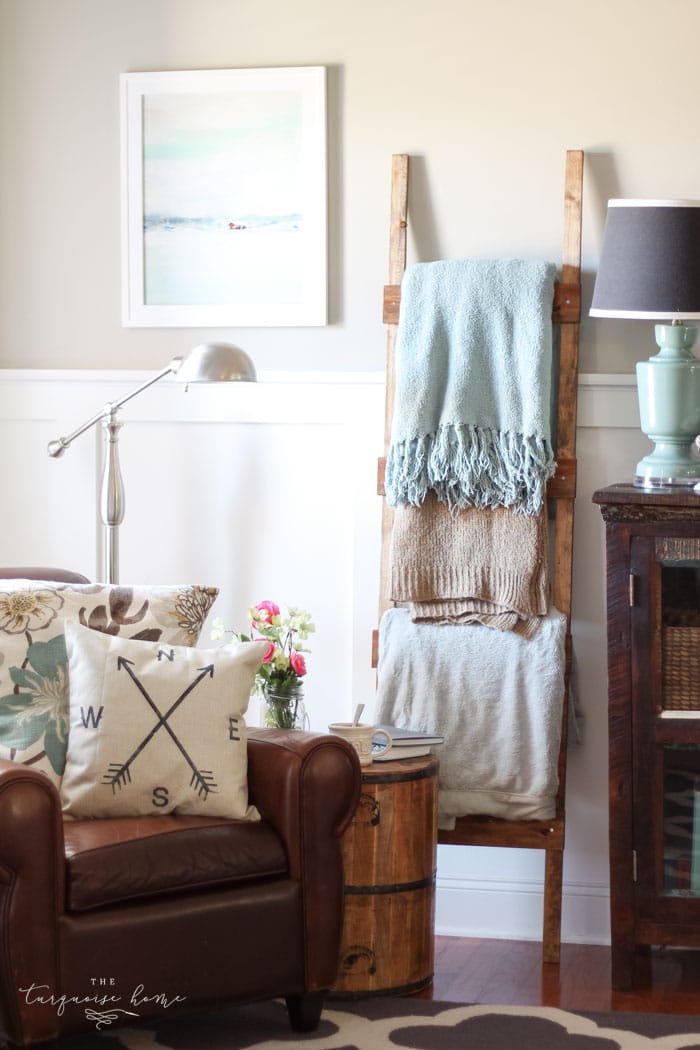
It’s so easy and add so much to my living room!
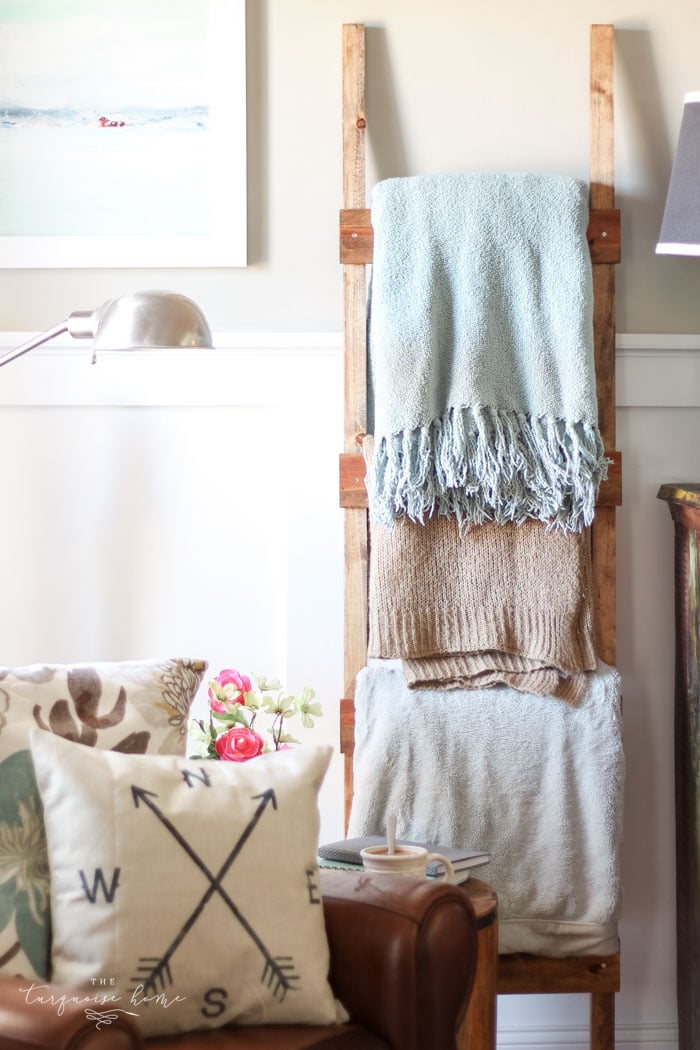
Now, fill it with your blankets. Yay! This is the fun part. 😊 It’s so exciting to not only be able to use it to store my blankets, but now I can add texture to this little corner of my room.
With this being such an easy project, do you think you will tackle it? I believe in you!!


Fabulous, fabulous, & fabulous. This tells all how I feel about this, yes, fabulous project
I’ve made this, thank you very much for the idea and inspiration! Did you have any problems with your ladder putting marks on the wall with use?
Yay! So glad you found it helpful. No, mine didn’t leave a mark on the wall, but maybe you could add something to the back side, like those pads that go on the bottom of chair legs? I’d probably try that first! 🙂
Really beautiful and easy! I’d love to have you share it at the Pleasures of the NW’s DIY Party!
http://www.pleasuresofthenw.com/do-it-yourself-crafty-party-47/
Thanks!
Love how this turned out and especially the rustic look and feel. This post is Featured at this week’s Merry Monday party. So glad you share with us. Pinned.
This ladder adds so much to a wall and can be portable. Love your idea!!
Thanks for sharing on Friday Features, have a great week!
I love this ladder! I pinned it to make one myself!
Love how easy is this projet!!! Came from Pin Me Linky Party and will Pin this post for sure! Thanks!
I love blanket ladders! I really need to tackle this project soon because I keep seeing them and they’re so cute!
Best,
Kelly
You won’t be sorry! Just takes a little bit of time! 🙂
Great project and kudos to you. It does make a place for those cozy blankets when it is chilly. Thanks for sharing at DI&DI.
love it, and yes might be a bit difficult to have around with little ones! thanks for sharing on craft schooling Sunday!
So far the 2-year-old has left it alone. Yay!!
Laura,I love your decorating blog,I too have a turquoise home.i’m 81 years young and I decorate all the time.i’m going to make your ladder next week.i’ve wanted one for sometime.you’ve inspired me.thank you.adele
I love to hear that Adele! I hope you love your ladder!! xo, Laura
Your ladder looks so cute, Laura! I’ve always wanted a blanket ladder, but my house is full of windows, therefore no wall space. I recently purchased a large hyacinth basket for my throws. It will have to work in this house!
Cute! And a good tutorial!