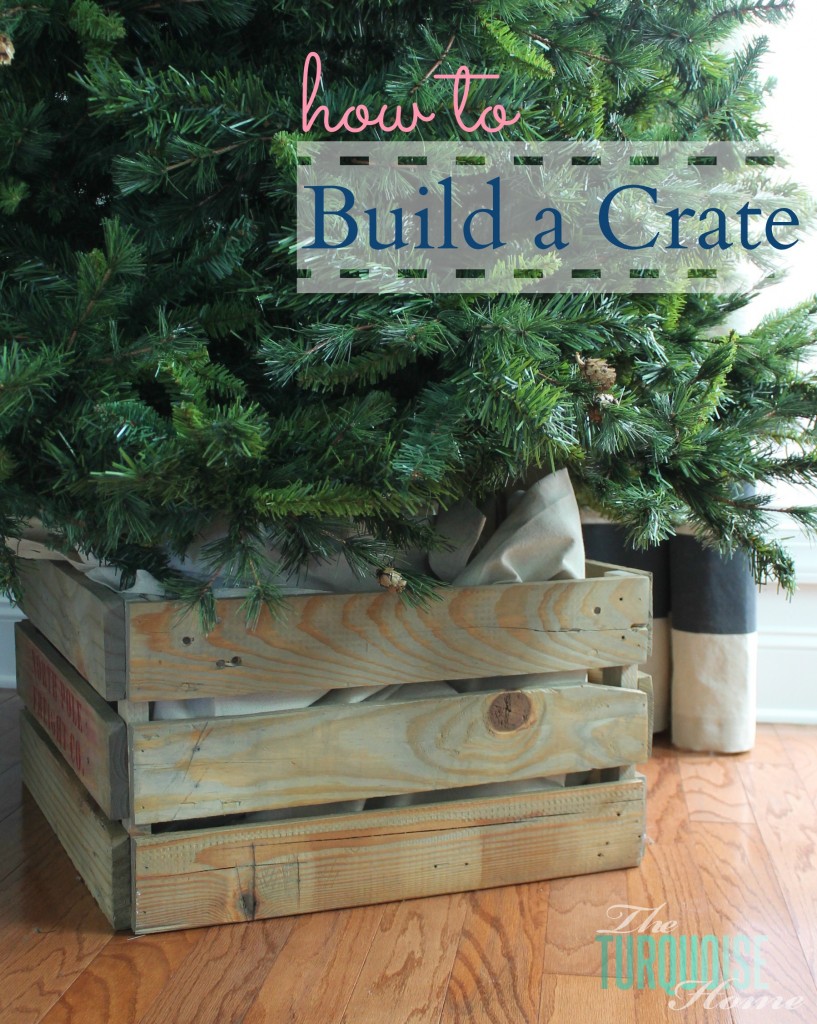
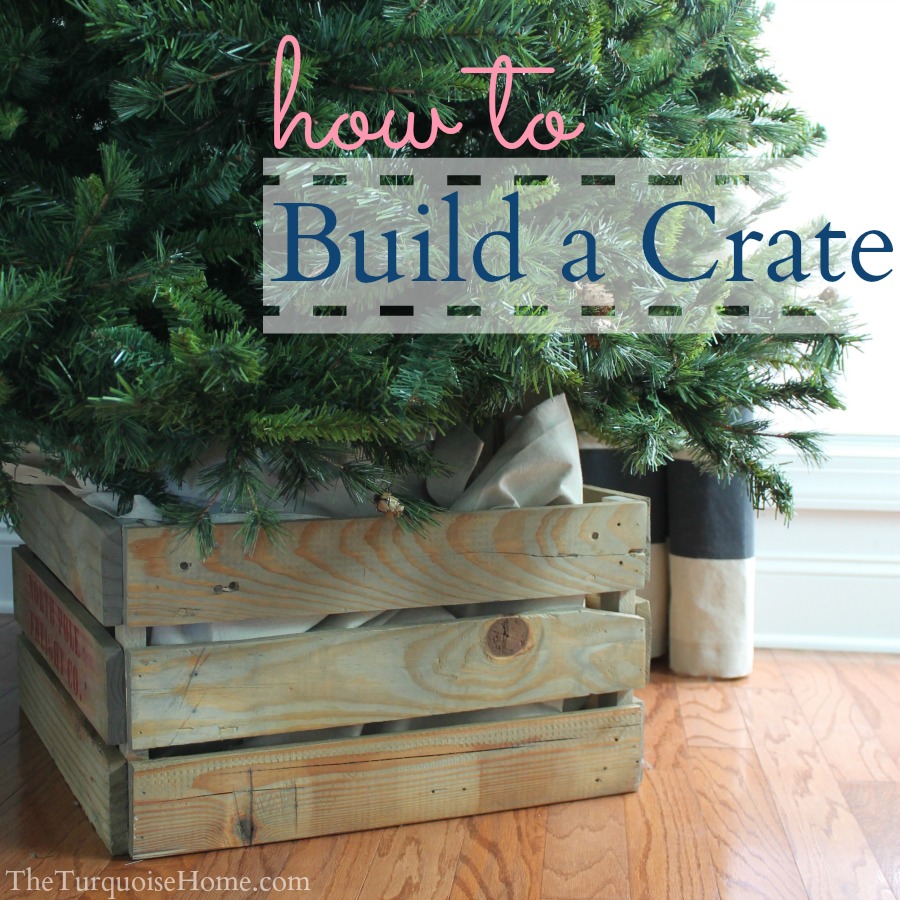
DIY Christmas Tree Collar
This beautiful, rustic DIY Christmas tree collar built from pallets is a great way to add a customized tree collar solution to your home.
As I was setting up my Christmas tree a couple of weeks ago, I was thinking about fun Christmas tree stands. Last year I looked all over the place trying to find a basket that would work with my Christmas tree. But I could never find one with the right dimensions. So, last year I just draped a drop cloth around the bottom and called it a day.
Are you looking for the best Christmas tree collar ideas? Or the most original DIY Christmas Tree stands & collars?

My Rustic Glam Christmas Tree 2012
As I was setting up my tree this year, I had a lightbulb moment – I’ll just make my own Christmas tree stand. I have pallets in the garage so so I decided to break one down and build a crate with the perfect measurements for my tree.
What You’ll Need:
1. Pallet boards – Or you can buy 1×4 pine boards at the hardware store. I used 12 boards at 21 inches long. (This is my favorite tool for taking apart pallets.)
2. 1×2 Pine board for the corners {I bought a 4-foot piece for less than $2. I cut it down to 4 – 1-foot pieces, because there’s a 1-foot space between the bottom of my tree and the floor.}
3. Wood glue
4. Nail gun with finishing nails
5. Stain {optional}
6. Stencil and paint {optional}
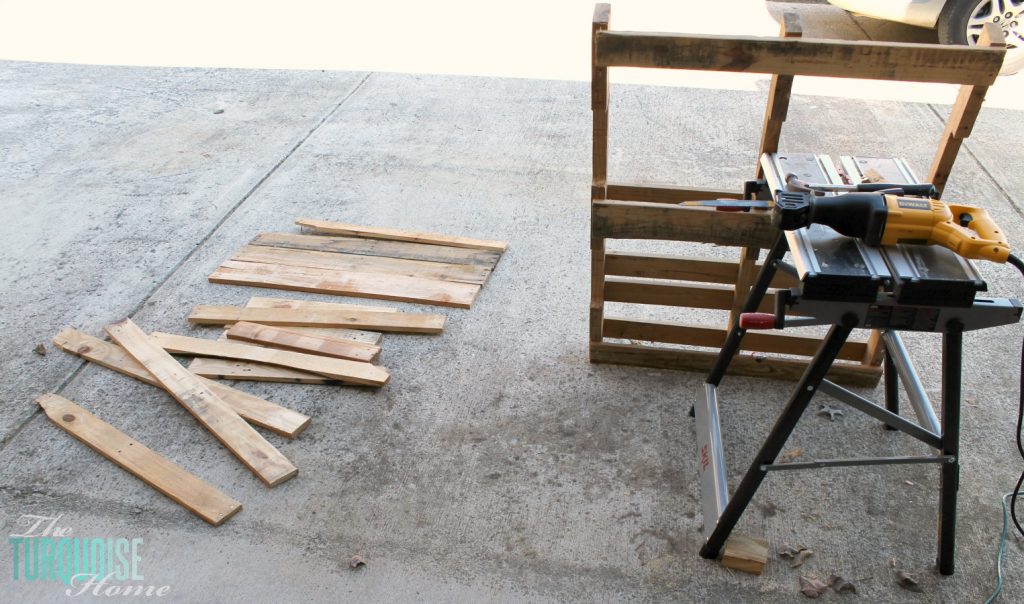
First, I disassembled the pallet. I use a combo of hammering the boards loose and then cutting them with my reciprocating saw. Sometimes I can just use a hammer to knock the boards off, but other times it’s too hard.
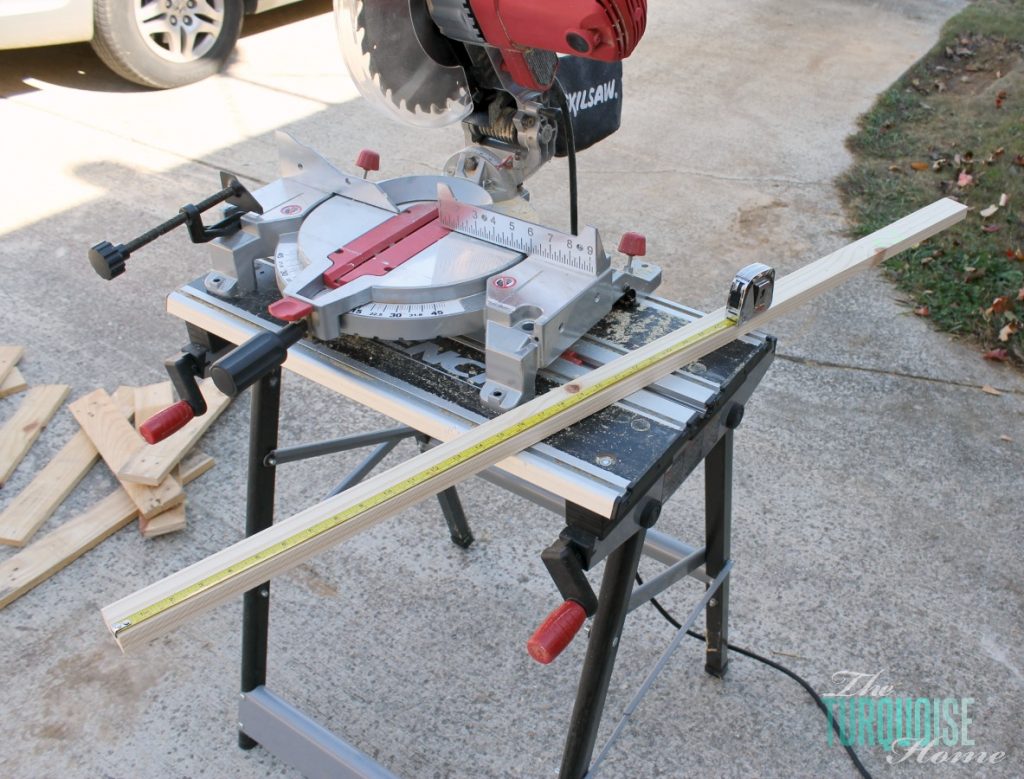
Then I cut the boards down to 21 inches. My tree base is a 19″ square, so I just made the crate a little larger than the base. You’ll have to adapt yours to the size of your tree base. The piece I’m measuring in the above pic is my corner piece.
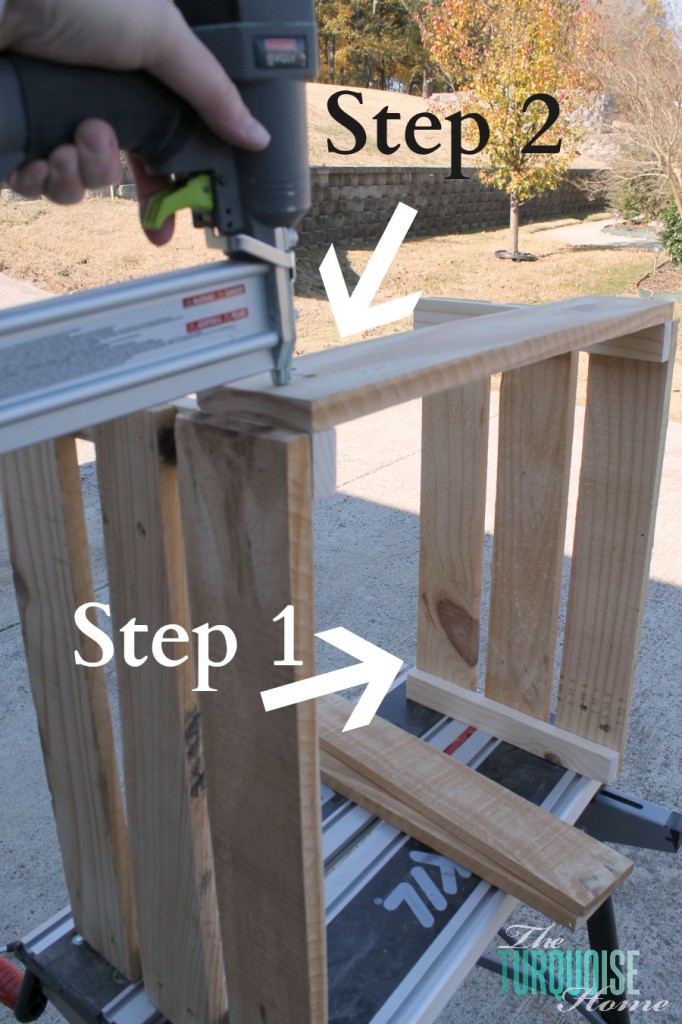
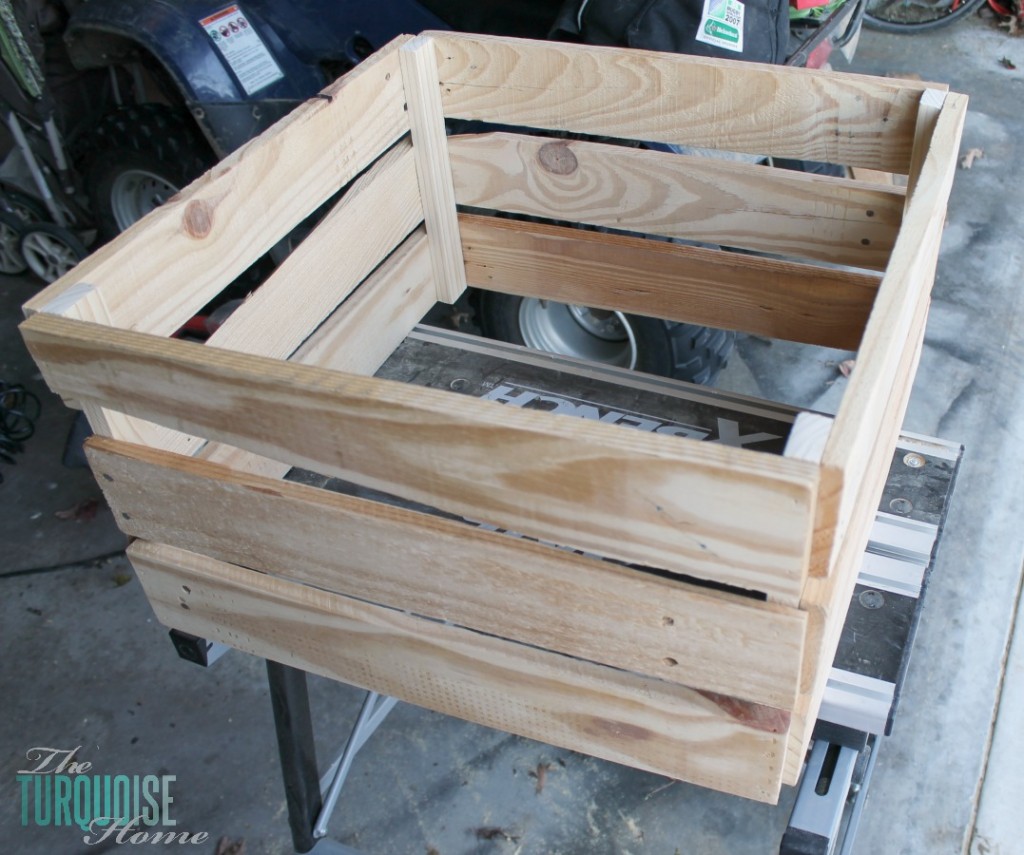
Now you’re ready to assemble all of your boards.
Step 1: Line up three of your slats and nail them into two corner pieces. Repeat. {I also used wood glue between each piece before I nailed them. This puppy ain’t coming apart. :)}
Step 2: Stand up the two side pieces and nail three slats into the corner pieces on either side.
I chose not to add a bottom to my crate since the tree is going to be sitting in it. But it would be easy to add slats to the bottom of the crate once you get all of the sides nailed together. I also decided to leave some space between each slat because I like the look and I planned to put a drop cloth in the crate to cover the tree base.
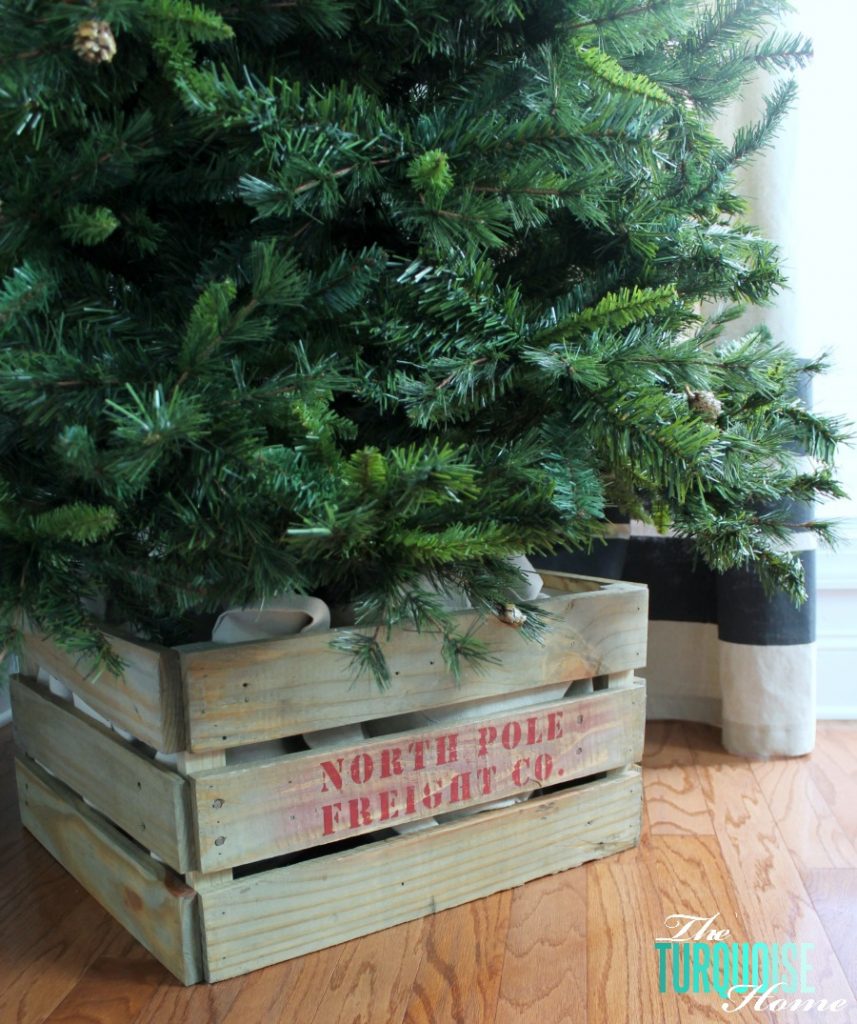
Once I finished building the crate, I stained it with my favorite stain, Minwax’s Weathered Oak. And then I thought it would be cute to stencil a fun Christmas-themed “stamp” on the side. {I was inspired by this crate stamp at The Idea Room. I found her crate when I was looking for crate stamp inspiration. She made a crate for Christmas and used it in another way!}
I chose the font “stencil.” Appropriate, don’t you think? 🙂 I used contact paper and my Silhouette to create the stencil. See my post here about how to make your own.
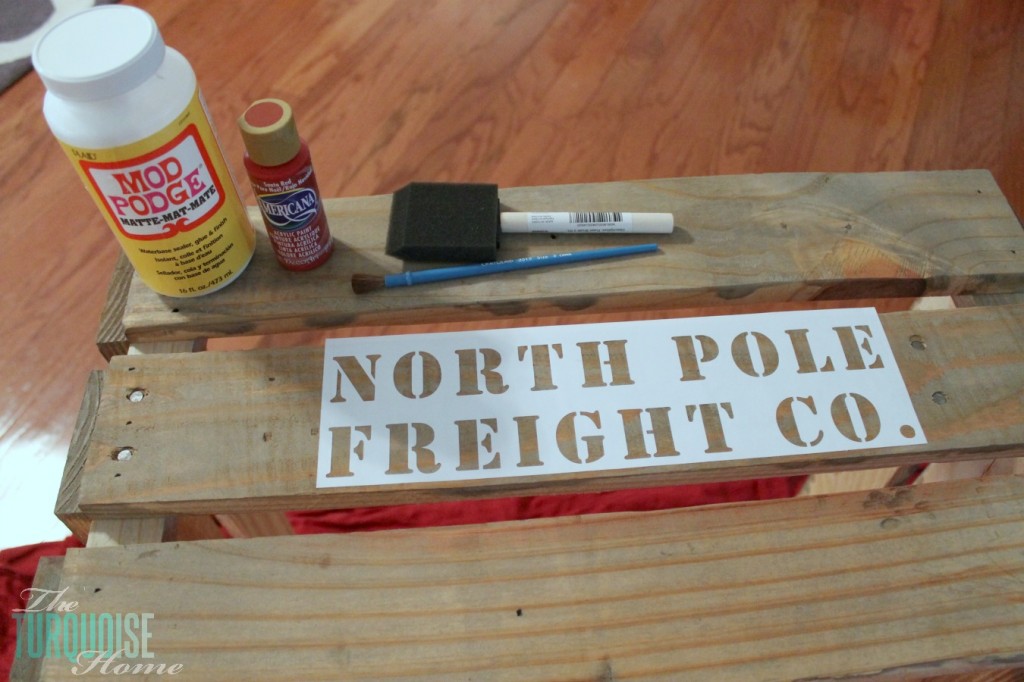
If you’re stenciling on a rough surface like wood, then you’ll want to use the Mod Podge trick and paint the Mod Podge over the letters before stenciling. This will make sure that if anything gets under the stencil, then it’ll be the Mod Podge and it will dry clear. Then when you paint your letters, you’ll get a crisp, clean line. I LOVE this method.
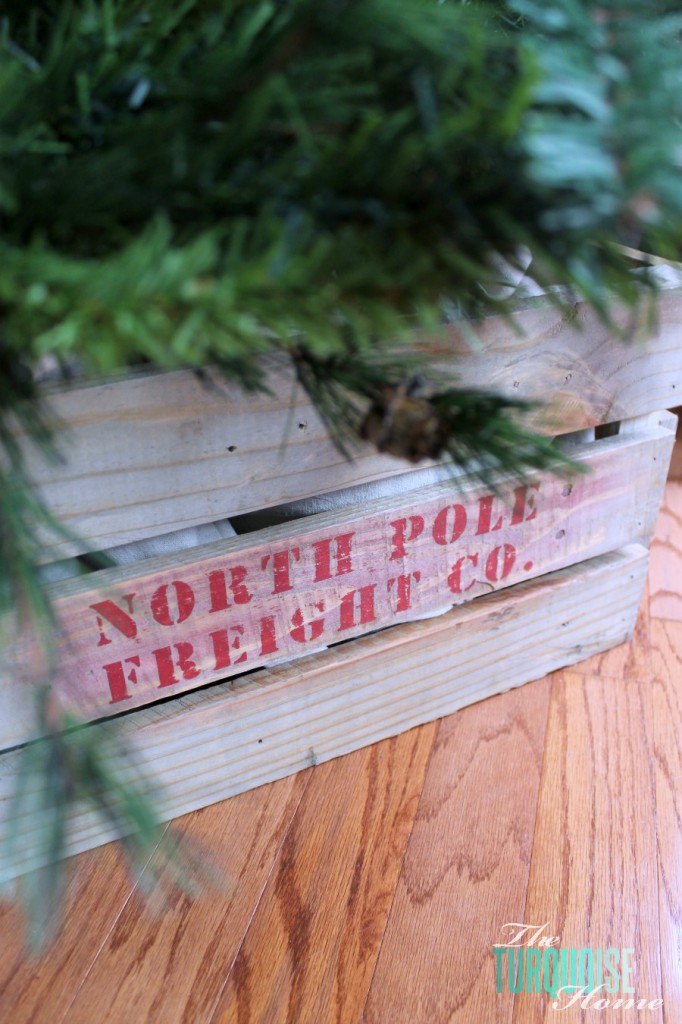
OK, so here comes a craft kind-of fail. The stenciled letters came out beautifully. But, they were too perfect for the worn, rustic crate look I wanted. So, I took my perfectly stenciled crate outside and sanded down the red letters. Except that by sanding it, the red paint made a lovely pinkish-red cloud around my pretty letters.
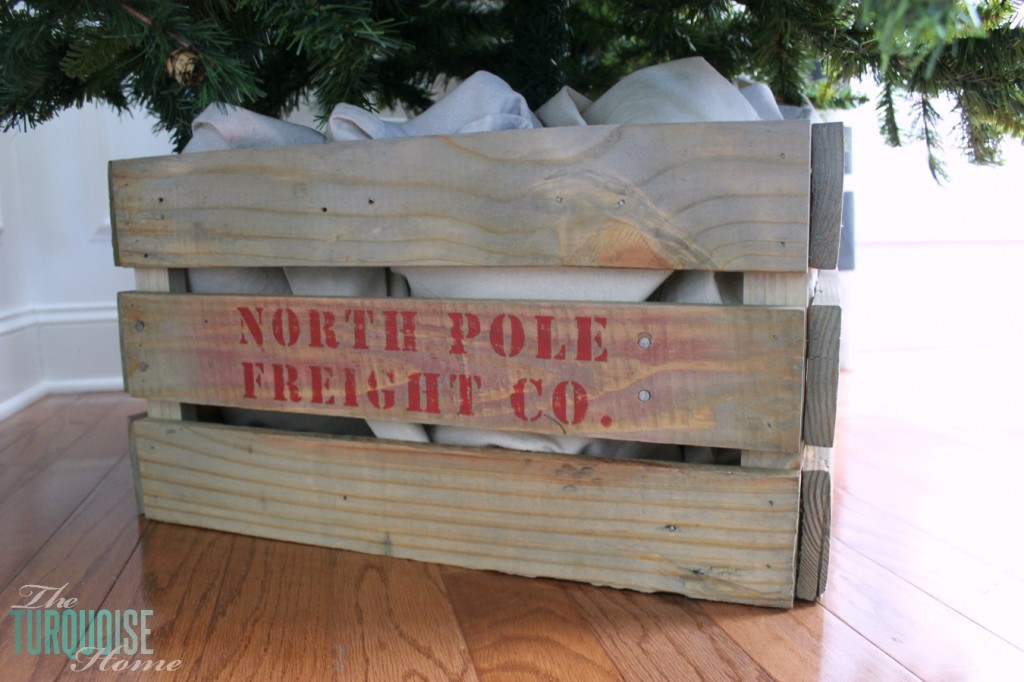
What do you think? Should I turn the crate around and leave the stencil in the back? Or show off my pink clouded stencil? 🙂
I was so bummed! But I still love my pallet crate tree stand, so either way is OK.
So, what do you think? Stencil or no stencil showing? Let me know in the comments!
More Posts You Will Love:
- The Best Artificial Christmas Trees
- 40+ Amazing DIY Christmas Gift Ideas
- 21 Fun Holiday Ideas for Your Family’s Christmas Bucket List
- Quick & Stylish Christmas Card Holder Ideas

i am not really understanding how to use the modge podge?? Do you paint this on the stencil, or the wood?
Love it! I’ve found when ultra-pigmented colors, like red or black, smear after I sand, I take a Mr Clean magic eraser and lightly go over the surface. It isn’t perfect, but removes a lot of the smudgy/smeary/cloudy stuff! Also, let your paint cute for an hour or two before you do this, or it will just smudge even more!
(I know I’m late.. But it’s May and 98 degrees here in Oklahoma, and I’m longing for Christmas. <3)
thanks!! great tip!
Featuring YOU today over on my blog. Thanks so much for linking up to {wow me} wednesday. 🙂
Ginger @ GingerSnapCrafts.com
Thanks so much, Ginger!
I am loving your crate tutorial.. Featuring it at Craftionary and sharing it on social media later today.. 🙂 Happy DIY-ing!
Thank you so much!!
Love this! It looks great as your tree base, but you could use it for so many things. I’m pinning this–thanks so much for sharing it! 🙂
I love the stencil showing. What a great tutorial! I am definitely going to do this next year. Every year we lament how ugly our stand is and I can never find a tree skirt I like. This is perfect! Definitely going to try my hand at making those crates earlier in the year too, so many possibilities, so many pallets!
Pallets are so great, aren’t they?? 🙂
Love, love, love the addition of the stencil!
What a wonderful idea. Lots fantastic with your pretty tree.
Totally love it with the stencil!
I love this idea! You were featured this week at the Create Link Inspire party! Thanks for sharing your project and come link up with is again next week! http://www.marvelousmommy.com/2013/12/8-awesome-diy-christmas-project-ideas-features/
What a cute idea, I love that you used pallets to build your crate and the stencil…just the special added touch!
I love the idea of using a crate, it looks great
Ohhh… another thing to make with pallets 🙂 Love it! Pinned!
Great job, this is so adorable. I’d love to invite you to share at my link party going on now, add as many links you wish to promote;)
~Be Sweet
Christina at
SWEET HAUTE
Oh I love this idea. Great tutorial too. Thanks tons for linking to Inspire Me. Hugs, Marty
So cute! Never an end to the good uses of a crate…the stencil you added is the perfect touch!
Oh, I love this! And I like the stencil. Great idea, Laura!
Love this idea, thanks for sharing the inspiration. 🙂
Ah – I would have said anything with upcycled pallets is gonna look great, but your genius stencil took it to a new level! Awesome!
I LOVE the idea of using a crate as a tree stand. I wish I had seen this before I put our little tree up on a box! We’ll be featuring your crate over at Someday Crafts tomorrow. 🙂
Ok..this is so adorable! What a great idea. I do love the stencil too! Thank you for sharing at MOnday Funday! Featuring this later this week on our FB page! 😉 Bonnie
I REALLY love this Laura- I think I might have to copy you. Hope you won’t mind if I do:)
I love this idea! Can you tell me what your tree is sitting in inside the crate to hold it up?
Did you get an answer? I would love to know also!
stencil to the side so you see it but it is not a distraction from the actual tree