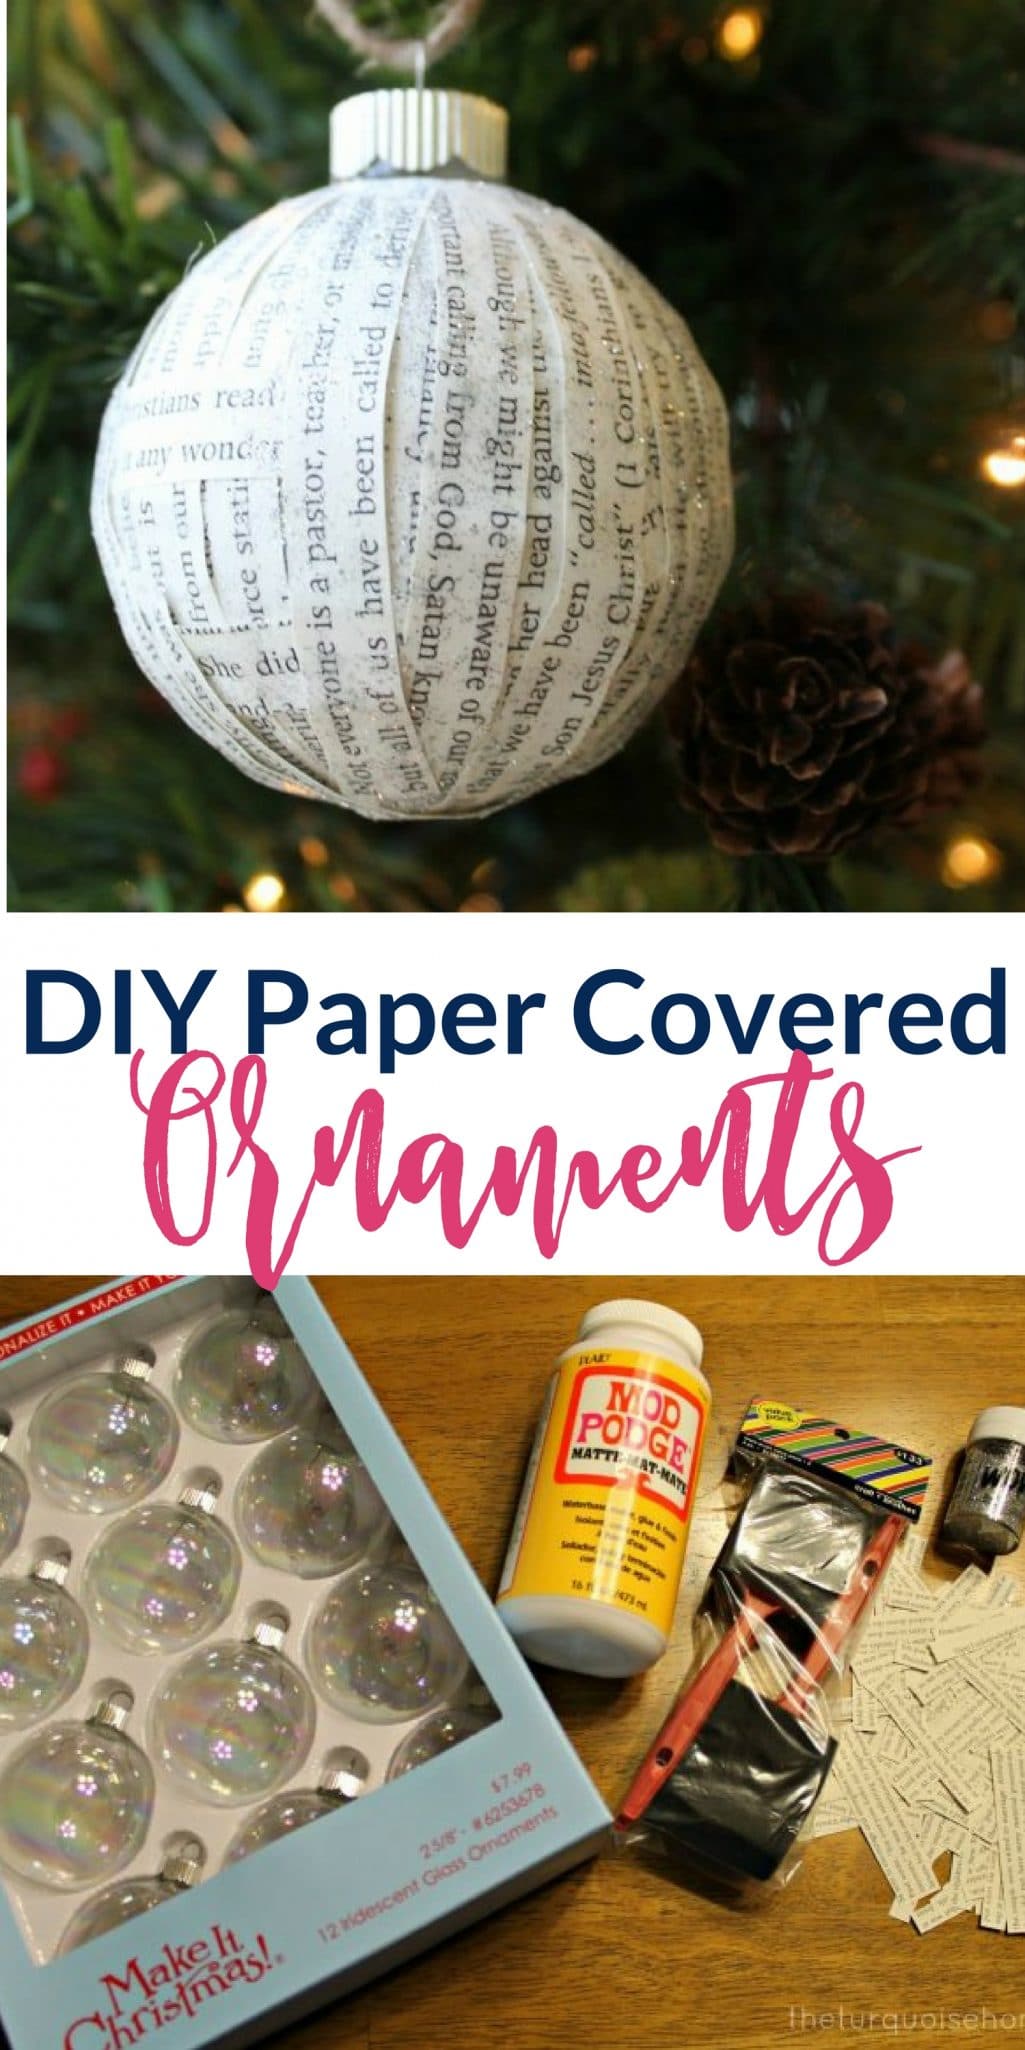
DIY Paper-covered Ornaments
Discover a really easy DIY ornament with these paper strip covered ornaments! They are so cute and can even be sentimental!
Well, we’re finally feeling better around here and I’m finished with my Christmas shopping!! YAY! So, hopefully that means more time for doing my projects and blogging about them.
As for this one, I really can’t think of a more clever name for this project, so a DIY paper-covered ornament it is!
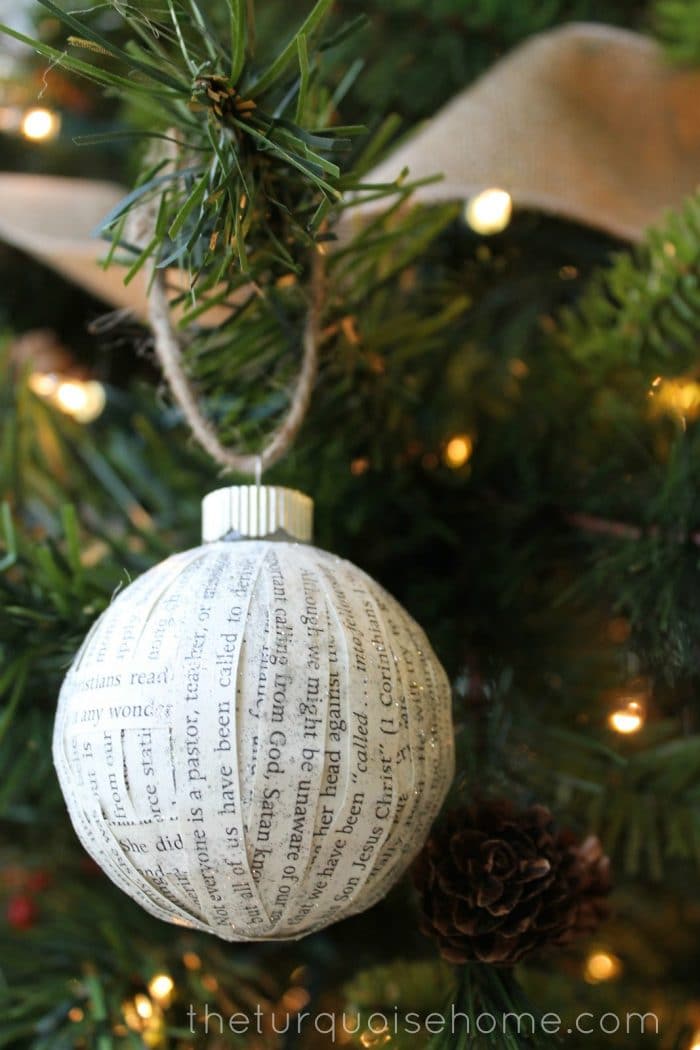
Last year I pinned a lovely ornament featured on Flea Market Style back in 2010. But unfortunately the photo was not accompanied by a tutorial. So, I set out to make my own paper-covered ornaments for my new Christmas tree this year.
Want to Save This?
Enter your email below and I’ll send it directly to your inbox!
Supplies Needed for Making Paper-Covered Ornaments
- Christmas craft ornaments (from Hobby Lobby)
- Mod Podge
- craft sponge brush
- glitter
- cut up pieces of an old book (from my yard sale pile)
- twine
Steps for DIY Paper-Covered Ornaments
1. Gather the Supplies
I selected my materials, including that book from my yard sale pile. You could use a hymnal or a copy of a book that has special meaning for you to make these ornaments sentimental AND cute!
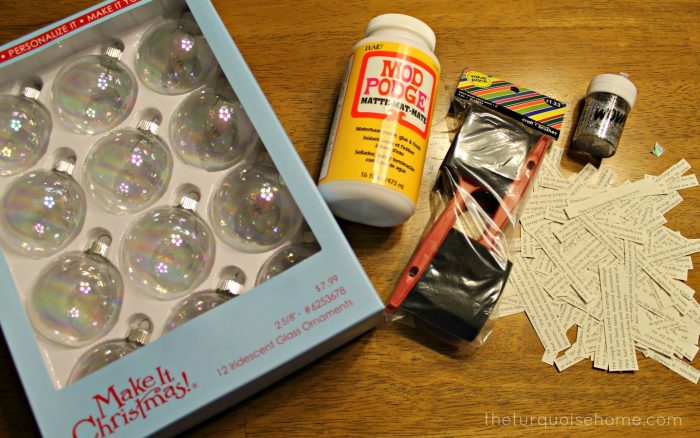
2. Cut Paper Strips
First, I cut up the strips of paper.
3. Adhere the Strips to Ornaments
And then I just Mod Podged (is that a verb?) the paper strips to the ornament. I mostly applied them vertically, but threw in some horizontal ones every now and then.
I did not take a single picture of the process, because it was so simple. And, also, my hands were sticky and somewhat covered in glitter. 🙂
4. Embellish with Glitter and Twine, etc.
Once the ornament was covered in paper, and before the Mod Podge was dry, I took a pinch of glitter and lightly dusted the ornament. The first time I tried to add glitter, I tried to pour it from the bottle and that just looked clumpy.
So, pinching a small amount and adding it to the ornament seemed to work much better. Tie a piece of twine to the top, hang it to let it dry and it’s all done.
You could add a bow or any other embellishments you’d like!
Allow the ornaments to dry completely before hanging on the tree.

Finished product = simple and cheap Christmas ornaments. (It did take about 30 minutes per ornament, so allow for a bit of time to accomplish this one.)
Have you made any ornaments this year? If so, I’d love to see them linked up in the comments!


These are looking awesome, I will get time out of my sched for trying them.
Love these. I also have this ornament pinned! Love how yours turned out. So cute. I’ve been a bit rubbish this year, the only decor I’ve done is a super simple felt garland. Off to peruse your blog now I’ve found it!
So cute, Laura! I love that the writing is from an old book too!