
{DIY} Pallet Christmas Tree
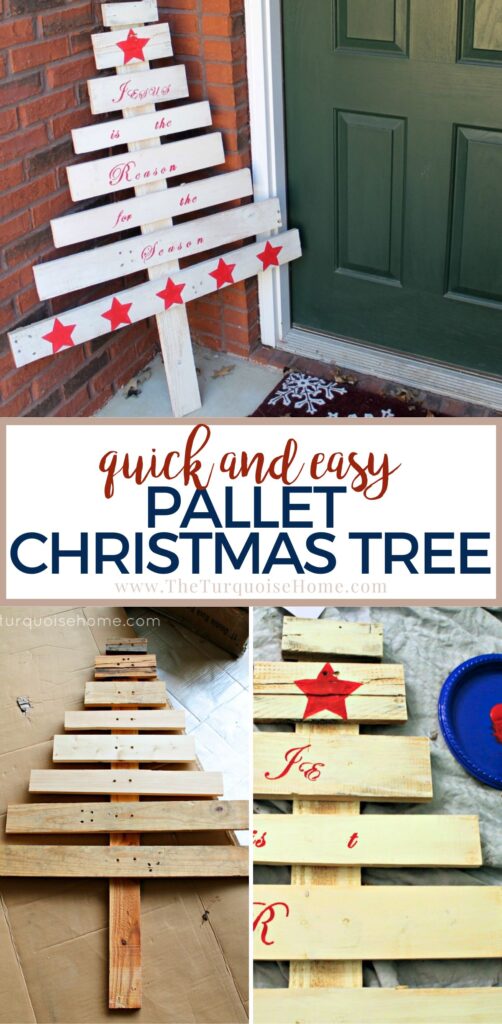
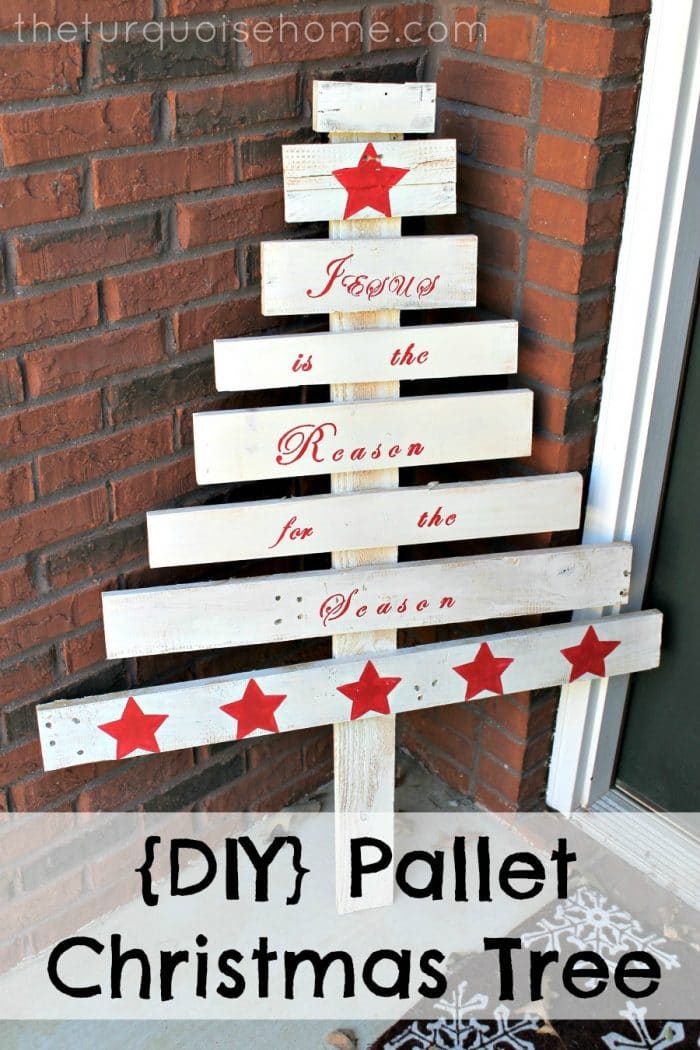
Make this easy DIY pallet wooden Christmas tree project before the holidays are over. I whipped this up in probably less than 30 minutes from scrap wood that I had in my garage.
My friend Sharon shared a pin with me of a pallet Christmas tree several months ago. And when she was here at the beginning of December, we made one for her.
I had the pieces all laid out to make mine for a couple of weeks and then threw mine together right before I had some friends over last week. Nothing like last-minute decorating. 🙂

Want to Save This?
Enter your email below and I’ll send it directly to your inbox!
Power Tools You’ll Need:
- Drill
- Miter Saw or circular saw
- Reciprocating saw (if needing to dismantle an old pallet)
- Orbital sander
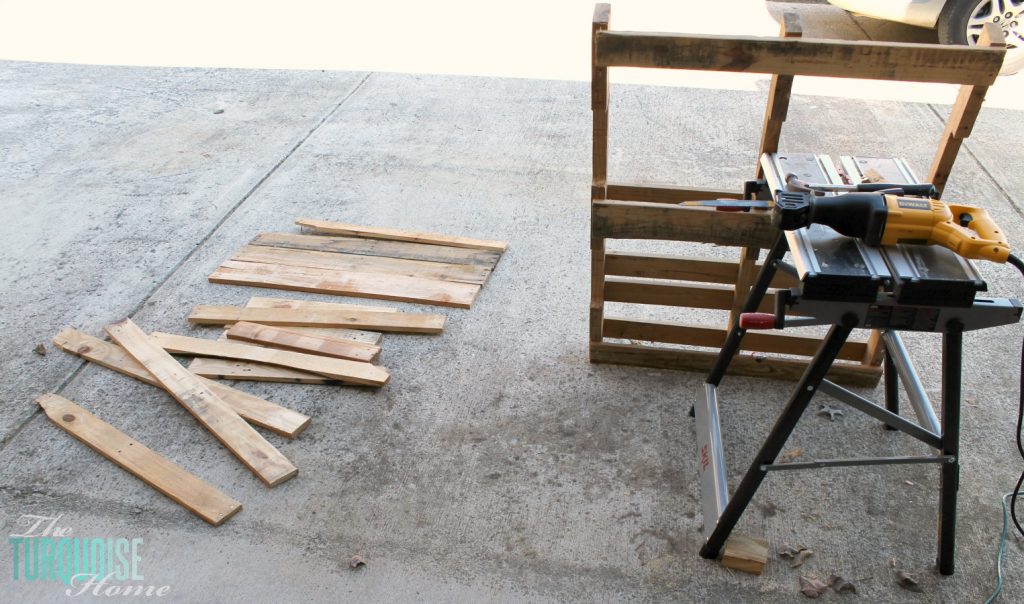
Supplies You’ll Need:
- Reclaimed wood planks (size of your choice)
- Background paint or wood stain (color of your choice)
- Accent paint (color of your choice)
- Screws (long enough to go through your boards)
- Wood glue
- Lettering Stencils
- Stencil brushes
- Outdoor sealer (if using outside)
How to Make a DIY Christmas Tree Pallet
1. Cut the Boards
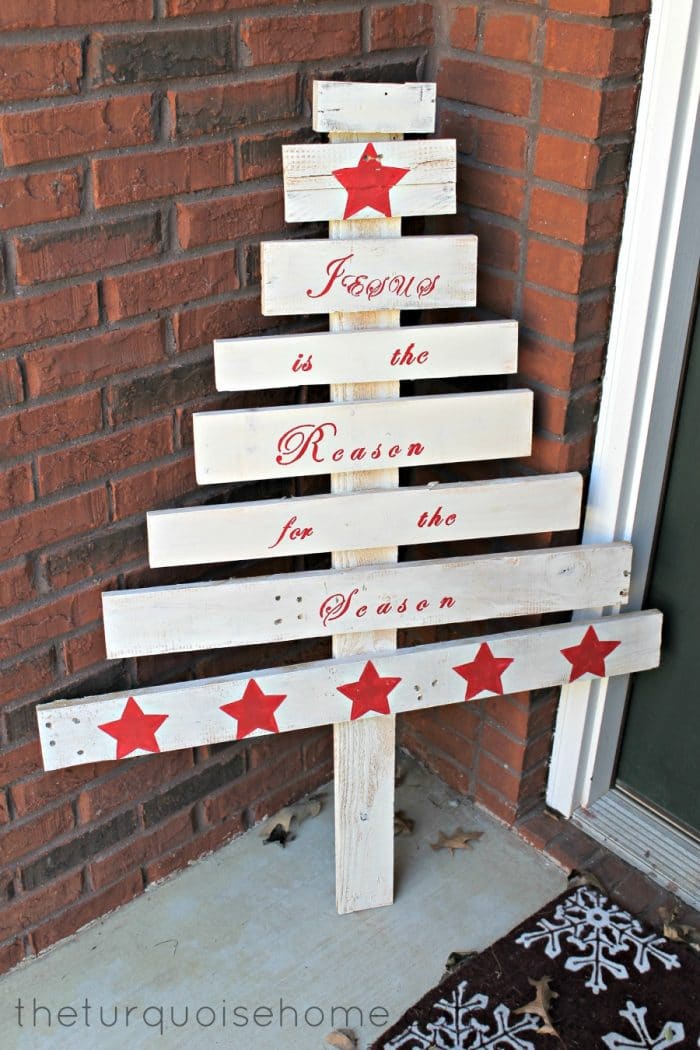
Using a miter saw or circular saw, cut the main back board to a length of your choosing. Mine was about 4 feet high. Then cut the boards for the front tree to staggered lengths. I cut 8 pieces for the front of my tree ranging from 2 feet long down to 6 inches for the top board.
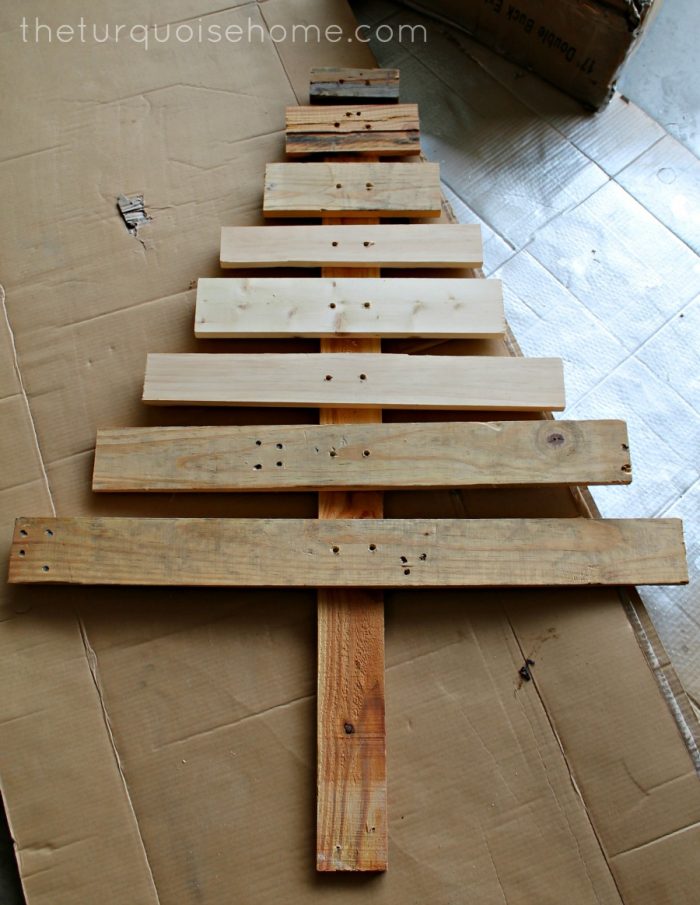
Most of these pieces came right out of my scrap wood pile. I had to cut a few down to the right length and width, but not many.
2. Sand the Boards
Use an orbital sander or a sanding block to knock off any rough edges or splinters. You won’t want anybody getting injured from your pallet tree!
3. Attach the Boards
Set the front boards on top of the trunk of the tree or back board. Apply some wood glue to the joint, then screw them in with long screws that will go through both boards. I screwed them into the front for a more rustic look, but you can screw them in from the back as well to hide the screw holes.
My nail gun wouldn’t cooperate, so I used my drill and a counter sink drill bit first. And then screwed the boards together.
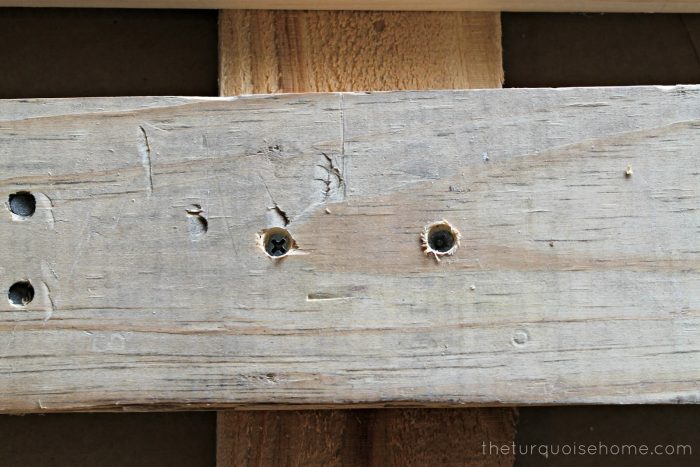
I plugged the screw holes with wood putty and let it dry for a couple of hours.
4. Paint or Stain the Wood Christmas Tree
Then I slapped a sloppy coat of paint on it (Antique White from Sherwin Williams – that I had on hand). It probably took me 10 minutes to do that.
I didn’t take a picture of this step because I was going fast in order to get ready for the party. That’s as far I got before that night. And you could stop right there. It was pretty cute just plain, but I wanted a little something more …
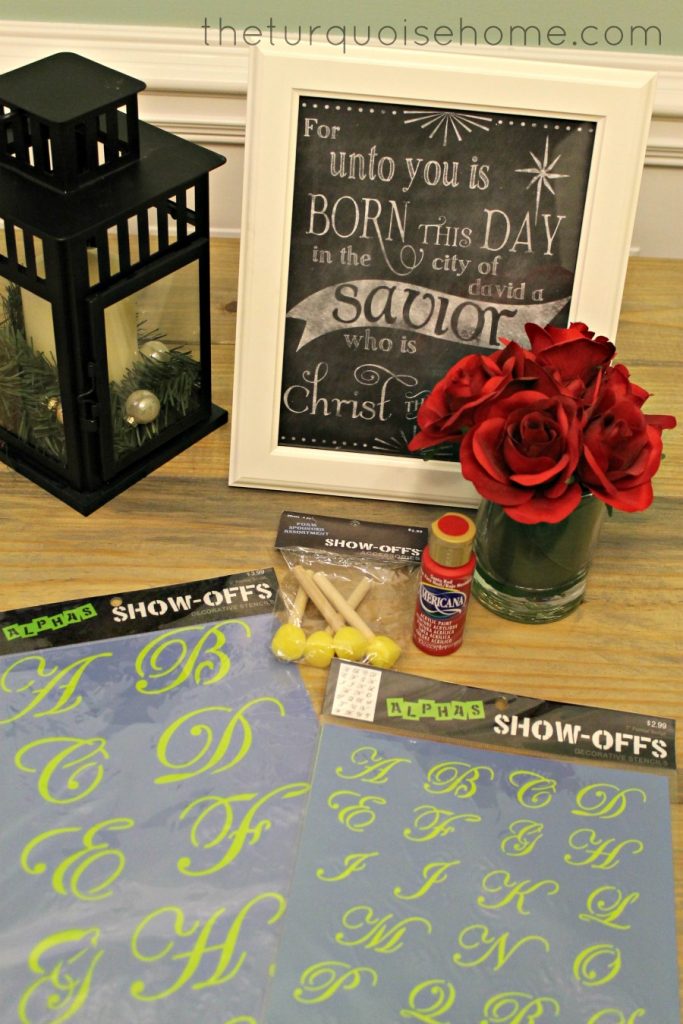
5. Stencil Some Decorations or a Holiday Message
I decided to stencil something on the front of my tree to give it some extra Christmas spirit. And I painted a red star at the top with a stencil, then stenciled “Jesus is the Reason for the Season” down the front of the planks of wood.
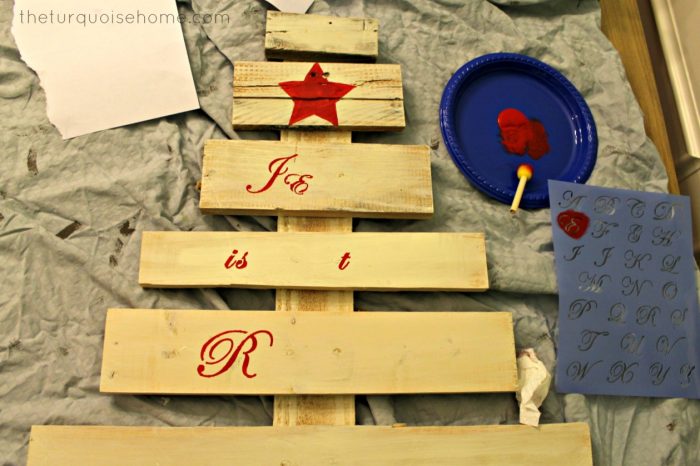
I didn’t measure or try to make things super centered. I just painted. It turned out just fine.
Truly the sky is the limit with this step, because you can add any type of holiday season message or sentiment here.
6. Display the Rustic Christmas Tree
And now it sits by my front door and welcomes our visitors. I wrapped it in Christmas lights like a garland on the front of it, so it would glow at night and my guests could enjoy it after dark!
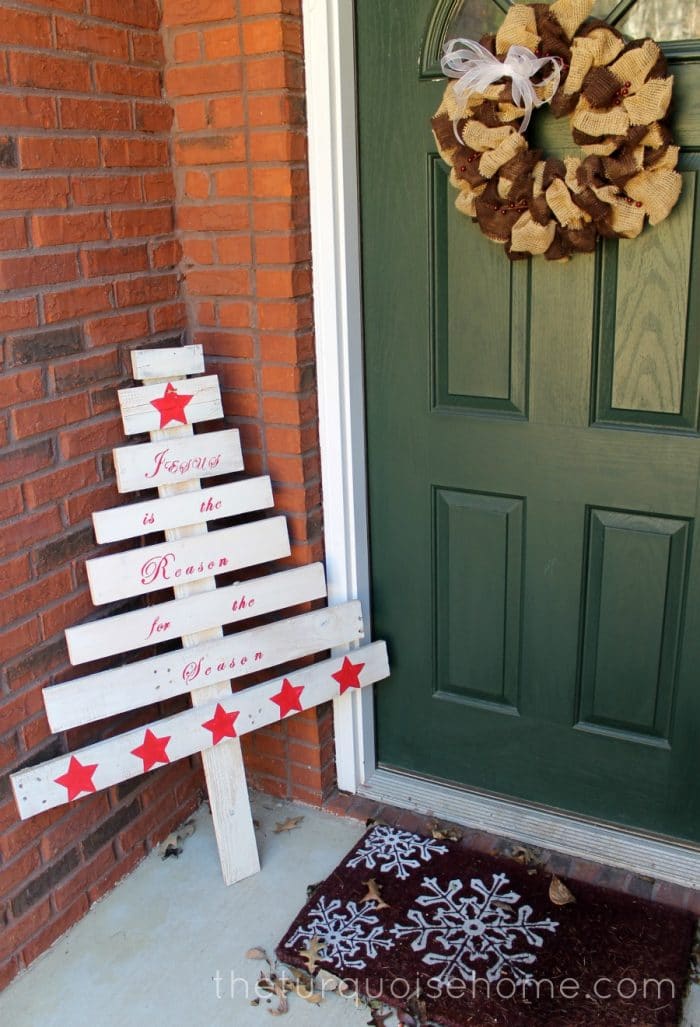
It also reminds us of the real reason for Christmas, which I like. I don’t want to get lost in all of the gifts and food and now remember what it’s all about. It was super easy and almost free (I had to buy the stencils and red craft paint).
Final Thoughts
I love how it turned out and how it was such an easy and simple project! Truly the sky is the limit with this DIY pallet wood Christmas tree because you could hang ornaments from the branches. Or make an advent calendar by glueing on clothespins to the tree and adding some advent ideas for each day.
Make a fun embellishment to the top of the tree, or add fun lights to the outline of the tree. Really, your creativity is the only limit to spreading holiday cheer with a fun project like this easy DIY pallet Christmas tree!
If you do make one, be sure to tag me on Instagram to show me!
More Posts You Will Love:


Absolutely love this idea – going to give it a try this year!