Dough Bowl Centerpiece for Fall
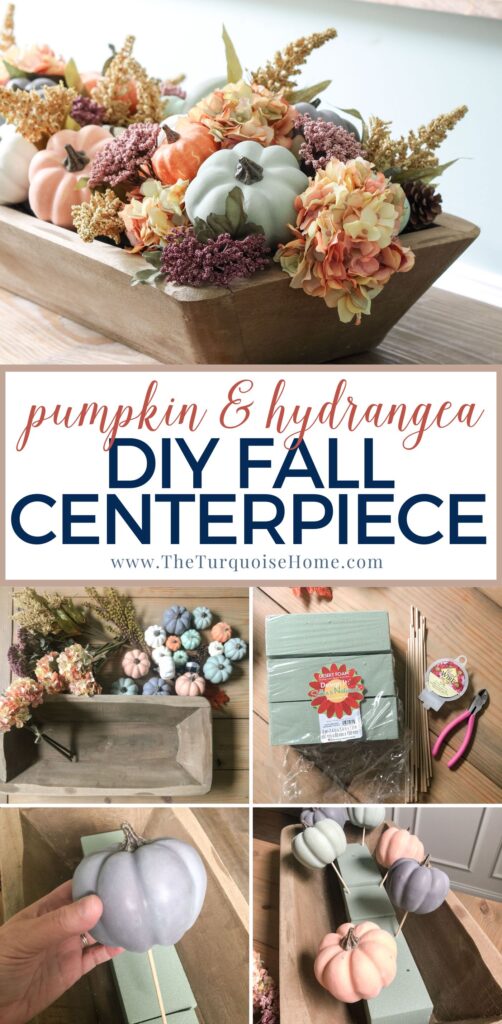
This fall dough bowl centerpiece is so fun to make with any type of dough bowl or tray you already have in your home. It’s easy to add faux pumpkins and faux stems (or real!) with this simple step-by-step tutorial.
Hey friends! I’m so excited to be sharing my first fall post of the season! I love this season and all that it entails.
And I especially love a good fall floral centerpiece in the dining room. I see them all over the place and really wanted to make one with a large dough bowl I found at an antique store nearby.
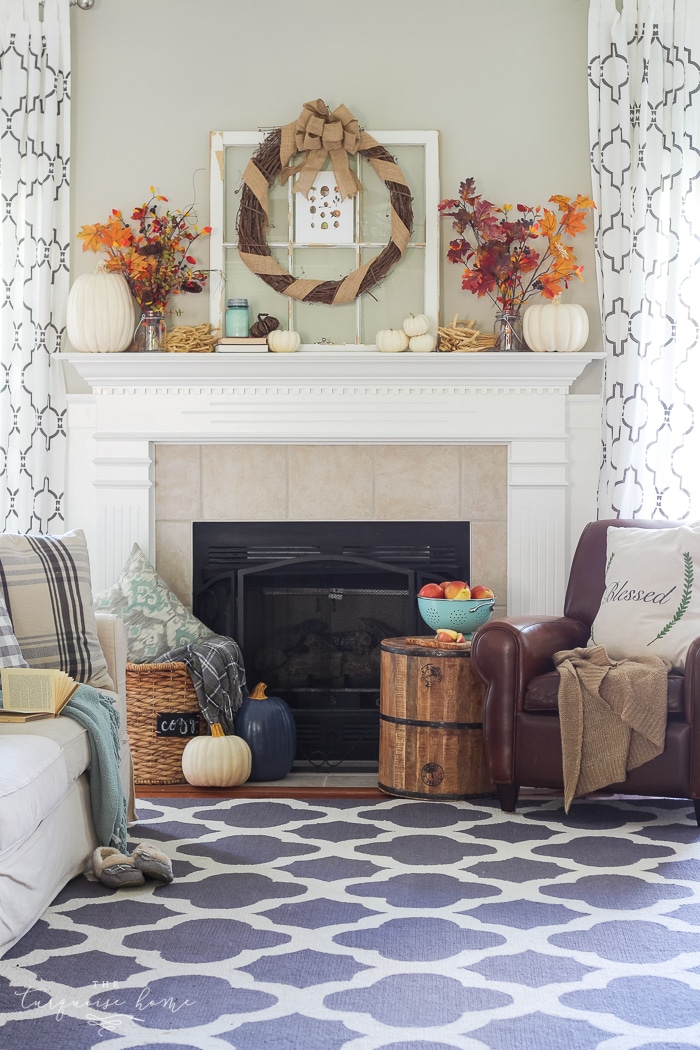
I love sharing my favorite fall decorating tips with you! I’ve shown you how to create a fall mantel and how to make your own fall wreaths, as well as beautiful fall centerpieces to decorate your home! I hope they all inspire you to create a home you love!
This is perfect for someone who has a container they love, like a dough bowl or a tray or box and some favorite florals and wants to try their hand at making their own.
Side note: It’s funny … I actually made a fall centerpiece with a DIY tray a few years ago and forgot about it until I started writing this post and searched for the DIY tray tutorial.
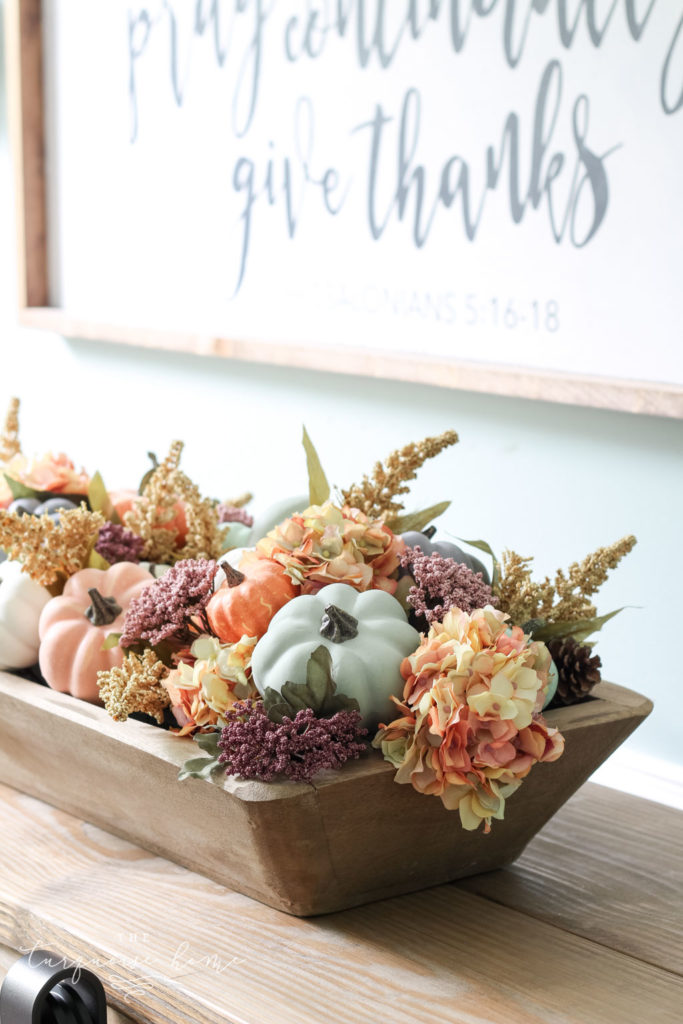
Thankfully this table centerpiece turned out a little different and I’m digging the jewel tone fall colors that I used.
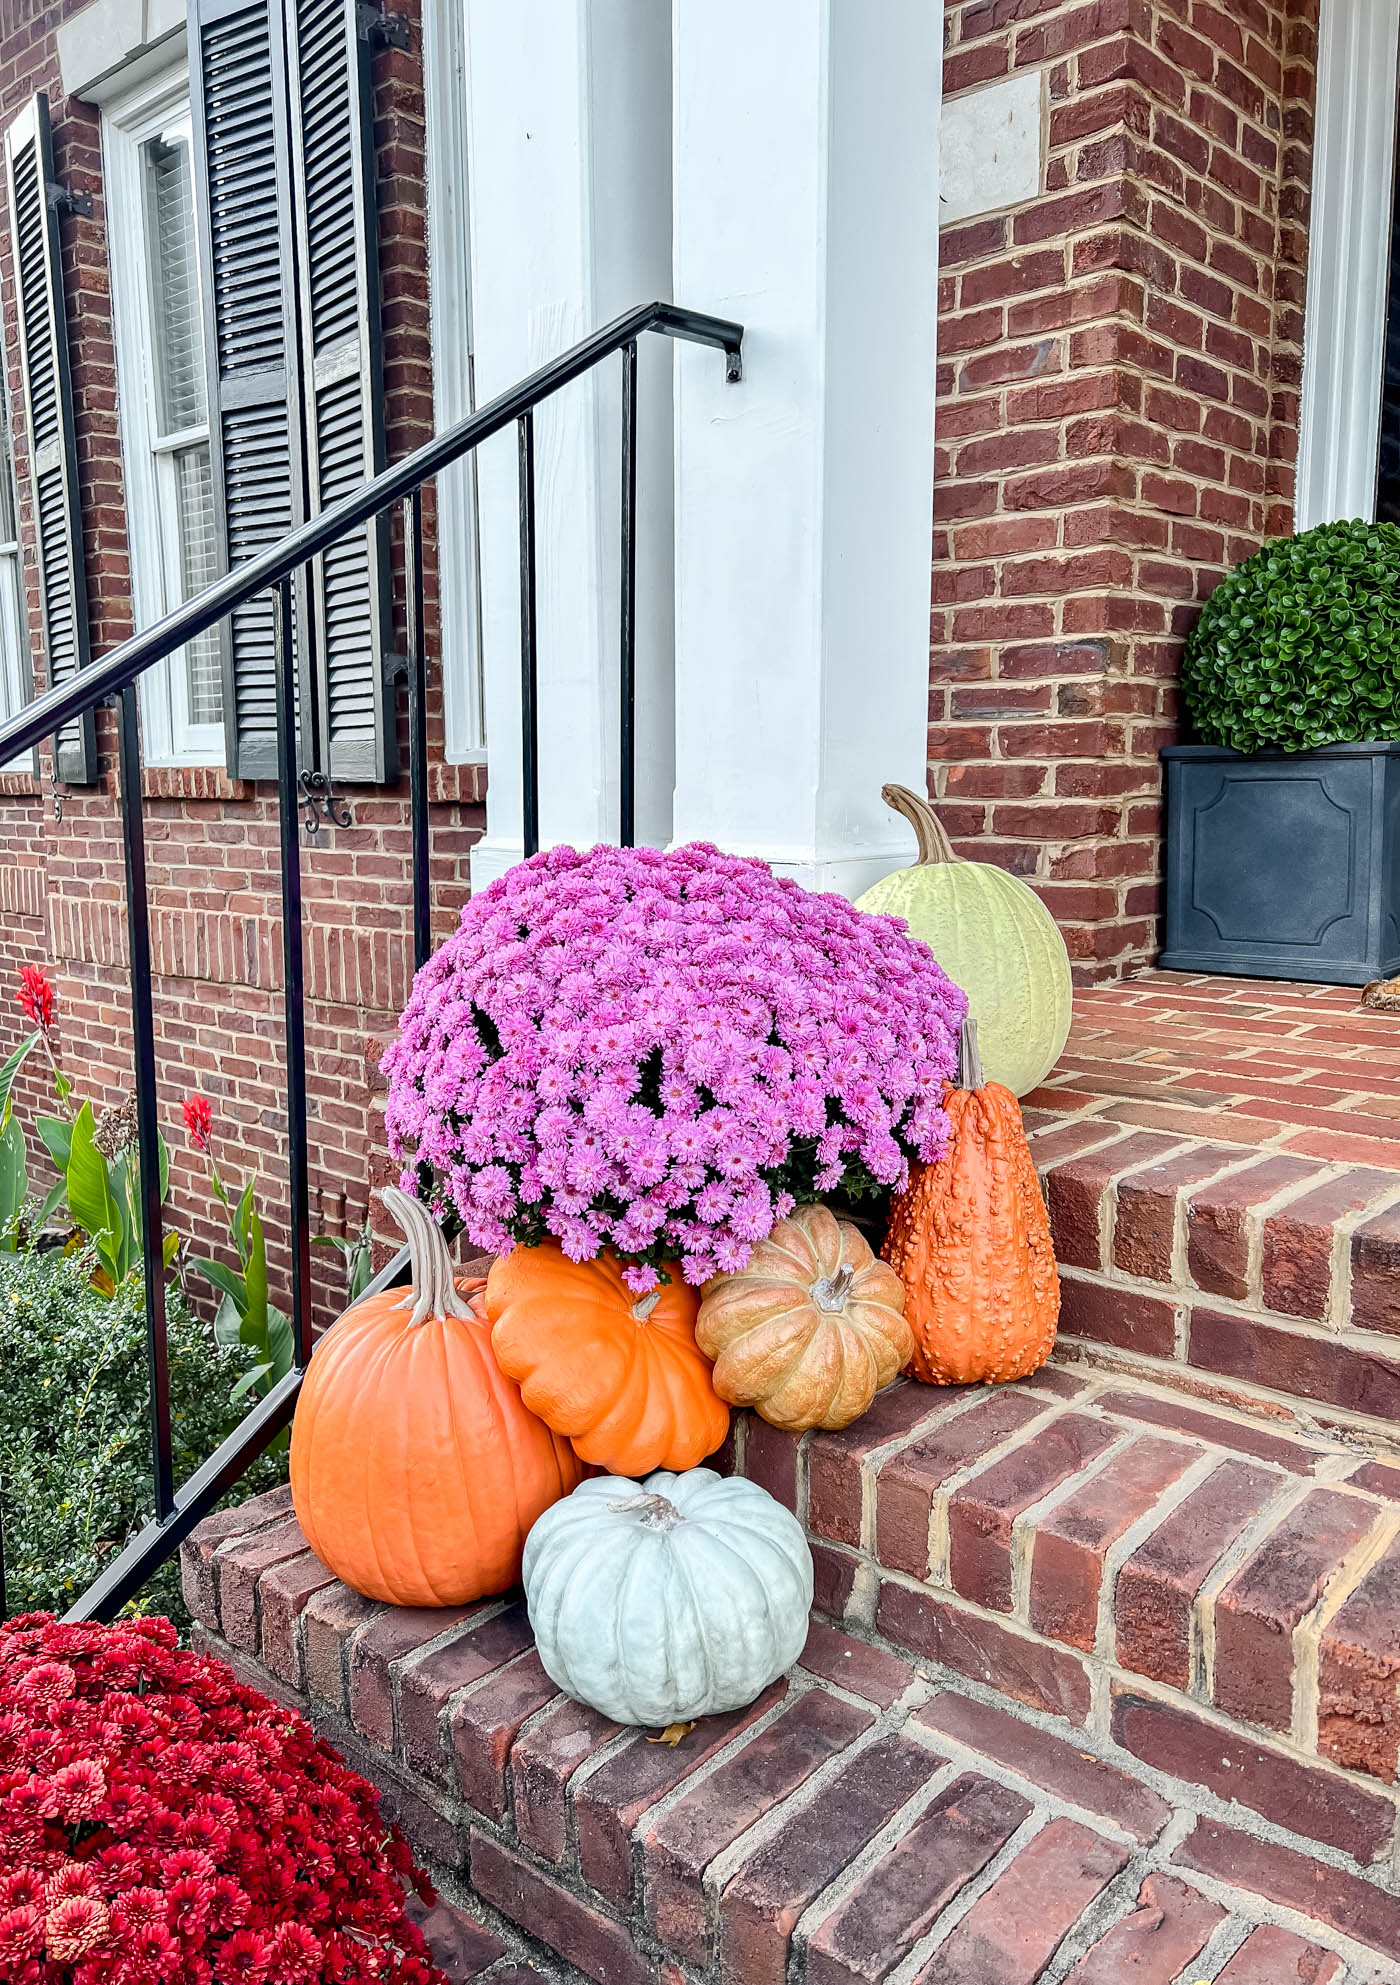
And of course you can fill your beautiful dough bowl with anything you already have, or items you find outside your home. I think pine cones or evergreen branches would be great ideas, too! Hopefully it gives you some different decor ideas as you are decorating this season.
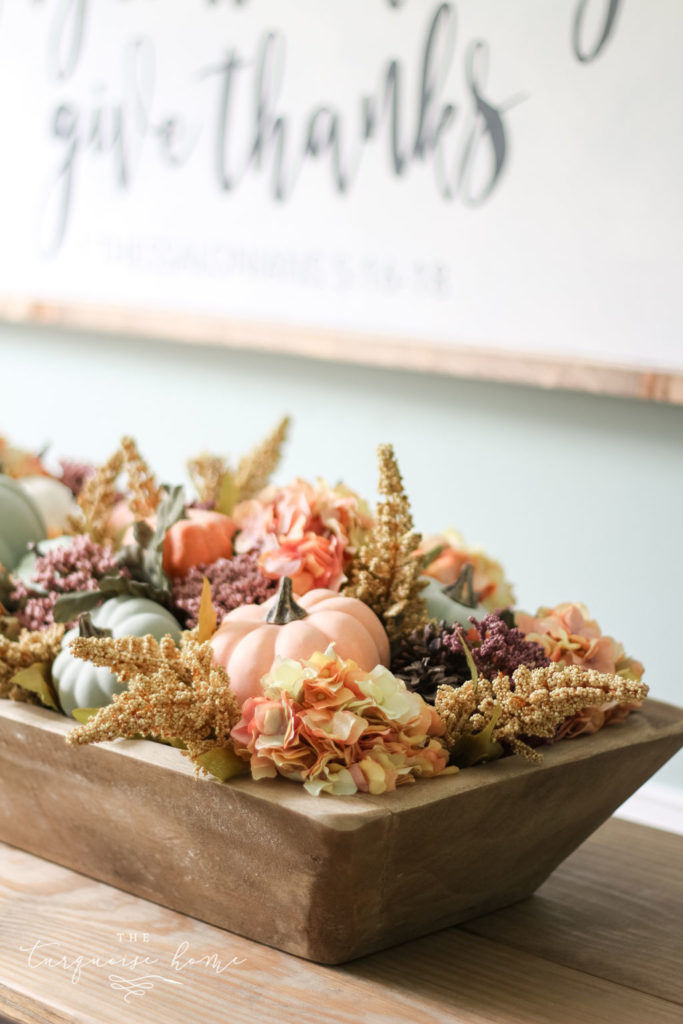
I had my heart set on those faux hydrangea stems, because they are just so gorgeous. I tried to find some similar at Hobby Lobby, but the quality couldn’t be matched and I splurged for the real deal. ☺️ I’m so glad I did! They make this piece shine, in my opinion.
Want to Save This?
Enter your email below and I’ll send it directly to your inbox!
Supplies for a Dough Bowl Centerpiece
Do you want to make one of your own? Let’s grab some supplies first!
- Dough Bowl or other long tray or box. You can DIY one like I did here. I bought mine at a local antiques store, but this one is similar. Mine is 26 inches long.
- Faux Hydrangea Stems (more hydrangea stems in autumnal colors)
- Purple Queen Anne’s Lace Stem
- Heather Bush Stem
- Blue, Orange and White Pumpkin Filler – Or any foams pumpkins and gourds you have on hand.
- Cream and Green Mini Pumpkin Filler
- Neutral Pumpkin Filler
- Floral Foam
- Floral Wire Cutters
- Wood Skewers
How to Make a DIY Fall Dough Bowl Centerpiece
Follow these simple steps to create your own beautiful farmhouse dough bowl decor.
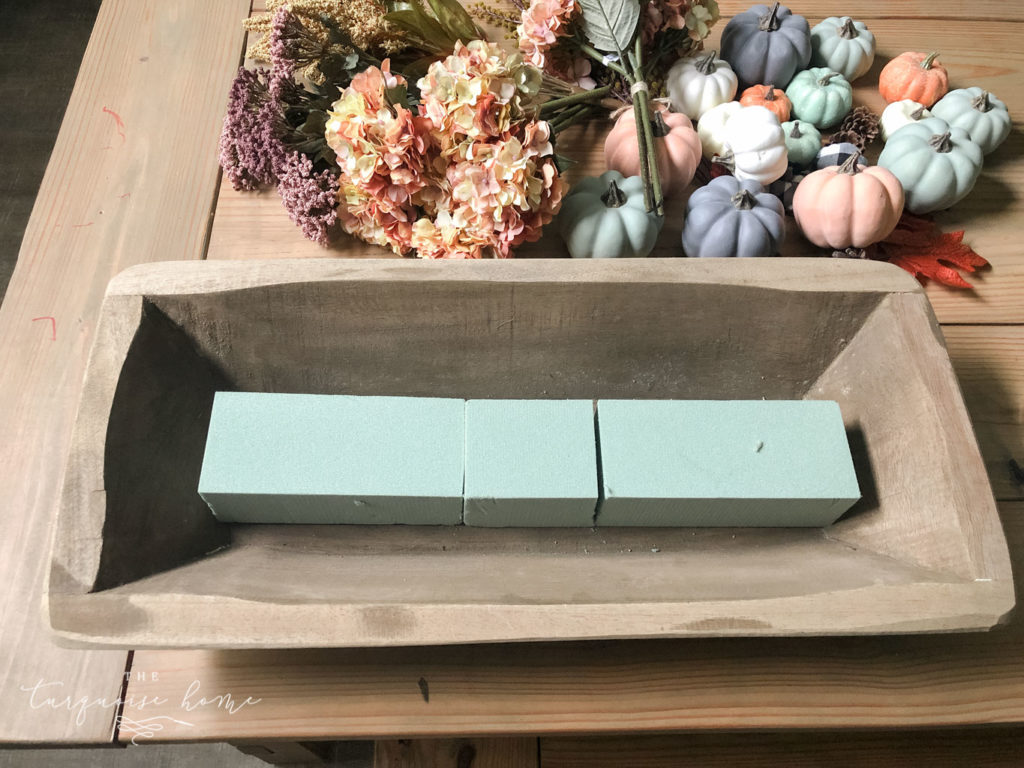
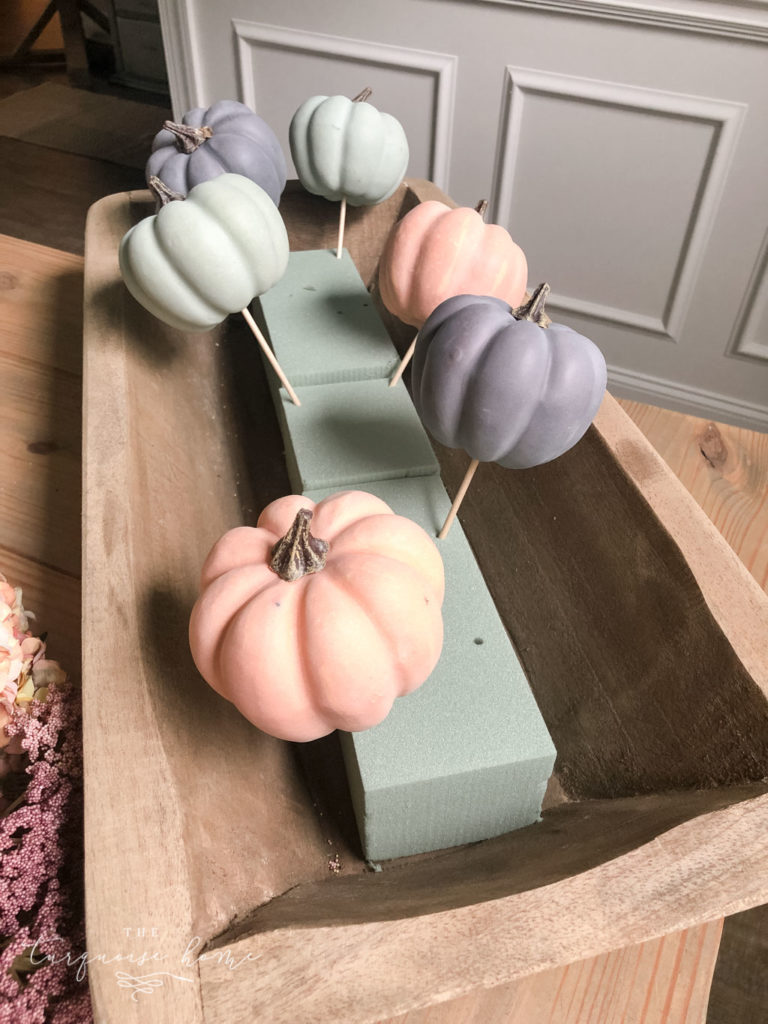
1. Place the floral foam in the bottom of the tray or bowl.
I have also used mason jars in my taller wooden box centerpiece if the tray or bowl is deeper, so that’s an option too if you don’t have floral foam on hand.
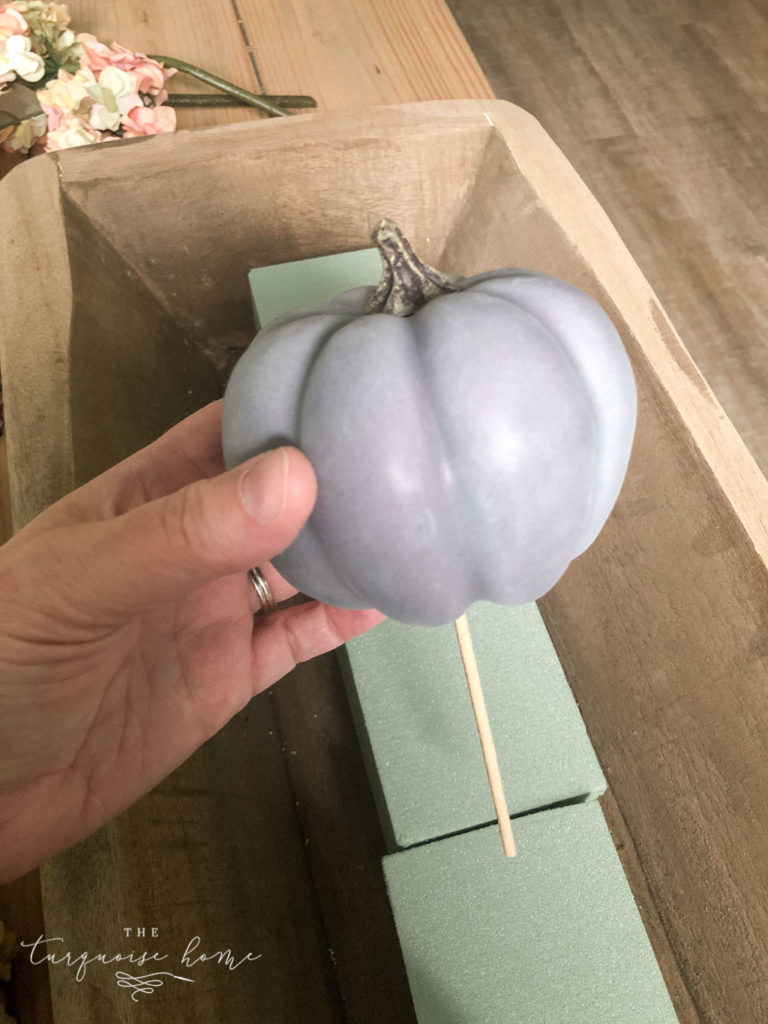
2. Add the Pumpkins
Stick the skewers into the largest foam pumpkins and randomly stick them into the floral foam with the skewers.
It’s important to start with the largest pumpkins first! I cut my 12″ skewers down to 6″.
3. Continue Adding Smaller Pumpkins to the Wooden Dough Bowl
Repeat Step 2 with the smaller pumpkins until you have all the pumpkins in the foam.

4. Fill in the Blank Space with Flowers
Start filling in the openings with the largest floral stem.
This will be your hydrangeas. I didn’t want to stick them in the foam, so I just laid them around the bowl.

5. Fill in all blank space with florals.
Continue to fill in all of the openings with the floral stems until its all filled in!
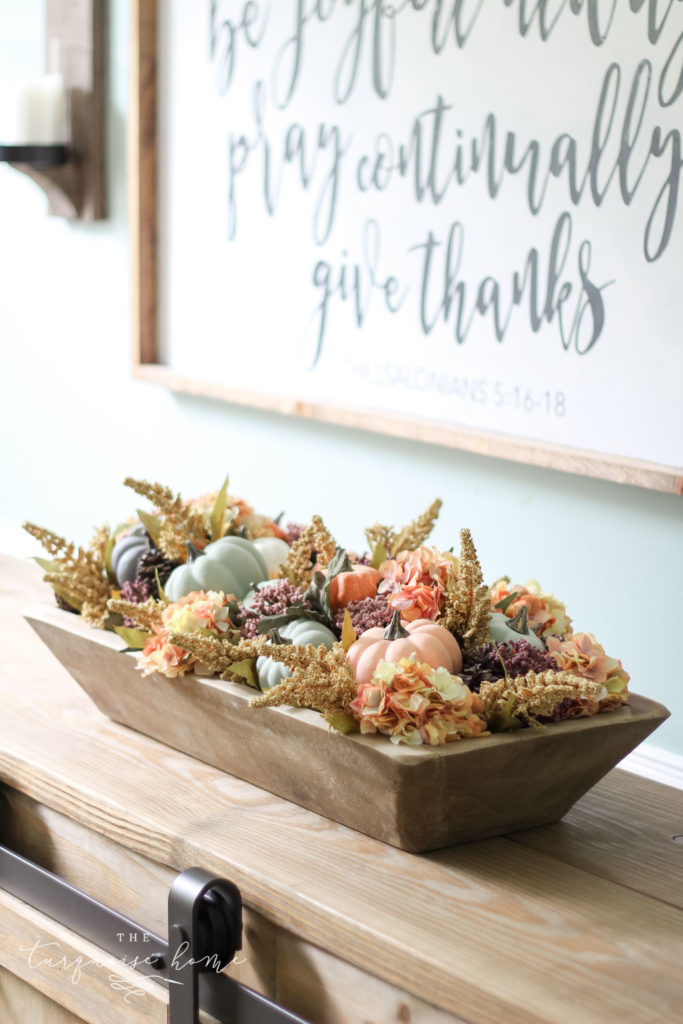
See what I mean about easy? Your fall dough bowl decor is going to be beautiful!
The trick to a pretty arrangement is to start with the largest items and work backwards. It’s the same method I use when decorating my Christmas tree. Start with the largest items first, then fill in with smaller items.
I love how the color palette of the stems and pumpkins turned out. You could always add pillar candles to it, too, for a different touch. That would be so cute!
This dough bowl centerpiece would be perfect to adorn your dinner table as a Thanksgiving/fall centerpiece idea along with a simple table runner. I definitely have some plans to use it on my dining table this fall season, which I’m sure you’ll see soon! ☺️
Frequently Asked Questions:
There are so many ways to make a dough bowl, but primarily you would make one out of wood. But there are also beautiful replicas made from paper mache.
You can use a dough bowl in so many ways in your home decor! Some dough bowl decor ideas include: storing blankets or pillows in it, hang it on the wall in groups or set it on the coffee table to collect pretty items and remote controls.
Antique dough bowls are found in many antique malls or flea markets. Etsy is another great resource!
How to secure the foam? My bowl is curved not flat on the bottom. I have tried just about everything! Help!
I would carve the bottom of the foam to make it round to fit into the bowl! xo, Laura
I also struggle with that! Did you get a response? Please share.
Followed this tutorial and was able to make the prettiest arrangement for my bread bowl!! Thank you so much for the beautiful inspiration. 🙂
So pretty! I recently found an awesome vintage style wooden toolbox (it looked like a wood shop project, not actually antique, but still great!) at a thrift store that I stained dark, and would love to make a pretty dining room centerpiece. You’ve inspired me! I love the colors you used😊.
I bet that is so beautiful! I’m so glad it was a helpful post! xo, Laura
This is beautiful! How would you go about storing this to reuse?
I took the floral foam and stems out and placed them carefully in a box and stored them with my fall decor in the attic. And then I kept the dough bowl out and used it with other stuff the rest of the year. When I pulled the foam, pumpkins and floral stems out this season, it wasn’t hard to put it all back together!
Beautiful thank you for the idea!
This is gorgeous! I am assuming you purchased 3 hydrangea bundles and then split them up into 9 individual stems?
Wow! What a fantastic looking piece. The colours are gorgeous too!
LOVE all the color! ;} SO pretty.
Thanks so much, Ashley! xo!
So beautiful and I love the hydrangeas! Super smart tip to start with the larger items and work backwards! I’ll have to try that! XO
Thanks Christy!!
This turned out so pretty! Love all the colorful pumpkins 🙂
Absolutely gorgeous!! I love how you used floral blocks to place the pumpkins…I’ve never thought of doing that but it’s SO perfect to layer everything together! I can’t wait to make one!
It’s beautiful! Love all the colors. Thank you for sharing!
Thanks, Rita! xo
The biggest problem I have is securely anchoring the florist foam in the container. How do you do this? Thanks, Pat
Beautiful – I love the colors! And your tutorial is so easy to follow! xoxo
Such a gorgeous centerpiece. I love the pumpkin colors!
xoxo
How pretty!! I love all of the fall colors.
This is such a cute idea! The color schemes and flower possibilities are endless, love it. Have a great fall season, friend!