DIY Christmas Tree Basket
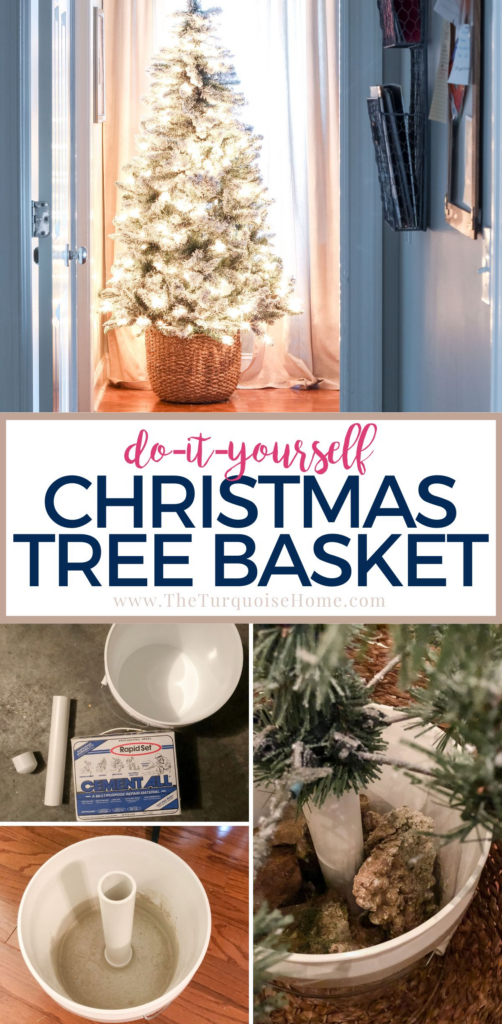
The easiest way to make a Christmas tree basket in lieu of the traditional tree skirt. It is such a simple DIY project and so stinkin’ cute! Plus the best basket Christmas tree collars in case you don’t want to DIY anything! 😉
I recently went on a hunt for a basket-style Christmas tree collar, because I just love the look! But I struck out finding anything locally. And actually I kept getting messages of where I could find them, and I think it was a happy accident that I could never find one, because I ended up making my own and I love it even more!
Two Types of Basket-Style Christmas Tree Skirt Options
1. Christmas Tree Baskets
The first Christmas tree baskets started a about a decade ago with trendy home decorators setting their trees down in a regular old basket from the store. I love this look, but found it difficult to find a basket large enough to fit the tree stand on my artificial trees.
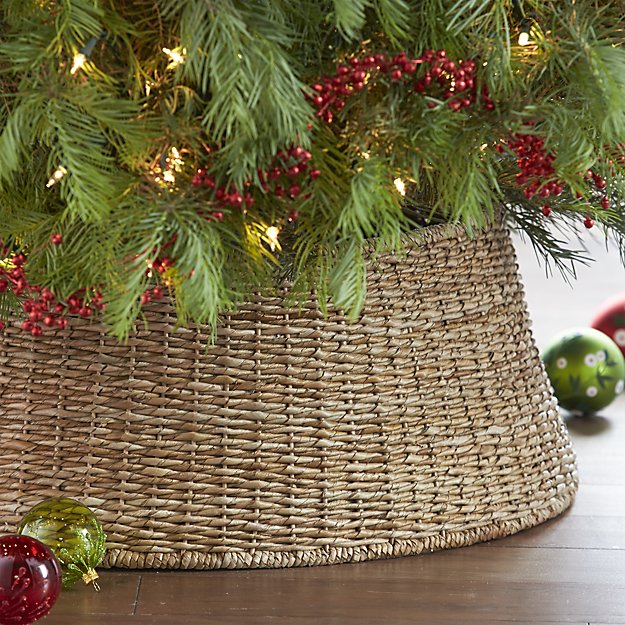
2. Christmas Tree Collars
The second Christmas tree basket option happens when stores got smart and started making basket-style tree collars, like this one. (I’m sharing my favorite basket tree collars at the end of the post in case the DIY route isn’t for you.)
I decided to make one of the basket tree stands with a basket I found at the store, which was the perfect size for my tree, but too small to fit my tree stand on my artificial flocked Christmas tree.
Want to Save This?
Enter your email below and I’ll send it directly to your inbox!
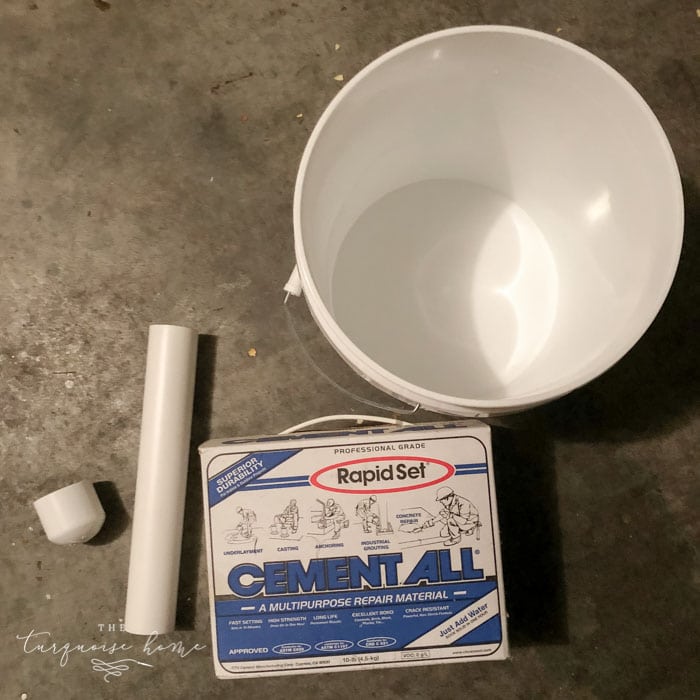
Supplies needed for the DIY Christmas Tree Basket
- Heavy duty 2-gallon bucket
- 1-1/4 inch PVC pipe (cut to the length you need for your tree) Get a size that will fit snugly around your Christmas tree pole. Mine has a tiny bit of wiggle room in the 1-1/4 inch pipe, but it’s fine.
- 1-1/4 inch PVC pipe cap – or whatever size matches your PVC pipe
- Multi-purpose, quick-drying cement
- Large, round basket (like this one)
- Christmas Tree (I used this one, but use any one that you have!)
- Level
- Other: paint stirrer, water to mix your cement, measure cups.
5 Steps to DIY your Christmas Tree Basket
1. Cut the PVC Pipe
Cut down the PVC pipe to fit your tree. I measured my tree from the floor to where the branches started and it was 10 inches. I used my miter saw to cut my pipe, but I’m sure a hand saw would work as well!
2. Cap the Bottom of the PVC Pipe
Place the PVC pipe cap on one end of the PVC pipe you just cut.
3. Mix the Cement
Mix the cement according to the instructions on the box in the 2-gallon bucket. It will need to be enough to fill the 2-gallon bucket at least 4-6 inches, preferably more.
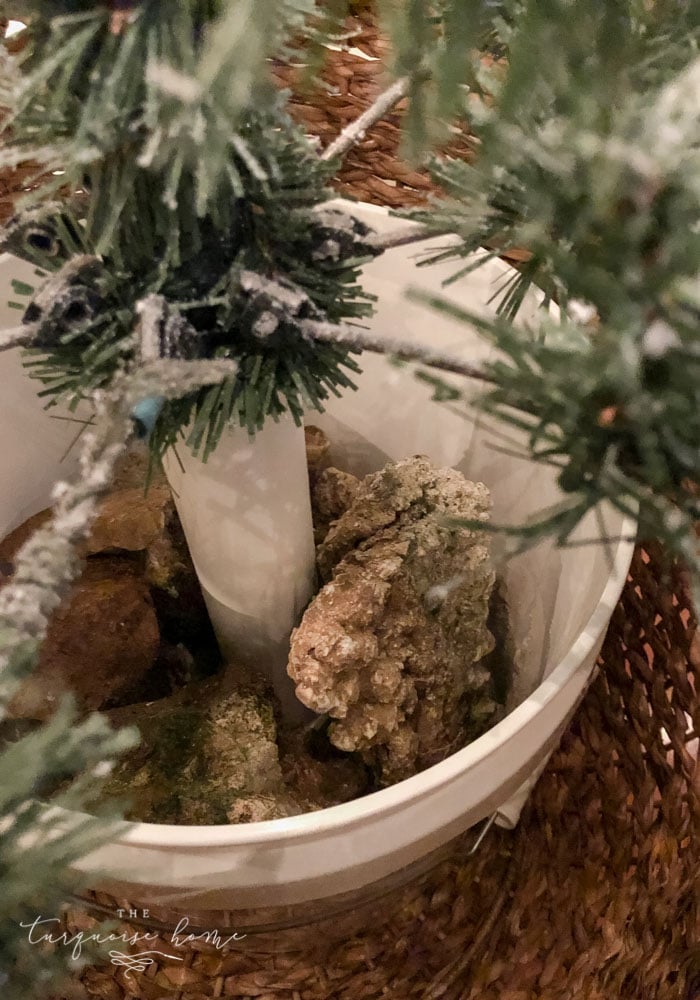
I was using up some cement that I had, so I didn’t have much. I ended up having enough to set the pipe in it, but needed some more large rocks to weigh down the bucket.
4. Cement the Pipe in the Bucket
Before the cement sets (like right after you mix it) place the PVC pipe with the cap end down into the cement mixture. Hold it straight (check with your level) until the cement sets enough to hold it in place. The cement I used took about 10-15 minutes before it was set enough for me to leave it. Let it dry for several hours before you try to use it with the tree.
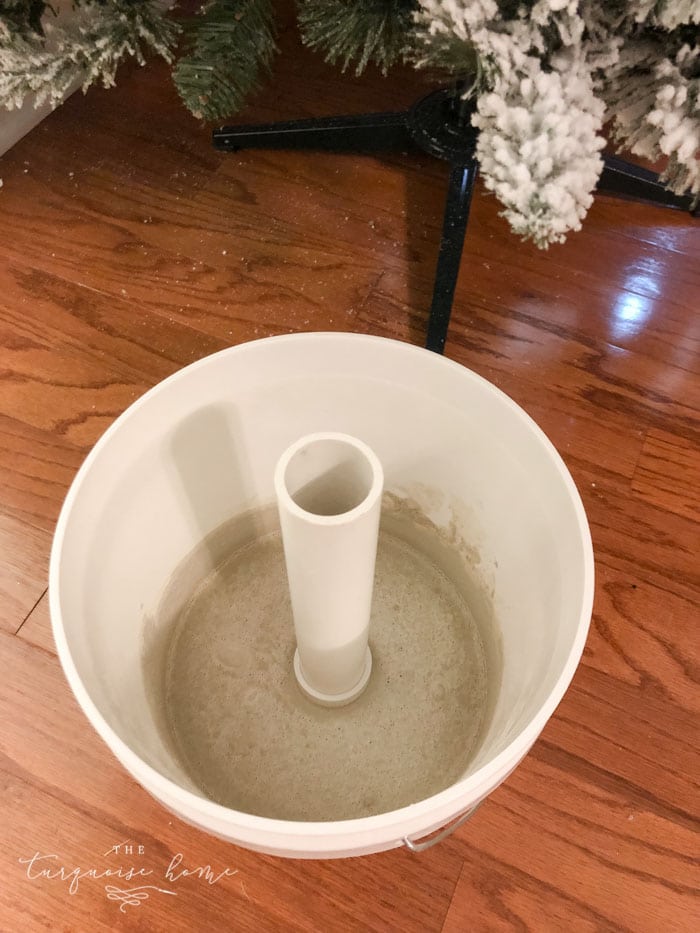
Note: I only had about 6 cups of cement mixture on hand and I didn’t want to buy anymore at the store. It was enough to set my PVC pipe and hold it straight up, but if I were using a full box of cement, I would have filled up the bucket about 3/4 of the way to the top. Instead I used rocks to weight down the bucket some more and just left it as is. 😉
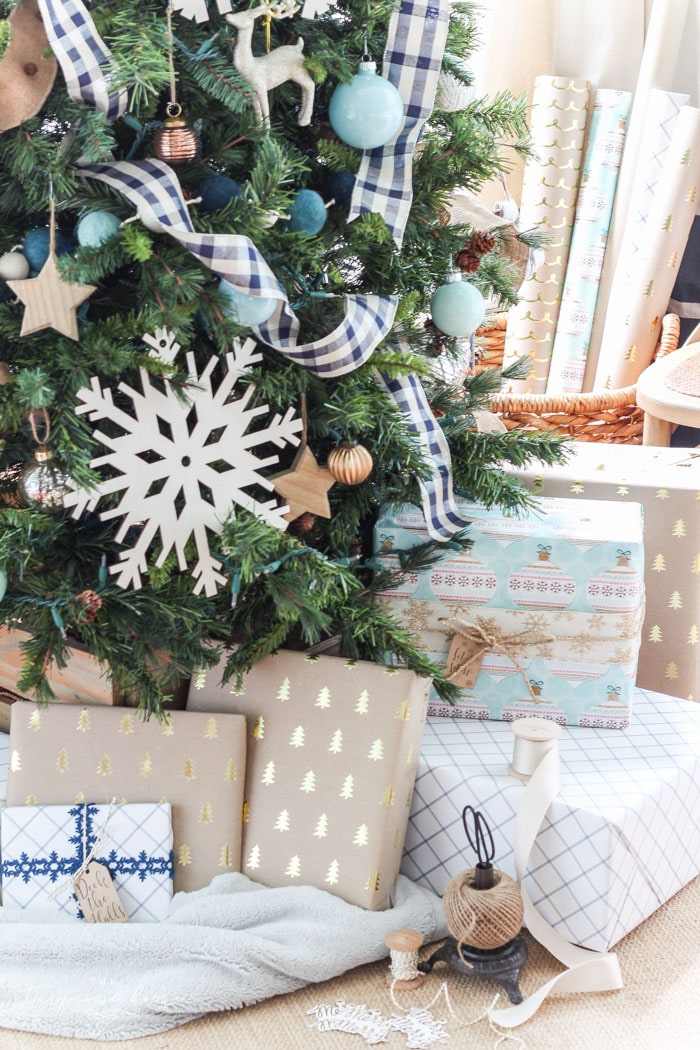
5. Place the Tree in the Pipe
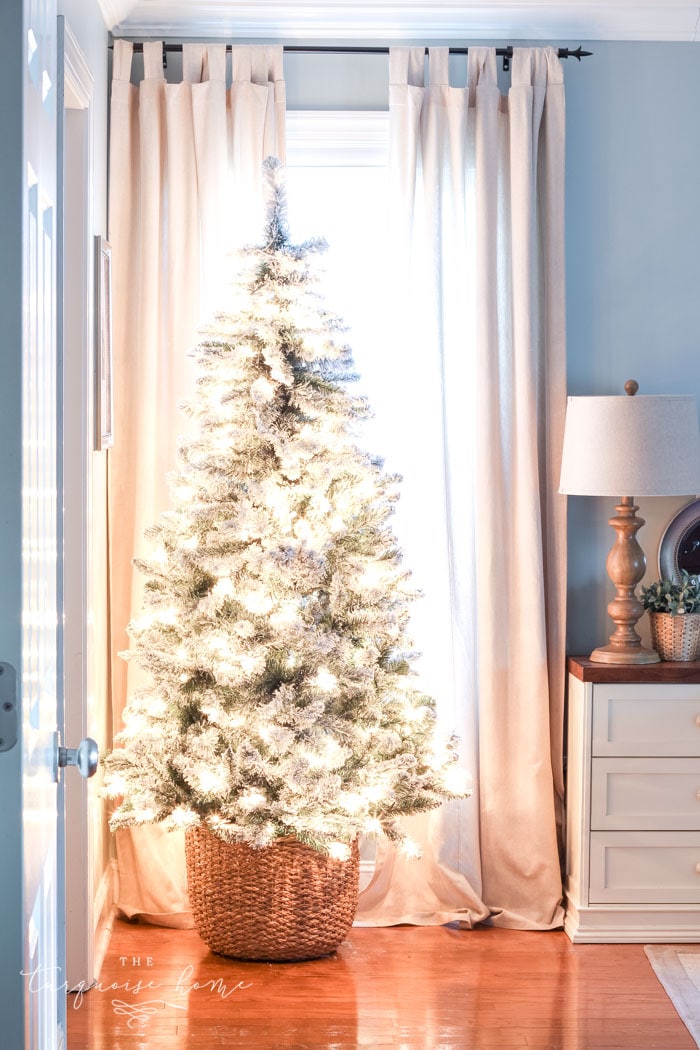
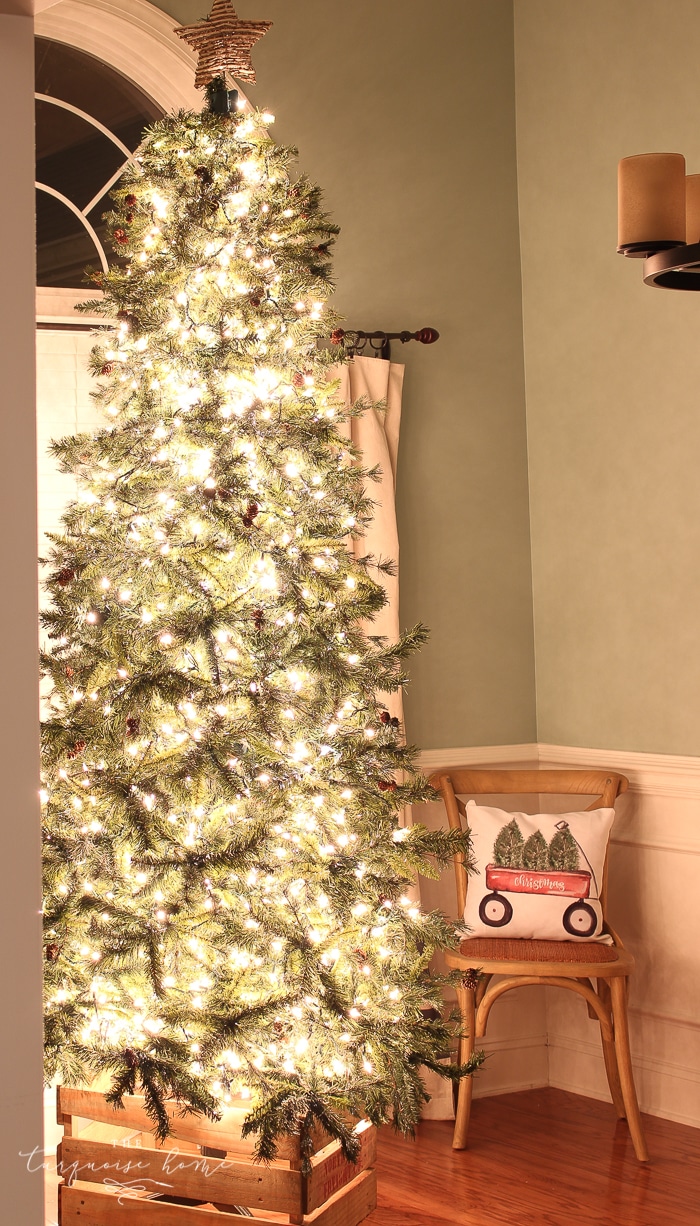
Place your Christmas tree pole into the PVC pipe and step back to admire your beautiful Christmas tree basket!!
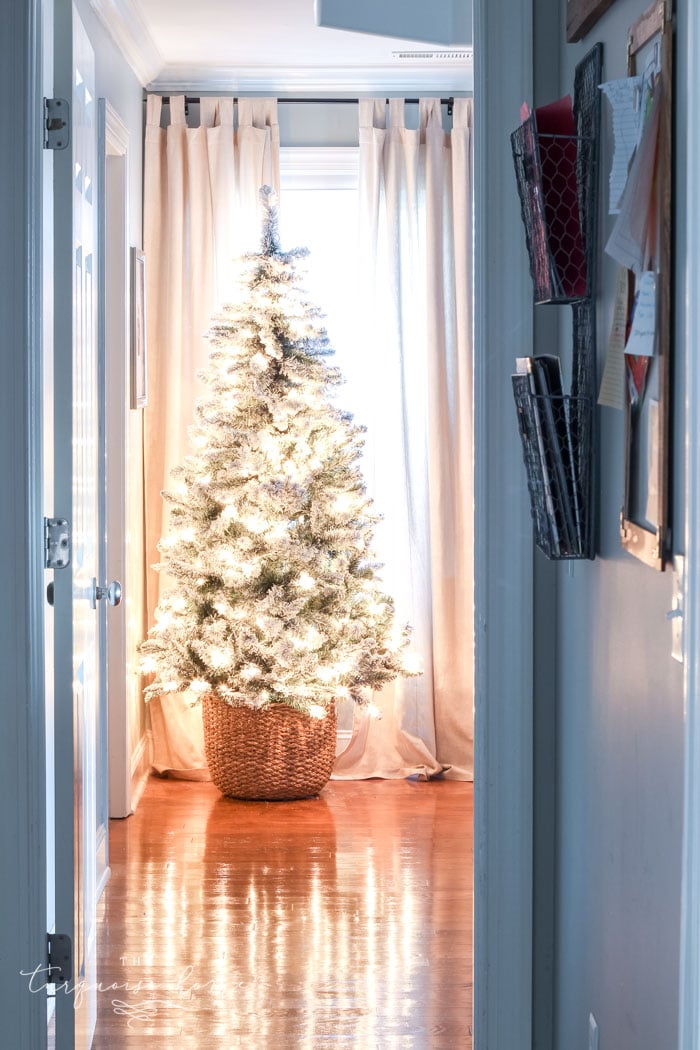
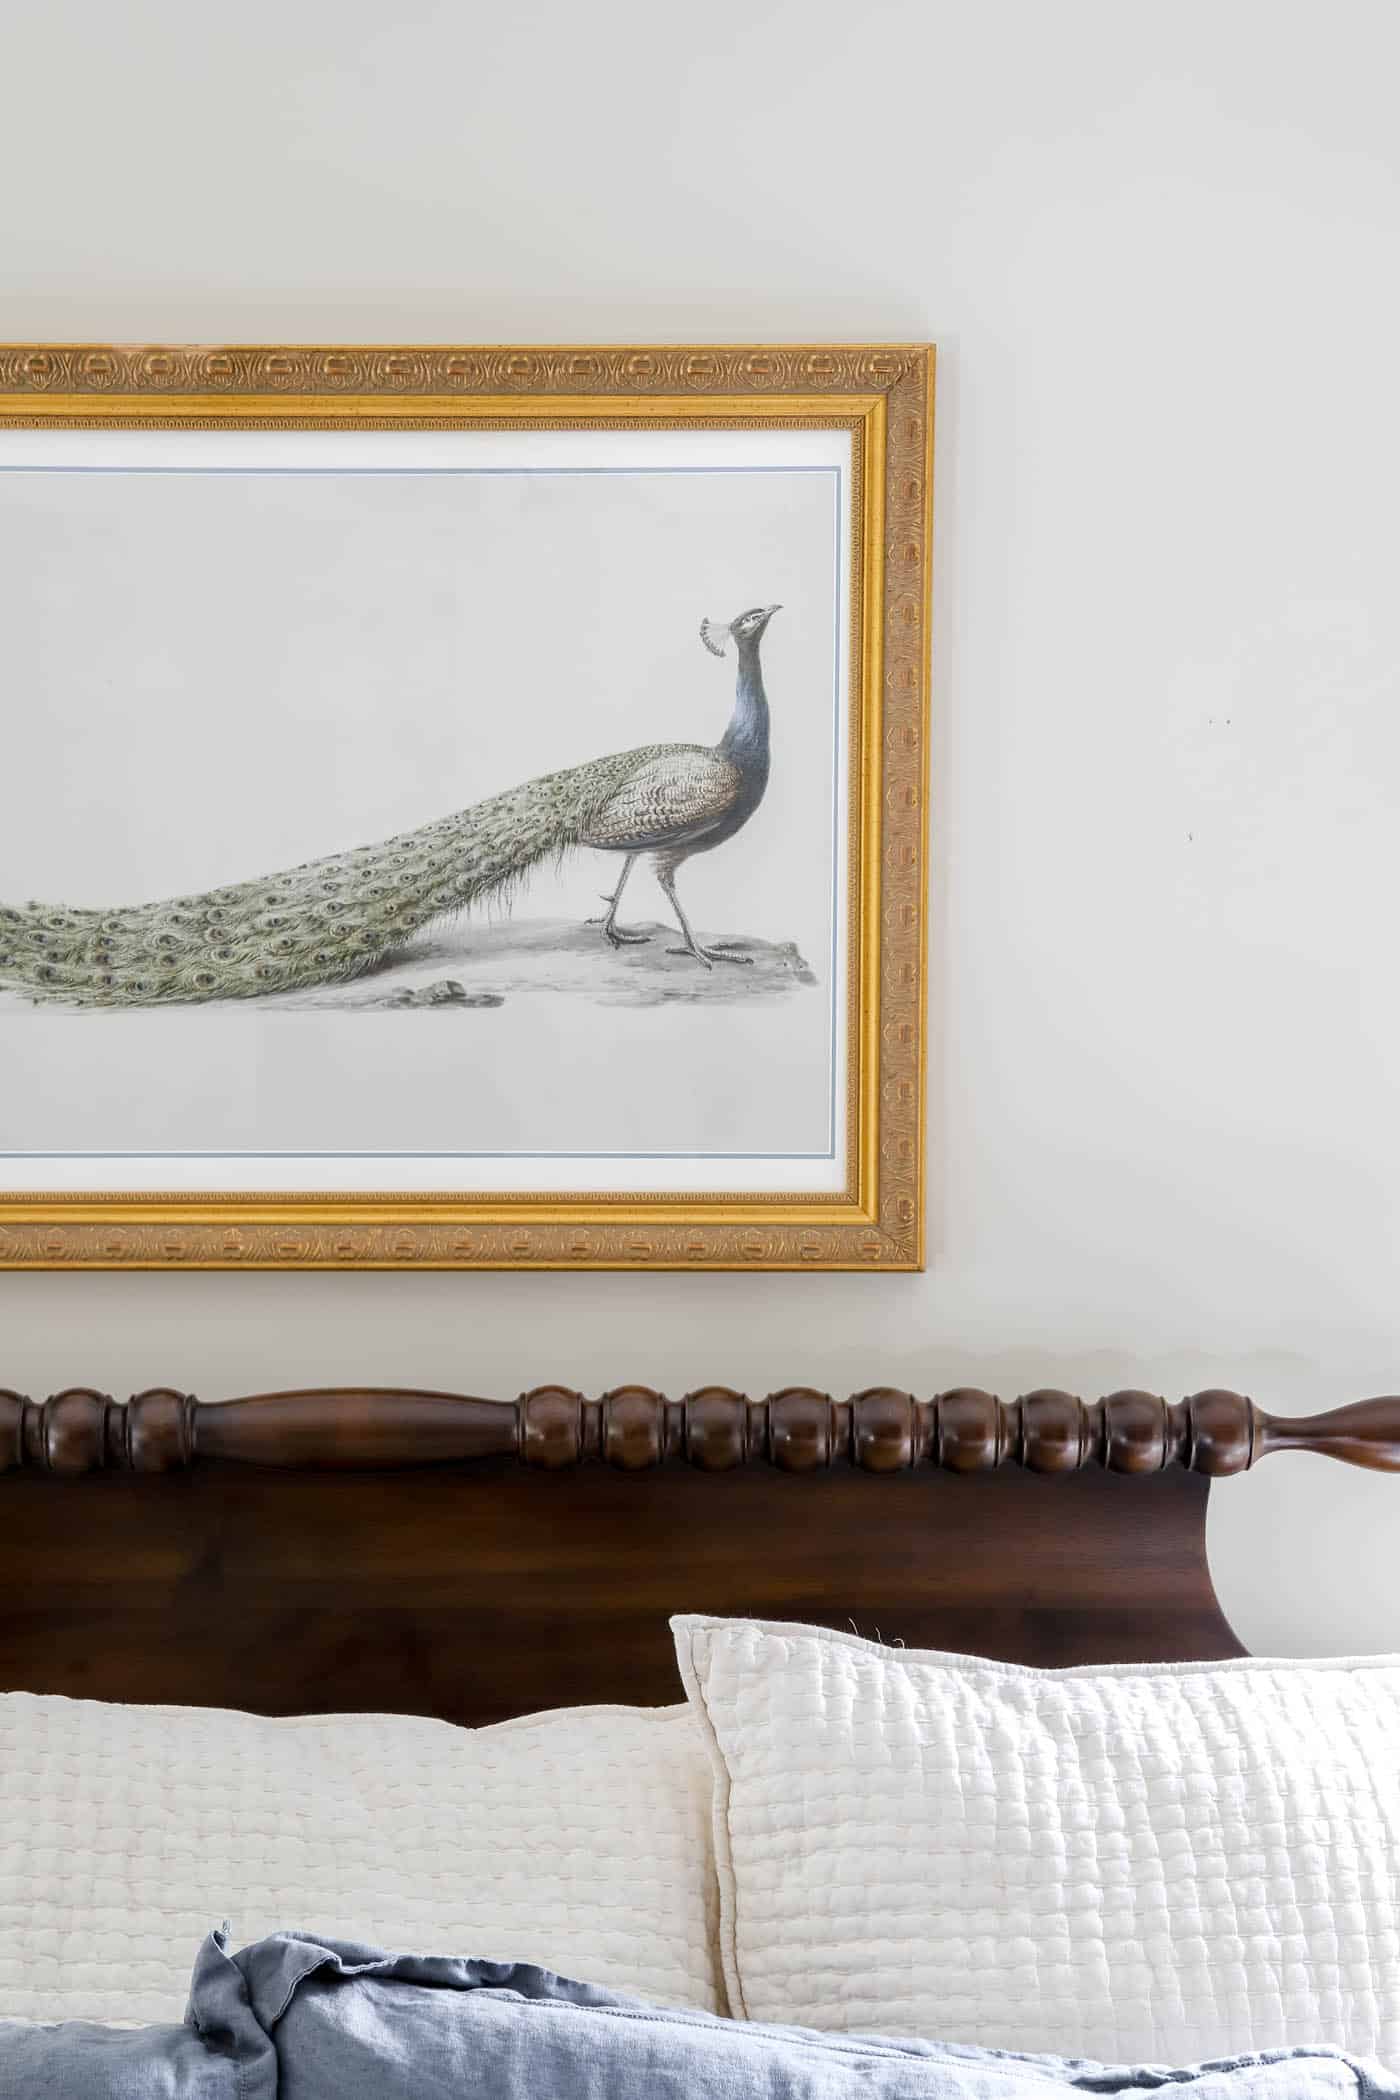
I made this Christmas tree basket for my new flocked Christmas tree in my bedroom. We have never had a Christmas tree in our bedroom before and I absolutely LOVE it! We now put this tree in our bedroom every year, see it here.
We could see the tree from the main living area in our old house when we looked down the hall, so it’s fun to see a tree in every direction. The glow in the bedroom is so cozy, too!
And I think I’m just going to leave it bare this year. I’ve considered getting some frosted red berry picks and adding a few of them in, but for now I’m enjoying the simplicity of the tree with the lights in the bedroom.
Let me know if you have any questions about the process in the comments and I’ll be happy to answer them!
Christmas Tree Stands to Purchase
See my full post all about my favorite Christmas tree collars HERE.

More Posts You Will Love:


Thanks so much! I did this yesterday and it is perfect. My son wanted a tree in his bedroom so we did this to minimise the floor space as I find those metal tree stands take up so much space. This looks so good!
I know, we love ours in our bedroom every year! I’ve used it every year since I first made mine and it’s held up great!
So simple, so beautiful! Love the basket idea.
I have always had a tree in my bedroom. The fall that I got married my maid of honor gave my a beautiful sterling silver Christmas Cross and a lovely matching to wear. She also gave me a crystal ornament to hang with the suggestion to add an ornament each year. That was probably before or near the time you were born. I always wore the new one and added it the next year and if I did not find a crystal one I added a large chandelier drop. The silver and crystal made beautiful reflections and after nearly 40 years it is a beautiful sight.
This is perfect 🙌🏻 I’ve been shopping for a basket large enough to fit my tree for months! Thank you for another great DIY idea!!