
How to Make Cream Cheese Caramel Apple Dip
Make this 4-ingredient Caramel Apple Cream Cheese Dip served with apples for your next tailgating event or special occasion. You’ll leave with an empty dish and rave reviews!
This easy Cream Cheese Caramel Apple Dip has been on my must-make list ever since a friend brought it to a ladies’ retreat a few years ago. Once I finally tried it, I couldn’t believe I had waited so long! It’s a creamy, sweet and slightly tangy no-bake dessert dip topped with rich caramel and crunchy toffee bits… and it tastes every bit as delicious as it sounds.
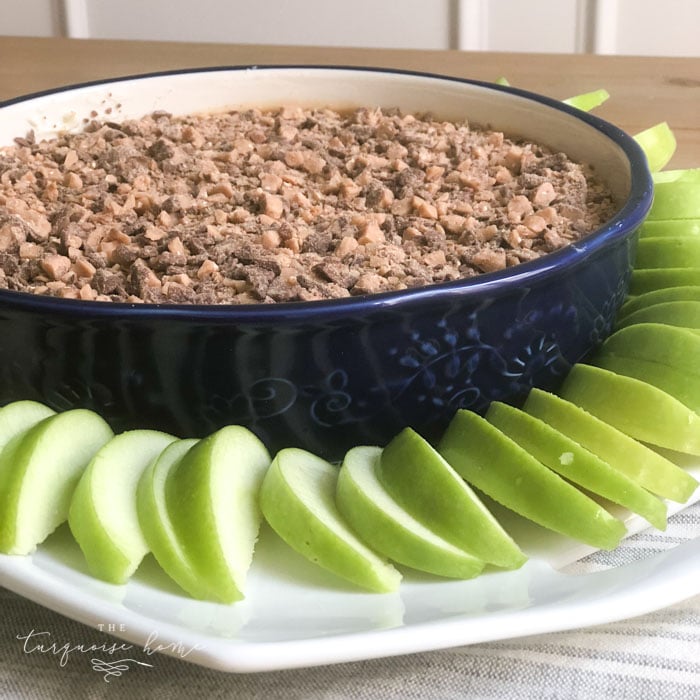
The dip itself requires just four simple ingredients, plus apples for serving, and takes about five minutes to assemble. Truly, the hardest part is slicing the apples! And if you’re short on time, you can always pick up pre-sliced apples or serve it with vanilla wafers, graham crackers or pretzels instead. It might be the easiest “recipe” in the history of ever.
I took this caramel apple dip to our weekly life group, and everyone absolutely loved it. Several people asked for the recipe, and I came home with an empty dish, so I’d say it was a hit!
The caramel-and-apple combination is especially perfect for fall, but this easy dessert works any time of year. Serve it at a fall party, football watch party, bonfire, Halloween gathering or Thanksgiving celebration. Or make a smaller batch for a fun after-school snack. It’s simple, crowd-pleasing and just the kind of treat everyone gathers around!
This post contains affiliate links for your convenience. See my full disclosure policy.
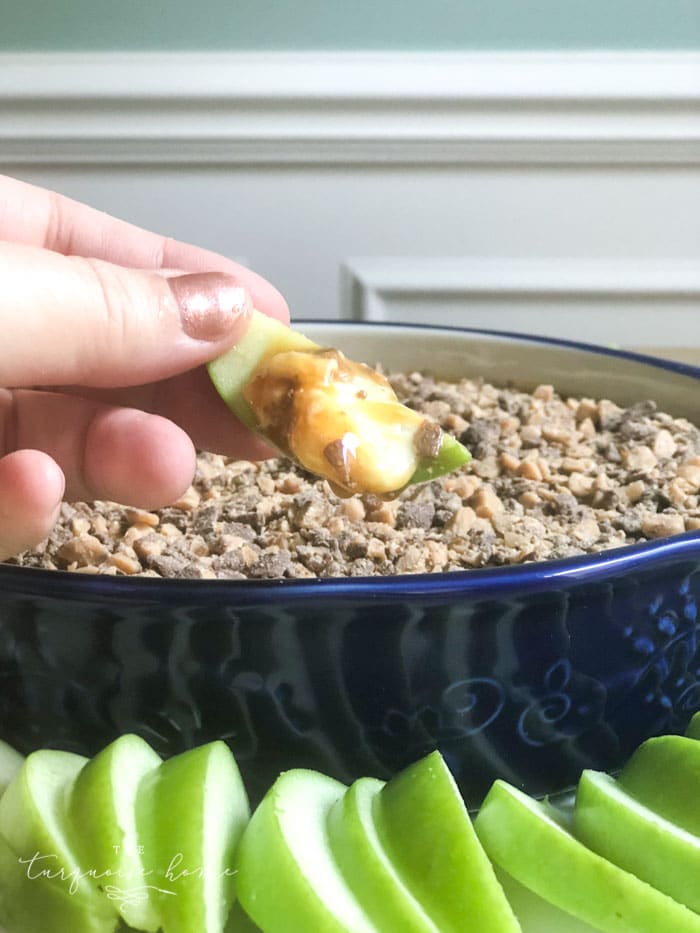
Ingredients for Cream Cheese Caramel Apple Dip
- Cream cheese: Use full-fat brick-style cream cheese and soften it first so the base becomes smooth and fluffy.
- Granulated sugar: Sweetens the tangy cream cheese layer.
- Caramel sauce: I recommend a thick caramel ice cream topping. You don’t want it to be too thin and runny.
- Toffee bits: The chocolate-covered Heath bits give the perfect amount of chocolate and toffee for the topping!
- Apples: Granny Smith apples balance the sweetness, but Honeycrisp, Pink Lady, or Gala would offer a sweeter option.
Equipment needed:
- Stand or Hand Mixer: mixing the sugar and softened cream cheese with either a stand or hand mixer will make your life so much easier!
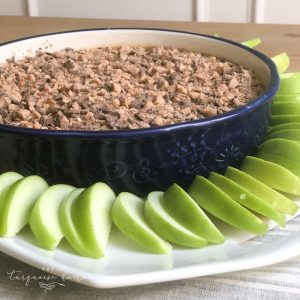
- Ceramic Pie Plate: I love using a 9-10 inch ceramic pie dish or other shallow pretty serving dish for serving the caramel apple dip.
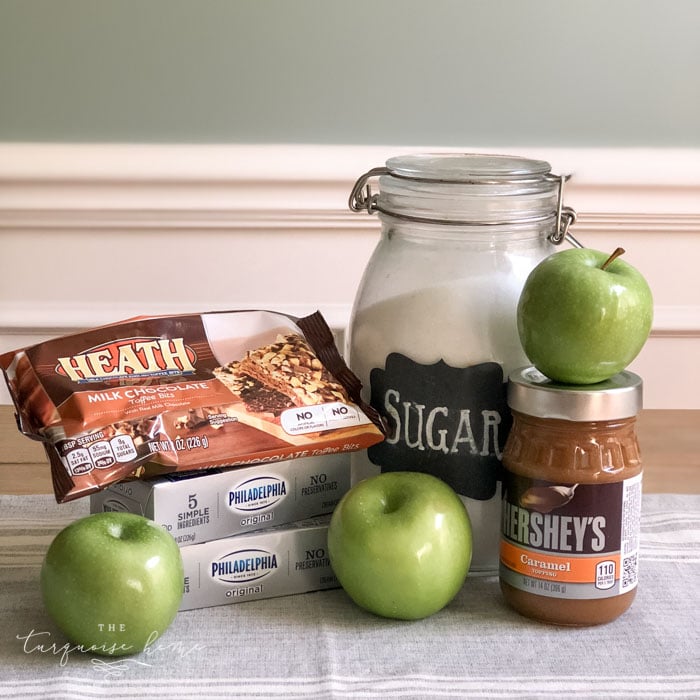
Steps to Make Cream Cheese Caramel Apple Dip
Step 1. Let the cream cheese soften to room temperature.
Step 2. Mix cream cheese and sugar together.
Use either a stand mixer or a hand-held mixer. Beat until well combined and creamy.
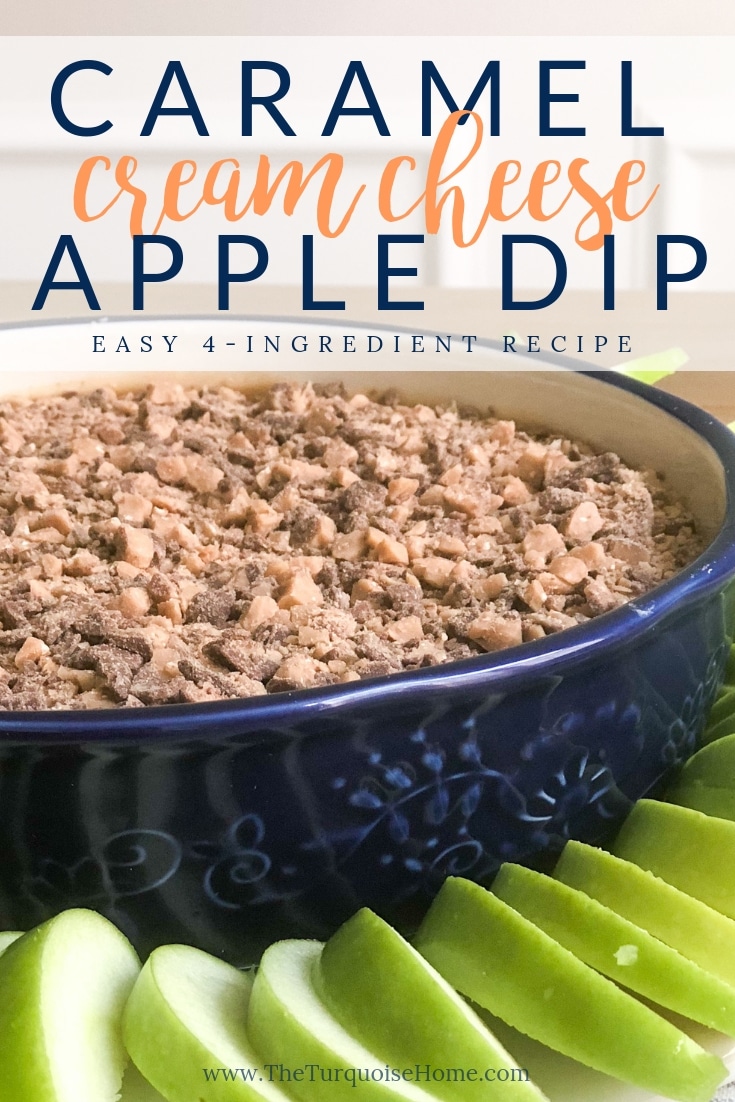
Step 3. Spread cream cheese mixture on the bottom of the dish, covering the bottom completely.
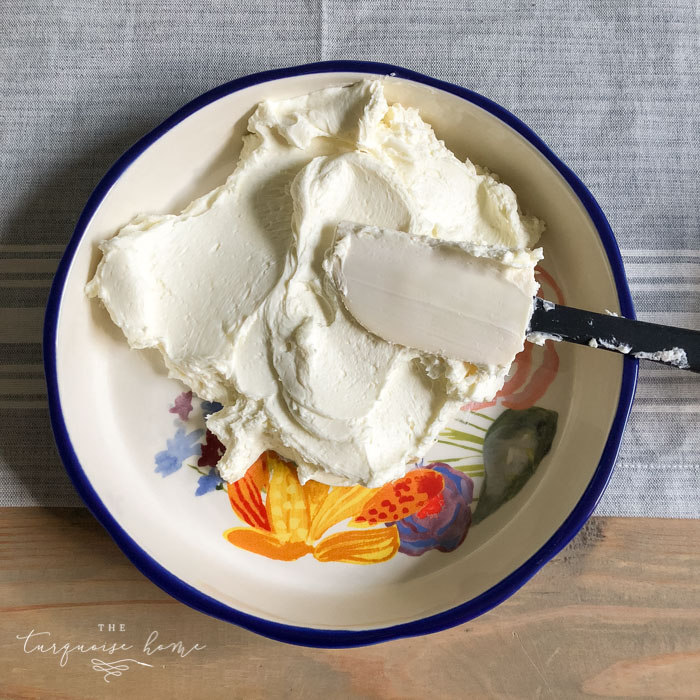
I love a pretty pie plate for serving yummy treats!
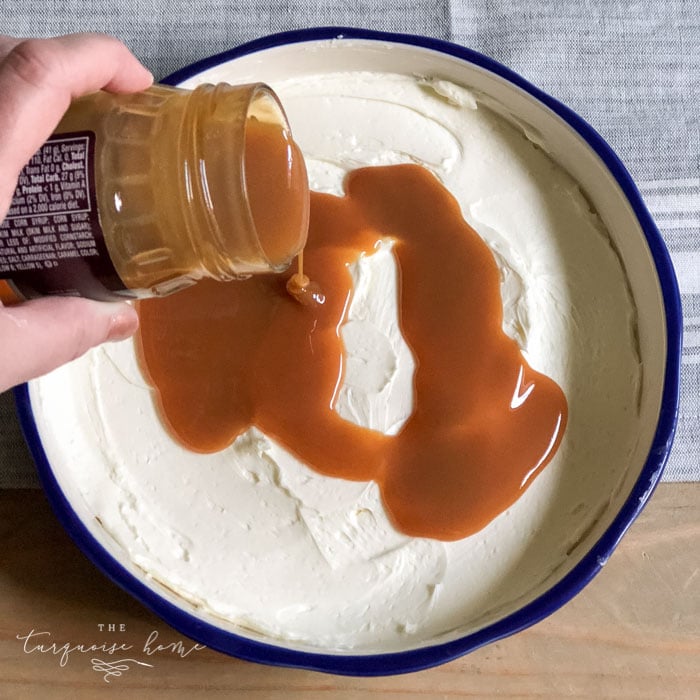
Step 4. Pour the caramel sauce over the cream cheese layer.
Pick up the dish and rotate it until it’s completely covered.
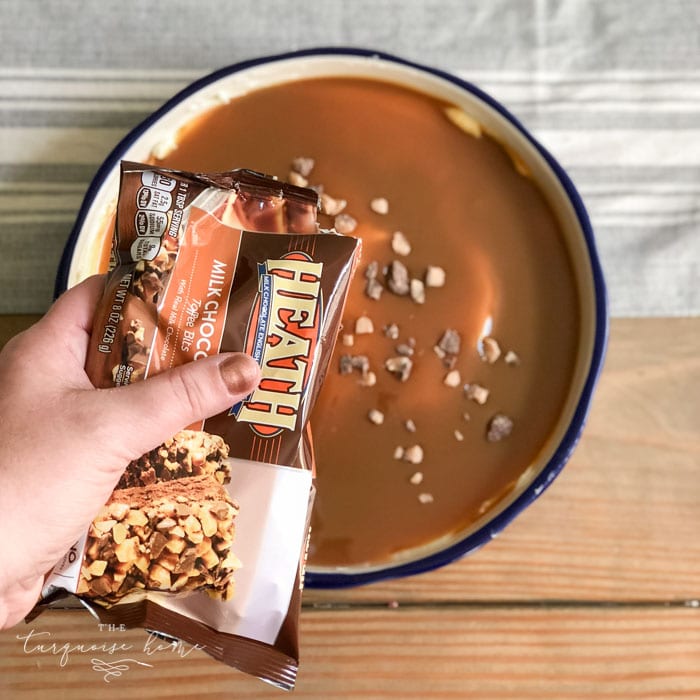
Step 5. Sprinkle the toffee bits on top of the caramel sauce.
I’d wait until I’m ready to serve this dish before sprinkling the toffee bits on, so they will stay crunchy for as long as possible.
Step 6. Cut up the apples and you’re done!
(Or open a box of vanilla wafers.😉)

Want to Save This?
Enter your email below and I’ll send it directly to your inbox!
Tips, Variations, and Substitutions
This cream cheese caramel apple dip is wonderfully simple, but a few easy tips will help you get the smoothest texture and make it your own.
Start with Softened Cream Cheese
Let the cream cheese soften at room temperature before you begin. Cold cream cheese is harder to blend and may leave small lumps in the base of the dip. Once softened, beat it with the sugar until the mixture is light, fluffy and completely smooth.
If you are in a hurry and forgot to set it out ahead of time, you can at least remove the cardboard box and foil wrapper and leave it in a bowl for 30 minutes or more. And if you can’t wait for that, place the cheese block on a microwave-safe plate, and microwave it in five-second intervals until softened. Be careful not to melt it!
Choose a Thick Caramel Sauce
Use a thick caramel dip or caramel ice cream topping rather than a thin caramel syrup. The thicker consistency will create a pretty, distinct layer over the cream cheese mixture instead of soaking into it or running toward the edges of the dish.
If your caramel is too thick to spread easily, warm it in the microwave for about 10 seconds. Let it cool slightly before adding it so it doesn’t melt the cream cheese layer.
Try Different Toppings
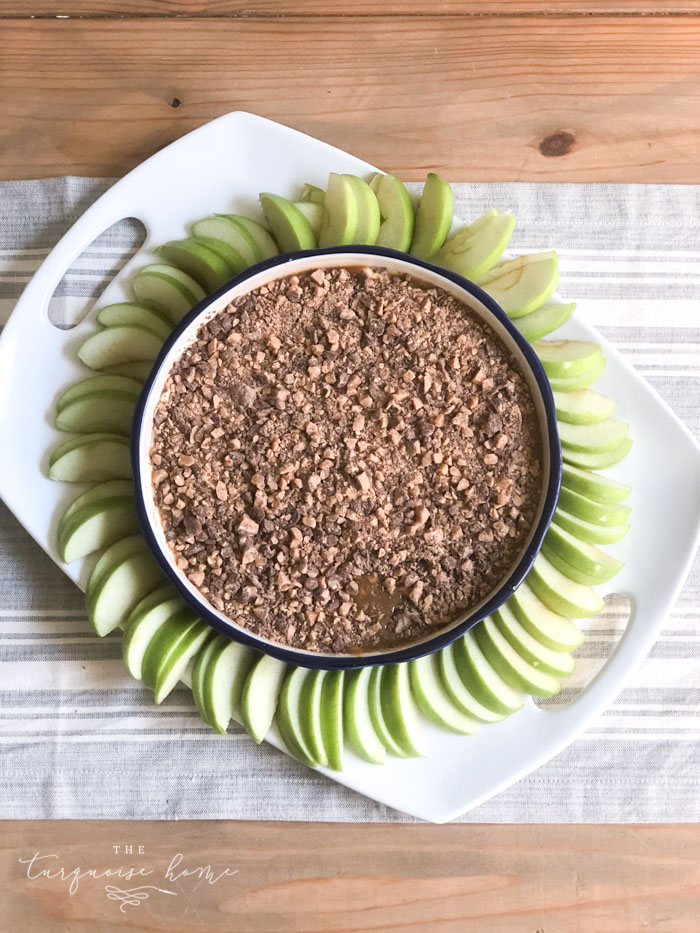
I love using chocolate-covered Heath bits because they add just the right amount of crunch and chocolate flavor. But there are plenty of other delicious ways to finish this dip! Try one topping or mix a few together:
- Plain toffee bits
- Chopped pecans or peanuts
- Mini chocolate chips
- Toasted coconut
- A light sprinkle of flaky sea salt
For a salty-sweet version, add chopped pecans and a small pinch of flaky sea salt over the caramel. It tastes a little more grown-up while still being completely irresistible!
Make a Smaller Batch
The full recipe makes a generous amount, which is perfect for a party, tailgate or larger gathering. If you’re serving a smaller group or making it for an after-school snack, simply cut all the ingredients in half.
Spread the smaller batch in a 6- or 8-inch pie plate, shallow bowl or small serving dish. You’ll still get all those pretty layers without ending up with more dip than your family can eat.
Keep the Apple Slices From Turning Brown
For the freshest-looking platter, wait to slice the apples until shortly before serving. If you need to prepare them ahead of time, soak the apple slices in lightly salted water for about five minutes. (Stir 1/2 teaspoon of salt into 2 cups of cool water until the salt dissolves.) Rinse them well, pat them completely dry and store them covered in the refrigerator until you’re ready to serve.
You can also soak the slices in lemon water, although that may add a slightly tart flavor. Either method will help slow the browning and keep your apples looking fresh and crisp. Just be sure to dry them well so the dip will cling to each slice.
The Best Apples for Caramel Apple Dip
While Granny Smith remains my favorite apple to use for this recipe, because it’s a little more tart and balances out the sweetness of the dip, you can choose any other apple that you love! My second choice would be a Gala apple.
|
Apple |
Flavor |
Why it works |
|---|---|---|
|
Granny Smith |
Tart and crisp |
Balances the sweet caramel |
|
Honeycrisp |
Sweet-tart and juicy |
Very crisp and family-friendly |
|
Pink Lady |
Sweet-tart |
Holds its shape and browns slowly |
|
Gala |
Mild and sweet |
A good choice for children |
|
Fuji |
Very sweet |
Best for anyone who prefers less tartness |
Serving Suggestions
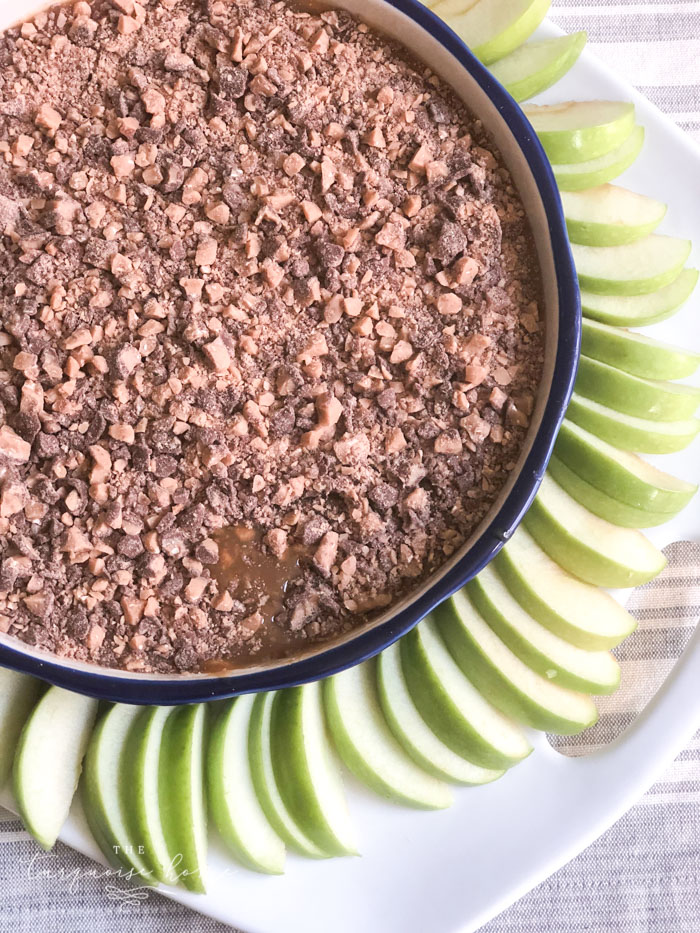
While Granny Smith apples are my favorite choice for serving with this dip, apples certainly aren’t your only option! Arrange the dip in the center of a large platter and surround it with a mixture of sweet, salty and fruity dippers, such as:
- Graham crackers
- Pretzel thins or pretzel rods
- Shortbread cookies
- Vanilla wafers
- Strawberries
- Animal crackers
- Cinnamon-sugar pita chips
For a party, I like to offer at least two or three choices. Tart apple slices, salty pretzels and buttery shortbread cookies give guests a little variety, and make the platter look extra pretty and abundant.
This easy caramel apple dip is especially perfect for tailgates, fall parties, backyard bonfires, Halloween movie nights and Thanksgiving gatherings. It’s also simple enough to bring to a church gathering, life group or girls’ night when you need a dependable dessert that doesn’t require hours in the kitchen.
Storage and Make-Ahead Tips
- Prepare the dip ahead of time: Assemble the cream cheese and caramel layers, cover the dish tightly and refrigerate it until you’re ready to serve.
- Wait to add the topping: Sprinkle on the toffee bits just before serving so they stay crisp and crunchy.
- Prepare the apples closer to serving: For the freshest color and texture, slice the apples shortly before your guests arrive. If you need to cut them earlier, soak them in lightly salted water or lemon water to help prevent browning. Rinse, dry and refrigerate them in a covered container.
- Keep the dip refrigerated: Because it contains cream cheese, return the dip to the refrigerator within two hours of serving.
- Store the leftovers: Cover leftover dip tightly and keep it in the refrigerator. For the best flavor and texture, enjoy it within three days. Keep in mind that the toffee bits may soften as the dip sits.
- Skip the freezer: I don’t recommend freezing this dip. Cream cheese can become grainy or watery after it has been frozen and thawed, which may change the dip’s smooth, creamy texture.
Frequently Asked Questions
Can I make caramel apple dip the night before?
Yes. Prepare the cream cheese and caramel layers, cover the dish, and refrigerate. Add the toffee bits shortly before serving.
Can I use whipped cream cheese?
Brick-style full-fat cream cheese will create the most stable layer. Whipped cream cheese may make the dip softer and lighter.
Does cream cheese caramel apple dip need to be refrigerated?
Yes. Keep it refrigerated when it isn’t being served and don’t leave it at room temperature for more than two hours.
Can I use homemade caramel sauce?
Yes, provided it is thick enough to sit on top of the cream cheese layer after cooling.
Can I make this dip without toffee bits?
Absolutely. Substitute chopped nuts, mini chocolate chips, or a small sprinkle of flaky salt… or simply leave the topping off.
Cream Cheese Caramel Apple Dip
Equipment
- 9-10 inch Pie Plate or other shallow dish
- Hand mixer or stand mixer
- Spatula
Ingredients
- 16 ounces cream cheese softened
- 1/3 cup sugar
- 16 ounces caramel dip
- 1 (8 ounce) bag Heath bar or toffee bits
- 3 pounds Granny Smith apples sliced
Instructions
- Soften the cream cheese.
- Mix cream cheese and sugar together either in a stand mixer or a hand-held mixer. Beat until well combined and a little fluffy.
- Spread cream cheese mixture on the bottom of the dish and cover the bottom completely.
- Pour the caramel sauce over the cream cheese layer. Rotate the dish until it’s completely covered. (Can be chilled until ready to serve at this point.)
- When you’re ready to serve, sprinkle the toffee bits evenly over the caramel layer so they remain crisp and crunchy.
- Slice the apples and arrange them around the dip. Serve immediately with apples or your choice of additional dippers.
Notes
- Prepare the dip ahead of time: Assemble the cream cheese and caramel layers, cover the dish tightly and refrigerate it until you’re ready to serve.
- Wait to add the topping: Sprinkle on the toffee bits just before serving so they stay crisp and crunchy.
- Prepare the apples closer to serving: For the freshest color and texture, slice the apples shortly before your guests arrive. If you need to cut them earlier, soak them in lightly salted water or lemon water to help prevent browning. Rinse, dry and refrigerate them in a covered container.
- Keep the dip refrigerated: Because it contains cream cheese, return the dip to the refrigerator within two hours of serving.
- Store the leftovers: Cover leftover dip tightly and keep it in the refrigerator. For the best flavor and texture, enjoy it within three days. Keep in mind that the toffee bits may soften as the dip sits.
- Skip the freezer: I don’t recommend freezing this dip. Cream cheese can become grainy or watery after it has been frozen and thawed, which may change the dip’s smooth, creamy texture.
More Recipes You Will Love:



Yum! I can’t wait to make this and try it.
Looks so good. I can’t wait to try it.
Hi Laura, This DOES look amazing! I’m curious about the size of the dish you used, though. Is the dip in a pie-plate sized dish, or is it a smaller one? (I can’t tell if the apples are on a platter, or just a regular plate, so I can’t get the perspective, if you know what I mean.) Thanks. Love your blog!
Hi Marilyn, the dip is in a regular sized pie plate. And the apples are on a larger platter that I put under it. Hope that helps!! I used this exact pie plate from Walmart!
This looks like a great appetizer idea and not only for parties! Thanks for sharing Laura and for being a part of the blog hop.