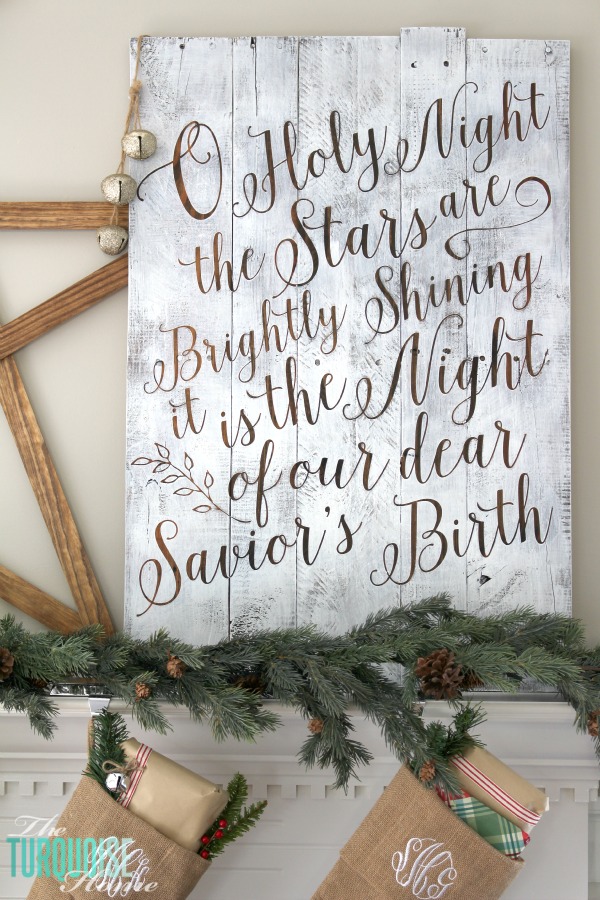
DIY O Holy Night Sign
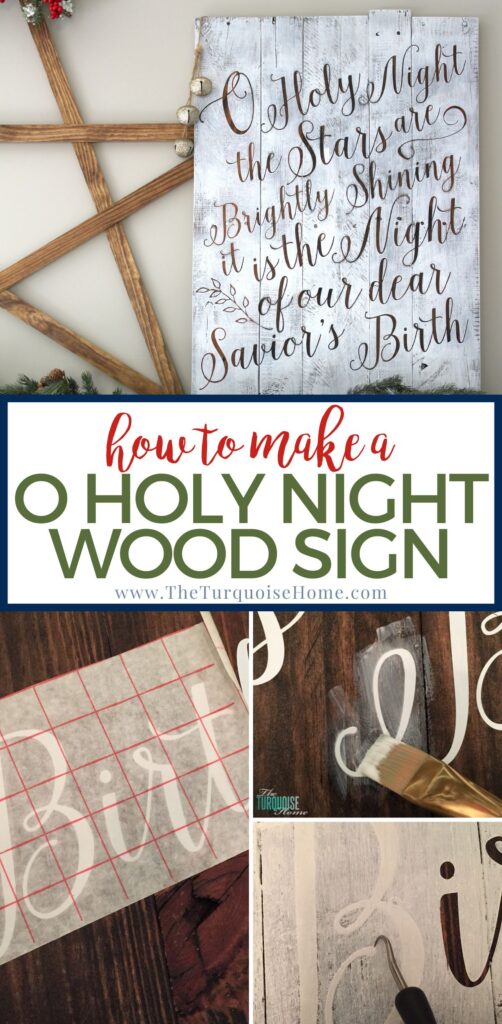
This beautiful DIY lettered pallet “O Holy Night” sign is a perfect additional to any holiday decor! Make one for yourself today!
Hey y’all! I’m so excited about this project today. I finally made my first pallet stenciled sign for myself!! I made one for one of my best friends a few years ago for her wedding and I’ve been wanting to make another one ever since, but this time keep it!
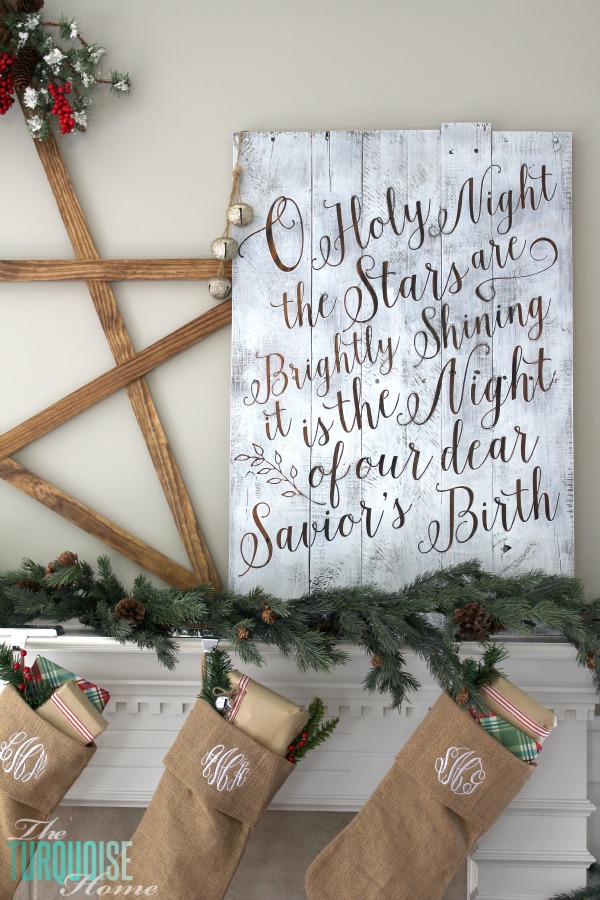
As I was getting the vision for my Christmas mantel this year, I mulled over a few ideas and then this one stuck:
A big star and a big stenciled lettered pallet sign.
“O Holy Night” is now offered in a free printable!
Side note: Is it weird that I get visions for my mantels? Most people probably just frame a few family photos and call it a day, but I love changing mine out for each season. And getting a vision begins weeks or even months before I finally start decorating.
OK, back to the sign. I really love these because I have all of the tools to make them. And I have pallets sitting in my garage, which I got for free. So, really, this large, personalized sign set me back the cost of a roll of contact paper, a roll of transfer tape and a little bit of paint and Mod Podge. Maybe $15 tops. That’s my favorite kind of project!
I created a tutorial when I first made the signs for my friend, but I’ll recreate the tutorial for you today just for fun.
This post contains affiliate links for your convenience. See my full disclosure policy.
Want to Save This?
Enter your email below and I’ll send it directly to your inbox!
Supplies for Making an O Holy Night Sign:
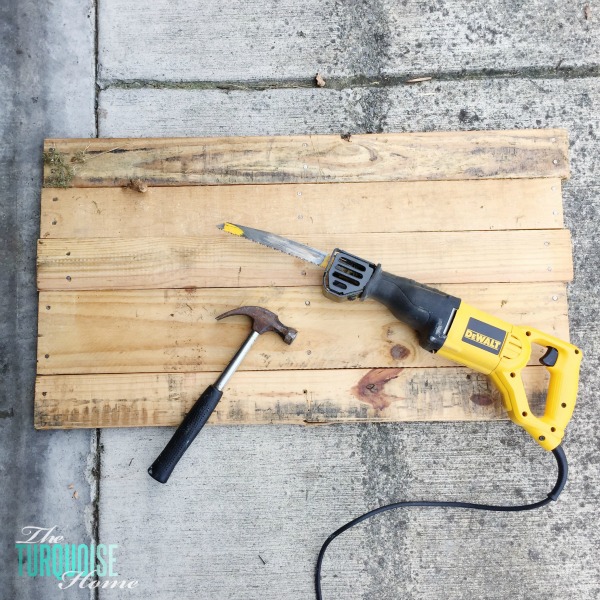
- pallet boards, or any boards (I take apart my pallets using a reciprocating saw. I love this one! Just be warned, though, you’ll need a few blades to demolish a pallet or too. They eat up a blade in no time.)
- miter saw, optional (I have this basic one and it works great for all of my needs.)
- drill & screws
- stain
- sander (this one is my favorite for evening out the rough pallet boards and getting off all kinds of crazy stuff)
- Silhouette Cameo (or other cutting machine)
- Vinyl or contact paper
- Transfer paper
- Mod Podge and foam brush
- paint
- paint brush
- O Holy Night Cut File
How to Make a DIY Lettered Pallet Sign
1. Gather Supplies
OK, first things first – you’ll want to gather your boards and figure out what size you want to make your sign. Mine is 2′ x 3′. I just got the boards off of a pallet with my reciprocating saw and lined them up to create the sign I wanted.
Nothing fancy or overcomplicated. If you need to cut your boards to make them work for your dimensions, then I highly recommend a miter saw like the one I have, but a circular saw would work too.
2. Clean and Sand the Boards
Clean your boards and sand them to get rid of any rough edges or markings you don’t want.
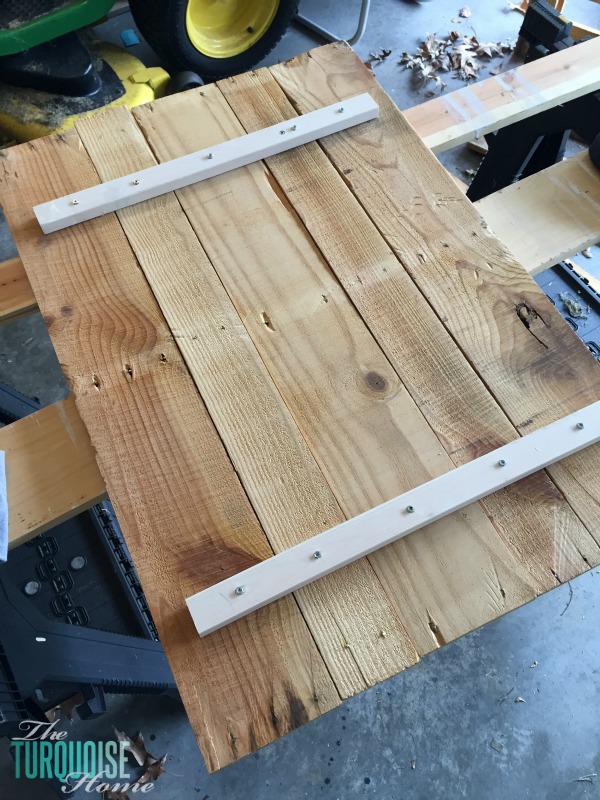
3. Arrange the Boards & Add Supports
Then lay them out to see how they fit together. Once you get them all laid out like you want them, take a scrap piece of wood and screw it into each board along the back side. Do this twice so that your board will be sturdy and won’t fall apart.
4. Stain the Sign
I knew I wanted to stain my board so that the stain would appear when I removed the letters from my board. This will all make more sense in a minute. But you’ll need to decide what color or stain you want your letters to be. I chose Provincial by Minwax, which is a medium to dark brown color.
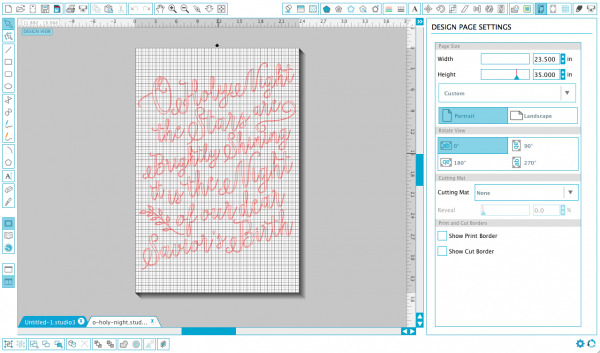
5. Design Lyrics in the Silhouette Cameo
Then I designed my lyrics in my Silhouette Cameo. I made my work area the size of my board and just started playing with the sizes and placement of the words. I used one of my favorite new fonts: Isabella.
6. Cut the Vinyl Lyrics with the Silhouette
Since my board is larger than the surface of my contact paper, I ungrouped my words and cut them all out separately. Then I used my original arrangement to eyeball placing the words on the board. You could also just not use the cutting mat and feed the contact paper in and cut half of the sign in one pass and cut the other half in one pass. Like this …
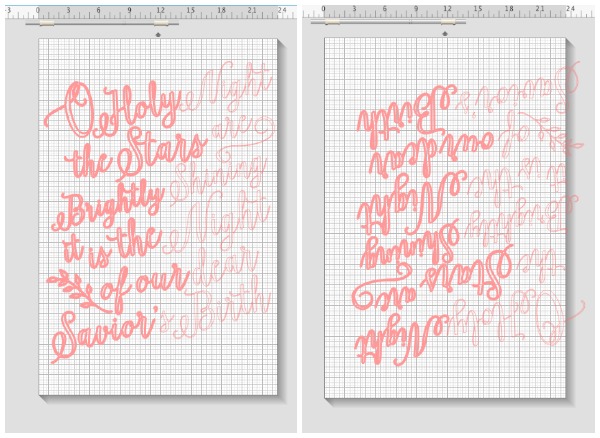
That would have been much easier than the way I did it, but I wasn’t smart enough to think about it at the time. I think it was also after midnight when I was working on this, so my brain was fried!
I used contact paper (or shelf liner) as my vinyl because it’s cheaper and in the end I’m just going to throw it away.
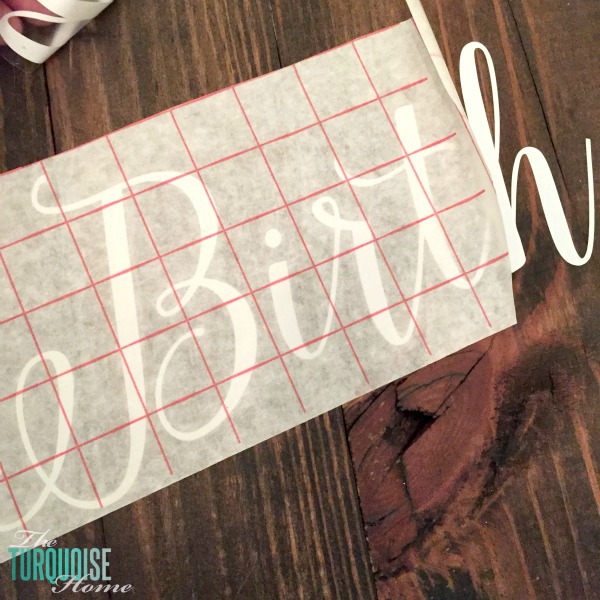
This picture above shows the transfer tape with the contact paper lettering being placed on the board. Then I would make sure the contact paper is pressed firmly onto the boards and then slowly remove the transfer paper.
Side note: I tried to find a cheaper alternative to the transfer paper, like lint brush sheets and other contact paper, but in my opinion, nothing works better than the real Silhouette brand transfer paper. The great thing about it, is that you can reuse one piece over and over again. Even though it’s $10/roll, I used two pieces for my whole sign. It’ll last me a long time.
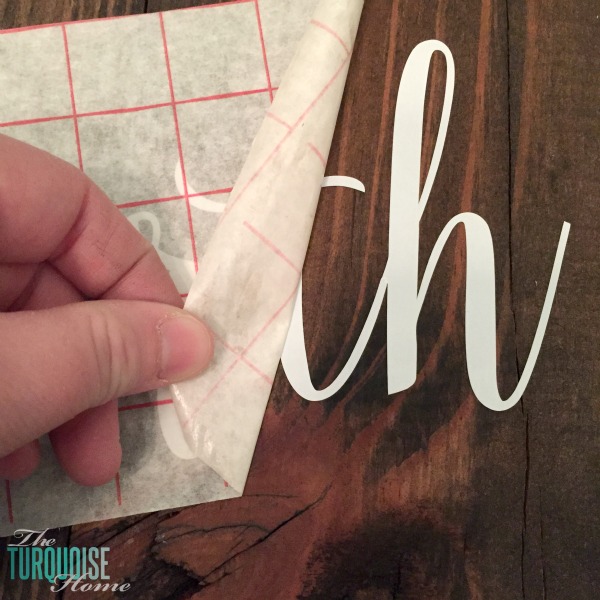
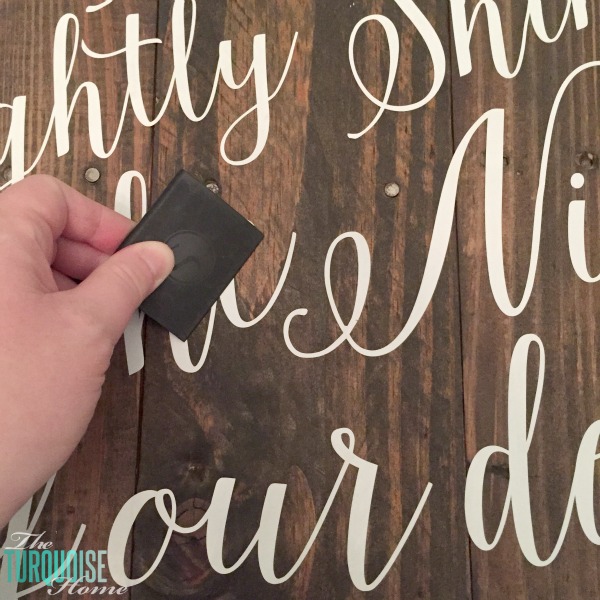
7. Place Lyrics on the Board and Remove Transfer Tape
When every word is in place, you’ll want to run a scraper tool over each letter to make sure it’s pressed down nice and tight.
8. Paint Over Letters with Mod Podge
And then you’ll use my special trick to make sure no paint even thinks about getting under a letter: Mod Podge!
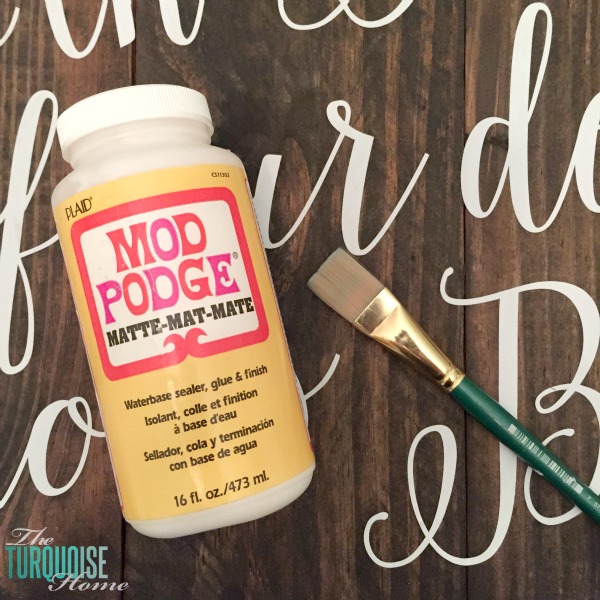
It’s super easy. You just brush Mod Podge over each letter, making sure to brush it over in all directions. That way if there’s a bubble or a letter isn’t quite stuck down completely, the Mod Podge will fill the space and seal it. And since it dries clear, you’ll never even be able to see it!
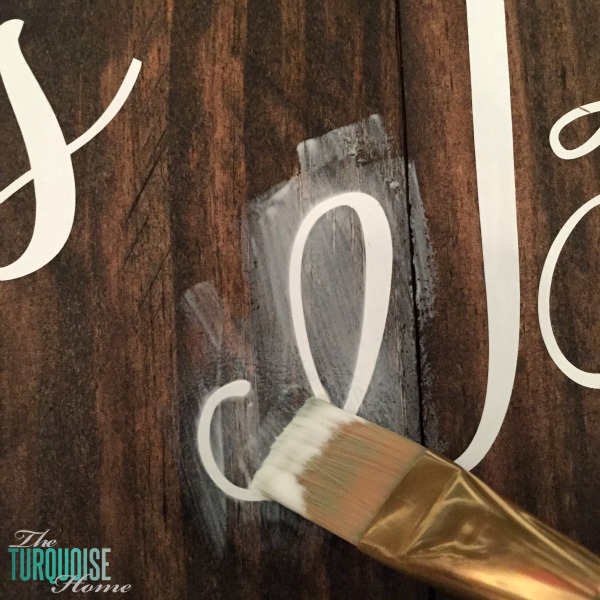
It dries super quick.
9. Paint Over Letters
And then you just paint over it!
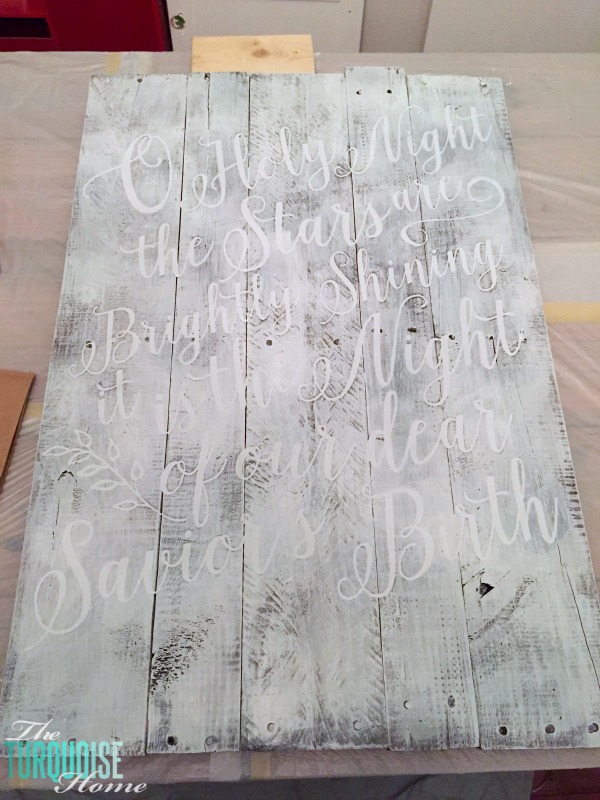
I was lazy and just grabbed the nearest white paint. Since I was in the middle of painting my cabinets, it’s satin, enamel paint, which isn’t my first choice for a pallet sign. Oops. It was late, like I said.
If I had to do it over again, I would have taken 10 extra steps and grabbed some white chalky paint. I think that would have been a better texture than the somewhat glossy cabinet paint. But hey! You win some, you lose some – late night motivational battles, that is. 🙂
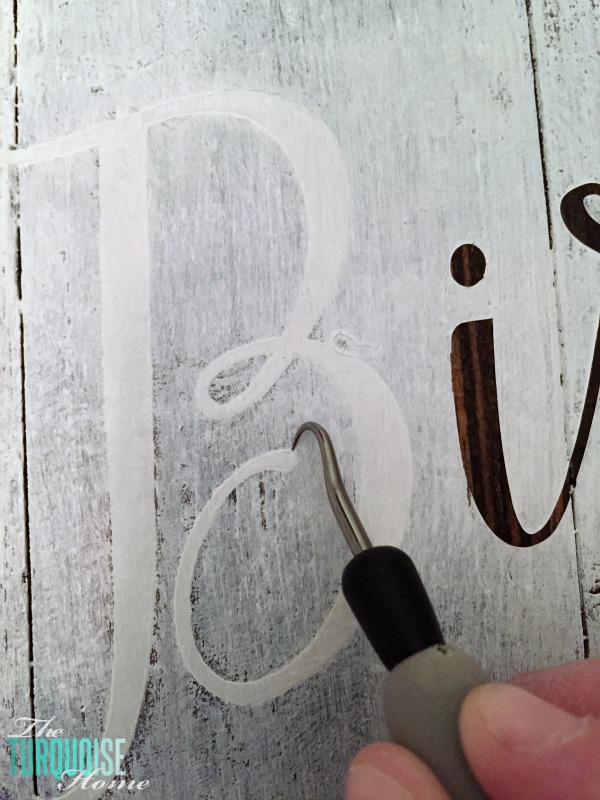
10. Remove Vinyl Letters
Then, using a hook tool, you just peel off the vinyl letters, or contact paper letters. Whatever. And reveal the beautiful stain behind them!
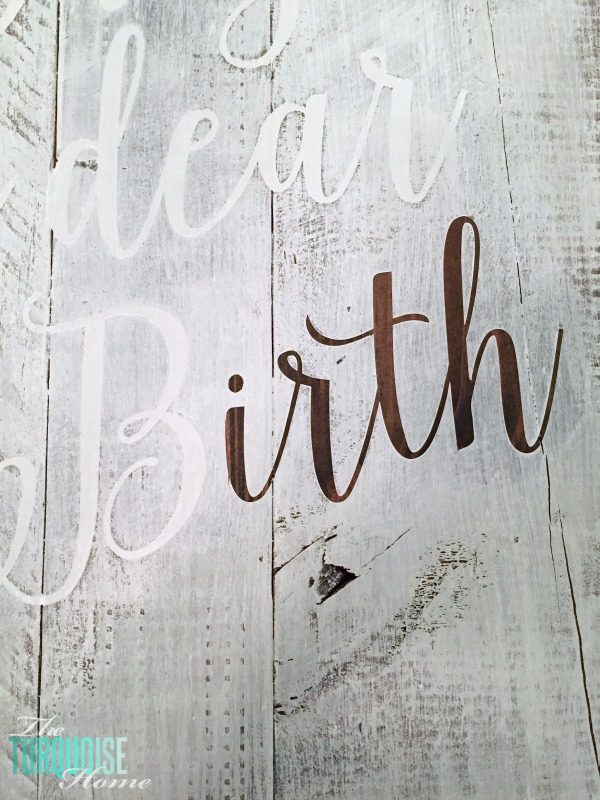
See how clean and crisp those lines are because of using the scraper tool and the Mod Podge?! I love it!
And you’re done!
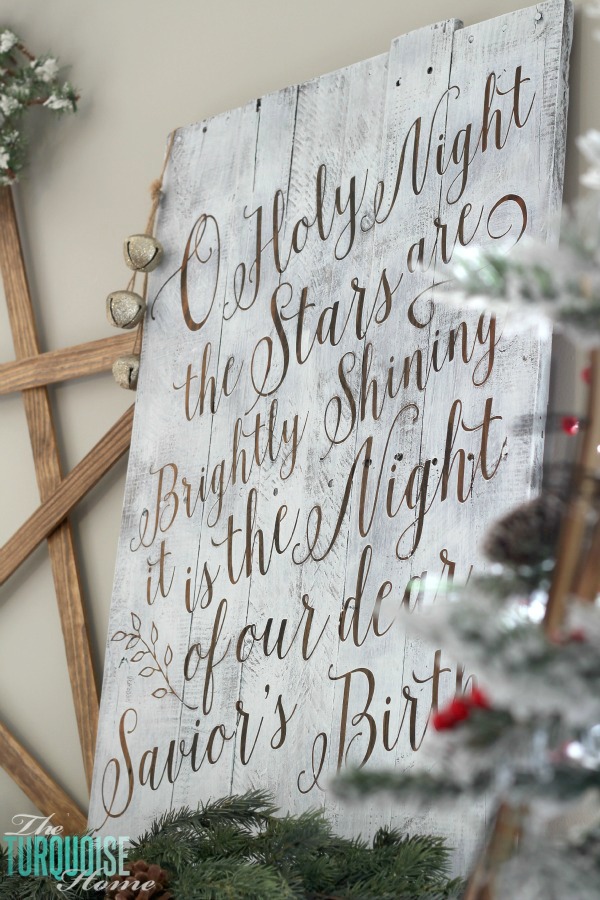
Now you just stand back and admire your new beauty. I couldn’t love it any more if I tried!
I’ll just have to make another DIY lettered pallet sign next that I can leave up the other 11 months out of the year. Hmmm, what will I make next? Any ideas??
More Posts You Will Love:


I can’t open this file . I have a laptop with Windows10 & a Cricut instead of Silhouette. Please help me!
Sandy
I am trying to understand the mod podge over the contact paper? Does the paint resolve the mode podge? it doesn’t leave a space between the letters and where the modge podge was?
The Mod Podge just fills in any spaces where the contact paper doesn’t quite seal on the wood. The Mod Podge seals it and then when you paint on top of the contact paper, it won’t seep under the letters, and instead will leave a crisp line when you pull the contact paper up. Does that help at all? Sorry it’s not more clear! xo, Laura
I absolutely love pallet or barn wood signs and this one is perfect for over my mantel! Thanks so much for sharing! And I’ll be watching for the next one you’ll make for the other 11 months!
I am in love with this DIY. I’m going to add it to my todo list for decorating!
~Phoebe xoxo
I love this! Where would I find the cut file?
Thanks Hannah! There’s a button at the very end of the post. But here’s the direct link to download the file: https://app.box.com/s/v0395r8q60v06dgjhpdbzbeg0hncyfkg Enjoy!!
Yay! Thank you!
I love this sign and want to make it but when following the link in the post it says its not supported. Any thoughts on how I can make this work? I’m on a Mac, don’t know if that makes a difference?
Do you ever find the chalk paint over mod podge leaves a noticeably different finish than the rest of the wood? That’s the issue I’ve been running into lately…