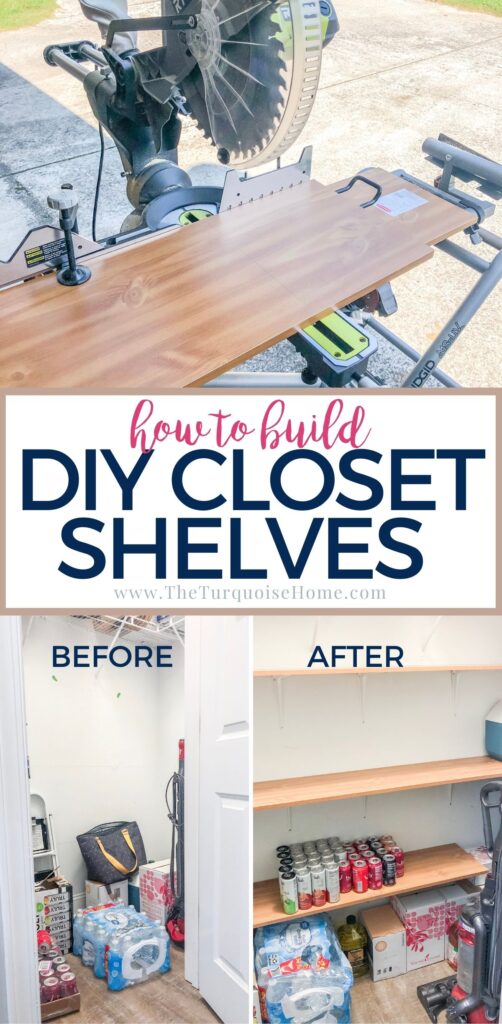
DIY Closet Shelves {beginner tutorial}
Learn how to convert a closet wall into storage with this easy DIY Closet Shelves tutorial. It’s a simple, afternoon project!
This little project is such a beginner home improvement project that it’s less about a “how to” and more about kicking you in your rear to DO the thing you KNOW would help improve the functionality of your home.
These shelves are so easy to make, but a great storage solution for any unused wall or corner in a closet in your home. And once you have all of the shelves cut, it takes maybe 30 minutes to an hour to install. Let’s get started!
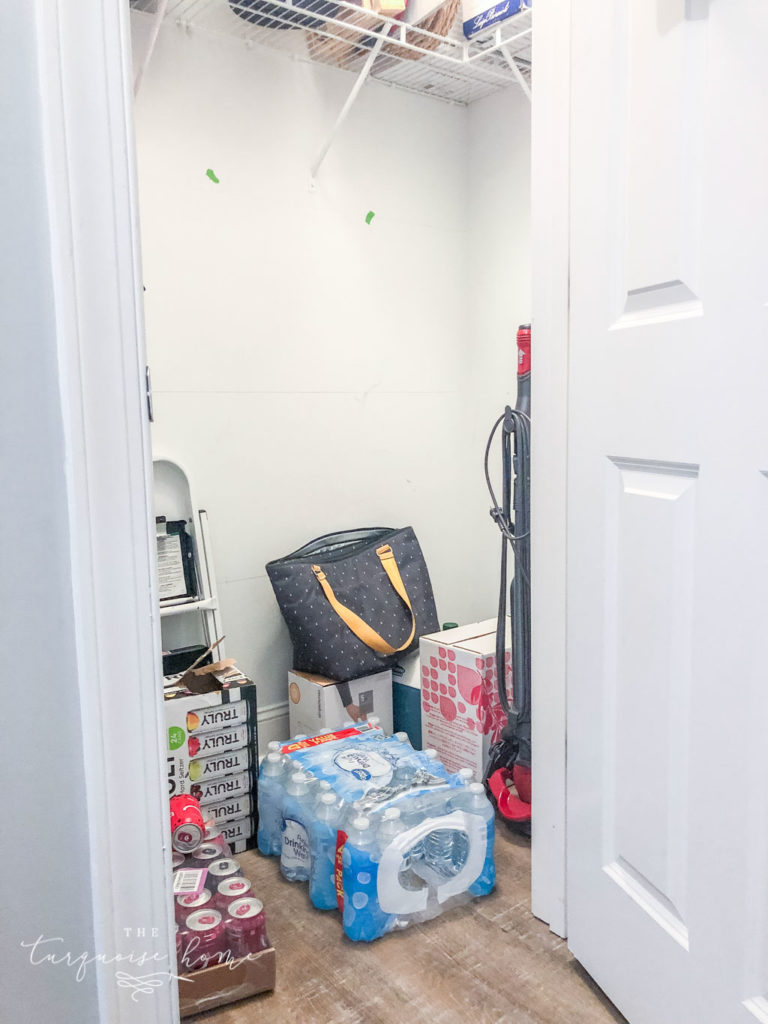
The above photo was my coat closet that I’ve been eyeing for SEVEN years and thought about adding shelves, but never did. We all know that custom closet systems are pricy, so DIY is a great solution for a space like this!
You see, our home didn’t have a pantry (unlike our new home). And my food storage consisted of 4-5 cabinets between my kitchen and my laundry room. It wasn’t nearly enough for this family of 4 with a Costco membership. 😜
You know how when you move you’re forced to purge and make your life more efficient? Well, when our floors were redone, we had to move everything out of this little coat closet in our hallway. And that gave me the kick I needed to finally add the shelves I’d been dreaming of for so long.
This post contains affiliate links for your convenience. See my full disclosure policy here.
Want to Save This?
Enter your email below and I’ll send it directly to your inbox!
Supplies for DIY Closet Shelves:
- 12″ Laminated or MDF wood pieces the width and depth of your space. – I chose laminate over MDF because I didn’t have to stain or seal it and the laminate makes it easy to wipe clean.
- Brackets
- Screws – I used 1 1/2″ screws for the walls and 3/4″ screws for the boards
- Drill
- Stud Finder
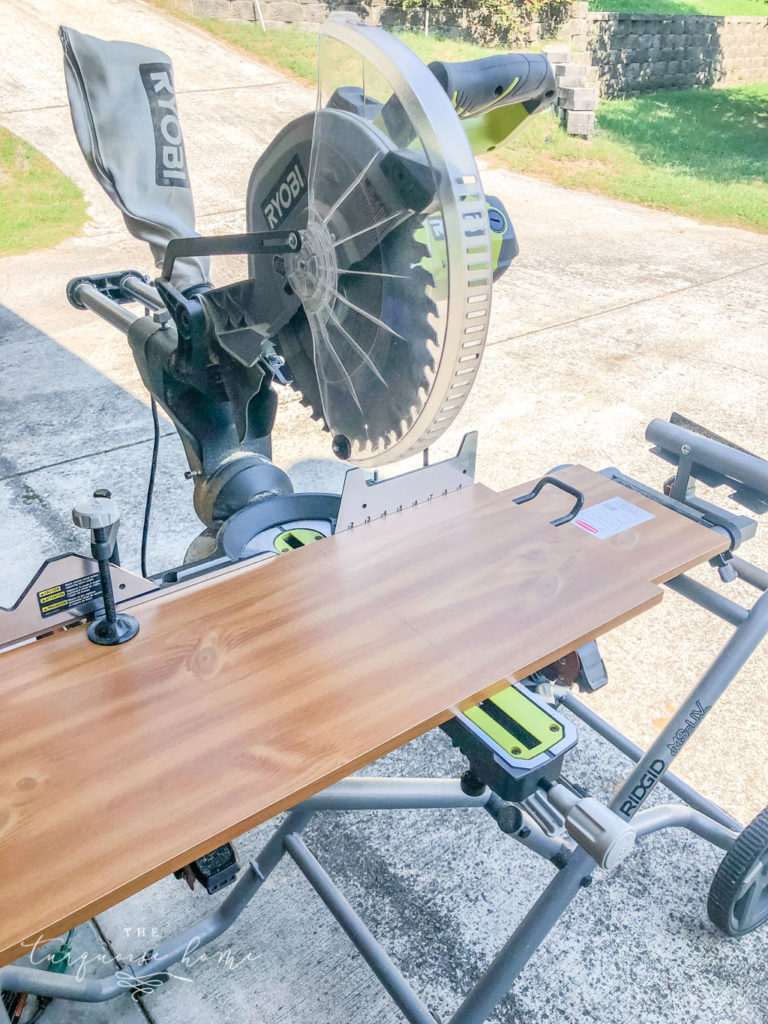
- Miter Saw – I love my miter saw and recommend it to anyone who ever needs to cut boards at home. You can also ask the big box hardware stores to cut your boards for you.
- Level
- Measuring Tape
- My Tool Store lists a ton of my favorite tools if you are ever in the market for a new tool!
Tips for creating shelves in a closet:
- Measure the items you plan to put in the closet to make sure the shelves are the right height to accommodate them.
- Find the studs and screw the brackets into the studs. Even the best screw anchors will fall out after some time under the weight of heavy items. You don’t want that!
- Customize the shelves to fit your needs. For example, we have a card table we like to keep in that closet and it wasn’t going to fit in there if we made all of the shelves the width of the closet. So we made the bottom shelf a little shorter and made the middle shelf tall enough so that the table would fit under it. Make your homework for YOU!
How to Build Closet Shelves:
I got the idea for how simple these shelves could be from my open kitchen shelves, which are just a 1 x 10 board held up with decorative brackets. I made a more elaborate shelving system in my guest bedroom closet because I wanted those to look more “built in”. But I kept this shelving project simple, like my kitchen shelves.
This DIY project can be done in any side of a closet or walk-in closet in your home. Perfect for a kid’s closet, linen closet or pantry!
1. Find the Wall Studs
Before I went shopping for supplies, I found the studs in the walls to know how many brackets I would need. I recommend using brackets at every stud available if you will use the shelves to bear a lot of weight.
I normally use my stud finder, but I couldn’t find it, so I located them by hitting the wall. When you hit the wall looking for a stud, you’ll notice that the wall has some give to it until you’re hitting a stud and then it feels firmer behind the wall.
2. Mark the horizontal lines where each shelf will go.
Draw a line across the wall, using a level to make it straight. Remember to consider what you will be putting on the shelves when you determine the height of each shelf.
3. Cut the boards to the size you need them to be.
I got the laminate shelves because I didn’t want to have to bother with staining and sealing them. And I knew these would be awesome for cleaning up leaks or crumbs in my pantry.
4. Place all of your boards in the closet before installing the brackets.
If your closet isn’t very deep, you won’t be able to get the shelves inside the closet once the brackets are up. Just trust me on this!
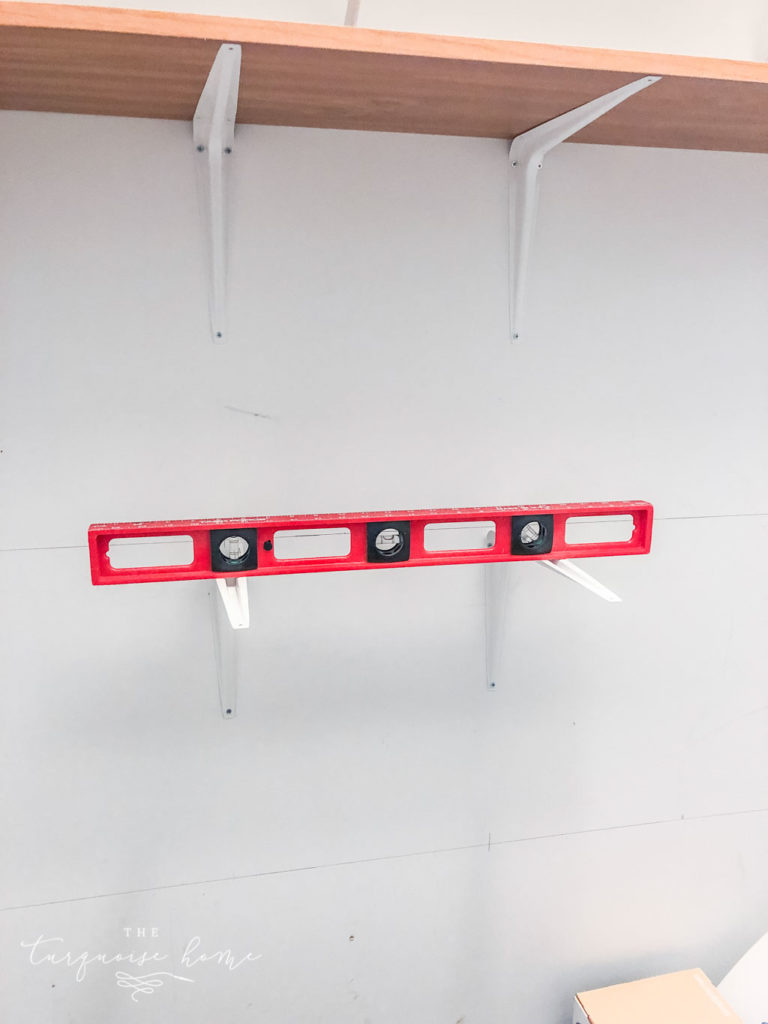
5. Screw in the first bracket where you want it to go.
Then use a level on top of that bracket to see where to install the next bracket. Remember to screw them into the studs so they won’t crash down later! Continue installing all of the brackets for the first shelf.
Note: if you have a really small space, you could get by with adding 1 x 2’s or 1 x 3’s to the perimeter of the shelves as shelf supports instead of brackets.
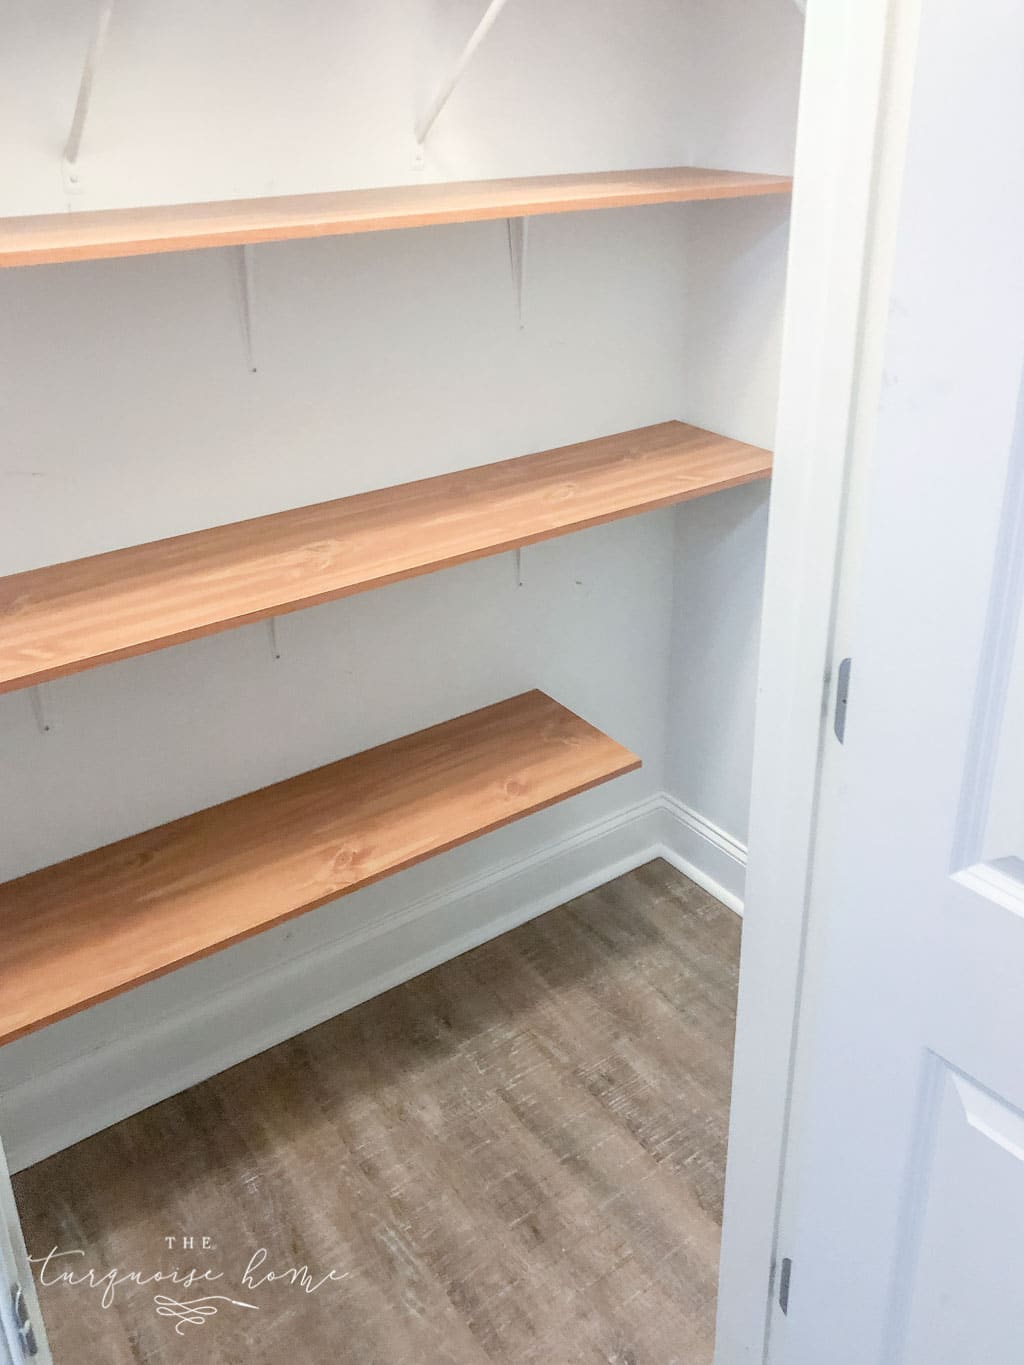
6. Put the shelf board on the brackets, then screw it into the brackets from the underside.
7. Repeat until all shelves are installed.
Yay! You’re done!
I still need to figure out what I’m going to put into my new pantry and find a nice way to organize it for how we use it. But I’m going to use it for a while before I go out and buy a bunch of bins and brackets for it. I will also try to use containers I already have on hand!
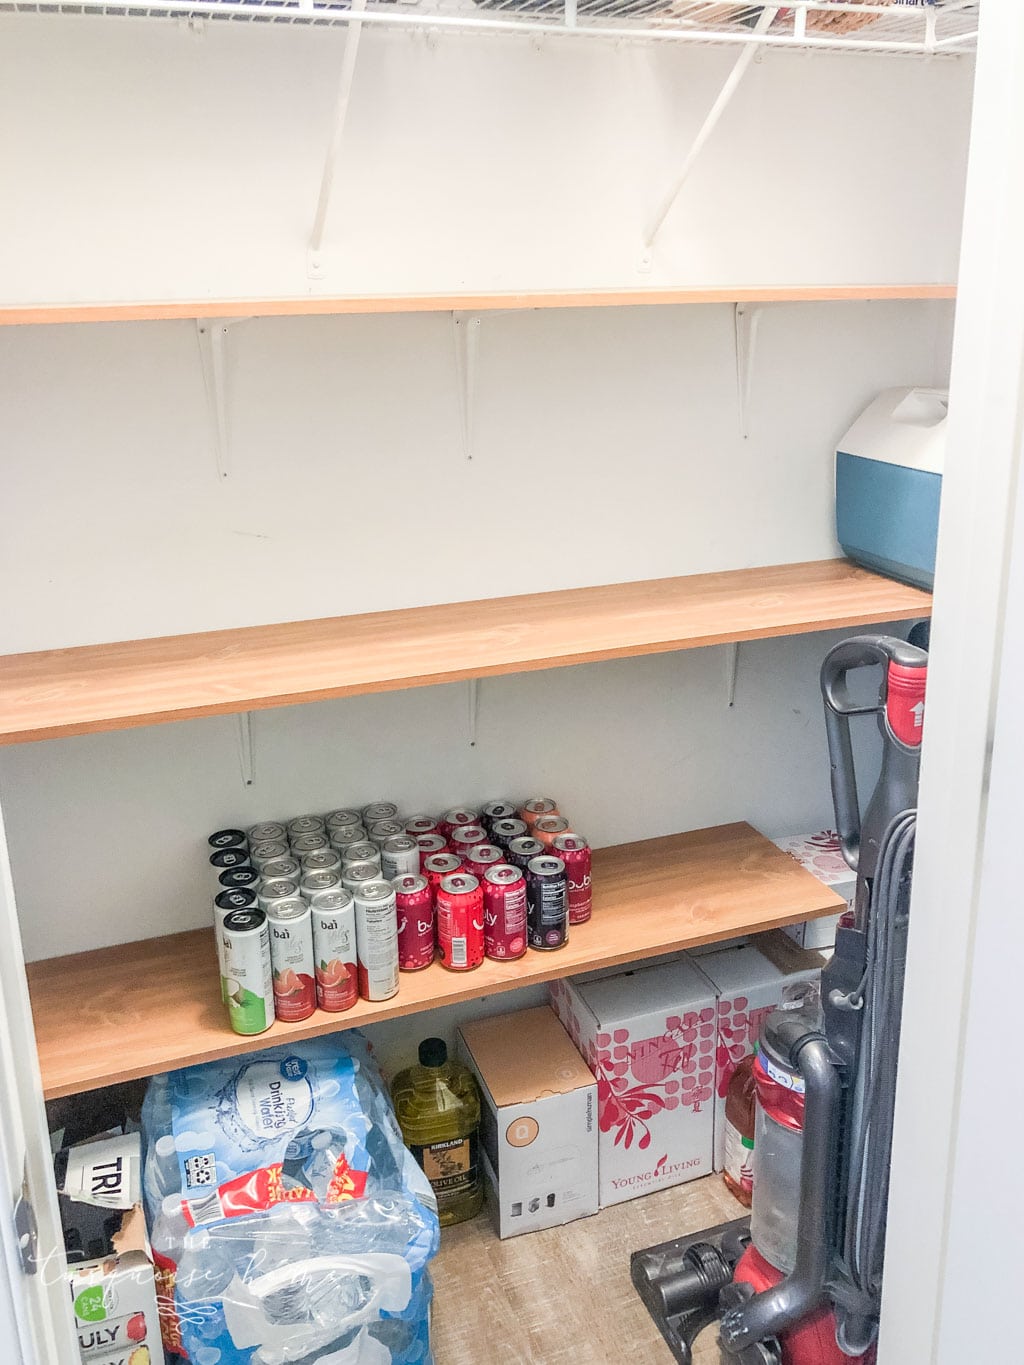
But for now I’m just LOVING the space and walk into it multiple times a day just to enjoy the new room. I’ve been able to move stuff off of the top of our fridge and dryer where we tended to keep overflow items. And that’s been so great!
No more piles all over the floor of the closet! And no more overstuffed cabinets in the kitchen and the laundry room. This means I’ll be able to see what I have instead of losing things in the back of the cabinets. Yay!
Come and see how I organized the pantry in our current home!
More Posts You Will Love:
I have written several posts about shelves and how I have installed them in my home:

Love this idea. Esp leaving space for storing the card table or whatever it is a family really needs
Gotta prioritize the functionality, too!! 🙂