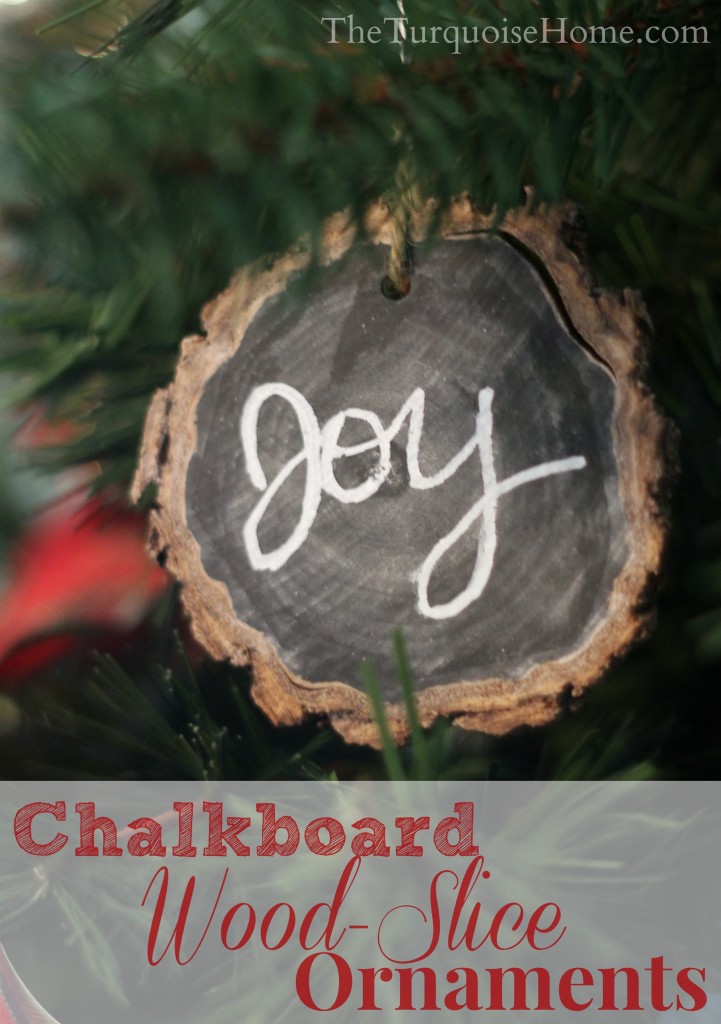
Chalkboard Wood-Slice Ornaments
Wood slice chalkboard ornaments are so fun and simple to make. They are perfect as ornaments, gift embellishments, place card holders and more!
Yesterday, I was determined to do a little last-minute crafting and decorating. You see, I’ve wanted to make these wood-slice ornaments since Thanksgiving and just haven’t had the time. So, in the last few days before Christmas, by golly, I had to get these done!

Last year I snagged a log from my parents’ wood pile at Thanksgiving and I sliced it up to make rustic wood-slice ornaments. I drilled a hole in the tops, strung them up with twine and called it a day.
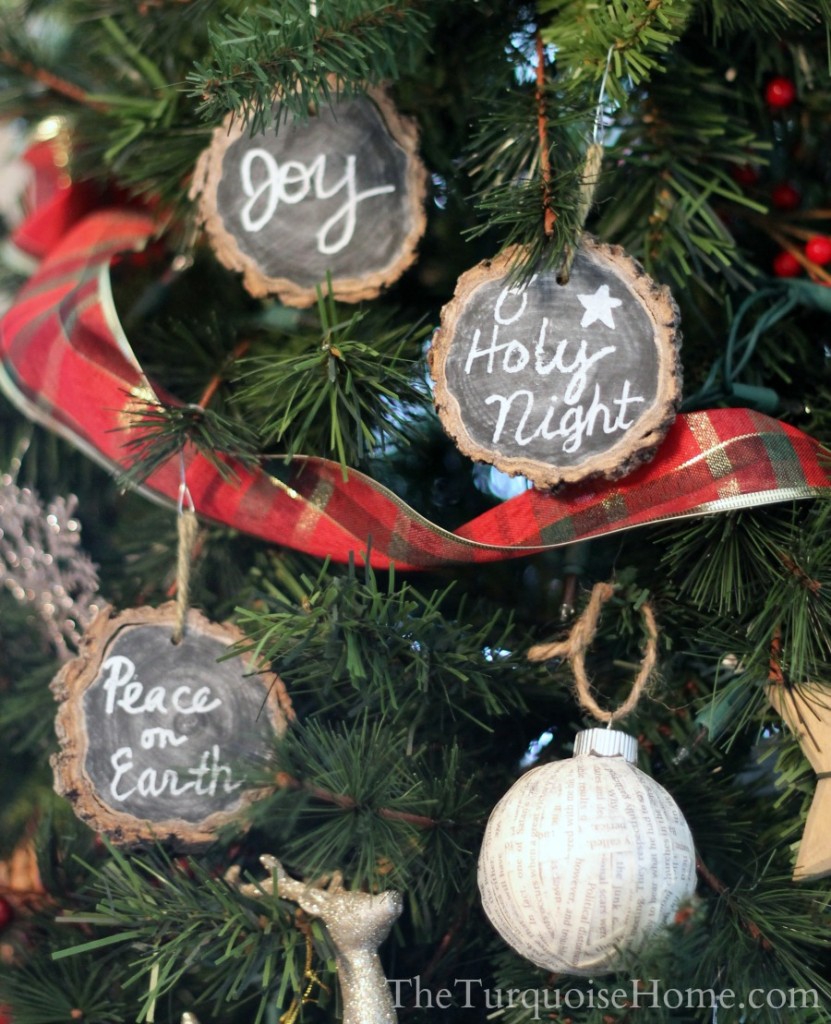
This year I added chalkboard paint and wrote fun Christmas words or phrases with my new chalk marker. I think this marker may go on my Favorite Things list next year!
Supplies You Will Need for Wood Slice Chalkboard Ornaments:
- Wood Slices (either cut them yourself from a log or buy them here!)
- Drill (if you need to drill a hole in the top of your wood slice)
- Twine
- Chalkboard paint
- Small craft paint brush
- Chalk Marker
- Chalk (for “seasoning” your chalkboard)
Steps for Making a Wood Slice Chalkboard Ornament:
These first two steps are only if you are creating the wood slices for your ornaments. Honestly, when I made these they didn’t sell them in stores, so I had to make mine. But if I were making them again today, I’d just buy some at the store!
Step 1. Cut up a wood log to make slices, if you didn’t buy them. I used my miter saw very carefully!
Step 2. Drill a hole in the top of the wood slice, if you don’t have one already.
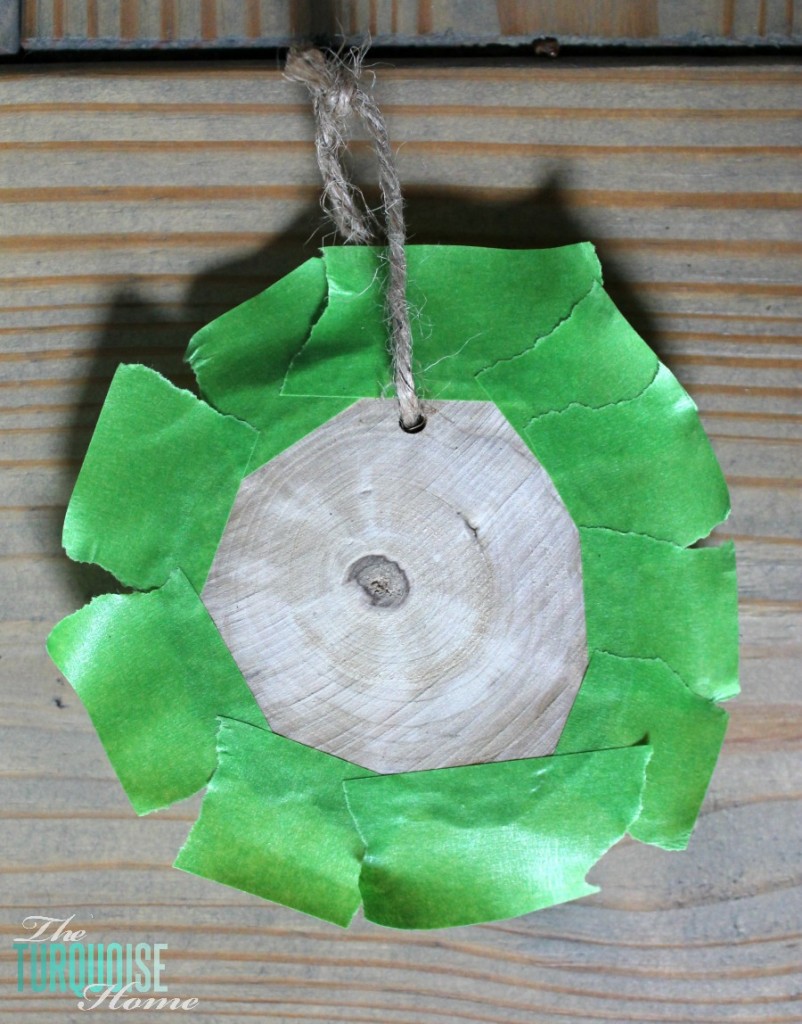
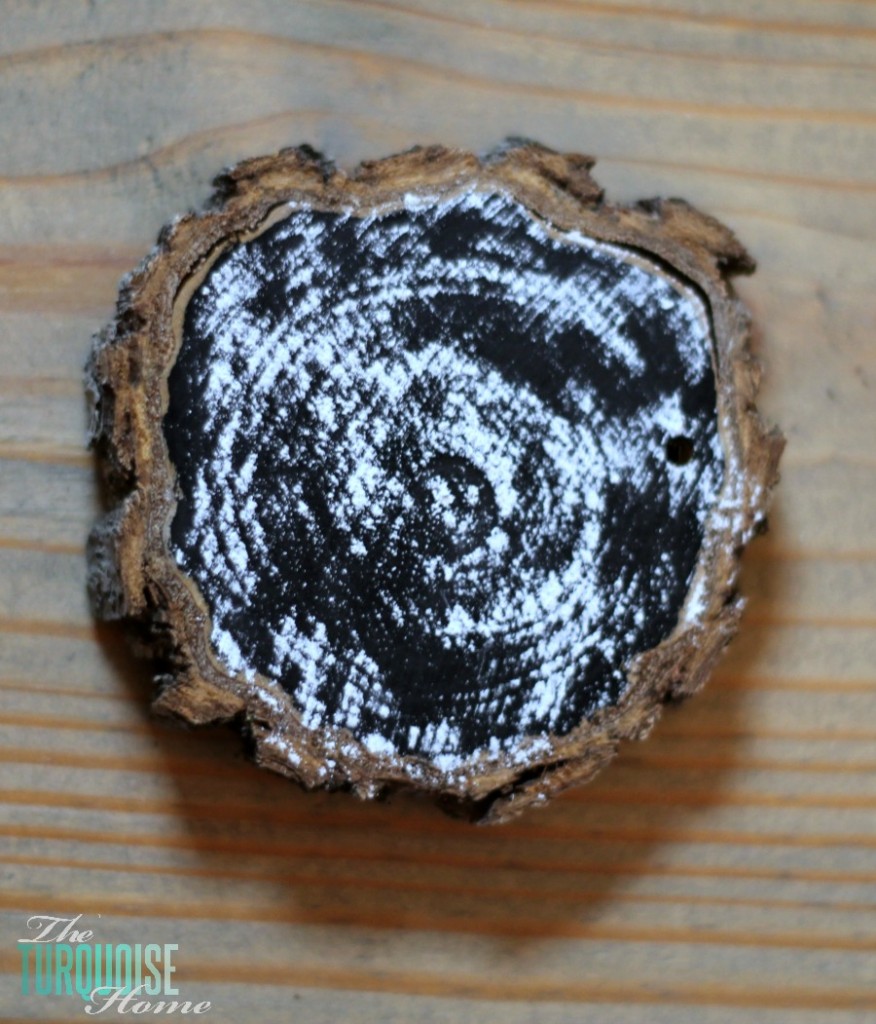
Step 3. Paint the wood part of your slice with chalkboard paint.
I started by taping off the edges, but when I pulled it off, the lines were too … unnatural.
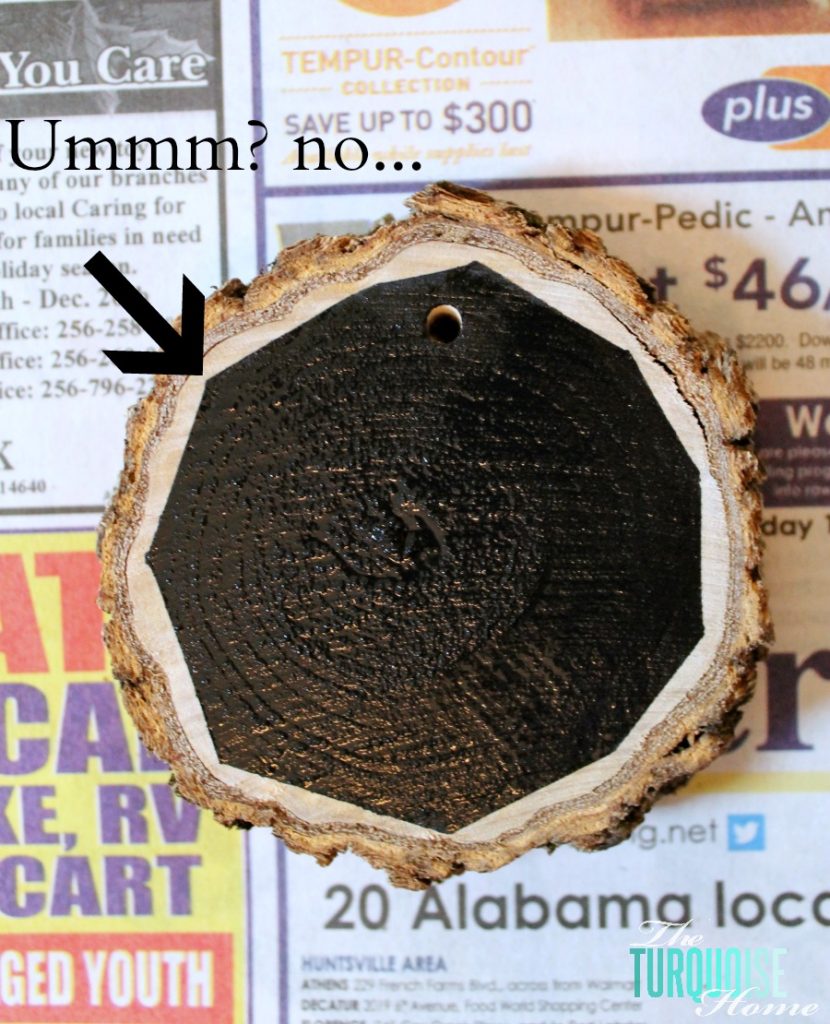
So, I freehand painted around the edges and it turned out perfectly. Any unevenness just adds to the rustic effect.
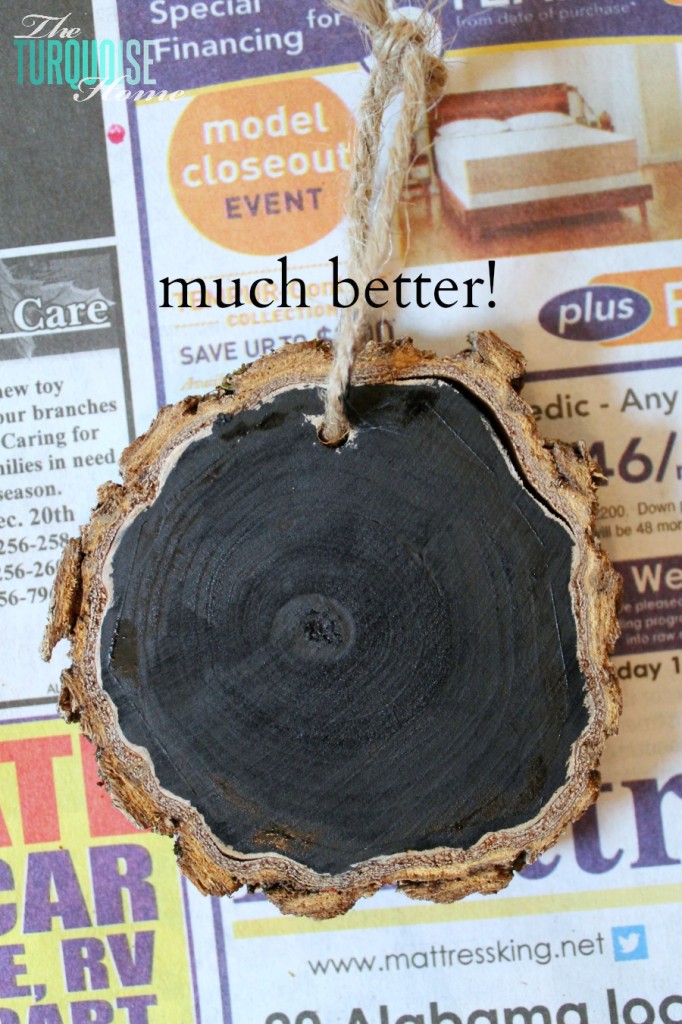
Step 4. Once the paint has dried, “season” it with chalk.
I waited for the paint to dry and then rubbed regular chalk over it to season it. Then wiped it off with a dry paper towel.
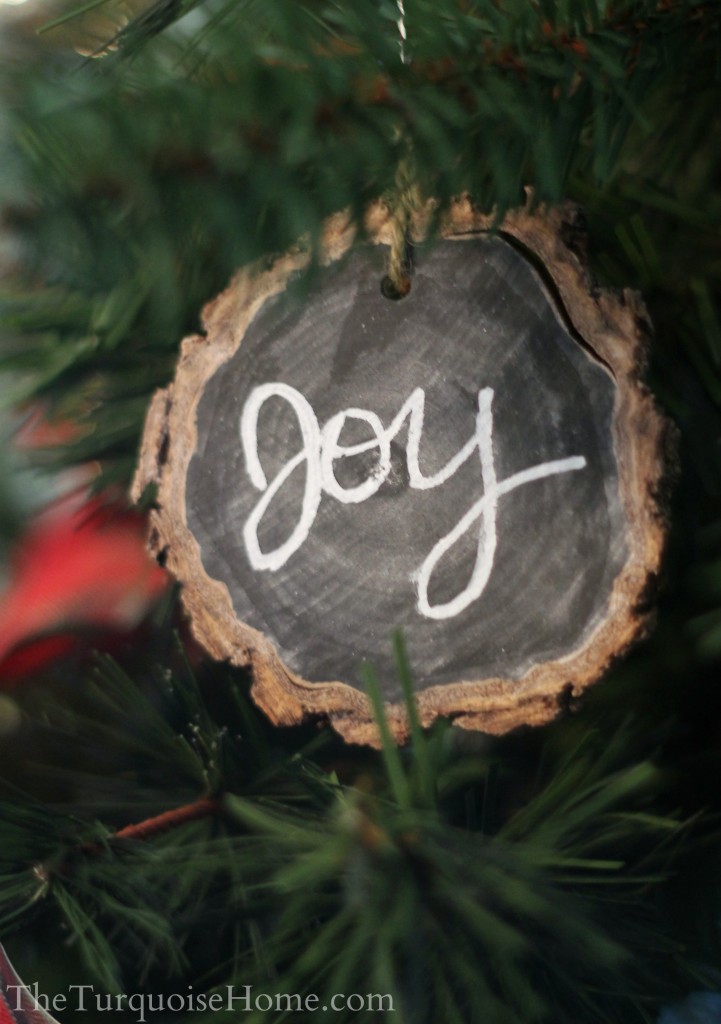
Step 5. Decorate your wood slice ornament with a chalk marker!
I simply wrote a few words and phrases on them and love how they turned out!
And since Christmas coming quickly, you may not be whipping out the crafting basket. I know I’ll be spending my days wrapping presents like the procrastinator that I am.
But, please feel free to pin for next year! You can hover over any image and a pin-it button will appear in the upper right corner or use the button above.
MORE DIY CHRISTMAS ORNAMENTS:
- DIY Wood Finial Ornament
- DIY Twig Christmas Tree Ornament
- DIY Mason Jar “Snow Globe” Ornament
- Mini Wooden Christmas Sign Ornaments
- DIY Paper-covered Ornaments
While I was snapping shots, I snapped some of my other new ornaments on my big tree.
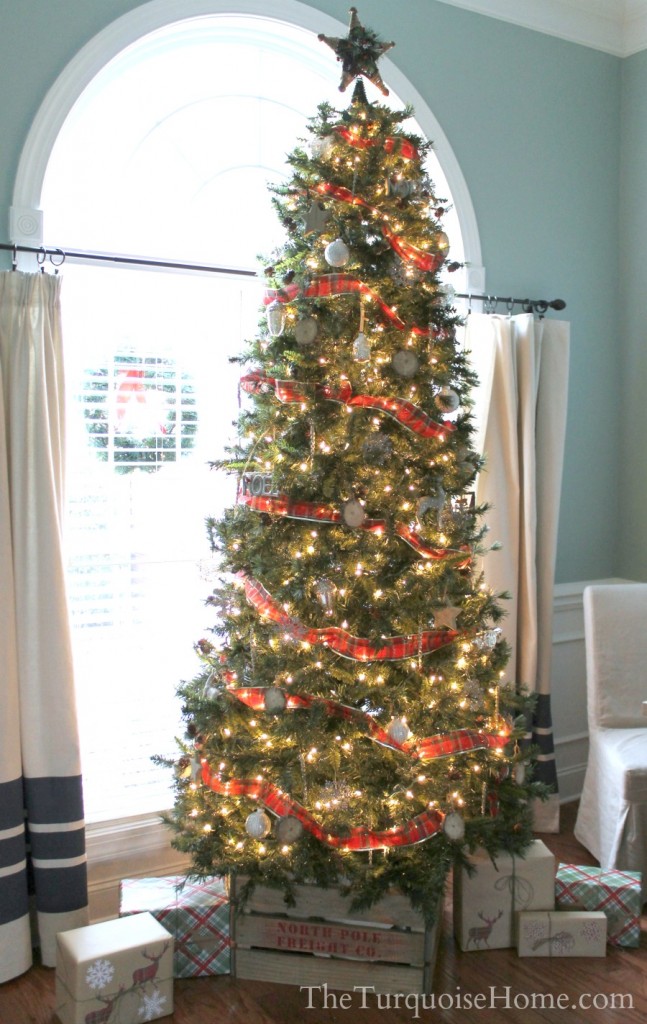
I bought all of these after Christmas last year and I may have gone a little mercury glass crazy. I just can’t get enough!

I think they were from Anthropologie and PD’s.
And then I started taking pictures of my little sentimental tree.
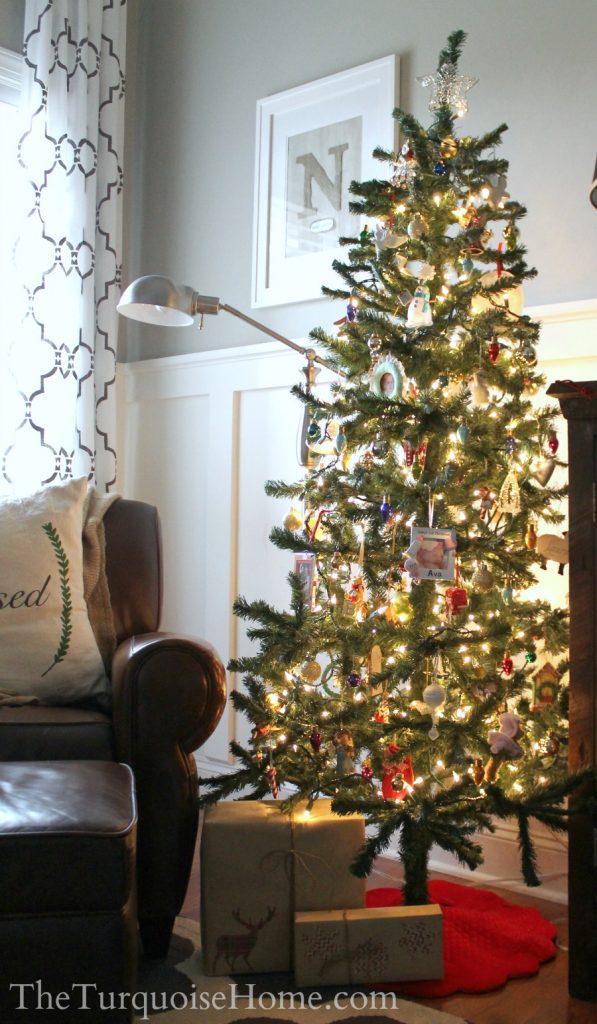
I photographed a few of my favorites.
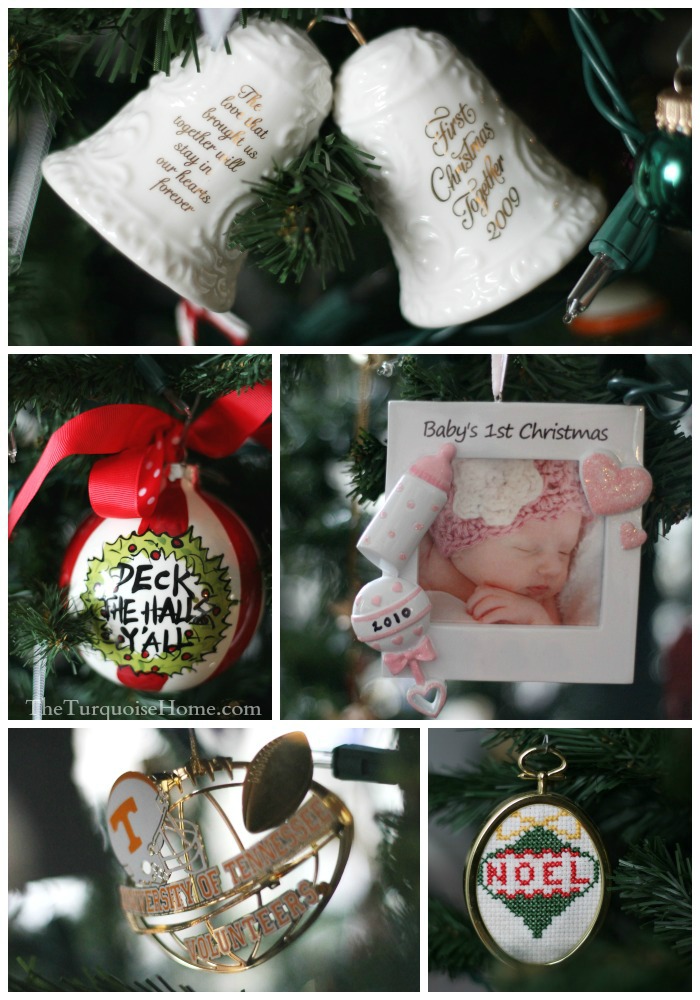
Some fun ones we’ve collected over the years: I cross-stitched the Noel ornament and my mother-in-law gave me the “Deck the Halls Y’all” ornament this year. Love it!
I’m a sucker for ornaments because they usually tell a story, so I’ll always have a tree dedicated to special, random ornaments. My favorite thing about Christmas decorating is hanging each ornament and remembering who it came from, or how someone made it for me.

A special ornament this year {and really every year} is the sweet bead angel – above on the top left. My grandmother made her when I was a little girl. Grammy passed away this year, so it’s a treasure that I will cherish for always. It’s made from safety pins and beads and I love it! Don’t you think she’s cute?
I love my girl’s handprint ornament, too. We made it last year when she had just turned two. I waited a little too long to do it because her hand was getting a little big for it. 🙂
Do you love sentimental ornaments? Do you have a favorite?
Merry Christmas, my friends! May you be restful, joyful and making memories this week!
More Posts You Will Love:


These are so stinking cute! Such a simple and wonderful craft that packs a lot of punch! Thank you for sharing this inspirational idea!
I like you homemade tree slice ornaments better than the store bought!
These ornaments are awesome Laura – love them! Pinning:)
Thanks so much, Krista! I hope you had a wonderful Christmas!!
I made some birchwood chalkboard ornaments too. You can check them out here http://www.mycreativedays.com/birchwood-christmas/. I love how they turned out. I want to make some more next year. Merry Christmas