DIY Wood Finial Ornament
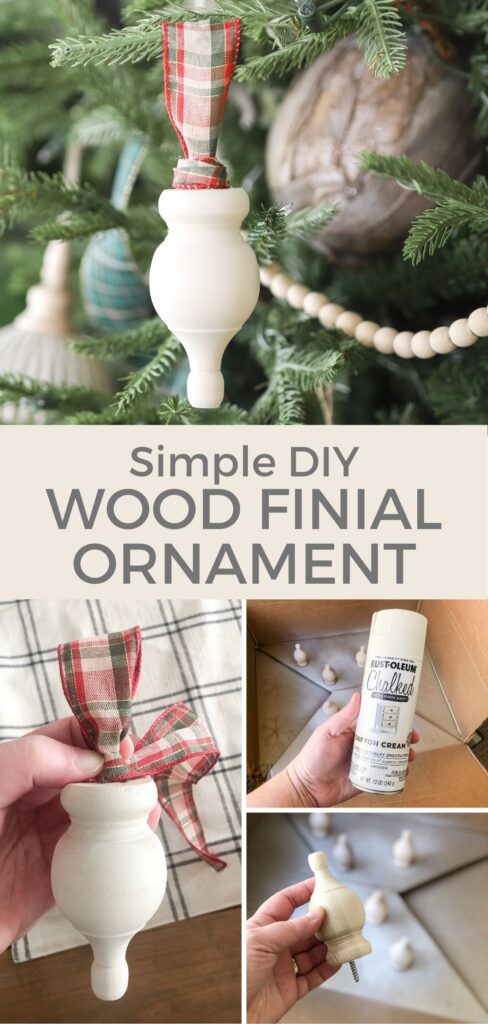
This simple and quick DIY wooden finial ornament can be customized in so many ways! Using mostly items you probably have on hand, create a beautiful ornament with just 4 supplies!
I’ve created all kinds of DIY ornaments over the years. Most of the time they are time-consuming and a little elaborate. But this ornament is probably the simplest I’ve ever made.
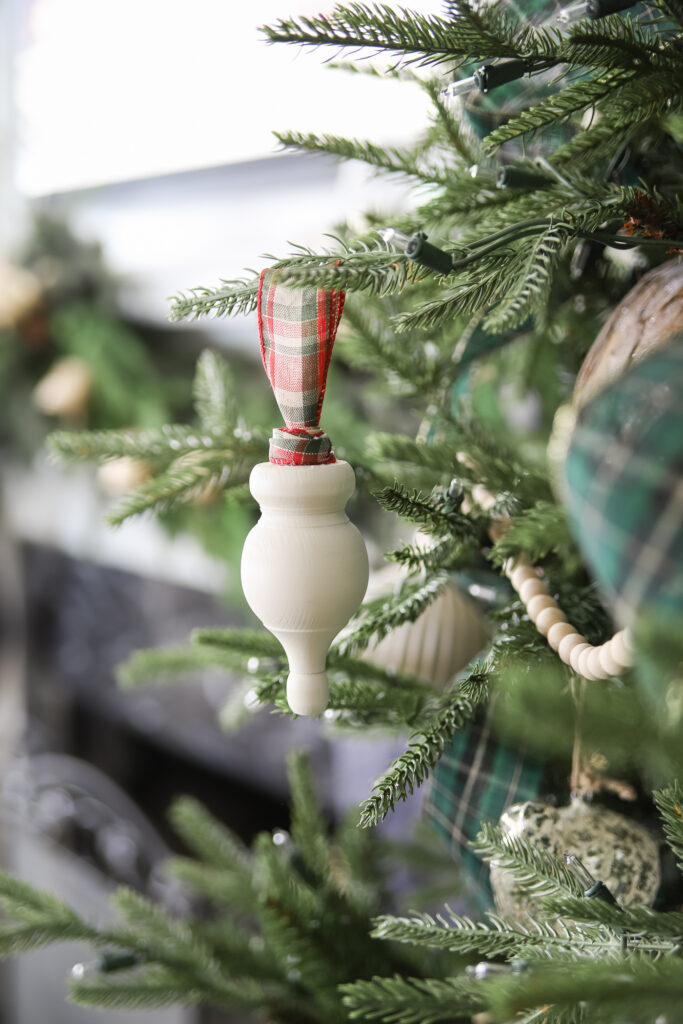
I needed some more light-colored ornaments to fill in some spots on my tree. And I didn’t want to spend much more money on Christmas decor this year, which meant it was time to get creative.
As I searched for the kind of Christmas ornament I wanted on my tree, I kept coming back to these gorgeous wooden finial style ornaments.
Click/Tap the images below to see the finial ornaments I found:
And I figured I could make some of my own for much less, using mostly items I have at my house! I was right!
Supplies you will need to make a Wood Finial Ornament:
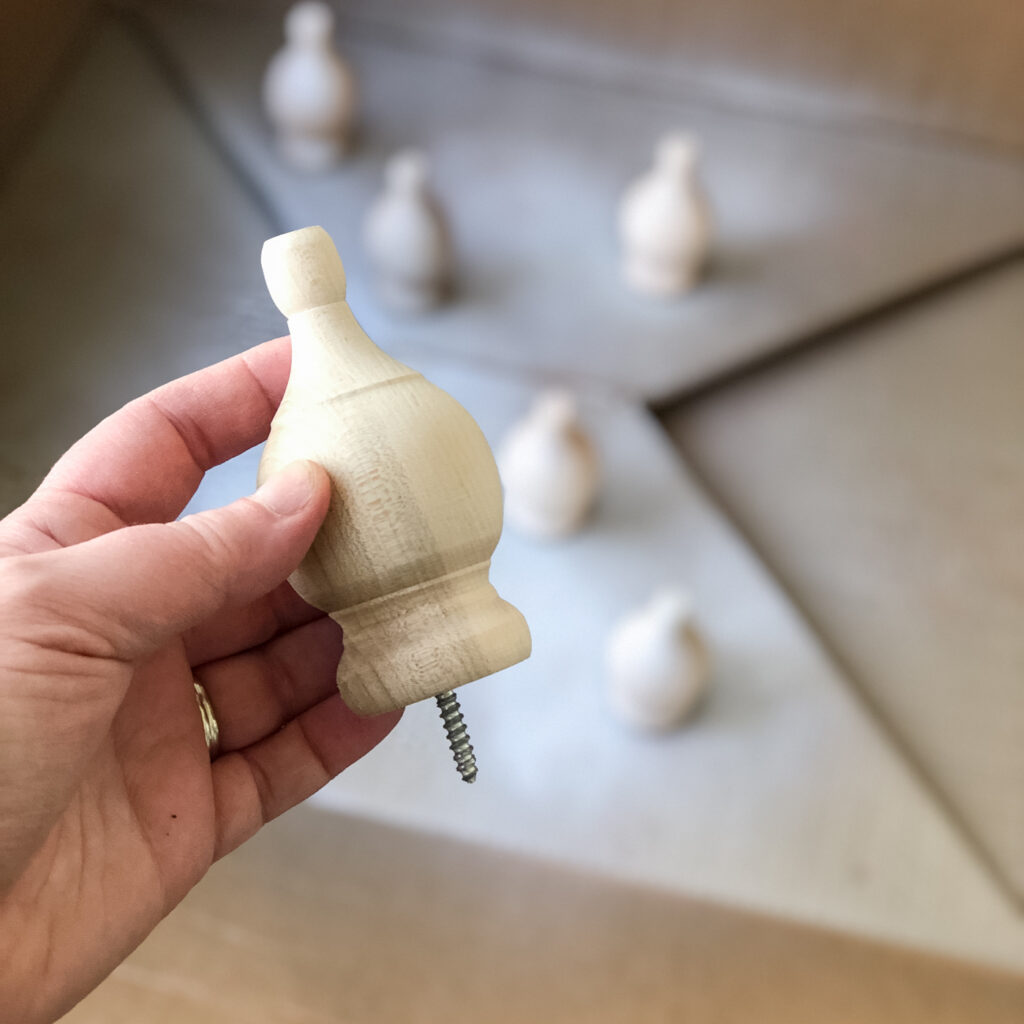
- Wood Finials – I found mine at the hardware store for less than $3/each.
- Paint of your choice – I used this chalk spray paint I already had.
- Ribbon (any kind will do) – I used some 1.5 inch wired ribbon and I pulled the wire out.
- Hot glue gun & hot glue
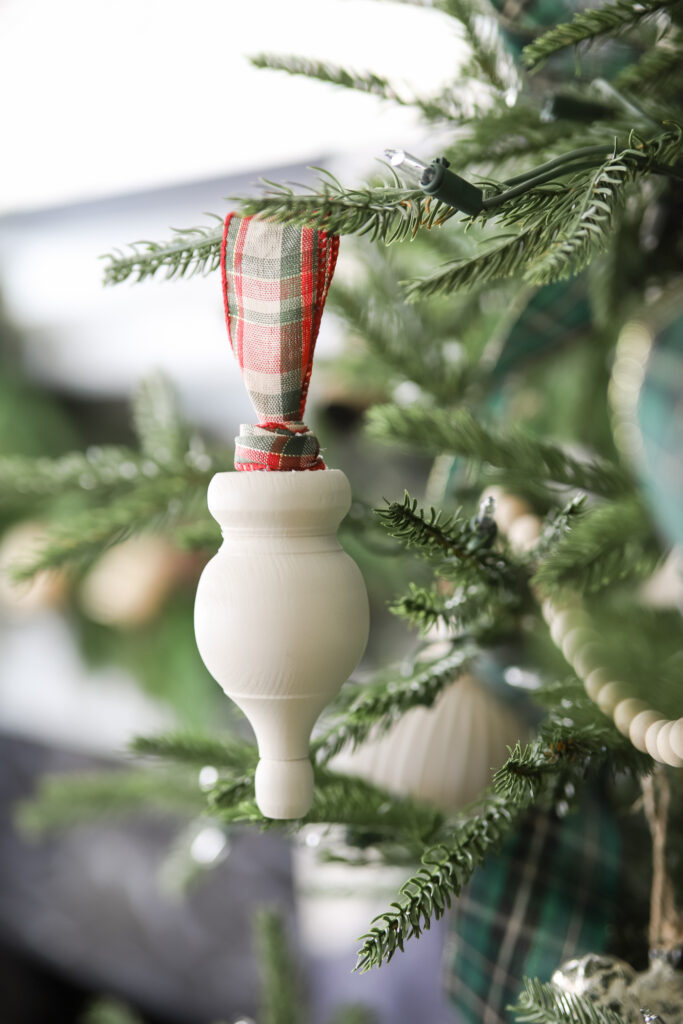
How to Make a Simple DIY Finial Ornament
Step 1. Purchase your finial and choose what color to paint it.
OR you can leave it natural. White or ivory colors worked best for my tree, so I grabbed some spray paint I already had on hand.
I chose this Rustoleum Chalked spray paint in Chiffon Cream; I love that it dries to a matte finish.
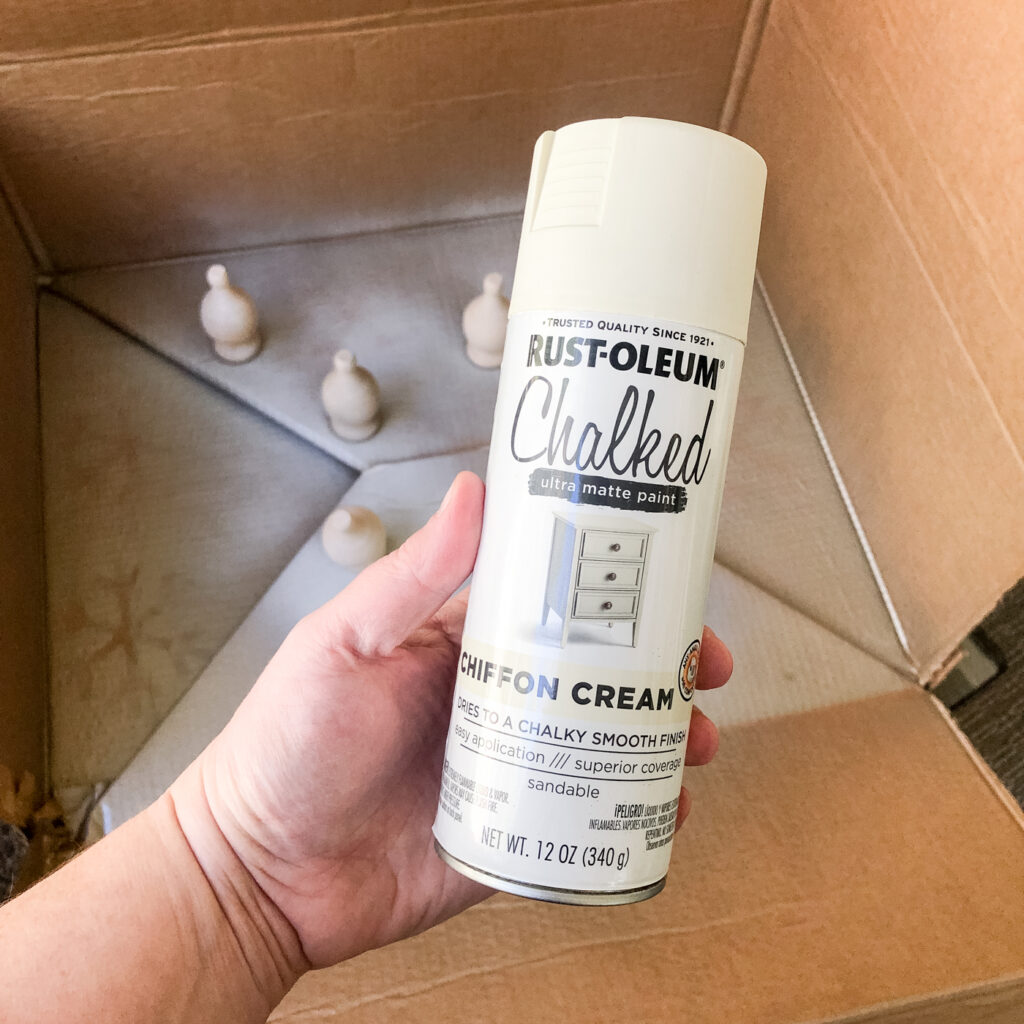
Step 2. Paint the finials.
I used the screw tops on my finials to punch them into a large cardboard box. The sides of the box protected the items on my patio while I spray painted them.
If you’re using spray paint, use multiple thin coats and it will get better coverage without any drips.
Step 3. Once the finials are dry, hot glue ribbon to the top.
You can be as creative as you’d like, but I used some 1.5 inch wired ribbon. I removed the wire and hot glued a small tab on to the top of the painted finial.
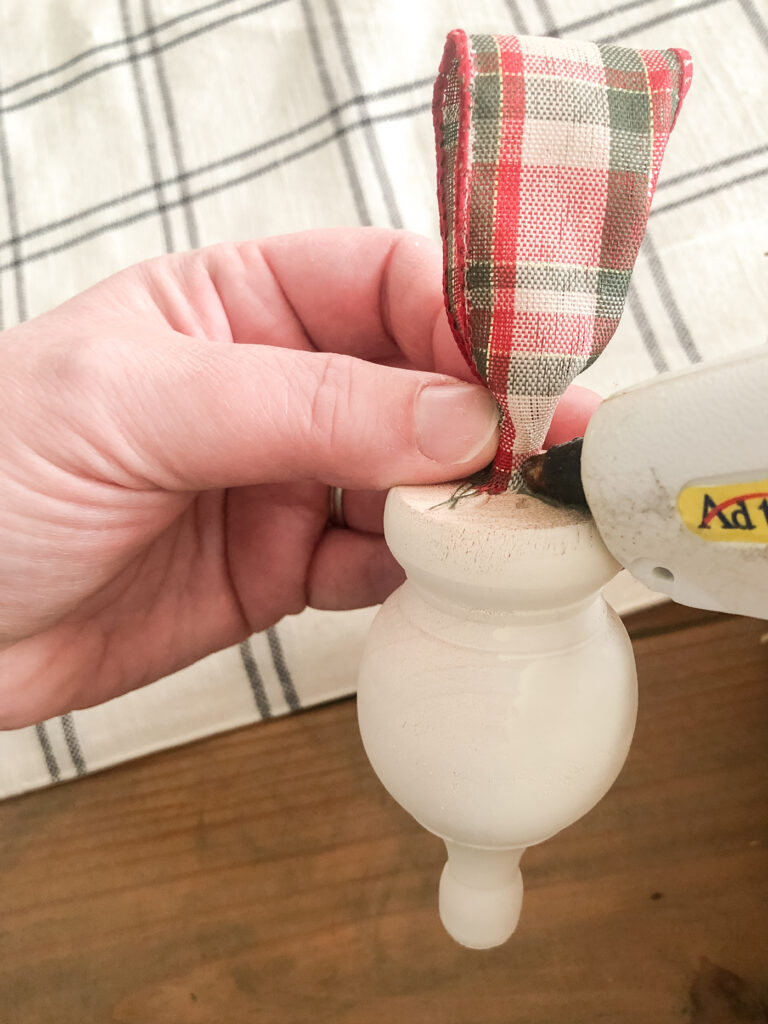
Then I wrapped the ribbon around the base of the ribbon tab. This made it look polished!
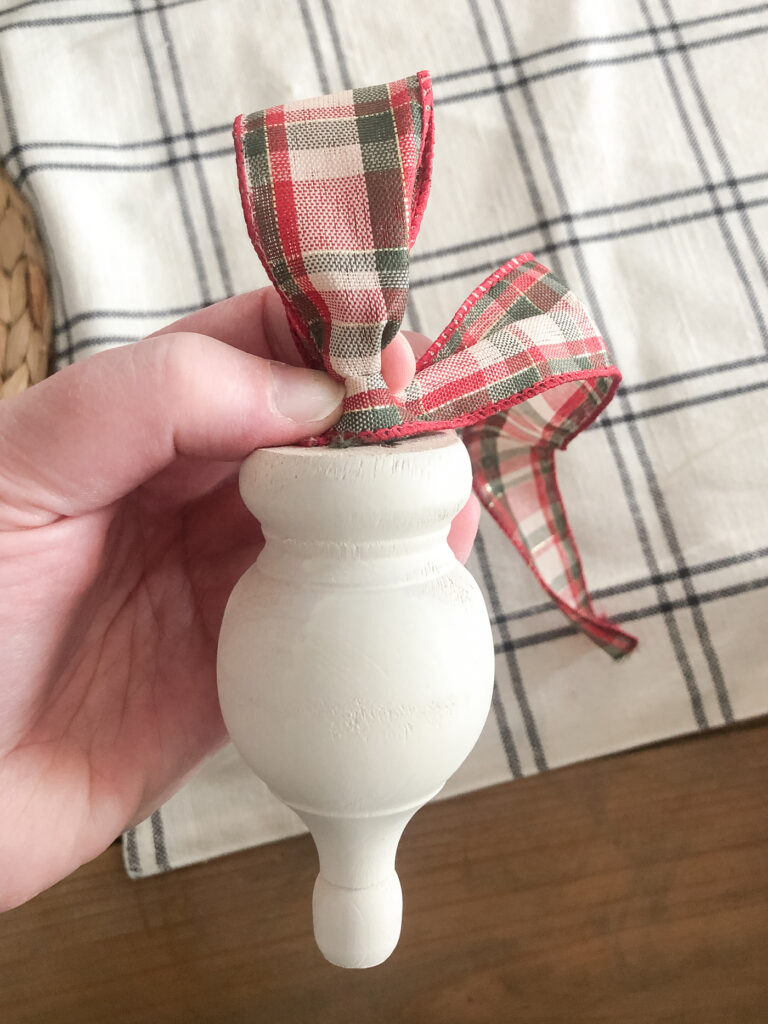
That’s it! Once the glue dries, it’s time to hang it on your tree. This is almost too easy to even call a DIY project, but sometimes it’s the simplest projects that are the most fun.
Enjoy! Let me know if you try it. E-mail me or tag me on Instagram.
MORE DIY Christmas Ornaments:
- Mini Wooden Christmas Sign Ornament
- Twig Christmas Tree Ornament
- Mason Jar “Snow Globe” Ornament
- DIY Paper Covered Ornament
- Bath Bomb Ornament (with free printable tag)
- Chalkboard Wood Slice Ornaments







That’s really nice post. I appreciate your skills, Thanks for sharing.
What a clever and creative idea ! Love the finial ornament.
We would love for you to share your post with us at our weekly blog link party – Meraki Link Party at https://doodlebuddies.net/2020/12/01/meraki-link-party-16/ – the party is from Monday thru till Thursday.
Thank you
Naush
Such a creative idea, they look great!
These are so simple and pretty! Love them.