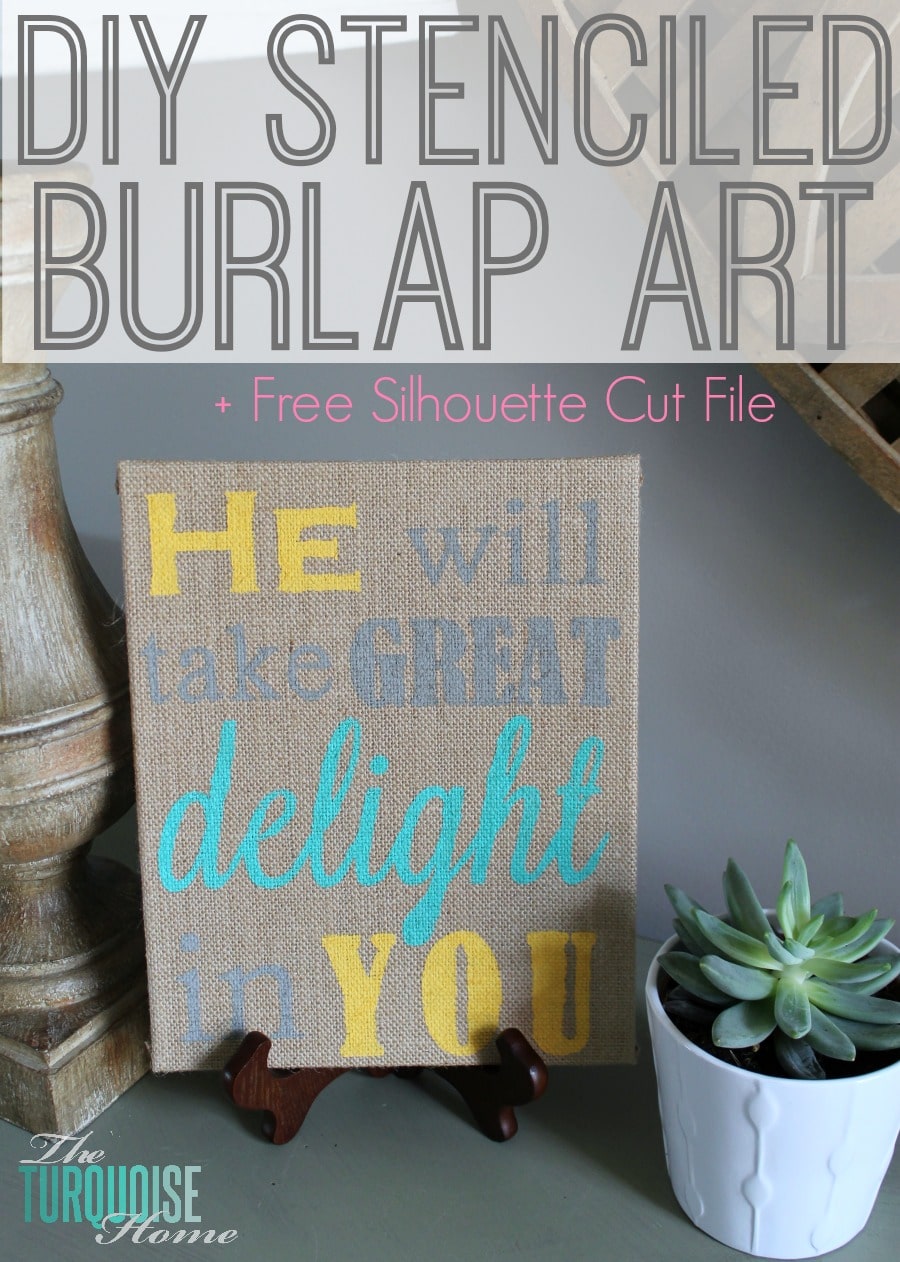
DIY Stenciled Burlap Art + Free Silhouette Stencil Files
This simple tutorial will show you how to create your own DIY stenciled burlap art using a Silhouette machine and a few easy steps.
I had the big task of making an easy craft for 150 women at a women’s conference at my church this past weekend, so I’ve been busy working on that.
In the last months I have sacrificed a lot of taking care of myself in order to keep up, but it was just draining me. I know that if I want to keep blogging, which I wholeheartedly DO, then I have to slow down sometimes and sleep instead of edit pictures. But I’m back to share my simple women’s conference craft with you today!
A few weeks ago, a bunch of my blogger friends had Pinterest Parties at Michael’s Crafts Stores. And so many of them used the burlap stretched canvases and panels. {Sorry I didn’t take a picture of just the canvases, but they are at Michael’s and are awesome!
Let’s just say a light bulb went off when I saw these adorable DIYs pop up! So many of them are too cute and I plan on sharing a round-up later this week. So, this got my wheels turning. I was looking for a semi-inexpensive craft that anybody on any craft level could do.
Want to Save This?
Enter your email below and I’ll send it directly to your inbox!
This post contains affiliate links for your convenience. See my full disclosure policy.
Supplies for DIY Stenciled Burlap Art:
– Artist’s Loft stretched burlap panels from Michael’s Craft Store {they also have stretched burlap canvases… so cute!}
– blank stencil material or pre-made stencils {I bought the blank material at Michael’s and Hobby Lobby.}
– Silhouette Machine {optional – you don’t need if you buy pre-made stencils}
– acrylic craft paint – foam brushes
– paper plate
– Repositionable Spray Adhesive {can find at Hobby Lobby, too}
How to Make DIY Stenciled Burlap Art:
1. Create your design.
First I designed my three different stencils. I quickly realized that I would have to make some adjustments to the regular fonts in order to keep all of the pieces in place. Let me show you.
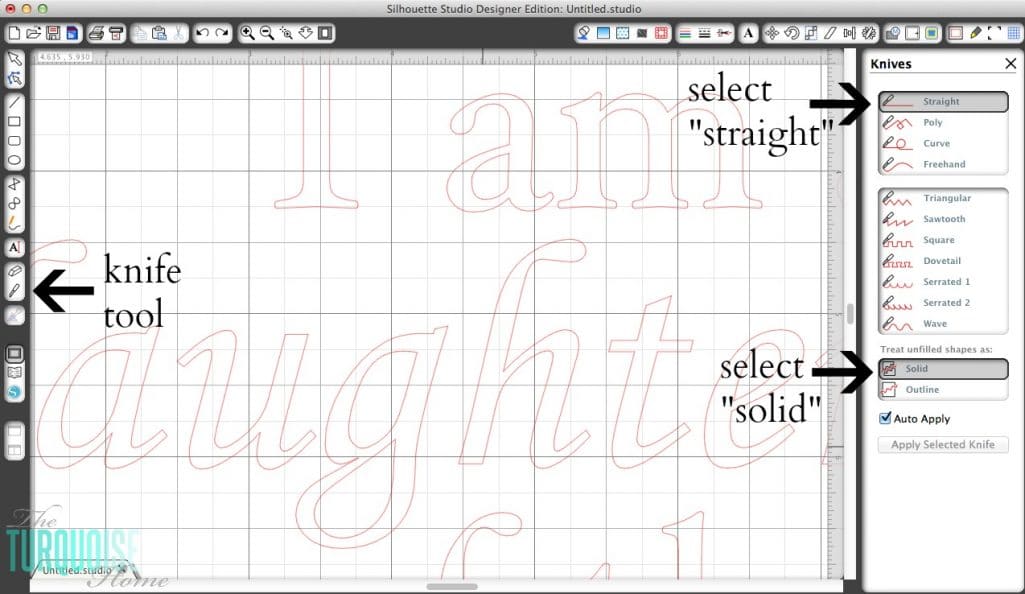
2. Create a stencil from any font.
{The ability to do this may only be in the designer edition, but I’m not sure?} OK, first select the knife tool. And then make sure “straight” and “solid” are selected.
Then you will “cut” through any letter that has a middle part that needs to be kept in place, like an a, o, g, d, p, etc.
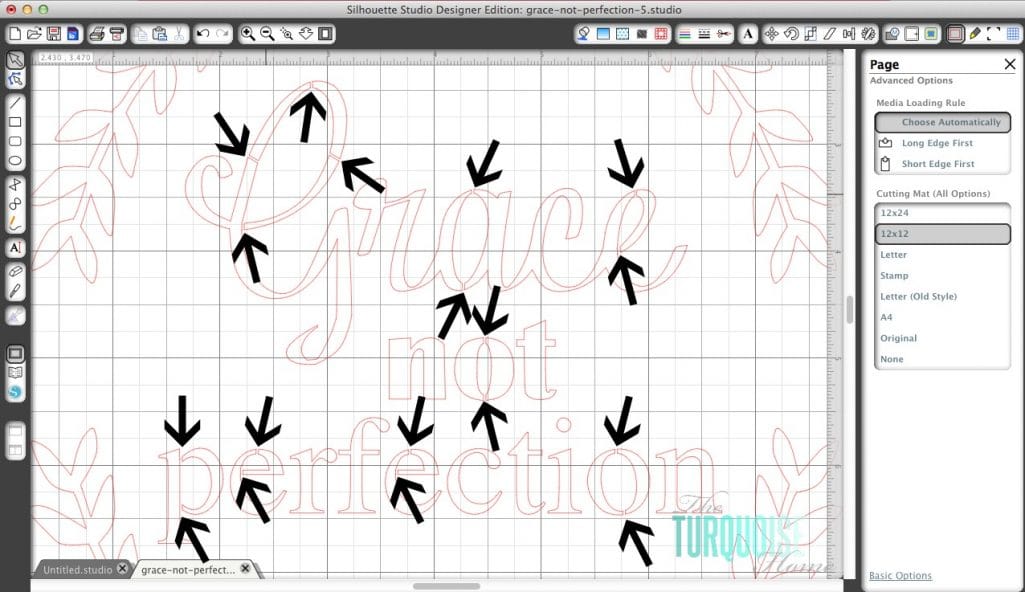
Now, when you go to lift the stencil off the cutting mat, those little inside pieces will come with it. If you want to watch a video on how to make any font a stencil, then this is a great one.
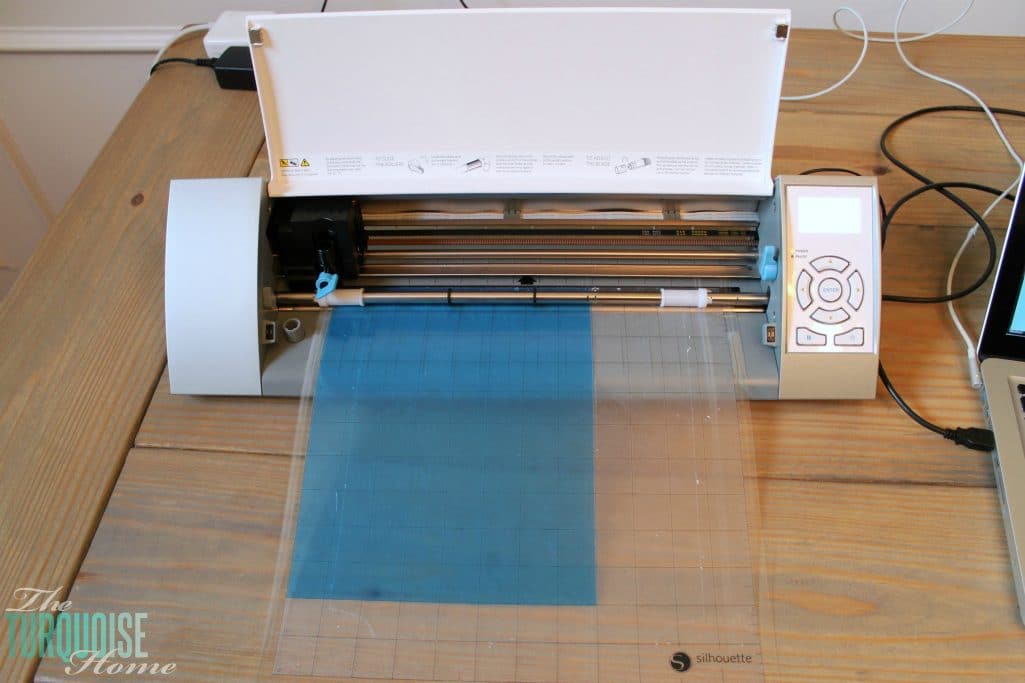
3. Cut your stencil.
After I designed the stencils, I fed the stencil blanks into my Silhouette Cameo and cut out the designs. {Tip: try your design out on cardstock first to make sure you’ve got enough cuts in the letters to keep it together. This way you don’t waste any stencil blanks. Ask me how I know. 🙂 }
I’m not going to share my Silhouette cut settings with you, because I used several different brands of stencil blanks and they all used different settings. As a general rule the thickness was 33 and the speed was 2-3. But the blade settings differed quite a bit. You’ll just need to test yours and see what to blade setting will cut through it.
On the thicker blanks, I had to select “double cut.” I found that the Hobby Lobby Show-Off brand stencils worked great in the larger sizes {12×18 and 9×18} . But the 8×10 Show-Off brand stencils blanks from HL were impossible to cut. They were just too thick. The 8×10 stencil blanks from Michael’s were even thinner that HL’s and they were so easy to cut. So, I ended up using a combination of 8×10 stencil blanks from Michaels and larger sized from Hobby Lobby.

4. Weed your stencil.
Because I was making these for almost 150 women to stencil at a conference, I made a lot of stencils. 🙂 I was kind of sick of weeding and listening to the Silhouette “sing” by the time I was done. 🙂
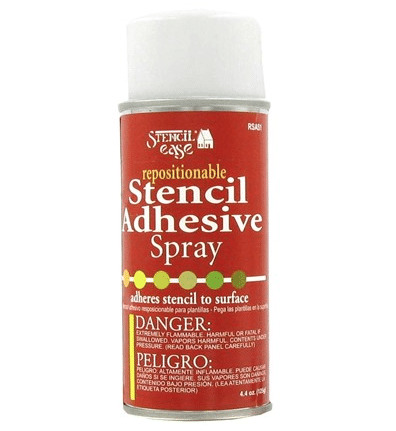
5. Spray the back of the stencil with repositionable adhesive.
This stuff worked great and kept the stencils in place. Loved it! I found it at Hobby Lobby.
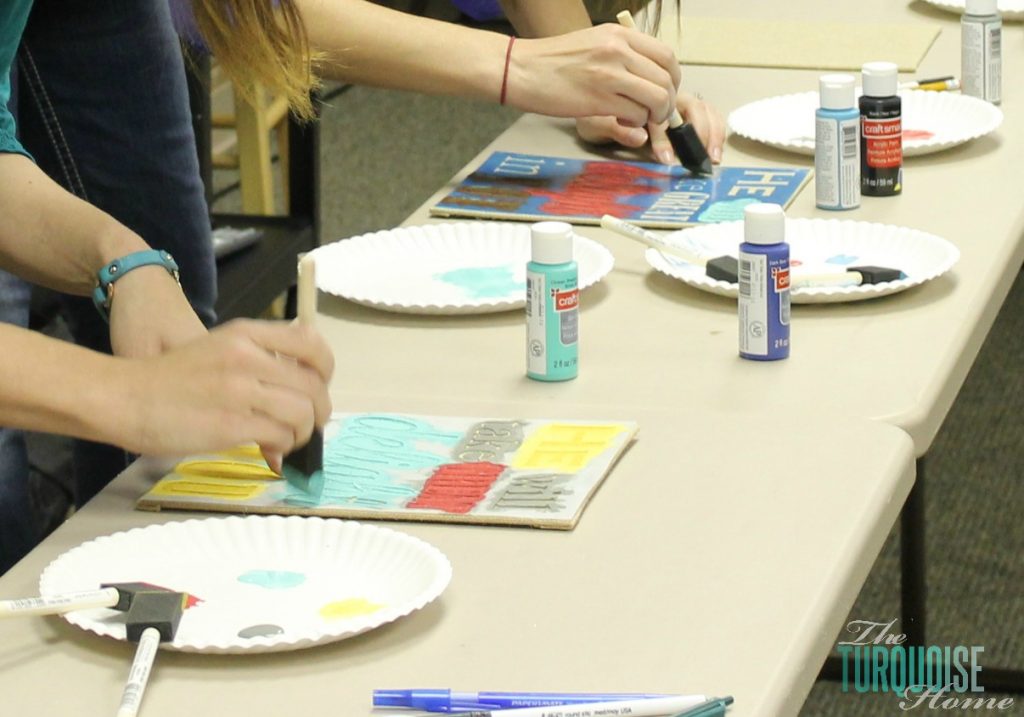
6. Place stencil on burlap and paint!
Finally, the fun begins! Choose your colors and paint over the stencils.
IMPORTANT! The two biggest tips for getting crisp lines while stenciling is to use little paint. {Dab off any excess paint on the paper plate before painting the stencil.} And dab the paint in an up and down motion when stenciling. You don’t want to brush the paint from side to side or top to bottom because then paint will seep under the stencil and the letters will look like blobs instead of nice, crisp letters.
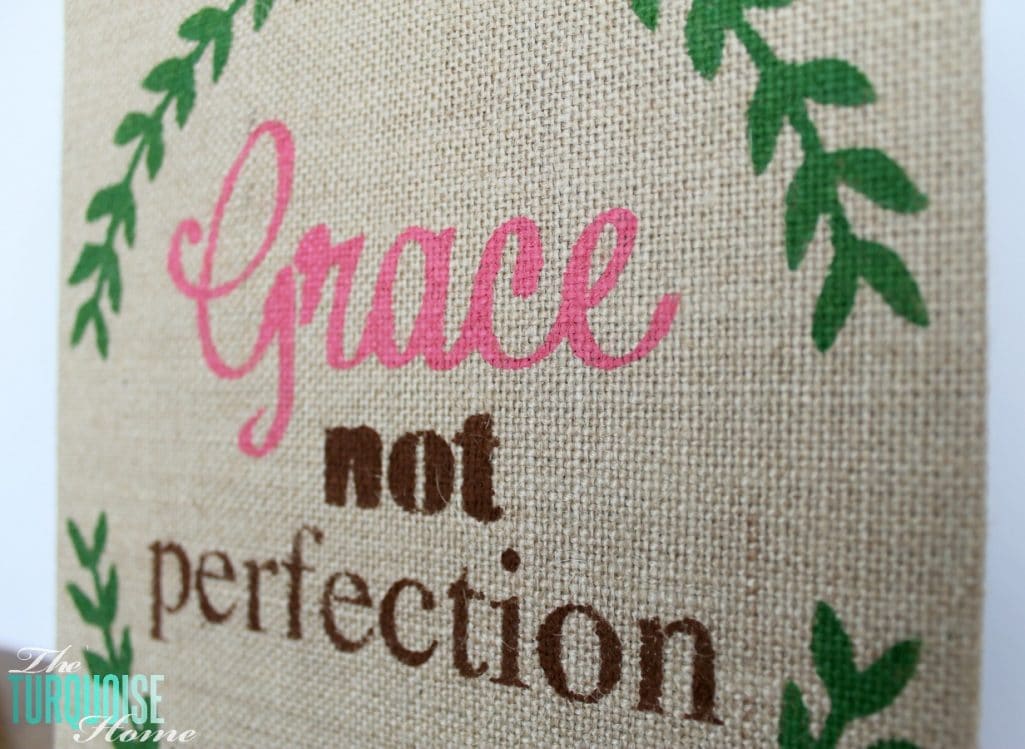
7. Pull of the stencil and let the paint dry.
And you’re done! I wish I can gotten a picture of all the different creative ways the women did their stencils this weekend. They were just gorgeous and I think they liked the craft. 🙂

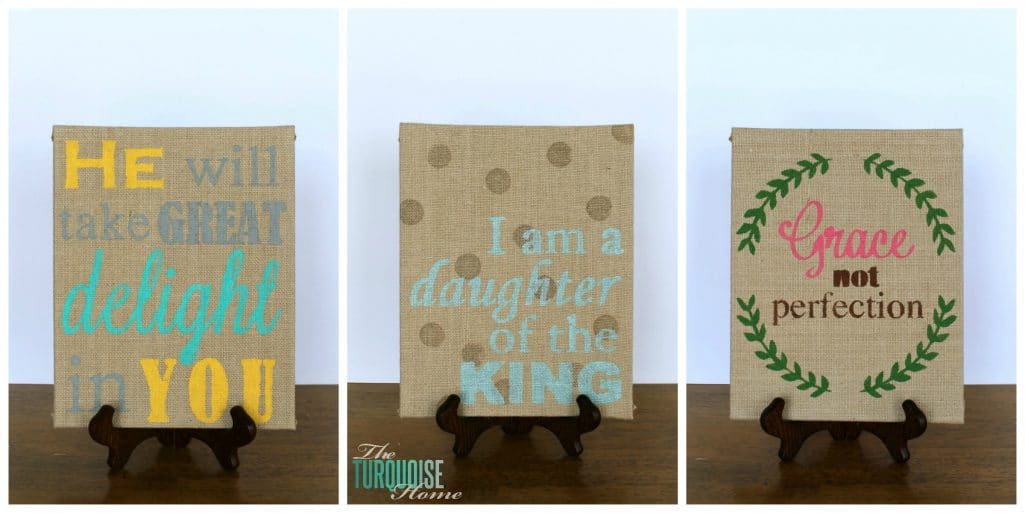
And just for fun, I thought I’d share my stencil files with you in case you wanted to do one of your own!
I am a Daughter of the King stencil file
Grace Not Perfection stencil file
He will Take Great Delight in You stencil file
Have you ever stenciled on burlap before?
Have you made a stencil before? Any tips or tricks?
Please feel free to pin for later or pin to share with your friends!


I’ve made many, many vinyl stencils and painted t-shirts and cut out vinyl decals, etc. You should just be able to use transfer paper like you do with vinyl to make the stencils instead of cutting the letters in the software like that. Transfer paper is the bomb!
DERP! I was thinking of something else. Yes, you could do what I was talking about, but it might be more trouble for this particular type of project. Also I meant transfer TAPE, not paper. Just ignore my last comment. LOL!
Ok, good! I wasn’t quite understanding what you meant. LOL! Thanks for stopping by!
These are so very pretty. Thanks for the tip on cutting a stencil, I didn’t know you could do that.
Love it!
I need a Silhouette Machine!!!!! These looks so fun!
Thanks for sharing!
Jessica
Yes you do!!! It’s fabulous. Another great sale is coming up next week. Stay tuned!
I love this, makes my heart smile 🙂
I’d love it if you shared this on Worthwhile Wednesday.
~Allie
Beautiful! Thanks for the tutorial and the templates!
I Love your Blog and am Silhouette Cameo Junky. I must be I like them so much I have two. I have been following your blog for a while now because, I enjoy the simple fun way you engage your readers, along with your projects.
I just wanted to send dome blog love,
Karen Marie Kedzuch
Dragonfly & Lily Pads
Aww, thanks so much Karen! I’m so glad you’re here!!
LOVE the sayings you chose, Laura…and this is a GREAT resource for my first foray into cutting the Silhouette stencil material I recently got. Thanks for the tips and tricks, friend! Pinning!
Love your stenciled art and your tutorial is fabulous. Thanks tons for linking to Inspire Me. Hugs, Marty
These are absolutely beautiful and I love the words you chose ~ I wish I could have been at your church’s conference ~ Thanks for sharing at this week’s Project Inspire{d} ~ pinned 🙂
Love these! Thanks for sharing the tutorial and especially the files!
You’re so welcome, Kay!
Wow! these turned out so great! I love the quotes, the colors and the tips (don’t use too much paint…)
Thanks for sharing!!!
Hoping you have a terrific week…. 🙂
xx Crystelle
Great tutorial!!! I’ve been making stencils just out of vinyl as I can never get the stencil material to cut! But now I’m going to TRY AGAIN :-)) thanks for the inspiration!!
Definitely recommend the blue stencil blanks from Michaels. They are awesome!!