Weathered Reclaimed Wood Kitchen Bar with Stikwood
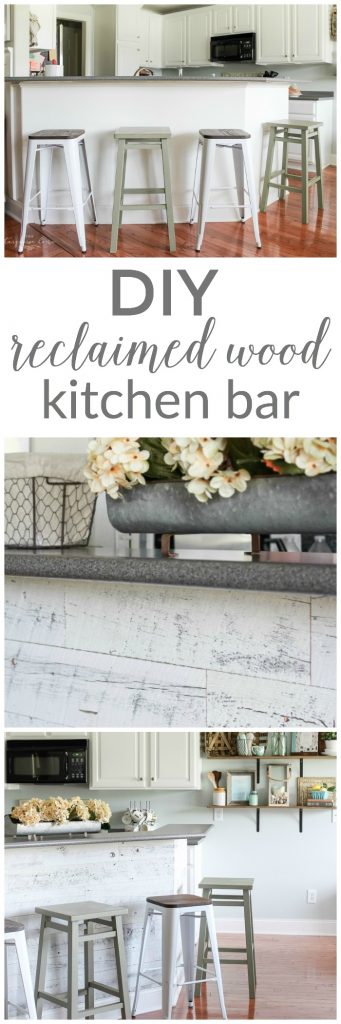
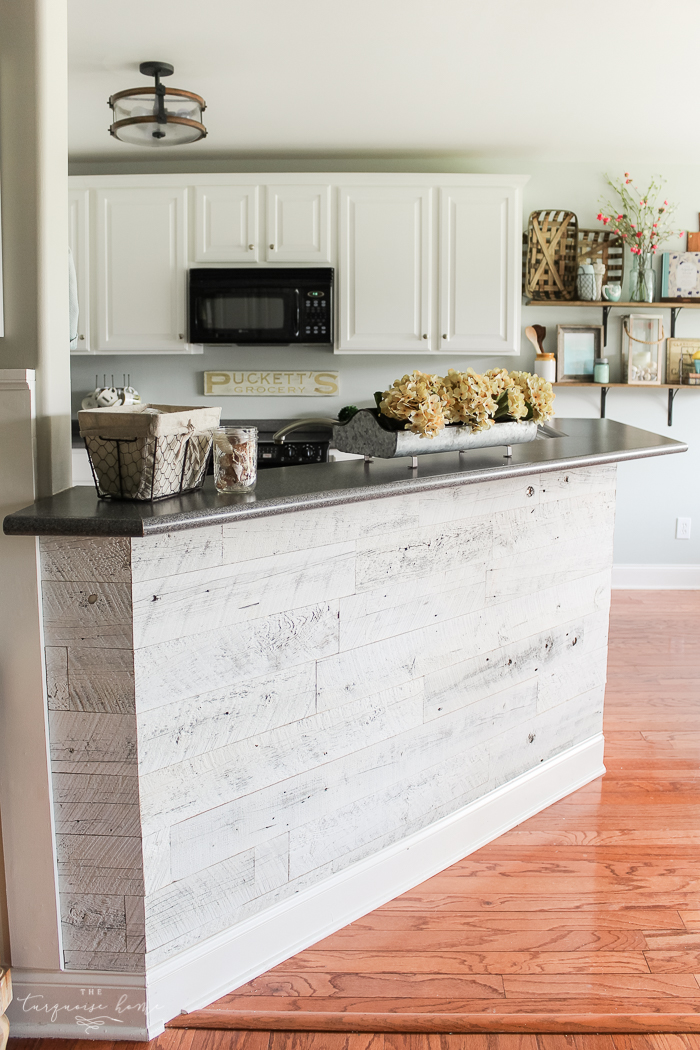
This weathered reclaimed wood is such a quick project and an easy way to add character and charm to your home! I love my new weathered reclaimed wood kitchen bar.
A few months ago I shared my vision for this bar wall in my kitchen. I’ve had the idea of a reclaimed wood planking on my bar for years now, but didn’t know exactly how to pull it off. Well, I knew I could do it, but it would be LOT of work, so I continued to put it off. Then one day when I was surfing Pinterest, I found this image.
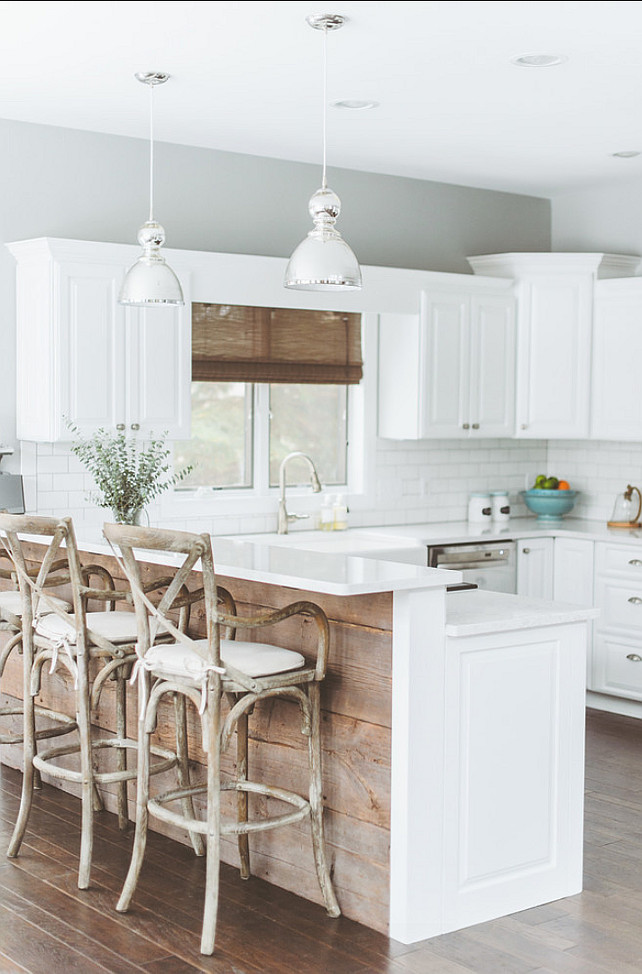
Hallelujah!! The clouds parted, the angels started singing, and it was exactly the look I wanted in the kitchen. Even the set up was similar enough to my kitchen to get a really great idea of what it would look like.
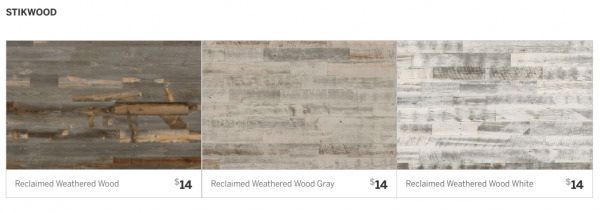
Around the same time I got in touch with Stikwood, a company that sells Peel & Stik reclaimed and sustainable wood panels. Seriously, it’s real reclaimed wood that has a peel and stick backing on it making Stikwood panels the easiest way to add reclaimed wood to your home.
And y’all. Let me just tell you something. I thought I would really like the end result of my weathered reclaimed wood kitchen bar, but y’all! I am in love and I don’t care who knows it!!!! (name that movie!)
The wood adds so much character and charm to my kitchen, I can’t even stand it. So, if you’ve been toying with the idea and thinking about doing the same to your space, then I say go for it! Affiliate links are used for your convenience. See my full disclosure policy here.
OK, here’s how I did this easy DIY peel & stik project.
Tools Needed for DIY Reclaimed Wood Wall
- Stikwood in Weathered White
- Saw (I used my miter saw, but you could use a hand saw just as easily. See my favorite DIY Tools here.)
- Rubber seam roller
- Level
- Pencil
- Tape measure
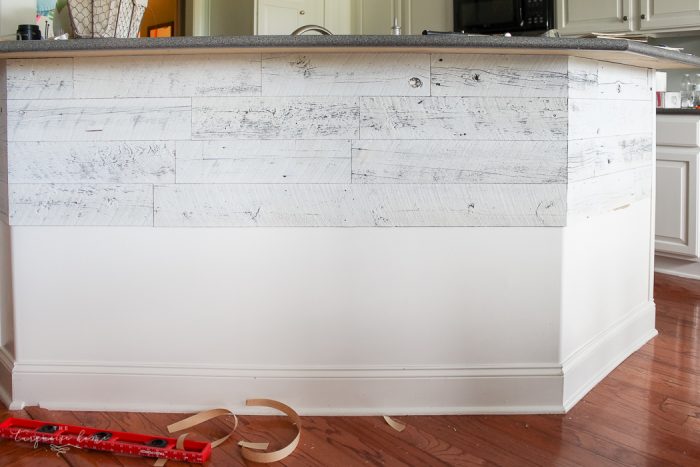
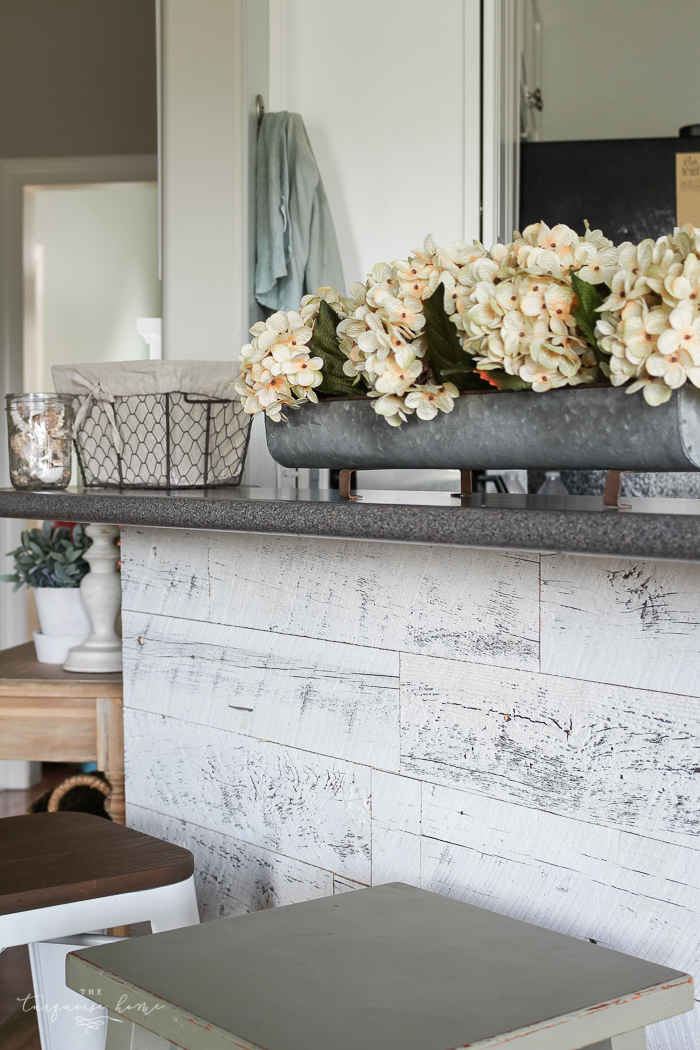
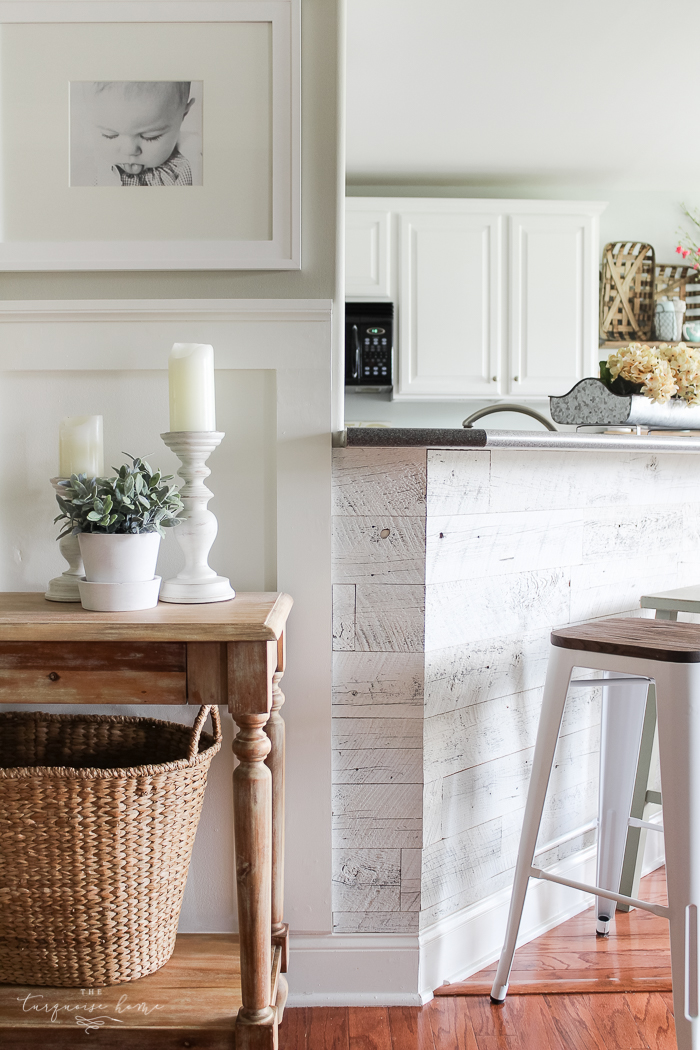
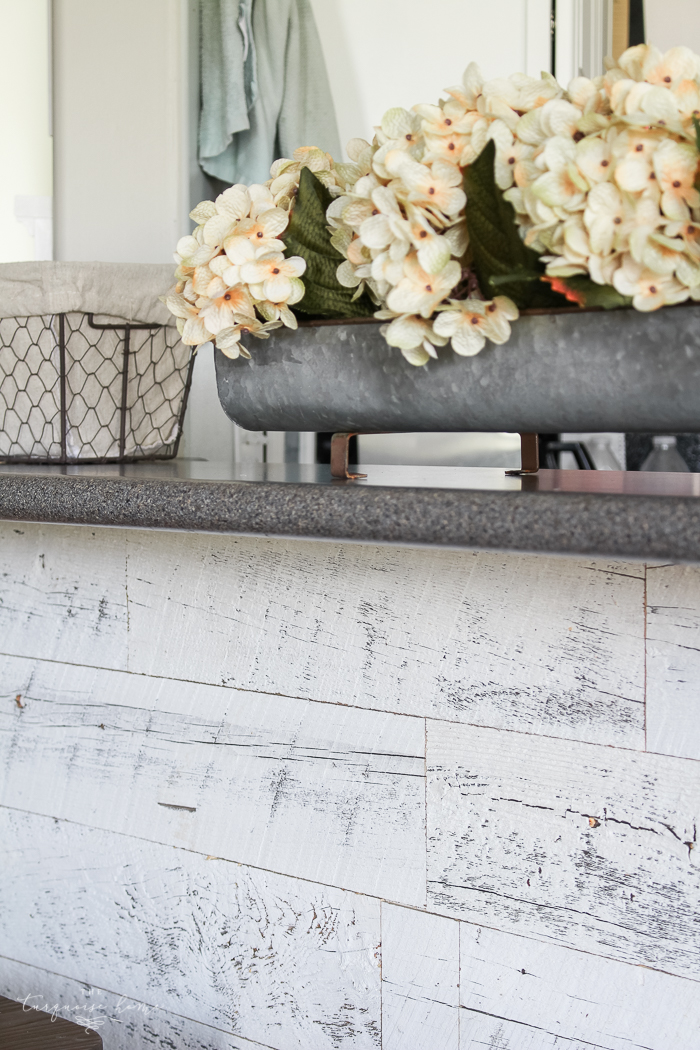
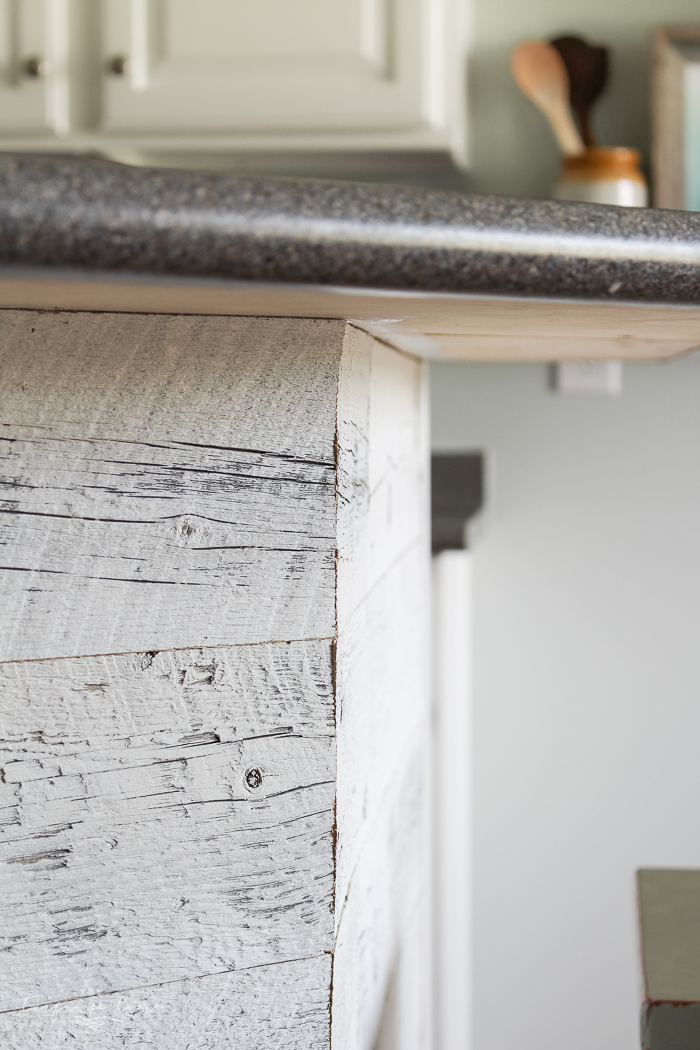
I first opened the box of reclaimed wood and nearly squealed with delight. This stuff is authentic, real wood with real knots and imperfections and a beautiful weathered paint job. When I originally took a poll and asked you what color I should choose, most of you said weathered gray.
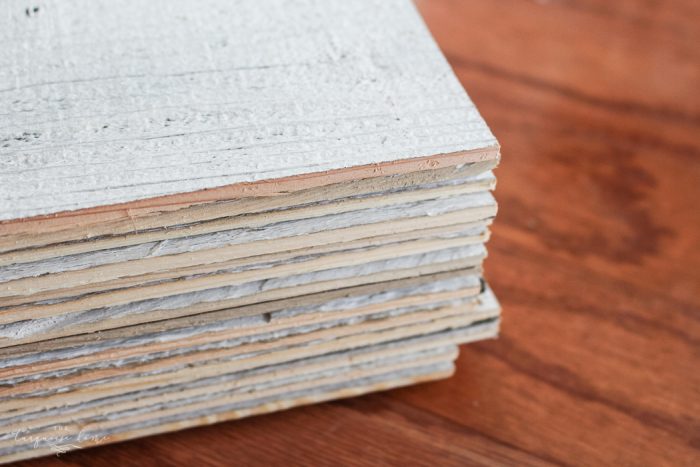
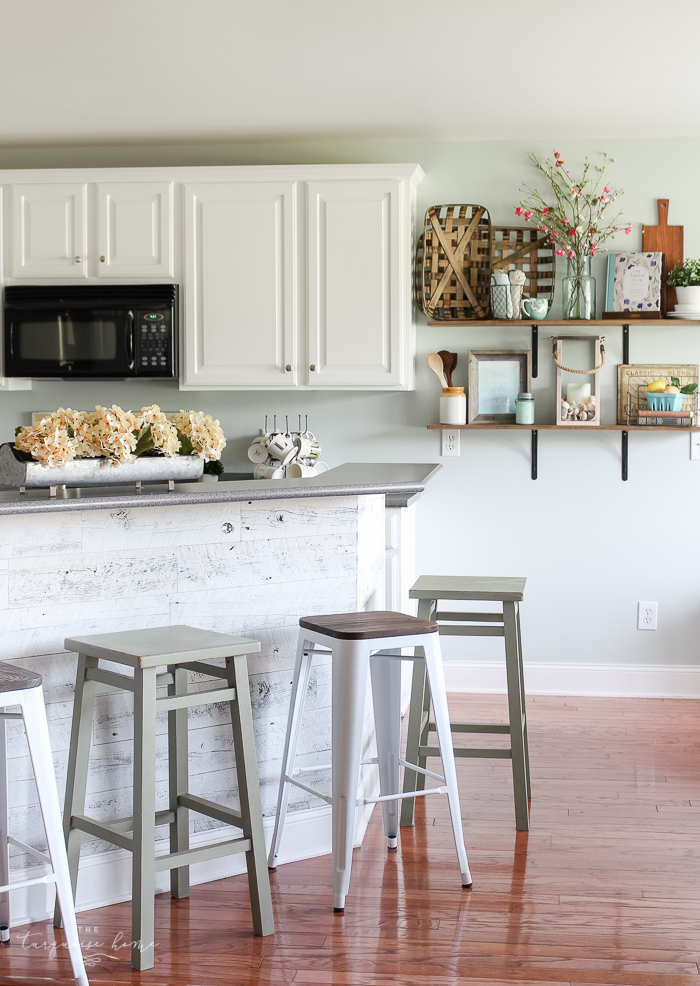
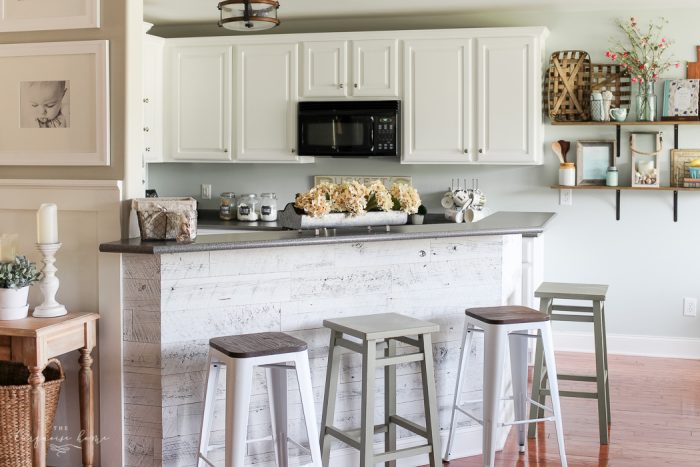
But in the end I fell in love with the weathered white. I do value your opinions, I promise! But I had to go with my gut on this one. 🙂
I love that it brings together my white cabinets and gray counter tops. I guess when I go to replace my counter tops I’ll have to keep them the same color. Ha!
My second thought when I opened up the box was that it wasn’t nearly enough wood to cover my bar, but in the end, it was exactly the right amount with a tad leftover. (Yay for a future project!)
Before You Start
Before I started my project, I had to think through a couple of things.
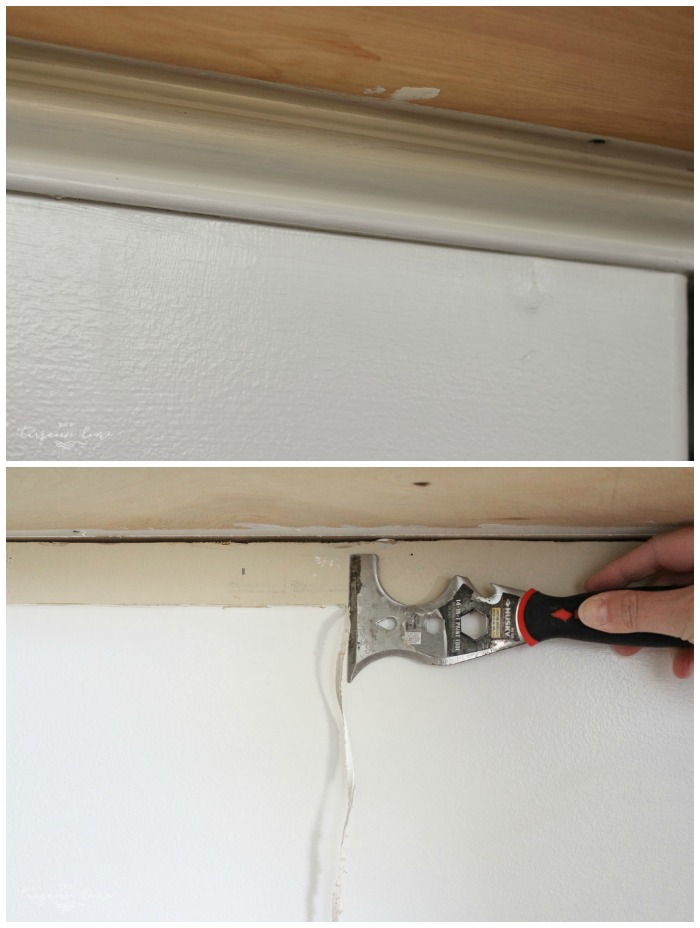
- I chose to remove the trim right under my countertops. I’ve never really liked it and it seemed the perfect time to say “bye!”
- It was good that my bar was already painted white, because I can see through between some of the wood and some of the knots in the wood. Paint the wall if it’s not the color you want to show through.
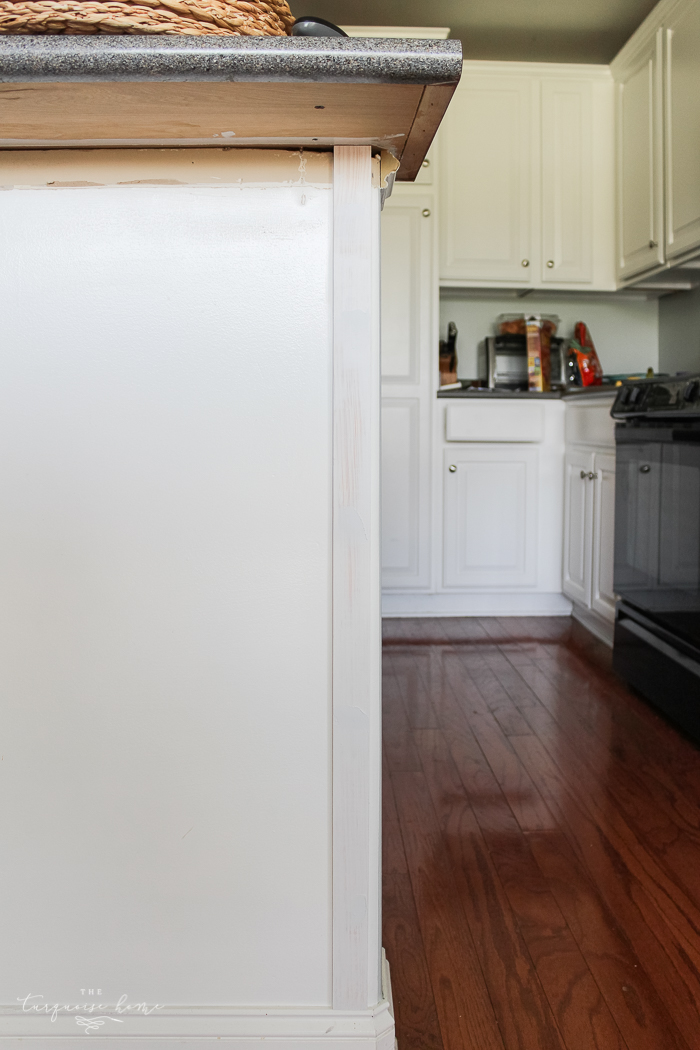
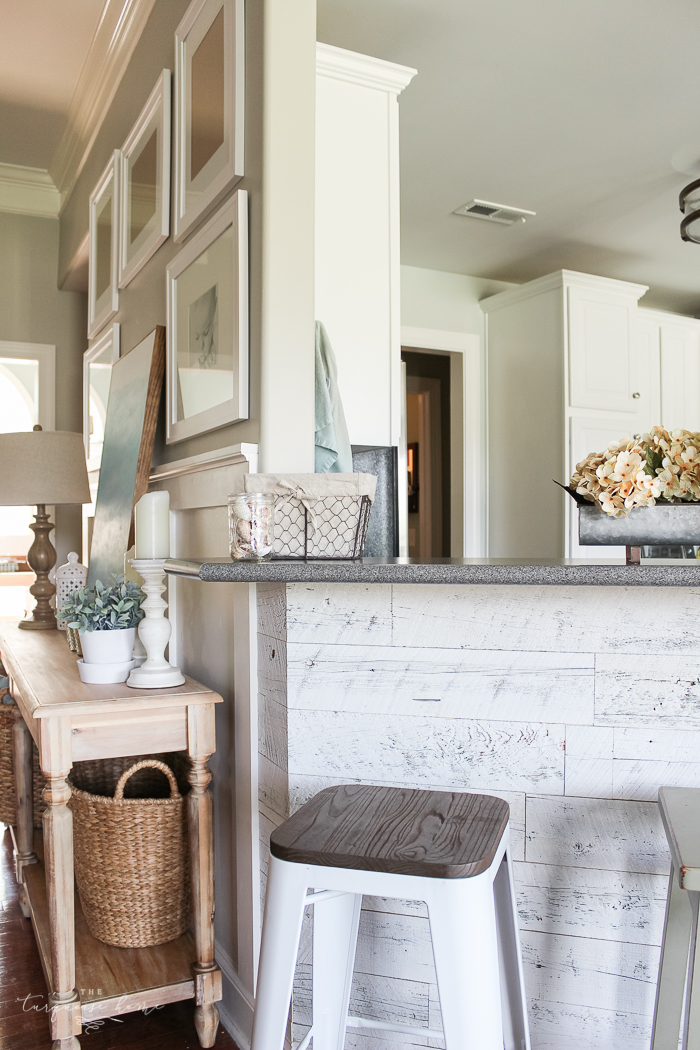
- Also, I had to think about my stoping and starting points. I needed to make sure the ends of my project were finished, so I started on one end next to my board and batten. But the other end of the bar didn’t have a good stopping place. So, I had to add a piece of wood trim. (Stikwood sells corner trim and edge trim, but they weren’t what I needed.)
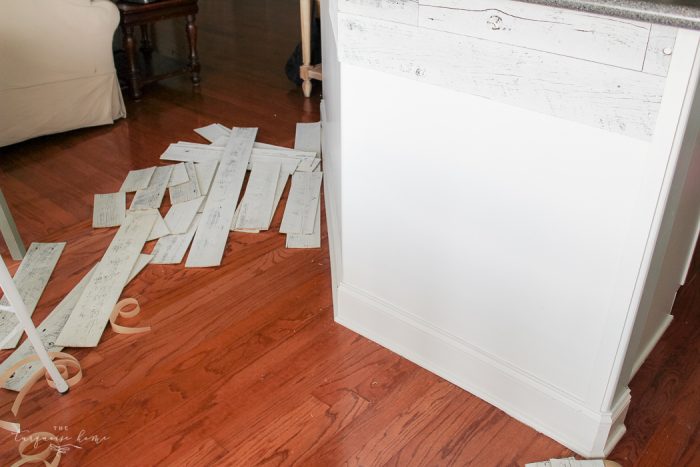
- Take out all of your reclaimed wood pieces and roughly figure out what layout looks best, staggering the light and dark pieces and the lengths.
Getting Started
If I had to do it all over again, I would have started at the bottom of the wall since I ended up having to cut the pieces at the bottom lengthwise to fit. Since it’s hard to see the top of the wall due to the overhanging countertop, it would have been smart to put those pieces at the top. So, think through where you want to start.
OK, now that we’ve thought through everything, it’s time to peel and stick! This part was so easy! I had some extra work because my wall had odd angles that I had to miter cut, but if it weren’t for that, this project would have only take me a few hours at most.
I just measured and cut, making sure that each piece and each row remained level.
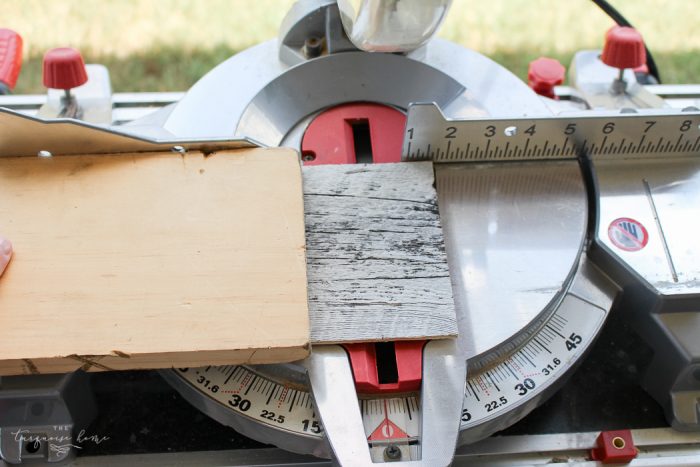
I used my miter saw to cut the pieces. Since the boards are fairly thin, I used a heavy board on top of them to keep them flat and make sure the cuts are even. It worked perfectly!
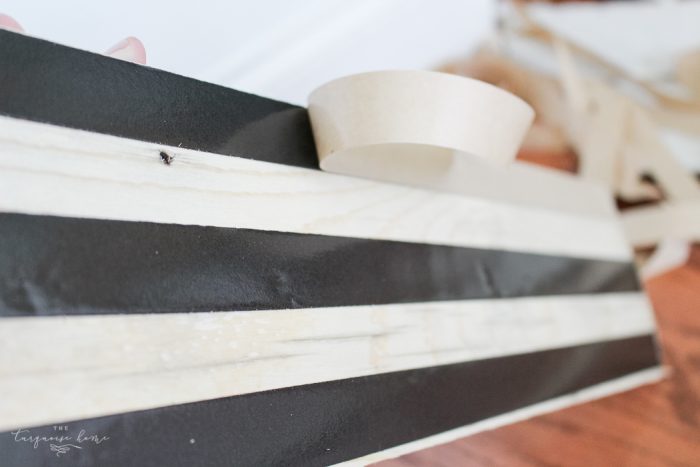
By the way, the adhesive is strong! It’s not going anywhere. You’ll want to use your rubber seam roller over the board once you’ve stuck it on to make sure the adhesive is pressed down well.
I accidentally placed a board on the wrong way, with the miter cut on the wrong side, so I had to remove it. Let me just say that it’s not the easiest thing to do.
I got it off, but it damaged the wall some. Be sure that you are sticking them where you want them and double check that they are the right direction if you have to miter cut one side. 🙂
Once I got my system down, it was just a matter of sticking them on and it went pretty fast!
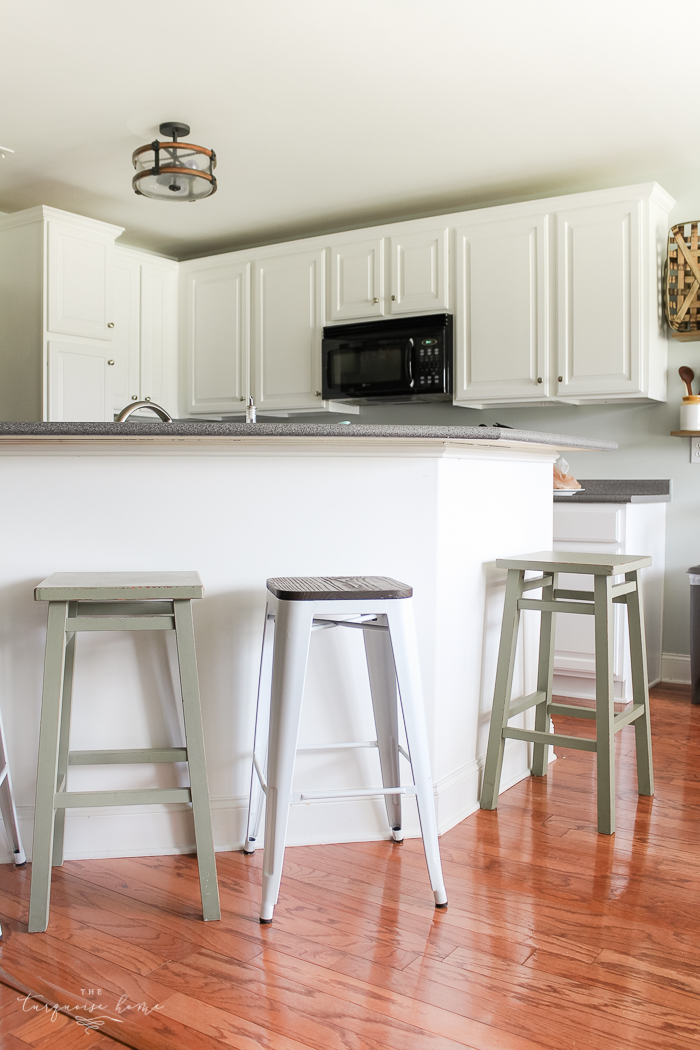
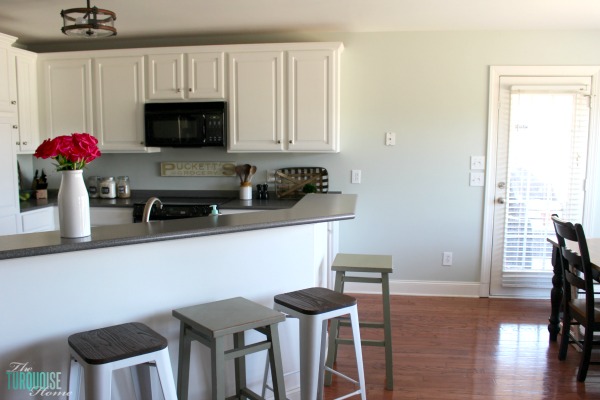
This is what my bar looked like before the reclaimed wood:
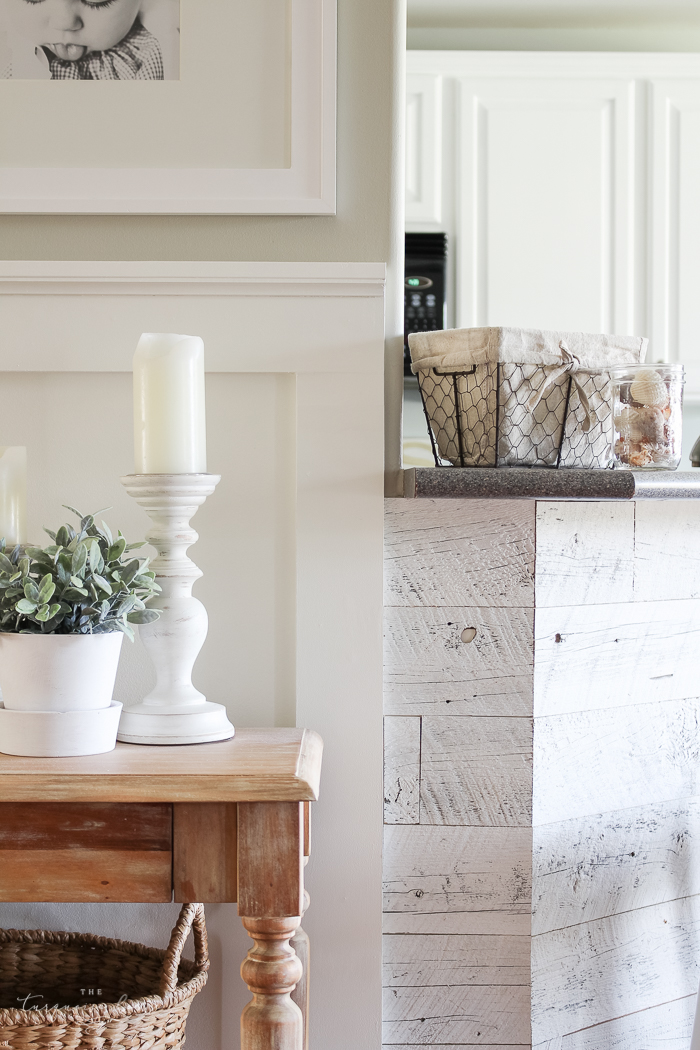
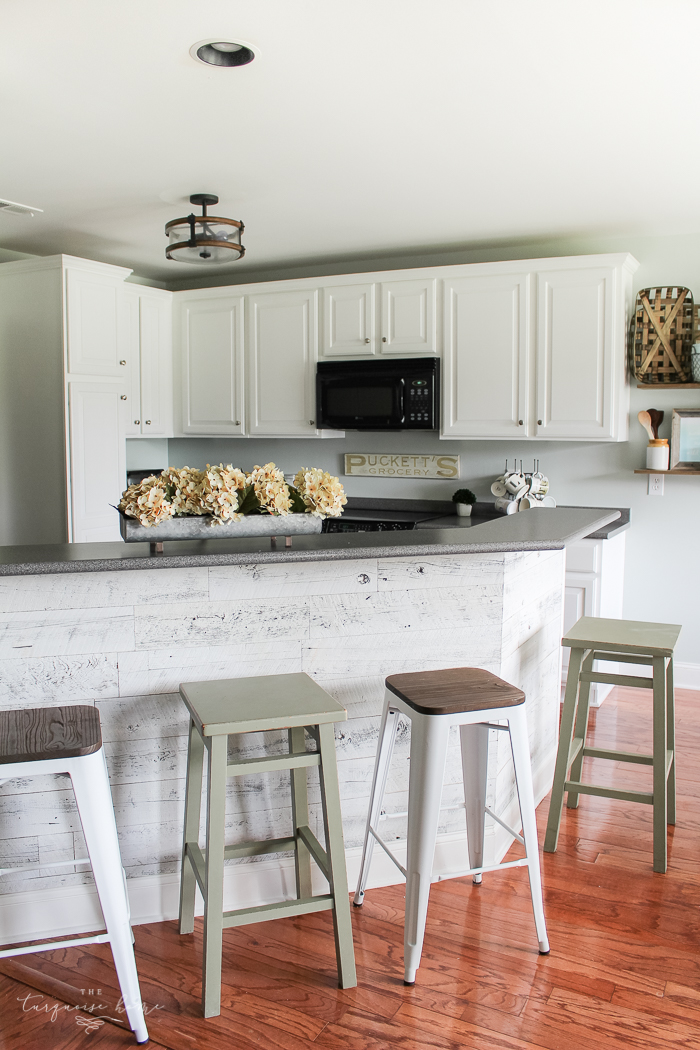
And now it is loaded down with character and charm. I think it adds a ton of depth to my kitchen. 🙂 Makes me happy!
Shop This Post:

Ok, I’ll stop with the picture overload now. Haha! I just couldn’t help myself.
Where would be the perfect place for some reclaimed wood in your home??
More Posts You Will Love:


I love this! I’m iffy on the ‘handy’ scale but this looks doable! Great results! Thanks for sharing.
Beautiful, Laura, just beautiful. Your kitchen has had such a transformation over the last six months! Just love it. Thanks for sharing all with us. You are such an inspiration.
Laura, LOVE your NEW pic! I wonder….had you thought of using leftover for the end cabnet near the open shelving….I think it would look really good there when you see both at the same time.
Thank you, Karen!!! 😊 That’s a great idea about the other cabinet!! I’ll have to check and see if I have enough!
Laura, your bar makeover looks great. I was going to use stikwood when I redid my living room but ended up not using it. I’ve been trying to find a new spot in my house. I love the look. You did a great job.
Thank you, Amy!! I really love the look and the product. You should totally find a place to use it! 😊
I absolutely love it, Laura! It really changes the feel of the kitchen. Didn’t mine the overflow of pictures, because I kept coming back to look at them! Lol! I would love to install reclaimed wood to my kitchen bar, but that side faces the great room. Wouldn’t that look awkward? Anyway, I need to finish the dining room before I start another project. I just can’t decide if I should use picture framing or board and batten. I love them both. I asked my huds and he says, “I like what you like”. No help at all! Enjoy your kitchen bar, you deserve it!
Okay, I am in love with it. I would actually pick the same to use in my new house. I will be keeping this in mins as I start redoing rooms.
Jenny @ jennylynndesignz