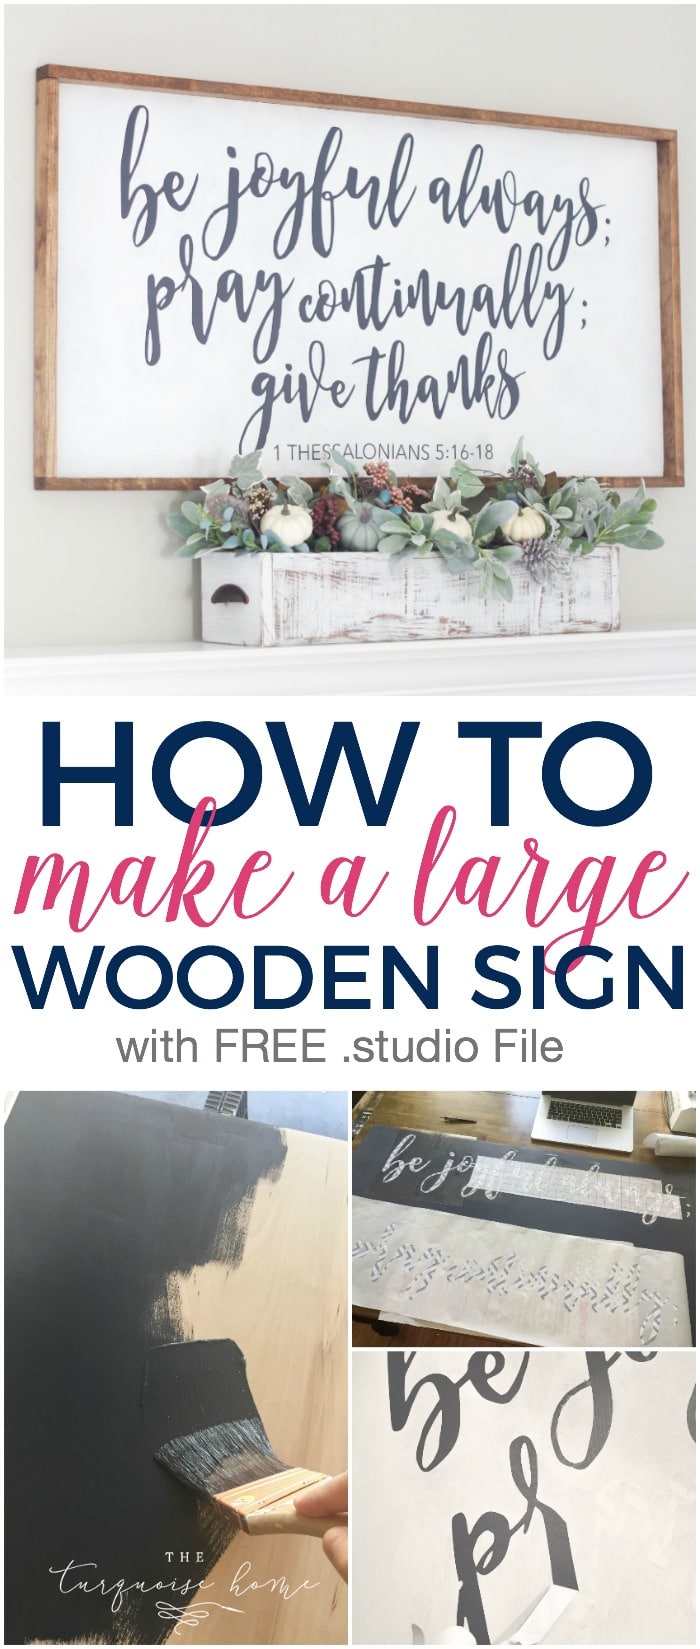
How to Make a Large Wooden Sign
This detailed tutorial on how to make large DIY wood signs will walk you through each and every step with clarity. Using a few supplies from the home improvement store, stencils and paint, you can create any DIY project your heart desires!
How to make wooden signs is what we’re all about today. I don’t know about you, but I find myself drooling over all of the large, hand painted signs that adorn the gorgeous homes on Instagram.
The problem is, I’m not willing to fork over the $300+ for those signs. It’s just not happening. 😜
This post contains affiliate links for your convention. See my disclosure policy here.
It’s especially not happening when I can make one myself for less than the cost of plywood, some 1×2 boards, paint and a vinyl stencil.
I will say that I used my Silhouette Cameo for this project. It’s not cheap, but it is so worth the investment if you think you’ll make more than one DIY wood sign. (See my other Silhouette projects here.)
The cost of the Cameo and the rest of these supplies is still about the cost of one sign. So, if you do end up making just two signs (or a lot of signs), then the investment will be well worth it.
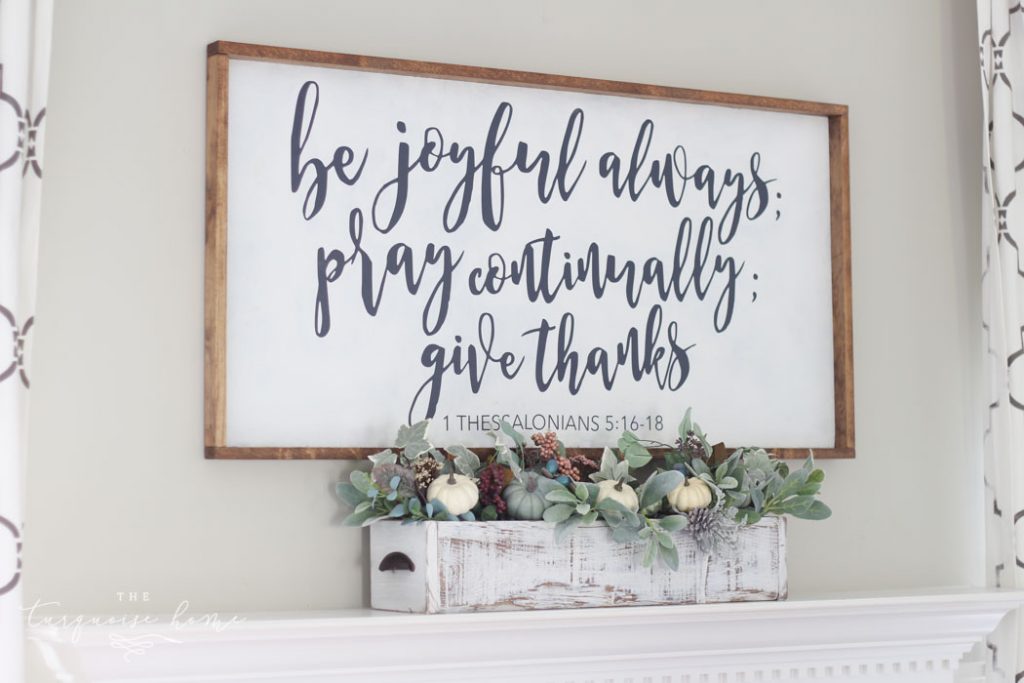
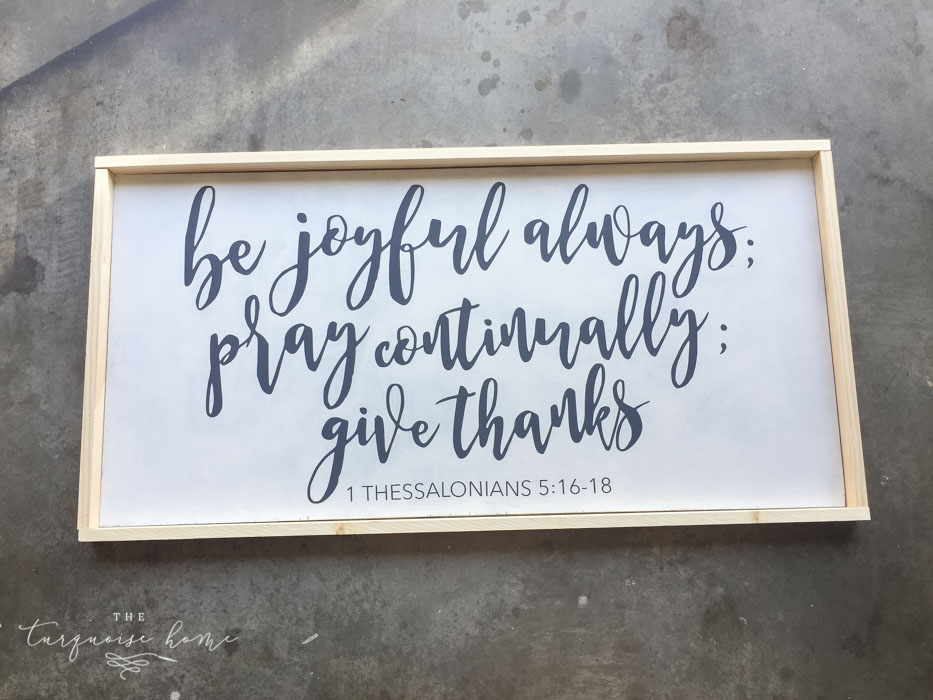
When I envisioned my fall mantel this year, I just knew I wanted a super large wooden sign with a saying up there. I didn’t want any of those cute fall sayings, like “hello fall” or “it’s fall y’all.” I wanted something a little more inspirational and subtly fall.
So, I chose this scripture verse and designed it out in Picmonkey (a super easy online design tool) before I did anything else! I’ll walk you through all of the steps to make your very own.
Supplies for How to Make a Large Wooden Sign with a Saying
- Large piece of 1/2 inch plywood, customized to the size you need.
- 2 Paint Colors (one for the background color and one for the letters)
- Paint brush
- Silhouette Cameo (I’ve outlined other options below if you don’t have one, yet. But I highly recommend getting one! 😉)
- Contact Paper or Adhesive Vinyl – (If you use contact paper, I find that Duck brand contact paper works best.)
- Silhouette brand transfer paper
- Mod Podge
- Brad nailer – Hot glue will also work if you don’t have a brad nailer!
- 1 x 2 board in the length you need to frame your plywood
Steps for Making DIY Wood Signs
Time needed: 3 hours
Step 1. Get your plywood.
I had a leftover 2 x 4 piece of plywood from another project. And it was perfect for my sign! But if you don’t have an extra piece laying around, just head down to the hardware store and pick one up!
You will want a 1/2 thick piece, because mine was 1/4 inch thick, which I wouldn’t recommend since it was hard to nail the frame into the board. Cut down the size you need from the large board with a circular saw or jig saw. Or even easier – ask the home improvement store to cut it for you!
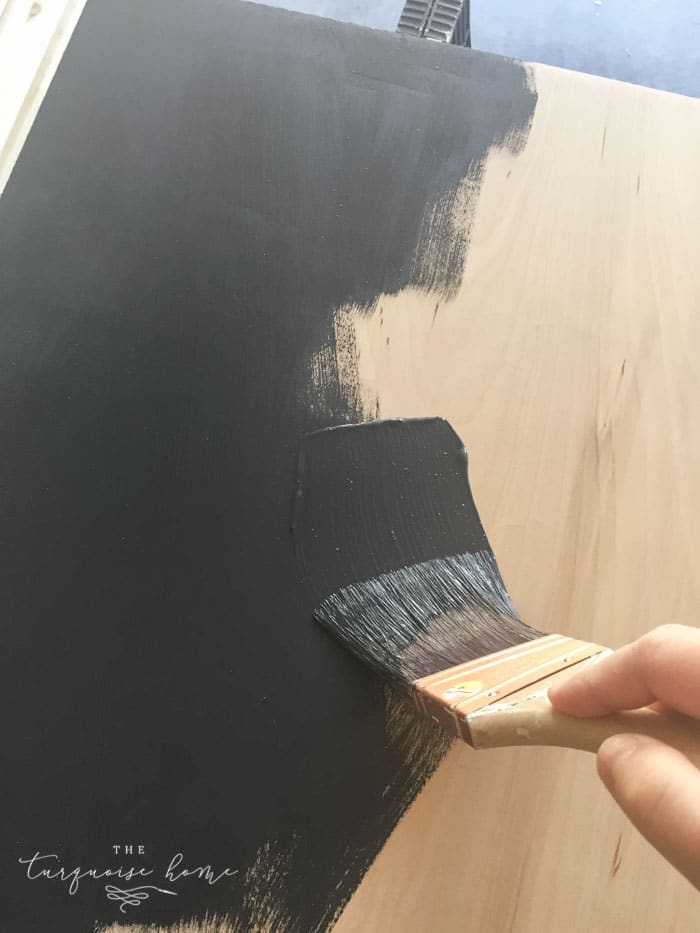
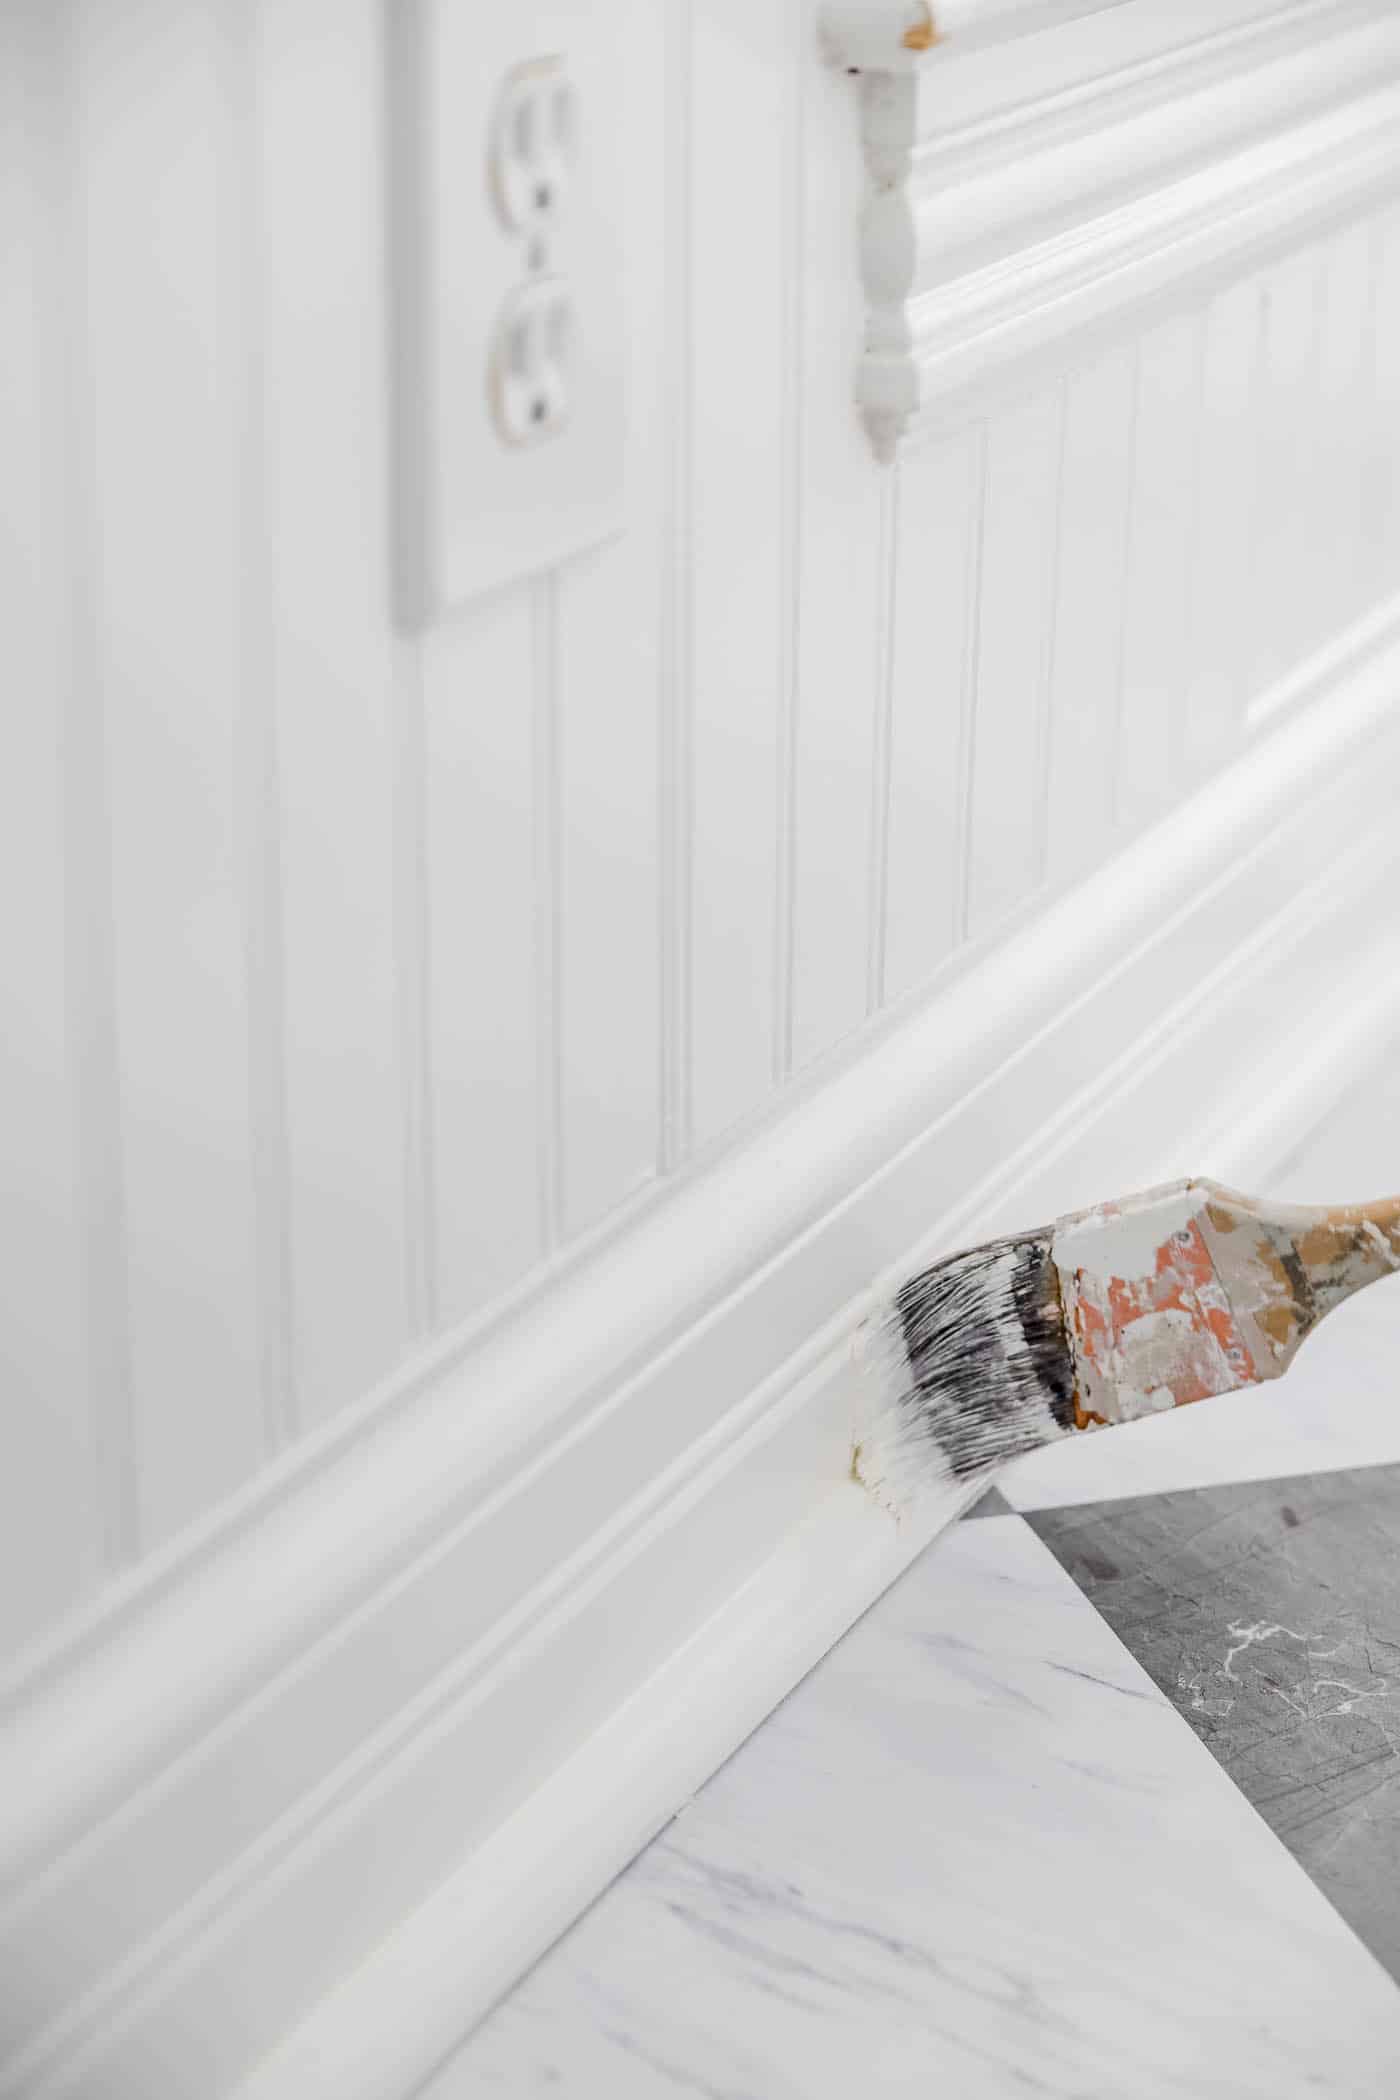
Step 2. Paint your sign.
If you make yours like me using a stencil, then you will want to paint the board the color you want your letters. If you are going to paint the letters onto the board, you’ll want to paint the board the background color. I chose Hale Navy by Benjamin Moore for my paint color of my letters.
Step 3. Create Your Design
I took the dimensions of my board and then used PicMonkey to create my design. Since my board was 2 feet by 4 feet, my graphic was 1000 pixels by 2000 pixels.
I used a pretty script font (Midnight font) and wrote everything out exactly how I wanted it. I saved it as a jpg file. I shared my design as a free printable HERE!
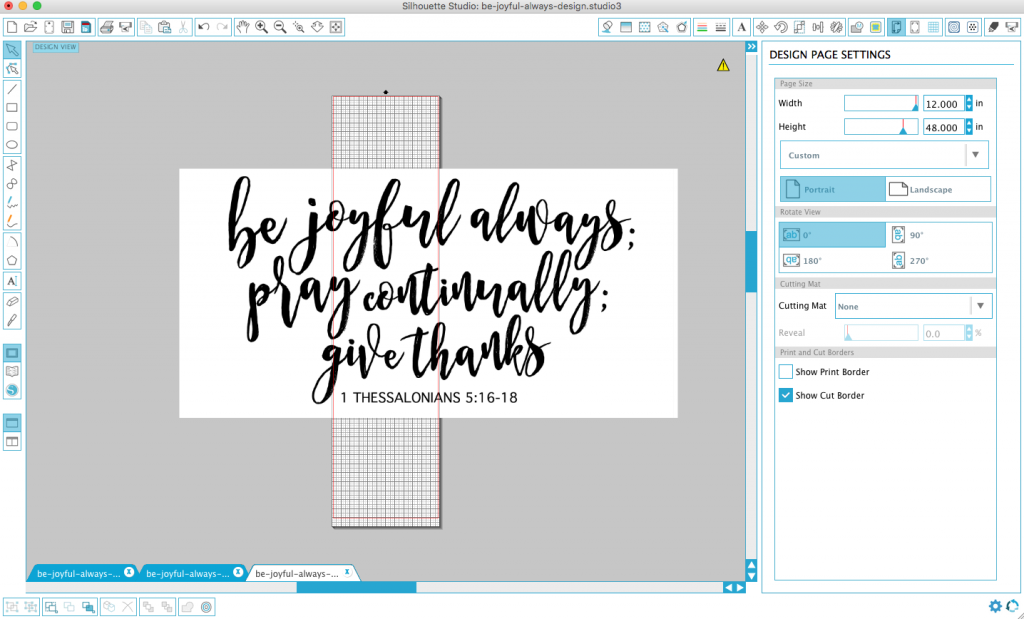
Step 4. Import the Design into the Silhouette Studio & Create a Cut File
I opened the Silhouette Studio software on my computer, then opened my jpg design in the software. I used this video to convert my design to a cut file. Watching that is much easier than my trying to explain anything. 😊
Once you have your cut file, you will arrange it the way you want it to be cut. I ungrouped my design and cut out one line at a time, except for the last line and the scripture reference. I could fit them all on one line.
TIP: You’ll want to size your cut file to match the size of your board. I knew that my board length was 4 feet long, so I needed to cut my stencil to be long enough to cover the board. And since my Silhouette can only cut a 12-inch wide piece, I had to cut just 1 line at a time, like I said before.
I’m not going to get super technical about the Silhouette, because honestly mine is a very old model. There are newer cutting machines and different machines than mine, so if you don’t know something, just search on Google. There are tons of video tutorials out there.
If you don’t have a Silhouette machine, you can draw something free hand, if you’re good at that. You can also use a projector, like this one, and project the image in your board and trace, then paint. Or have an etsy shop (like this one) cut out a design for you with vinyl and use my method. There are definitely ways of wood sign making without a cutting machine.
Step 5. Cut your Stencil.
I use Duck brand contact paper to create my stencil, but you can use any type of vinyl that has an adhesive backing.
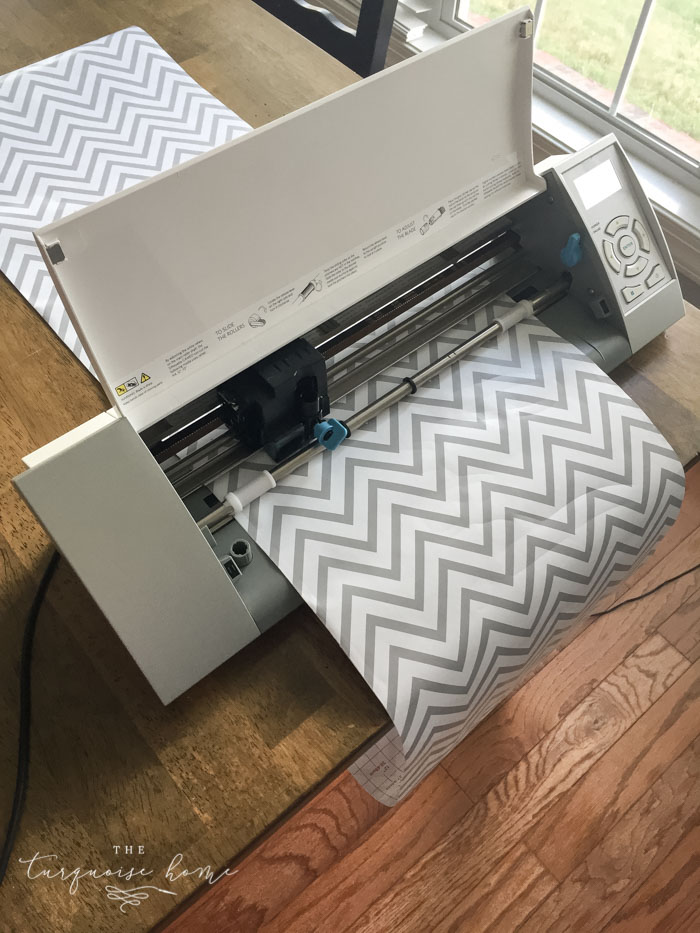
I used the cut settings for the Silhouette brand vinyl and it worked great. But always do a test cut to make sure.
Again, if this is the first time using your Silhouette machine, just search for whatever tutorial you need and it’ll be there!
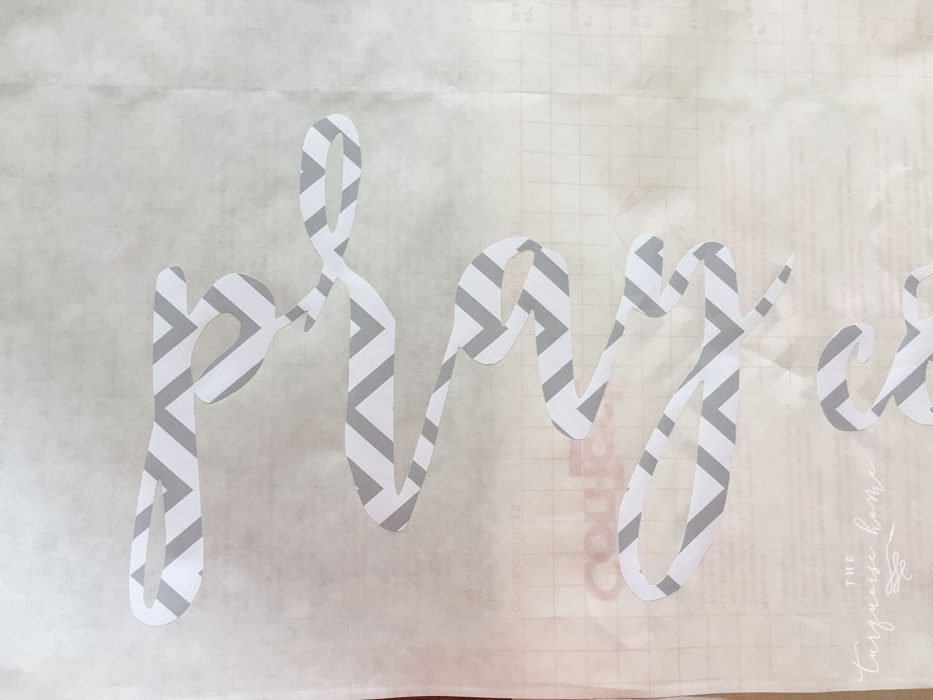
Step 6. Weed Your Stencil
This just means that you remove the parts of the contact paper that you’re not going to use. In this instance you’ll want to keep the letters in tact on the paper and remove the outside paper.
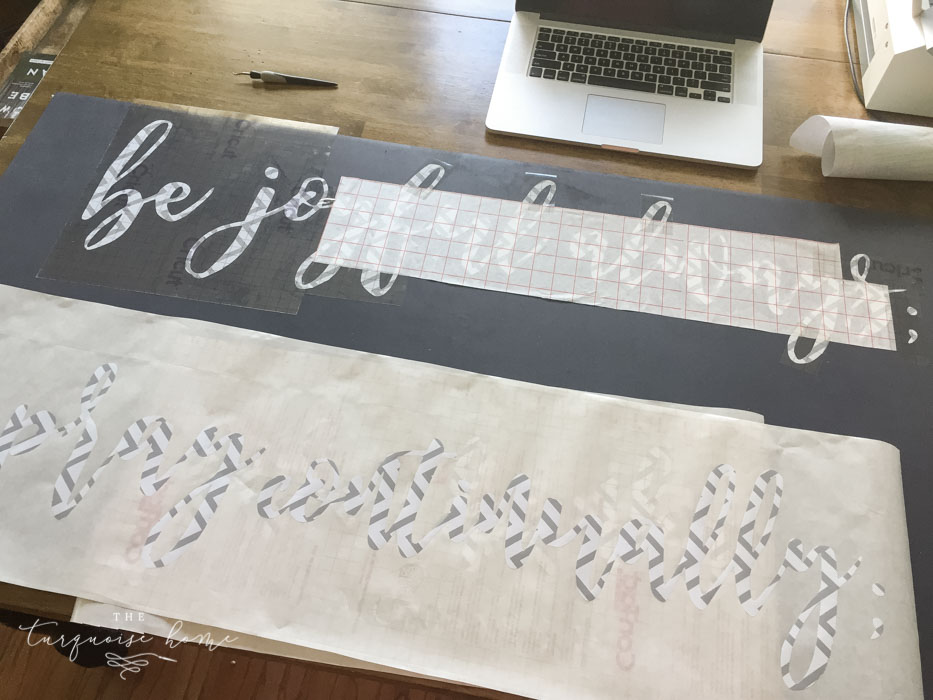
Step 7. Place transfer tape over your letters, then place on the board where you want them.
Take your transfer tape and remove the non-sticky backing. Place the sticky side down on your letters and rub them with a credit card or other hard object to get it to stick well.
Remove the letters from the contact paper sheet and place it on the board where you would like the letters to be. This is always a little time-consuming because you want to get it just right.
The contact paper wasn’t super sticky, and some of the transfer paper I had was very sticky, so I was having trouble getting it to stick on the board. I ended up just using my Silhouette brand transfer paper, because it worked the best.
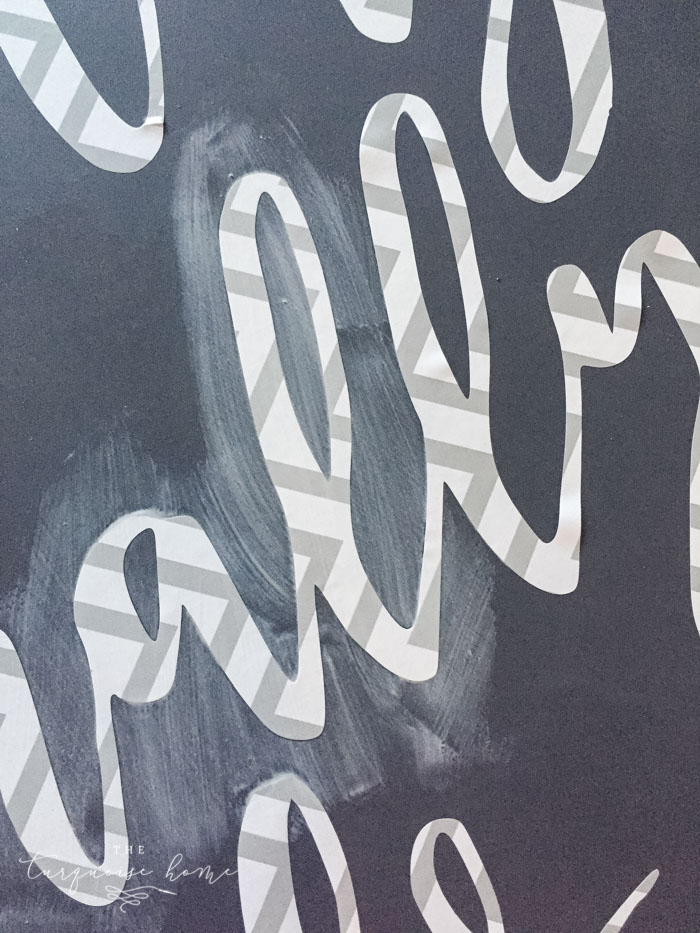
Step 8. Paint over the words with Mod Podge
I paint over each letter with clear, matte Mod Podge. This seals the edges of the contact paper and helps prevent bleeding under the letters while I paint over them.
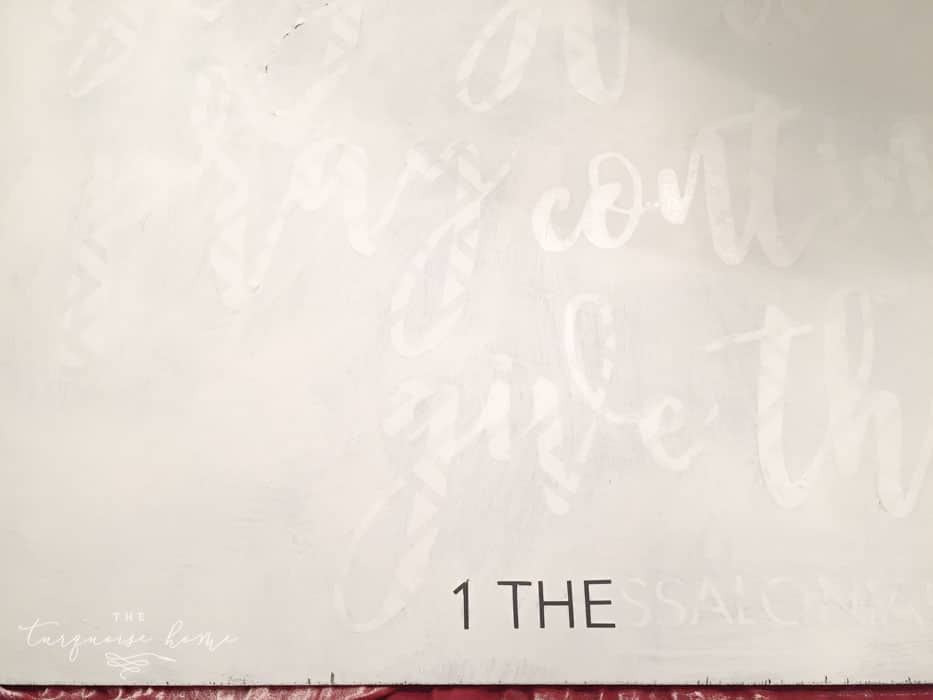
Step 9. Paint over the letters with a different color paint.
I chose a chalky type pant called Amy Howard’s One Step Paint in Bauhaus Buff and applied one light coat of paint.
Once the paint has dried, remove the adhesive letters to reveal the paint color underneath! This is my favorite part.
Step 10. Build the Frame
I used 1×2’s to create the frame. I cut the two sides and then the top and bottom pieces to fit. You could also use lattice for a smaller profile frame.
Don’t attach it just yet! You’ll want to stain it first.
Step 11. Stain or paint the frame.
I chose to stain it in Early American by Minwax stain. Let it dry before trying to add it to your beautiful sign. (Ask me how I know… 😊)
Step 12. Using a brad nailer and wood glue, attached the frame to the board.
You could also try to use hot glue to attach the frame if you don’t have a brad nailer. I think it would work, but you just couldn’t hold the sign by the frame.
Yay!!
Sing a happy dance because you’re done and your sign looks absolutely stunning!!! I love this sign!
What do you think? Would you like to make a sign like this for your home? Want to add it your fall mantel this year?
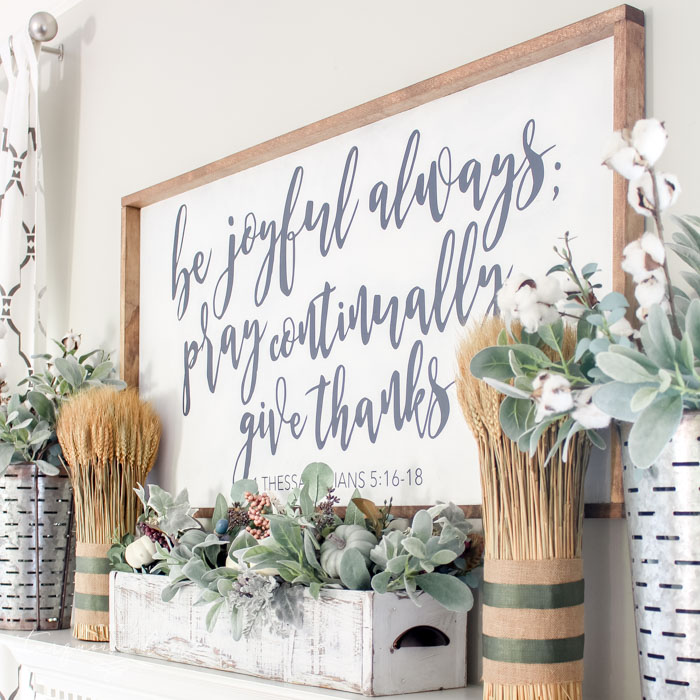
This is from my fall mantel a few years back. You can see it here!
Grab your “Be Joyful Always” .studio File for FREE
If you want to make this exact sign, you can grab the .studio file right here!
Enjoy!!
If you’d like to save this for later, then don’t forget to pin it!


I really appreciate your post, and you explain each and every point very well. Thanks for sharing such information.
Worst glitchy and ad filled trash!! It was so bad I spent the 20 minute get here to type this!! Could barely scroll the ads were so bad. That doesn’t include the permanent one that sits on the screen. Absolute crap!!!!
Sheesh. Chill. Rude!
what type of paint do you use? Latex? I’ve been using acrylic and it seems like I have to do so many coats that it takes forever.
Thanks!
I am not able to get the :”Be Joyful” file. When I click on your file it goes to the sign in the background on is covered on the front with sign up for your newsletter. I did that thinking it would get me to the file. When I got an e-mail from you it gave me the O Holy Night file. I would really like to have this file. Thank you very much. I appreciate you saving us time.
Hi there – thank you so much for making this tutorial! I was curious on your method though in painting the whole background paint color first and then painting over that with the white. Is there an advantage of this method vs starting with the white and inversing the stencil so then you would paint the Hale navy color last? Seems like I would use less paint this way, but can’t decide if the final product would turn out the same and if there’s a reason to do it the other way. Thanks for your help!
Hey, i know ads are how you make your money, but i highly suggest positioning them differently, your video ad made it impossible to actually ready any of this with out extreme annoyance I could only see a couple of lines and had to scroll back and forth just to read each line, highly suggest placing it in the bottom right instead of the top. It will allow mobile users to actually read rhe content.
Hey, I loved it. Your ideas are worth reading . It helped me in learning new ideas. I am also fond of wooden signs and after reading this I found myself to be able to make them at home.
Thank you.
Keep up the great work! Thank you so much for sharing a great
I used regular black paint and when I put the contact paper with transfer paper down nothing would stick. I must be using the wrong paint. What paint do you use?
It could be too glossy? Or maybe the brand of contact paper or transfer tape? I’m not sure! So sorry!
Hello, I had this same problem, after I stained the wood I had to put polycrylic on top of the stain and the letters finally stuck.
Maybe a silly question but if you didn’t want to go through the whole modpodge process, could you just use sticky vinyl on top of the paint? Or would that not work?
Hi Laura! I love your sign And I’m inspired to make one of my own. I saw multiple people asking about how you get the stencil up after you’ve painted over it. Do you have Tips for me because that’s the part that I’m worried about when I get to that step. How do you get it up without ruining any of the paint and making it look seamless? TIA for your help!
How did you print this to where the sheet wont shift when printing? Any tips to keep it straight while cutting?
Hmmm … make sure there’s nothing for the sheet to bump into while it’s moving in and out of the Silhouette machine. You might have to work in smaller batches in order to keep it all straight!
Can you tell me the settings you use to cut your contact paper?
Thanks for the info on how to make a $5 sign with a $200 Circuit machine. Ridiculous!
Wow! If you can’t say anything nice, then don’t say anything at all. She stated that you don’t have to use a Circuit to make the sign. Be kind!
I agree, if you cant say anything nice, then keep it moving lady! $5 or $500, the signs are beautiful, it made you click on it, so you must like the work! I think she did a great job of explaining and taught me something new! I’ll be making on of these “$5” signs with my $200 cameo!
I love your website and your tutorials! I pinned this one and have referred to it again and again as inspiration. I always have trouble peeling my letters after I’ve painted over them. It seems I always scratch the paint. Do you wait until the paint has dried before peeling the letters? I use the silhouette weeding tool and I’ve tried other tools. Any suggestions?
Hi,
So I’m confused. If you can only cut up to 12″ long how do you cut an entire line? How many inches are each of your letters? I have also had difficulty uploading your svg file but decided to create my own. I am also working with a 2×4 board and trying to fit the words.
Thank you,
Sharon
Hi Sharon! I turn my letters sideways when I print on the Silhouette. The tallest letter is about 8.5 inches tall and the longest line is about 3 feet long. So I cut one line on a 12″ x 3′ piece of contact paper. Hopefully that makes sense! Have fun!!
xo, Laura
Rather than using Modge Podge, you can also paint over the letters with your original color first, as this will seal the stencil, then paint your background color once that has dried. Peel off your stencil, once the paint is dry. This will also help prevent bleeding. I mention this because some people have had issues with the paint coming off when they remove the stencil when they have used the Modge Podge method. I suspect it’s because they used too much Modge Podge.
Your sign is lovely.
Yes! That will work, too! And a great idea. I’ve never had the paint peel off, but if I did, I’d definitely switch to using the background paint instead of Mod Podge. Thank you for sharing!!
Yes this just happen to me last night on a Christmas present (cry). I always use the background color and it works out perfect. Well I ran out of the background color so I grabbed this matte modge podge that o had only tried once and it didn’t work lol. Well it didn’t work again (really cry). So I’ll stick to the background color. I did use two coats which might have been the problem. I always get so worried on that last step. I don’t want bleeding when I’ve put in so much work already. Live and learn. I haven’t tackled a large sign yet but now I’m dying to!!
Mine would need to be hand painted, or stenciled, which I’m capable of doing. I don’t have one of those machines.
I came across someone making signs out of foam core board the other day. They looked like the real deal, and would be light to hang. lol
I have tried three times and cannot get the file to send to me. Would you be able to help?
HI! Looks beautiful! What mounting hardware did you use?
Hi Tiffany! I used these large sawtooth hangers —>>> http://bit.ly/sawtoothhangers – I always have some on hand!
Good question! Hope this helps!
Laura
Hi would you be willing to sell your vinyl precut the same size u made yours. I don’t have a cricut or a silhouette. Thanks
Hi Katherine, I wish I had the time to make and sell the vinyl, but I just don’t right now. I know there are people out there who make vinyl decals for people, though. Maybe a store like this on etsy?? —>>> http://rstyle.me/n/ctgx7kx85w
I hope this helps!
xo, Laura
Hi,
I love this sign and would like to make one. Hosayingwever, I don’t have a Circuit machine. You mentioned you would list other ways to make it without one but I don’t see it.. Could you send me a download of the saying so I can print and make it another way? Thanks so much.
Rebecca
i also use your method when making signs, but i have trouble pulling up the vinyl once i have painted over it with mod podge, and paint , do you have any tips or tricks for doing this?
Hi There!
Great tutorial! I too have a cricut. Would you be so kind as to share the file with me as well so I can convert into an svg file?
can you share the name of the font you used? I love the font!
Looks fabulous Laura!
I was also going to ask what fonts you used. I too have a Cricut so would need to convert to a jpg or png file. It’s beautiful!
Very nice and great instructions. I love it.
Hi Laura. I absolutely love your sign. I don’t have the silhouette machine but I have the cricut explore. Would I be able to use this stencil with that or is just for the silhouette?
Thanks.
Hey Danna, I think that you have to convert the file to a .svg file and then you can use it. I’ll e-mail you the one I have, but I’m not able to open it in my Silhouette software, so I can’t check it. Hopefully it’ll work for you! xo, Laura
Can you email me the file too?
I also was wondering how did you get the letters up after you painted and Mod Podge it?
would you be willing to email me the file too? I also need it to be a file I can convert onto my Cricut! Thanks love following your blog
Hi Kara, please e-mail me at [email protected] exactly what type of file you need. And we’ll get you hooked up. Thank you!
What font did you use?
I ADORE this sign! Can you share the font, please? Thanks so much!
Hi Lynn, it’s called Midnight. You can get it here —>>> https://crmrkt.com/11731z