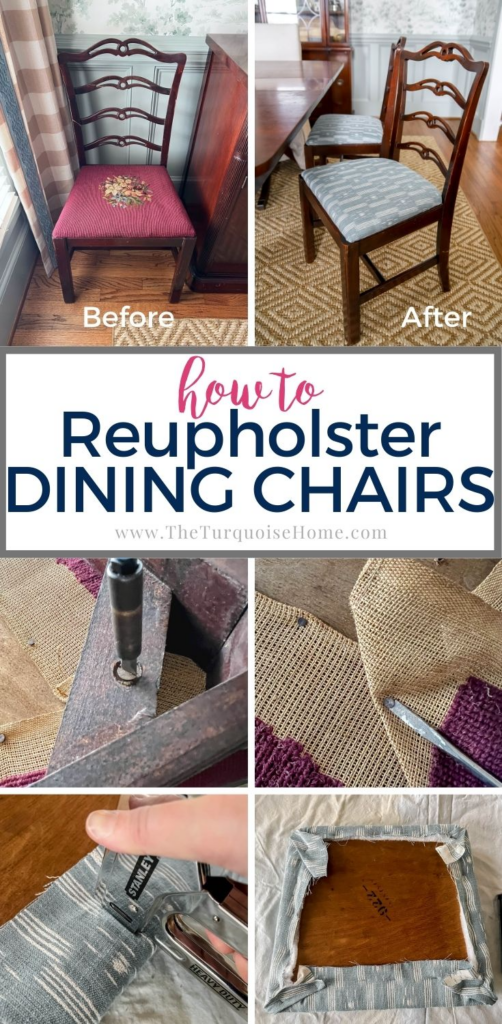
How to Reupholster Dining Chair Covers
Follow this easy step-by-step DIY tutorial to reupholster dining chair covers with basic tools and only 7 simple steps!
Reupholstering dining chair seat covers is one of the easiest DIY upholstery projects. I’ve never done an upholstery project before and it was so simple! It will give your chair a whole new vibe in minutes. So, even if you’re new to DIY, you can do this too!
As we’re marching forward with the dining room makeover, it’s time to change out my 80-year-old dining room chair seat covers!
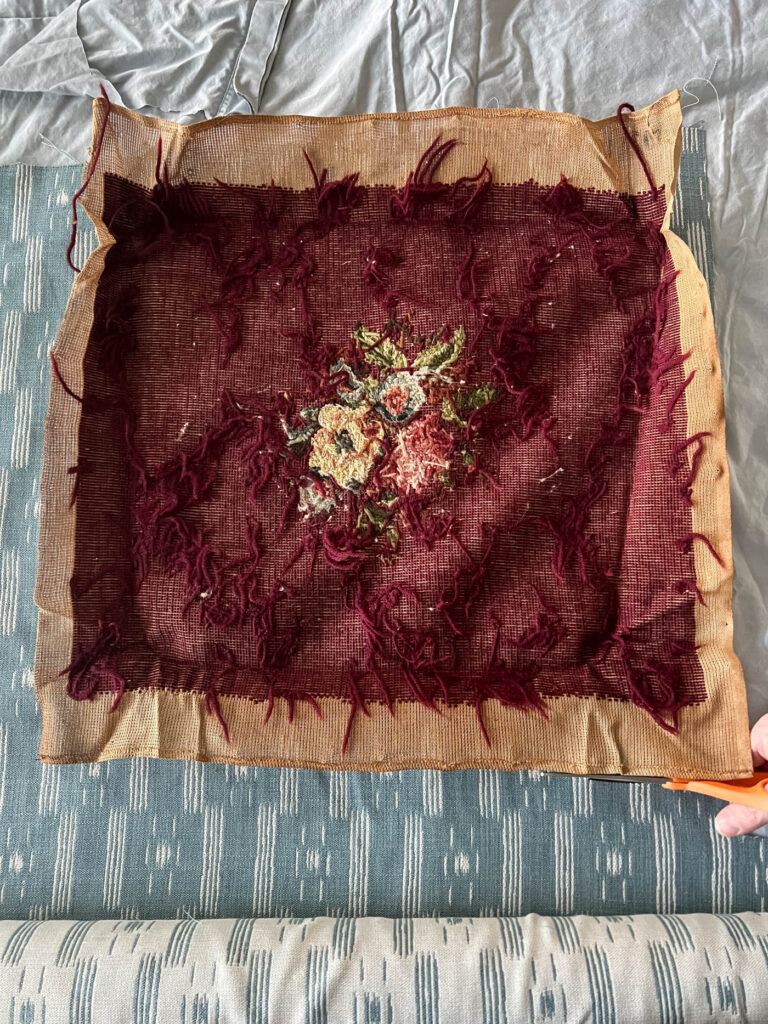
The gorgeous raisin colored hand needle-pointed chair covers didn’t fit with the blue/green vibe I’m going for. But because they were made by someone in my family so many years ago, I didn’t want to replace them.

So, my original plan was to have a pleated slipcovers made for them with this gorgeous blue geometric fabric. I don’t have a link to the fabric, but I’ve shared the information under “supplies.”
I spoke with the seamstress who I was hiring to make the slip covers, and she encouraged me to go ahead and replace the needlepoint fabric for three reasons:
- The cushion under the fabric is 70-80 years old and really should be replaced.
- It would cost less in fabric to recover the chair cushions vs. making slipcovers.
- We can use the chair covers to make something else! (It’s a surprise, but I’m excited about having her turn these chair covers into something beautiful!)
And my seamstress encouraged me to recover the seat cushions myself. Yay!! More money saved and I get to try a new DIY project I’ve never tried before!
So, I set out to learn how to recover a chair seat cushion. And I’m here to tell you that with the right tools and supplies, it’s SO easy!
The first chair cushion I recovered took about an hour because I was just figuring out how to do it. But once I got the hang of it, it’s now taking me about 20 minutes per chair, tops.

How to Choose the Right Fabric for Dining Chairs
You will want to select a fabric that is heavy duty enough to withstand wear and tear and isn’t going to show stains too badly. Definitely pick a home decor fabric made for upholstery that won’t get torn up easily.
A great way to find fabrics for less is by looking at shower curtains, tablecloths or window curtains, too.
See more frequently asked questions at the end of the post!
This post contains affiliate links for your convenience. See my full disclosure policy.
Want to Save This?
Enter your email below and I’ll send it directly to your inbox!
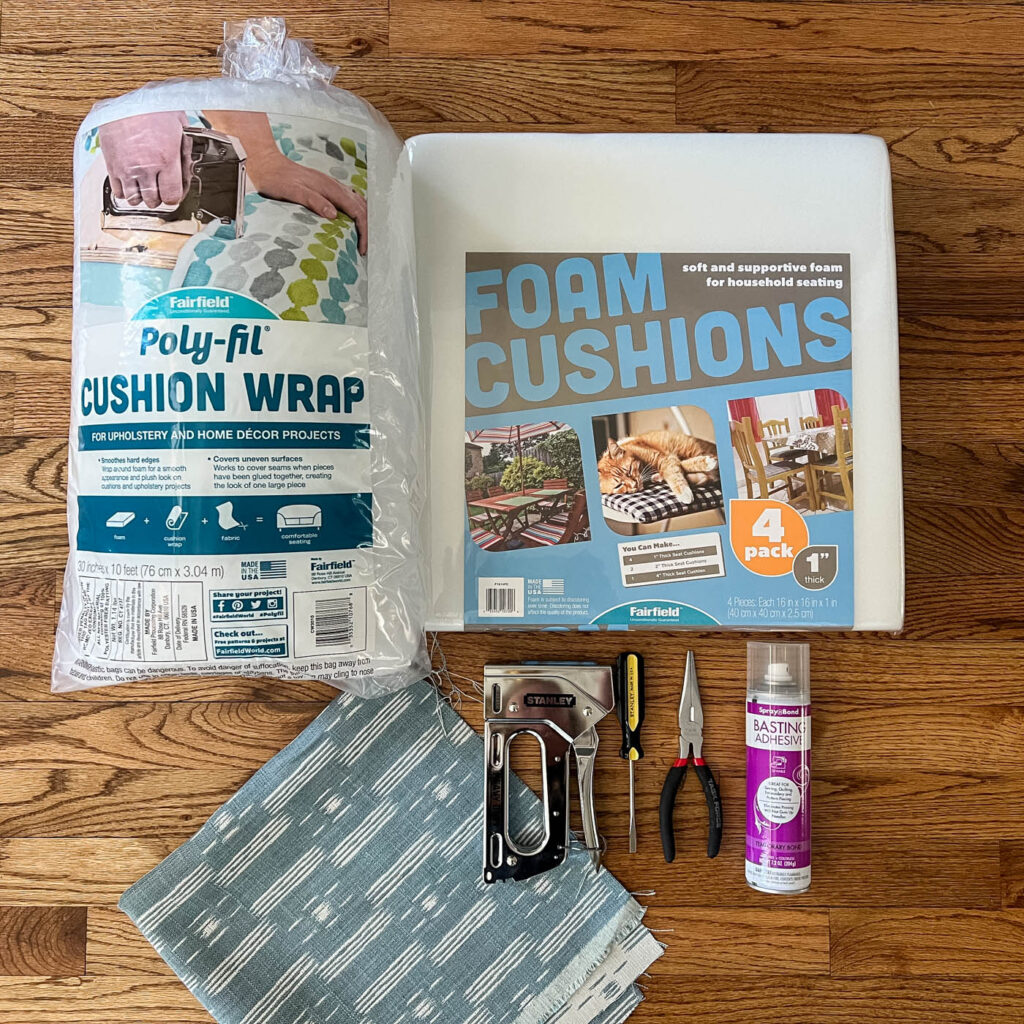
Supplies needed to Reupholster Dining Chairs
- Chairs with a fabric seat cover
- *Fabric for your new seat covers (about 4″ larger than the seat cushions)
- Upholstery Foam – I used a 1″ thick foam, but 2″ is also fine!
- Cushion Wrap Batting
- 1/2″ plywood if you need to replace the wood in the seats
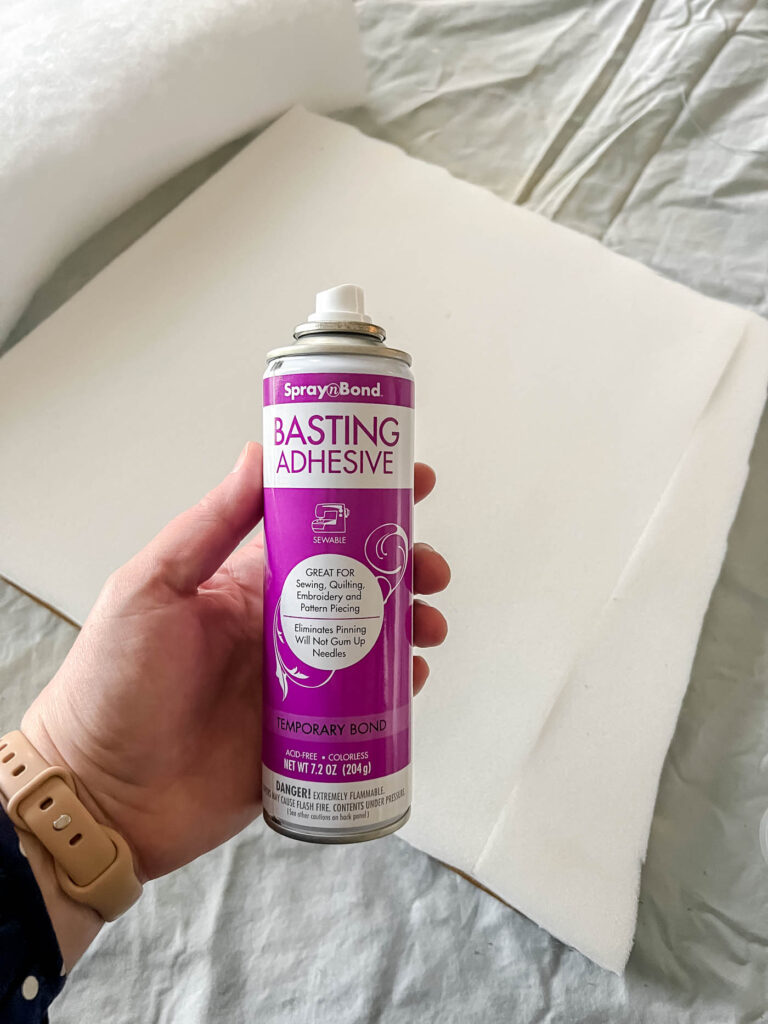
- Optional: Temporary Hold Basting Adhesive
*The name of the fabric is Marla in Teal by Jane Churchill, but is only available to the design community. Contact my designer, Sydney Collins, if you’d like this fabric in your home.
Feel free to re-use any of the foam or batting from the chair if it’s still in good condition! Mine was 80-year-old padding of some sort, so I replaced it.
Tools for How to Reupholster a Chair
- Drill or screwdriver – for removing the seat from the chair
- Flat head screwdriver – for removing staples. You could also use a staple remover tool
- Fabric scissors – It’s important to have a pair of fabric scissors only used on fabrics!
- Needle nose pliers – for removing stubborn staples
- Staple Gun – no need for anything fancy, electric or an air compressor!
- 3/8″ or 1/2″ staples
- Jigsaw – if you need to replace the seat board
- Tape measure
How to Reupholster a Chair Seat Cover
1. Remove the old chair seat.
Usually the seat is attached to the chair with screws underneath the seat. So, flip it over and unscrew it!
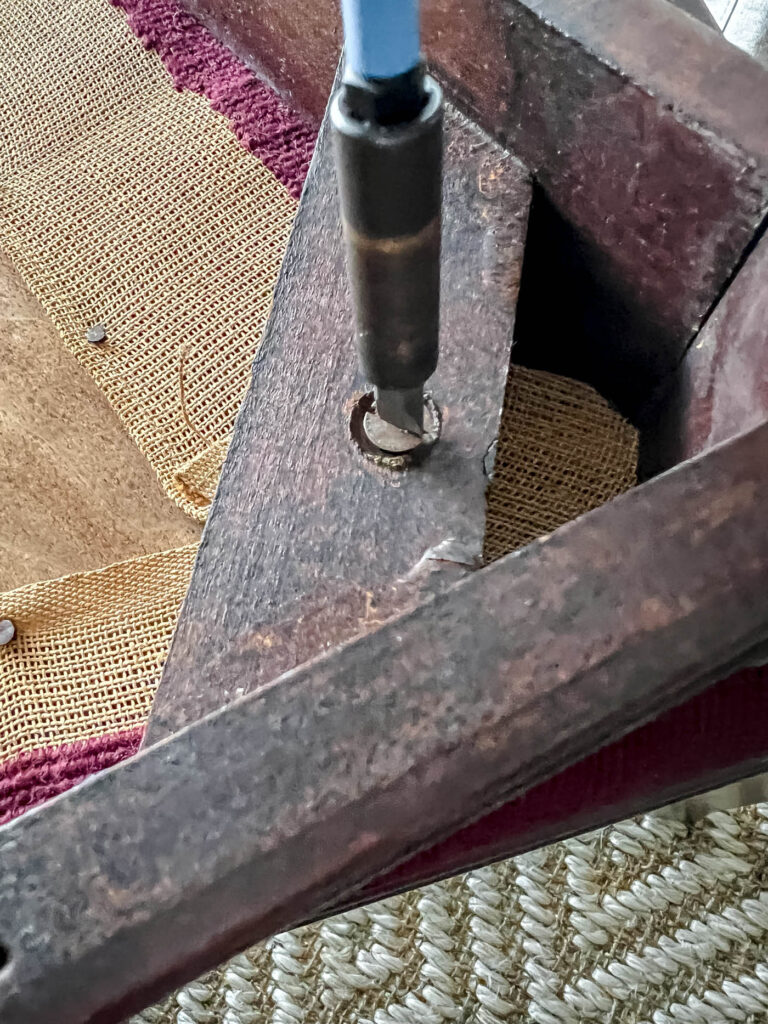
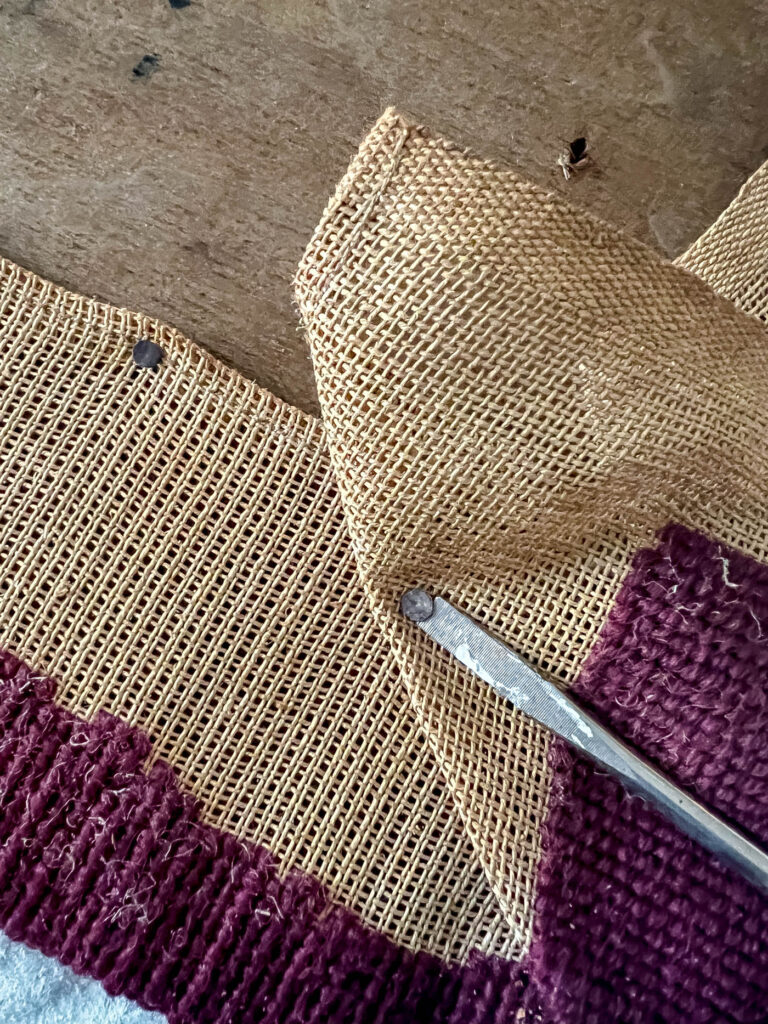
2. Remove the old fabric
Usually the old upholstery is attached the the underneath of the seat with staples. So, use a staple remover tool or a flat head screwdriver and needle nose pliers to get the staples out.
Thankfully my chair was so old that tacks were used. And it was easy to pry them loose with a screwdriver.
3. Make New Seat Boards, if Needed
I didn’t have to do this step because the wood of the seats was just fine. But if your seat board is broken or cracked beyond repair, you’ll need to replace it.
Get a 1/2″ plywood board and use the old seat as a template to make a new one with a jigsaw.
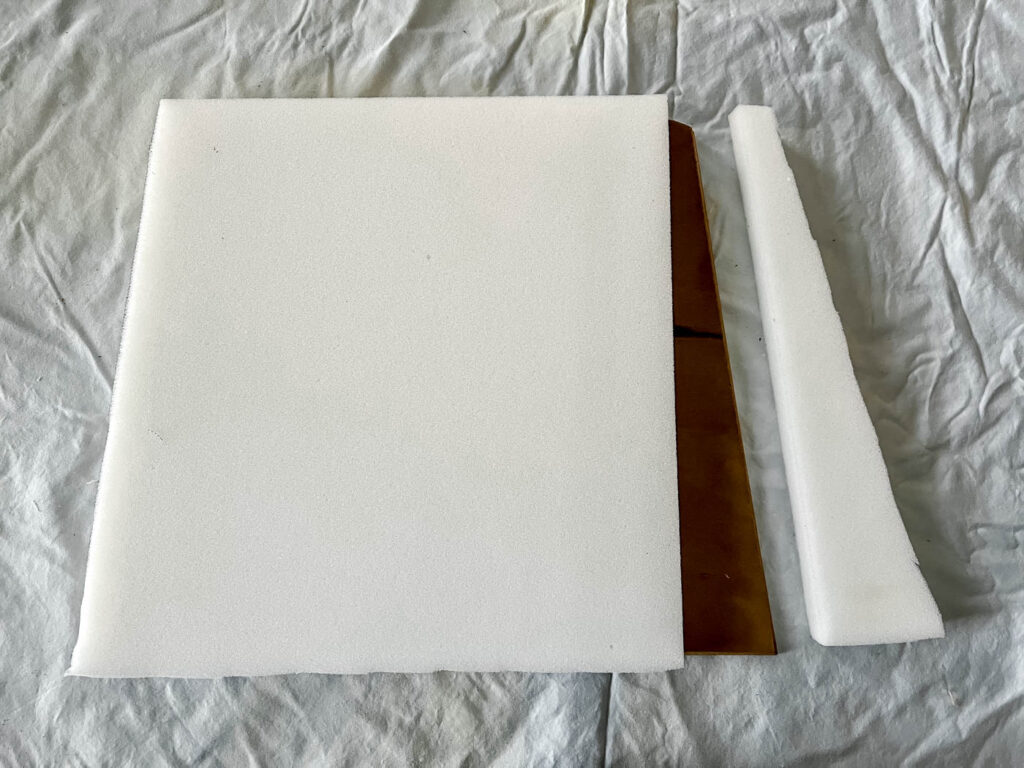
4. Replace the Foam, if needed
If you need to replace the old foam add new foam to your seat, lay the foam over the seat board and trace around it with a marker. Cut it down to size.
It’s OK if you have to piece several pieces together, because it’ll all be covered with batting and will look like one solid piece once you’re done.
Feel free to use basting adhesive to hold these layers in place until you get everything stapled on!
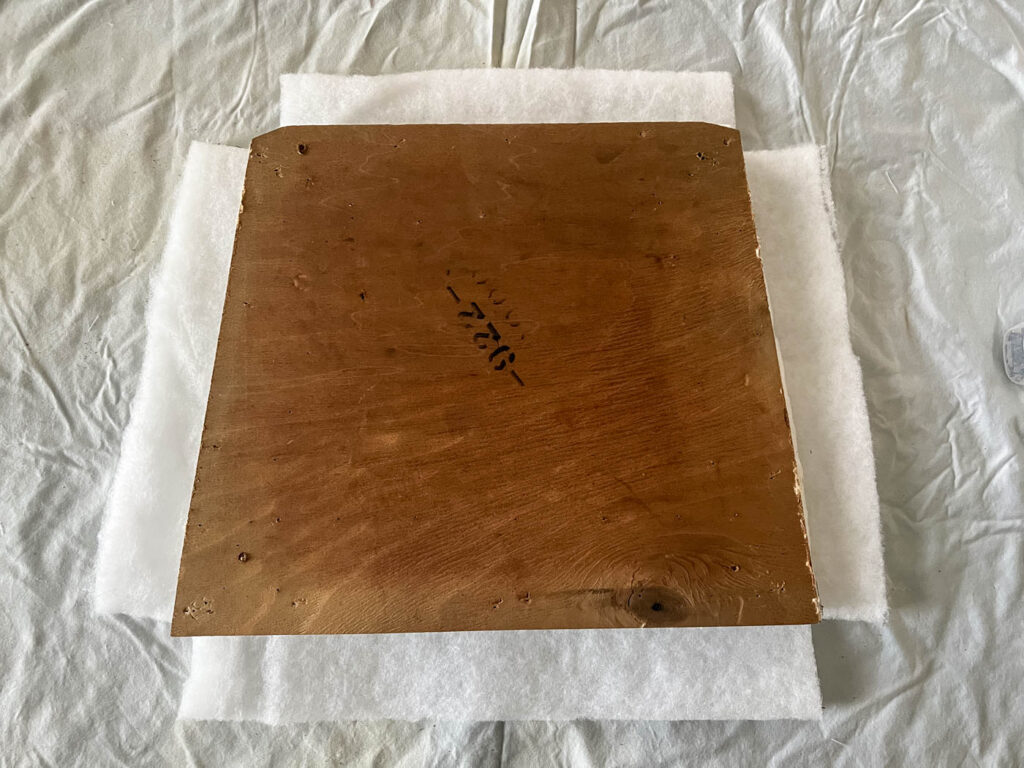
5. Add Batting Over the Foam Cushion
You will want the batting to wrap around to the underneath of the seat, so cut it 3 inches wider than the seat on all sides.
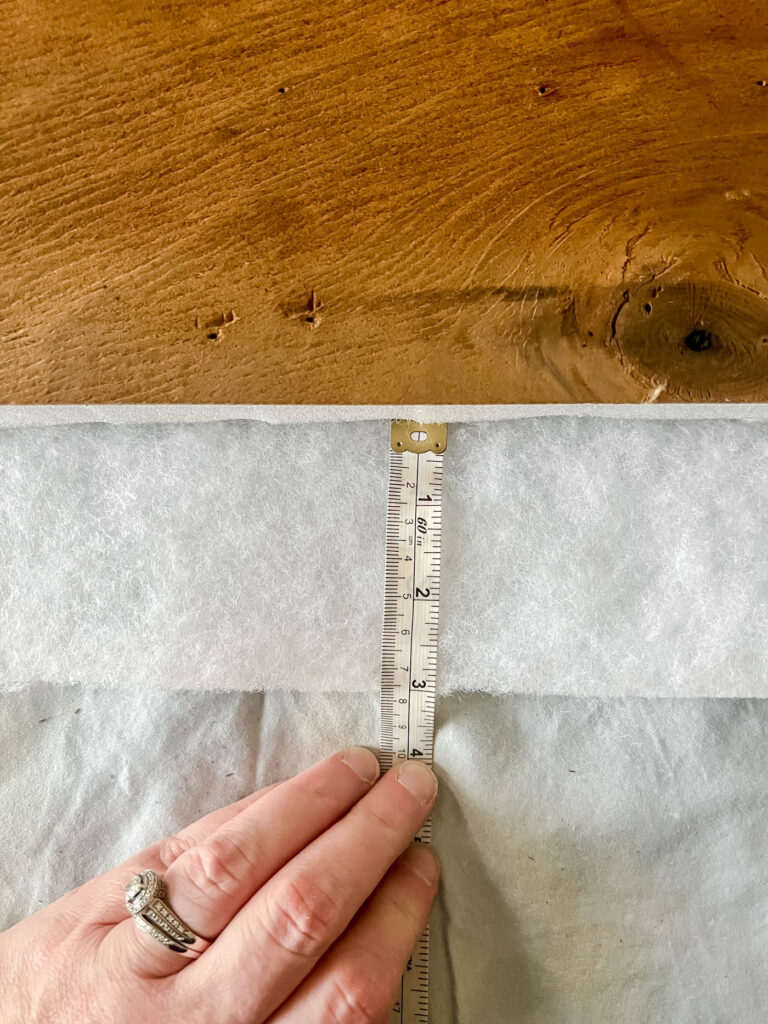
Once you have the batting cut out, notch out the corners so that there’s not too much material to bunch up.
6. Cut Out the Fabric
If you’re using a patterned fabric, you’ll want to keep in mind the pattern direction and center of the pattern before cutting it out.
A general rule of thumb is the leave 4+ inches of excess fabric on each side of the seat to leave room for wrapping it over the foam and batting, and under the seat.
Use the old seat fabric as an easy guide. I cut mine a little larger to allow for centering my pattern on the seat. Then I’ll go back and cut it down to size as needed.
7. Staple the Fabric to the Underside of the Chair
Find the center of the seat and mark it on the foam. Line up your fabric to that spot and make sure it’s centered if you have a pattern on your fabric.
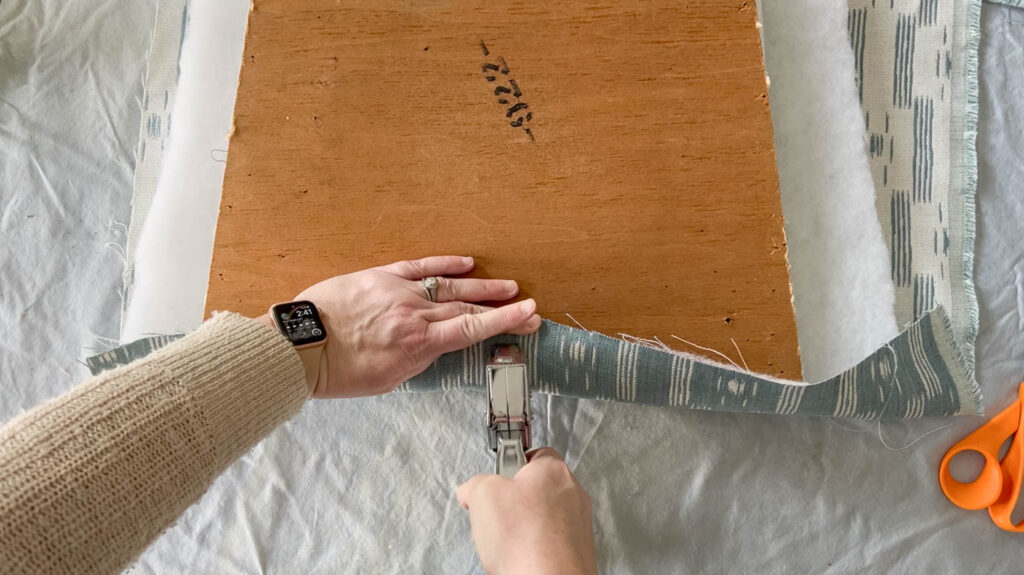
Flip everything over to the back and pull the fabric snug along the front edge. Then put one staple through the fabric into the underneath of the chair seat.
Turn the seat to each side and place one staple in the middle of each side, pulling snugly as you go. If you keep the fabric pulled snug, it will look messy on the top.
Once you have all four sides stapled down, turn the seat over and make sure it looks good before proceeding.
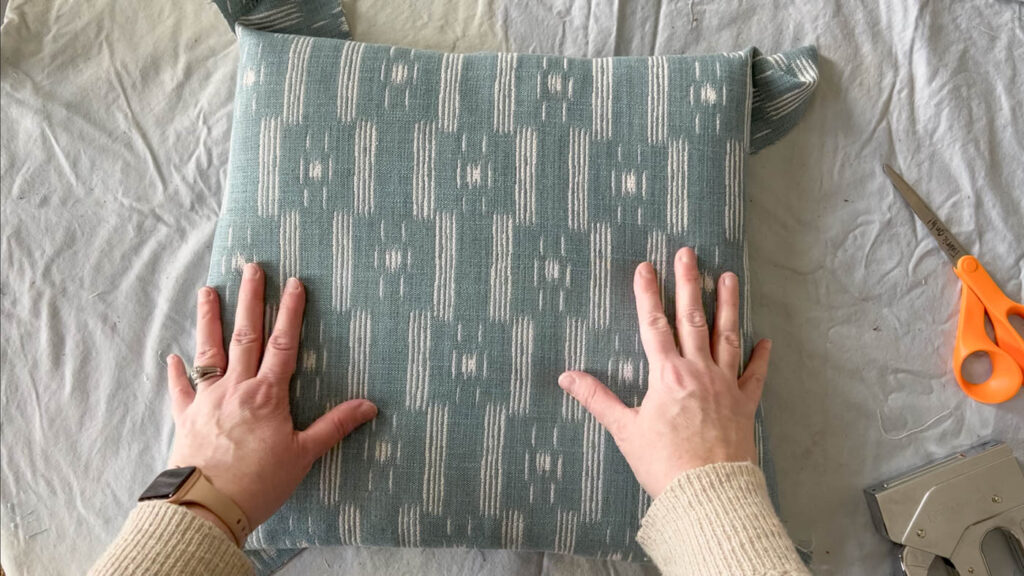
If it looks good, turn it back over and keep stapling each side as you go. If not, pull out the staples and try again.
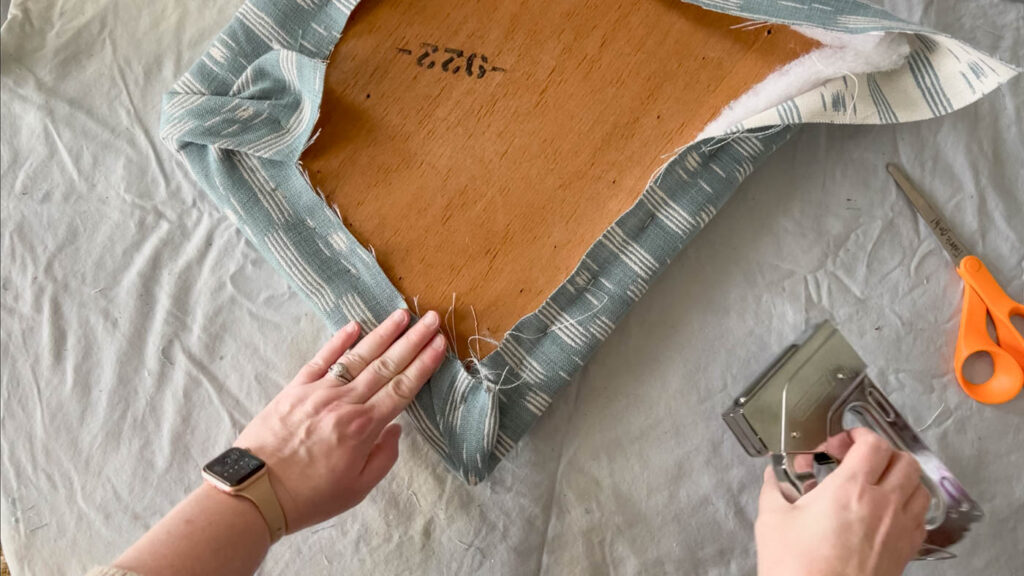
About Stapling the Corners
Once you get to the corners, staple the sides as close to the corner as possible, without going over to the next side.
This will be the most intimidating part, but it’s not that hard. If you can wrap a present nicely, you can do this!
Take the two pieces of the sides and fold in each side to make two folds on the corners. I’ve made a video to show you how I do it exactly. But practice on the back of the chair seat before trying the front corners, because those will be covered by the back of the chair.
If you’re having trouble with it, be sure to watch the video tutorial below.
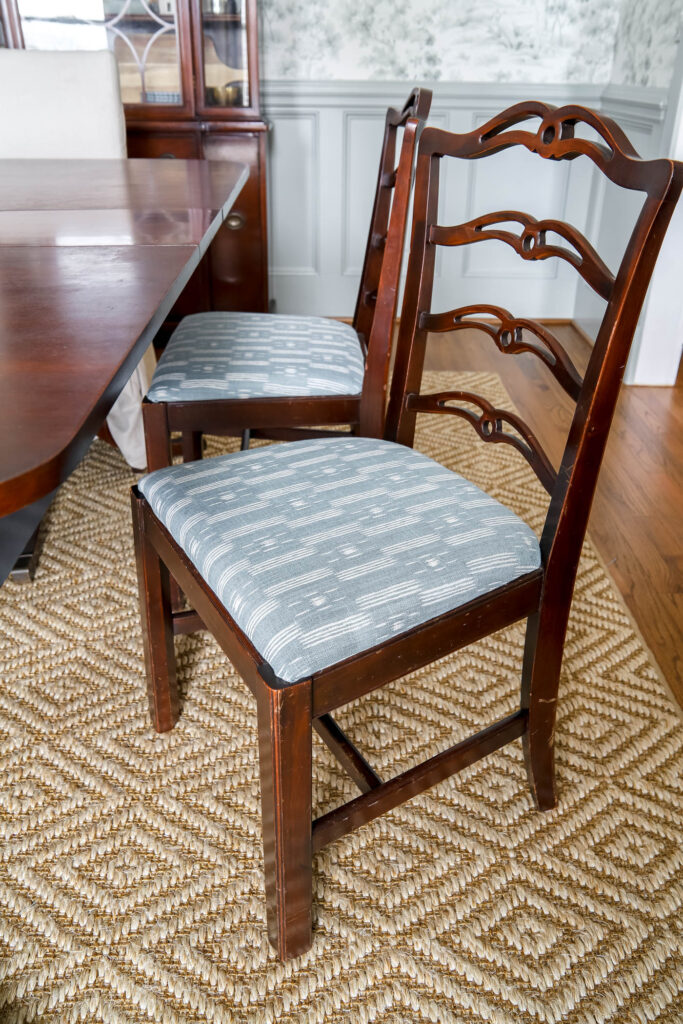
Finally, once everything is stapled it’s time to re-attach the seat to the chair and you’re done! Yay!
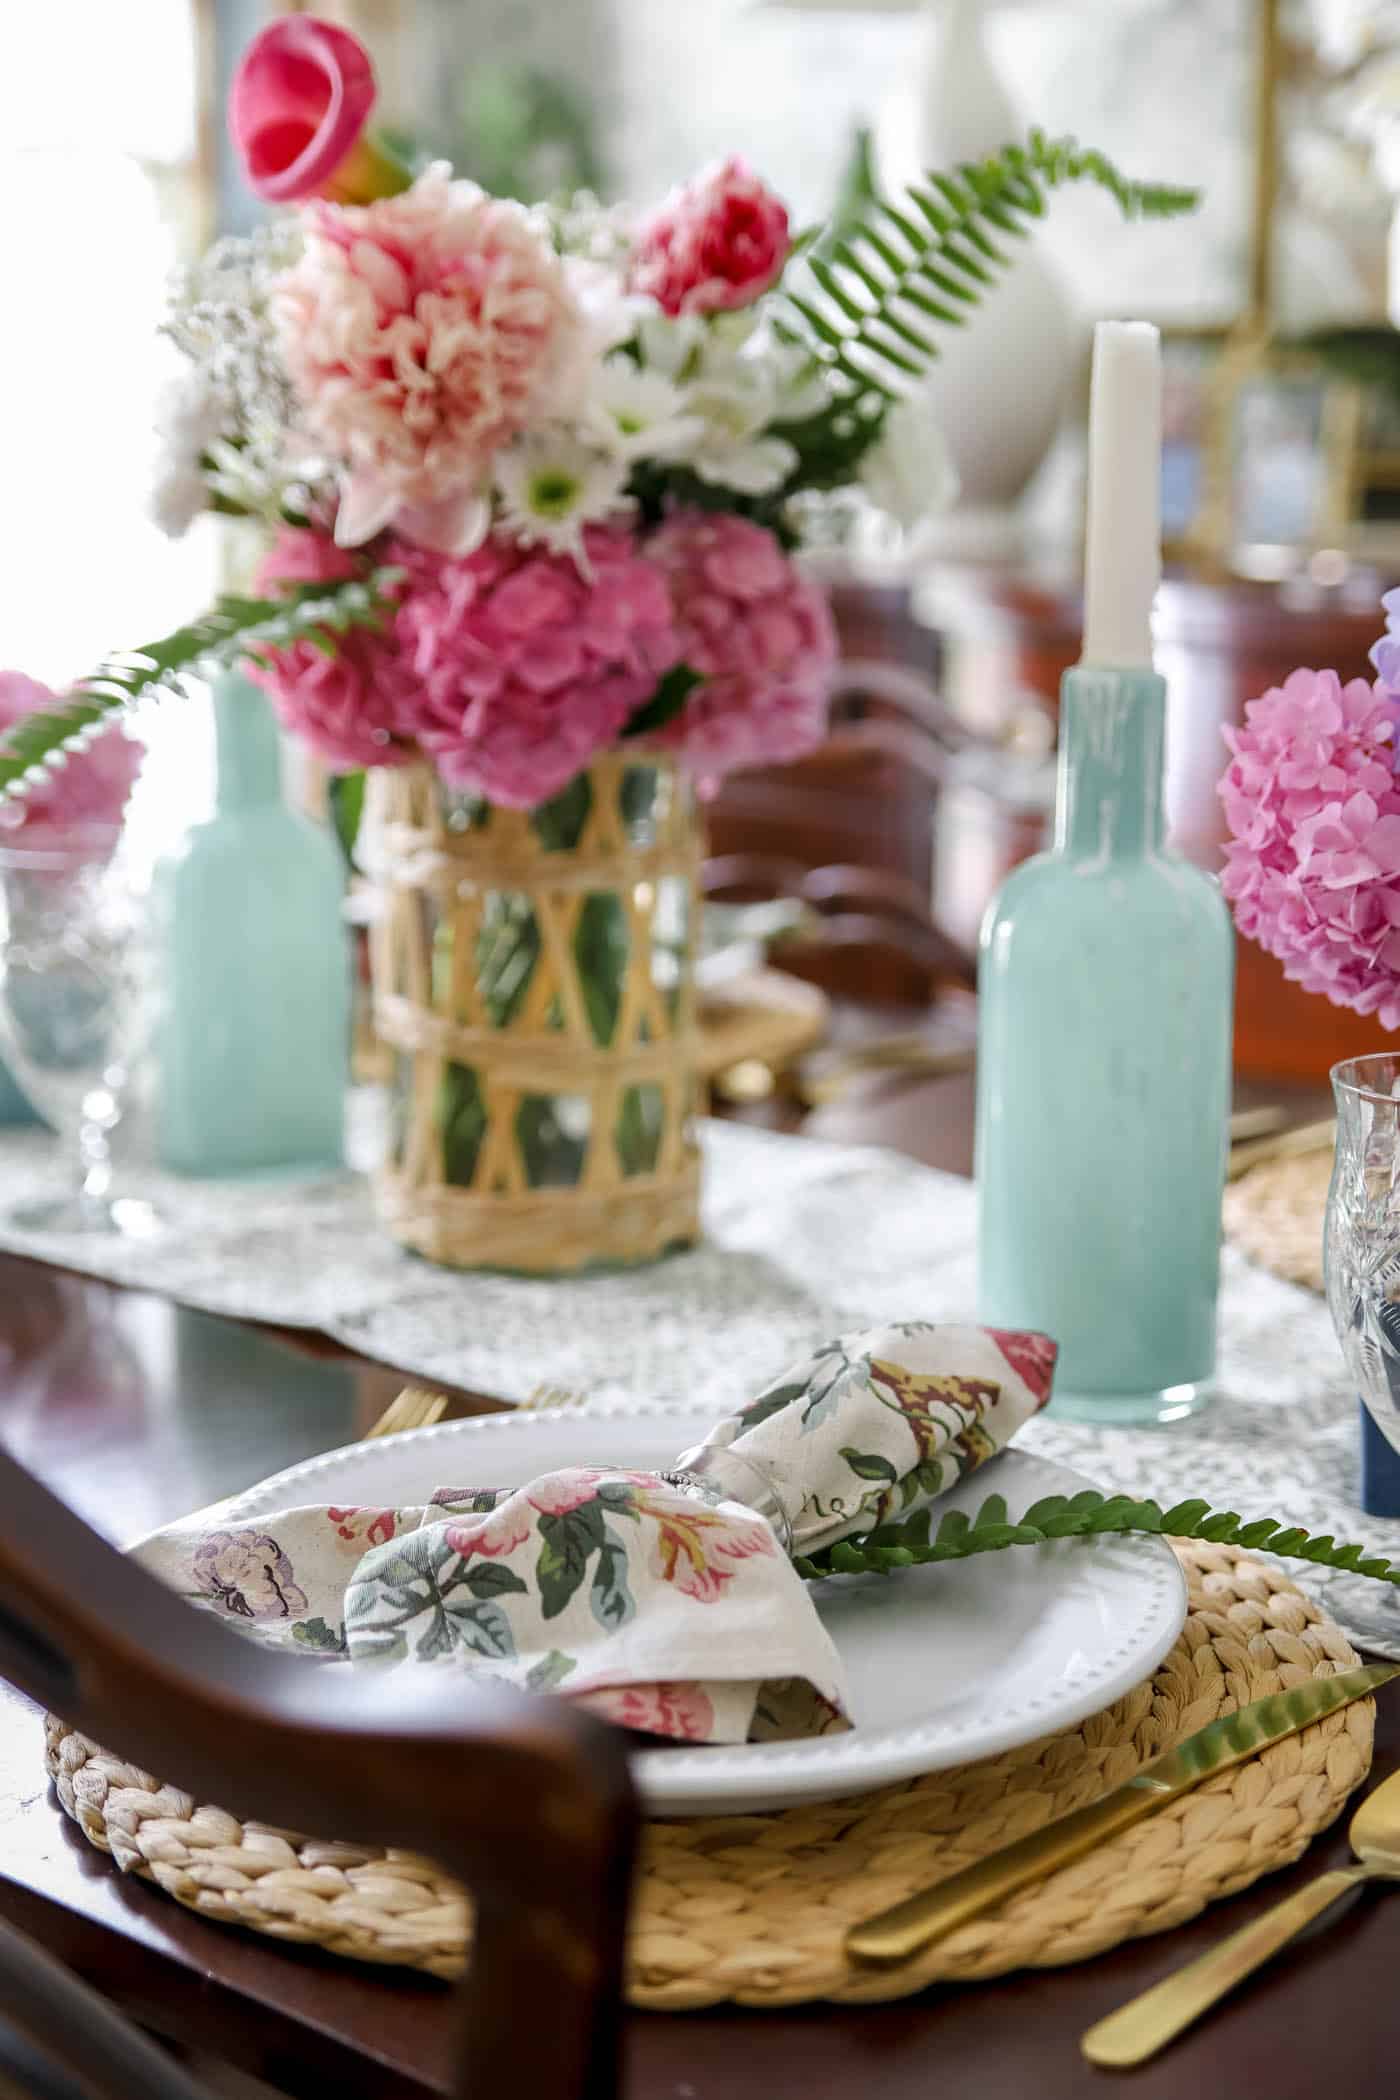
Step back and admire what feels like a brand new chair, but for much less.
Watch Video Tutorial for Reupholstering Dining Chair Seat Covers
FAQ’s about How to Reupholster Dining Chair Covers
Is it hard to reupholster a chair?
Not at all! Reupholstering a chair cover is a beginner DIY project. The tools are inexpensive and east to use. If you can wrap a present, you can reupholster a chair seat cover.
How much fabric do I need to reupholster a chair cover?
This will vary depending on how large your chair covers are. The easiest thing to do it to remove the original fabric covers and see how much was used before. Then multiply that by the number of chairs.
But in general, you’ll need about 4″ more in each side than the actual size of the chair cover. Give a yard or yard and a half for additional allowance.
So, if your chair width is 18″, you’ll need a square piece of fabric that is at least 22″ wide and long, in order to wrap around the cushion and be stapled securely on the underside of the chair seat.
How much does it cost to reupholster a chair seat cushion?
It will depend on how much your fabric costs and if you already own the right tools. But if you already have the tools, it will run you about $10 per chair for supplies, plus the cost of fabric.
Can you reupholster a dining chair without removing old fabric?
Absolutely! If your fabric and foam/batting is in good shape, feel free to replace the fabric right over the old fabric!
Of course if you want to do something else with the old fabric or want to replace the seats, foam and/or batting, you’ll want to remove the old fabric first.
More Posts You Will Love:
Projects in the dining room makeover:
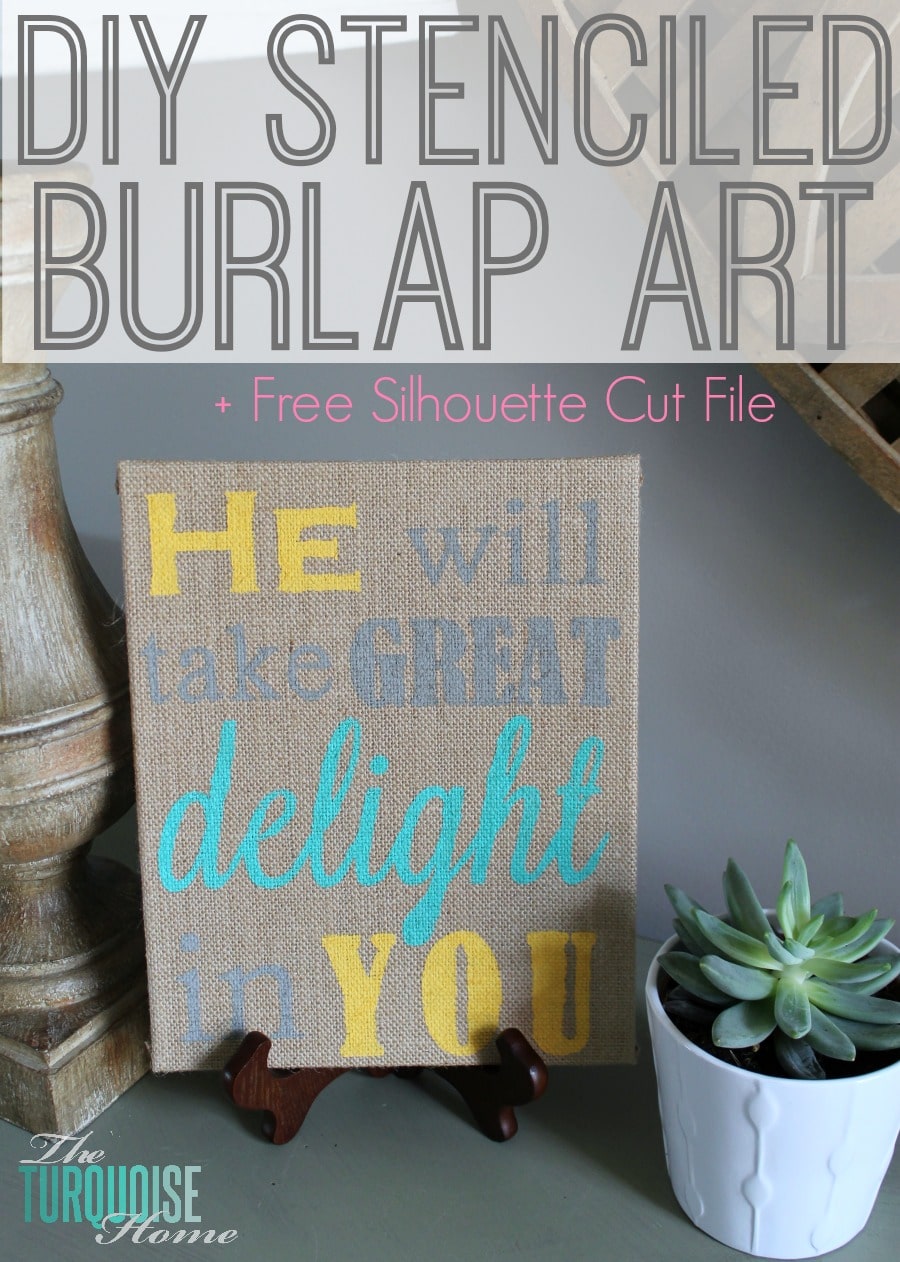
- How to Install Paste-on-Wall Wallpaper
- How to Paint Outlet Covers
- Traditional Dining Room Design Plans


chair pads re-covered but holes were covered up so now don’t know to attach to chairs without guessing. Any suggestion
It’s amazing how easy this is once you get over the fear of the project. Your instructions are excellent and your new chairs are beautiful!~
Aww, Lynne, thank you so much for the nice words. It’s always so much easier than I imagine it will be! 🙂 Have a great night! xo, Laura