How to Make a Custom Lamp Shade
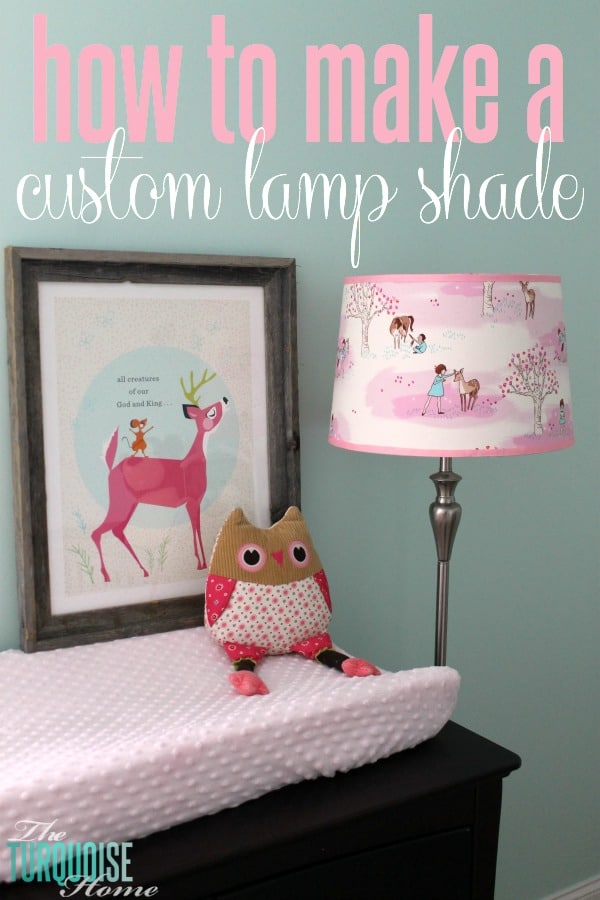
Use your own fabric to make a custom lamp shade for your home!
I love it when I finally complete a project that’s been on my to-do list for years. It’s a mix of feelings of relief, accomplishment and why-didn’t-I-tackle-this-sooner. I wanted to make a custom lamp shade for Miss A’s room when I completed it in our house almost 3 years ago. But I never really found the fabric I wanted and never bought a new lamp shade.
The lamp base I’ve had since college and the shade has been changed a few times. Most recently I donated an old lamp and put the old lamp shade on the silver base in Miss A’s room. It was an ill-fitting empire lamp shade. You can see it in the picture below. One this is for sure: that one would not be easy to customize with fabric.
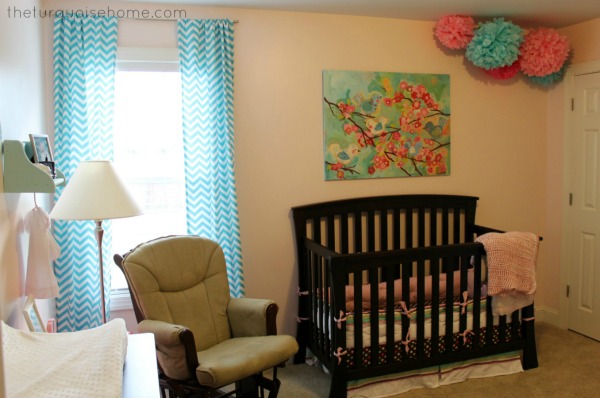
I’ve been meaning to buy a replacement drum shade from Target forever, but even though I make multiple trips to Target a week, I kept forgetting to buy one.
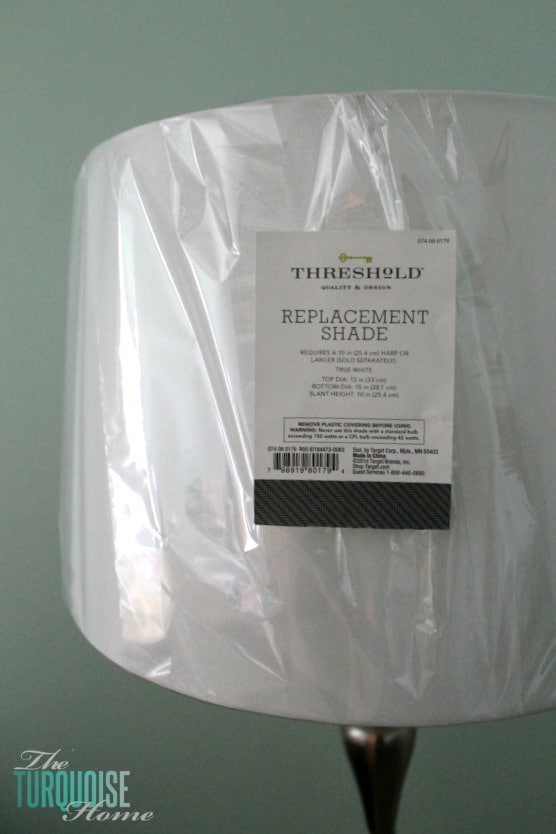
Finally, when Baby G’s nursery started to evolve, I remembered to pick up a new shade. Lucky for me, they were on sale when I bought it and I think I got it for about $12. Not too shabby!
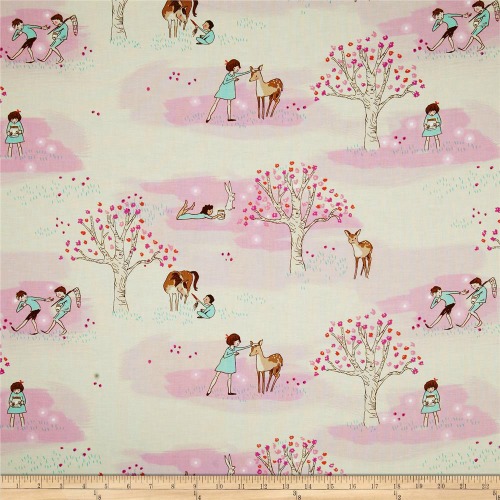
Michael Miller Wee Wander Woods Petal from Fabric.com
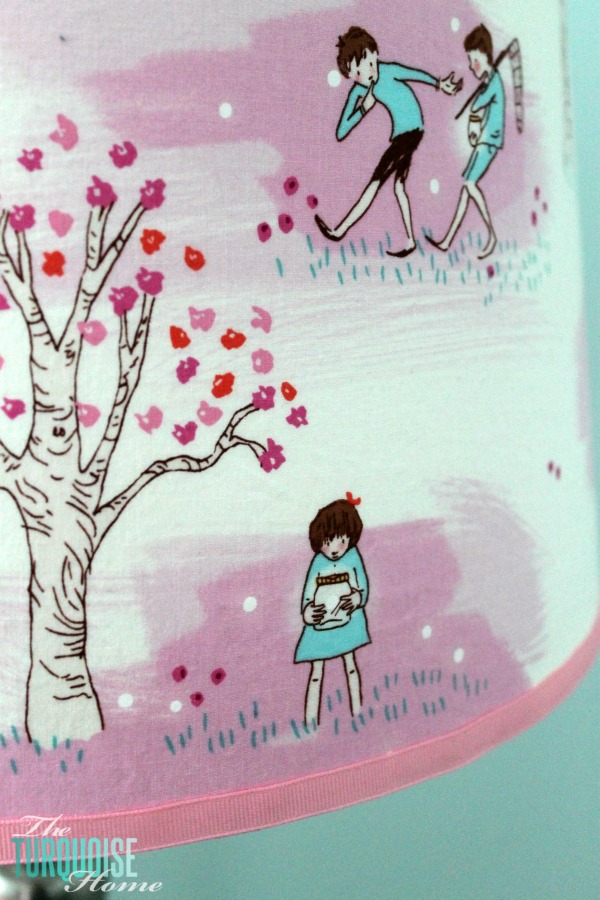
I originally had different fabric chosen for her room when I put the vision board together. But then I found this adorable fabric with a sweet little girl with a deer. It was perfect for my woodland themed nursery.
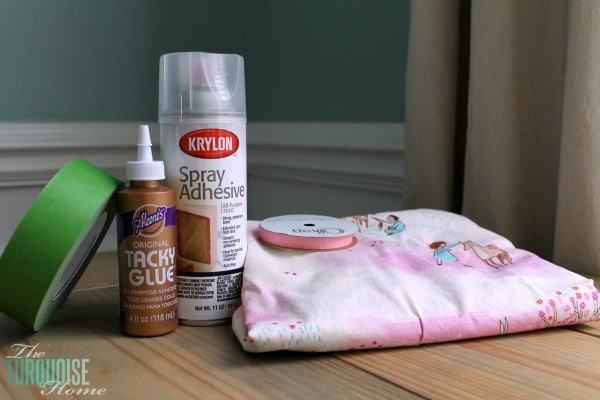
So, I gathered my supplies this week and determined to finish a project that had been on my list for literally years.
Supplies for your Custom Lamp Shade:
- tacky glue or fabric glue
- adhesive spray
- newspaper
- pen
- drum shade (obviously)
- painters tape, or other tape
- fabric
- ribbon (optional)
Simple enough! Gather your supplies. Take your drum shade and roll it on top of the newspaper, marking the edges as it rolls. This will be your template.
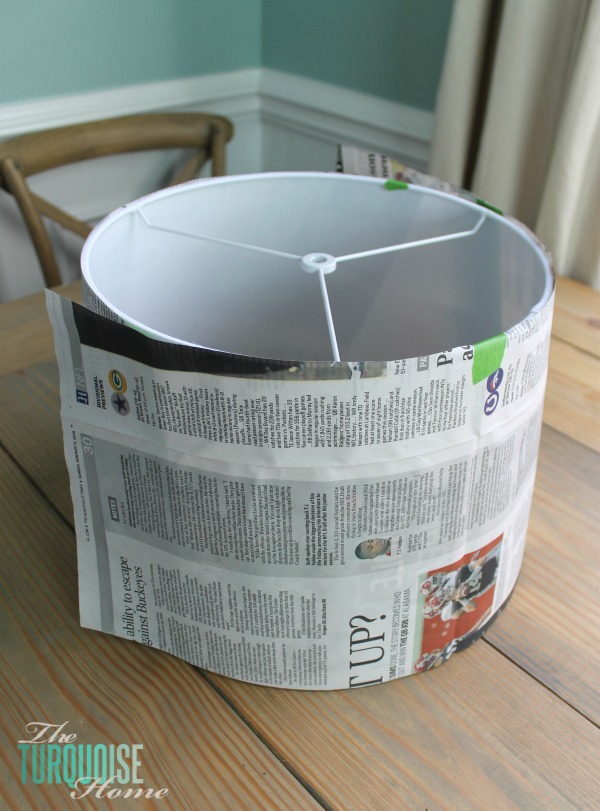
Cut out the newspaper template and wrap it around the shade to make sure it fits properly. This is where I used the tape since I had to tape several pieces together. And I taped it onto the lampshade in spots because I wanted to keep it in place while I examined it. It looked like a good fit to me! Use your template to cut out your fabric.
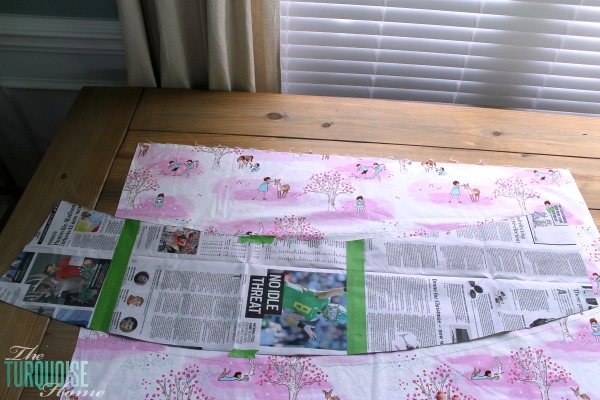
One little note about the fabric I chose. Since it was a fabric with scenes on it, instead of a solid or patterned fabric, I wanted to make sure certain scenes were more prominent than others. If you’re putting this kind of fabric on a shade, then I suggest finding your favorite part of the fabric and making sure it’s on the front of the shade and not the back. I also just had a yard of the fabric. So, it wasn’t quite wide enough to cover the whole template. I had to piece another piece of it together, but it’s hard to see and it’s near the back of the lamp shade, so none the wiser!
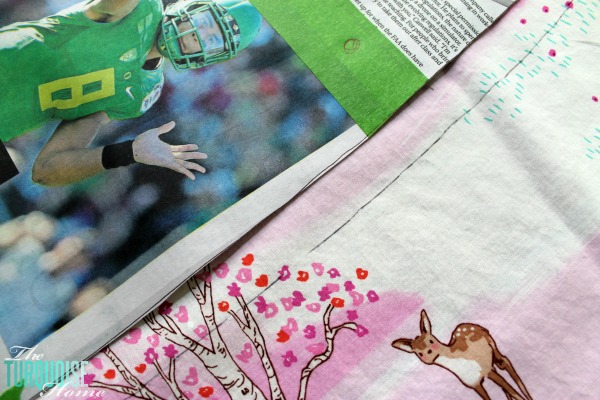
I marked about an inch off from the template and cute the fabric there. This gives some wiggle room when wrapping the shade.
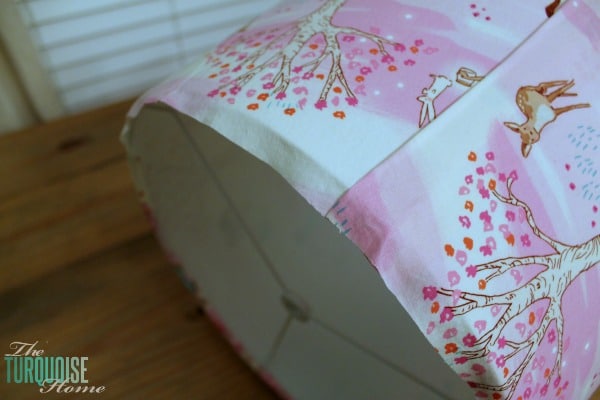
I sprayed the spray adhesive on the fabric and pressed it against the drum shade, making sure to press out any bubbles. I did this part outside because the fumes from the spray was a little much. And I put newspaper down under the fabric so as not to get spray adhesive on my coffee table on the back porch.
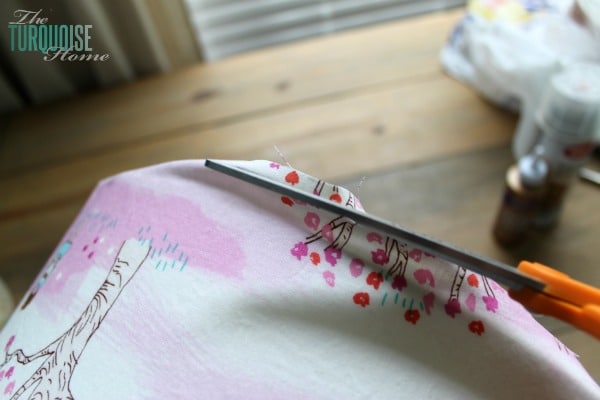
Once the fabric was on the shade, I trimmed back the excess fabric along the edges to about 1/2 an inch from the shade.
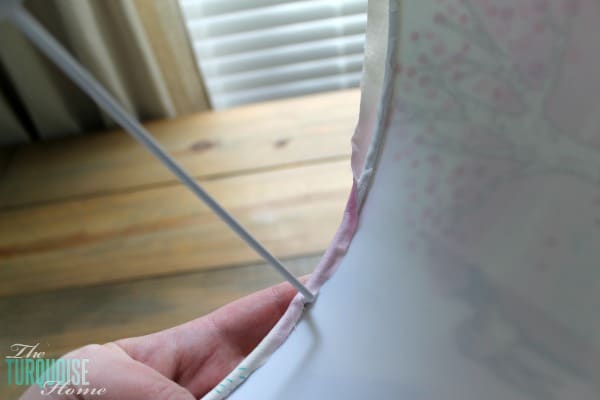
Then I ran a line of tacky glue along the inside edge of the shade and wrapped the extra fabric around. You can see how the edge of the shade had a raised piping along the inside. The fabric wrapped just around the piping and looked pretty clean from the inside.
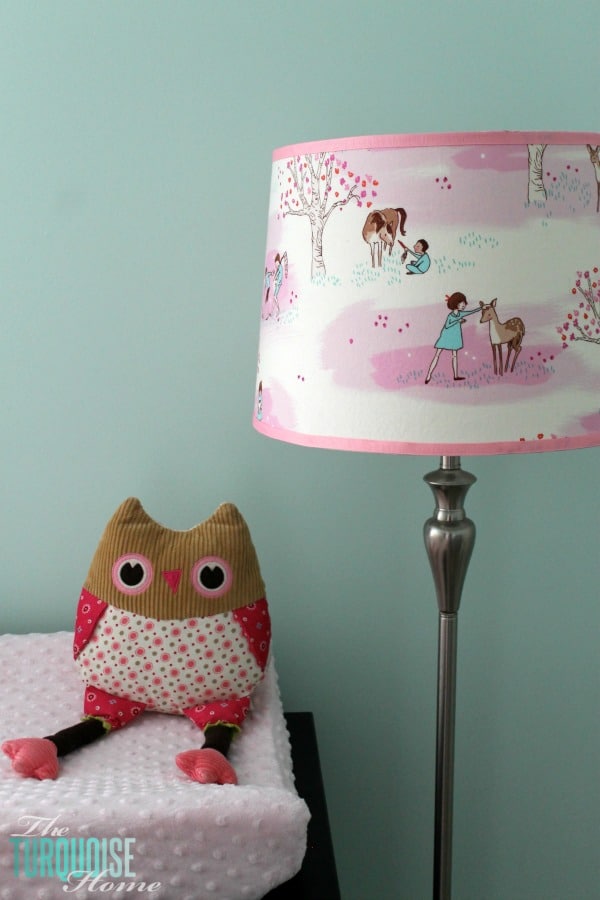
Finally, I trimmed out the top and the bottom of the shade with some pink grosgrain ribbon and adhered it with more tacky glue. You don’t have to do that, but I thought it made the shade look a little more polished.
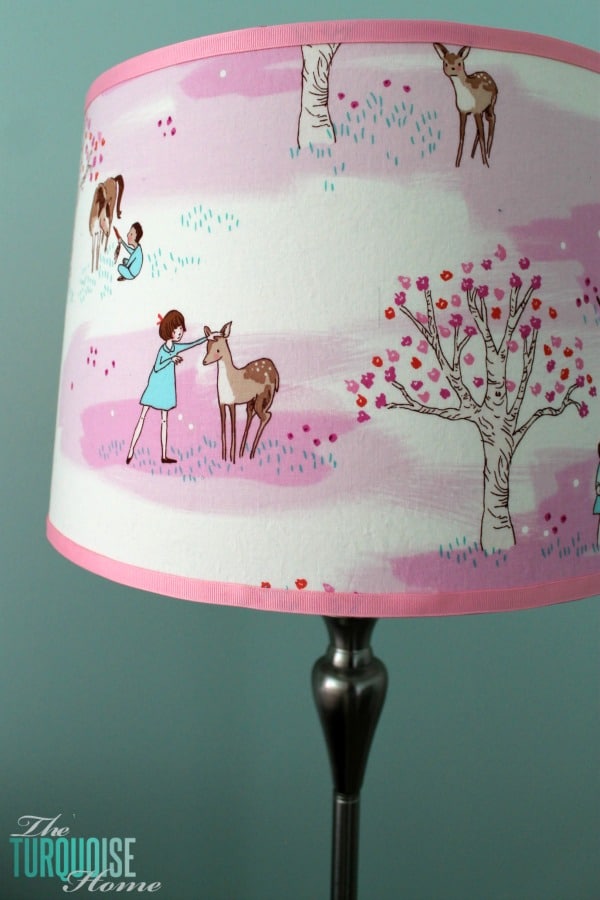
And you’re done! Such an easy project. I have no idea why it took me so long to do this. And I love the added character it gives the room. I can’t wait to see all of the elements complete and working together. It’s getting closer!
More Posts You Will Love:

Thank you so much for the tutorial! We have a used Furniture store & so needed for some of the shades as well as our home! Blessings to you & yours!
Great post with easy to follow directions:). I am in ❤️ with that fabric! Thanks for sharing your talents.
Aww, thank you so much for stopping by. Isn’t it the cutest fabric? We still have it in my daughter’s room and she loves to look at the little girl and animals and talk about them. She’ 3 now. 🙂 xo, Laura
That is the sweetest fabric. Absolutely love how you used it!
Adorable! I love the theme. It’s feminine without being princesses.