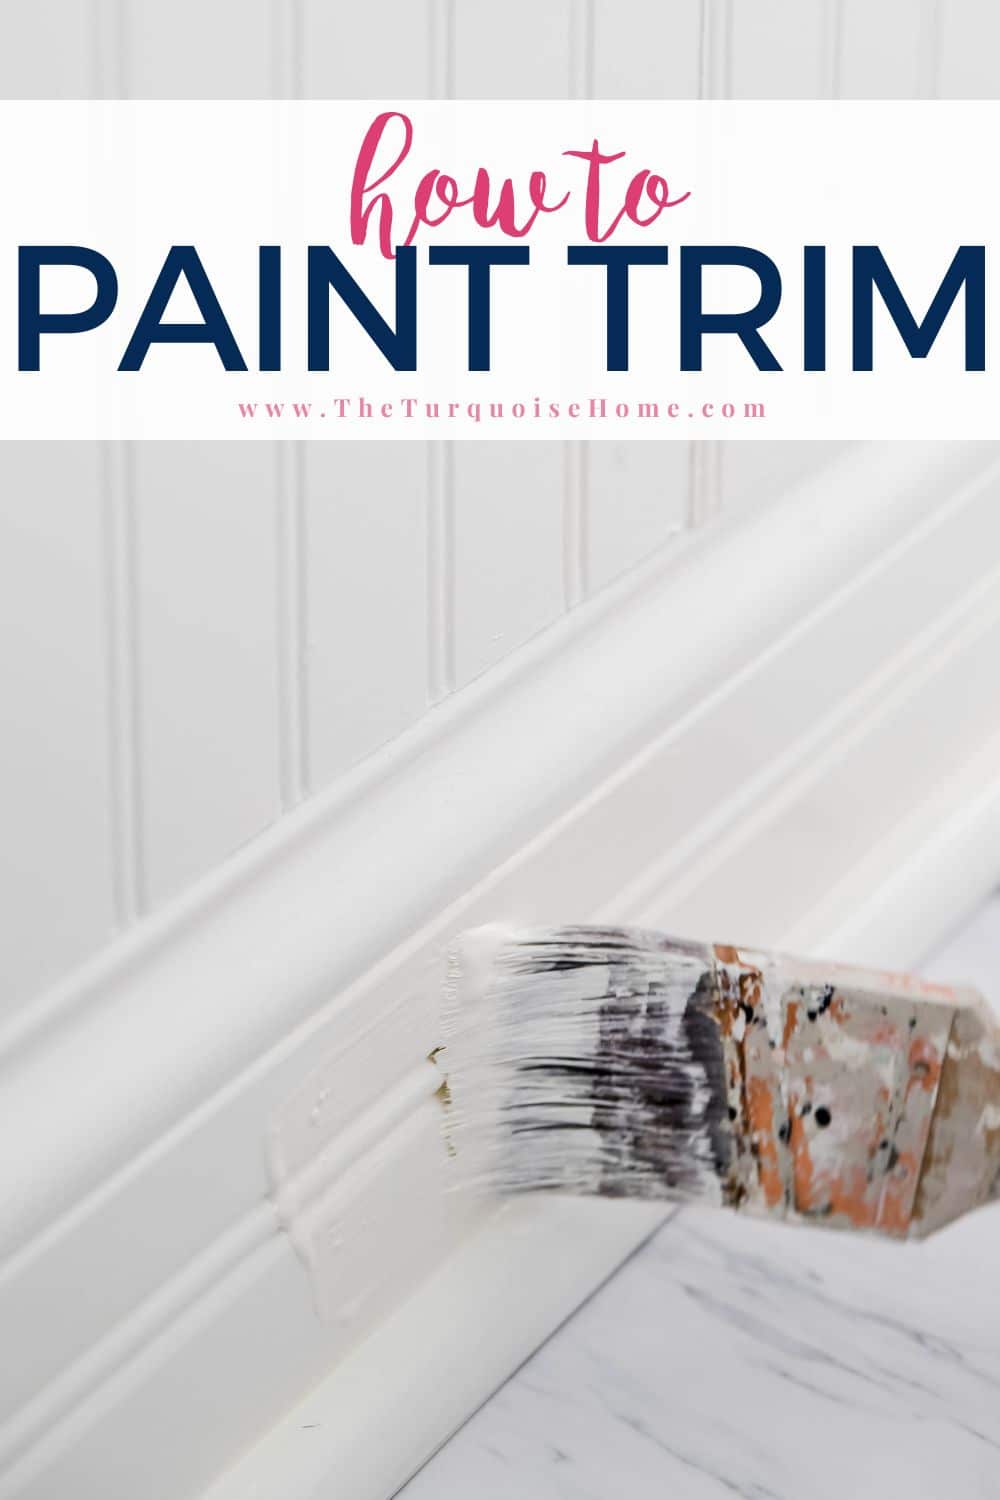
How to Paint Trim: A Step-by-Step Guide
When it comes to room transformations, painting trim is an often-overlooked step that can make a huge difference in your finished space.
I’ve covered a lot about the best paint colors, favorite painting tools, and a simple how-to for painting the walls of a room. For maximum impact, paint your trim first! Here are my best tips on how to paint trim, including favorite trim paint colors and an easy guide for tackling the task.
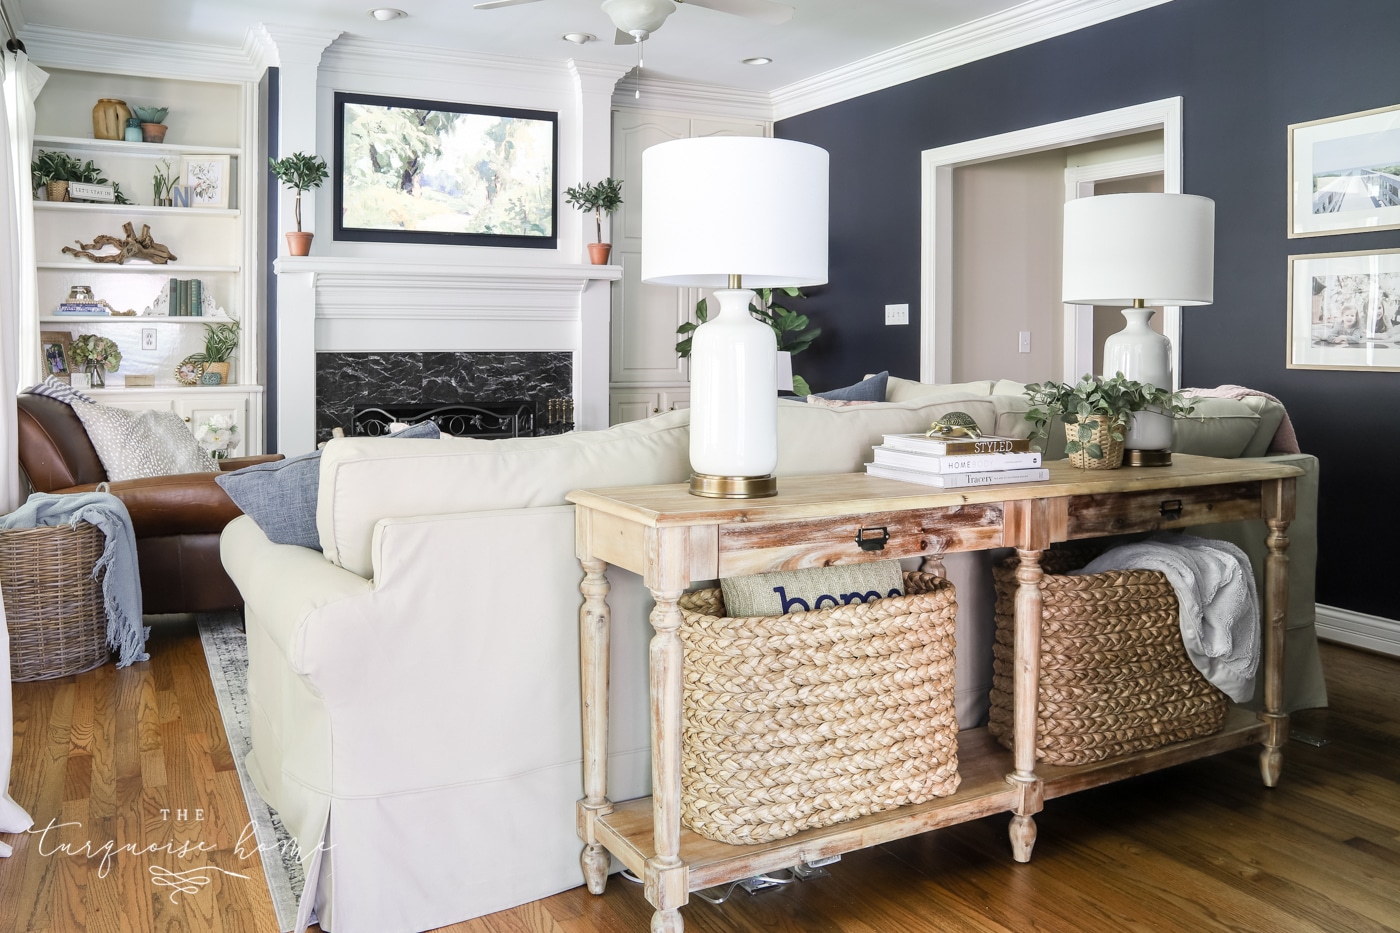
Here’s the thing. Trim is often times an overlooked part of any project or home. But the right trim color can mean the difference between a dingy looking room and a sharp, beautiful room.
And it oftentimes is overlooked when updating a home, but a fresh coat of trim paint works wonders for the look and feel of a home. It immediately brightens a space and gives it a fresh, new look!
Want to Save This?
Enter your email below and I’ll send it directly to your inbox!
Choosing the Right Paint Color for Your Trim
Selecting the right color of trim paint is crucial for a polished look. While I’ve seen nice examples of trim done in greiges and other hues, I always stick with a shade of white or off-white. White trim makes rooms look larger and goes with any color of wall paint.
There are some nuances, though! For a cozy feel, you’ll want to go for warm whites. Choose a cool white for a crisp, modern touch. Below are a few of my favorites.
Warm White Paint Colors for Trim
Warm whites are welcoming and work with a wide range of wall colors. (Say that fast, three times!) Here are some of the most popular warm white paint colors for trim:
- Benjamin Moore Simply White: This is my go-to cabinet paint color, and it reads warmer than other white paint colors. If that’s the look you love, it works great for trim, too. It’s usually my pick for the trim!
- Benjamin Moore White Dove: A soft, warm white with a subtle, understated vibe.
- Sherwin Williams Alabaster: A creamy, warm white that adds depth and dimension.
- Sherwin Williams Pure White: A slightly warm white that pairs well with cool wall colors, adding brightness without feeling stark or cold.
Cool White Paint Colors for Trim
Cool whites can make a room feel spacious and bright, clean and contemporary. Here are a few of my favorite cool white paint colors for trim:
- Benjamin Moore Chantilly Lace: This crisp, bright white is my go-to ceiling paint. It works great as a trim color, too, if you want your ceilings to match your trim.
- Sherwin Williams Extra White: A crisp, clean white that enhances natural light and complements both warm and cool wall colors.
- Benjamin Moore Decorator’s White: This white has a “touch of cool gray” and pairs well with cool blues, grays and greens.
via Maison de Pax
RELATED: Need help choosing a finish? Here’s my handy guide for that.
Step-by-Step Guide to Painting Trim
1. Prep the trim
Clean the trim with a damp rag or sponge to remove dust, dirt or debris. This may reveal dents, cracks or other imperfections. Use a putty knife and spackling compound to fill those. Once it dries, use 120-grit sandpaper to smooth the surface.
Tip: Sanding all of the trim will give you the best results, especially if it already has a high-gloss paint. The goal is for it to be clean and smooth, but not slick.
2. Protect the surrounding areas
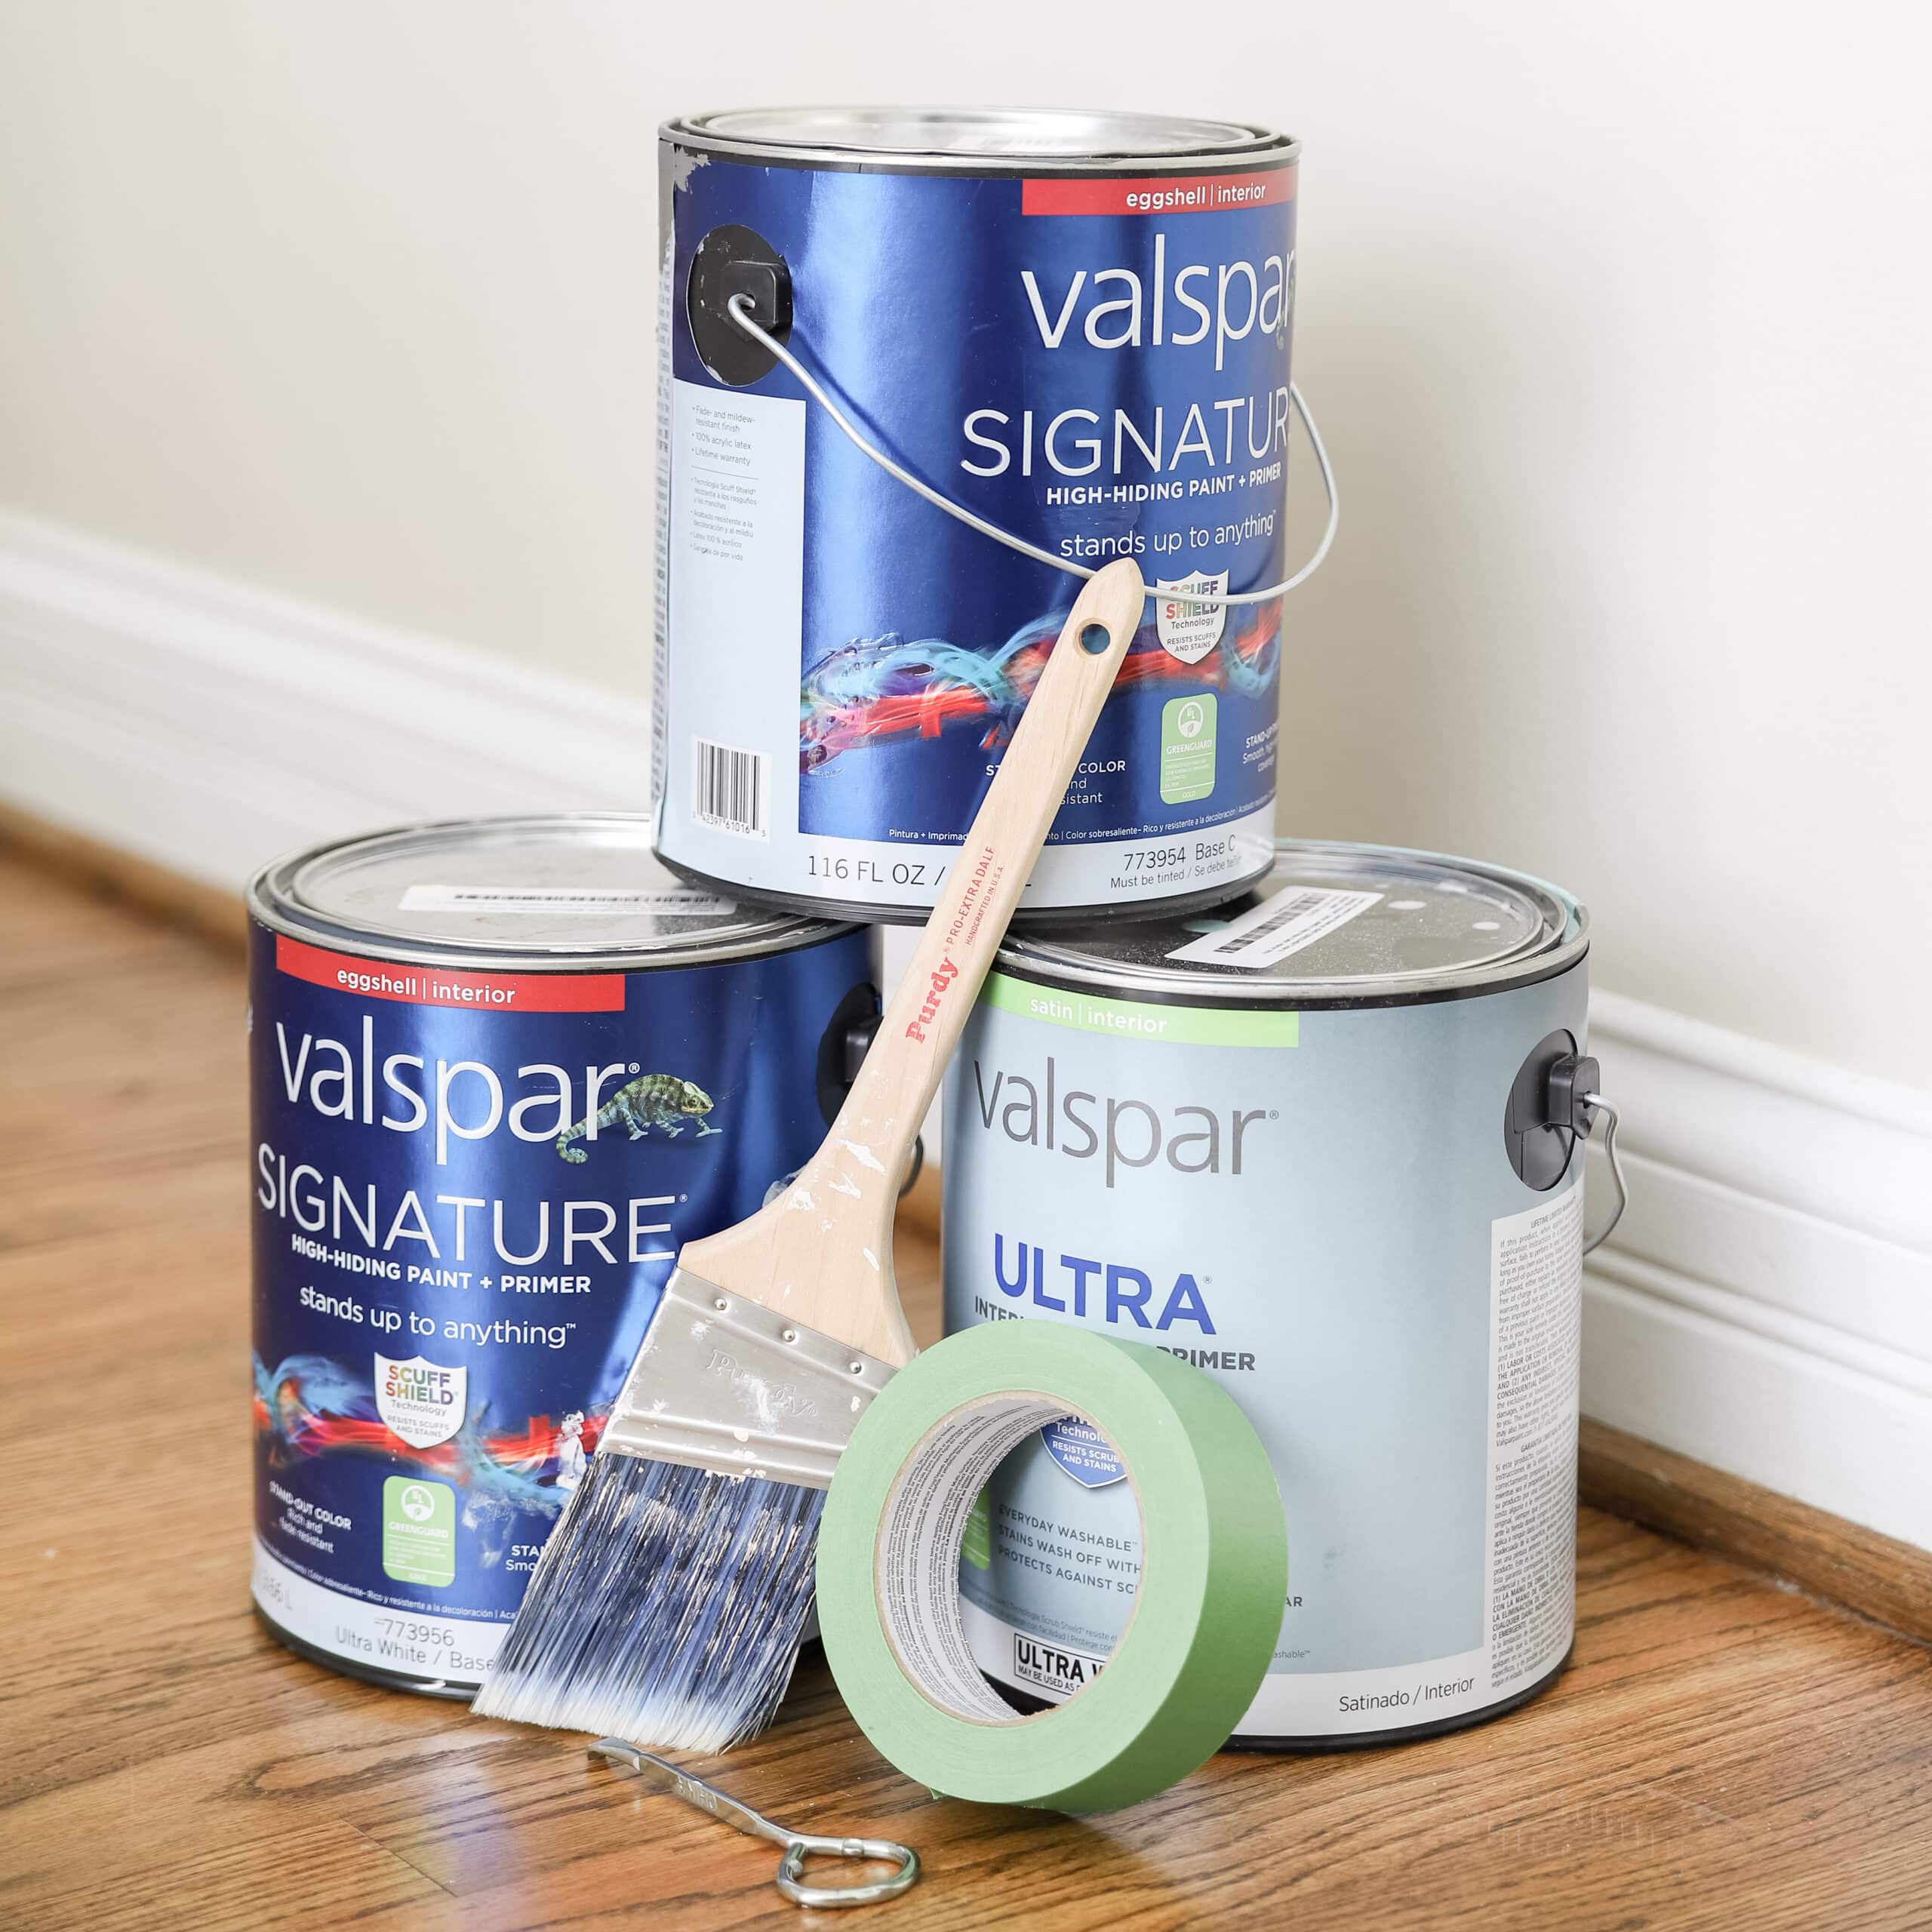
Use drop cloths and painter’s tape to protect walls, floors, and adjacent surfaces from paint splatters or accidents. Where you place the tape is up to you!
When I paint baseboards, I usually tape off the floor and freehand everything else with my trusty angled Purdy paintbrush. I always tape the floor if I’m painting in a carpeted room, but not always if it’s hardwood or tile. If you are worried about getting messy, go ahead and tape off the wall or floor, or both!
As I noted above, if your painting job includes the walls next, you don’t have to stress as much about a precision edge where it meets the wall.
3. Prime the trim
Apply a high-quality coat of primer to the trim, especially if it’s unfinished or if you’re making a drastic color change. Allow it to dry completely (24 hours is best!), If you can see brush strokes or drips, lightly sand the trim again. If you have to do this, be sure to wipe away any dust.
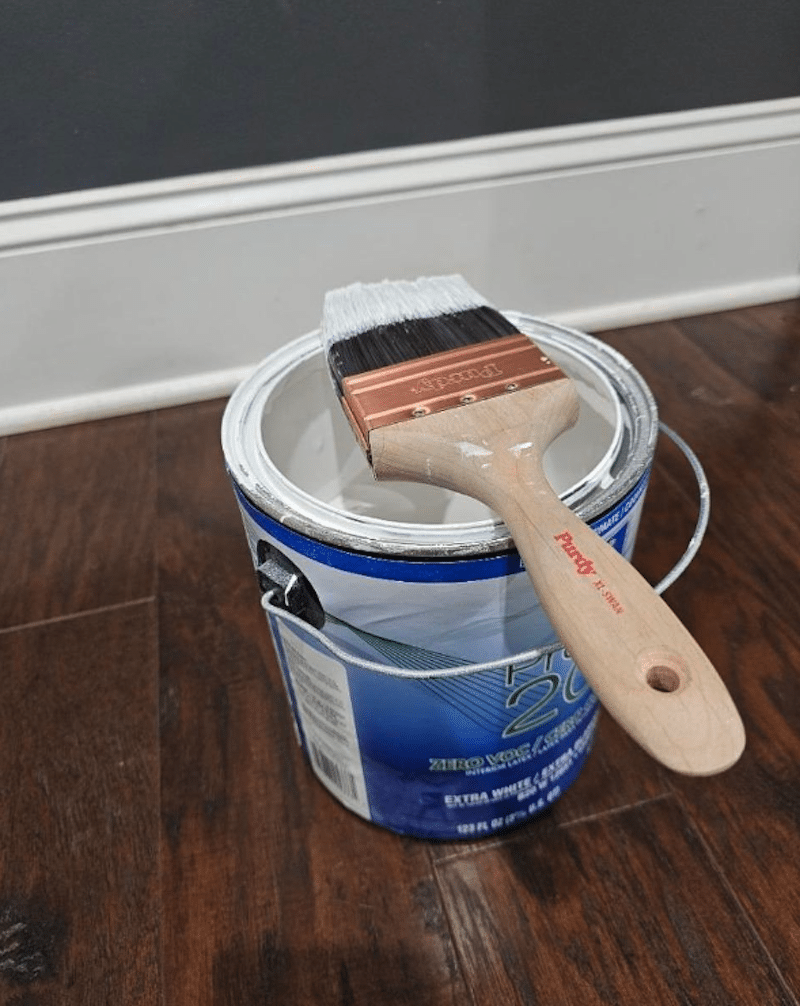
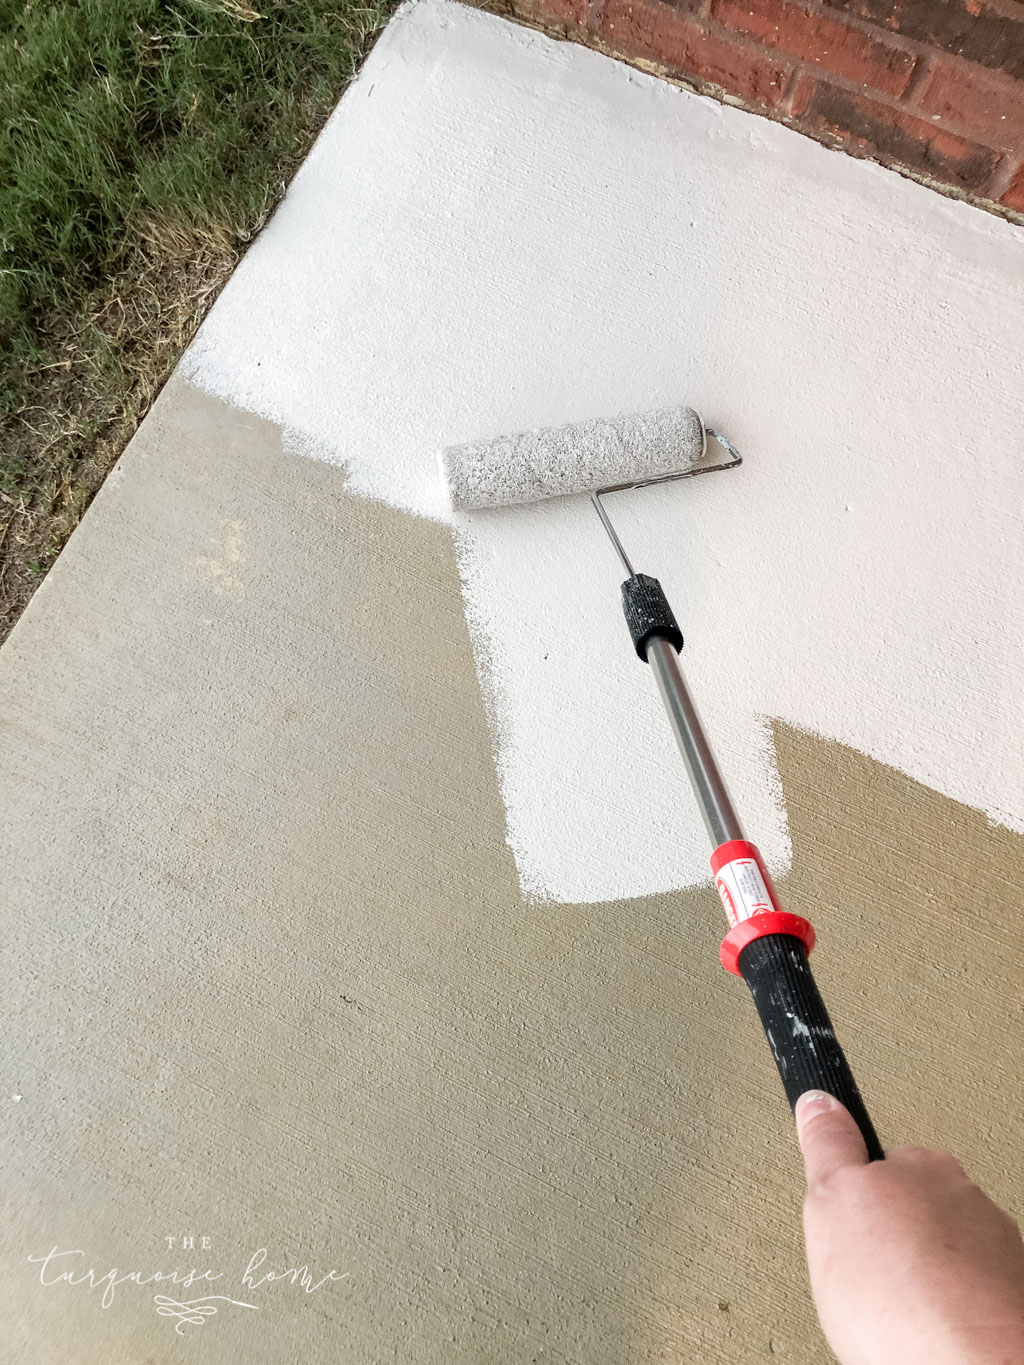
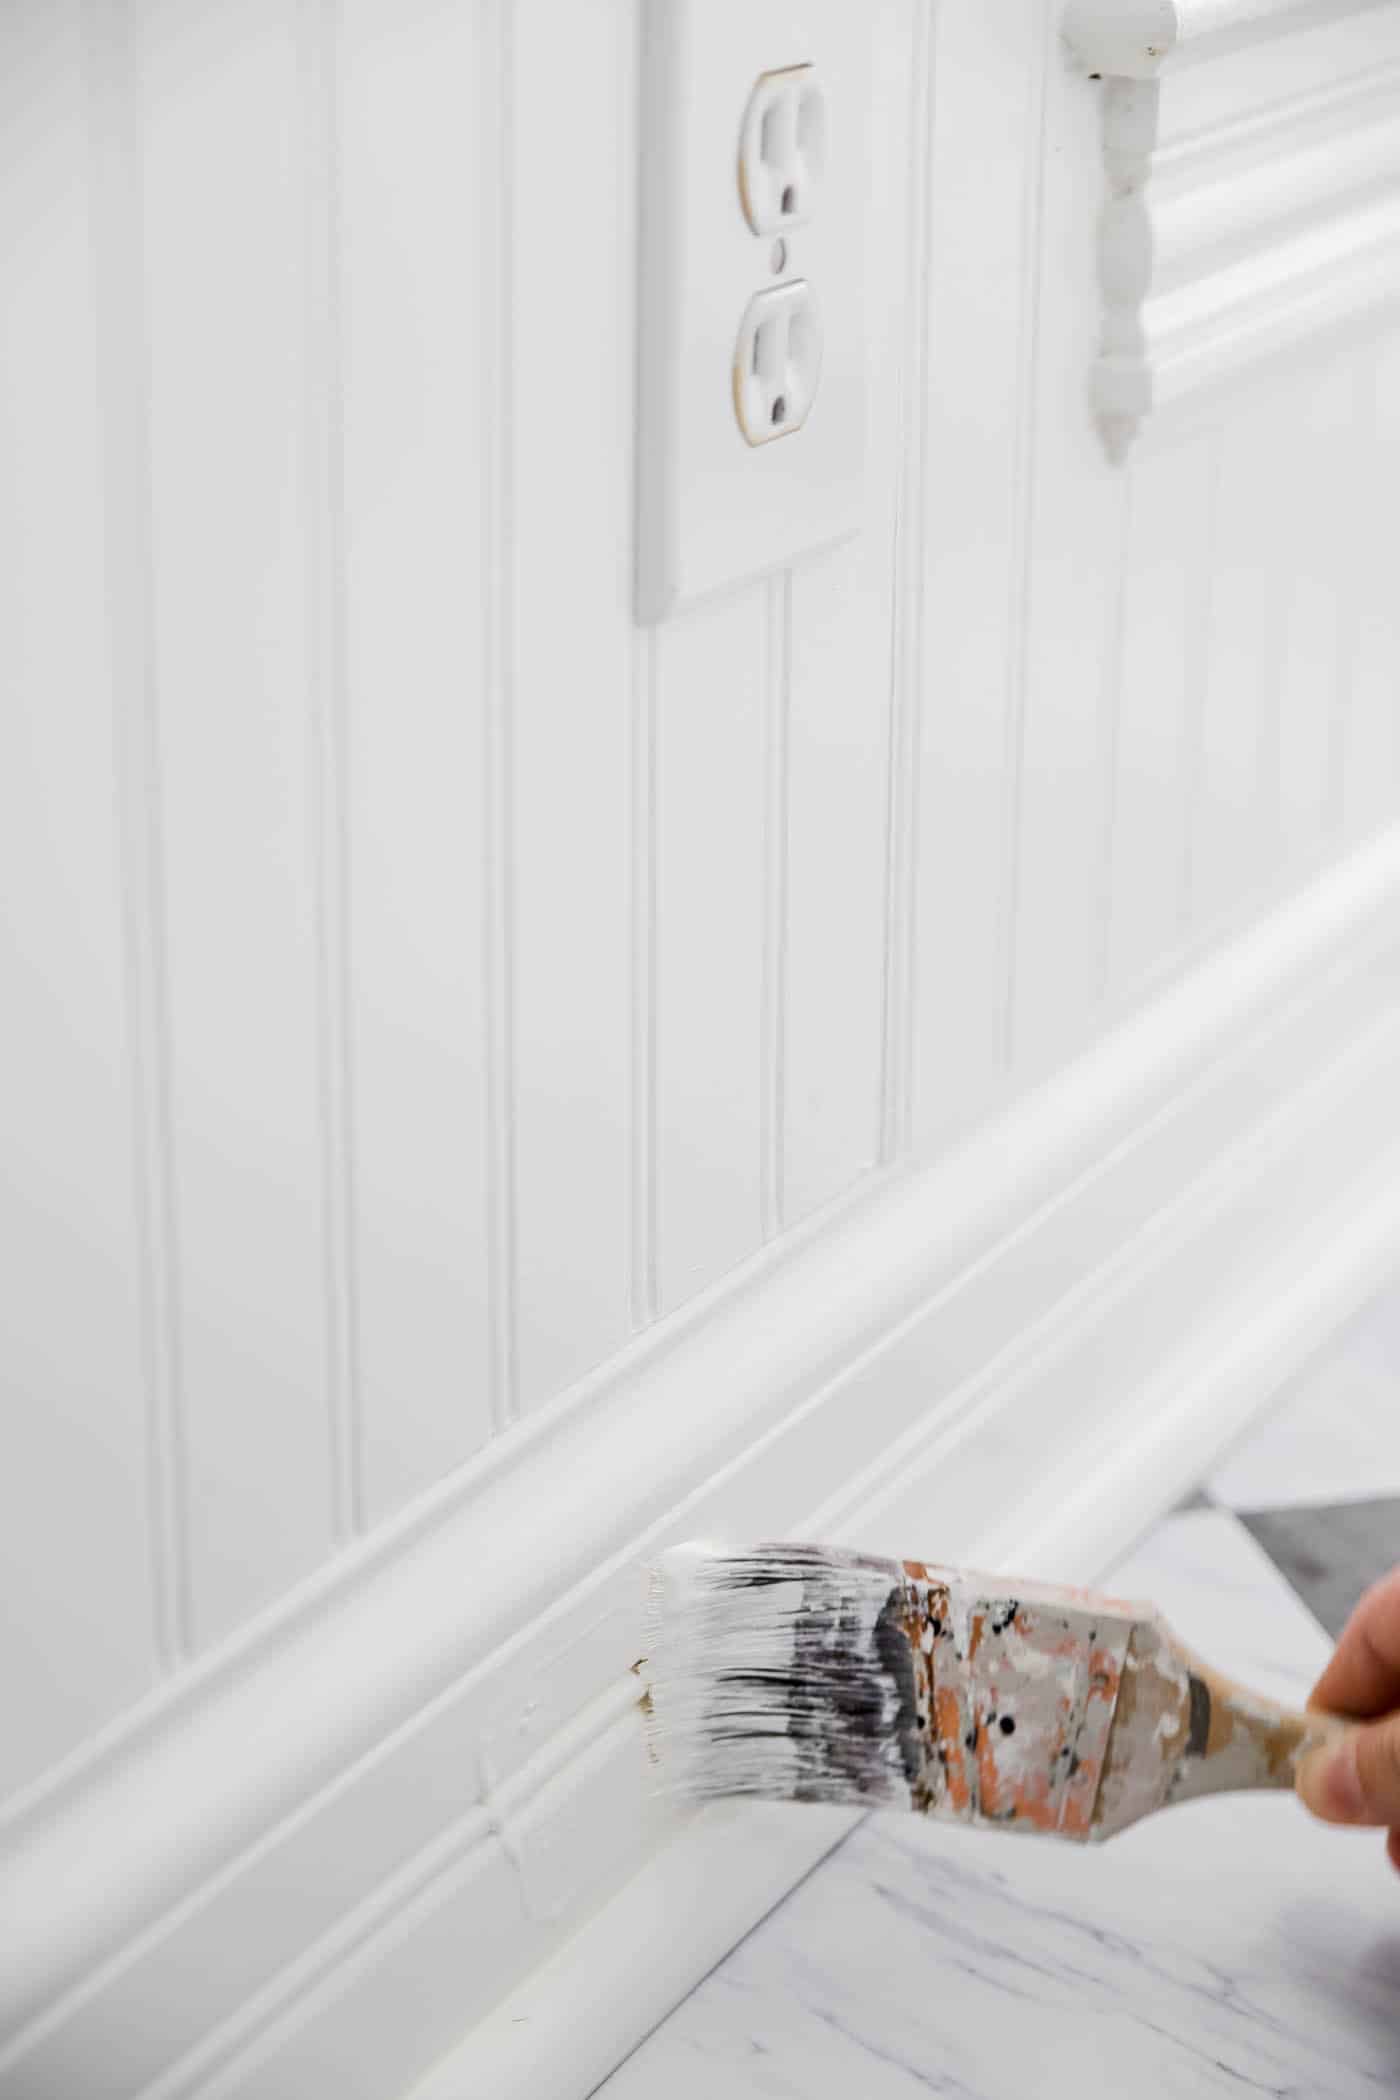
4. Paint the baseboards
Begin by using an angled paintbrush and make short strokes going in the direction of the trim piece to lay down the paint. Then – without adding more paint – drag your angled brush down the length of the short strokes to eliminate any choppiness. Another way to smooth out your initial strokes is to use a small roller along the length of the trim.
5. Paint the door and window frames
Use painter’s tape to create sharp, clean edges between the door frame and the wall. Apply the paint using a paintbrush and work from the top down. A small roller for smoothing is optional here, too. Again, work in short strokes to apply the paint evenly, then smooth over with a long stroke.
6. Paint the crown molding (if present)
For the most precise lines, you should tape off both the ceiling and the wall – unless you’re planning to paint the walls next. Work in small sections, keeping a wet edge of your brush to minimize brush strokes.
7. Allow the paint to dry
I am sure you’ve heard the saying about something being “as boring as watching paint dry.” Now is the time to go treat yourself to a lunch or dinner out, or maybe just shift gears to another project.
How long does it take trim paint to dry? Oil-based paints need 24 hours to dry for best results. Water-based paints need six to eight hours to dry. You want it completely dry before adding a second coat or removing painter’s tape. After all this effort, you do not want to mess up your work!
More Helpful Info
Below are a few other posts and my paint color archives you may find helpful for your upcoming painting projects.