Trash to Treasure: Peacock Framed Art
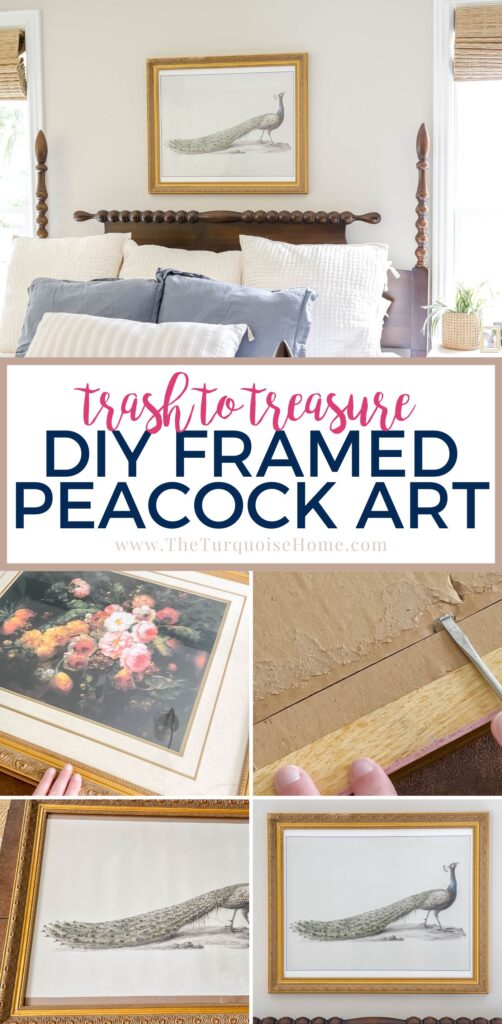
This budget-friendly DIY framed peacock art adds a custom, high-end look to our bedroom for under $75! See how I turned a digital art download and a curbside frame into something truly special — and get inspired to create your own thrifty decor story.

How to Fame Large Digital Art on a Small Budget
1. A Full-Circle Moment in Decorating
If I’m being totally honest, and you may have noticed, my decorating has slowed up a bit over the past year or so. And that’s because the economy doesn’t allow for decor shopping in my budget like it once did. But that’s OK because I started this blog (and really my decorating journey) on a very tight budget.
Some of my very first DIY projects were projects I made from free or very inexpensive items. I made things out of pallets and roadside finds. So, this latest DIY decor project feels a little bit of a full circle moment.
Want to Save This?
Enter your email below and I’ll send it directly to your inbox!
This post contains affiliate links for your convenience. See my full disclosure policy.
2. The Long Road to a Bedroom Refresh
I shared my bedroom makeover plans a few years ago, then I shared my updated plans. It’s kind of funny when it takes so long to do a makeover that the plans evolve before you ever start.
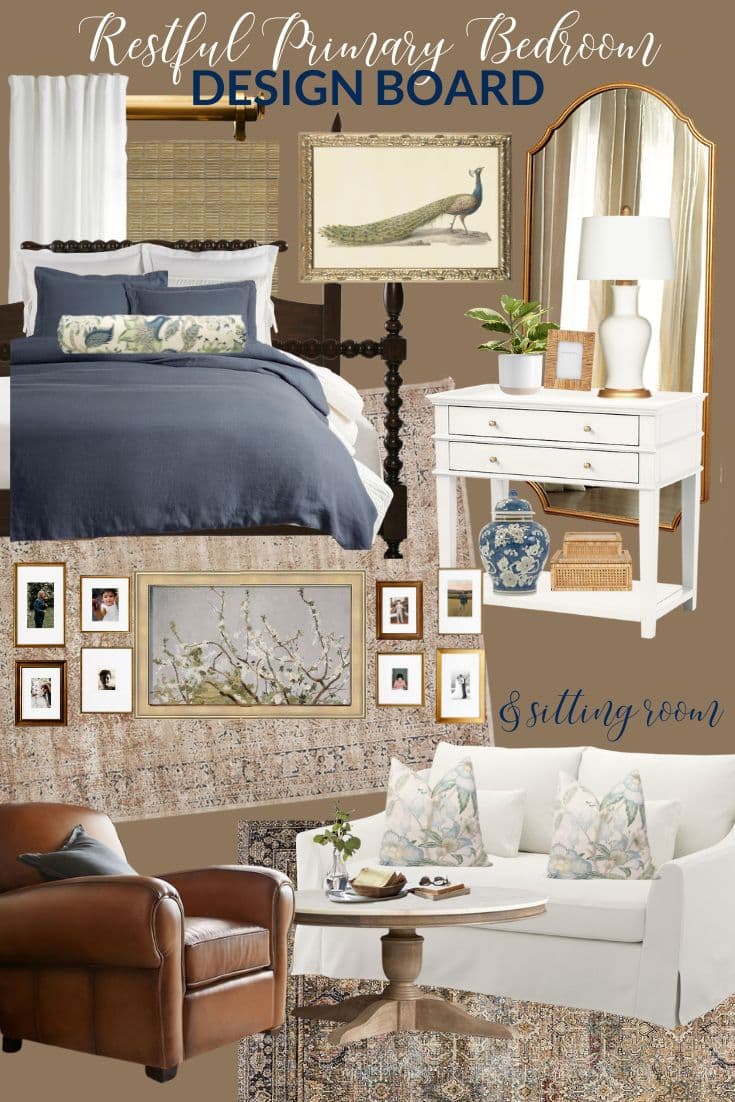
Honestly, that happens a lot of the time and that’s OK! Better to let things evolve on paper than be unhappy with your results, right? It’s important to let your style evolve naturally.
So, I’ve been wanting to start getting doing on with this makeover, but I’ve got to work with a tight budget, watch for sales and get creative.
Part of my new bedroom refresh is changing the art over the bed. I actually already have two pieces of art that I’ve changed out seasonally. So, it was hard for me to justify buying something new. But if I’m being honest, neither of them work for spring and fall. I really wanted some art that was season-less and I could leave up all year long.
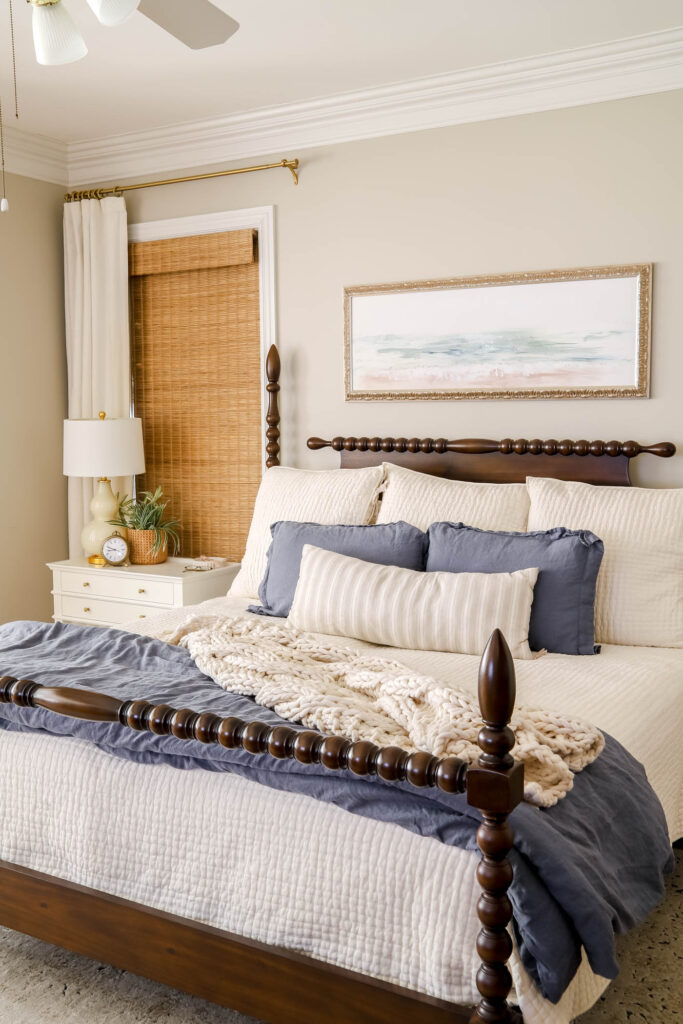
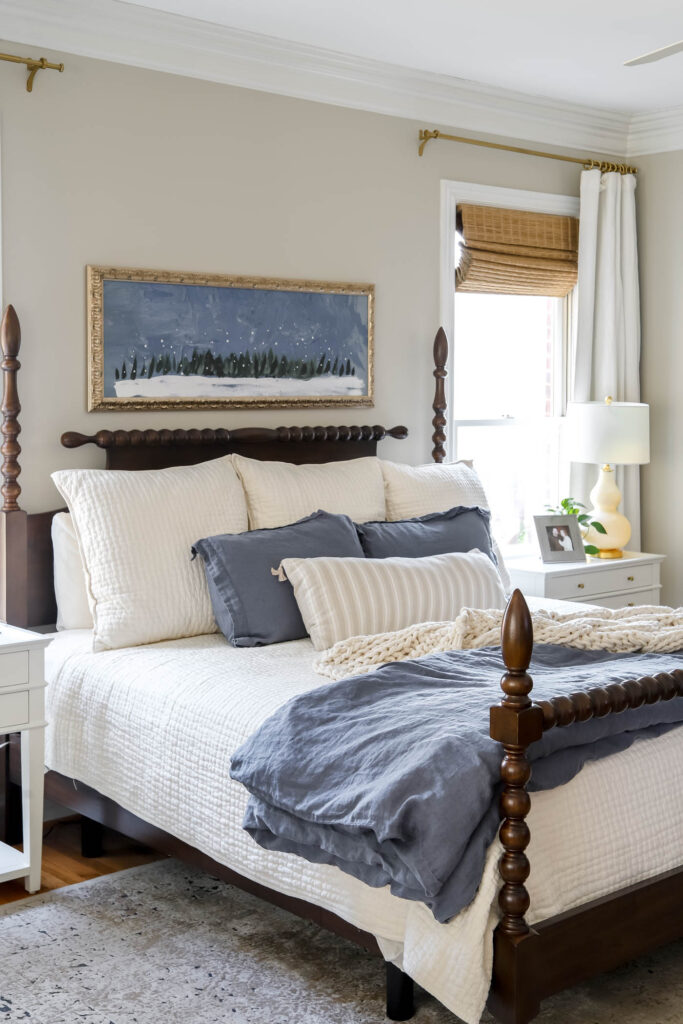
I love both the Petite Pano Pines and Sea Glass Coast art above my bed, but I think I will enjoy something I can leave up all year long. I will have to find another place for my other two art pieces. Or I may sell them.
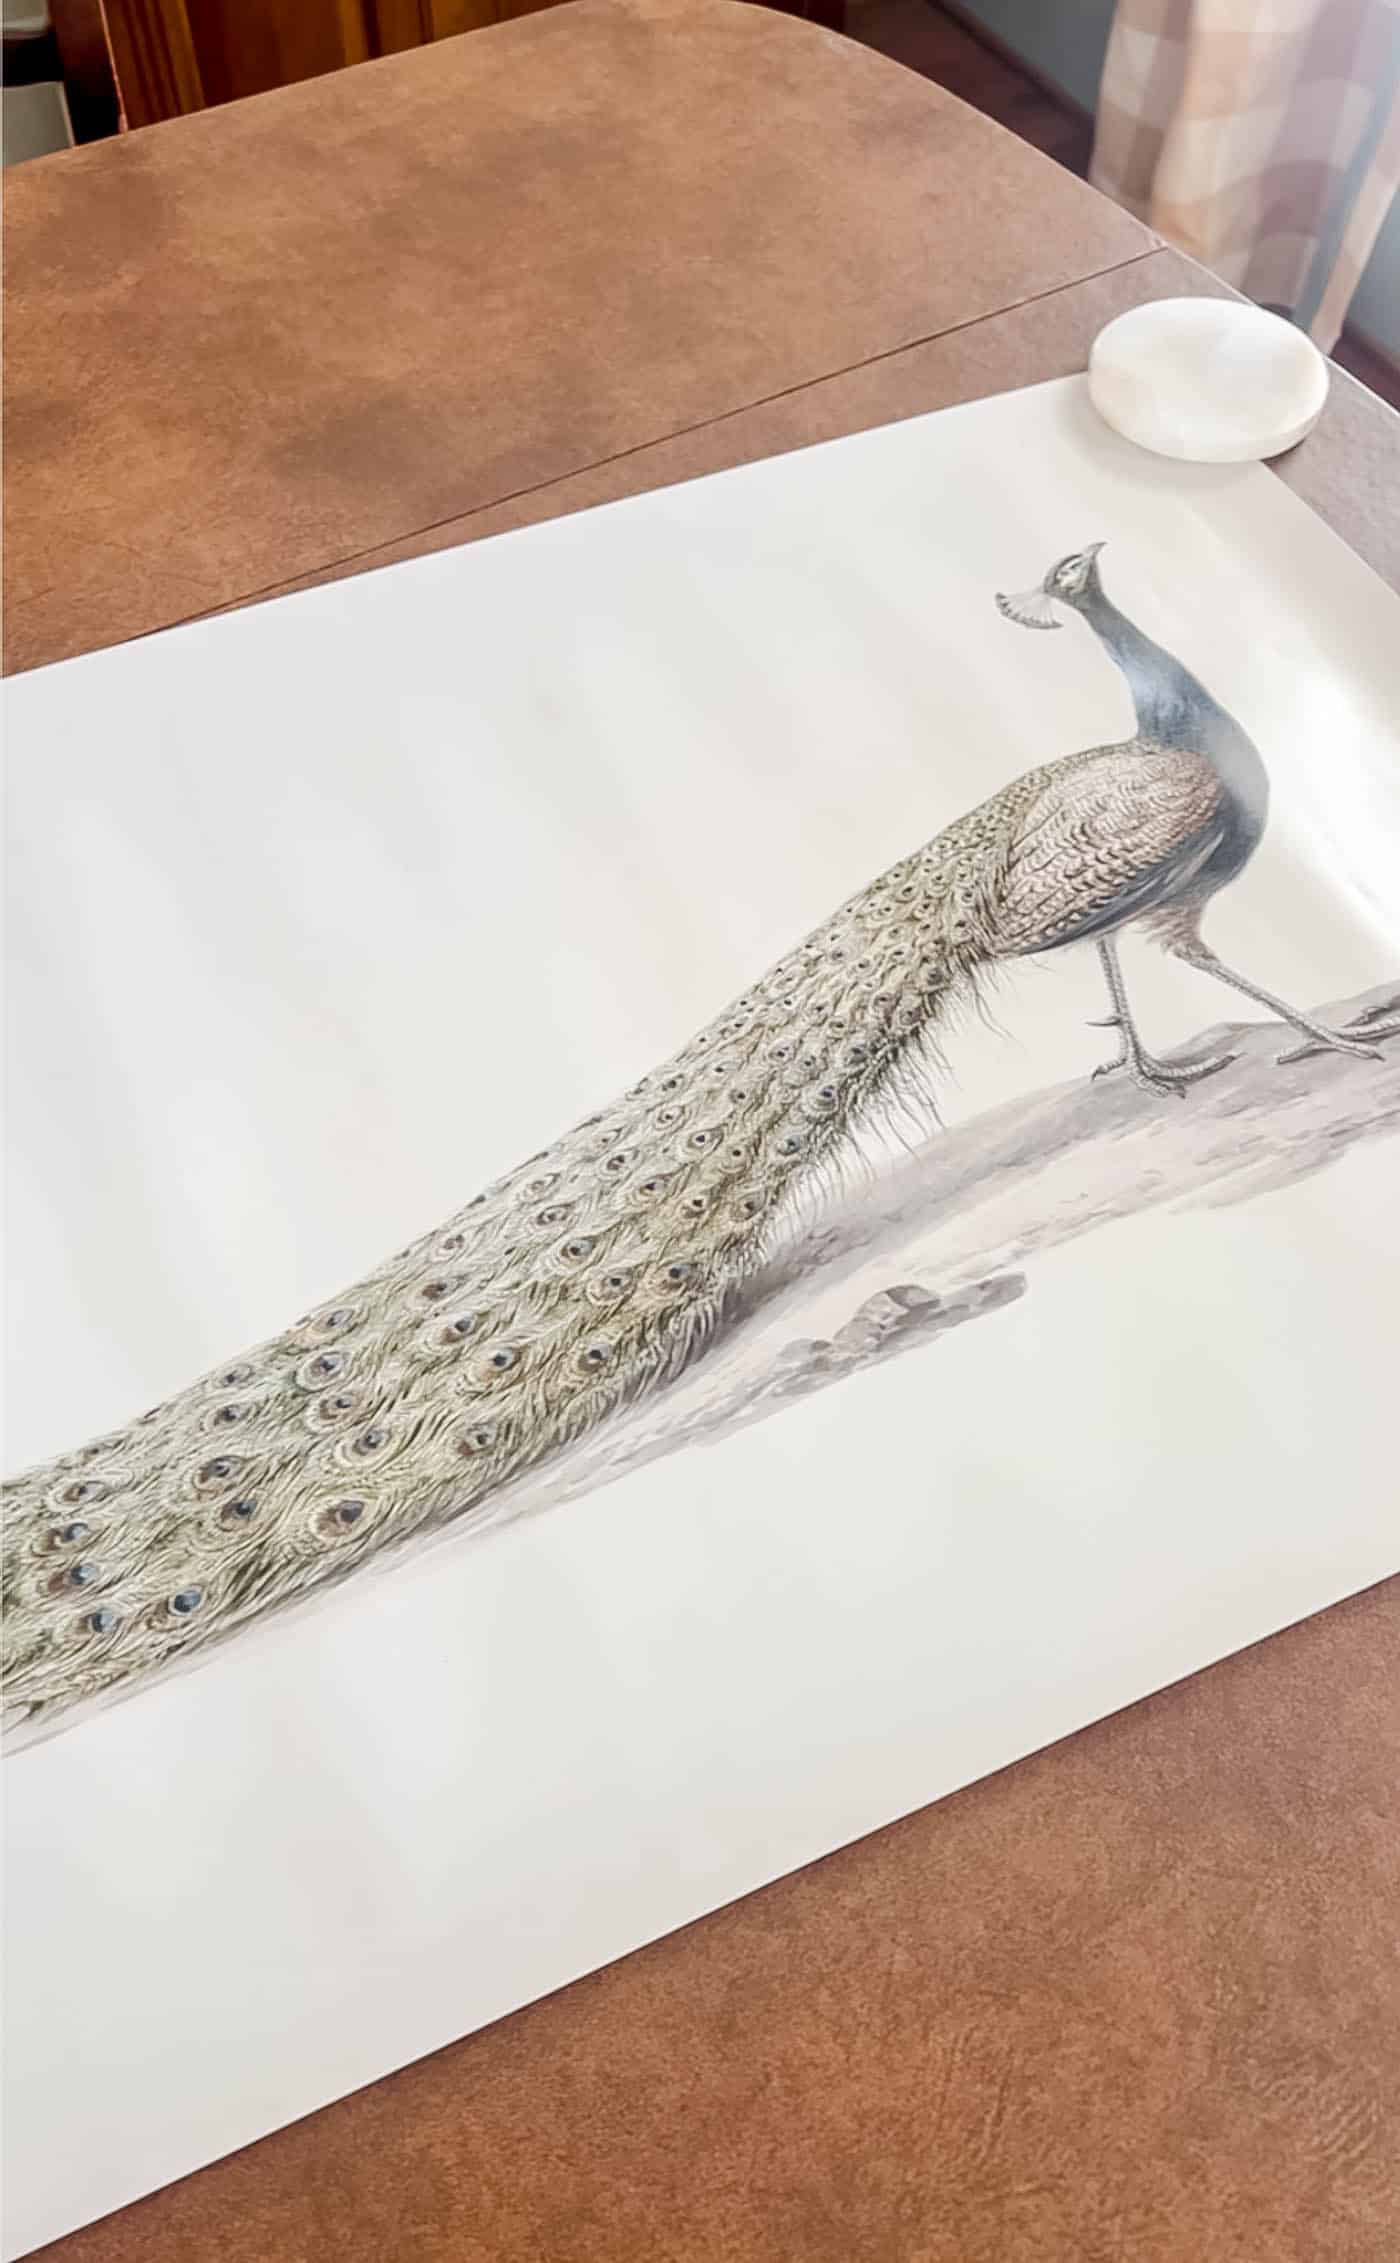
3. Falling in Love with the Peacock Art
I’ve loved this peacock art for years and have wanted it above our bed for a while now. But, buying it hasn’t been in the budget. And so I tried to figure out a way to make it happen for less!
Here’s a frugal tip: whenever I find something I want for my home, I ALWAYS do research to make sure I’m getting the best price for said item. That includes doing a Google search for the name of the product, but here lately that also includes a visual image search on Google. More times than I can count, I end up finding a better deal.
In this case, when I went to image search this art print, I found that it was an image available for public use, and was available as a digital download for just a few dollars. I quickly proceeded to purchase the art and download it to my computer for safe keeping.
But then I had to decide how to frame it and what size to make it. I’ve framed other pieces of art before, even my Frame TV. But I really wanted a more ornate frame this time, so my goal was to figure out how to make that happen for as little money as possible.
4. Finding the Perfect Frame (On the Side of the Road!)
A few weeks later, while I was still trying to figure things out, my daughter and I passed a large piece of framed art on the side of the street on trash day. I turned around and my daughter went and grabbed it for me!
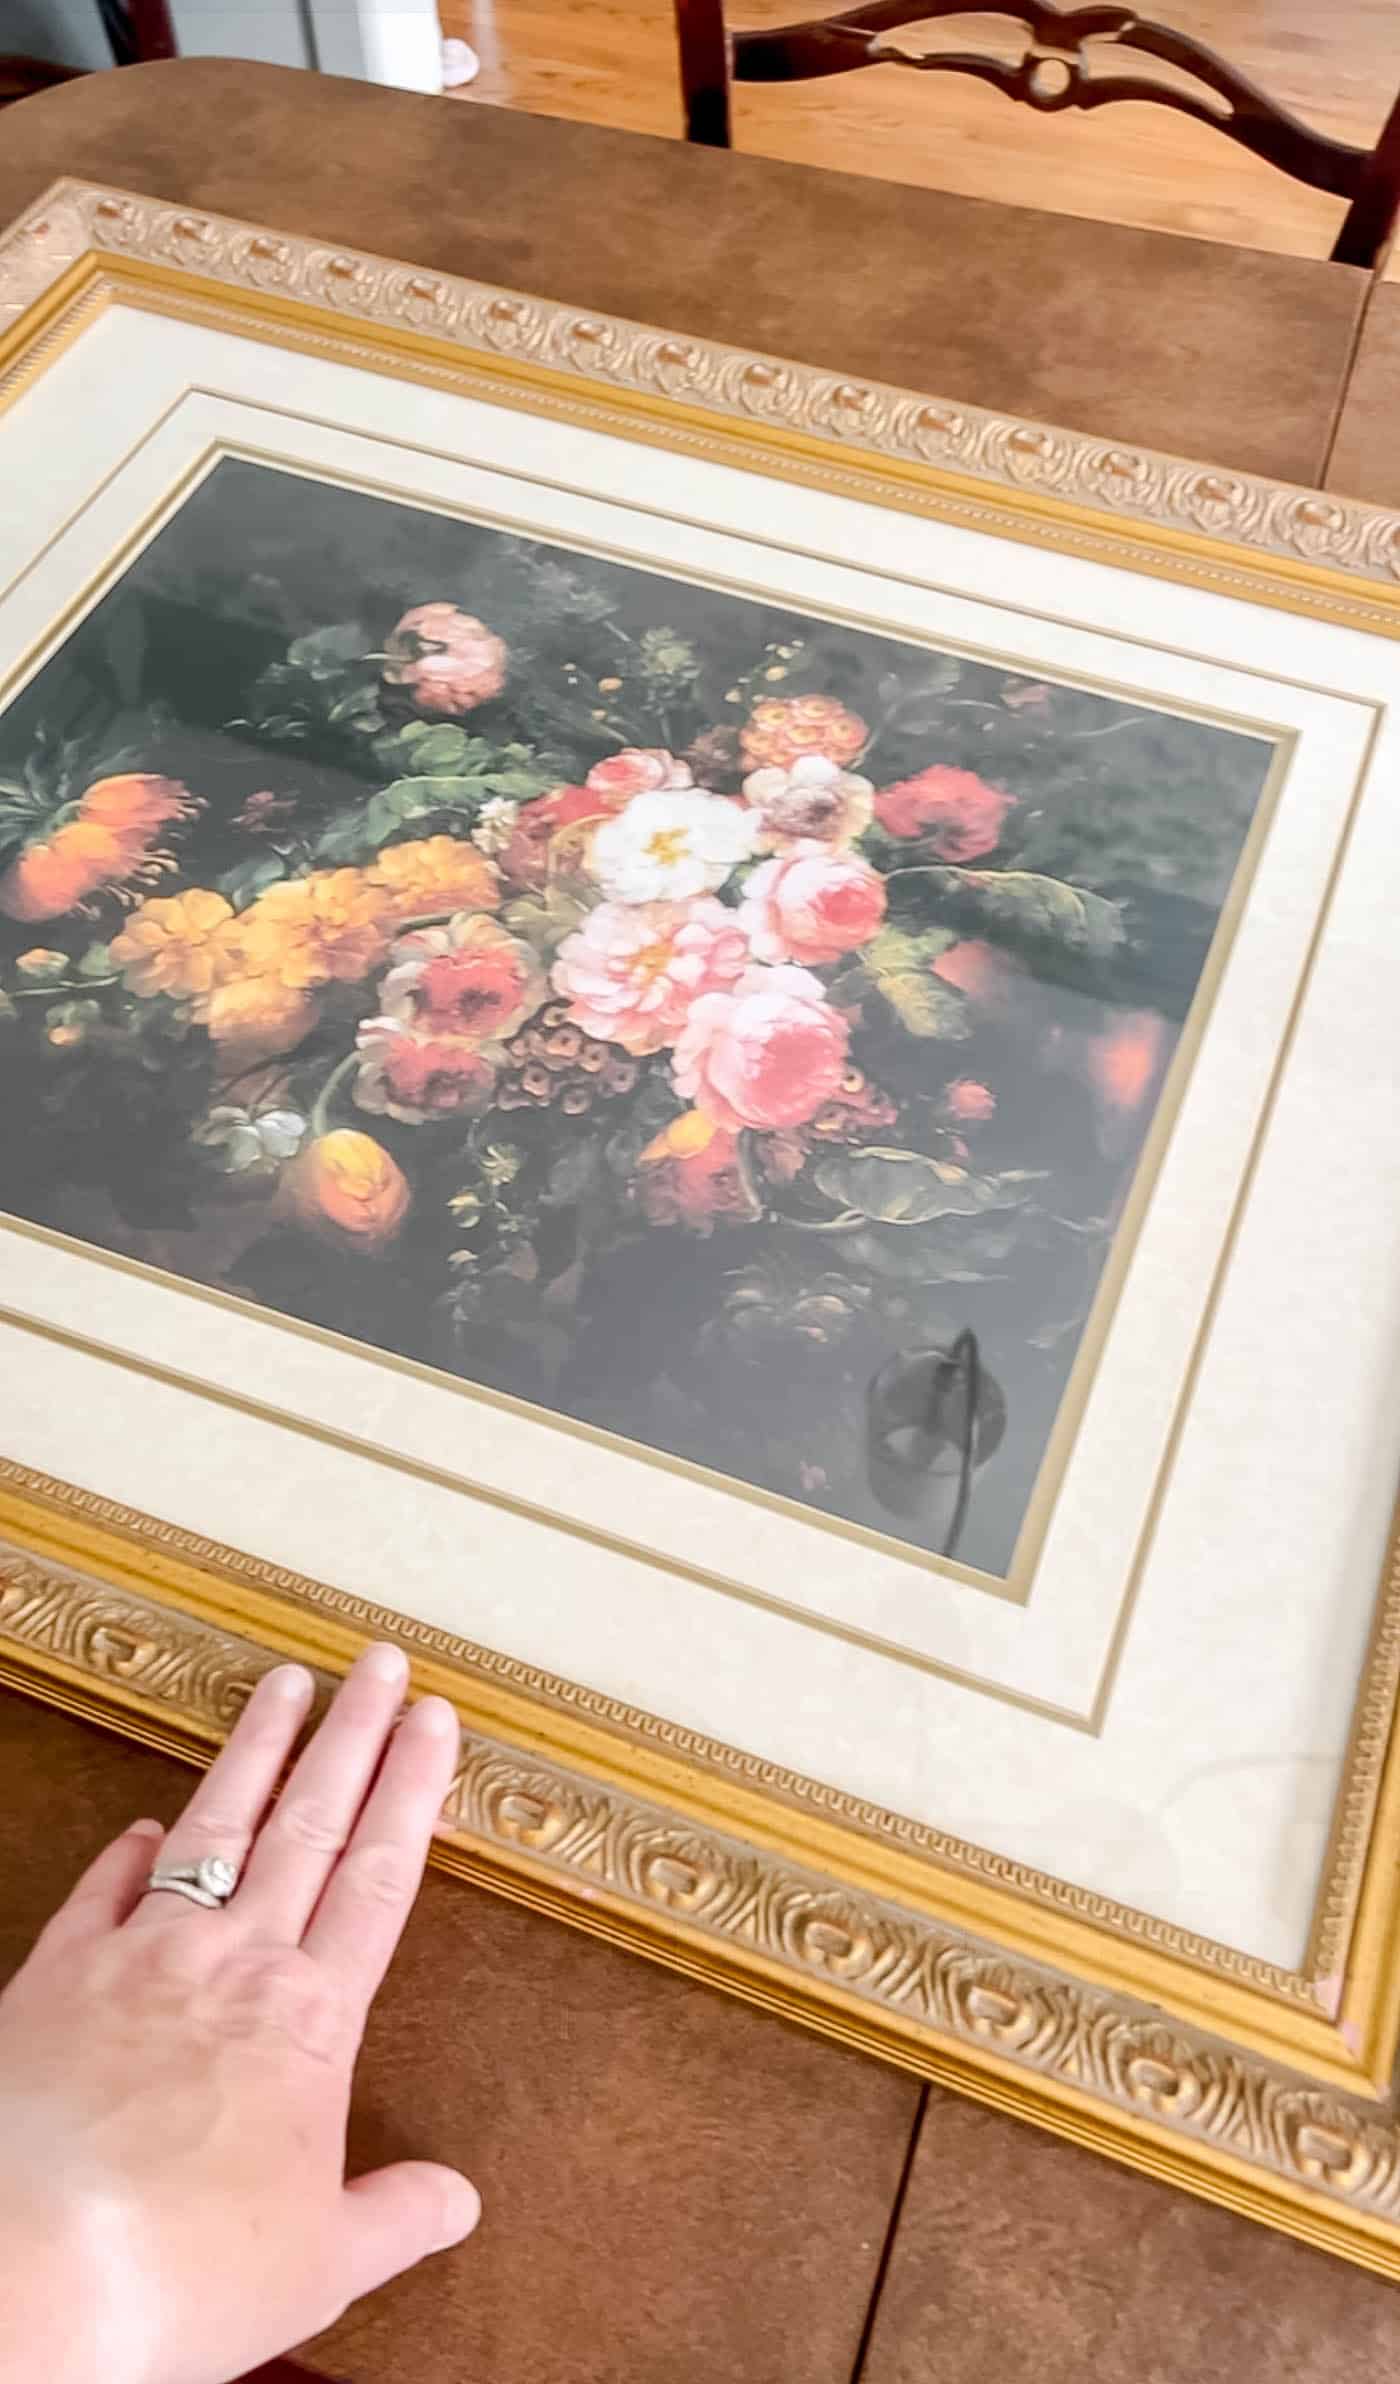
I thought the frame itself would be big enough for a piece of art over my bed. So, I had the peacock printed to the right size to fit inside the frame. I knew the dimensions would be off a bit, but I knew I’d be able to figure it out.
Another frugal tip: If you need a large frame, but don’t want to spend money on a custom frame, head to the thrift store. People are getting rid of large framed “ugly” art all the time! You’re looking for something you can take apart and put back together. I knew the moment I saw this frame I could disassemble it and re-use the glass and frame!
I simply peeled apart the back layers of the framed art, removed about 30 staples and took apart the layers.
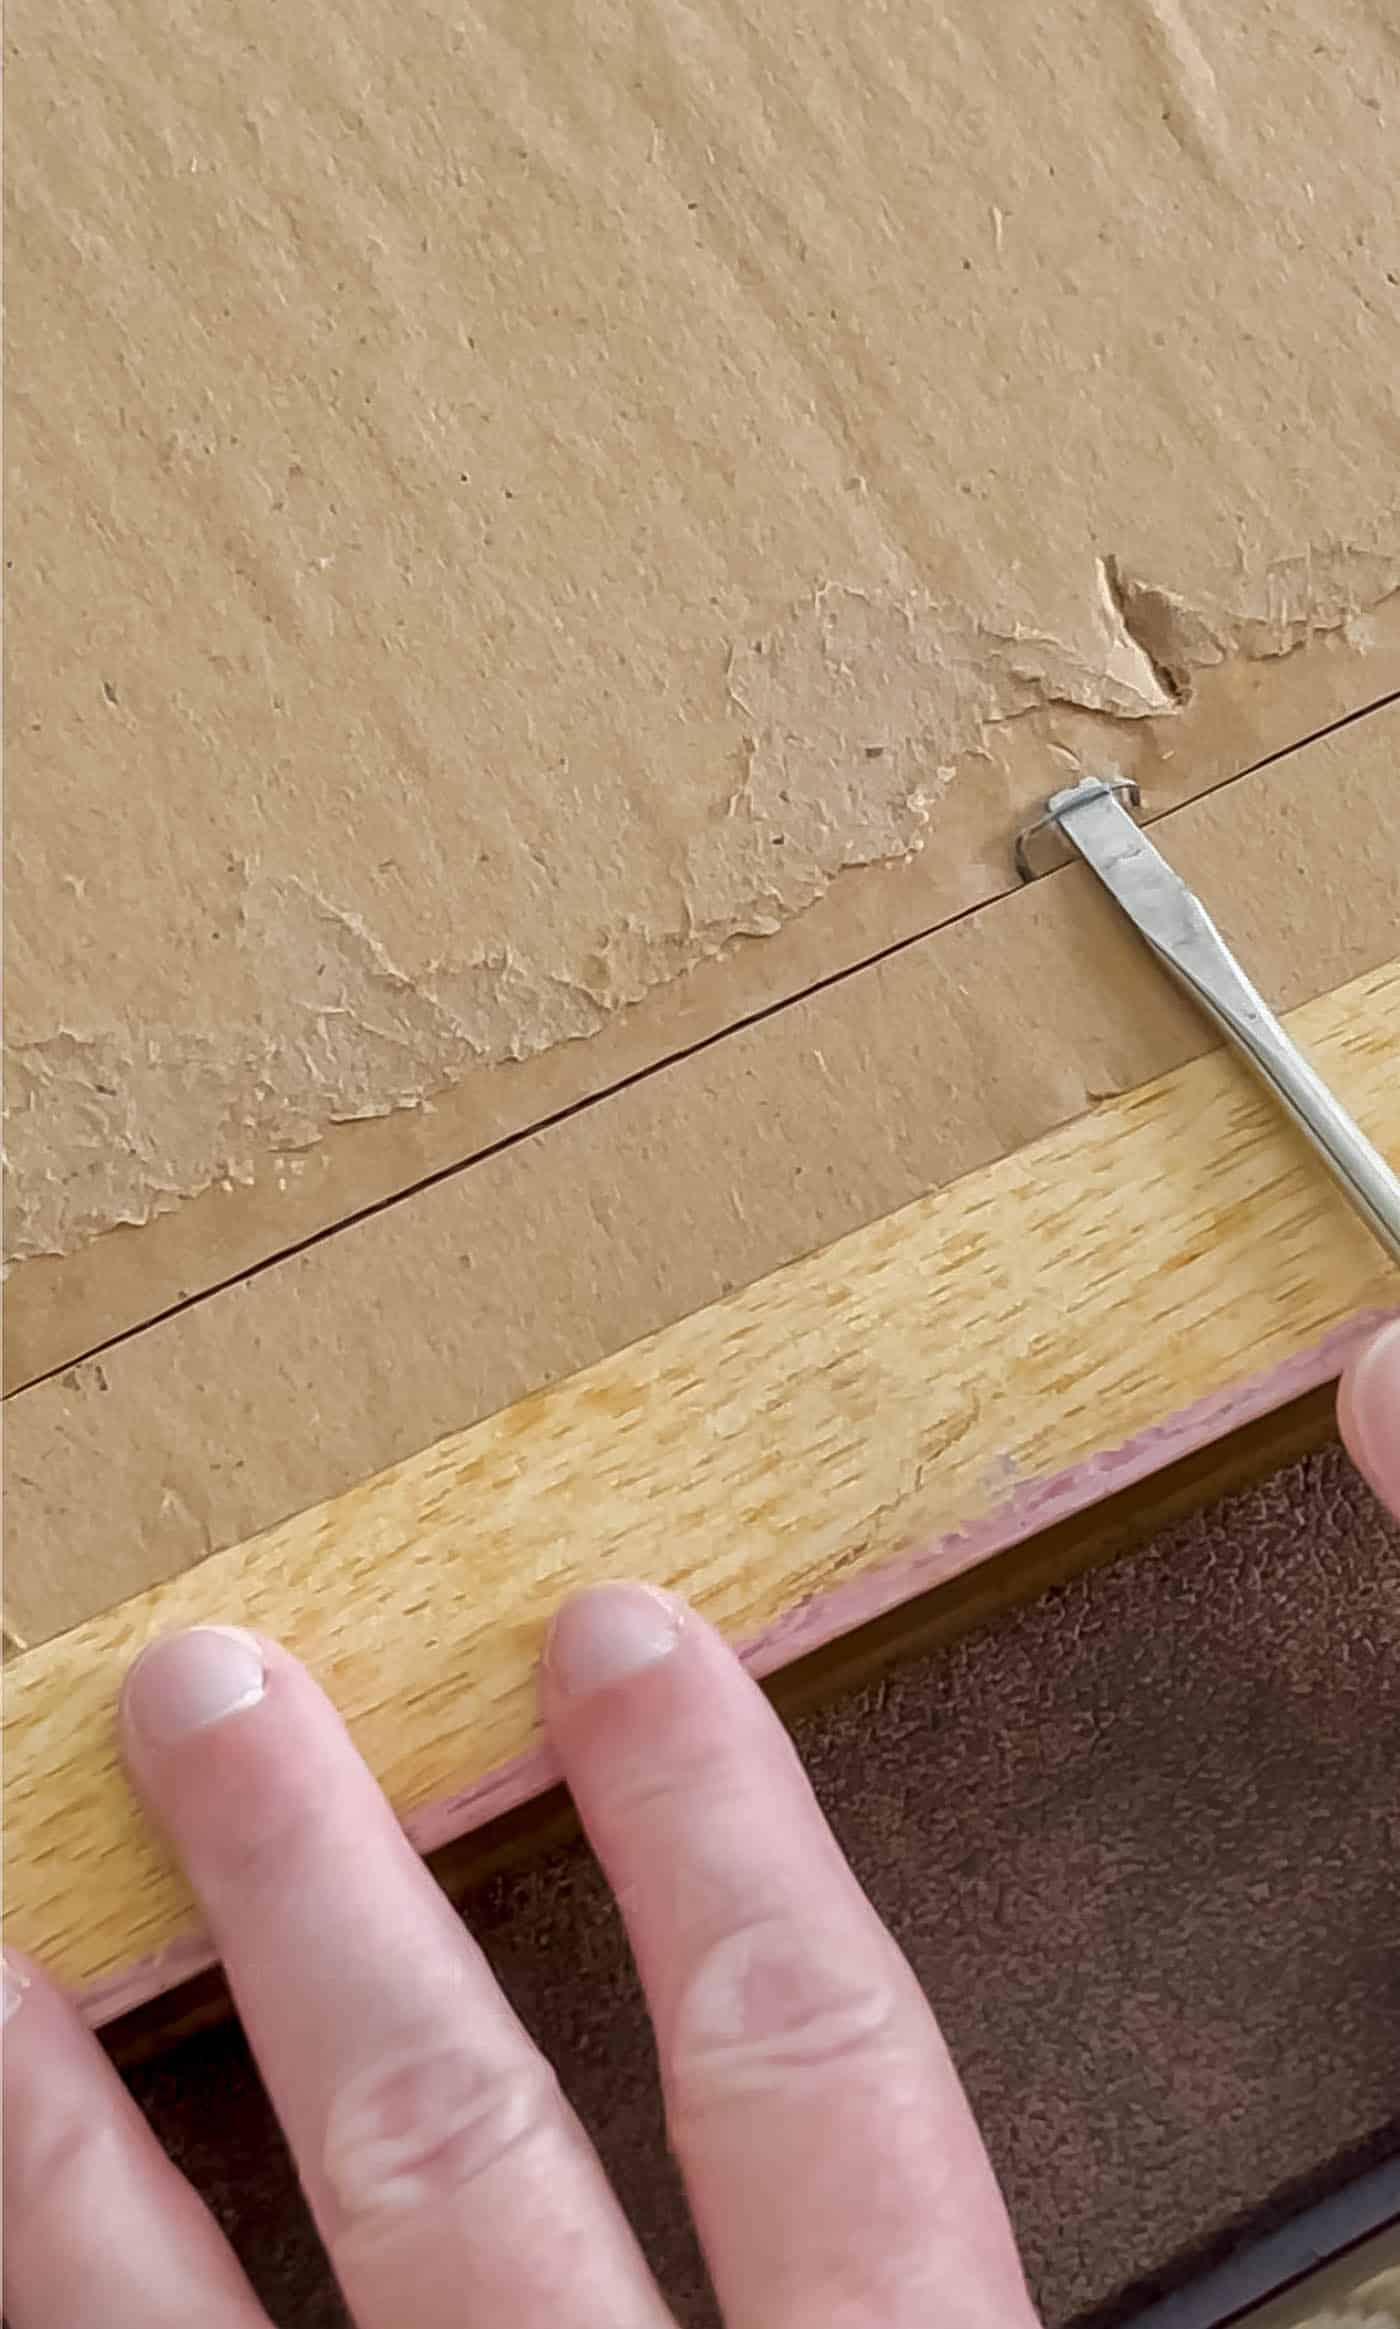
I actually carefully took apart the mat from the art and tried to reuse it, but the dimensions just wouldn’t work. I cleaned the glass really well while I had it all disassembled, too.
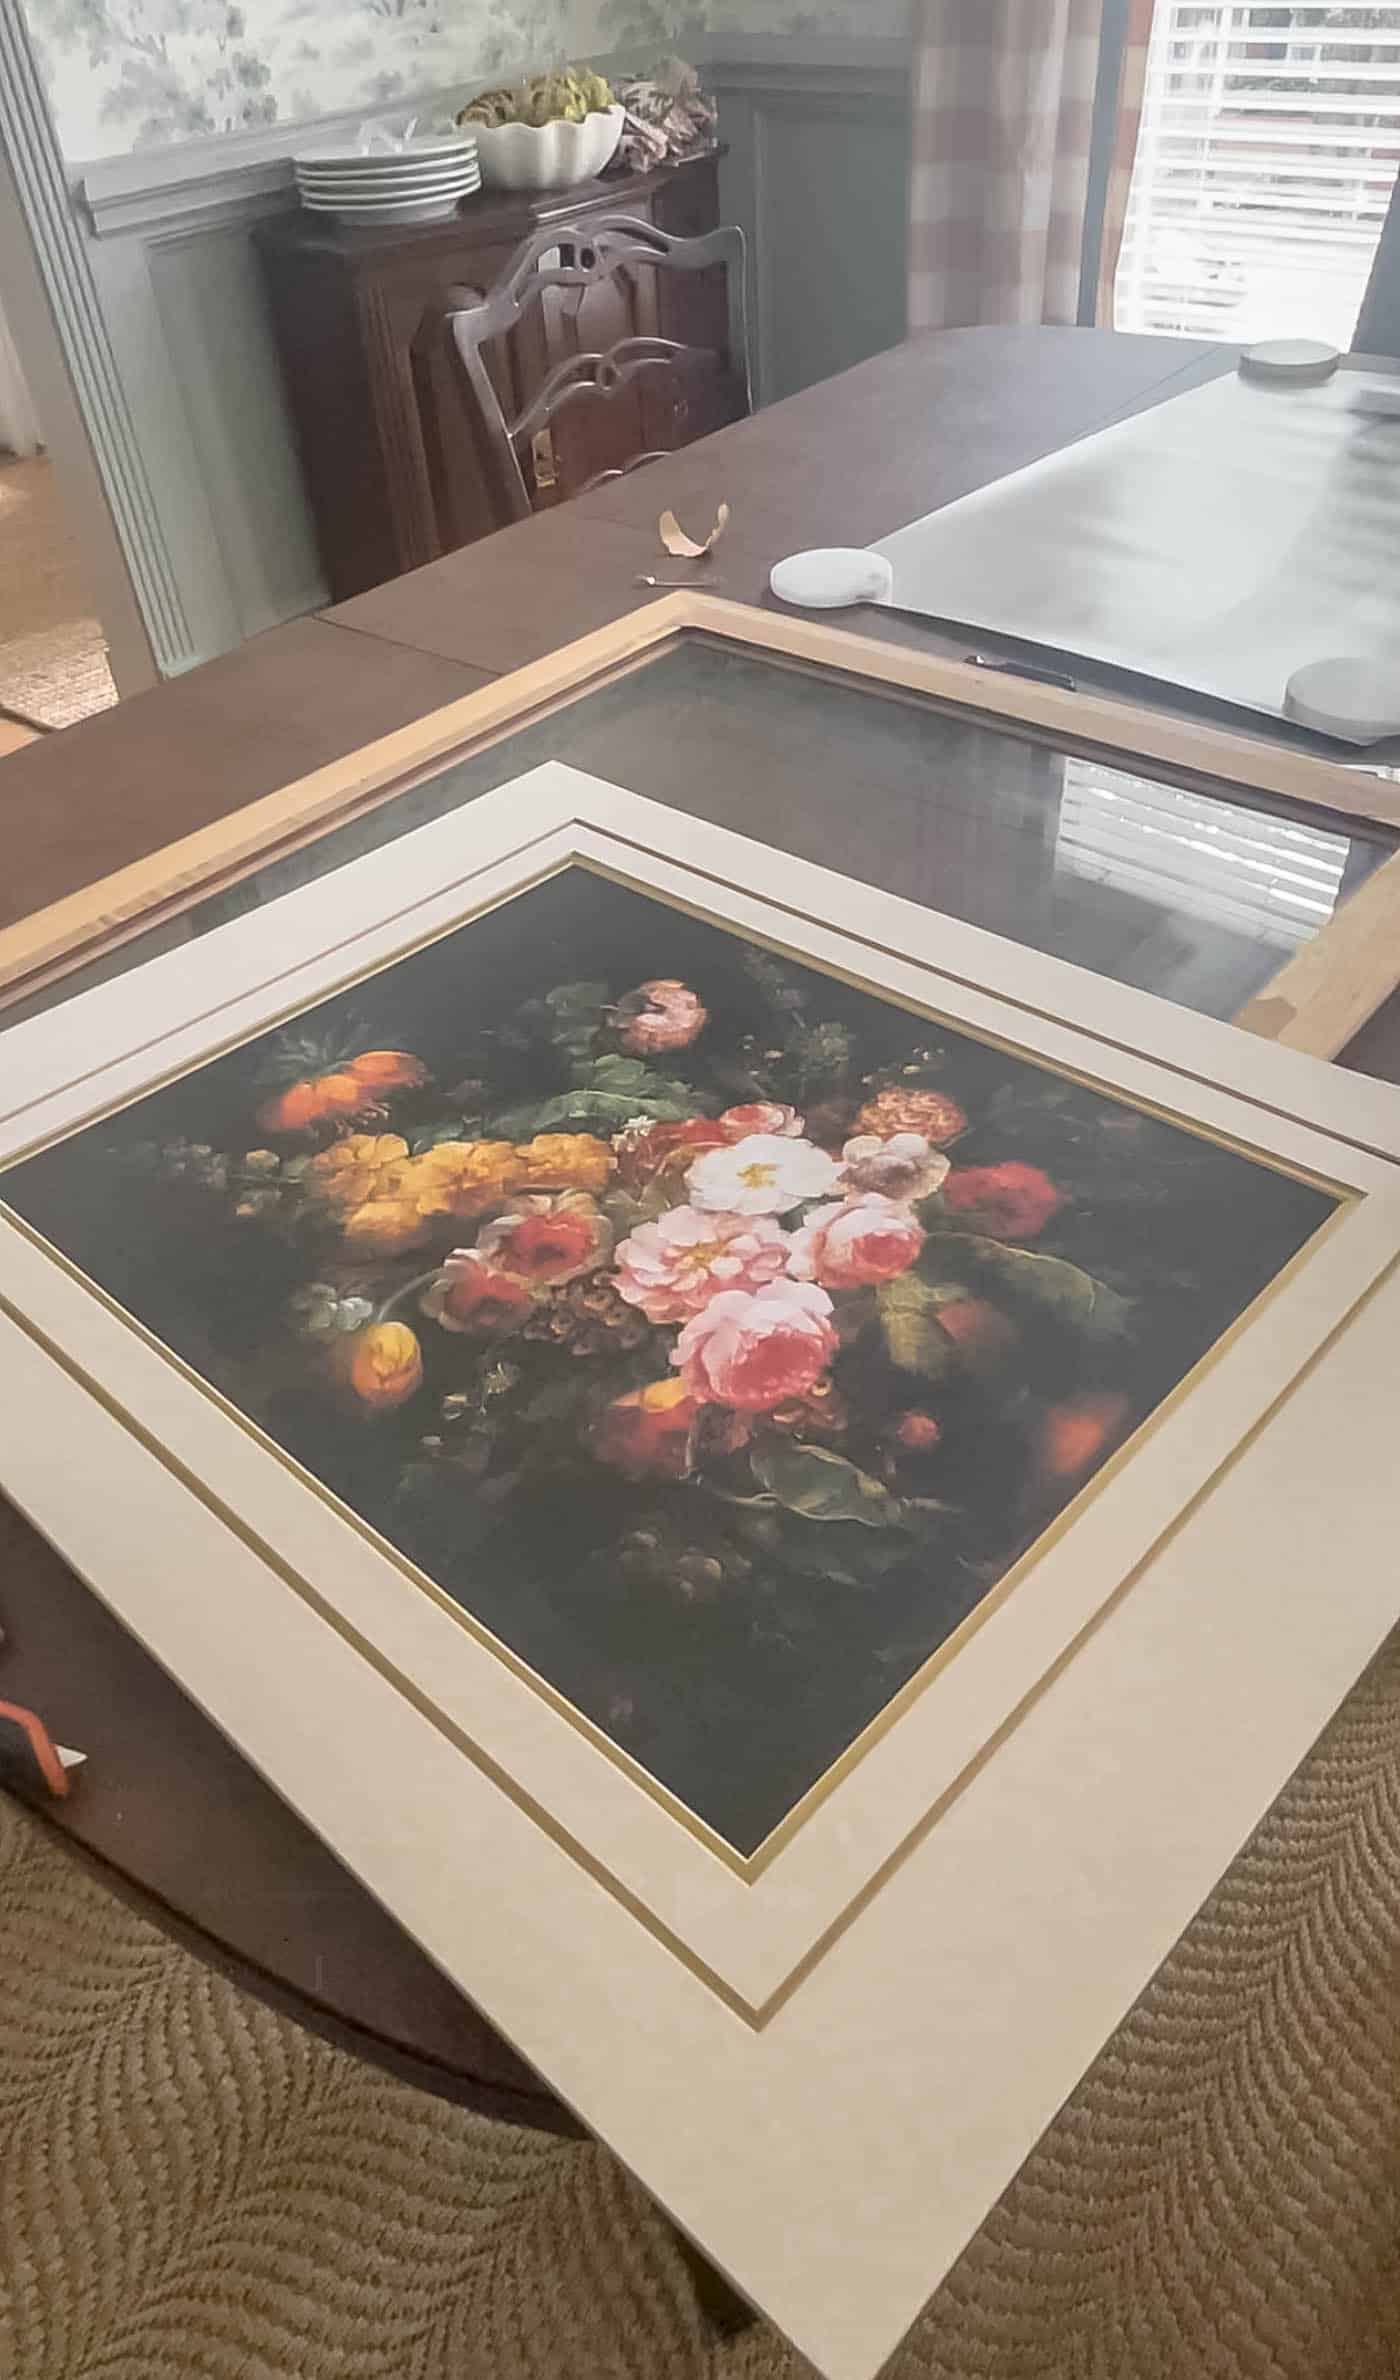
5. The Custom Mat Board Fix
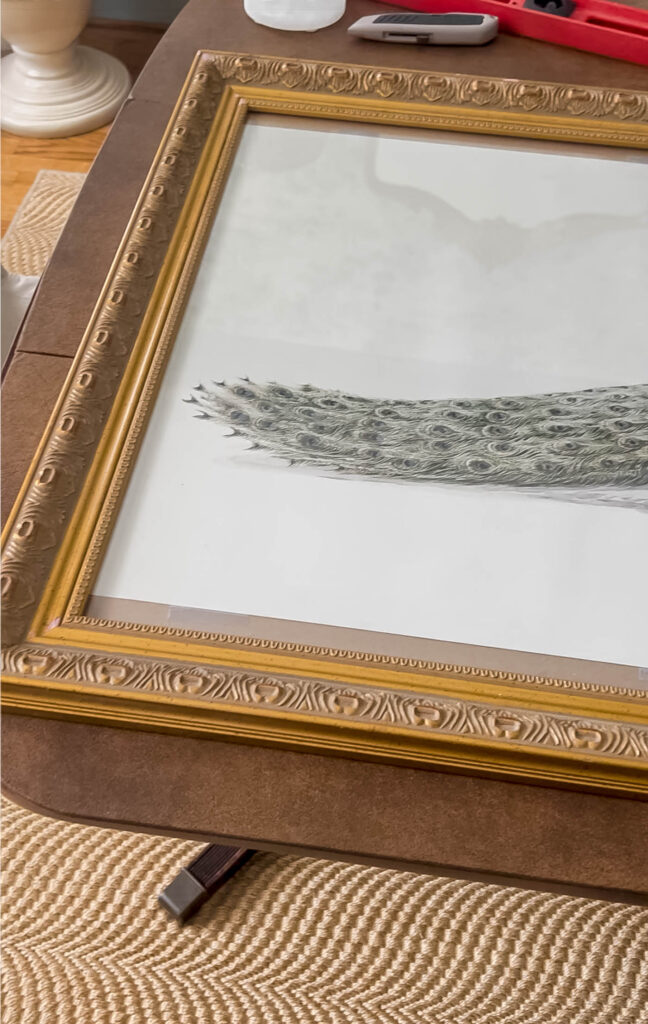
After the print came in and I pulled apart the framed art, I was ready to put the peacock art inside.
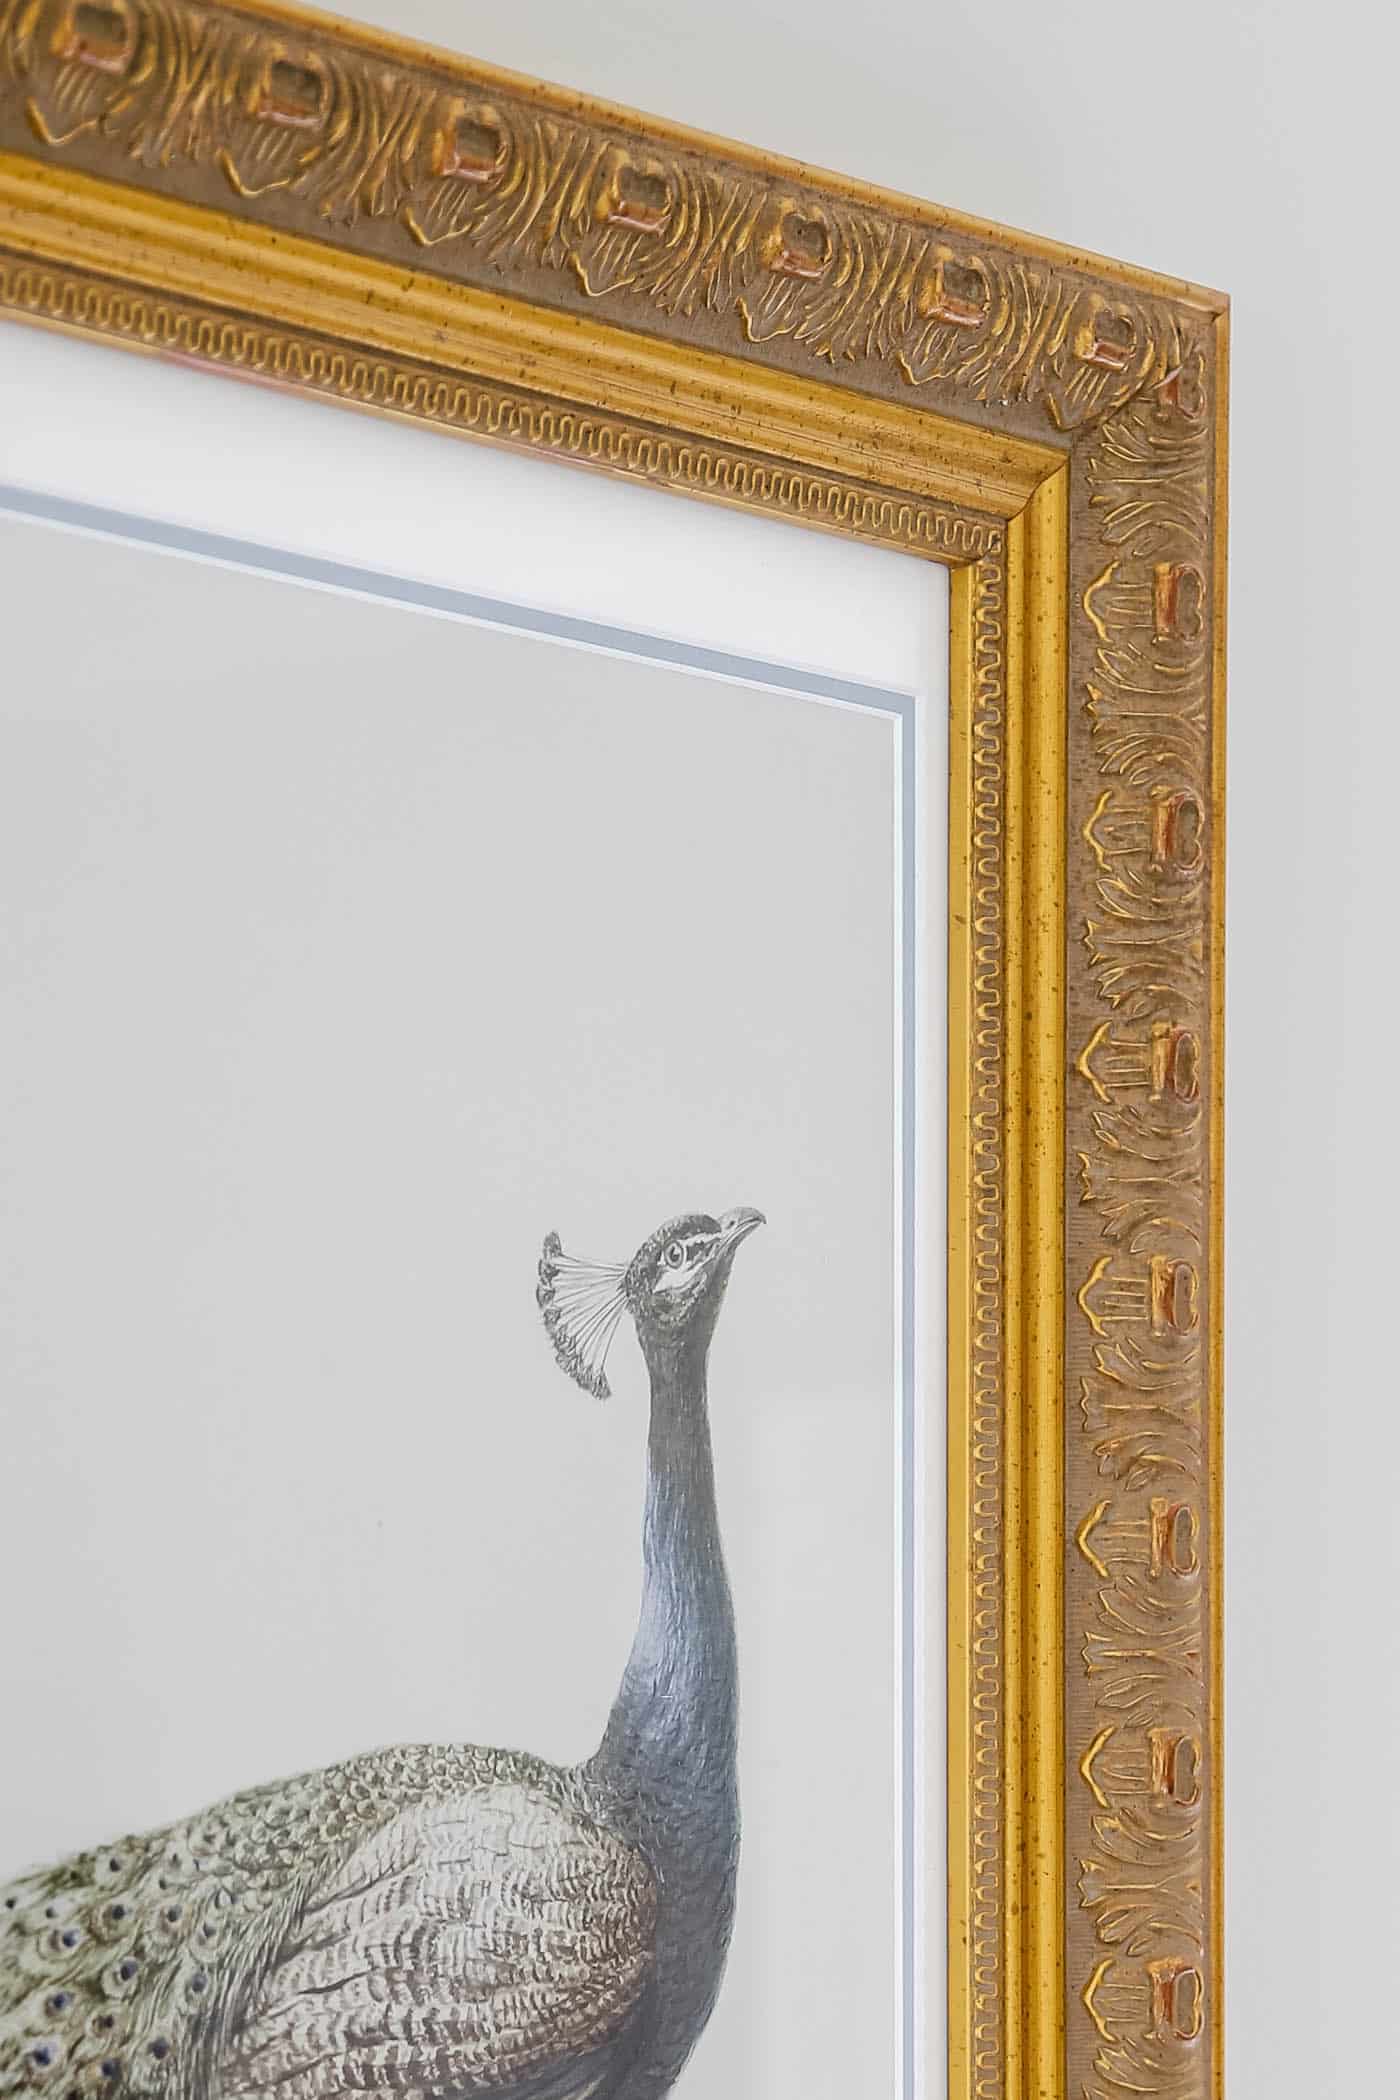
Sure enough, as you can see in the image, the print was too wide and too short to fit the frame. I trimmed the sides, but the top and bottom were too narrow to fit in the frame alone.
So, I ordered a custom mat board to fit around the edges of the picture and fill in the gaps, while also elevating the piece. I loved how easy it was to measure my dimensions and give them the exact size I needed. I opted for a double mat in an off-white color with a “Brittany blue” bottom mat color.
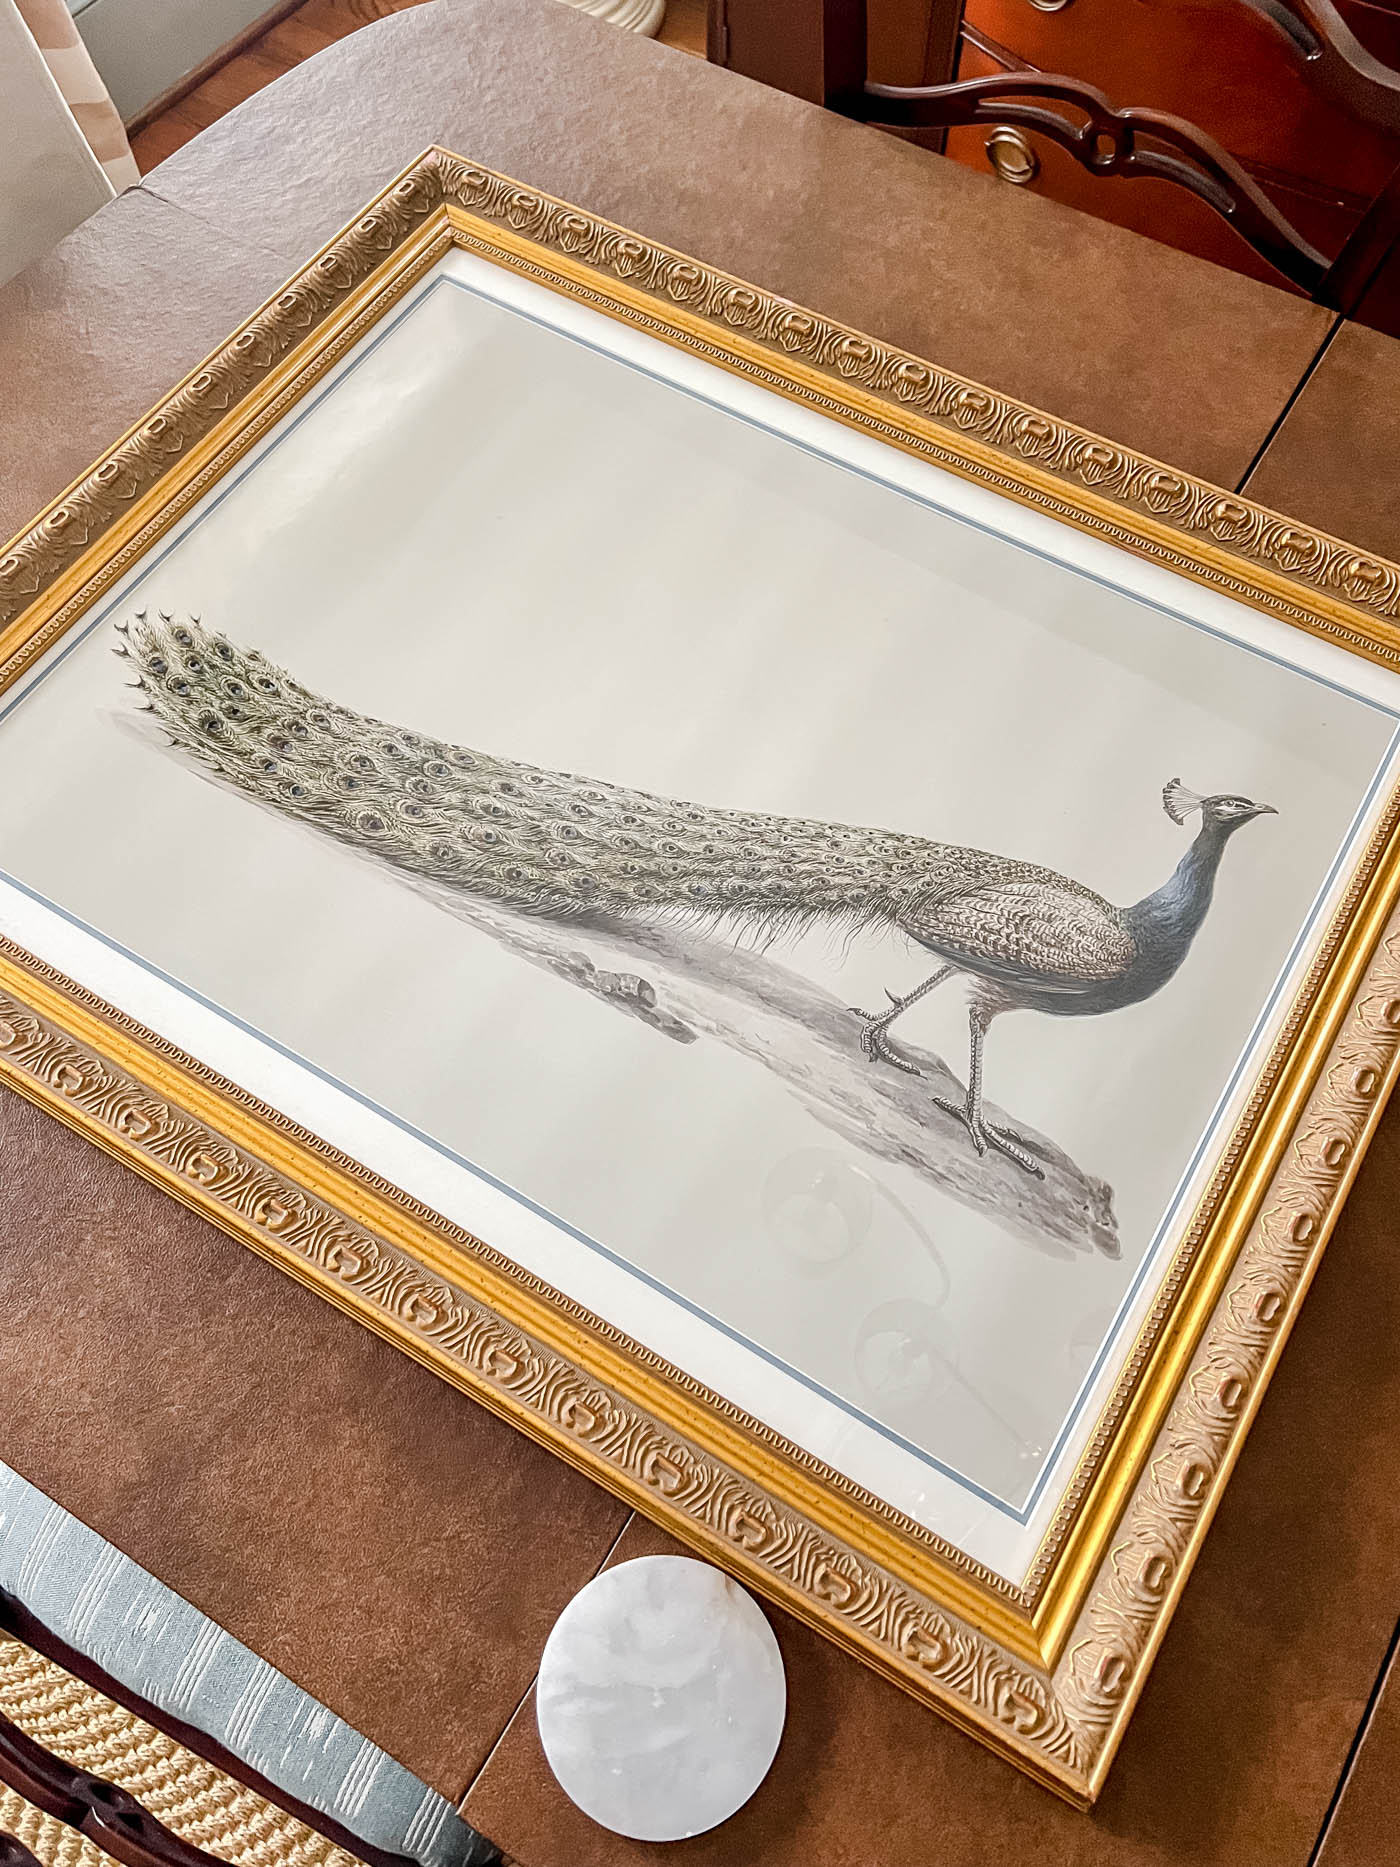
And when the mat board came, it fit perfectly. I love how the double mat with the blue inset makes it feel so much more expensive than the $74 I spent on this piece of art.
When it came time to re-assemble the back of the frame, I followed this Youtube video to staple the back of the frame to keep it secure. Then I screwed in d-ring hangers to the back of the frame to hang it.
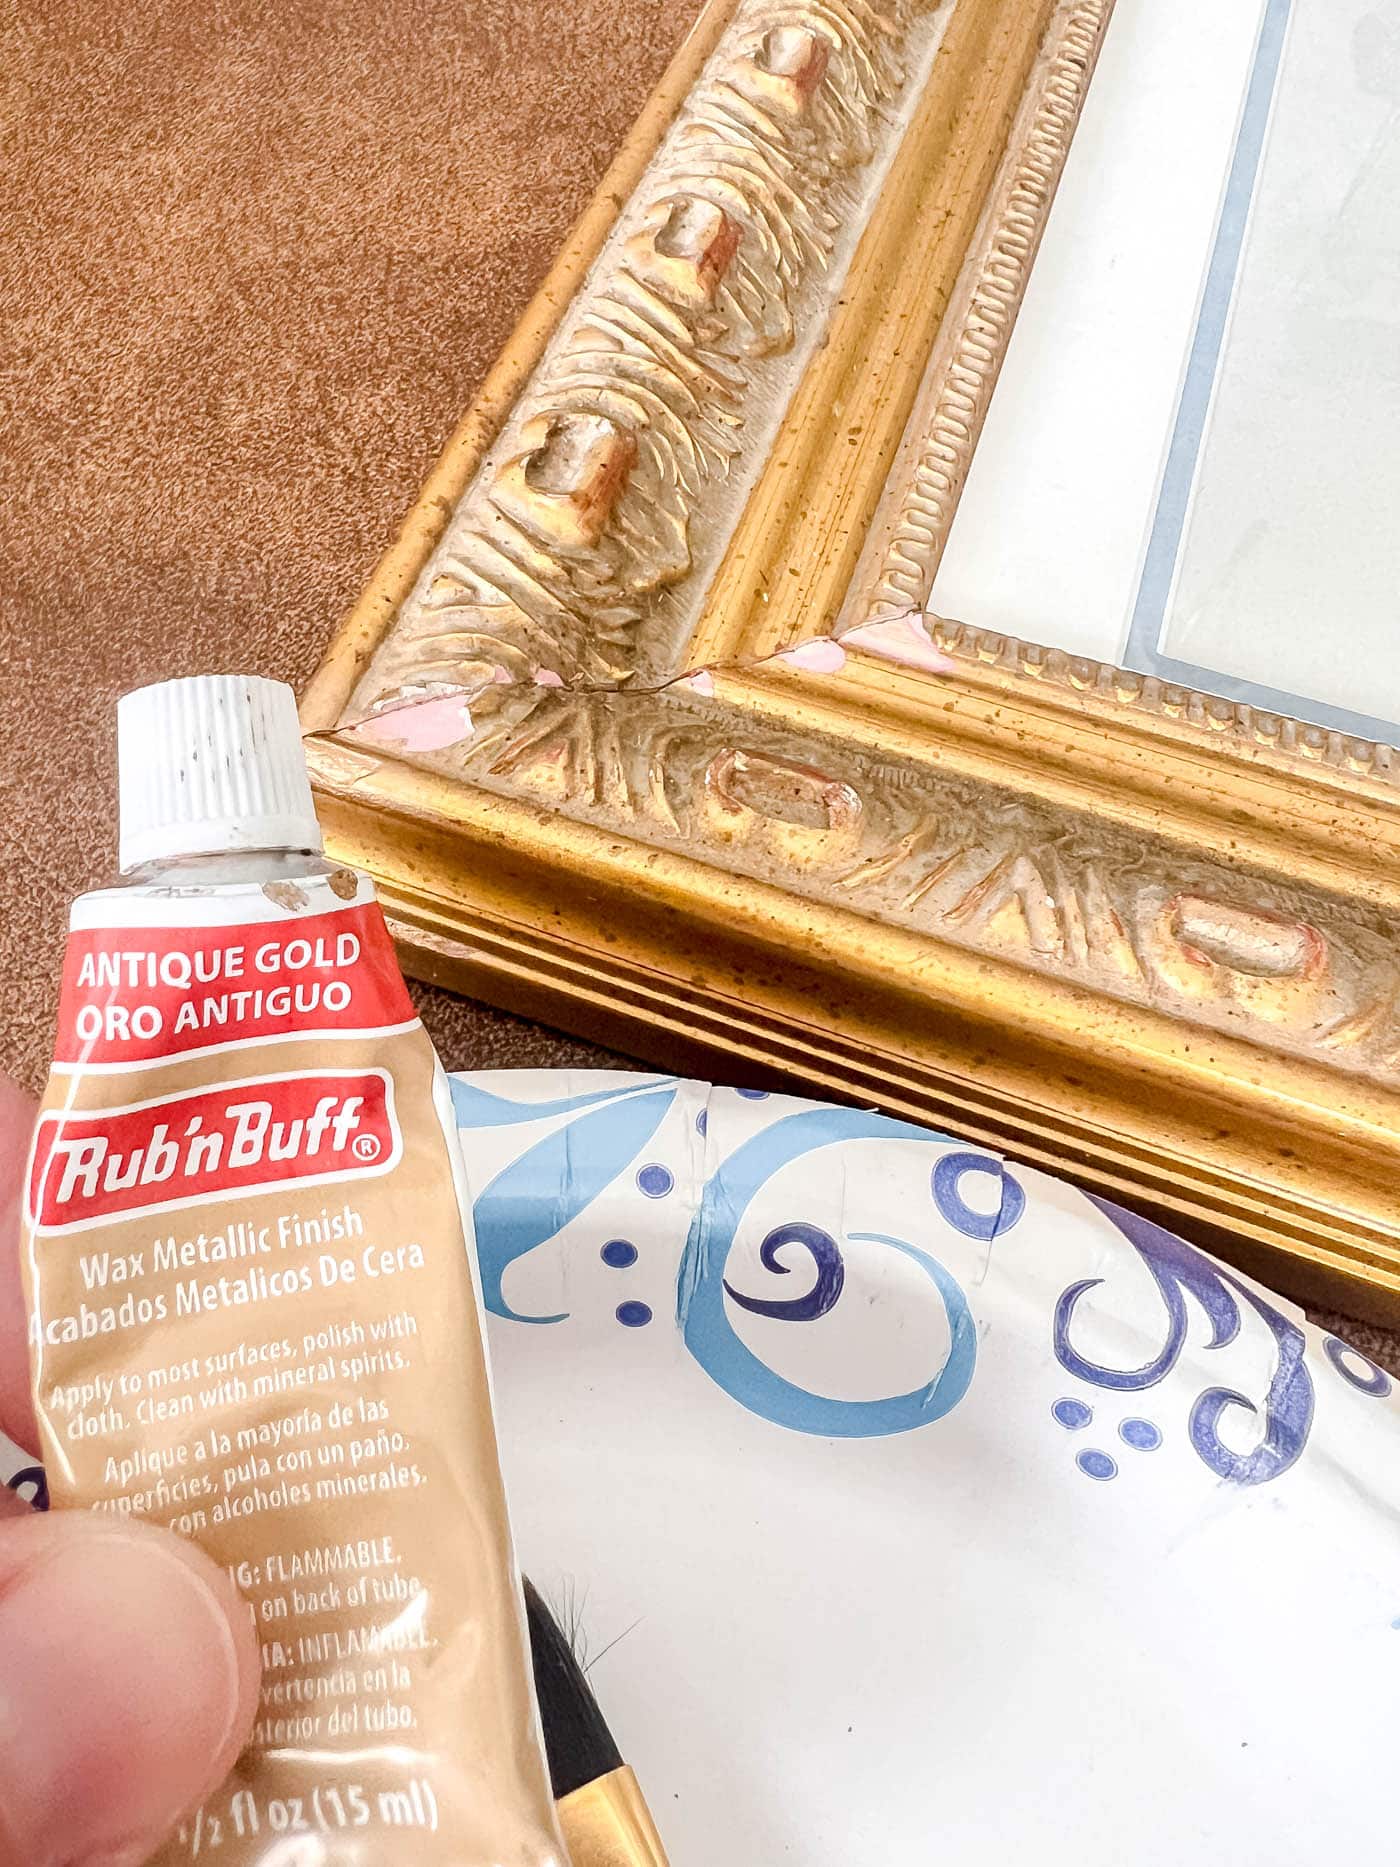
There were a few chips on the corners, but nothing a little rub n buff couldn’t fix!
Why I Love This Budget-Friendly DIY
Sometimes DIY projects don’t work out the way you envisioned them. And sometimes they work out even better than you could have ever imagined! And then not only do you have something custom made for your home, you have a great story to go with it!
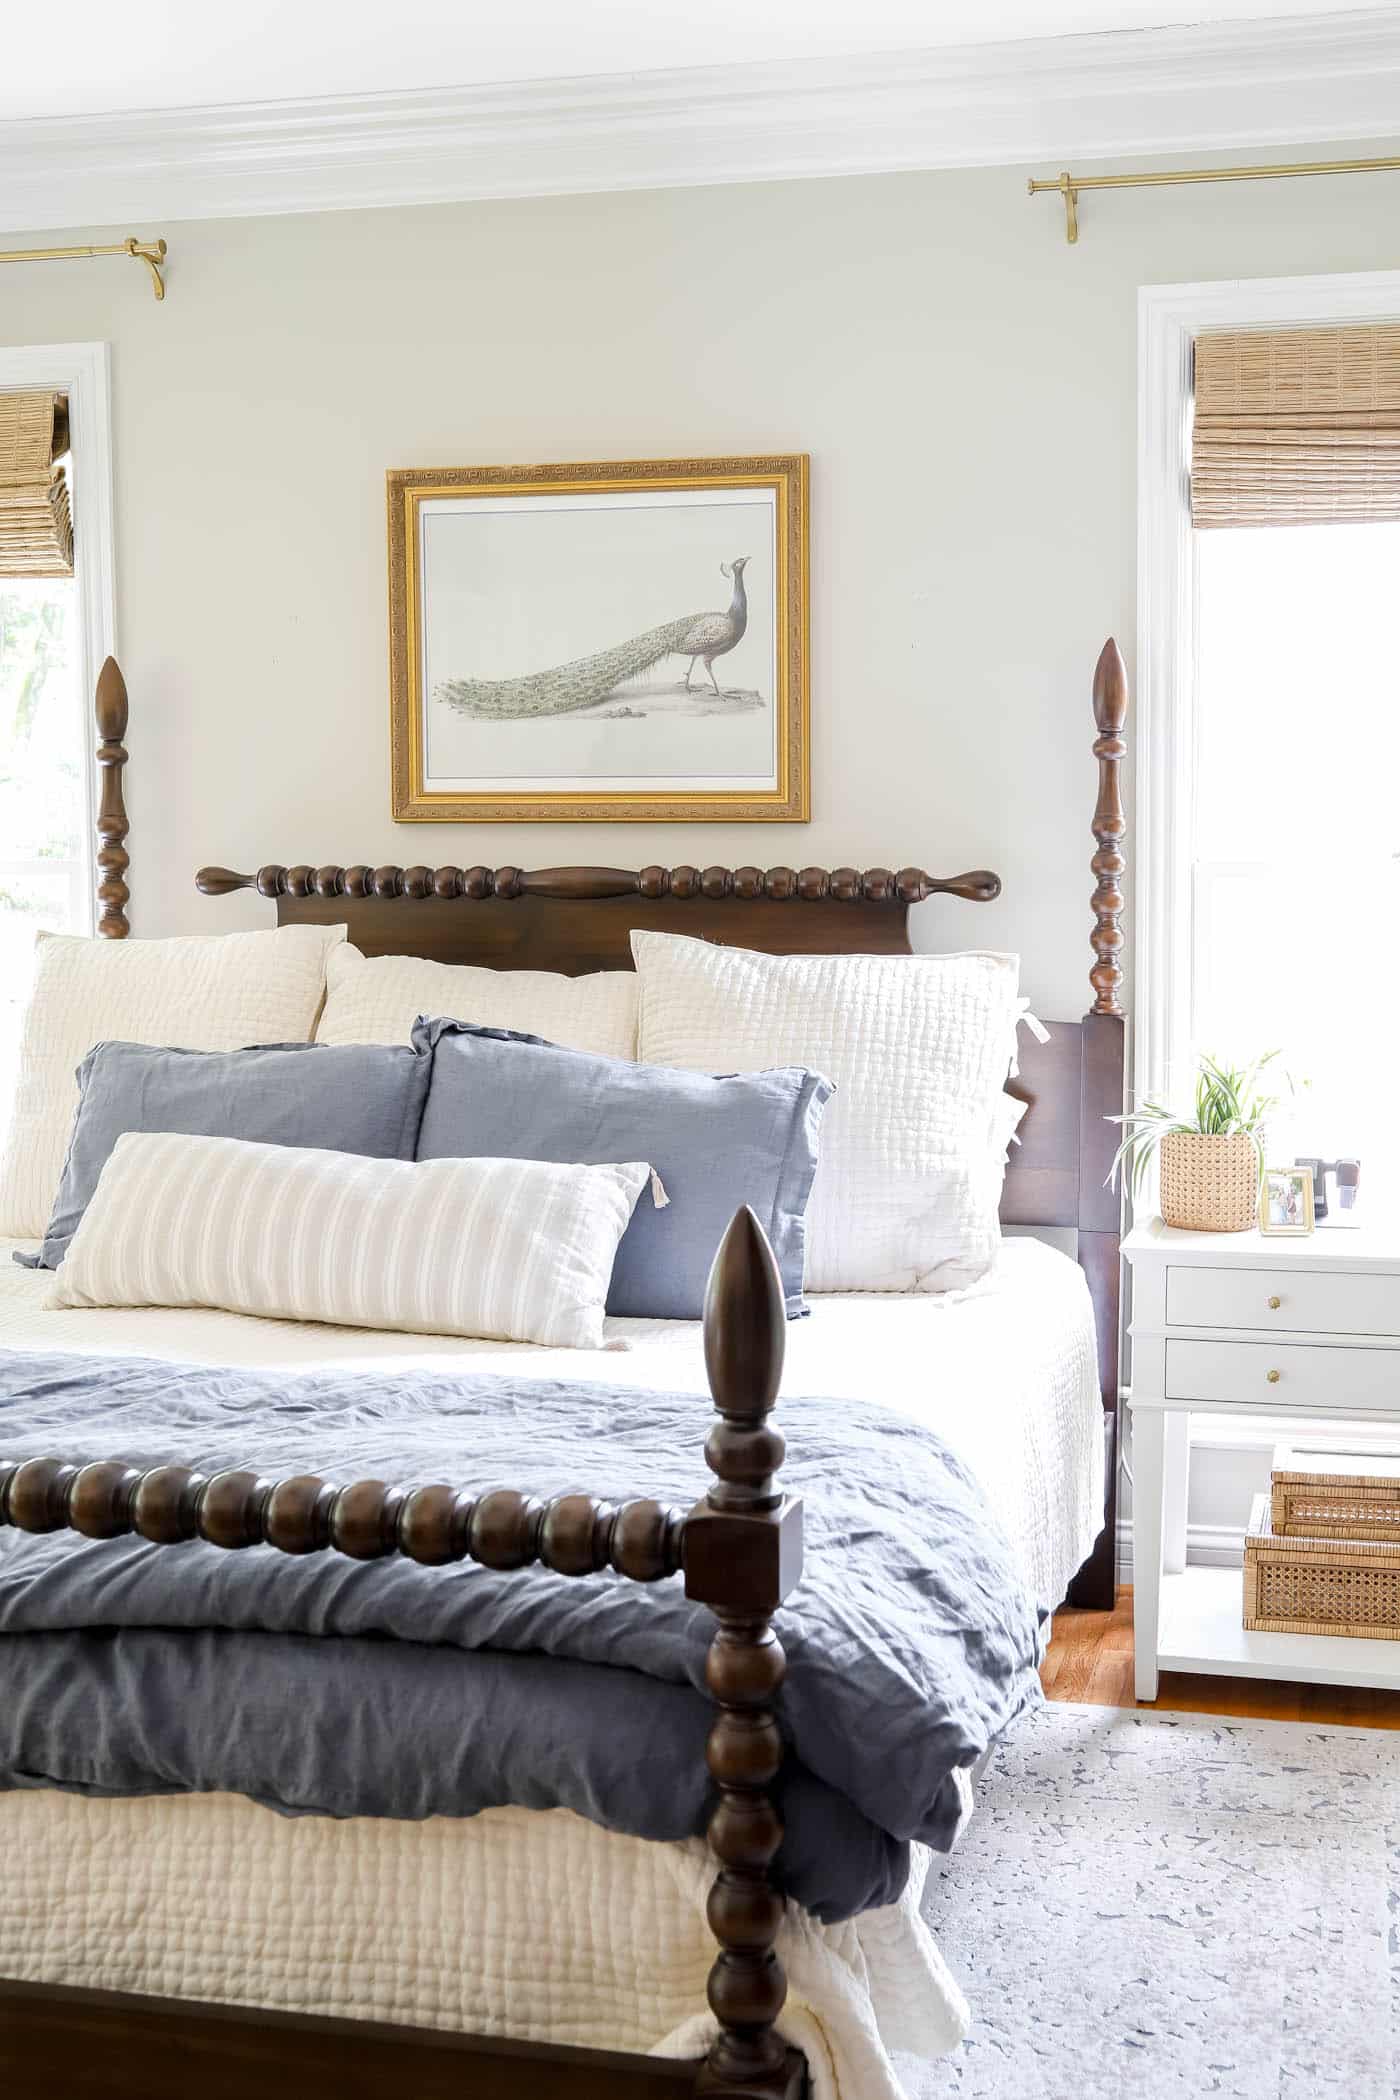
I love how this looks above my bed and how the gold frame really speaks to the brass curtain rods and the wood tones of our bamboo shades. Now I will be focused on getting these walls painted very soon!
Budget Breakdown:
- Digital Art Print File – $2
- Large Print Photo – $20
- Frame – Free!
- Custom Mat – $52
Total: $74
Final Thoughts and Encouragement
This is your reminder that great style doesn’t need a big budget. Oftentimes our best ideas are when our creativity is forced to find a way to work with what you have or what you can find nearby!
I’d love to hear your favorite budget-friendly decor wins in the comments!
More Posts You Will Love:

Outstanding job! You make the process sound very doable rather than overwhelming, as it seems initially. Thanks so much for the step-by-step instructions and helpful links. One quick question, though: You said that you “had the peacock printed…to fit the frame” for $20. Where did you have this done? Thanks for the info and the inspiration.
Hi Debbie! I used Shutterfly to have the art printed. Sorry! I should have included that in the steps! Thanks for reading!! xo, Laura
that looks really great!
Thank you, Sue!! I’m so pleased with hoe it turned out! xo, Laura