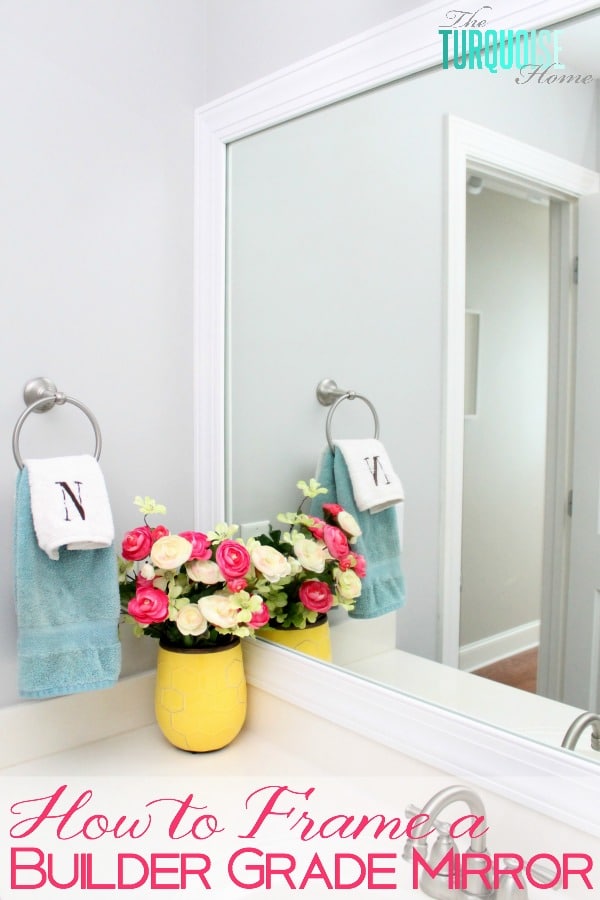
How to Frame a Builder-Grade Mirror
Turn your builder-grade mirror into a beautiful design with this DIY Mirror Frame for less than $20 and 2 hours of your time!
Happy day to you, dear friends! I spent yesterday morning out in the garage finishing a project that has been on the to-do list for years. The weather was gorgeous and my kids were occupying themselves – hallelujah!
I’ve had the supplies to finish this mirror framing DIY project for months now. I’ve recently gone on a mission to wrap up old projects that have fallen by the wayside. So, here’s project numero uno on that list!
Ok, so I know that this project is super basic and other DIY-ers have been doing this for years, but it’s such a good one that I HAD to do it for myself. And just for fun, I’ll share it with you. It’s so simple, though, that it seems silly to need a tutorial. But, I hope it helps you see just how easy it is!
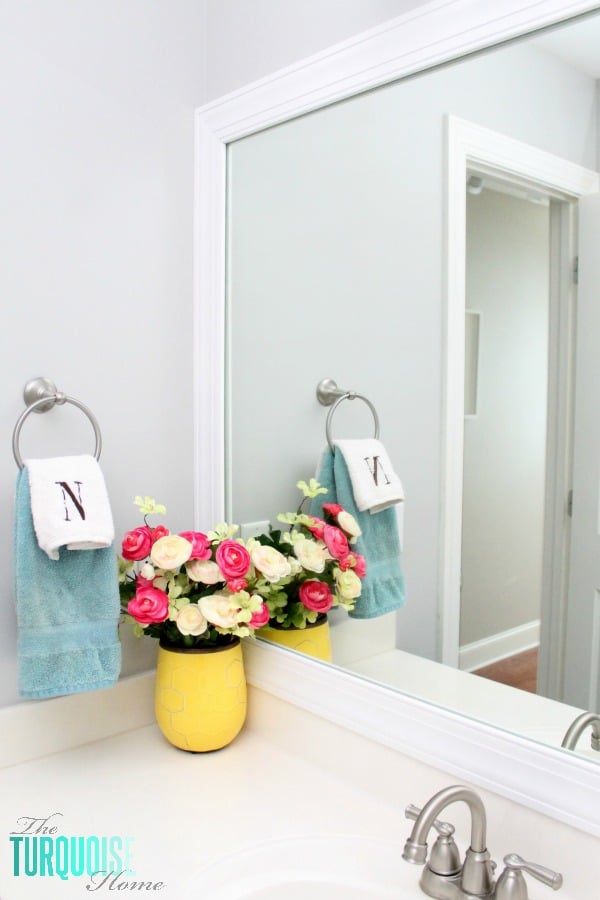
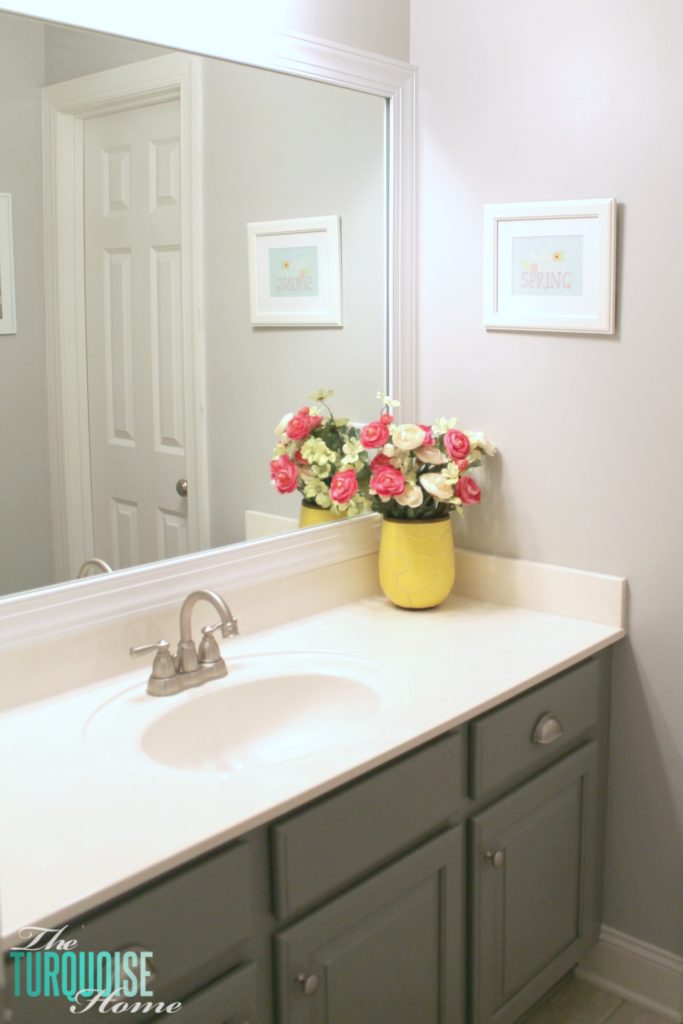
I give you: how to frame a builder-grade mirror. SUCH an easy project, but makes a huge impact when it comes to customizing your home. When we gutted our old house, we put actual mirrors over our vanities in the bathrooms. I loved the look. And super don’t love the look of a plain, clipped-to-the-wall, builder-grade mirror.
This post contains affiliate links for your convenience. See my full disclosure policy.
Tools you need for a DIY Mirror Frame
- Interior Trim Molding (the length of the perimeter of your mirror)
- Miter Saw or Hand Saw and Miter Box
- Wood Glue
- Duck Tape or Painter’s Tape
- Spray Paint
- Chisel
- Hammer
Want to Save This?
Enter your email below and I’ll send it directly to your inbox!
How to Frame a Mirror
Step 1. Measure the perimeter of the mirror.
You’ll need to measure each edge of the mirror and allocate a couple more inches for each side if you want the frame to hang off the mirror edge at all. My mirror butted right up to the wall on the right and left sides, so the frame has to be placed completely on top of the mirror.
Step 2. Buy some Interior Trim Moulding from the hardware store.
I chose a simple style interior wood casing, but you could get as plain (think 2 x 4) or a fancy as you want. You just want to make sure the back of the moulding is flat.
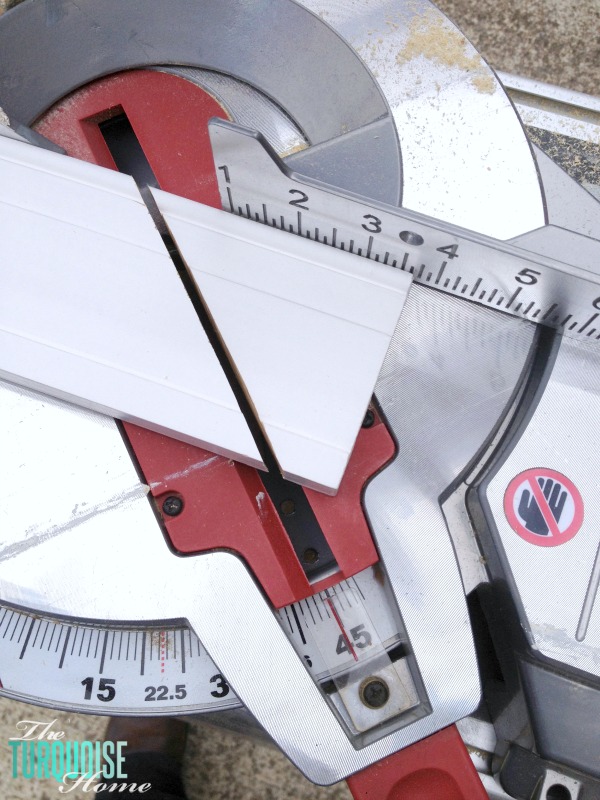
Step 3. Measure each piece of wood to the desired length and cut the corners at a 45º angle on the miter saw.
I measured my mirror and marked off my cut lines on my boards. I cut them at 45° angle. If you don’t have a miter saw, then a hand saw and miter box will work just fine!
Step 4. Mark the spots on the frame where the clips are located on the mirror.
A big mental block for me was how to get the frame flush without removing the mirror clips. I decided to try to notch out the back of the boards.
I rubbed some blue chalk on the clips, the held the frame pieces on top of the mirror and the blue chalk rubbed off just enough for me to be able to see where they would hit.
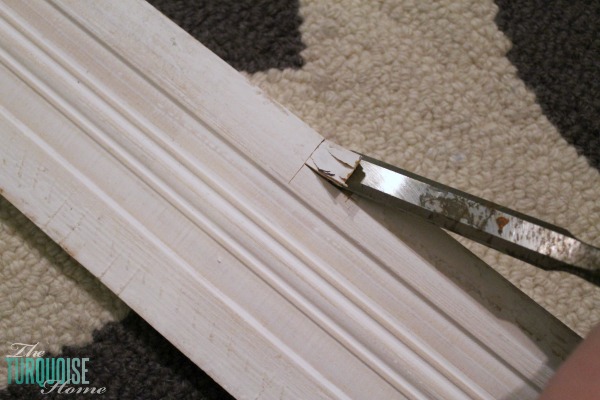
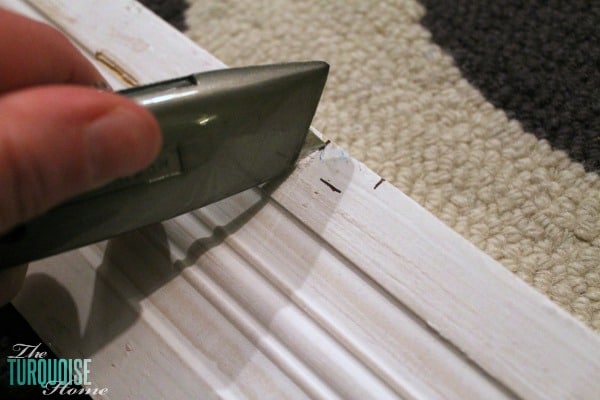
Step 5. Notch out the frame where the clips will hit.
I marked off the spot on the back of the boards, and then scored a box using an exact knife.
Then I took my chisel and hammered out a space bigger than the size of the clips. It worked great! (I never thought I would need a chisel, but I’ve surprisingly used this one several projects!)
Step 6. Attach the corners of the frame.
Then I tried to figure out the best way to attach them to each other at the corners. I started off my trying liquid nails. I “clamped” the boards together with some duck tape and left them overnight. When I came back the next morning, all but one joint wasn’t stuck together. I think my liquid nails was old and I didn’t want to buy anything new for this project. Bummer.
So, then I tried to use my kreg jig and screw the joints together with pocket holes. No go there. The boards were too thin for that to work.
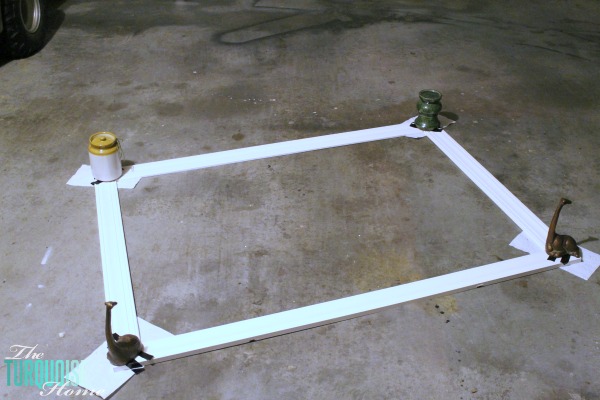
I finally went back to the drawing board and just used wood glue to glue the corners together and used duck tape to “clamp” them overnight. Worked like a charm!! Yay! (I had to sit some heavy objects on each corner to make sure they were flush when the glue dried.)
Step 7. Paint the frame the color of your choice.
I spray painted the back first (since are able to see the back side edge of the frame reflect in the mirror). Then flipped it and painted the front with white spray paint. I like this brand of spray paint the best!
I let it dry and then put it on the mirror. My mirror is the width of the bathroom walls, so I almost couldn’t get it in there because I made it just the same size as the mirror.
If yours is like this, I would recommend making your frame just slightly smaller in width than the walls. I had to force mine to go in. And since it had to be forced in there, I didn’t adhere it to the wall/mirror in any way. ☺️
Want to paint your cabinets? Get my cabinet painting tutorial here.
I was planning on using command strips, though, since I don’t like to do anything permanent in case a future owner wanted to take it down. I’ve seen people use anything from hot glue to liquid nails to keep the frame up there.
Have you ever made a frame for your mirror? Is it on your to-do list?
(If not, it should be!)
More Posts You Will Love:


I have read the post with good satisfaction and also could understand
something new I will use for your own additional requirements.
The report is bright and clear, with no further worthless facts or else.
The language is both brilliant and vivid, so the longer I see, the more I really do like it!
Anyway, the info is quite cutting edge, so like it.
I know you completed this project a while ago but I love how it turned out. I wanted to ask how much of the mirror did you cover on the top? I do not want to move my bathroom mirror as it is huge and the recent mirror framing project I did required a large portion of the mirror to be covered.
I saw your notches for the clips, which I also did on my last project. I was just curious if you covered alot of the mirror at the top.
Hi Sharon, the top of the frame is at the top of the mirror, so I guess it covers a few inches. It’s such a large mirror that I don’t miss it!
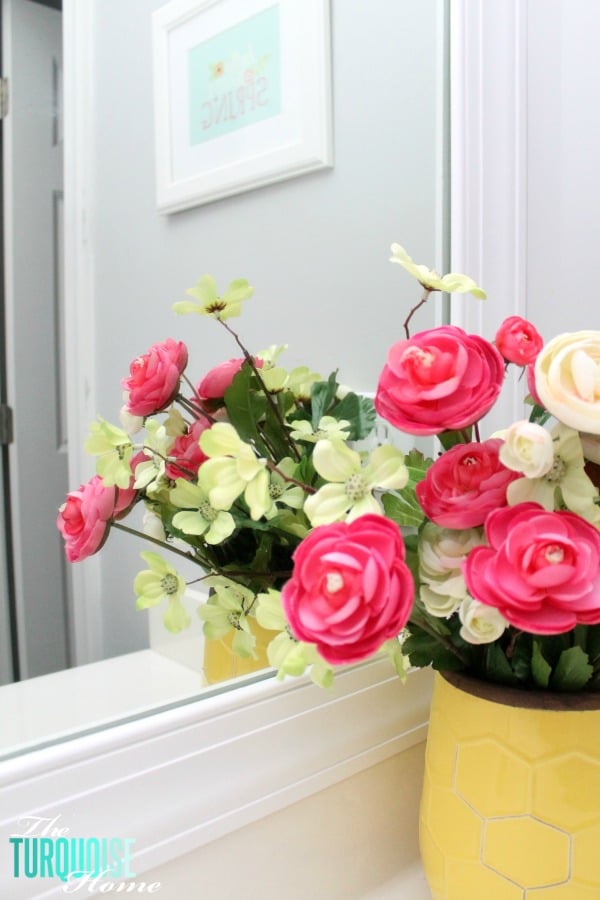
Your bathroom looks beautiful! And that printable looks awesome in there! Thanks for sharing it. 🙂
Your mirror looks beautiful. Did you stick the frame to the mirror or to the wall? Is there a gap between the wall and the wood frame? I like your tutorial and am planning to do this to two mirrors in my home.
In my bathroom the mirror goes right up to the wall, so my frame touches the wall. And it’s actually wedged in there so tight that I didn’t need to use anything to attach it to the mirror. But I was planning on using command strips to hold it up since the molding is pretty light. But I’ve seen others use liquid nails and even hot glue to hold the frame to the mirror. Good luck!!
Adding this project to my bathroom to-do list! I love how easy your tutorial is to follow!
Aww, thanks Ashley!!
I’m totally behind on the times too, because I have yet to do this! I’m planning on it soon however, so I can get my guest bathroom all updated! Thanks for the tutorial, pinned for reference!! 🙂
Thanks so much for sharing, Amanda! Hopefully it won’t take you as long to get them done as it did me. Haha!!
I have lots of those plain builder grade mirrors in my home and I can’t wait to do this project to all of them! It’s amazing the difference the frame makes! It’s such a small change but it makes a huge impact!
Pinning this!
Thanks so much for pinning, Carrie! It’s crazy that it took me so long to finish it. Now hopefully it won’t take me three years to finish the other one. 🙂
Nice job on your mirror project. Thanks for sharing. : )
Thank you, Carol!!
Looks fabulous! I don’t think the framed mirror posts will ever get old. 🙂
Oh, I’m so glad you think they never get old. 🙂
I am actually dying to do this in our bathroom. Builder mirrors are soooo boring, they BEG to have this done! haha it is one of the last two things I want to do in my guest bathroom, just need to get on it.