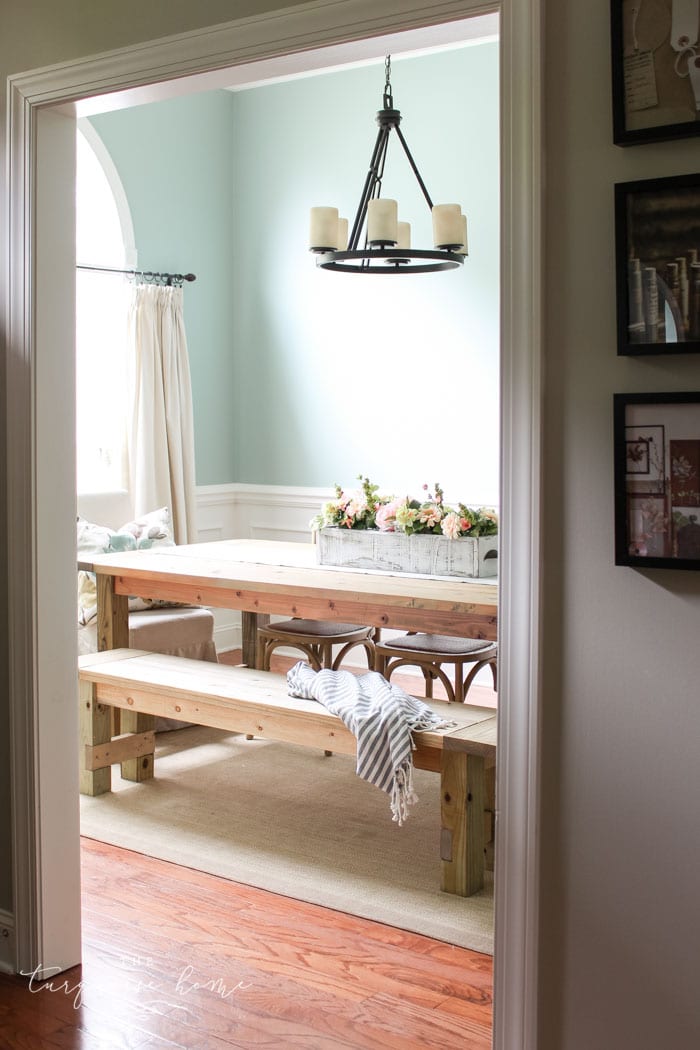
DIY Farmhouse Bench for less than $40!
Nothing compliments a farmhouse table more than a matching farmhouse bench! Am I right? And when the cost to build a DIY farmhouse bench is less than the cost of a sit down meal at a nice restaurant, I’m all in! What’s not to love?!
I built this farmhouse table back in 2012 and bought 6 x-back chairs to go around it. I had every intention to build a farmhouse bench for one side and the chairs would go on the ends and the opposite side, but I got busy with life and then had another baby. So, it’s taken 5 years for me to build this bench that took me only 2 afternoons to build! My excuses are procrastination and motherhood. 😜
RELATED: DIY Drop Cloth Curtains
What I love about this farmhouse bench is that it only takes basic tools to build it, like a miter saw, drill, circular saw and Kreg Jig. And then it’s freakin’ $40!!! I would have spent at least $500 to buy more chairs for this side of the table, so I saved my family a ton of money by building this bench. Oh, and did I mention it’s not hard at all and only took me 2 afternoons to build it? This is a no-brainer.
Want to Save This?
Enter your email below and I’ll send it directly to your inbox!
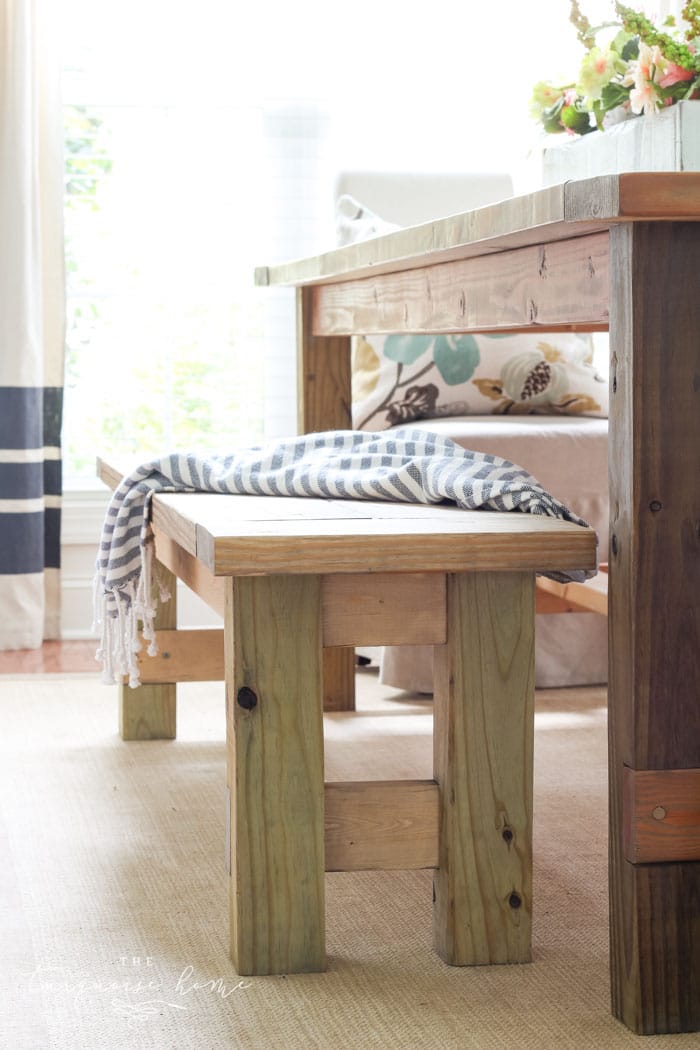
Another beautiful things about this bench is that it can tuck in under the table when we’re not using it, so it’s perfect for when we’re not using it as a dining room table. So if you’re making this to go with a farmhouse table, make sure it will not be too long to fit underneath the table.
SHOP THIS LOOK:

And lastly, this DIY farmhouse bench can double as extra seating in an entry way or long hallway. If you’re not using it at a table, stick some storage baskets underneath and you instantly have seating and storage in a mud room. The possibilities are endless! This post contains affiliate links for your convenience. See my full disclosure policy here.
Supplies You Need for a DIY Farmhouse Bench
- 1 – 4 x 4 x 8 board
- 2 – 2 x 8 x 8 boards
- 2 – 2 x 4 x 8 boards
- 2 1/2 inch Kreg Jig Screws
- 3 inch wood screws
- Miter saw (I have this one, but I would buy this one if I were purchasing one for this project.)
- Drill
- Circular Saw (This is the one I use and this kit comes with a drill and circular saw! It is a perfect circular saw for women, because it’s light weight and easy to use!)
- Kreg Jig – find more projects to build with a Kreg Jig here
- Drill bits
- Wood glue (optional)
- Wood conditioner
- Wood stain or paint
- Polyurethane
Cut List for a DIY Farmhouse Bench
- 4 – 4 x 4’s cut to 16.5 inches (bench legs)
- 2 – 2 x 8’s cut to 14.5 inches (breadboards)
- 2 – 2 x 8’s cut to 59.5 inches (bench top)**
- 2 – 2 x 4’s cut to 57 inches (long aprons)** – you can make this longer, depending on where you want the legs to be under the bench top
- 2 – 2 x 4’s cut to 5 inches (short aprons)
- 2 – 2 x 4’s cut to 12 inches (supports)
**My bench is 74 inches long, so you’ll need to add or subtract from these lengths to cut the length you need.
How to Build a DIY Farmhouse Bench
Step 1: Cut all of your boards to the correct length, taking into account the length of the board you want. I always measure one board at a time. I never go down a board and measure out all of my lengths and then cut them all at once. This sounds most efficient, but it doesn’t take into account the width of the saw blade, so your cuts will be a little short.

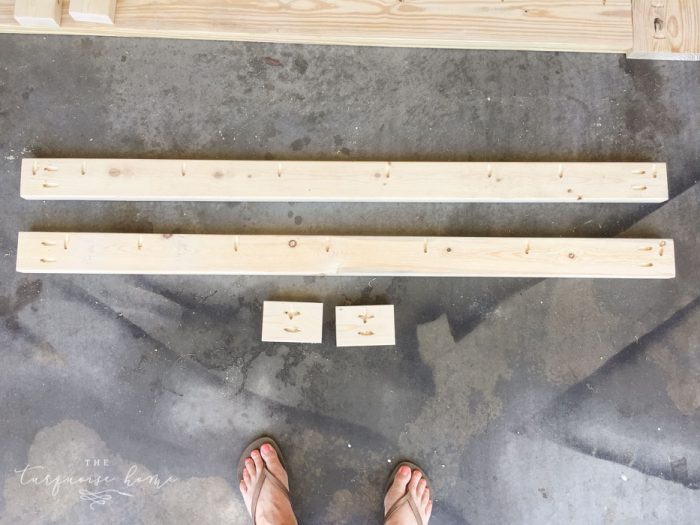
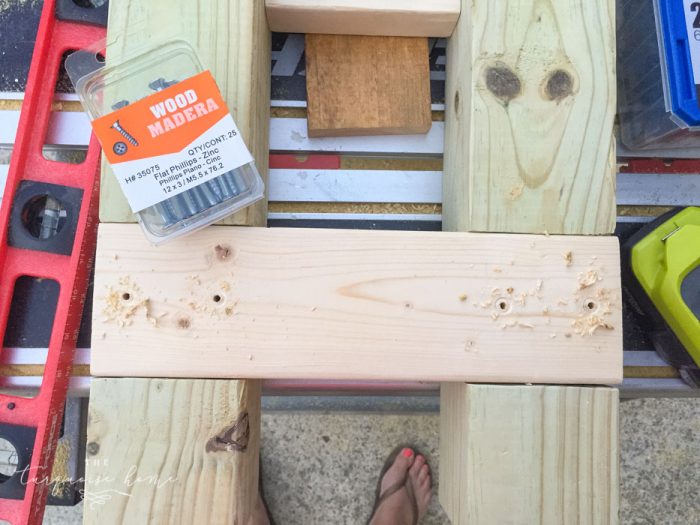
Step 2: Drill all of your Kreg Jig holes. All of your boards are 1.5 inches in depth, so you will set your Kreg Jig to 1.5 inches and the Kreg Jig drill bit to 1.5 inches. You set it to the actual size of your board and not the nominal size, for example a 2 x 4 is actually 1.5 x 3.5 inches.
Place the table top together and determine the best configuration for your boards. Some may have a slight warp to them, so they may fit together better in different configurations.
- Short Aprons: drill 2 holes on each end and 1 in the middle of the long side
- Long Aprons: drill 2 holes on each end and a hole every 6-8ish inches on the long side
- Bench Top: choose one of the bench top pieces and drill holes every 6-8ish inches on one long side
- Breadboards: drill 4 holes along one long die
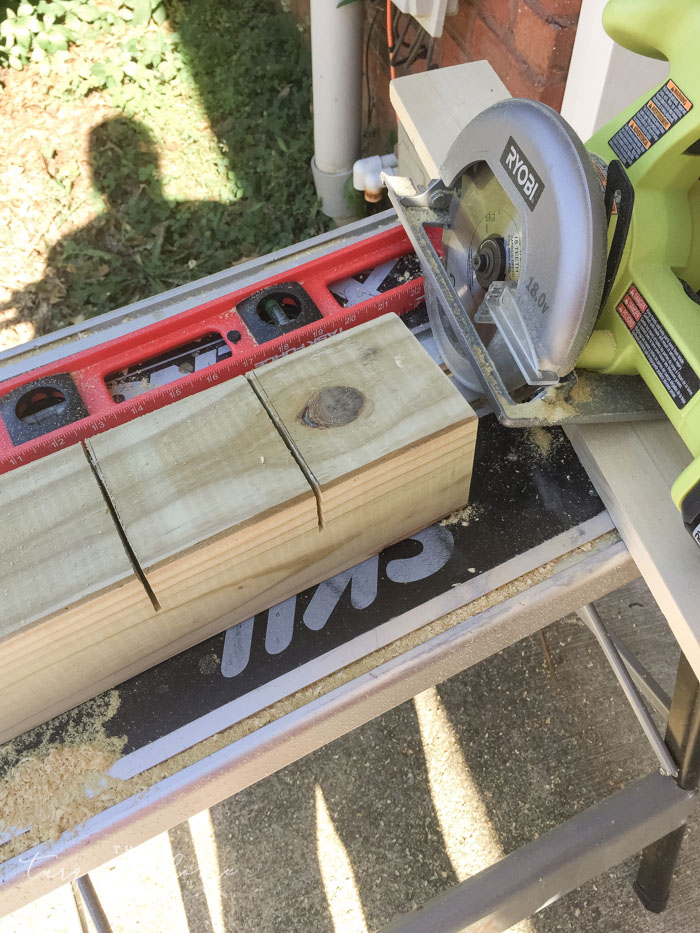
Step 3: Notch out the leg boards for the supports. Take your circular saw and make a cut at 3.5 inches from the bottom and 7 inches from the bottom.
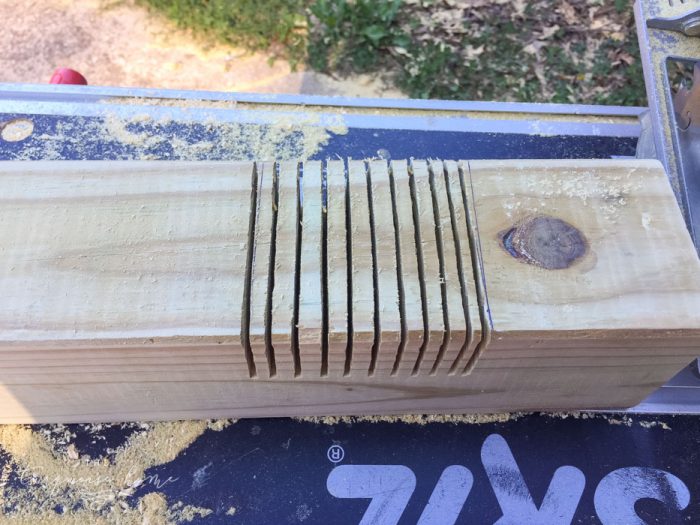
Then cut every 1/4 of an inch between those two main cuts.
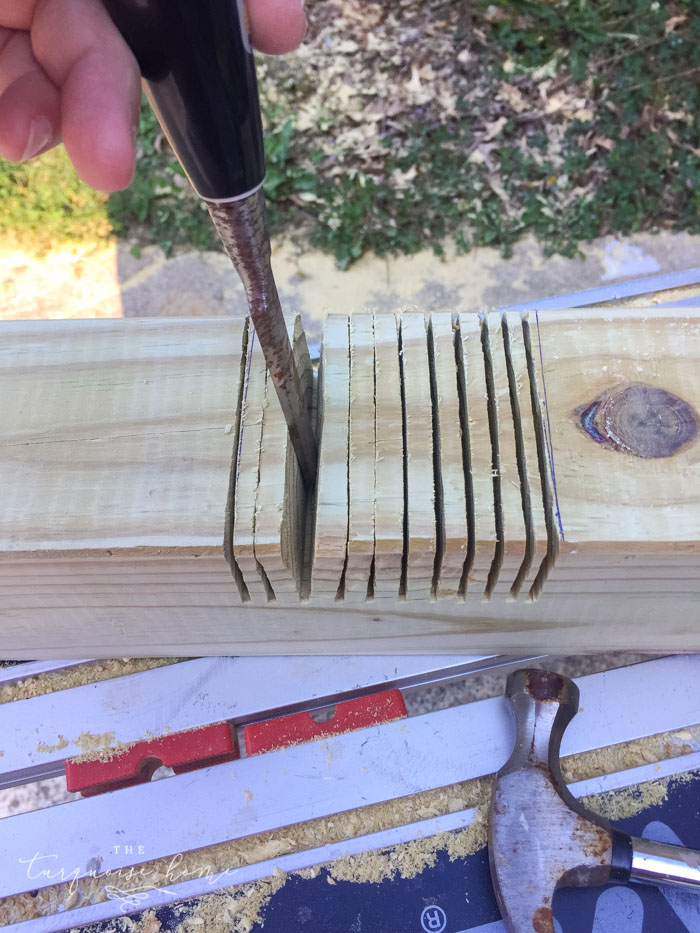
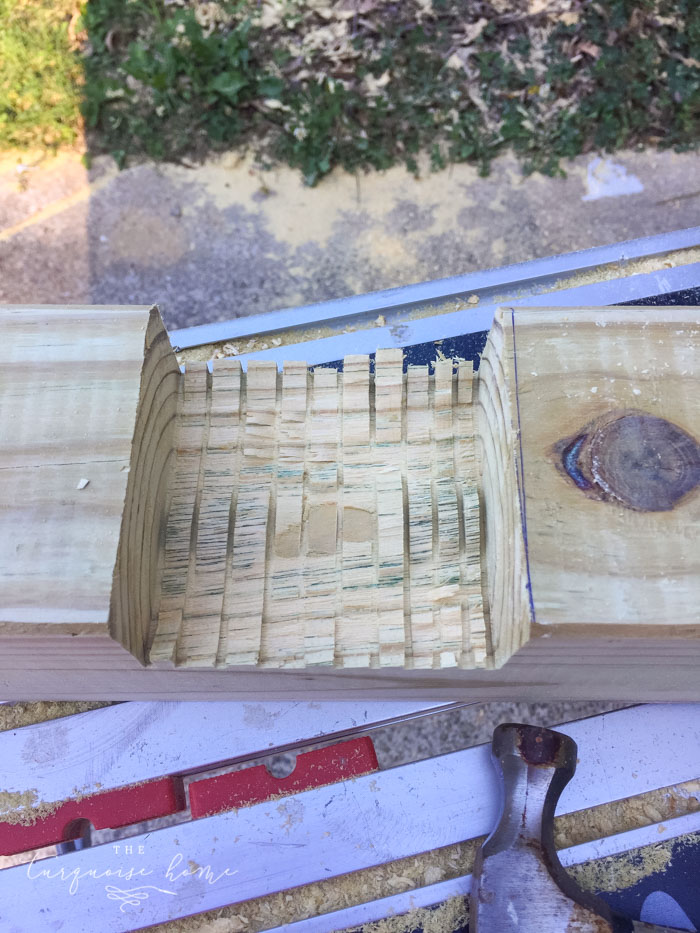
Then use a chisel to knock the pieces out and then use the chisel to knock off any pieces left behind. I struggled big time with this step when I build my first farmhouse table, but it’s really not hard.
RELATED: 5 Must-Have Tools for the DIYer
Step 4: Attach the leg supports. Drill a couple of holes in the support with a drill bit. It’s hard to just drill in a 3 inch wood screw, so don’t skip the step where you pre-drill!
Measure where you’re going to drill your holes before you start drilling because you want them to be centered and look nice.
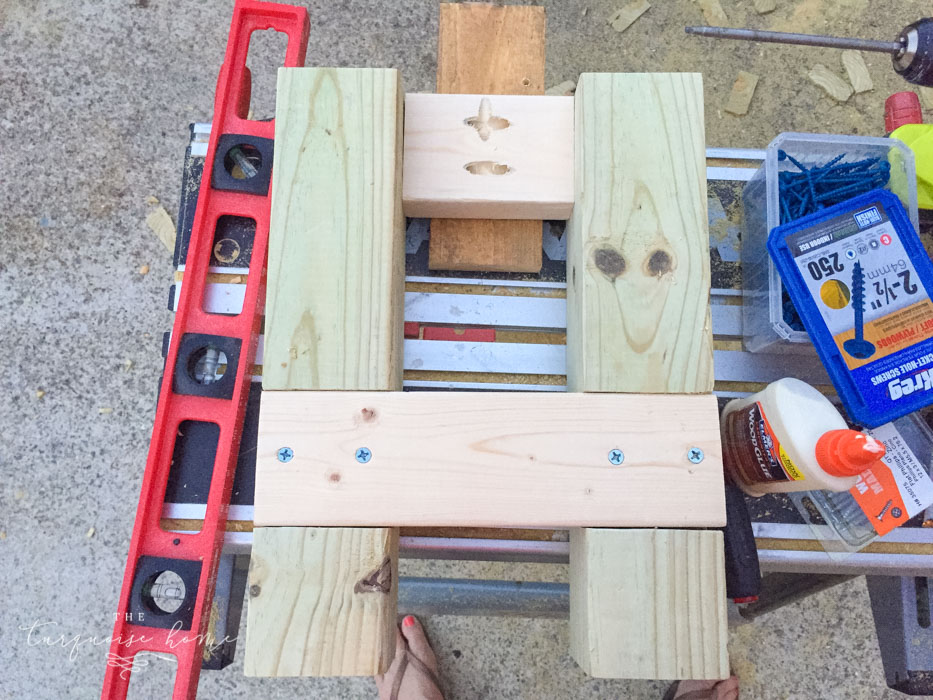
Step 5: Attach the short aprons between the legs. The aprons should be flush with the tops of the legs. And I used a scrap 1 x 4 underneath the aprons to inset them.
I totally messed up these legs, but not in a way that’s a major problem or super noticeable. You’ll see on my farmhouse table that the supports between the legs face outward. I wanted to copy this on my bench, but I messed up when I put the aprons on. I should have flipped the legs around and put it on the other side. Also, I should have flipped the aprons around, making the Kreg Jig hole going up toward the top of the legs, instead of down toward the floor. 🙅🏼 #oops It turned out fine, but I should have caught it before I screwed them in.
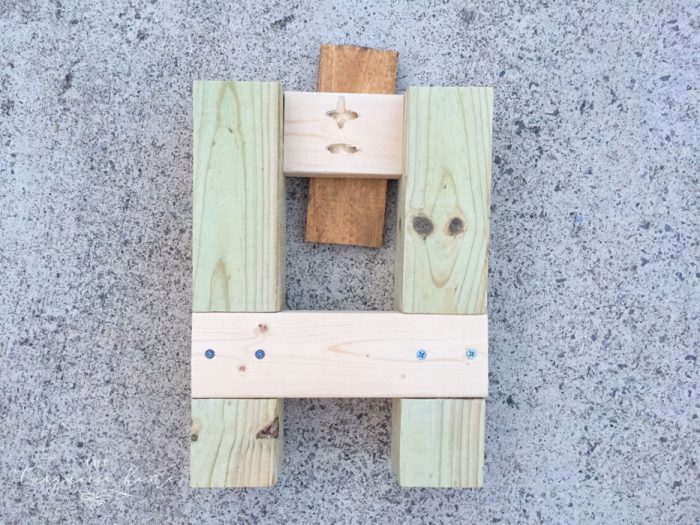
Step 6: Attach the long aprons between the legs. Again, I used the scrap 1 x 4 to inset the aprons.
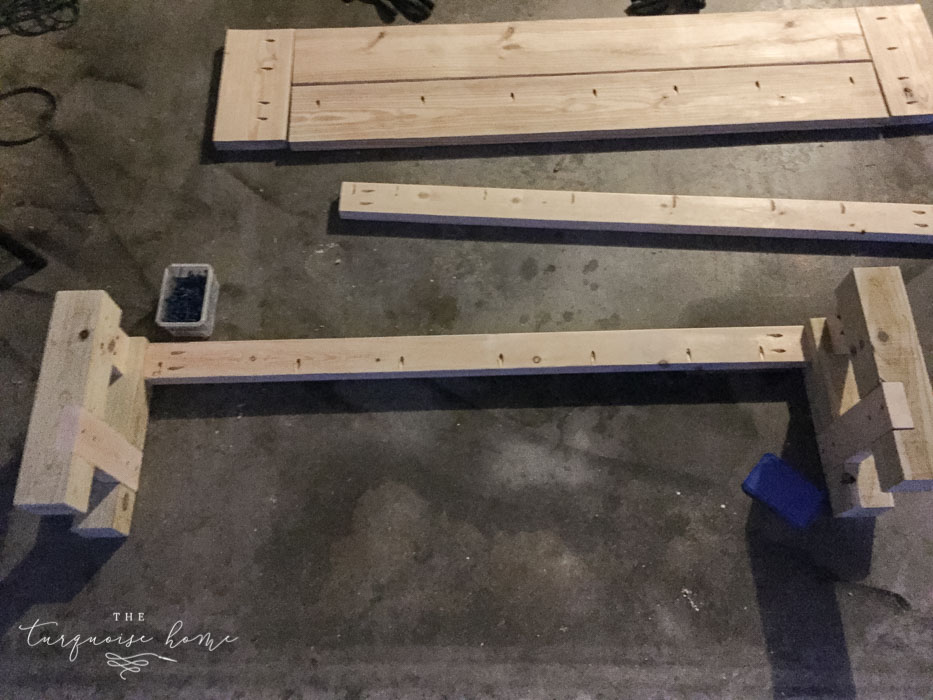
Step 7: Screw together the bench top. I used glue between these pieces before screwing them together.
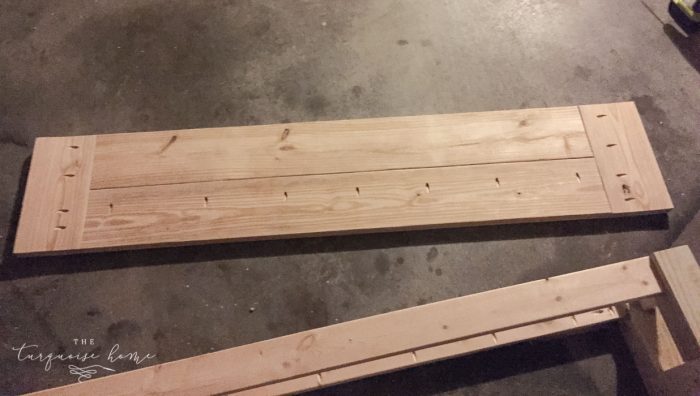
Step 8: Attach the legs and frame to the underneath side of the bench top. Place the frame on the underneath side of the bench top and make sure it’s centered on all sides. Screw them all in with 2.5 inch Kreg Jig Screws
Flip it over and admire your work! You just turned a pile of wood into a farmhouse bench and you deserve a pat on the back!! This is always my favorite part!
Step 9. Finish with Paint or Stain. I start by conditioning my wood with Minwax’s Wood Conditioner. I did this with my farmhouse table, too.
SHOP THIS LOOK:
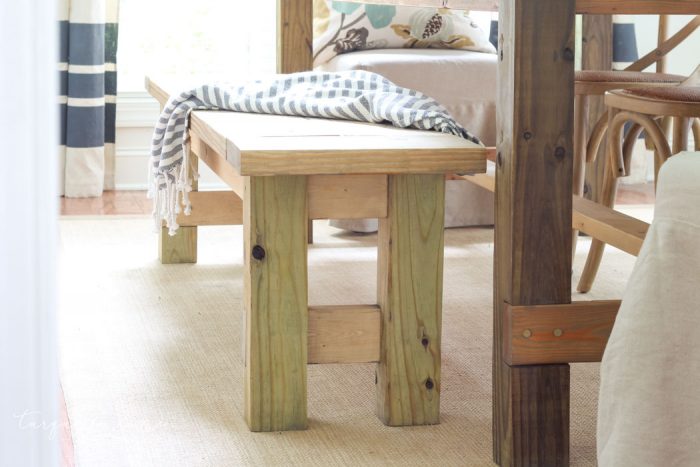
I used Minwax’s Weathered Oak stain to stain my bench. It has a weathered gray look, but it looks so much different on my bench than my farmhouse table, probably because I stained my table 5 years ago. 🙂 I’m going to try to darken it with a couple more coats of weathered gray before I seal it.
Then seal it with matte polyurethane. I haven’t done this step yet, but I will once I get the stain color right. I did 2 coats on the table, I think, and will do the same for the bench.
RELATED: How to Build a Farmhouse Table
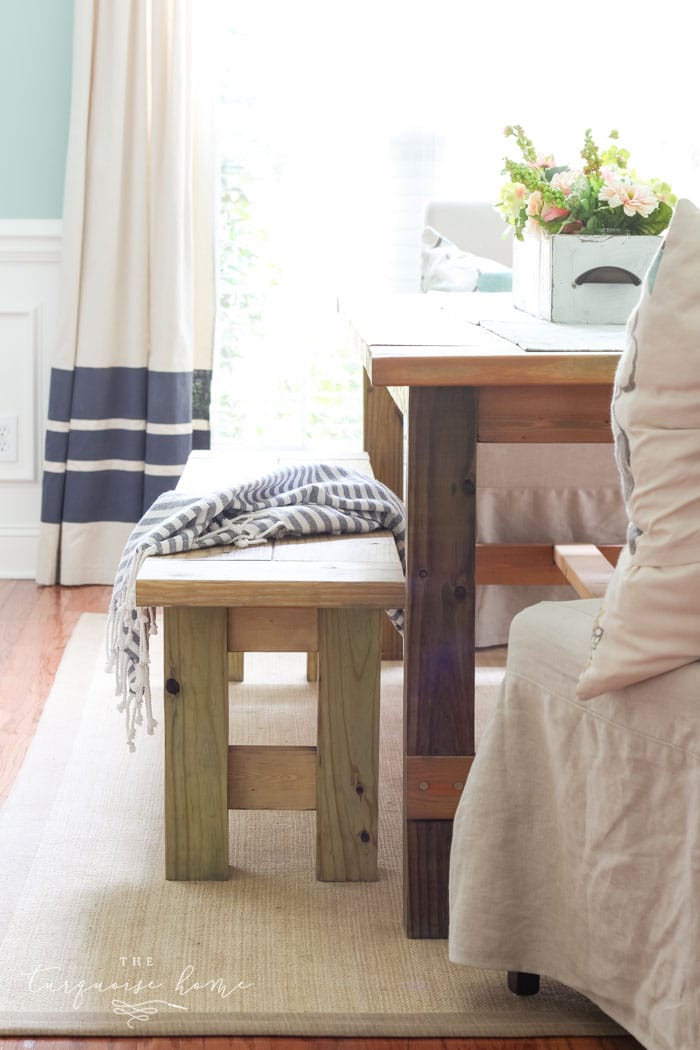
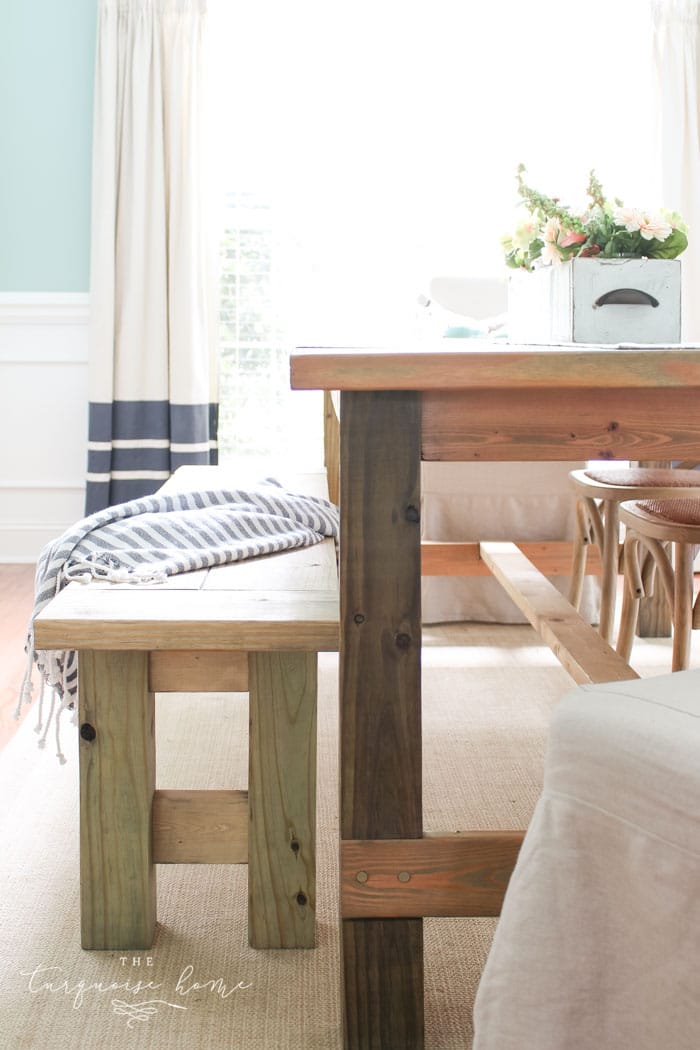
That’s it!! You now have a beautiful, functional farmhouse bench for your family to enjoy for years to come.
See how it easy that was to build? It’s such a simple process, just takes a little time and a very little amount of money, but it adds a whole lot of seating with farmhouse character and charm! It’s low profile, doesn’t take up much space and can be used in a variety of places around the house! I’d love to see yours if you decide to build one, too!
More Posts You Will Love:
Just built two benches using this plan. Turned out amazing!! One thing though there is a typeo in the cut list. For the long apron it says 2×8 when it should say 2×4. Other than that these were super easy to build and I love the way they turned out. Now to build the table lol.
Thank you for letting me know about that typo, Beth! So glad you found the tutorial helpful!! xo, Laura
I loved it!!! Modern, beautiful and easy to make! Thanks for sharing!!!
Beautiful! How much clearance do you have for the bench to slide easily between the table legs? I believe you said the bench is 74” so how wide is the opening between the table legs?
I left a couple of inches on each side. So, I would measure your table first and then cut the bench top to 3-4 inches shorter than the table leg opening!
You might want to know that there is some debate concerning the safety of using pressure treated lumber inside your home. The green wood in your photos are treated with copper azole fungicide. FYI. But great ideas here.
Absolutely fabulous! I love it all and would love owning a table/bench set just like this one. You truly nailed this project.
Thank you, Ivory!!
I love it! You make it look so easy…
Thank you, Debbie Gail!
Oh Laura! This bench is beautiful! I love both it and your table. What a great job! There’s nothing like saving money the fun way. : )
Aww, thank you so much, Becky!!