DIY Farmhouse Shelves for less than $40
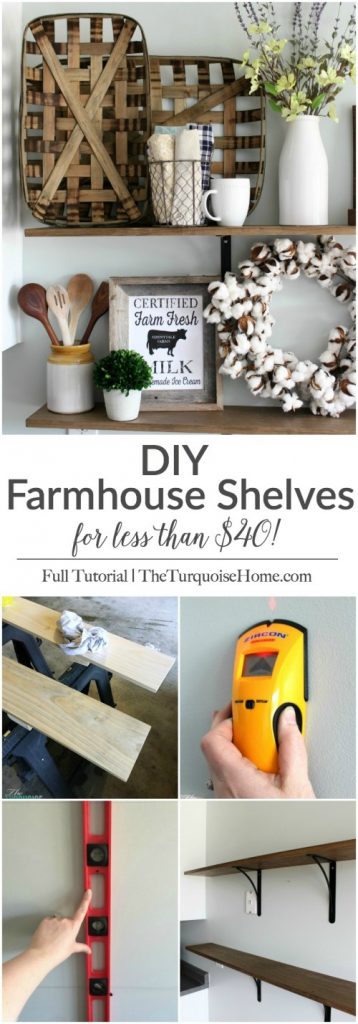
These simple DIY farmhouse shelves are easy to install and cost less than $40! They are perfect for adding fun decor and character to your home and I can’t wait to change them out each season.
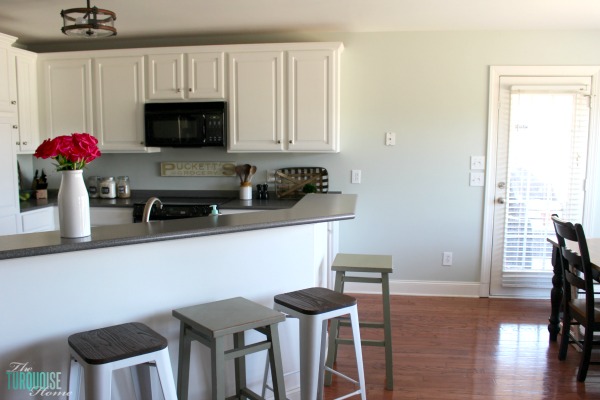
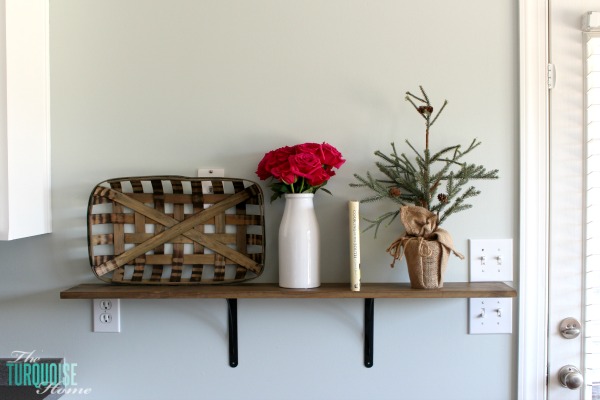
Here’s a quick reminder of how the wall looked almost from the start. I played around with a few configurations before I found this one, but this is how it looked for more than 3 years.
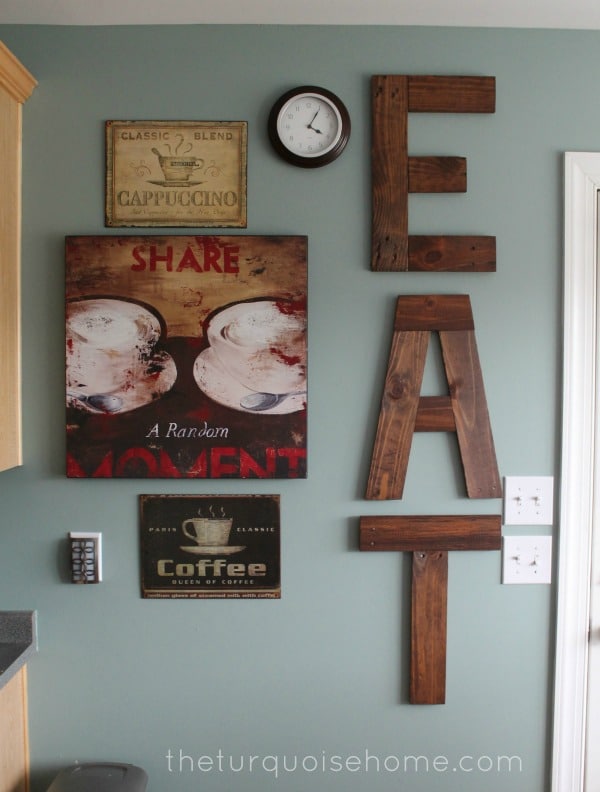
I was really loving the idea of open shelves, but I have a fairly small kitchen and I couldn’t bring myself to open up any of my actual cabinets to create open shelves. So, I thought this wall would make the perfect place for some open farmhouse shelving.
Of course, I perused Pinterest, which has become my favorite search tool for home decor ideas, and got some inspiration.
I could have hunted around to find some cool old barn wood. Or traveled to some specialty shops that carry real barn wood, but in the end, I drove 5 minutes down the road to the hardware store and picked up the supplies for less than $40. And I love them!
This post contains affiliate links for your convenience. You can read my full disclosure policy.
Supplies Needed to build DIY Farmhouse Shelves
- Boards – You’ll need to measure your space and figure out how deep and wide you want your shelves to be. I used a 1 in. x 8 in. x 4 ft. select pine boards from the hardware store. They are in a special section of the lumber department with all of the other “select” boards, meaning they are usually straight and nice quality. Mine cost ~ $10 per board.
- Brackets – I went to my hardware store and bought the simplest, cheapest brackets I could find. I like the way these look, so I purchase 2/per shelf. They were ~$5 per bracket.
- Stud Finder
- Level – Oh my word! If you are even the most novice DIYer, then you need a good level. In addition to my drill and hammer, it’s my most-used tool in my arsenal.
- Drill – I have this one.
- Sander – I have this one and love it!
- Anchors – Use anchors if you’re not able to screw your brackets into studs. These are my favorites. I throw away the anchors that come with the brackets!
- Stain (optional)
Steps to build DIY Farmhouse Shelves
1. Prep Your Boards
Quickly sand down the boards. Since they were already great boards, this didn’t take much work. I sanded the corners down a little bit because these are hanging next to a door and I don’t want someone to run into a sharp corner.
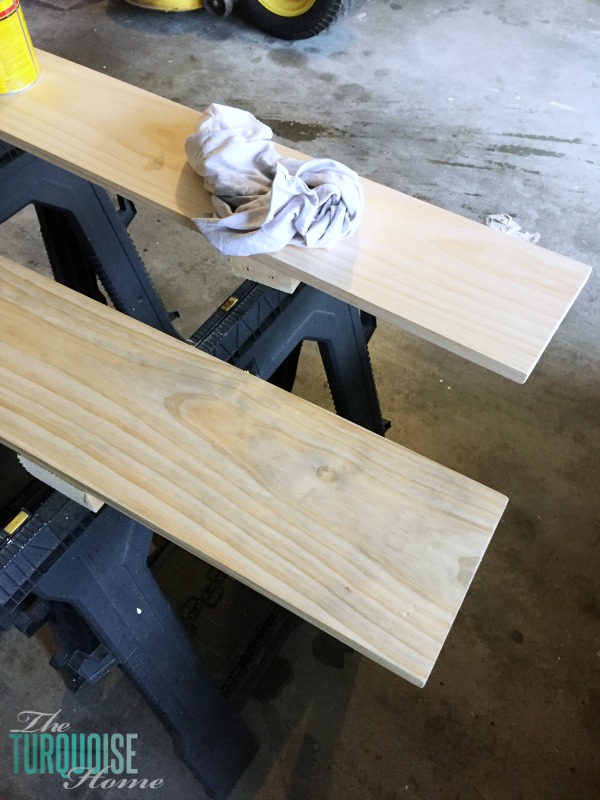
2. Stain Your Boards
Stain the boards if you want them stained. I used Minwax’s weathered oak stain first, and then followed up with Minwax’s dark walnut stain.
I didn’t let either one of them sit on the wood very long, maybe less than 3 minutes. Be sure to follow the directions on the can for dry times and re-application times. Let them dry completely. You may want to seal them if your shelves will be in a kitchen, like mine. I sealed mine with wax.
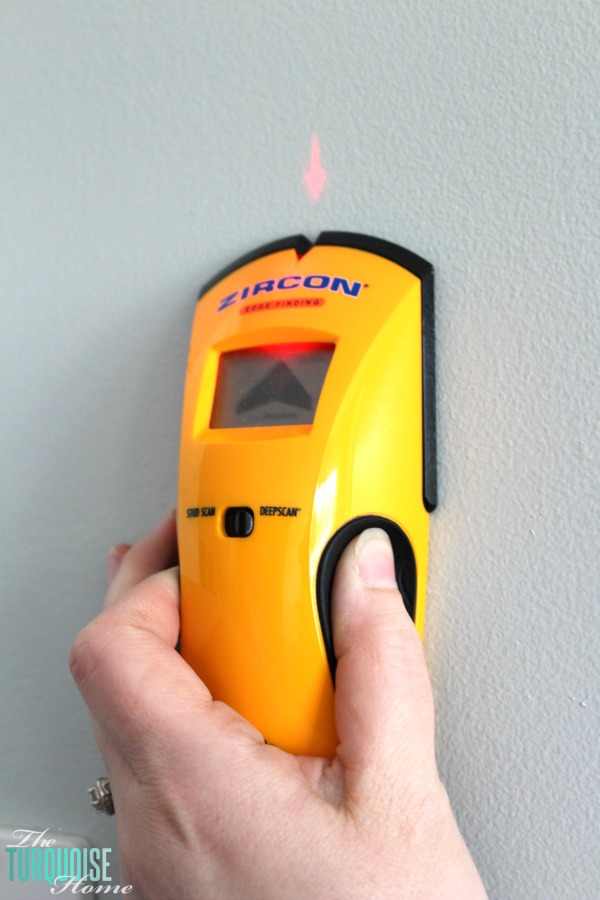
3. Locate the Studs
Use the stud finder to locate the studs in the wall. If you’re able to screw your brackets into wall studs, then fabulous.
If not, you’ll need to use self-drilling anchors like these. I love these things! I was able to drill directly into the studs.
4. Figure Out First Board Placement
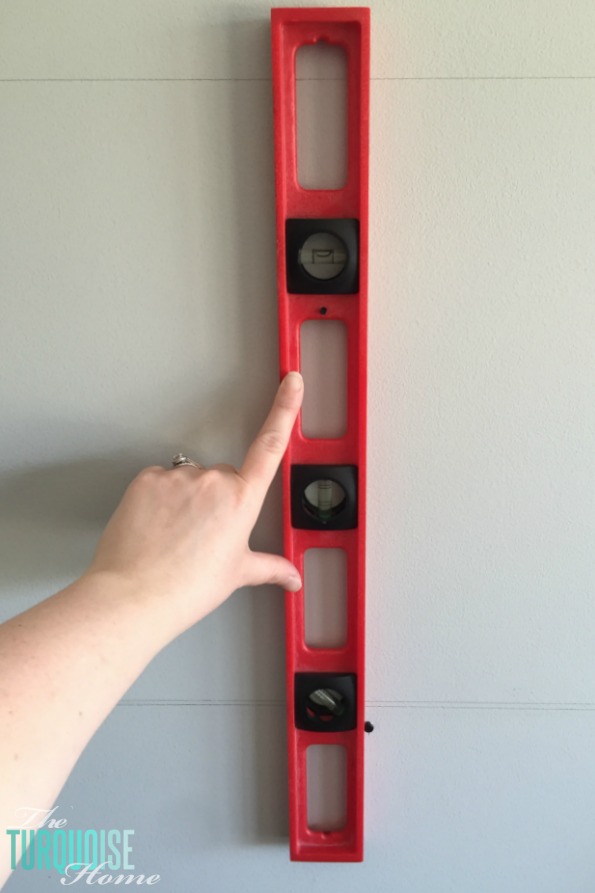
Using your level, locate where you will place the first shelf. I held my boards up on the wall with the level on top and drew a pencil line below it. Be sure to make note of permanent fixtures like light switches and outlets.
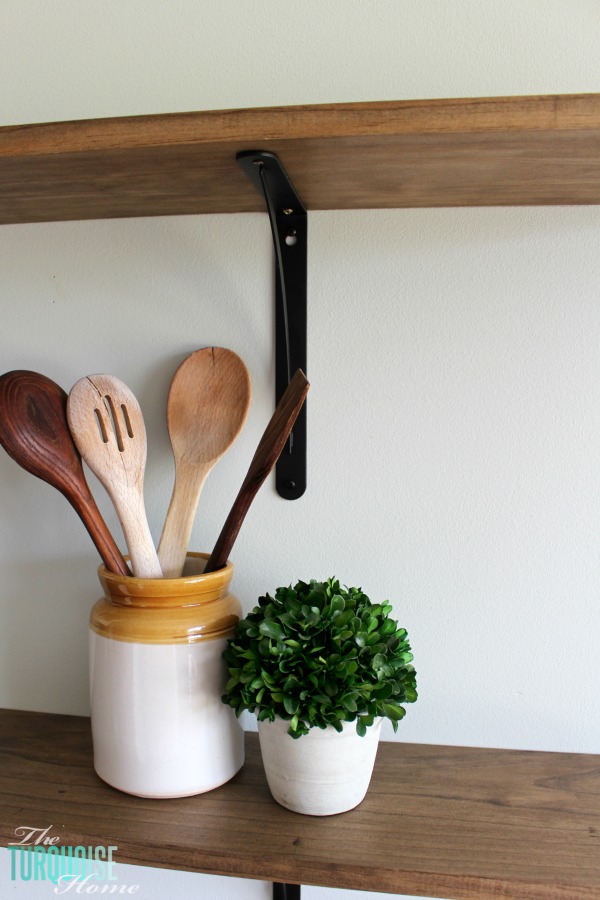
5. Install the Brackets
I placed my brackets on the line I drew for my board placement and screwed them in. Check for level horizontally and vertically before screwing everything in!
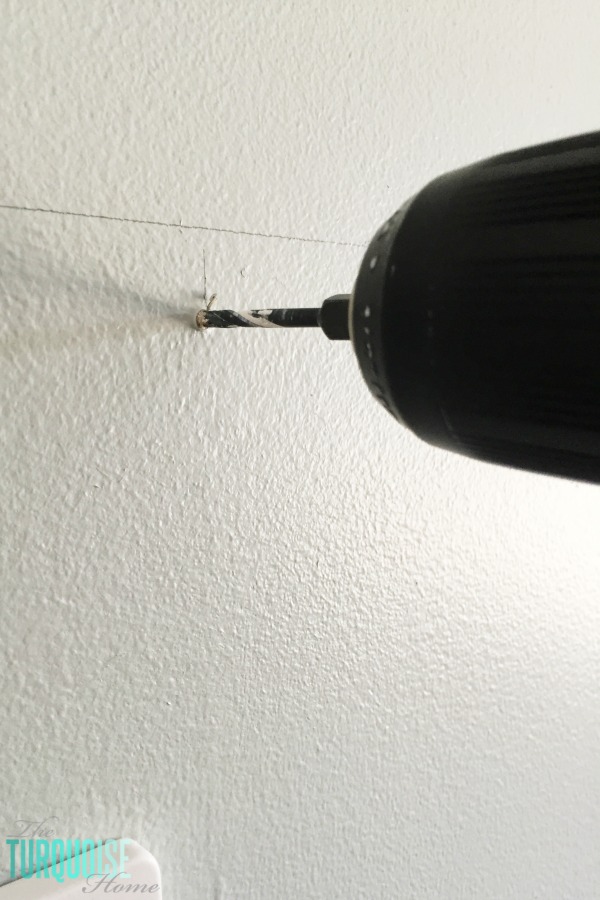
And here’s a tip if you’re drilling into the studs: It can be difficult to drill a screw directly into the wall studs, so I use a drill bit (smaller than my screw) to pre-drill the hole. It makes things much easier!
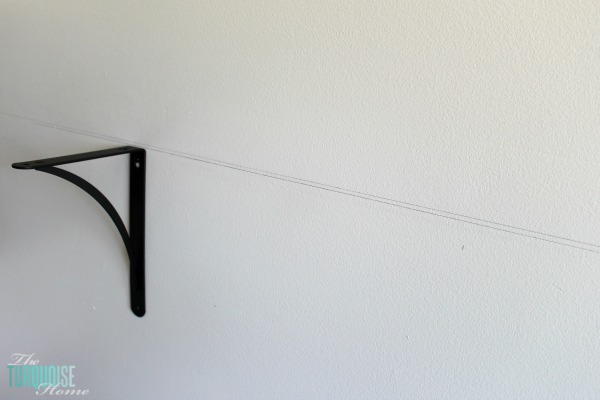
5. Attach First Board to the Brackets
Place your boards on top of the brackets. My brackets had holes on the under side of the bracket to screw in the bracket to the bottom of the shelf. I did this because I don’t want them to be accidentally knocked down.
Step 6. Figure Out Second Board Placement
Decide where to place the top shelf. If you’re installing more than one shelf, I recommend installing the bottom shelf first. I had to consider the outlets, phone jack and light switches.
So, after I installed the bottom shelf, I placed some of my favorite decor items on it to see how far up I should put the second shelf. Mine ended up being 17.25 inches between the shelves. You’ll want to think through what you’ll be putting on your shelves and how that plays into your shelf placement.
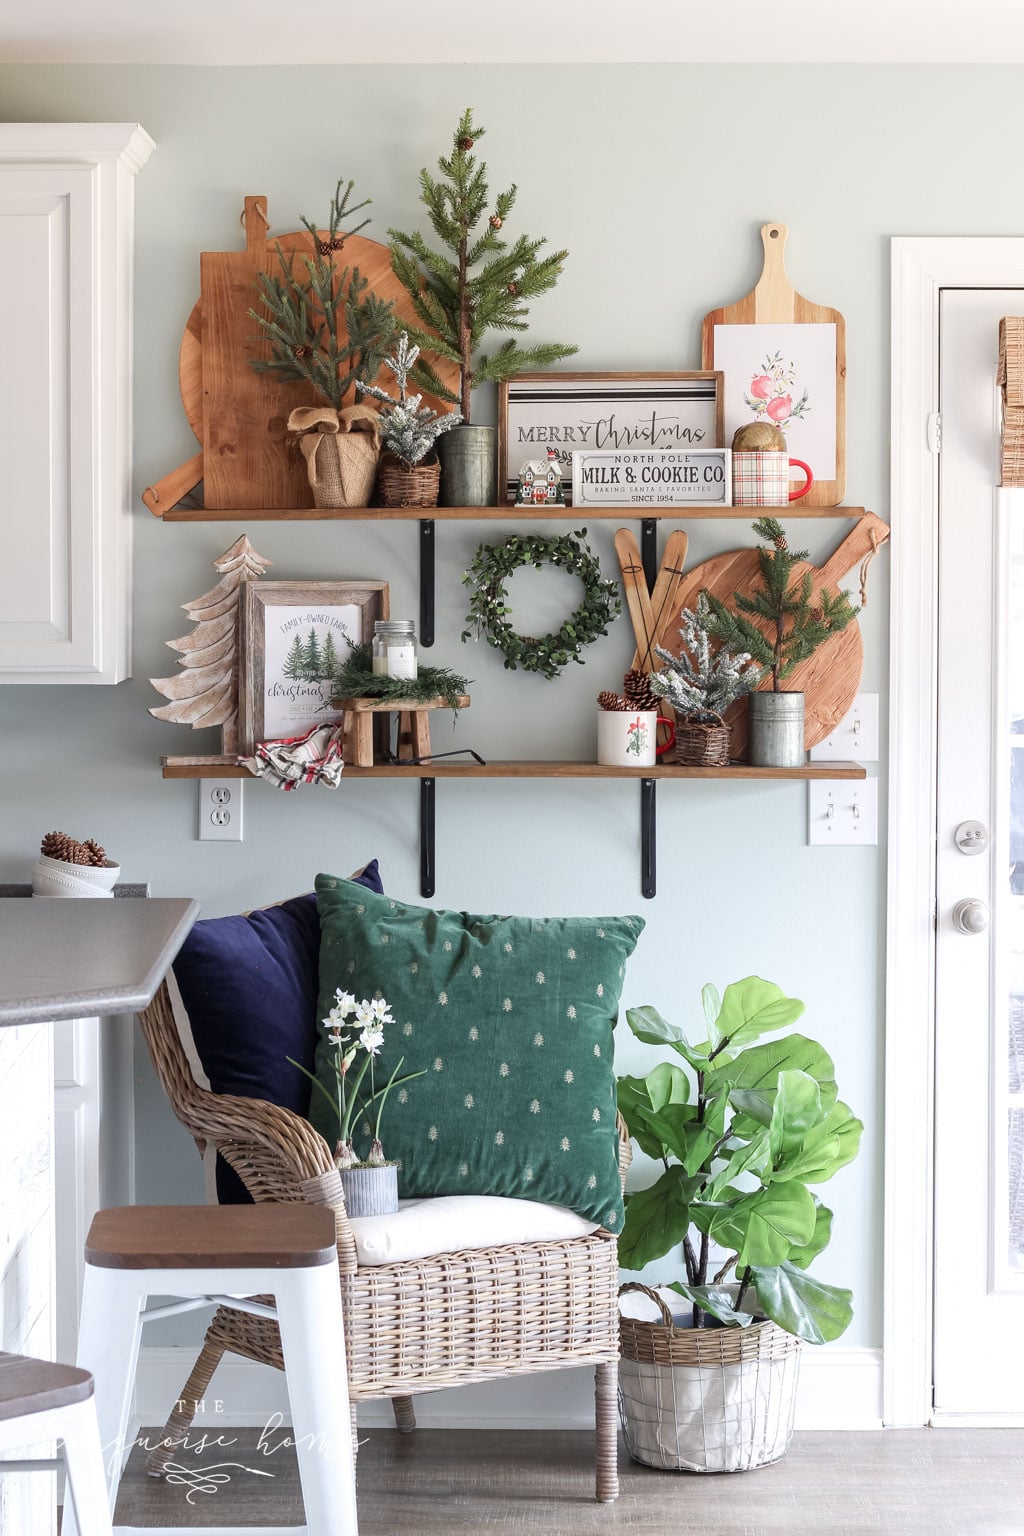
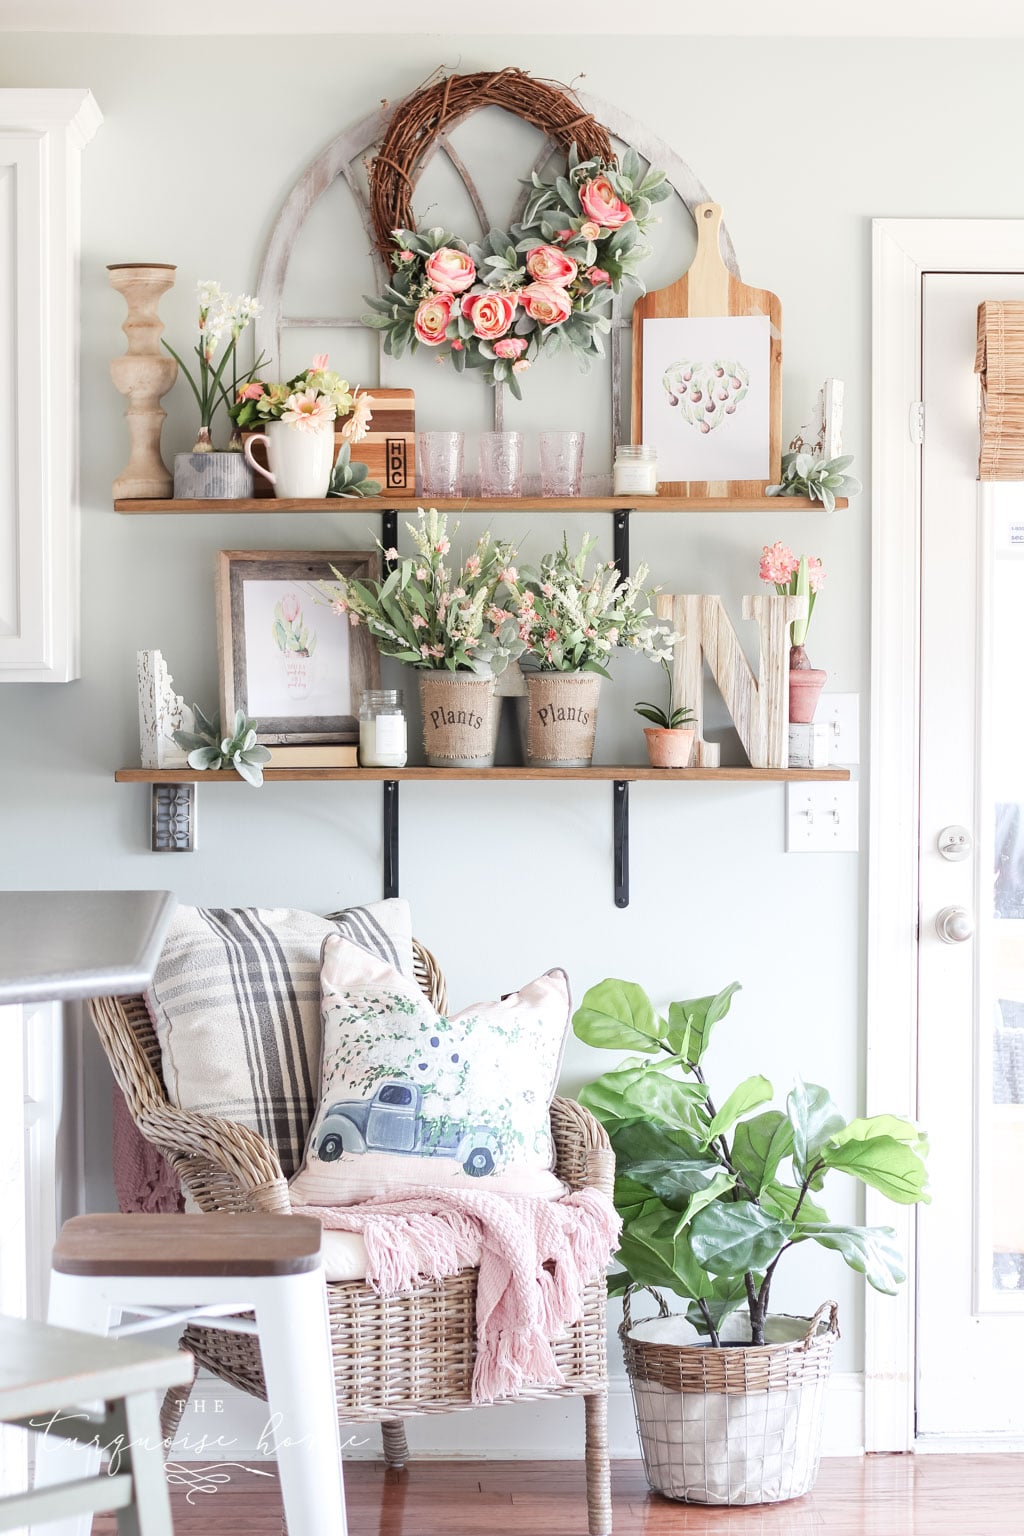
Yay! Here comes the fun part! You now have your very own DIY farmhouse shelves and are ready to decorate. Here’s a little sneak peek at how mine look now. I absolutely love them and how they bring so much character to my kitchen.
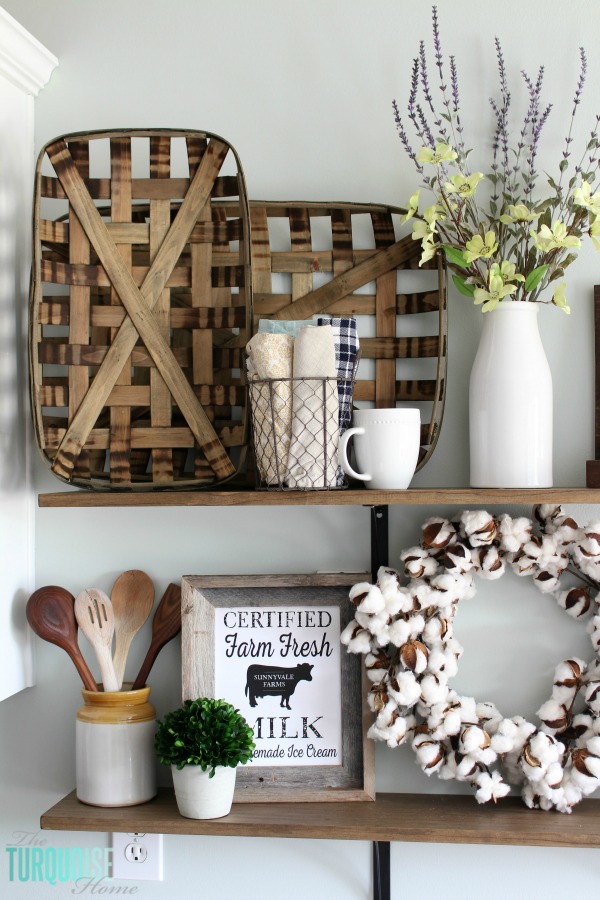
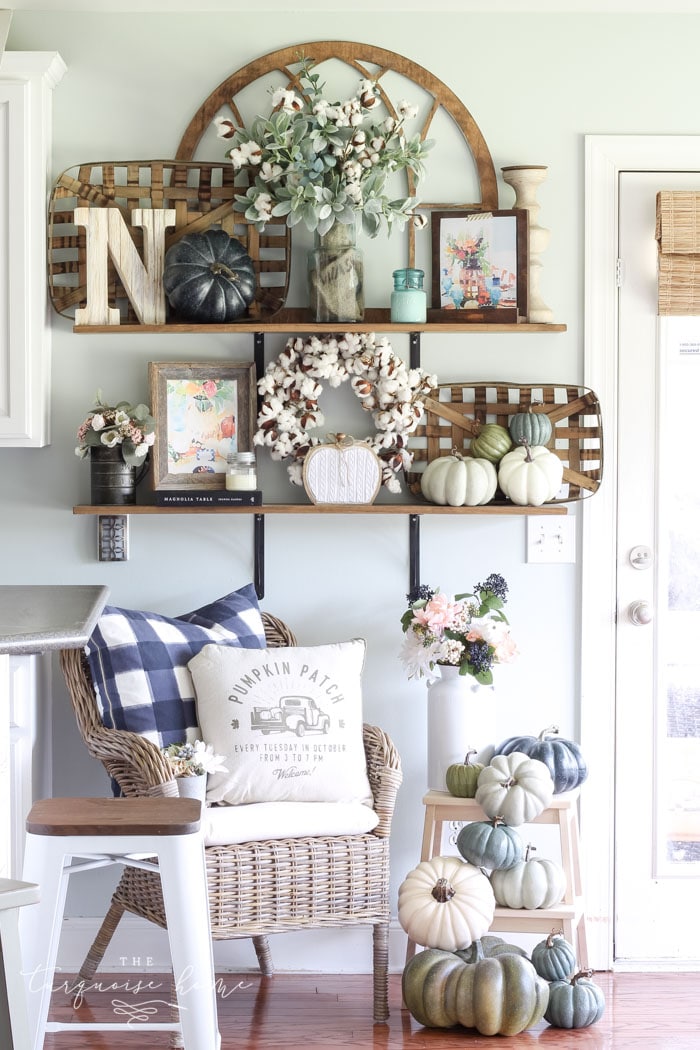
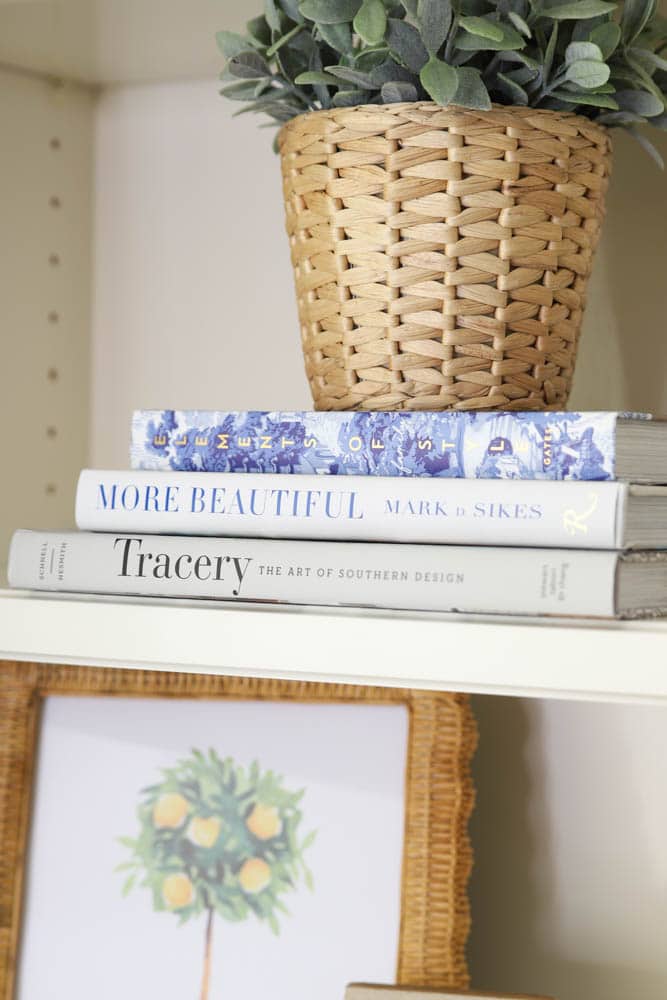
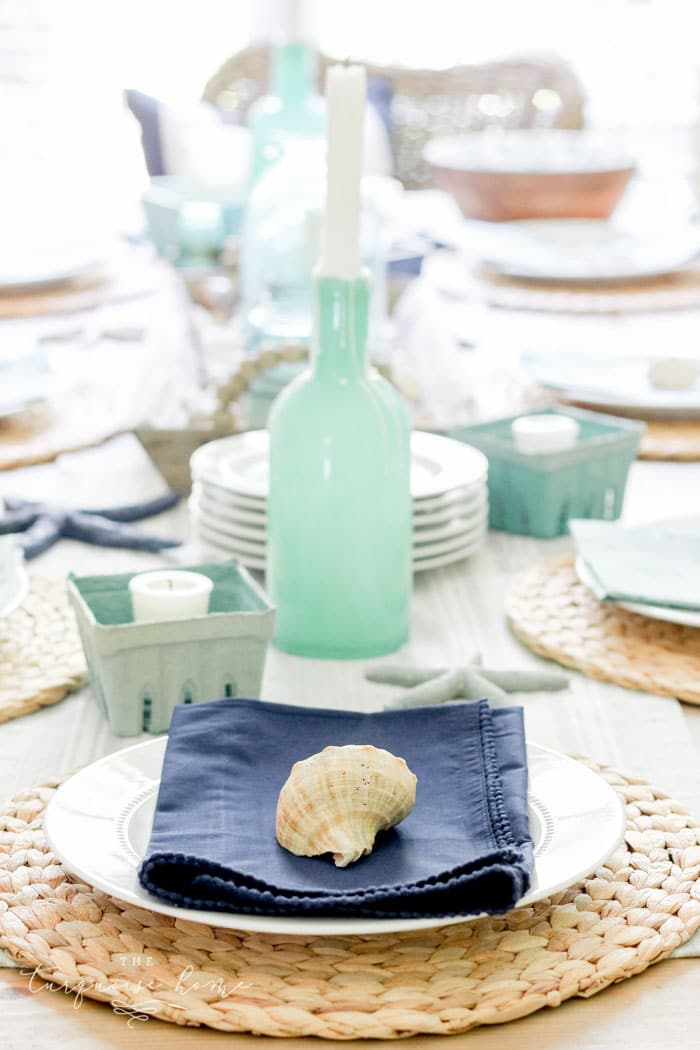
How I Styled My Open Shelves
Over the years after I built my easy decor shelves, I styled them for each and every season. After we moved into a new home, I still look back fondly on my open shelves and how fun it was to change the decor! I’ve shared a few of my favorite looks over the years.
Do you have open shelving in your kitchen? Do you love them?!
More Posts You Will Love:
I’d put a lamp on that one shelf that has a plug directly under it! Very cute!❤️
Smart!! Love that idea! xo, Laura
I still missing seeing all the ways you decorated those shelves!
Like the shelves, good idea just using pine boards and staining them.