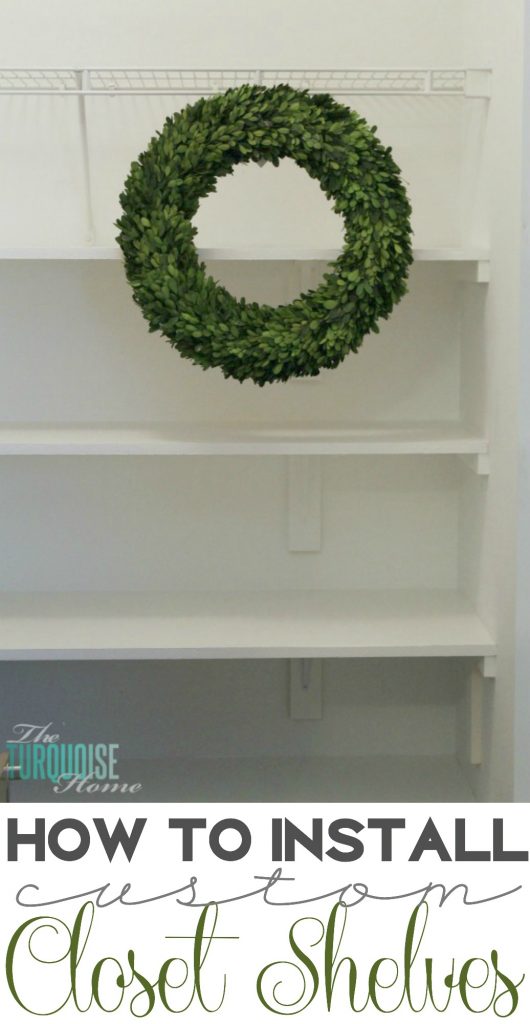
How to Build Closet Shelves
Do you need to find more space in your home? Utilize the vertical space in your closets by learning how to build closet shelves!
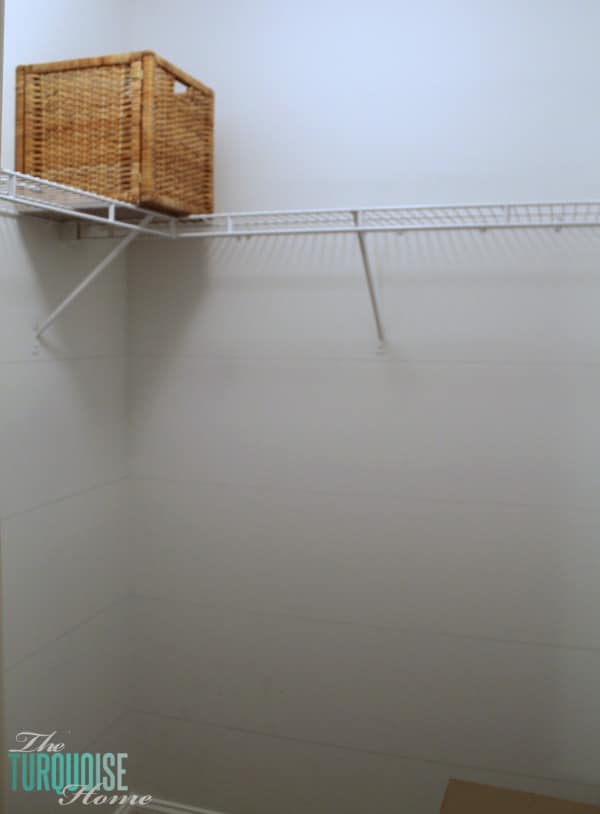
I have been dreaming of this project since before we bought our house. See, in all of our closets, except for our master closet, we have a single wire shelf and hanger in each one. Since our guest bedroom and office closet doesn’t have any hanging clothes in it, there’s a ton of wasted vertical space.
I am all about using up some vertical space with storage. Well, the upcoming arrival (born in 2014 ☺️) lit a fire under my 27-week preggo behind and I got to work creating a closet full of storage. I have been using our fourth bedroom and its walk-in closet as a storage room for all kinds of unused decorations, yard sale piles, consignment stashes and more.
But now I need that room for the baby, so I’ve moved all of the junk it into the dining room and now need to make it all fit into the guest bedroom closet. Eek! There will be lots of purging in order for that to happen, but in the meantime, I’ve added shelves to the closet!
At one point I was thinking about just buying a closet system, pre-made and ready to install. But when I started trying to figure out how to design one from a closet company, I quickly realized that I was just going to need shelves, as opposed to baskets and specialty hanging racks, and I was going to be pretty picky about my sizes of the shelves, so I decided to DIY this one.
Side Note: I love DIY for sure. But the older and busier I get, the more I want to be intentional about my DIY projects. While yes, they are typically cheaper than buying products in the store, time still equals money and I want to use my time wisely. If I can find what I’m looking for in a store and I can save up for it, then I will be buying that product. But if I can’t find what I want, and I could DIY it to make it what I want, then I’m going to go the DIY route. Hence why I chose DIY for these shelves. I wanted them to be customized and couldn’t (or didn’t have the time and patience to) find it elsewhere.
Want to Save This?
Enter your email below and I’ll send it directly to your inbox!
Supplies Needed to DIY Closet Shelves
- 3/4 inch thick MDF for the shelves – I used 2 sheets and cut them down, but you will have to measure your space and purchase the number you need.
- Measuring Tape
- Circular Saw or Miter Saw
- Table Saw – I had my boards ripped down to size at the hardware store, but if you want to do them yourself you will need a table saw or circular saw.
- 1 x 2 boards (for the support boards around the sides)
- 1 x 3 boards (for the shelf support bracket systems)
- Brackets – I used brackets that were 8 inches x 10 inches. I put the 8 inch side vertically and the 10 inch side under the shelves (horizontally).
- Caulk
- Spackling
- Paint
- Primer
- Wood Screws
- Stud Finder
- Level
- Ruler
Find all of the tools I use and love HERE!
How To Build Closet Shelves
Step 1. Nail down your measurements
I started by measuring out exactly what I wanted to put in my closet, thus what size my shelves should be. I knew I still wanted my filing cabinet to fit in there. And I wanted my sewing machine to sit on the floor under the bottom shelf. So, on one side of the closet, I made a shelf just higher than the filing cabinet. And on the other wall, I made the shelf just higher than my sewing machine case.
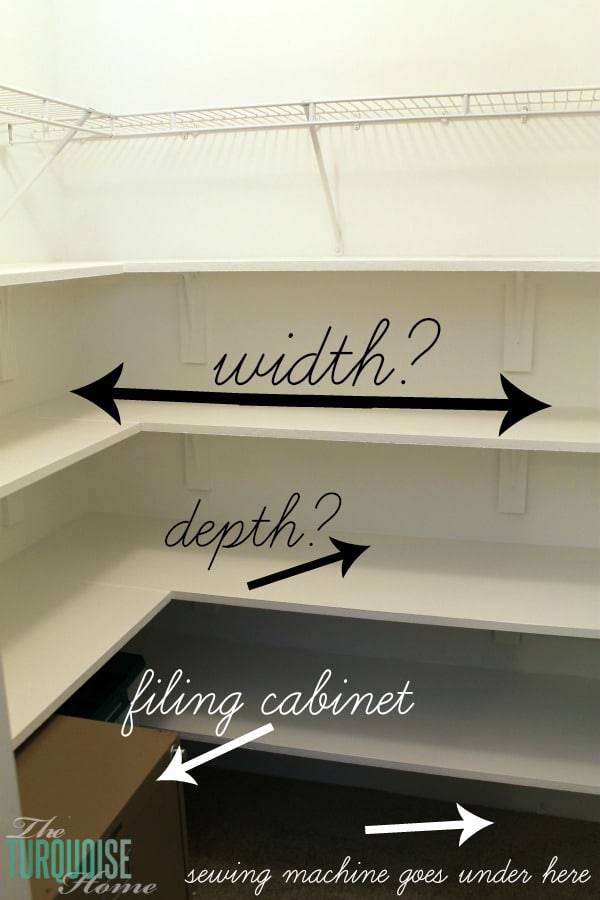
I figured out how deep I wanted my shelves to be and how far apart, then I measured several things that I wanted to be able to fit on the shelves, like my appliance organization binder and some cubbies I have on hand.
I decided to keep the existing wire shelf in case some day an owner wanted to turn it back into a clothing closet with a hanging rack. And … I didn’t feel like taking down a perfect good shelf, even if it is wire.
My top shelf is 13 inches deep; my second shelf is 14 inches deep and the bottom two shelves are 18 inches deep. And I made them the width of the wall, obviously. Well, I had to make one side the width of the wall and the other side is the width of the wall, minus the depth of the adjoining shelf. Make sense?
Step 2. Buy your supplies
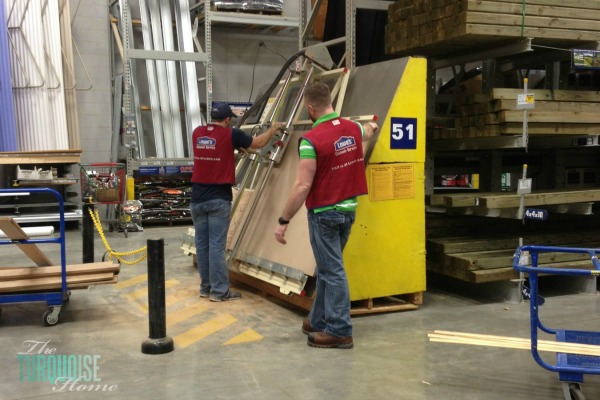
I used 2 sheets of 3/4 inch thick MDF for the shelves. I had the guys at Lowe’s cut them down to the depth size for me and then I cut the lengths at home with my circular saw. At one point I thought I was going to have to buy 3 MDF sheets to get all of my cuts, but I was able to just make it work with two.
I use 1×2’s for the support boards around the sides and 1×3’s for the shelf support systems. So you’ll need to know those measurements before going to the store. I also picked up brackets (in the closet section), caulk, spackling, paint, primer and screws. Read through the whole process and make a list so that you don’t have to go to the store multiple times.
Step 3. Prime & cut your boards
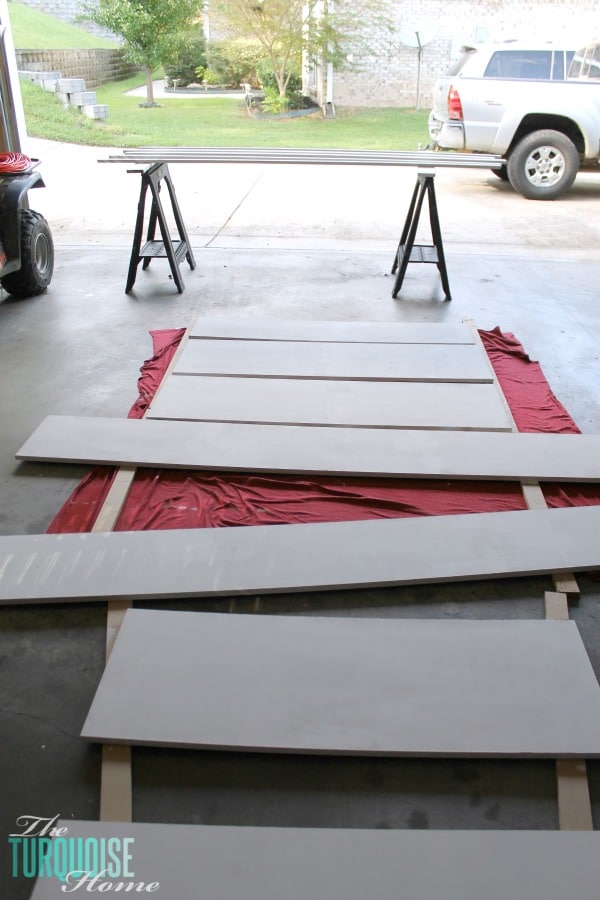
I just laid everything out in the garage and painted two coats of primer on everything. It’s so much easier to do this step before you get it installed in the closet. You’ll still have to paint a top coat or two, but this cuts down on time and a lot of trim work. Once they were primed, I used my circular saw to cut down the lengths of the shelves to the lengths I needed.
You could always cut and then prime, too.
You’ll need to cut your shelves to the correct length, the 1 x 2’s to the same length as your shelves and the 1 x 3’s to 8 inches – 1 for every bracket you will use.
Step 4. Mark your shelves
I know this is a super fuzzy pic, but you can kind of see where I measured out my shelf lines…
I used a level and a ruler to mark off my shelf lines. That way when I nailed up my support boards, it wouldn’t be hard to follow along and get it all straight from the start. It worked like a charm!
Step 5. Nail up your support boards
I nailed up all of the 1×2’s along the wall, following the lines I had drawn with my nail gun and compressor. Then, I marked the studs with my stud finder and screwed in each board to a stud. We don’t want these things falling down!
Step 6. Put up your shelves
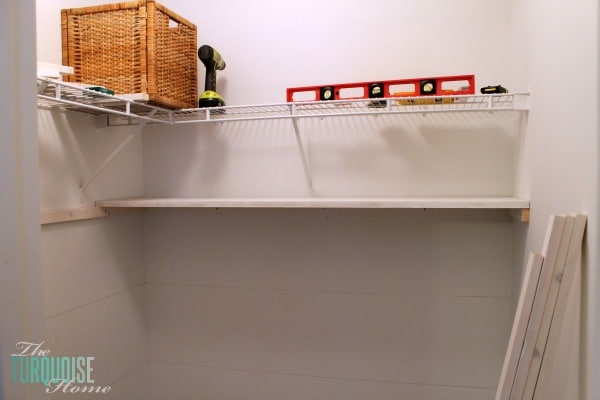
If you’re building shelves in a closet like me, then you can just leave the shelves outside of the closet and bring them in when your support boards are in place.
But if you’re putting shelves in a shallow wall closet, then you’ll want to put your boards in the closet before you nail in your support boards. Otherwise you won’t be able to finagle them into place since they will span the length of the wall space and the 1 x 2’s on the wall will interfere with them. Clear as mud? I hope that makes sense!
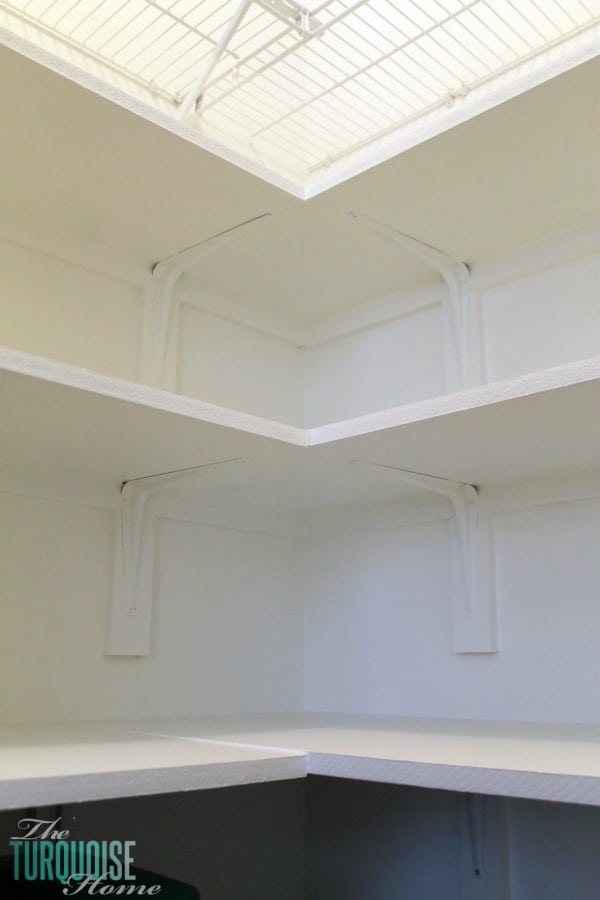
Step 7. Install bracket supports and brackets.
Cut your 1 x 3 boards into 8-inch long pieces for as many brackets as you will need.
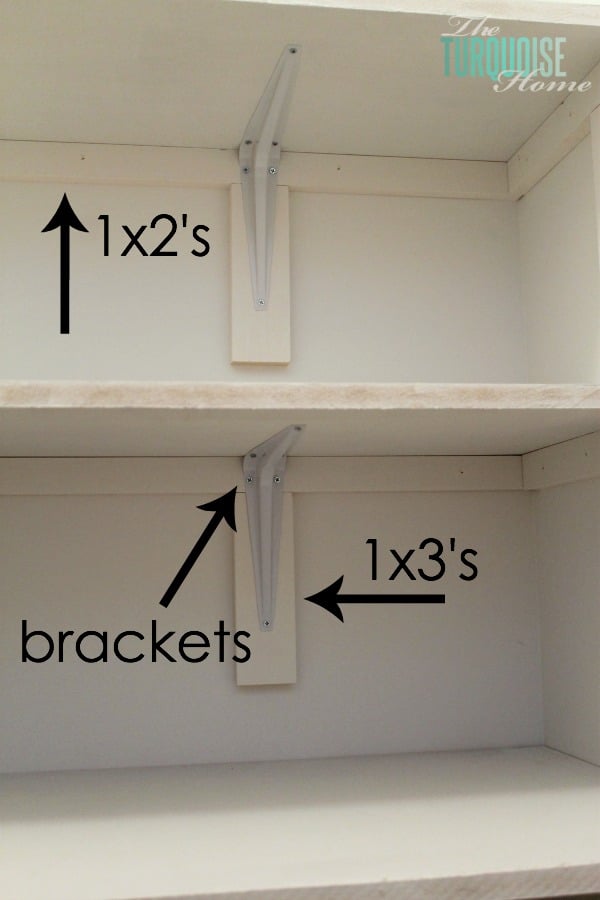
Since I needed my brackets to screw into something flush with the shelf support boards, I nailed up 1 x 3 boards under the 1 x 2’s. I found the studs and screwed the support boards into the studs as well. Then I screwed the brackets into the support boards and to the under side of the shelves. I bought quite a few more brackets than I ended up using.
My shelves are 58 inches long and are plenty sturdy with 2-3 brackets per shelf.
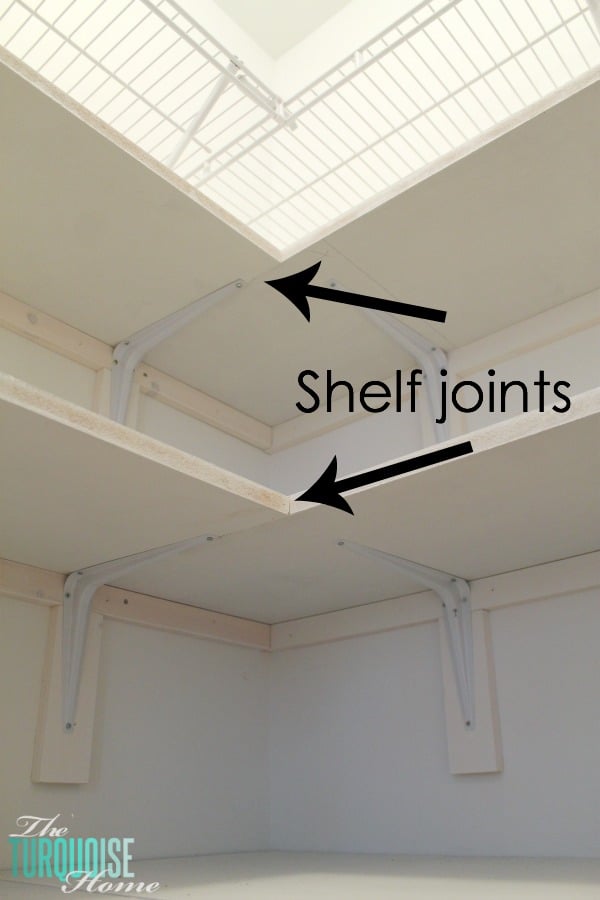
Where the shelves joined together, I made sure to put a bracket there to support the joint and both shelves.
Update 5 years later: the shelves are still perfectly straight with years of heavy use!
Step 7. Caulk and Patch
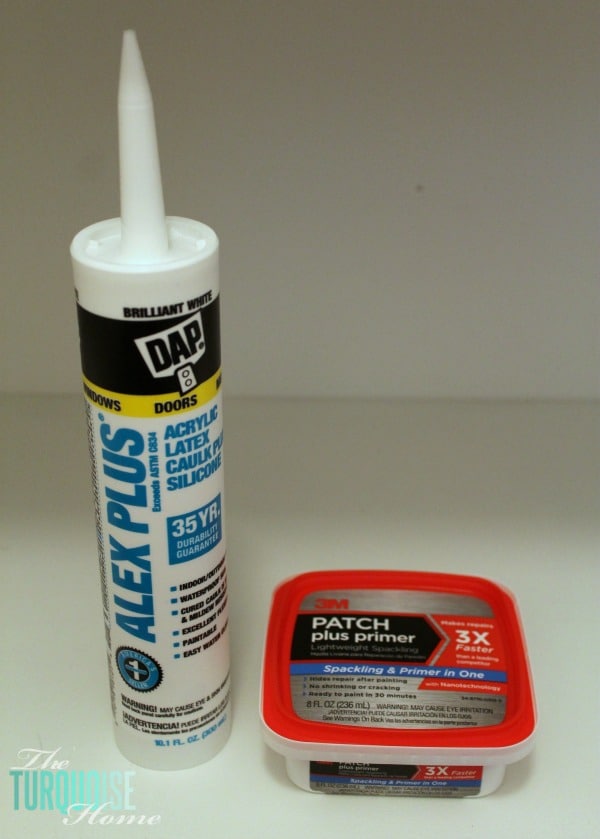
Ahh, yes, my good friends Alex and Patch. They always make everything look better! I caulked all of the seams and patched all of the nail and screw holes. Easy peasy! ( I LOVE that patch plus primer spackling from 3M.)
Step 8. Paint
Yay!! It’s the last step before you can get all of your junk out of the open space and back into the closet. Hallelujah!! I painted two coats on each shelf and support board using semi-gloss paint. I chose Simply White by Benjamin Moore for the color since it matches our trim, and that’s what I used on our board and batten in the living room.
Finished!!
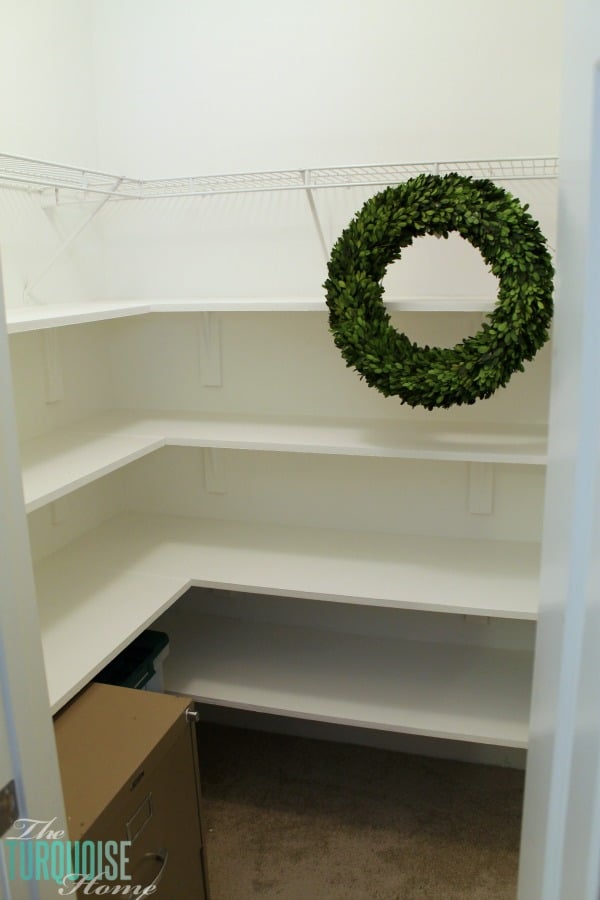
Isn’t it just beautiful (if I do say so myself)?? Am I the only person who gets giddy about new closet shelving that no one will see but me? 🙂
And it’s done! I know there are a lot of steps, but none of them are very hard. It just takes time and diligence to get it done. It took me 5 weeks from start to finish, but that’s because I did a little here and a little there while working from home while pregnant, with a 3-year-old and a husband who’s a football coach and it’s the middle of the season. So, if you had large chunks of time to work on it, you could probably knock it out in a couple days.
Now it’s time to start purging and moving stuff back in. Wish me luck!!
Updated 5 years later: I still love these shelves and get a TON of use out of them. I need to put them in our hallway coat closet as well to make the most of some vertical space.
This is how the shelves look today:


You did a excellent job. I love diy projects. I have more tools than my husband. Now ex-husband. I love my table saw I never liked a circular saw because of kick backs. I am planning on putting shelves in the laundry room for craft storage. Thanks for the tips.
I have a table saw in my office still in the box! Ha! I need to get it out and use it. I’m sure I’ll love it, too! I bought it for making a coffee table, so I need to get on that. Glad the tips were helpful! xo, Laura
Swooning!!! This is EXACTLY what I want it my dining room closet for china and dining room STUFF. I’m impressed that your tutorial includes calking and patching . A lot of DIYers miss these steps and they are imperative to a professional looking job. Visiting from KIS. Best wishes to your growing family!
Fabulous tutorial! Sending this post to my husband right now!
I would love for you to sharing this project at my Show Me Saturday linky party this weekend! We go live every Saturday morning at 7:00 am EST. My readers would love it!
~ Ashley
Pretty awesome. I love it.
Thank you, Vanessa!
STORAGE!! OH my goodness! I am so jealous! That is the one thing I wish we had more of in our home. It looks great!
🙂 I’m just so glad that it’s done! Can’t wait to fill it up!! Maybe after the kid goes to bed tonight…