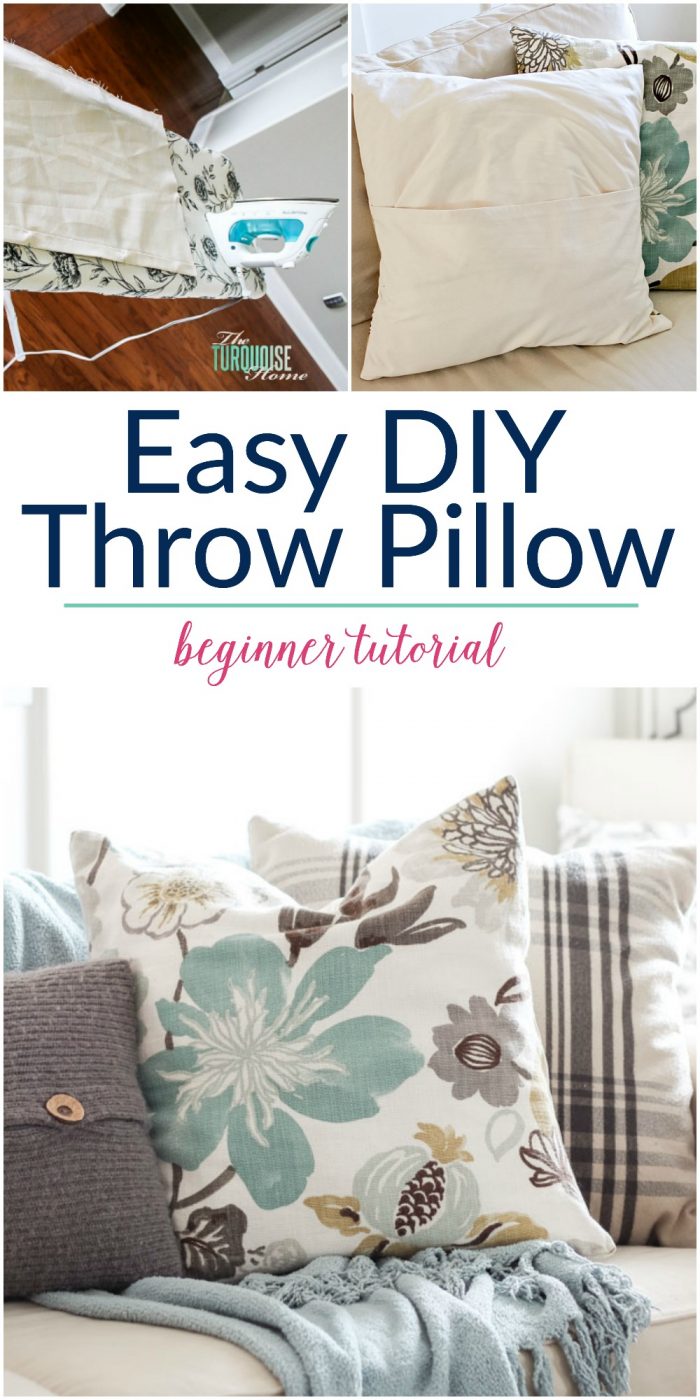
Easy DIY Throw Pillow
These super-easy DIY throw pillow covers are one of the simplest projects you can do. If you can sew a straight line, like me, then you can make your own pillows!
I love that I can grab a pricy piece of material and bring it into my home on a budget. Or I’ve made pillows out of drop cloth from the hardware store and stenciled them! It’s one of the most affordable ways to decorate your home and change it out for every season!
This post contains affiliate links for your convenience. See my full disclosure policy.
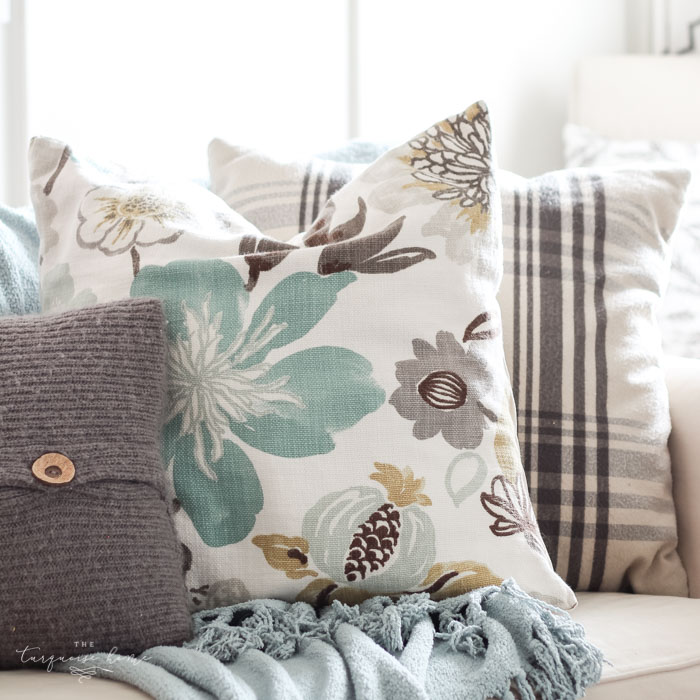
OK, so now to this beautiful fabric.
When I originally found this Braemore Gorgeous Pearl fabric months ago, I wanted to use it to make curtains for my kitchen. But with a $30/yard price tag, I wasn’t able to afford it at the time.
So, then I decided to make envelope throw pillows for my couch. And it took me forever to sit down and make them. Why? Because I have a love/hate (mostly hate) relationship with my sewing machine. Until now! This was by far the easiest sewing project I’ve done so far. If you’re looking for a beginner sewing project, then throw pillows would be perfect!
Seriously, I want to make throw pillows for my whole house now. Super easy, peasy!
Want to Save This?
Enter your email below and I’ll send it directly to your inbox!
Supplies Needed for an Easy DIY Pillow Cover
- Fabric of your choice. I bought a yard of my favorite fabric for the front of the pillow and a yard of neutral fabric for the back of my pillow. I made 2 matching pillows.
- Fabric tape measure or transparent ruler (optional: cutting mat)
- Scissors or rotary cutter
- Basic sewing machine
How to Make an Easy DIY Pillow Cover
1. Decide on the Size.
I first decided what size to make my pillows. I had Euro inserts, which are 26 x 26 inches. And I wanted the pillows to be somewhat plump. So, I decided to cut the fabric at 26 x 26, so that after I sewed it all up, it would be a little smaller and the insert would fill it up.
2. Measure your Fabric.
I only ordered 1 yard of the Braemore fabric, and decided to use some less expensive fabric for the backs. (I think it was just an off white canvas material.) Since the floral pattern repeated twice on one yard, I cut out a “frame” from some wrapping paper.
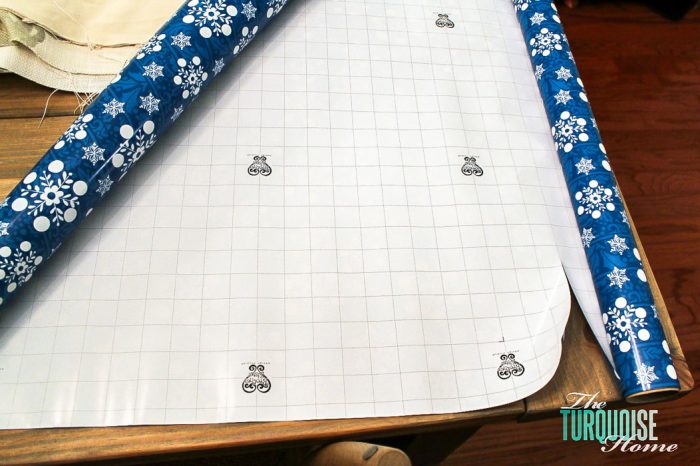
I’m sure you’re thinking, wrapping paper and making pillows? Strange. But this was my MacGyver way of measuring my pillows, because this wrapping paper has a grid on it so I knew it was exactly square when I cut it out. Ideally you would use a tape measure, a transparent ruler or a cutting mat. And those rotary cutters are pretty handy as well.
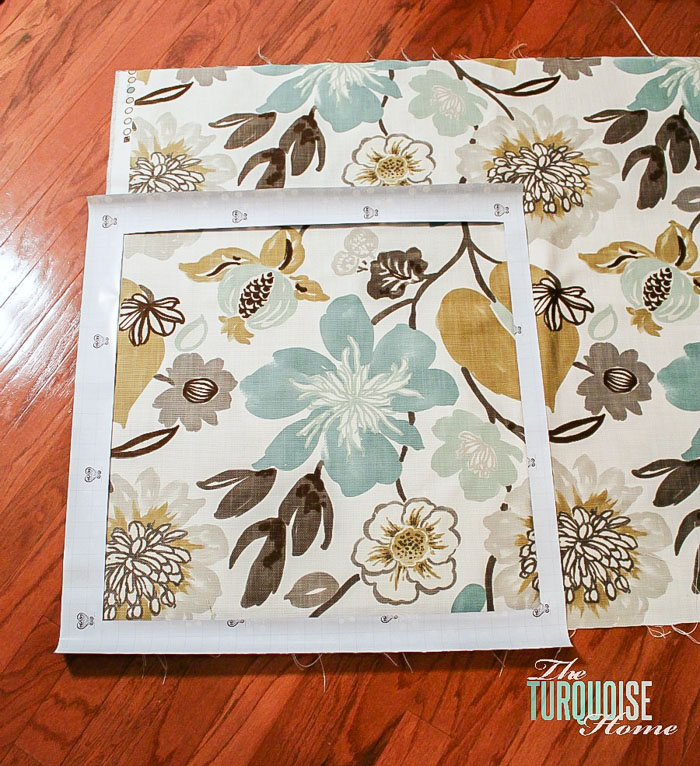
3. Cut Your Fabric.
The thing that was really nice about the wrapping paper method (😂) is that it helped me picture the pattern I wanted on the front of the pillow. And once I cut out the first square, I just placed it over the other half of the fabric and it was easy to cut out the second square.
I cut out two pieces of the back fabric for each pillow. One piece was 26 x 20 inches and the other piece was 26 x 16 inches. This left plenty of room for the two pieces to overlap on the back and to have a generous hem allowance.
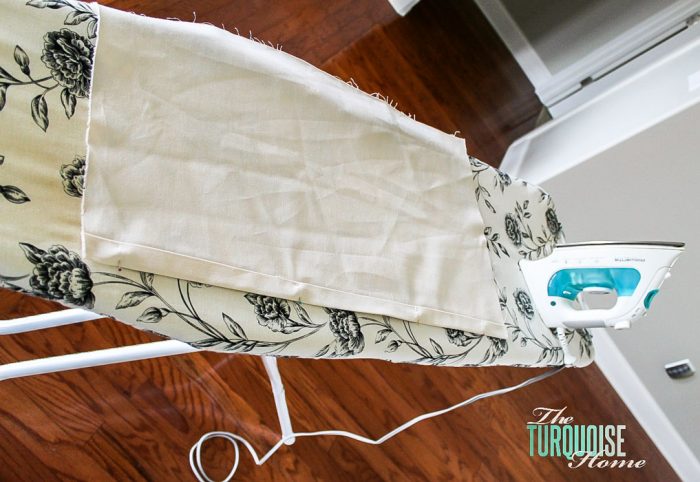
4. Iron Your Fabric.
I then ironed all of the pieces of fabric. This isn’t necessary, but it will make your sewing job so much easier if you do!
5. Sew the Edges
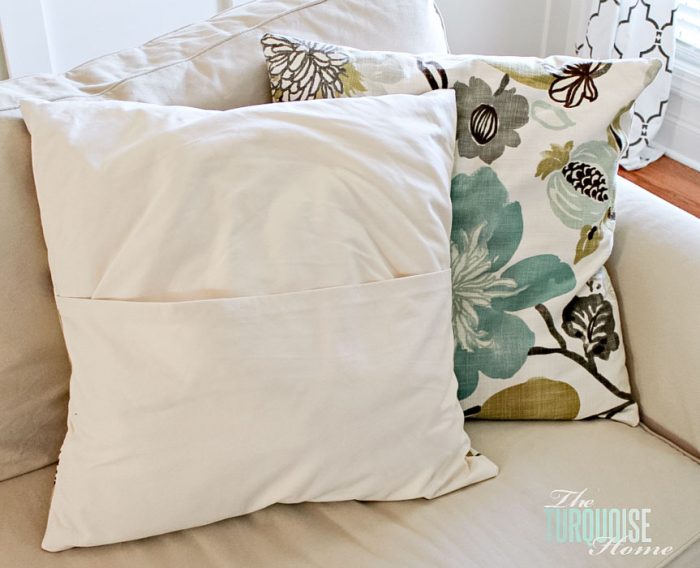
I hate that I didn’t take pictures of all the steps to sew, but I took a picture of a finished envelope pillow and I’ll try to show you what I did with arrows and such. 😜
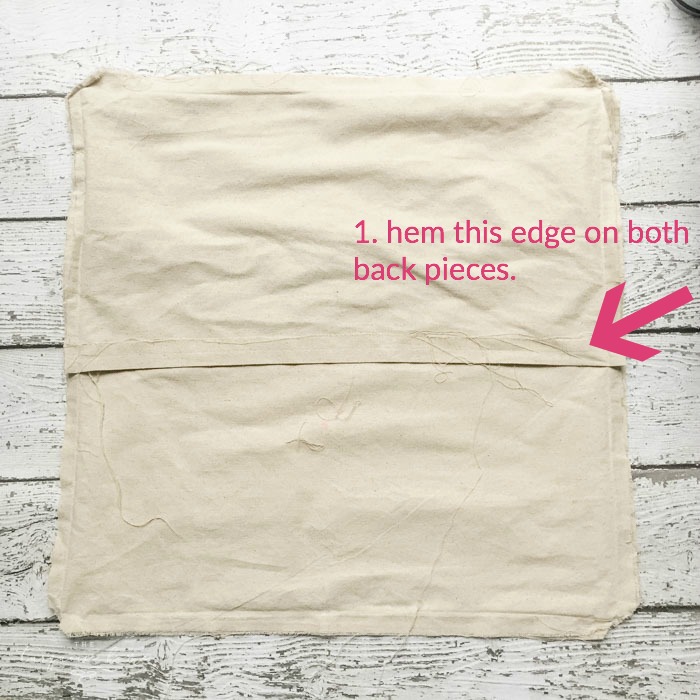
First, you want to hem the two sides of your back pieces. These are the edges that will come together in the back to create your envelope. I folded the hem down 1 inch and ironed it. Then I folded it again and ironed it again, and then hemmed it. You can see how I’m ironing the back piece in the above picture.
Once your two back pieces are hemmed on one long side, you’ll want to put your front piece FACING UP toward you. Then you’ll place the two back pieces on top, making sure they are all squared up. The two hemmed edges should be facing up at you.
Pin each side in a few places and then sew the four sides, leaving a 1-inch allowance.

6. Cut the Corners Off.
Now cut the excess fabric off of each corner, making sure to not cut your stitch. This will keep the corners from being bunchy when you turn the pillow inside out.

7. Turn Your Pillow Inside Out, Stuff it, Fluff it and Enjoy!
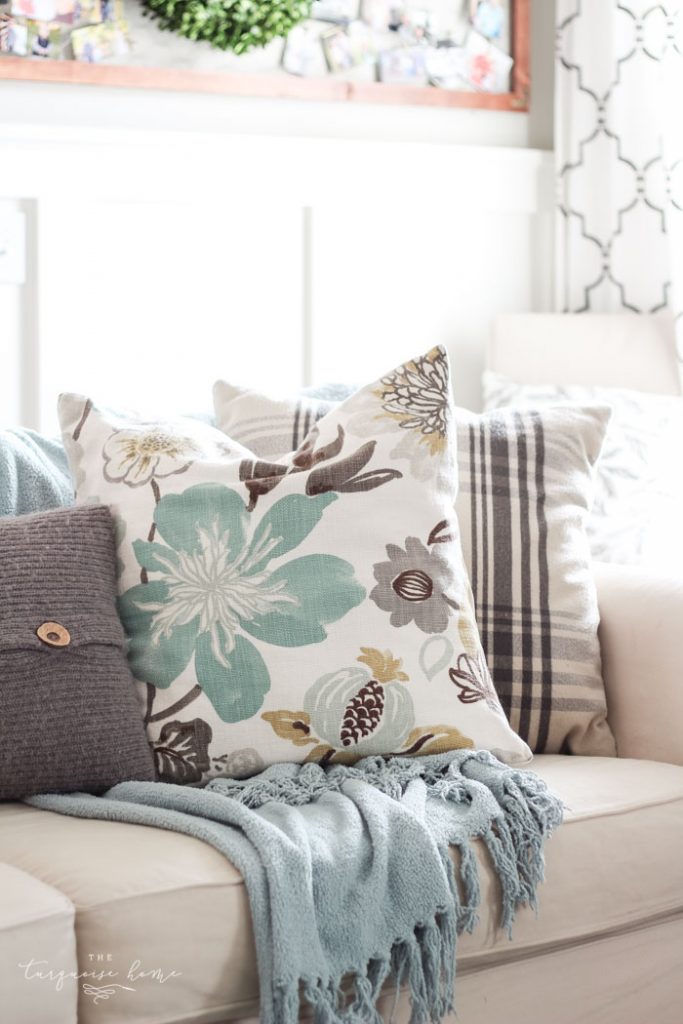
Turn your pillow inside out, stuff the insert inside and fluff. You now have your very own pillow cover, which was super easy to make!
I think what makes this project so simple is that it’s fairly small and you’re just sewing straight lines. Once I got everything cut out and ironed, I think it took me maybe 15 minutes or less to sew them all together. It was definitely a 1 nap time project. I love those!
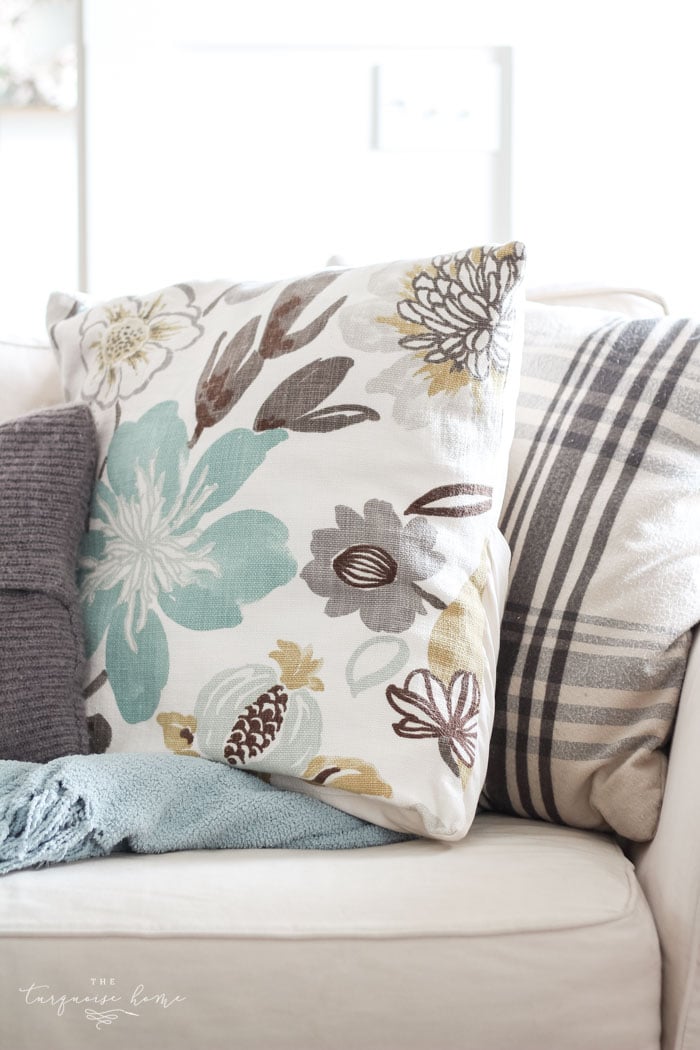
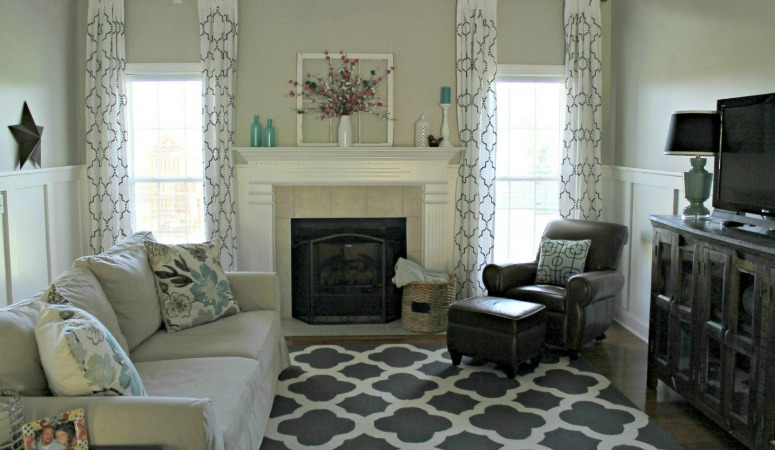
I love, love, love how this easy project turned out. And now I can’t wait to buy more fabric to add more pillows to the couch … and maybe every other room in the house.
Have you ever made throw pillows? If so, do you have any tips or tricks to share?
READ THE OTHER LIVING ROOM MAKEOVER POSTS:
1: Paint
2: More Paint
3: Caulking and Spackling
4: Blue Accessories
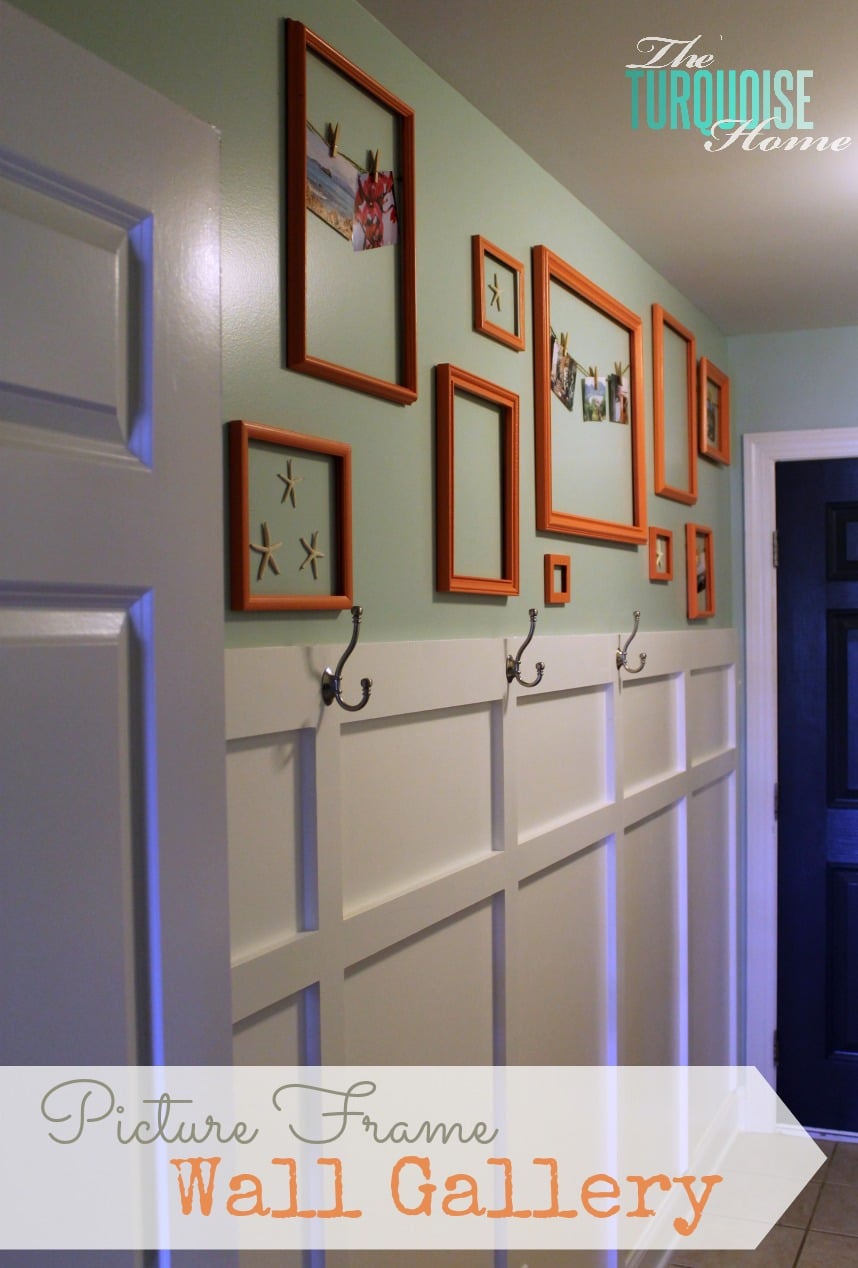
5: Gallery Wall
7: Final Reveal!
MORE FAVORITE POSTS YOU WILL LOVE:

eautiful! I love simple envelope pillows… you can whip them up so quickly. I use some quilt cutting tools (a rotating cutter and cutting mat) that I was given by my mom so cutting is super easy too, but if I didn’t have those the wrapping paper trick would be the perfect solution! Great idea:)
I made more later on with a rotating cutter and cutting mat. It does work better than the wrapping paper idea. 😉 Thanks for reading!! xo, Laura
how much are you overlapping your hemmed pieces on the back?
I would overlap about 2-3 inches. Hope this helps!
I must put this on my ( step by step simple tutorial) list of things to do. Thank you for sharing. If the coronavirus was not out there, I would be running to the store to get what I would need to make some of these fabulous pillows.
Stay safe!
So cute! I am impressed by your work This pillow seems easy to make by following your step. I will definitely try this. Thanks for sharing.
Thank you so much for partying with the Party Bunch… We are featuring you tomorrow!
Love the fabric of that pillow!! Beautiful! Pillows are definitely one of the easiest and fun projects to make for any room! 🙂 Thanks for sharing at Homemade By You!
Please! Please! Tell me what the fabric is and where to find it bc I am soooo in love:) Please!!
Hi Erica, it’s Braemore Gorgeous Pearl. And you can find it at OnlineFabricStore.net. Love it!!
LOVE that fabric!
Loving the envelope pillows! the fabric is so pretty!
Karin
They turned out great! I love the fabric. 🙂
Thanks for the link-up, friend! Love the pillows… Love you!!
I Love your pillows! The fabric is so fresh and I love the colors! Great job!
I think u did a great job and your couch really looks comfy.
Hi Andrea, I think it’s pretty spot on from the picture… don’t think it’s darker. It might be a TAD bit more muted than the pictures, but that’s all. I’m sure you’ll love it. I definitely do!
Thanks for stopping by!
hey there! I’ve been drooling over this chair for 2 or so months for my mud/breeze way! I am wondering what color the bluish teal is. Is it darker in person? I would hate to buy it and not love the teal. (I doubt it, but it would be just my luck!)
Your pillows look great! Using the grid pattern from wrapping paper is a great tip for cutting a perfect square.
I’m visiting from Richella’s party. It’s great to discover your blog.
^^ *you oops! 😉
Featuring today! Thanks so much for linking up to {wow me} wednesday! 🙂
Ginger @ GingerSnapCrafts.com
your pillows are so pretty, I love the fabric… and I hate to sew, so anything this easy appeals to me. 🙂
gail
You make those pillows look and sound so easy! Thanks for sharing them at Whatever Goes Wednesday!
LOVE that fabric!
The pillows are amazing but I am even more amazed by the wonderful chairs you got at Target! How long ago was that? I love them!
Thanks for sharing at Give Me the Goods! I look forward to seeing what you bring to the party next week. Don’t forget to check out the features on Sunday.
~Chelsea
Hey Chelsea … I WISH I had those chairs, but I’m just drooling over them for now. 🙂 But they are still for sale at Target.com. Just checked!!
Love the fabric, it’s something that I would have bought!
Hugs, Smiles & Blessings,
Robin
I have the same relationship with my sewing machine! I love the fabric you chose! Thanks for sharing! I’m a new follower!
Thanks Tammy! So glad you’re here!!
Everybody loves your choice of fabric, as do I. But, from where did you order it? Even though it is pricey,you’ve shown that just a little can make an impact! Love it!
Hi! I probably should have mentioned that in the post, huh?? 🙂 I bought mine from Onlinefabricstore.net.
Thanks for stopping by!!
Oh thank you!
That fabric would be perfect for the inserts in the retro console I got recently. I have been unable to find such great fabric and yours is divine, but at $30 a yard, I think I should keep looking! Fun to see the pillows you made with it though. Just gorgeous!
Liz
Gorgeous! I have a love/hate relationship with my sewing machine too! Love an easy sewing job . These are great!
Jamie @ somuchbetterwithage.com
Great fabric! I love enevlope pillows ~ so easy.
~ Megin of VMG206
I’m getting ready to make new pillows for my living room–thanks for the tips and ideas!
What a great idea to use the wrapping paper! I’m going to have to remember that. I love the fabric you used for those pillows!
The fabric is lovely. A great one for cushions.
Claire
Beautiful fabric! The pillows look wonderful on your couch!
Heidi
that fabric is amazing!! Do you think it will ever go one sale so you could get more? I don’t like to spend a ton on fabric either :o) thanks for linking up to Tasteful Tuesdays at Nap-Time Creations… Winners for the giveaway will be announced Wed… Have you entered?
I love me a good no sew pillow project and yours turned out so nice! Love the fabric!
These are very pretty! The fabric is a perfect compliment to your sofa! I have never made the envelope style before but I think I will give it a whirl. Linda
Thank you Linda!! They are the easiest sewing project I have ever done!
Great fabric! I really love the pop of color. Thank you for sharing!
Beautiful! I love simple envelope pillows… you can whip them up so quickly. I use some quilt cutting tools (a rotating cutter and cutting mat) that I was given by my mom so cutting is super easy too, but if I didn’t have those the wrapping paper trick would be the perfect solution! Great idea:)
Krista @thehappyhousie
I imagine the rotating cutter and the cutting mat would have been muuuuuch easier! I kept thinking there was probably a better way, but I worked with what I had. Need to get me some of those tools before the next set of pillow!
Thanks for taking the time to comment!
Cute pillow covers! I love the floral fabric.
Stopping by from Make The Scene Monday. Have a wonderful week!
Julie @ This Gal Cooks
You chose a beautiful pattern. I’ve made similar slipcover pillowcases. Yours is just gorgeous. I like your tip on figuring out what pattern to use!
Thank you!!