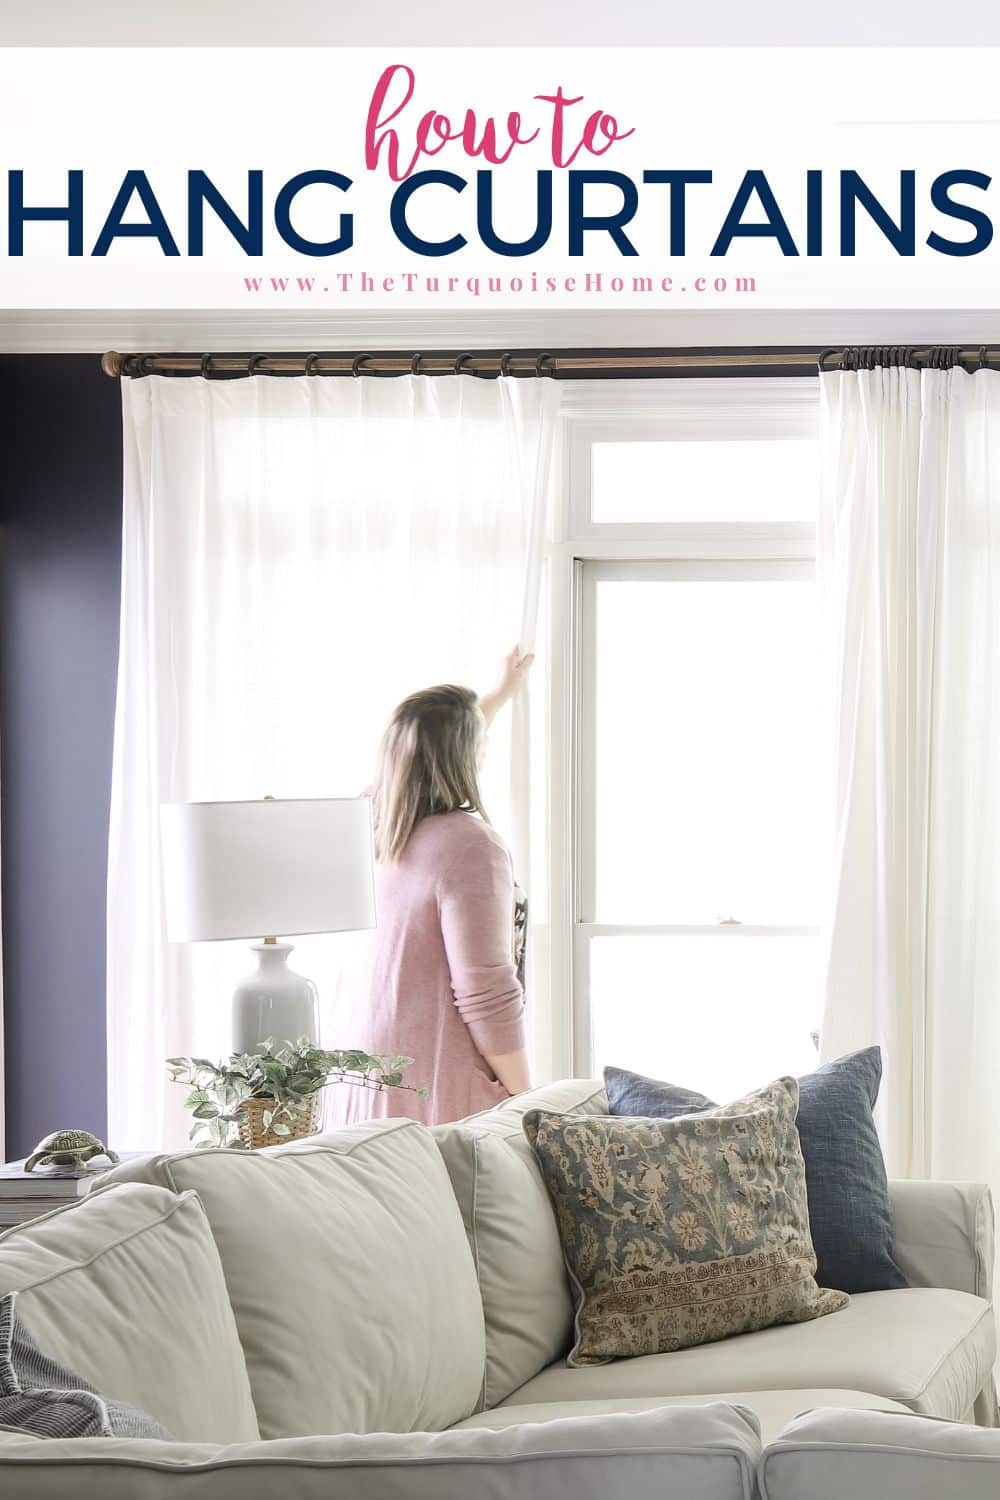
How To Hang Curtains: Easy Steps and Tips
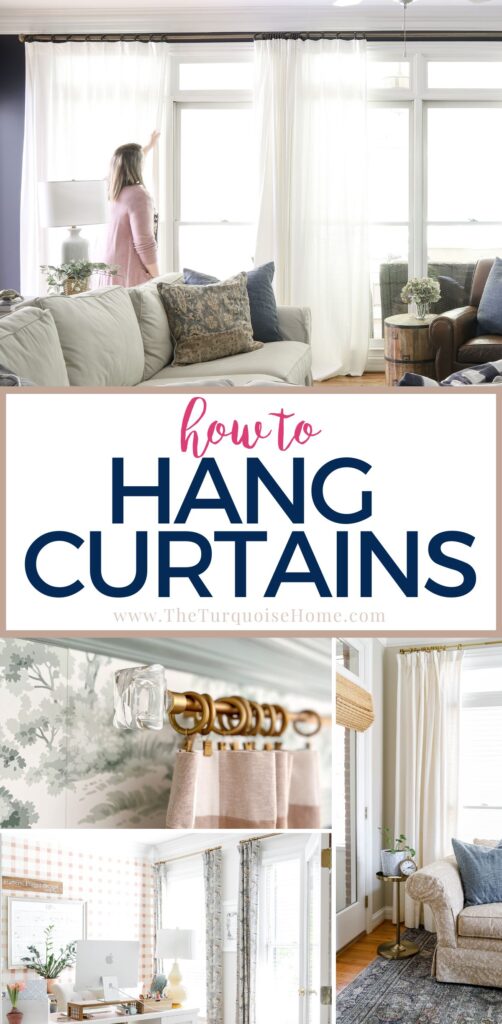
You’ve chosen that perfect combination of fabric, color, and hardware, and the time has finally come for hanging curtains. Ready to take your window treatment dreams from mood board to reality? Finding just the right curtains or drapes to complete a look is one of my favorite home decor projects. Hanging them? Not so much.
I’ve made it much easier for both of us with this simple guide for how to hang curtains, with examples at each step of the process.
I’ve hung my fair share of curtains over the years, and thankfully have learned a few things. I’m happy to share my experiences with you so that you don’t end up frustrated with multiple holes in the wall! I’ve been there, trust me.
This post contains affiliate links for your convenience. See my full disclosure policy.
Supplies You Will Need to Hang Curtains
- Measuring Tape
- Level
- Laser Level, if hanging curtains across several windows
- Pencil
- Stud finder
- Drill
- Screwdriver
- Ladder
- Drywall anchors – These are the only anchors I use!
- A second pair of hands. Truly, it makes it easier when you have a helper! But I’ve also done it by myself many times, so it’s not required.
- Curtain Rods
- Curtains
See all of my favorite DIY tools on my Amazon store front.
Want to Save This?
Enter your email below and I’ll send it directly to your inbox!
How To Hang Curtains
If you’re like me, you already have in mind the overall look you’re going for and probably already know the general types of window coverings and hardware to get it. For example, for the window treatments in our master bedroom makeover, I wanted to forgo super-heavy draperies while still maintaining privacy.
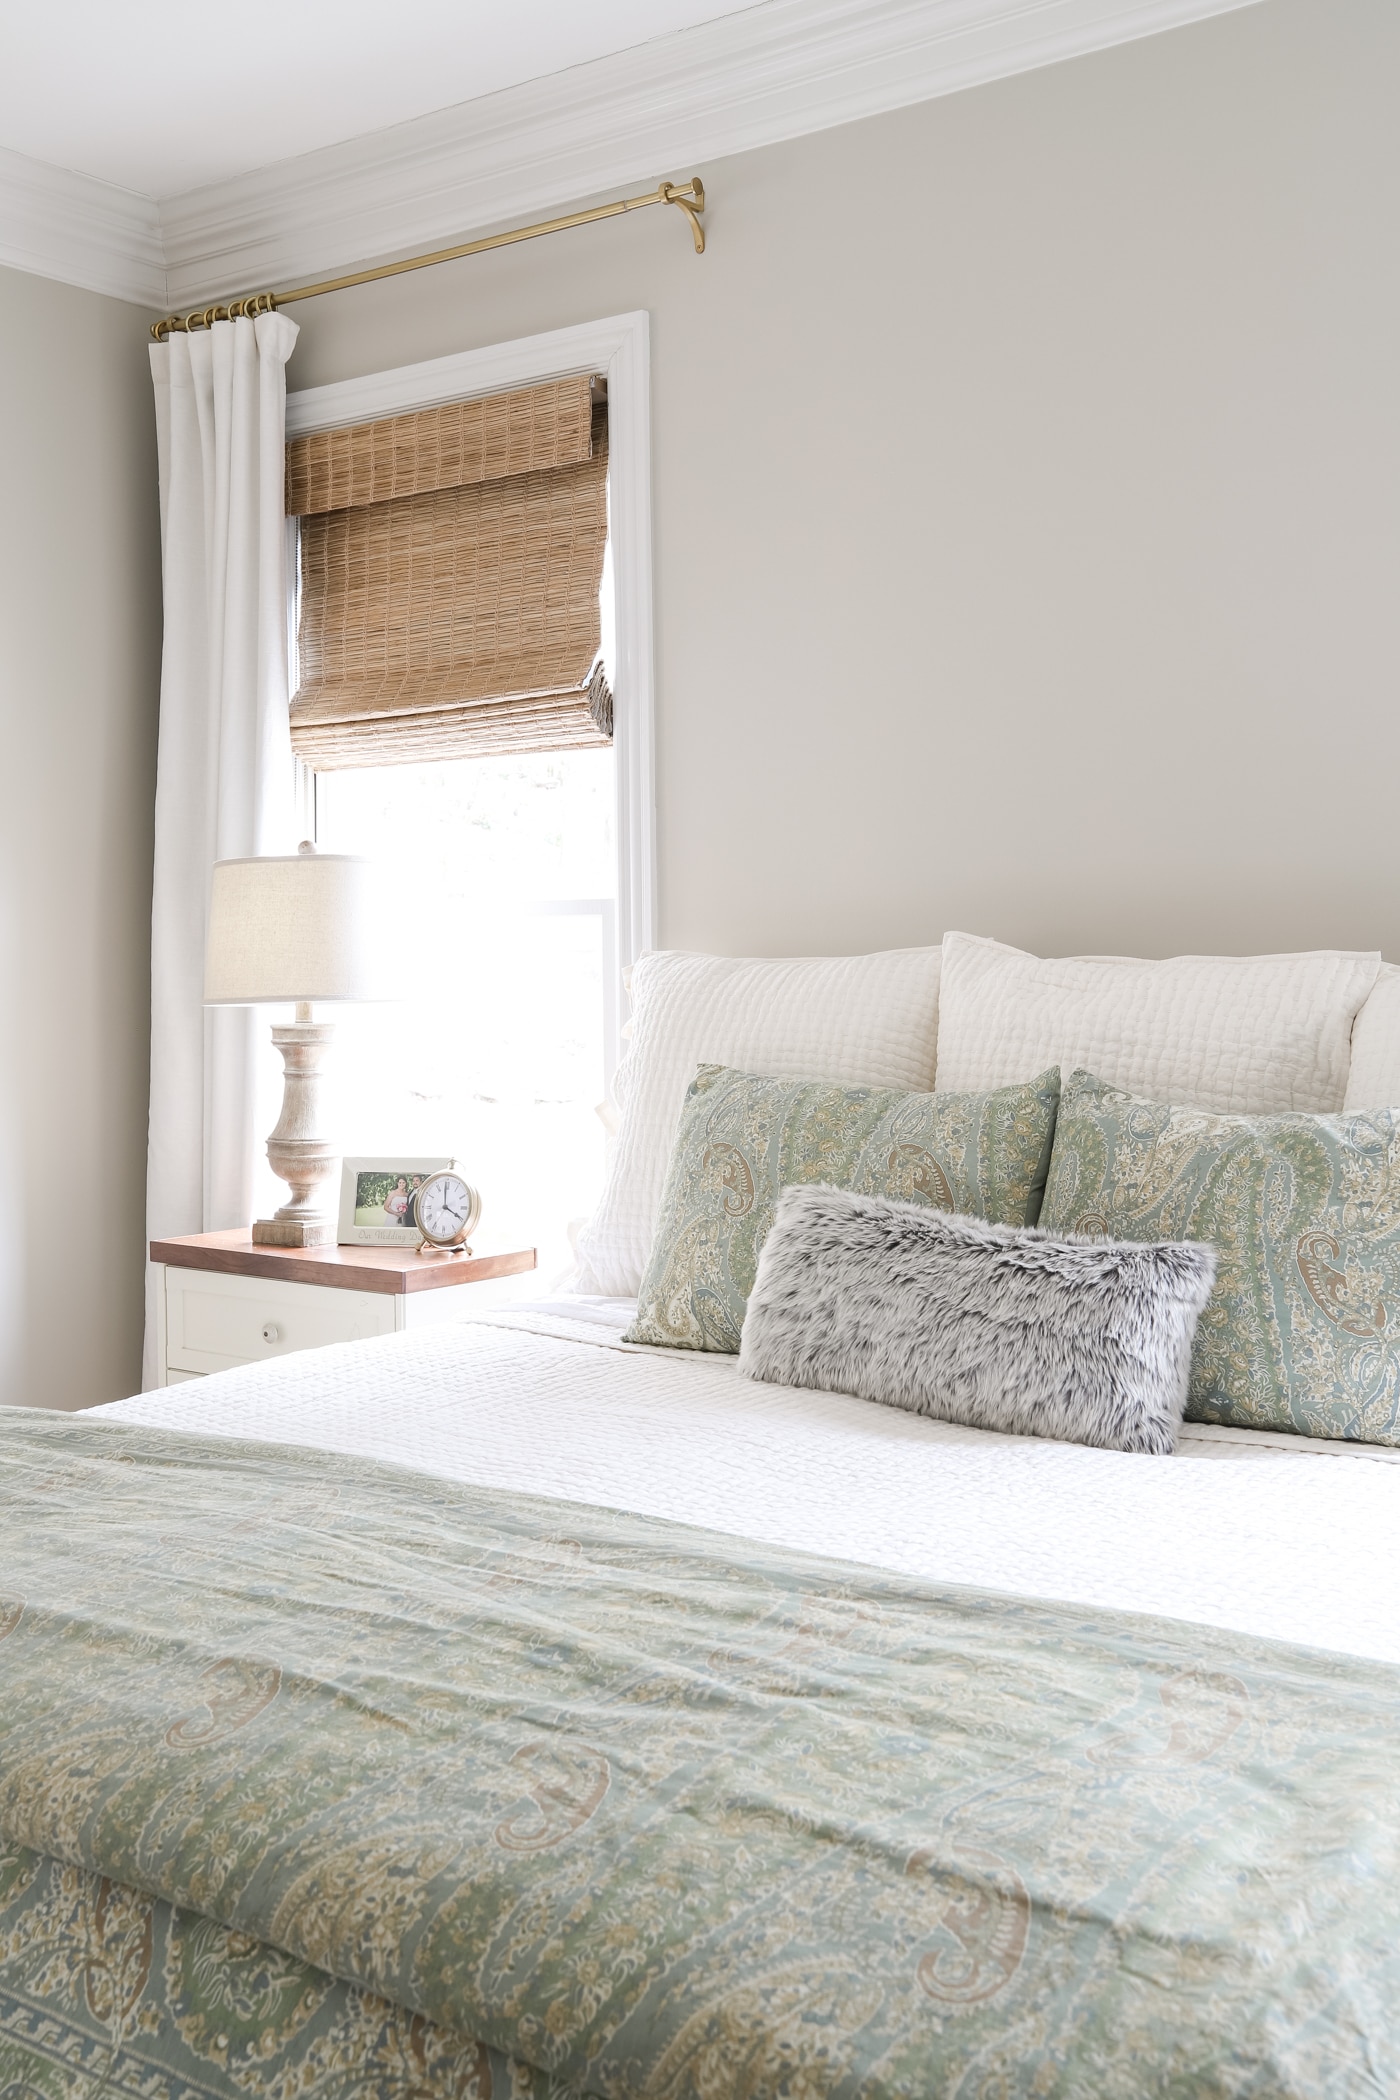
I’ve loved the look of ivory curtains paired with bamboo shades and pretty brass hardware for years. I am thrilled to finally have them! The linen/cotton panels are blackout curtains, and the shades have a blackout liner. We get just the right amount of light we want – when we want it.
Even if you have a style in mind, it’s important to go through the first three steps below before purchasing your curtain panels (or drapes), rods, and other hardware. Considering the window placements and sizes is key to getting a designer, polished look.
1. Measure Your Windows & Do the Math
You’ll need a tape measure and notepad for sketching your space and noting figures. Seriously, no art skills are required here.
You do not even have to draw straight lines. All you need is to be able to read your own writing and sketched out lines and rectangles for the ceiling, floor, and wall space around the window frame.
The most important thing is taking accurate measurements. A durable, metal tape measure is best for this job, and measure twice, if not three times.
For hanging curtains on bracket-mounted rods, measure the width of your window starting from the furthest side of the window trim to the other outside edge of the frame*.
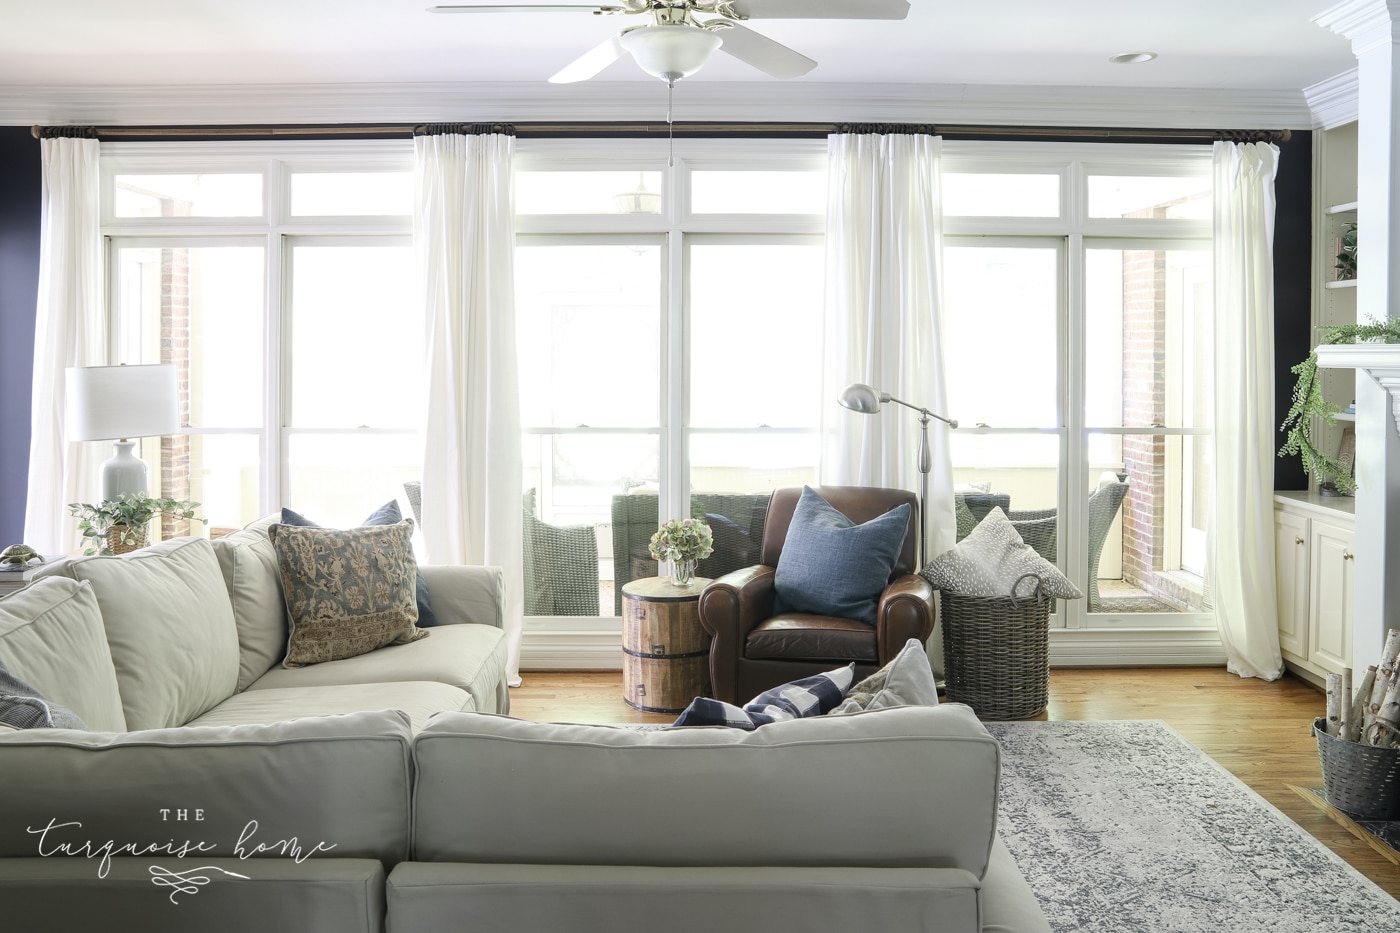
If you are designing a treatment for several windows, like the curtains I installed in my living room, take measurements for each section as well as the full width combined. These numbers will help when figuring out how many panels you will need and how long your curtain rods should be to cover the space nicely.
How you measure the height of the window depends on where you want the curtains to fall and how high you hang them. For high-hung, floor-to-ceiling curtains, measure at least four to six inches above the top of the window frame all the way down to the floor. For rooms with small windows that call for shorter curtains, like kitchens or powder rooms, you’ll measure to or just below the window sill.
*One exception to this measuring method: You’ll measure inside the frame if you’re using tension rods for an inside mount.
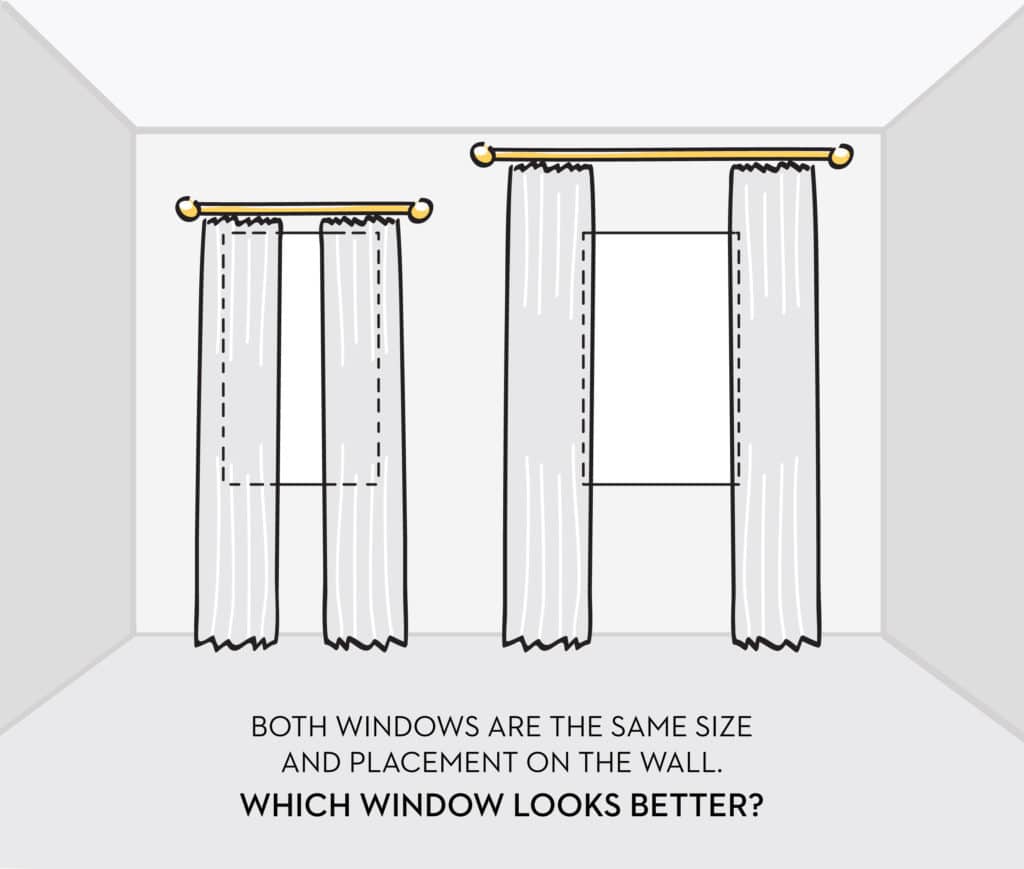
2. Choose the Best Curtain Width
To determine the width of curtains needed, the general rule of thumb is to start with your window width measurement and add 6 inches to each side (or 12 total). So if your width measurement is 48 inches, adding 12 inches will bring you to 60 inches total. Divide that total by the number of curtain panels you want.
In most cases, it’s two per window. In this example, you’d look for panels that are at least 30 inches wide. A little wider won’t hurt, especially if you want a fuller look. If you’ve chosen lightweight fabric that’s sheer or gauzy, consider doubling up panels for the illusion of fullness.
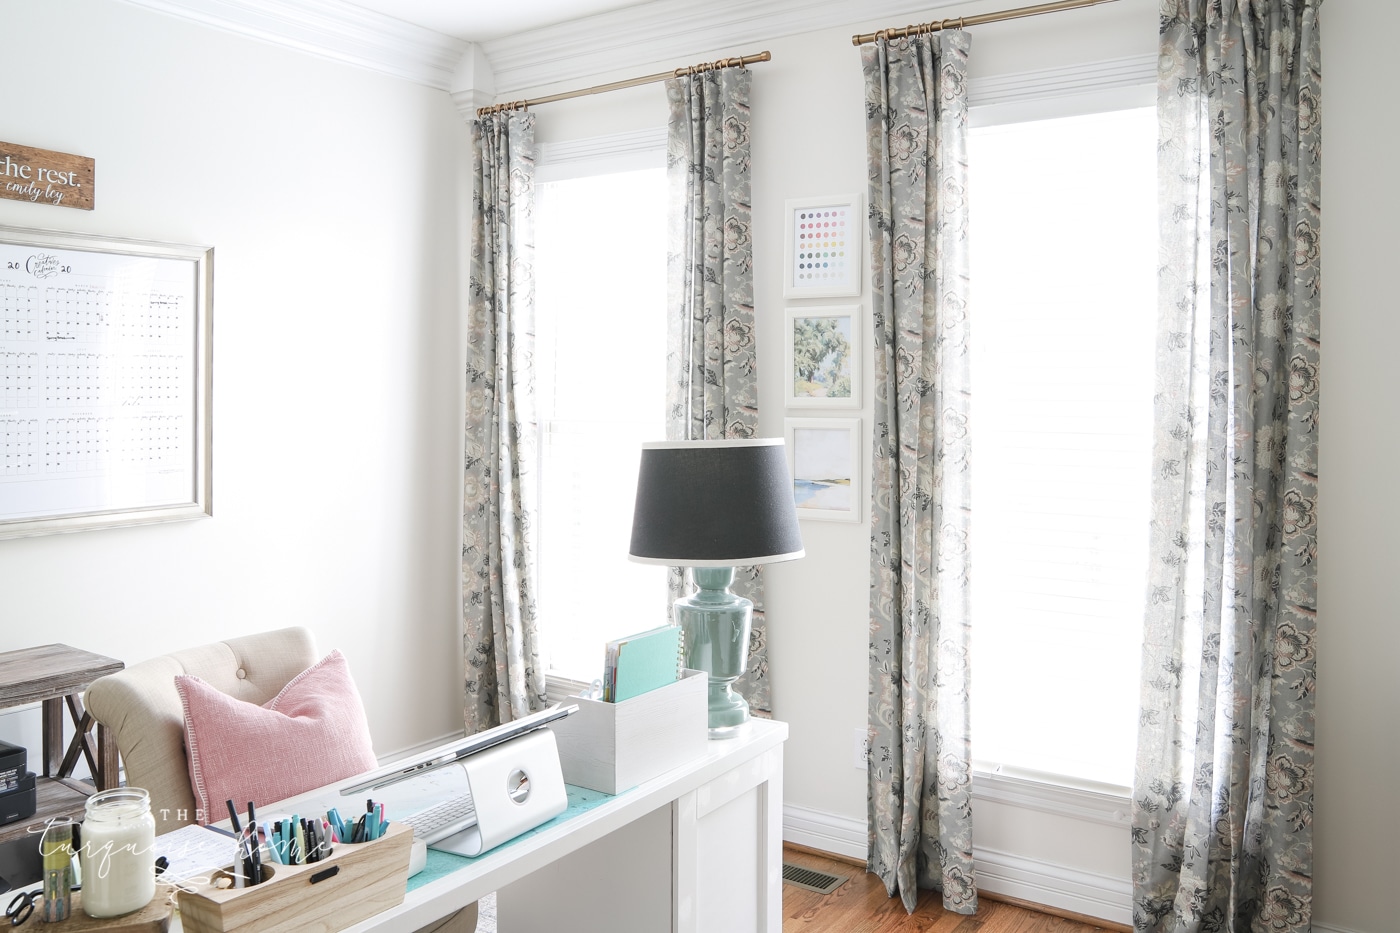
I love how the dimensions worked out with the floral fabric and brass hardware window treatments I installed in my home office. The dimensions are perfect to maintain fullness when drawn while giving clean, straight lines when opened.
3. Choose the Best Curtain Length
The last consideration for choosing the best size of curtains is the length. This may have you wondering what exactly is the rule for hanging curtains at the best height.
If you’ve noticed from my photos and related posts, I swear by hanging curtains close to ceilings with the high-and-wide approach. Consider your height measurement taken earlier that accounts for hanging the curtains four to six inches above the frame. I always say go as high as you can for the most dramatic effect.
It really does make rooms look so much bigger. I tackled this topic with more detail in an earlier post about gorgeous cheap curtain ideas for your home.
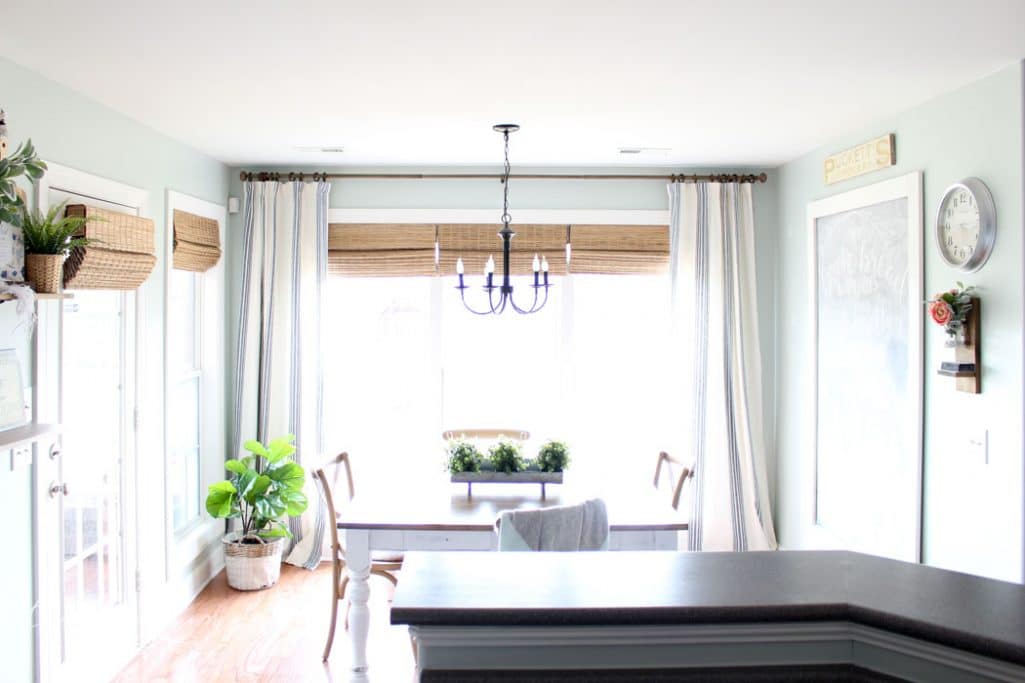
Here’s one of the examples I gave. I initially hung the curtains along the top of the frame in my eat-in kitchen dining area because they were really too short for my space. Get ready for the dramatic change I made just by buying the right length, lifting them and adding shades.
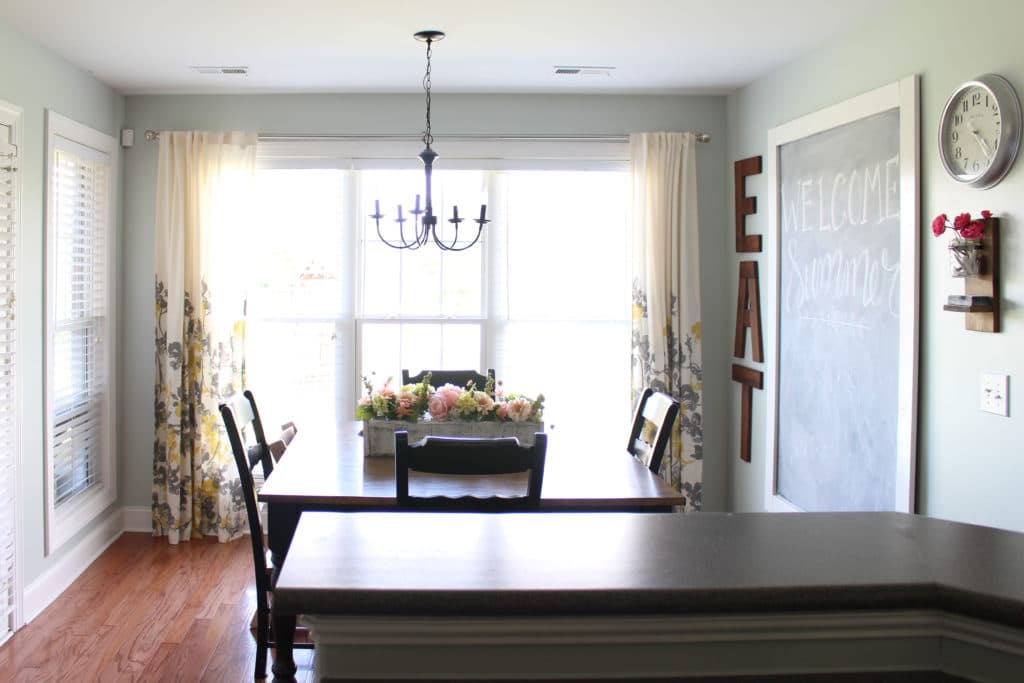
Even without the shades, the difference is clear.
The total length of the panels you choose ultimately depends on how you’ll use them. If you plan to open and close them often, about a half-inch of clearance from the floor is ideal.
If the panels will mostly stay in place, like these in the kitchen dining space, a bit of puddling on the floor is fine. It’s especially pretty in bedrooms or dressing rooms with panels made in luxe fabrics. It’s not the best for spaces where dust easily gathers, that require frequent cleaning, or have heavy traffic. We want pretty windows, not a tripping hazard.
Typical curtain lengths are 63, 84, 96, 108, and 120 inches. Choose the length that best matches your measurements.
4. Choose the Best Curtain Rod Length
Next, you’ll figure out the length of curtain rods needed. Take your original measurement – let’s keep using 48 inches from the last example – and add 8 inches to 12 inches, depending on how far you want the rod to extend past the top of each window.
The standard is usually anywhere from four to six inches on each side. The rod you’d want for this case should be 56 to 60 inches long.
Be sure to account for the length of decorative finials you choose. Also, keep in mind that standard metal or wood drapery rods need a support or middle bracket every 60 inches to avoid sagging.
That distance could be even less if you are using heavy fabrics, like damask and some velvets. Consider 2-inch or larger drapery rods for heftier draperies.
5. Install Curtain Rod Brackets
And that brings us to installing the curtain rod brackets. Here’s your supply list for this task: pencil, tape measure, stud finder, drill, screwdriver, level, and ladder. If you aren’t able to drill directly into the studs, you’ll also need drywall anchors.
Use your pencil to mark a spot three inches away horizontally from the top corner of the window frame and four to six inches above the frame.
Again, go closer to the ceiling if you like. Once you’ve marked the spot, use a drill or screwdriver to mount the first bracket. Ideally, you will locate a wall stud in this space with a stud finder. If you can’t, you should use plastic drywall anchors for a better hold.
I’ve linked the best drywall anchors I’ve found, and I will always use these instead of the drywall anchors that come with the curtain rod hardware.

Repeat the same steps on the other side of the window, using a level to ensure the two sides are perfectly even. If a middle bracket is needed, use the two end guides to position it properly. It might help to use a laser level, if you’re spanning a wide space.
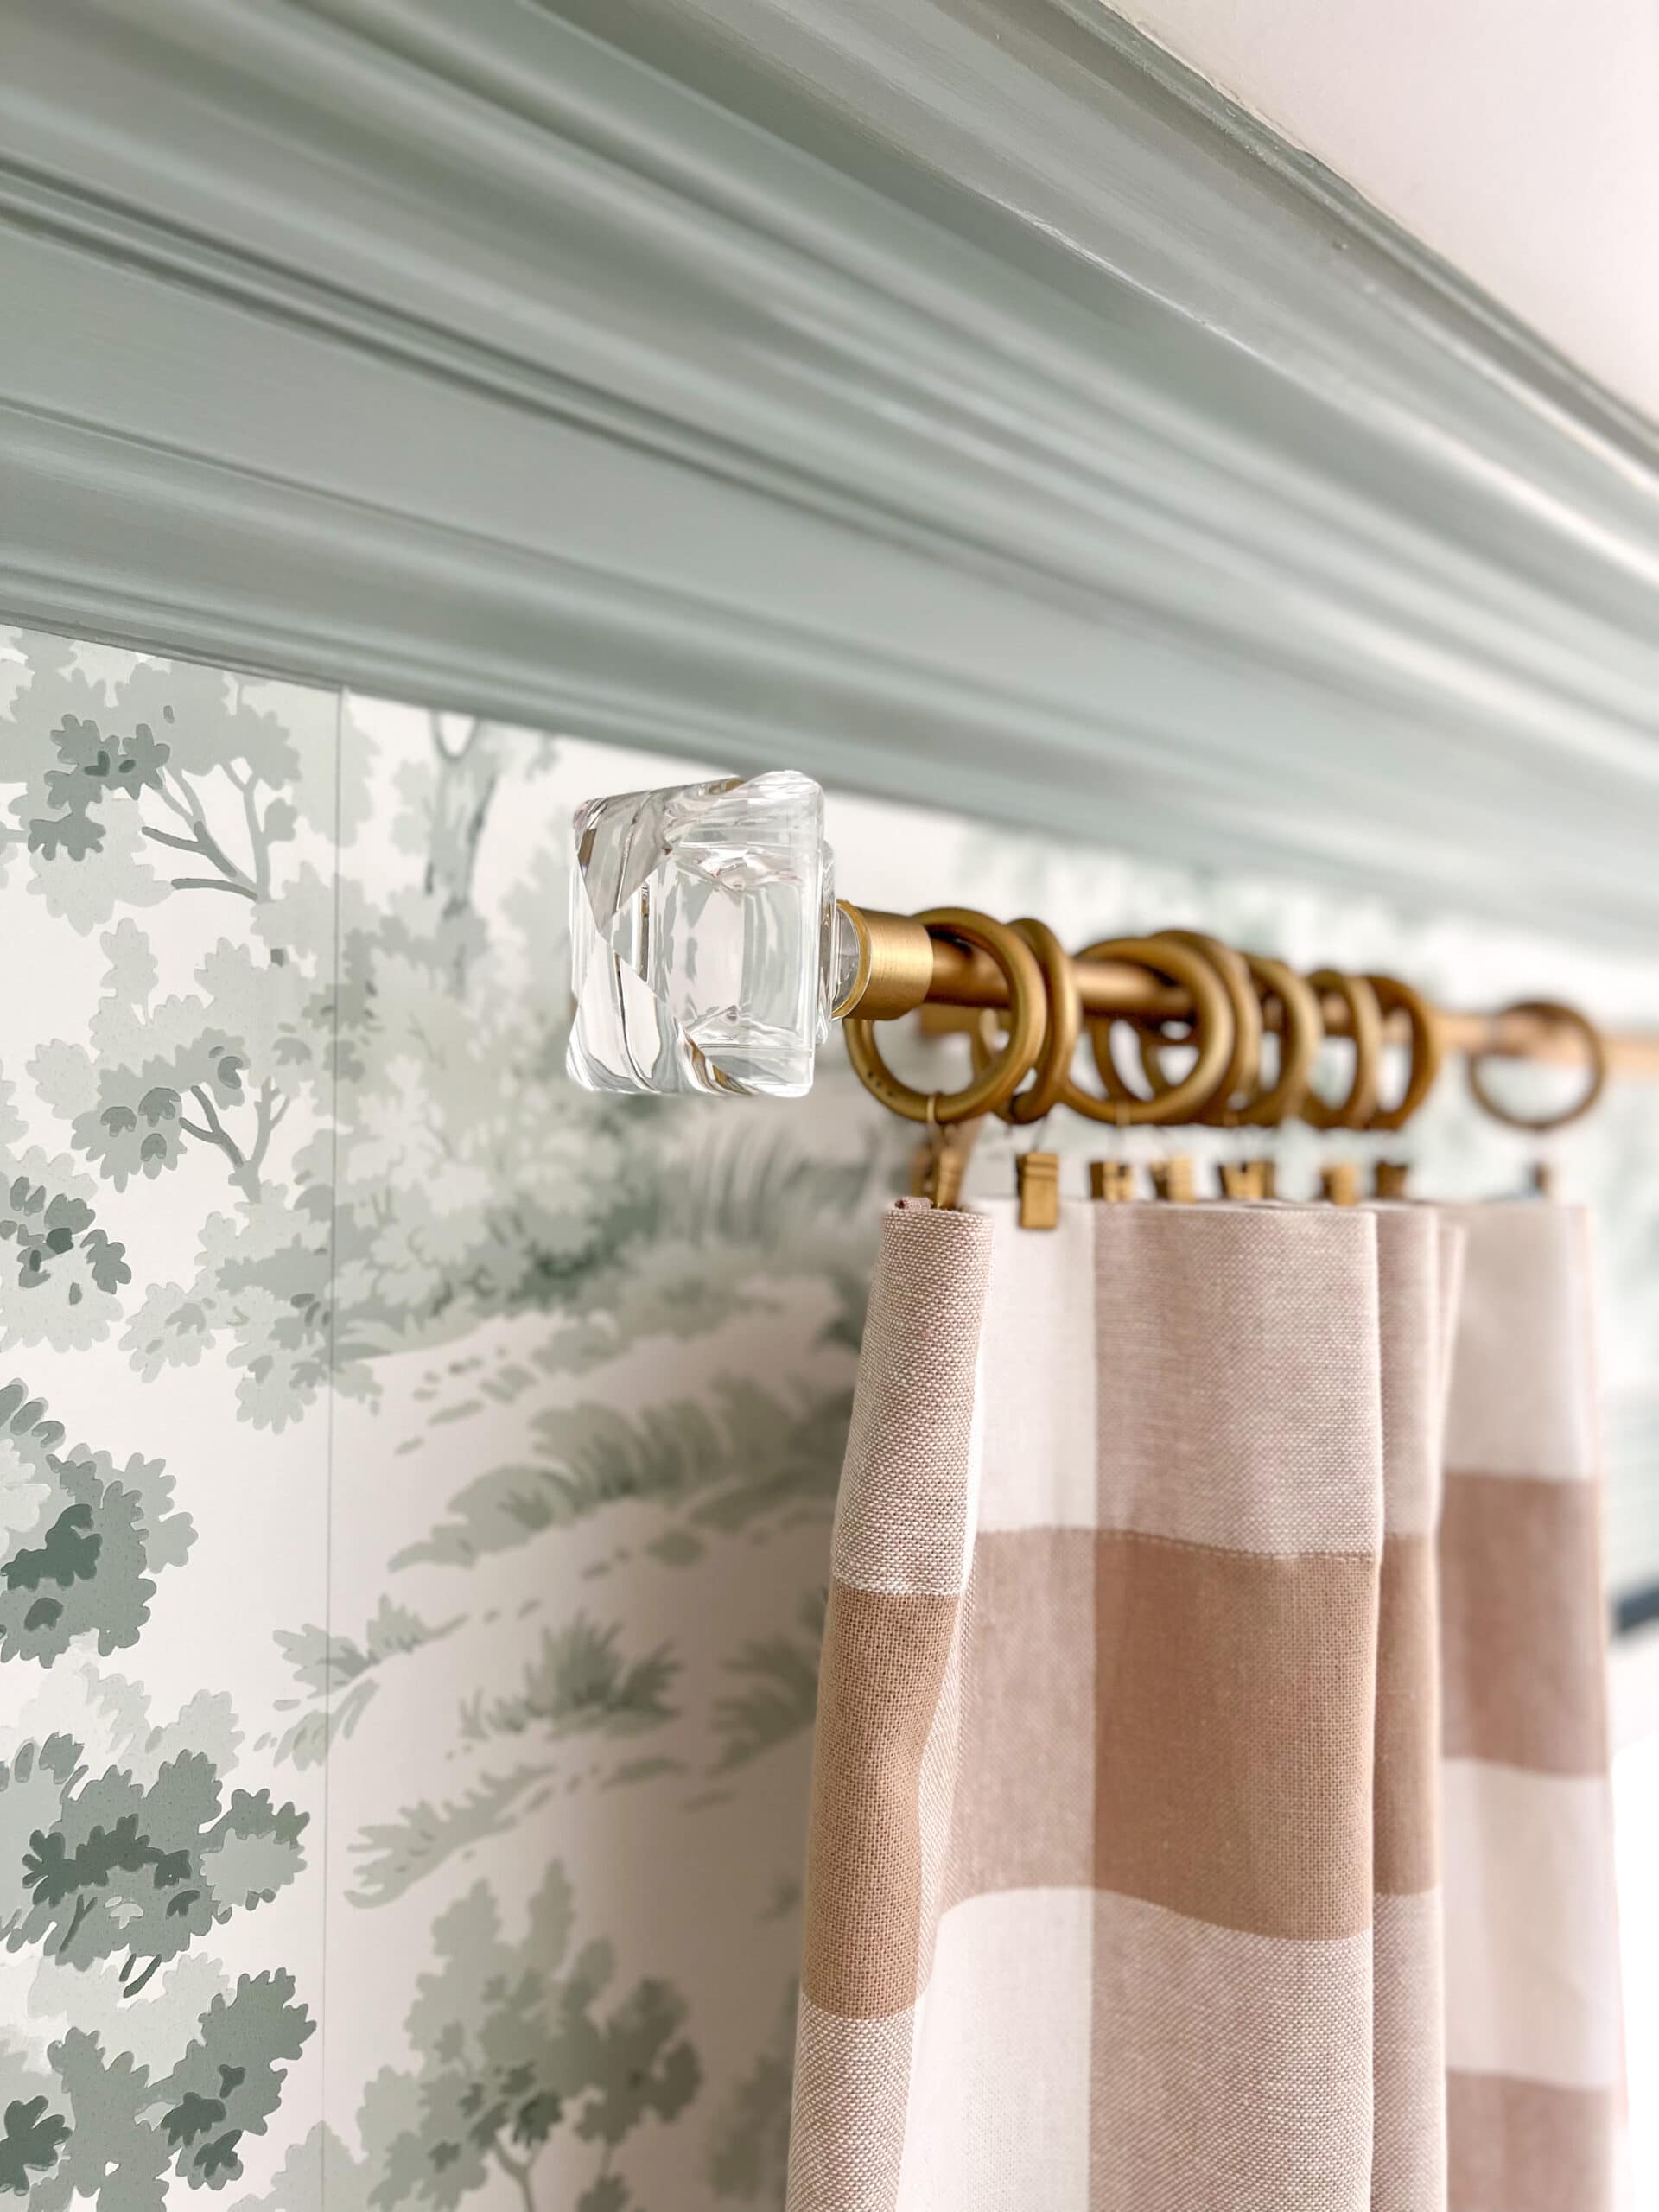
6. Hang Curtains and Adjust
How you put the curtains on the rod will depend on your style of curtains or drapes. For rod pocket curtains, slide the rod through the pockets and adjust the fabric drape to your liking. Since this type of curtain doesn’t move around much by design, they work well for spaces like powder rooms that require more privacy. Tab curtains are similar in that they don’t slide as easily but give a straighter look since they do not pinch at the top like pocket curtains often do. Grommet curtains are probably the easiest to hang. You only have to line up the grommets to quickly slide the whole panel onto the rod at once. Last, I want to show you a trick I learned recently that uses rings with hooks.

Why would I do this? First, I had my eye on a style of ring that was not at all a reasonable price for this project budget. While I found a less expensive version, the clip length made the curtains hang a bit too long. Then, a friend clued me in on a budget-friendly hack for getting the look I wanted, and I couldn’t be happier. I found a larger-sized ring set similar to the pricey one I loved, then used the panels’ clip feature to bypass the clip and get the perfect length.
You can see what I’ve done in the detail here, but you only see the ring and tidy drapes when positioned correctly. Check out the post with a video to see the difference.
Final Thoughts
As you can tell, there are a lot of variables that go into how to hang curtains correctly. So much depends on your desired outcome, your space, window size, lighting, and budget. I hope you’re ready to at least tackle the basics for your next curtain-hanging project.
More Posts You Will Love:


What do you recommend for a six foot sliding patio door for window covering–curtains and/or shades? We need sun protection from the direct sun in the morning, so it needs to be more than shear curtains. However, the window is a main source of light to the room, so it needs to open daily from late morning and on. Privacy is not a big issue for this window.
Hi there! I think if it’s sliding and you can’t do a roman shade attached to the door, then I would do curtains. And they would be pulled back during the non-sunny times. But since you want to block the sun when it’s direct, I would do a thicker curtain so it will actually block the sun! Hope that helps! xo, Laura