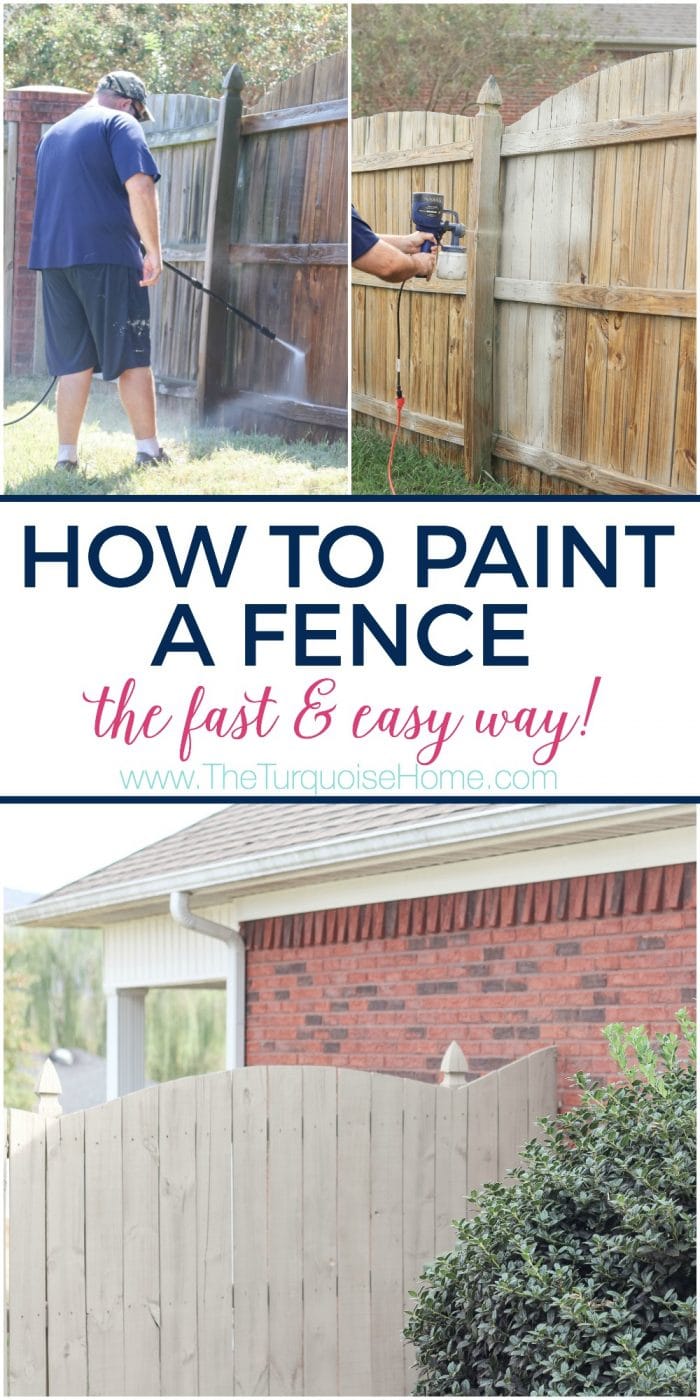
How to Paint a Wood Fence the Fast and Easy Way!
If you’re looking for a great way to spruce up your fence the easy way, look no further! Learn how to paint your wood fence with a paint sprayer in 5 simple steps.
We lived in our previous home for 8 years and were lucky to have a wonderful fence around our backyard. The house was built in a curve in the road and so we had a great, large backyard. It was great to be able to let our kids go out and play without worrying too much about them.
But after 5 years of weather and normal wear and tear, the fence was looking very grungy. Not to mention, the HOA had been on our case to paint the fence the approved color of the neighborhood.
While I love that the HOA maintains our common areas and helps keep our property values up, I don’t love getting those bright orange letters telling me what color to paint my fence.
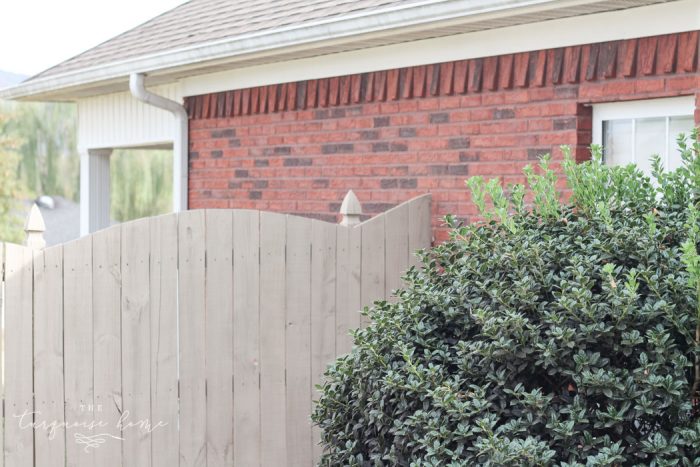
I knew from the get-go that I would hate the color they picked out, but lo and behold, I actually liked it! It’s called Sand Castle by Sherwin Williams, which is a nice greige color and looks good with our red brick. This is their exterior solid stain, so it’s made for painting things outside!
And of course being the DIY girl that I am, I had to do it myself instead of hiring it out. I also didn’t want to sit out there with a paint brush, so I decided to use a paint sprayer for the first time in my life. 😀 This post contains affiliate links for your convenience.
I chose the HomeRight Finish Max Paint Sprayer. It’s an inexpensive sprayer and made the job an absolute breeze. HomeRight gave me the sprayer to use, but I was planning to purchase it either way!
I’ll share all of my best tips for getting a great finish with this sprayer, but it it’s not hard to use at all! I was a little nervous to use a paint sprayer for the first time, but I loved it and plan to use it on any large paint projects in the future. Our neighbors (who were not DIYers) even borrowed it to paint their fence and loved it!
Want to Save This?
Enter your email below and I’ll send it directly to your inbox!
Tools You Need to Paint a Wood Fence
- Paint Sprayer (I used this one.)
- Paint or Stain of your choice
- Extension Cord, depending on the size of your project
- Clear Plastic Sheeting, optional
- Pressure Washer (we rented one for this job, but have since bought this pressure washer and love it!)
Steps to Paint a Wood Fence
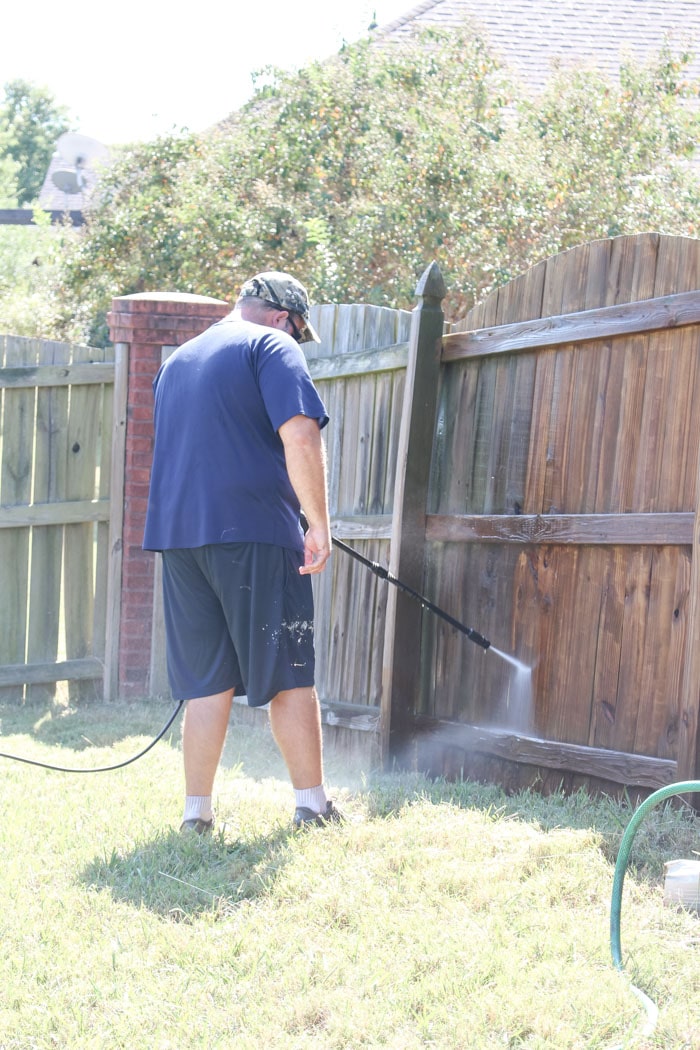
1. Clean the Fence
This is an obvious first step, but I need to explain how much cleaning actually needs to happen. My good friend paints fences as a part of his job and his advice was to use a pressure washer to knock the dirt off.
It doesn’t have to be perfect, but you want to knock off that top layer of dirt and grime. We ended up renting a commercial grade pressure washer and it took a little more than a day to get everything cleaned.
RELATED: Painting a Room in 5 Easy Steps
I couldn’t believe the difference! If I hadn’t already bought the fence paint, I probably would have just put clear stain on it at this point.
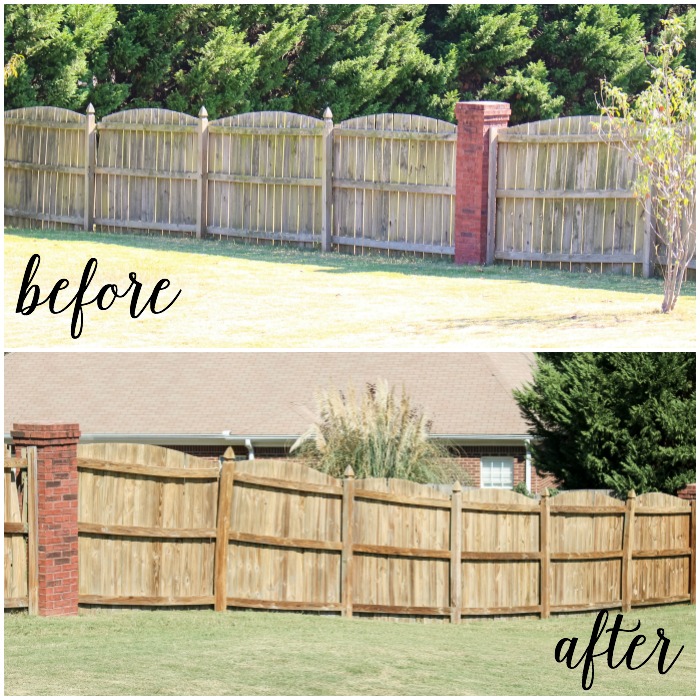
Then let the fence dry out for at least 2 days.
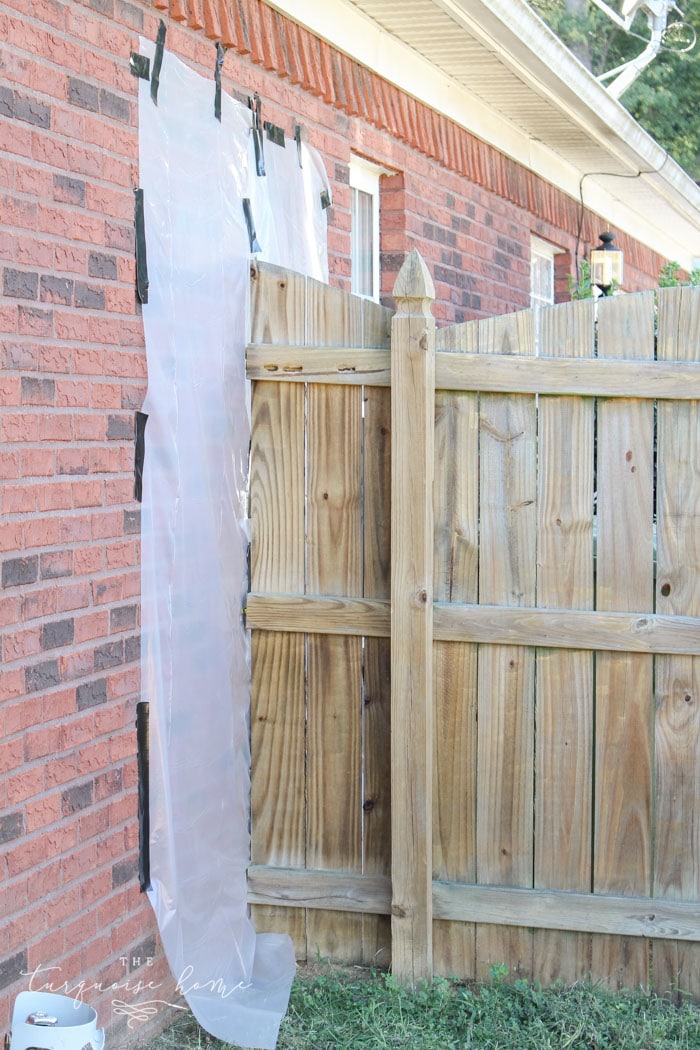
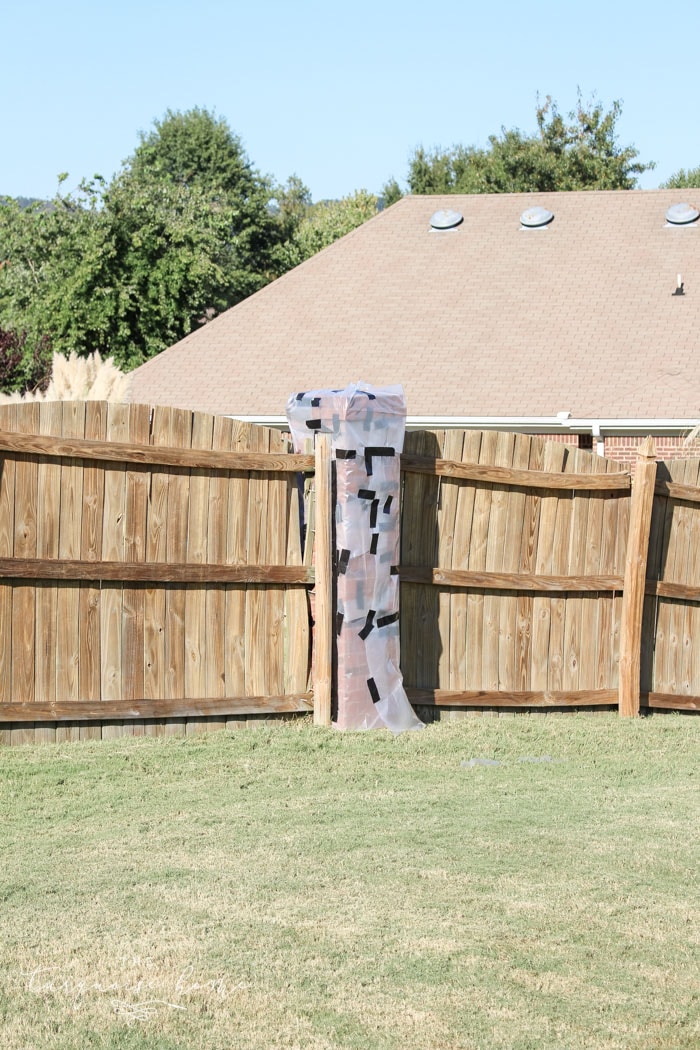
2. Protect the Areas you don’t want Painted
I used large plastic sheeting to cover my house and the brick pillars in my fence to protect them from the overspray. I don’t recommend putting this up until right before you’re ready to paint because I put mine up a few days early and it all blew down before I could start painting.
3. Prep the Paint and Sprayer
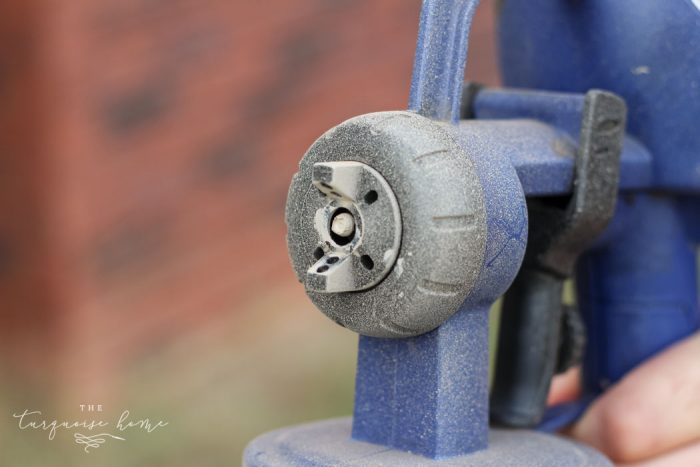
I took the Finish Max Paint Sprayer out of the box and read the instructions. I’m not going to go over them all here, but do know that if you’re using any kind of paint, you’ll probably have to thin it out with water. The instructions say that if you’re using just a clear stain, then you shouldn’t need to thin it out, but I would test it first.

The small blue funnel is how you will test the thickness of your paint and see how much you need to thin it.
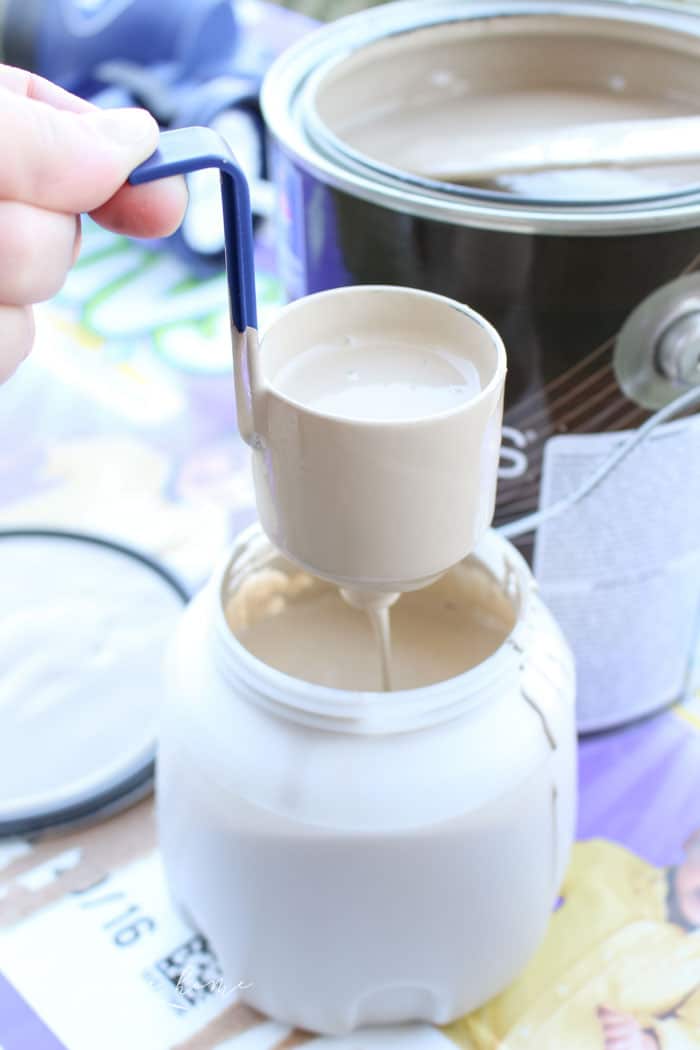
You just scoop some paint into the funnel and time it while the paint runs through the funnel completely. Then you have to get it to run through the funnel within a certain number of seconds.
I ended up having to thin my paint about 50/50 with water. It was really thick, though! But once it was thinned out to the right mixture, we were ready to paint!
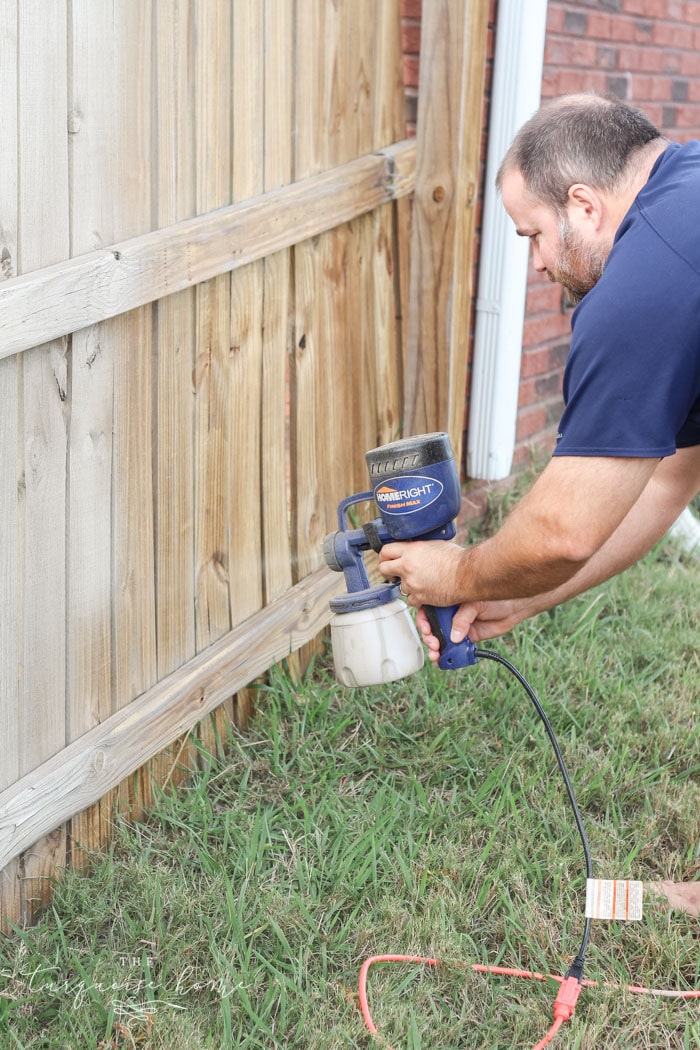
4. Paint!
Simply fill up the reservoir in the paint sprayer, plug it in, and paint! You’ll want to stay back away from your subject about 8-12 inches. And you’ll want to move the sprayer evenly across the surface. You set the nozzle either horizontal or vertical depending which direction you will be spraying. We sprayed in a vertical direction, so the nozzle was set vertically.
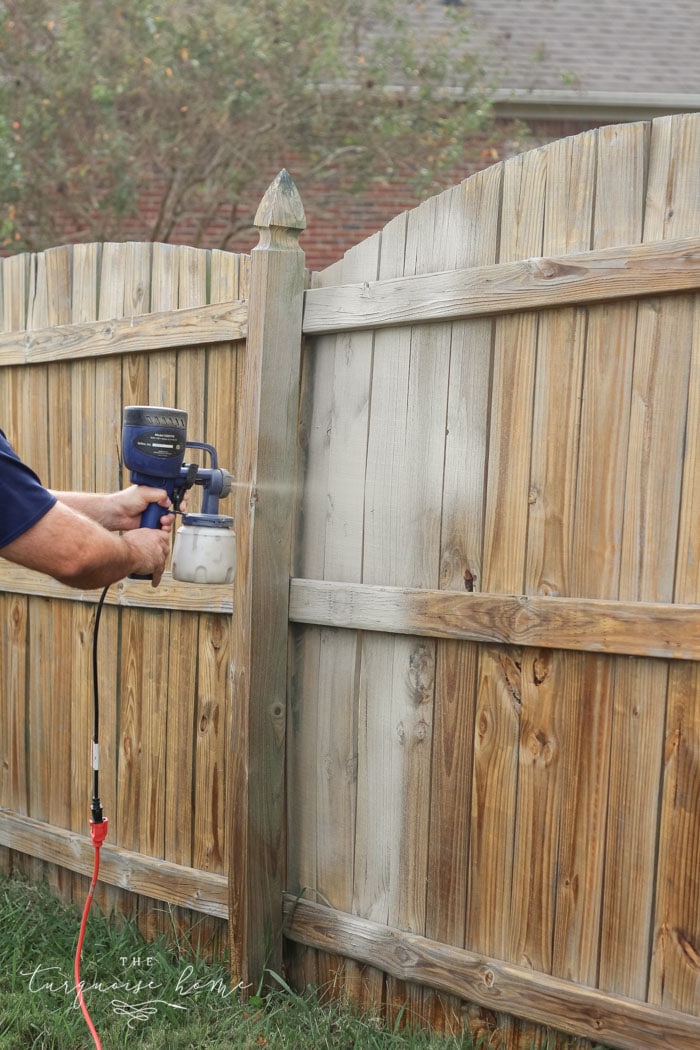
Nice and even, THIN coats are the key to a good coat of paint. Otherwise it will run and streak down the side of whatever you’re painting.
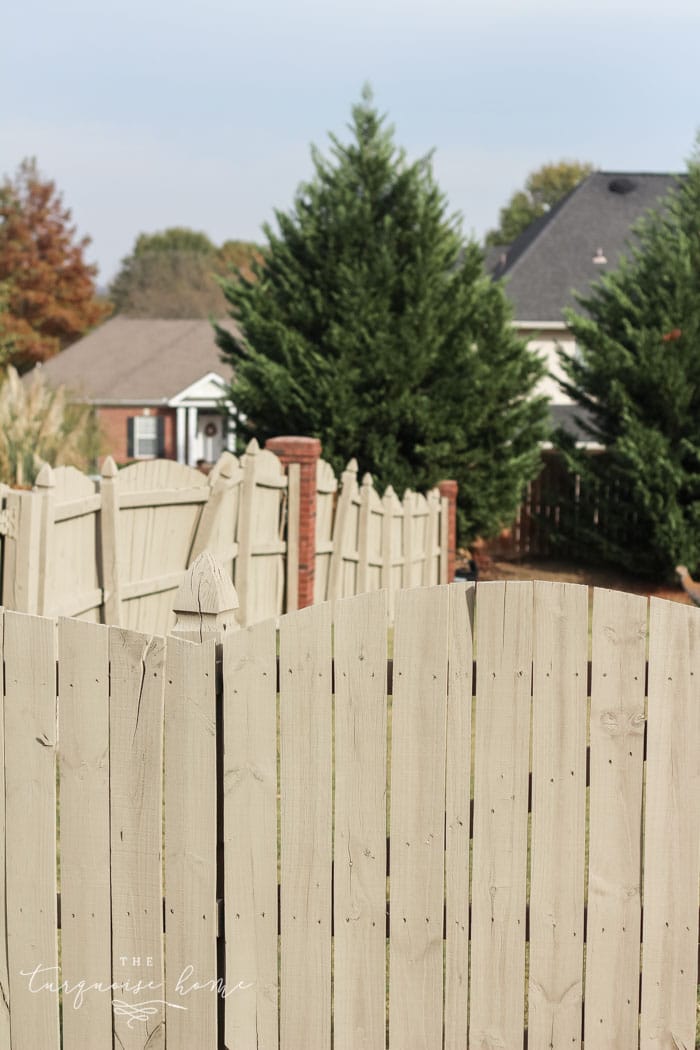
I ended up doing two coats to get a good coverage, but once I got it going it didn’t take long at all. I just kept getting interrupted by the kids, so it took me a day and a half to finish my fence. But it would have gone much faster if my kids didn’t need me. LOL
Tip: The instructions say not to leave the sprayer sitting unused for more than 30 minutes or else some of the paint could dry and it will clog the nozzle. I had to stop at one point for nearly 30 minutes and tend to the kiddos. When I came back it had trouble spraying evenly. Some of the paint in the nozzle had dried too much and I just had to take the nozzle parts off and clean them. After that it worked like a charm again!
So, if you’re going to take a longer break, just know that you’ll probably have to clean it out some or completely for it to work again.
Yes, I know that the leaning fence post needs to be fixed. 😜
5. Clean Up!
I didn’t take any pictures of this step, but it’s pretty self-explanatory. Just take the whole thing apart, following the directions, and if you’re using a water-based paint, you’ll just need to wash it out with warm soapy water. If you used oil based paint, then you’ll have to clean it up with mineral spirits.
The Finish Max Paint Sprayer comes with a long scrubbing wand for cleaning, which makes getting into the smaller places a breeze! It was a very handy tool to have.
Finally, let all of the pieces dry out before you put it back together and store it.
Final Thoughts
If you are in need of a painted fence, but don’t want to pay for someone else to do it, then this way is your best bet! It’s super easy and quick and will be so worth it in the long run.
Imagine how nice and pretty your newly painted fence will look! I’m so glad that I overcame my nervousness about the new tool and gave it a try! I’ll definitely be using it again on future painting projects!
More Posts You Will Love:

How often did you need to add paint to the sprayer? from the looks, it doesn’t look like a lot of paint could be held in the sprayer.
Hi Brian, I can’t remember exactly how long it took for the paint to run out, but I just mixed a bunch of the paint at the recommended ratio of paint to water and kept it out there with me, ready to refill. I think it might have lasted about 30 minutes of continuous spraying, if I had to guess.
The fence looks great and good tips on using the spayer. Love the color you chose can you share the name and type of paint.
We just had a new fence put up a couple months ago. Now that it is warming up outside it would be a good time to paint it. I came across your article while looking up what all we would need to do so. I must say this article is very informative when it comes to painting a fence. Thank you for taking your time to write it!
I thought it was so important how you talked about how you should test the pain first before deciding if you need to thin it out. My husband and I are thinking of installing a fence in our backyard to have our puppies play outside. In my opinion, we should decide what kind of fence we want with a professional before deciding how we want to paint it.
I would like to paint my fence black using a sprayer but I’m worried it will trickle over to the neighbors fence or seep through the cracks . When you sprayed did you get any runs over the fence? Especially doing the top of the fence
I too was wondering how it affected the other side.
It was fine on the other side. We painted both sides of one fence because those neighbors didn’t care about the color. On the other side, the neighbors wanted to paint the fence a different color. They borrowed our sprayer and it looked like one color on one side and the other color on the other side. It didn’t come over on one side or the other!
What color and brand paint did you use?
Hi Patti,
Here is a link to the paint: https://www.sherwin-williams.com/homeowners/color/find-and-explore-colors/stain-colors/SW3006-sand-castle
Started my son scrapping loose & peeling paint from fence to prep. Paint in bad shape not sure how long painted before we bought house. Think pressure washer would work vs. tedious hand scrapping including 50 ft lattice?
Have wanted to use paint sprayer for years as intuitively would think less time. But nervous so have stuck with what I know. Think fence would be good first test after sounding pretty easy vs. my first attempt being inside house.
We totally need to own a paint sprayer for just such an occasion. We just finished an outdoor paint project which was brutal! This post is one of the features at the new Merry Monday party this week. Thanks for partying with us. Pinned.
Thank you so much for featuring my post, Shirley! 🙂
Like the new painted fence. Just power washed mine. Now time to paint.
Hugs,
Bev
It’s such a labor intensive project. Thank goodness for the paint sprayer! Thanks for sharing at Dishing It & Digging It!
I just had a new fence put up in October and now that it finally starting to warm up it has to get painted. I was thinking about using a sprayer but never used one and had no idea which one to try. Thanks for sharing and wish me luck! BTW, I have other projects too that a sprayer would be useful…have you seen the spray tents? I’m thinking of getting one if the sprayer works for me.
Hey Kathy! I have seen those spray tents. And they look awesome! I haven’t needed one yet, but I imagine I’ll have one someday! 🙂
Good idea! I painted our fence several years ago with a brush, and it was a long and not-so-fun project. Last year we had a really bad hail storm, and I have been dreading painting it again. Maybe we’ll have to try your way!
I think it would definitely be faster and easier with the sprayer! I’m so glad I did it that way! 🙂