DIY Industrial Jewelry Organizer
Do you ever create a project that is functional and pretty, and all of the building supplies came from the hardware store? Those are my favorite kind! And that’s why I love this DIY Jewelry Organizer so much. I love how it creates a beautiful, useful piece with items that weren’t necessarily meant for beauty or this function.
How cute is this idea? So adorable, huh? And super simple to make, too! It’d be a great gift for a friend or mom in your life. 😊
And guess what?!
So, I took the inspiration above and changed a few things to make them my own! Here’s how it turned out:
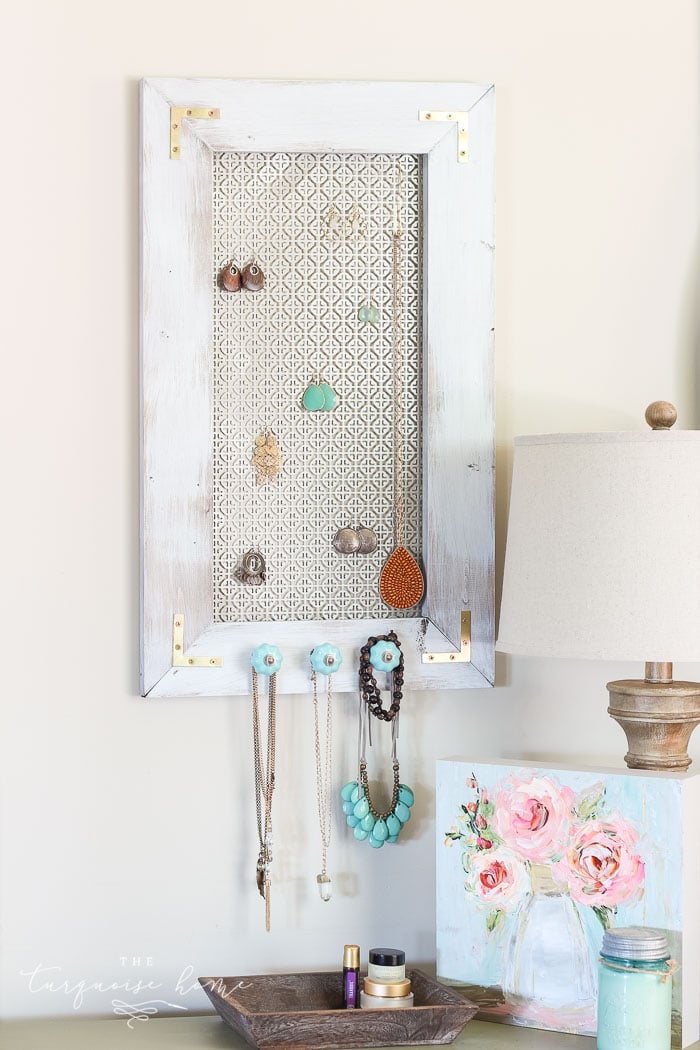
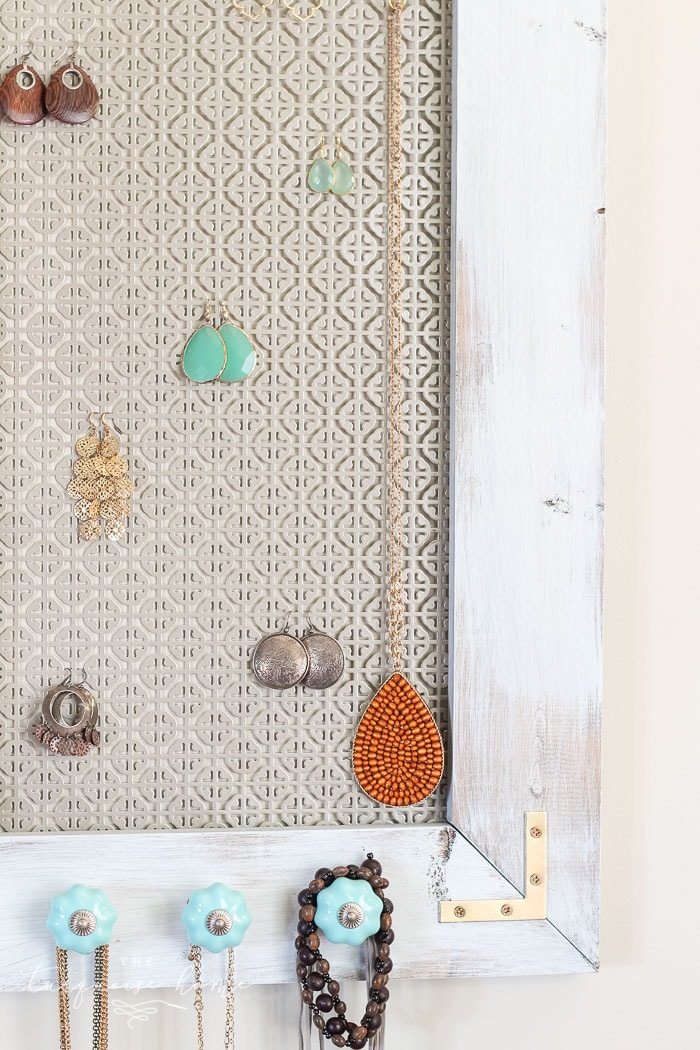
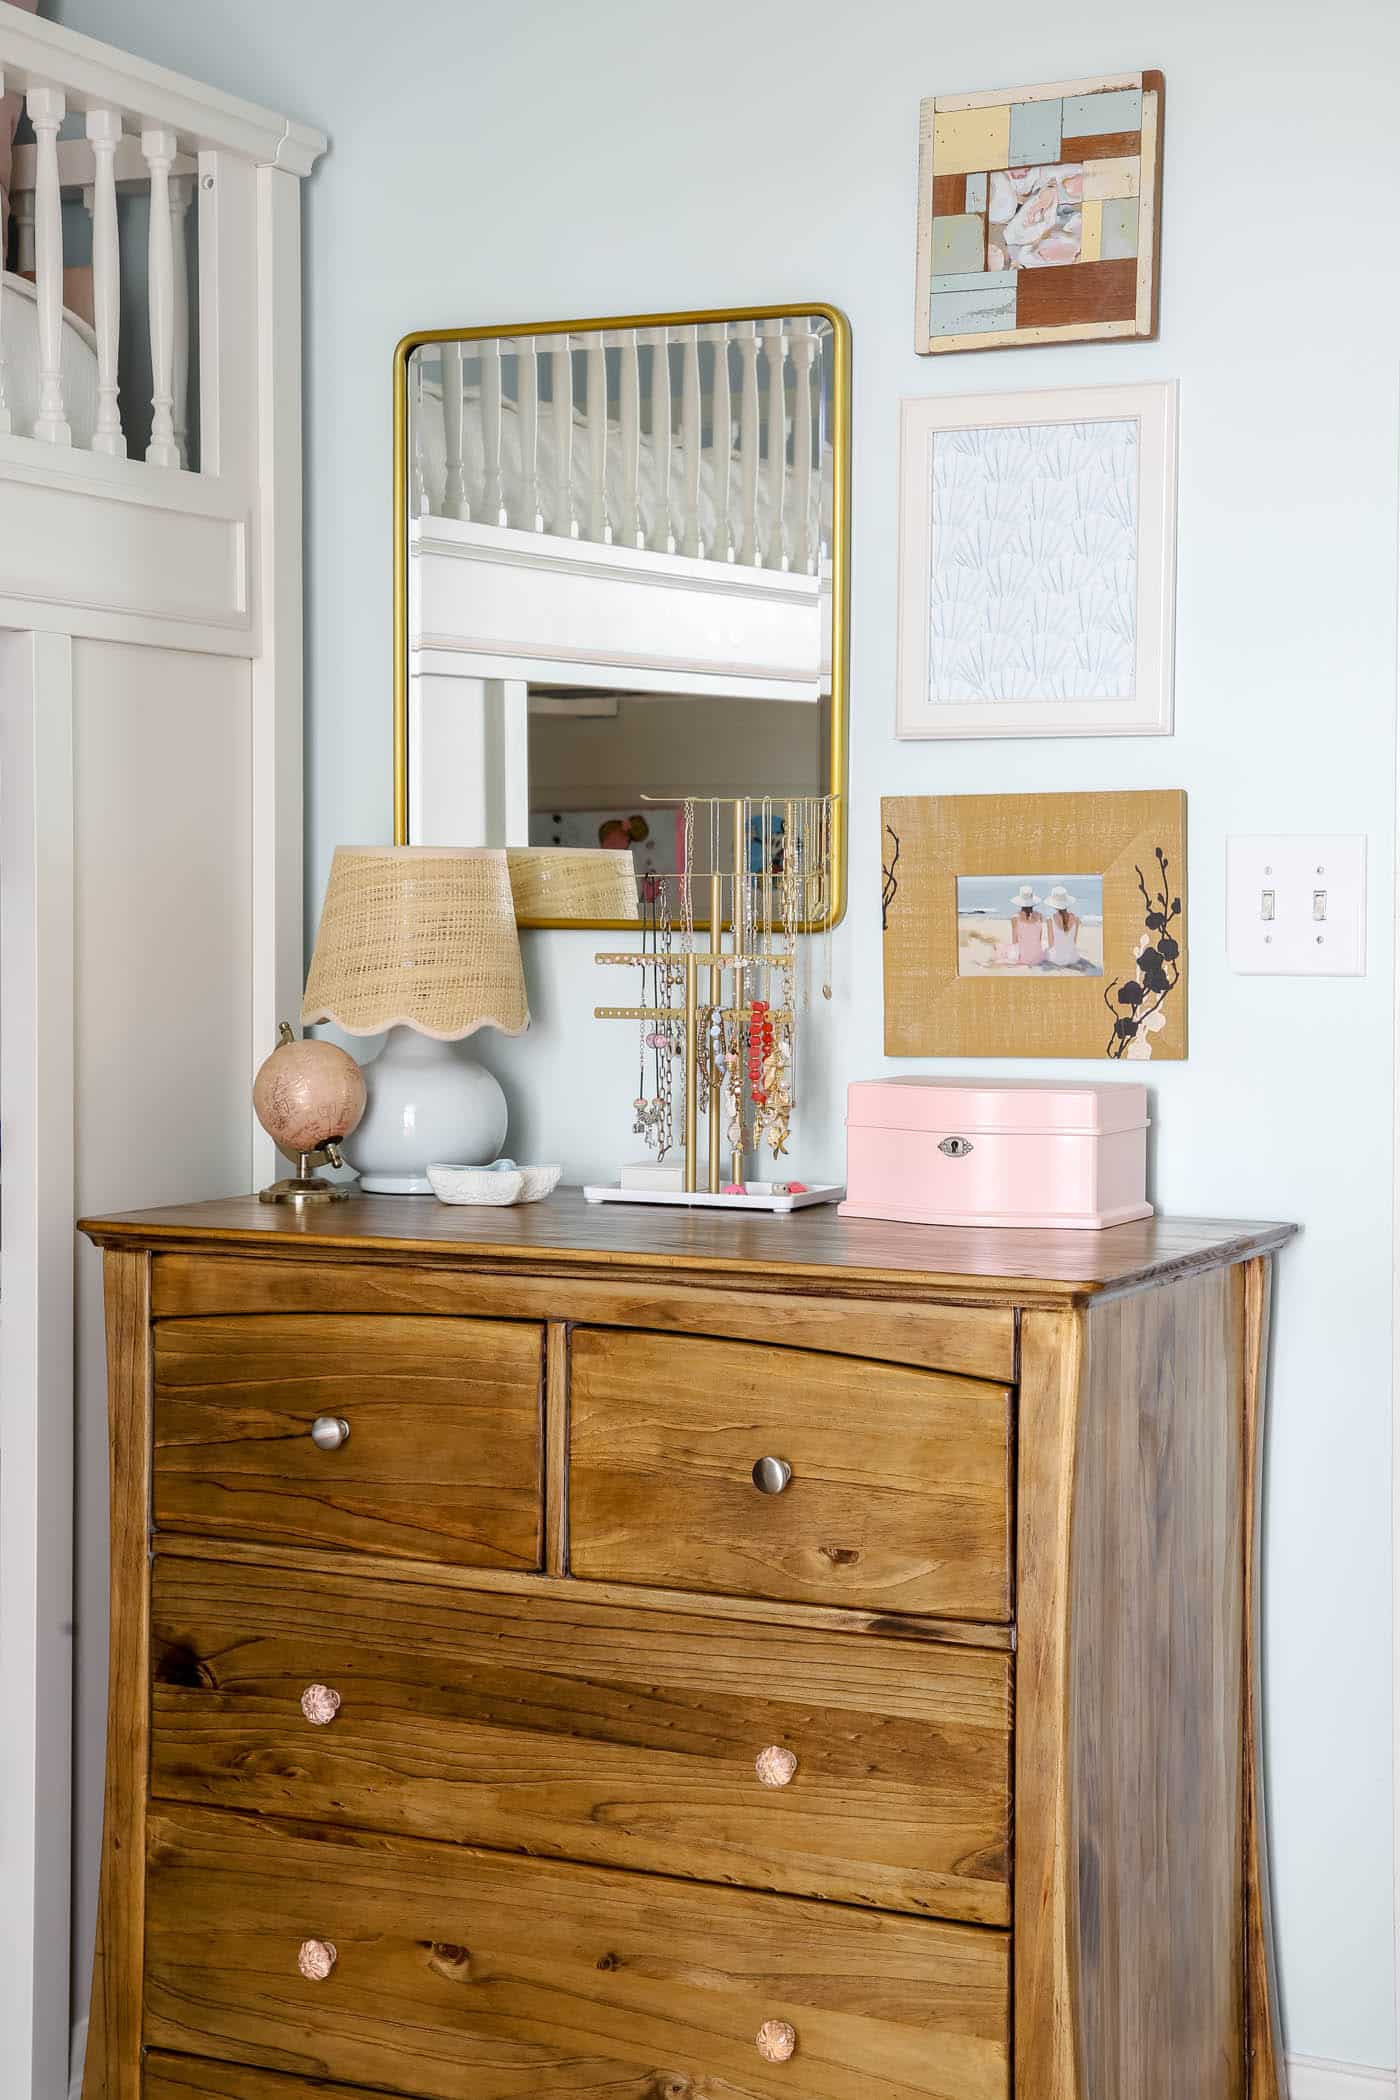
I, of course, wanted turquoise knobs to hang my necklaces on. And I changed the corners to be mitered corners. The instructions tell you to add the brackets to the back of the frame, but since I was doing mitered corners, I thought they’d look good in the front, giving it a little industrial vibe.
RELATED: DIY Concrete Tray with Dock Cleat Handles
I changed out the Union Jack aluminum sheet for a Mosaic metal sheet. It fits my style more, along with the rustic light blue finish on the frame. It’s hard to tell in the pictures that it’s light blue, but but it is. 😊
I stained the frame first and then brushed on a thin layer of paint to give it a more rustic finish.
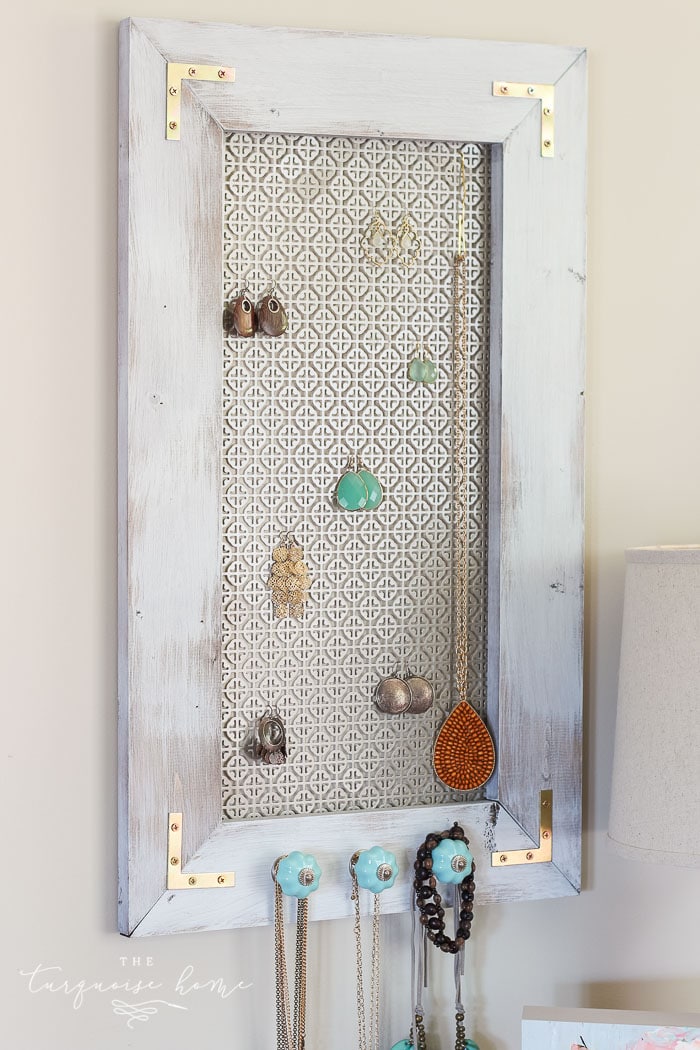
It’s just so pretty! I loved mine so much that I’m keeping it for myself, although I may very well make some for gifts since they ARE so easy to make!
Tools Needed for a DIY Jewelry Organizer
One 1″x 4″x 8′ common board
Mosaic metal sheet
Miter Saw – I have this one, but if I had to do it over again I’d get this one with a laser.
Wood Glue
Stanley Heavy-Duty Staple Gun![]()
Varathane Wood Stain, Early American
Knit Rags for Staining
Large Sawtooth Hanger
Hammer
Screwdriver
Measuring Tape
Ryobi One+ 18-Volt Lithium-Ion Starter Drill Kit![]()
2-1/2 in. Satin Brass Flat Corner Brace
How to Build a DIY Jewelry Organizer
Step 1. Cut your 1 x 4 boards to the height and width of your metal sheet. Keeping the inside edge of your boards a half an inch to an inch smaller then the outer edges of your metal sheet.
Step 2.
More Awesome Jewelry Organizer Inspiration!
Do you want to get more inspiration for personalizing your very own DIY Jewelry Organizer? Click on any of these to see a version of the organizer.


Love the jewelry organizer!!! Absolutely LOVE the turquoise knobs–where did you get them????
Hi Alicia! The knobs are from Home Depot – all of it is! 🙂
I liked your distressed DIY jewelry organizer and liked your rustic finish for the frame. Your jewelry organizer looks wonderful.
Love it distressed and with the L brackets on the front… very cute!
Thank you, Maryann!
I love your distressed look. The gold corner braces are such a neat flash of style!
Thank you, Laura!
I love pretty jewelry holders! I have made a similar one using a wooden frame and that same sheet metal!
Oh how fun!!