How to Make a Felt Garland + Valentine’s Day Chalkboard
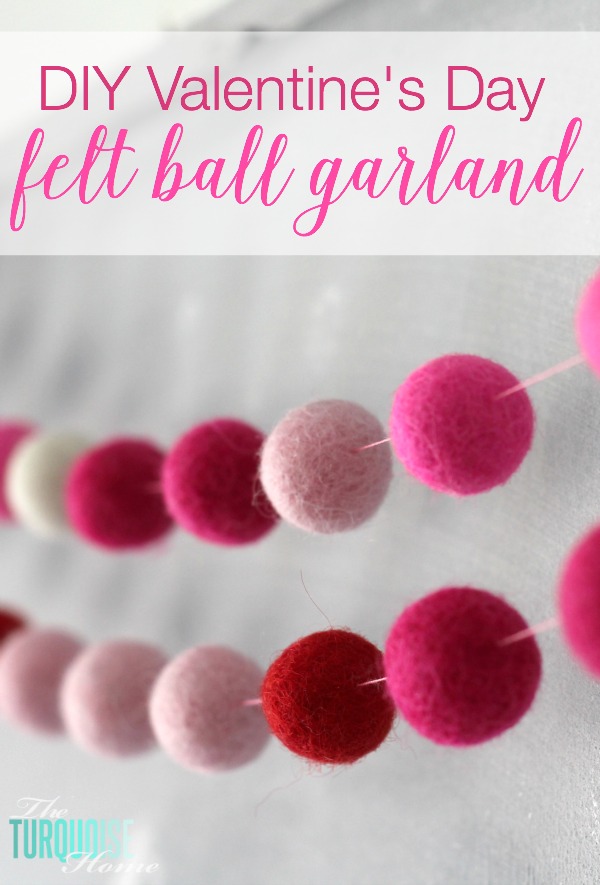
Try these simple, step-by-step instructions for how to make a felt ball garland! A DIY felt ball garland is a perfect decoration for any season, holiday, celebration or adding adorable style to your kids’ playroom or bedrooms!
Felt ball garlands are so cute and seriously the easiest way to add fun decor to any space. They are so budget-friendly and easy, too! I say make one for every color scheme and rotate it around all year long!
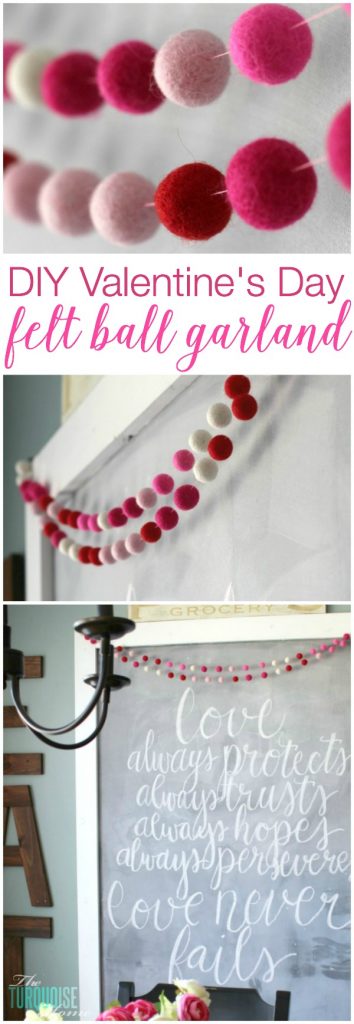
And while I made this particular felt ball garland for Valentine’s Day, you can make it for any holiday or any time of the year! It’s so cute to drape over a framed piece of art or big chalkboard.
This post contains affiliate links for your convenience. See my full disclosure policy.
As always, I like to add a little festivity to my kitchen chalkboard. I don’t like it to be too theme-y, but love to give a nod the current season or holiday.
I decided to make this super simple felt ball garland after I fell in love with the one I got from Minted. (Psssst… if you don’t have even a few minutes to make your own garland, you can just purchase one here!)
How cute is that?!?
It’s so simple to make, it feels kind of silly for me to even tell you.
I love adding simple, budget-friendly craft decor to my home! I’ve shared how to make Tissue Paper Stained Glass (kids craft) and this Love One Another Free Printable could be made into a homemade card. And I love making this cookie cake every Valentine’s Day! I hope these ideas inspire you to create a home you love.
Use the drop down Table of Contents menu below to easily navigate this post. And don’t forget to pin it for later!
Before You Begin to Make a Felt Garland
1. Decide How Long to Make Your Garland
This will help you know how long to cut your string. I say 7 feet is a good length, but take into consideration where you will be hanging your garland and let it help you make a decision.
2. What Type of Garland will You Make?
You can string the felt balls at intervals along the string, or have them bunched up next to each other. Obviously if you have the felt balls next to each other, you will need more.
Use your chosen garland length to help you decide how many felt balls to order. Or you can order a garland kit and don’t have to do any math!
3. Choose Your Color Palette
If you want to make a multi-colored felt ball garland or a single color felt garland? You can even add in cute embellishments like strawberries, stars, jingle bells or hearts!
Supplies to Make a Felt Ball Garland
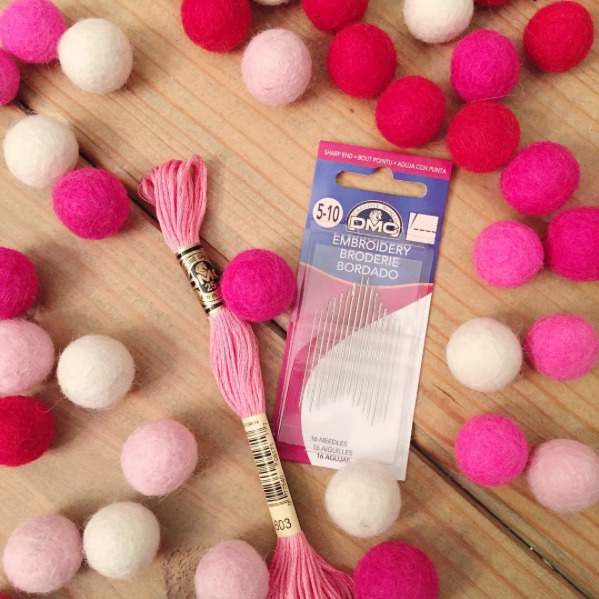
- 50 Felt Wool Balls – (choose the wool balls only OR the garland kit for everything you need)
- The store now also offers a felt ball garland kit for you to choose any color felt wool balls you would like!
- Needle
- String or thread (mine is about 7 feet long)
Instructions for Making a DIY Felt Ball Garland
This is so simple, it hardly needs instructions, but I’ll share them anyway!
1. Gather Your Felt Balls
I ordered mine from the wool Etsy shop I shared already, but you can also make your own felt balls, if you’re feeling crafty. Here’s a link to a great DIY felt ball tutorial.
2. Cut and Prepare the String
You’ll want to cut your string about 12 inches longer than the desired length of the garland. Then tie off one end of the string with a knot.
3. Thread the Needle
Thread your needle on to the opposite end of the string from the knot you tied.
4. Thread the Balls Onto the String
Use your large metal embroidery or yarn needle to string the felt balls on to the string. It can be tough, if the felt balls are dense, so use a strong, solid surface to help you, if needed.
If you’re using more than one color, set out your pattern before you begin. I laid out the color pattern before I strung them on, but I forgot I was going to double it up on the chalkboard, so I probably would have done them differently if I’d remembered that.
Continue to thread the felt balls on to the string to make your garland until you’re finished! Space them out however they look best to you.
5. Tie Off the End of the String
Once the garland is complete, tie off the end of the string.
Now you’re ready to hang up your felt wool ball garland over a doorway or above a framed piece of art. These look so cute in a nursery or kids playroom!
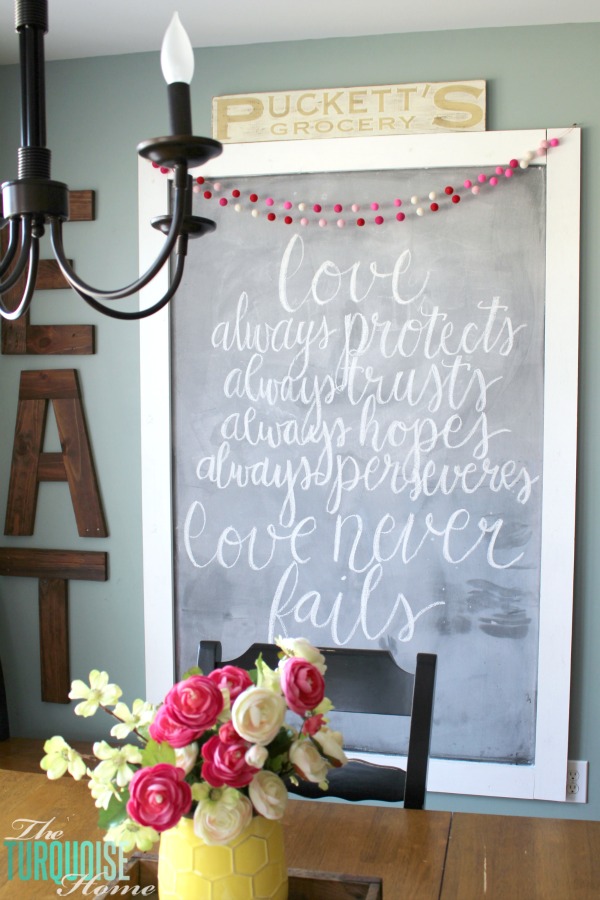
Here it mine hanging on my chalkboard with a little Scripture I wrote on there.
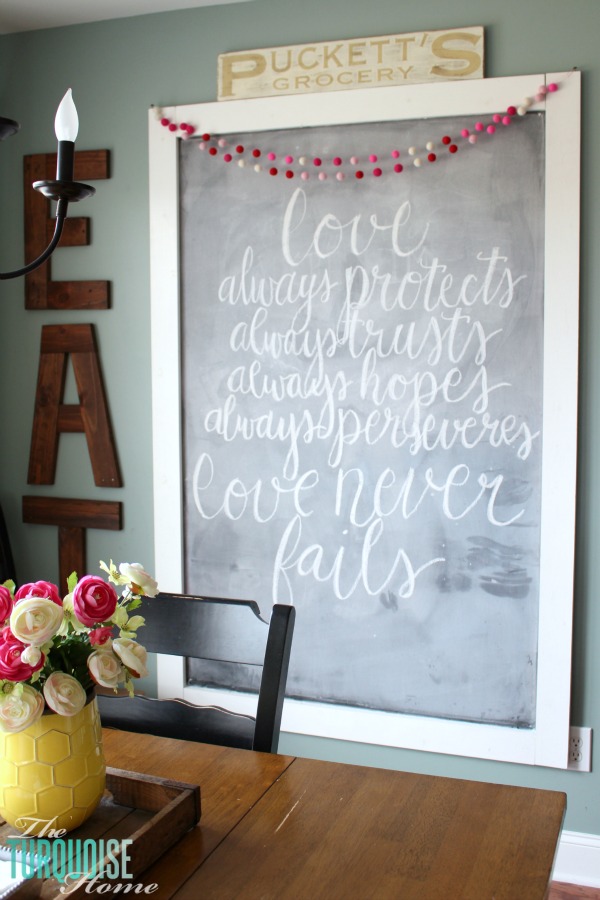
You get a sneak peek at my new chandelier above my kitchen table, too. I moved the EAT sign over here by the chalkboard. But now I think there’s a little too much typography going on in this one little corner.
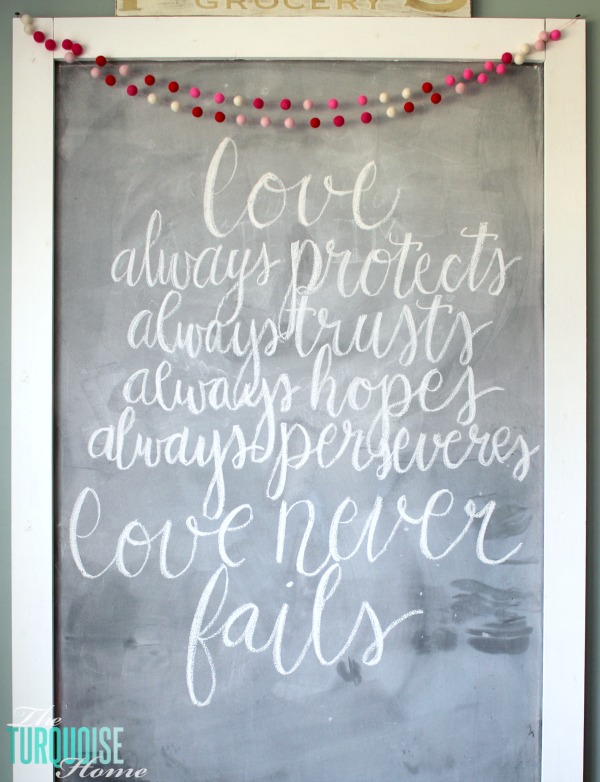
I’m going to put galvanized clock on the other side of the chalkboard, I think. And I may move that Puckett’s Grocery sign up there to a new location. We’ll see.
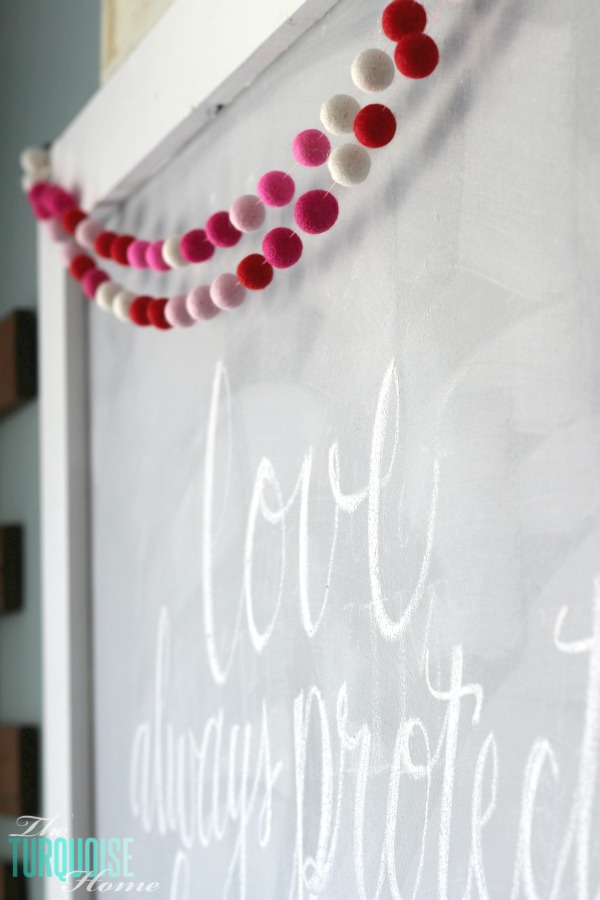
For now, we’re just enjoying the simple decor and plotting our next DIY project there in the kitchen.
How do you like to celebrate Valentine’s Day? Do you go all out, or give a simple update with minimal holiday decorations?
If you loved this craft idea, don’t forget to pin it or share it on Facebook for future reference!
More Posts You Will Love:


Super cute! Can you tell me where you purchased the balls?
Hi Andrea, I linked to the felt balls in the tutorial above, but it looks like the are sold out. But good news! The shop now offers felt ball garland kits and you can just choose the colors for whatever holiday or event you want! click here —>>> https://rstyle.me/n/cwyhg3x85w
I clicked on your link to try to find a felt ball source but it showed an error to the page on etsy. Could you tell be where to get those please? Thanks so much!
Hi Robbie, you’re right! It didn’t work, but it’s the right link. I refreshed the post and now it’s working for me again. So weird! Try this one and see if it works. http://bit.ly/1mhsXq9
Thanks for letting me know!! 🙂
It is extremely cute really!! And it looks so easy to make those garlands! A perfect addition to the Valentine’s day decor! Thanks for sharing this tutorial!
Thank you Nia! It’s super easy to make. I think it took me about 10 minutes. And I love the cute little pops of pink, white and red. 🙂 Thanks for stopping by!
What colors did u use in the v-day one pictured in this tutorial?