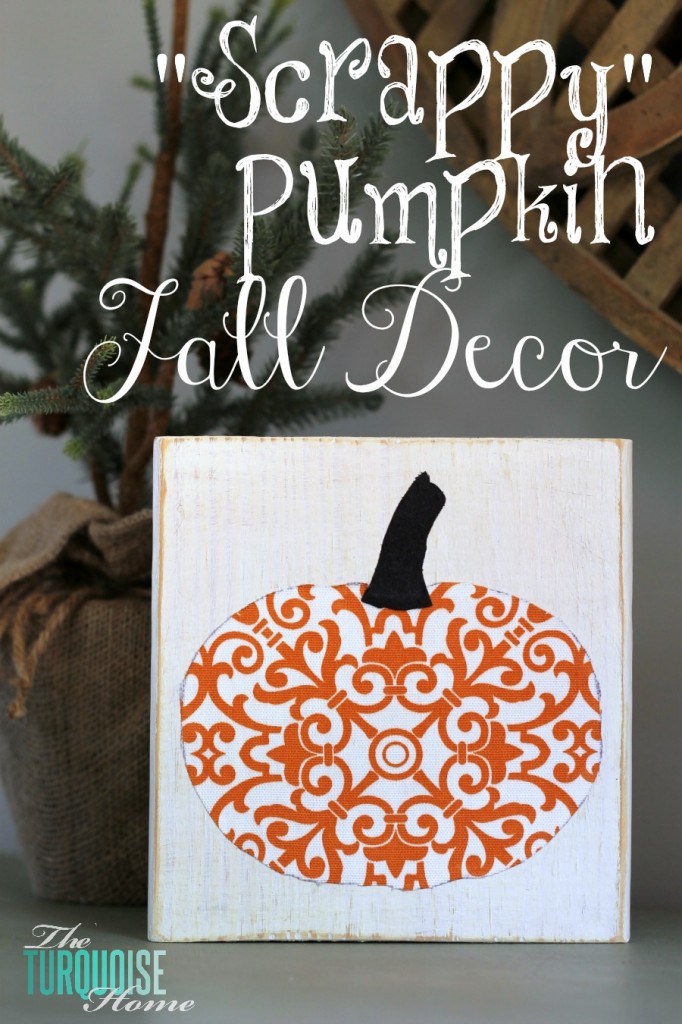
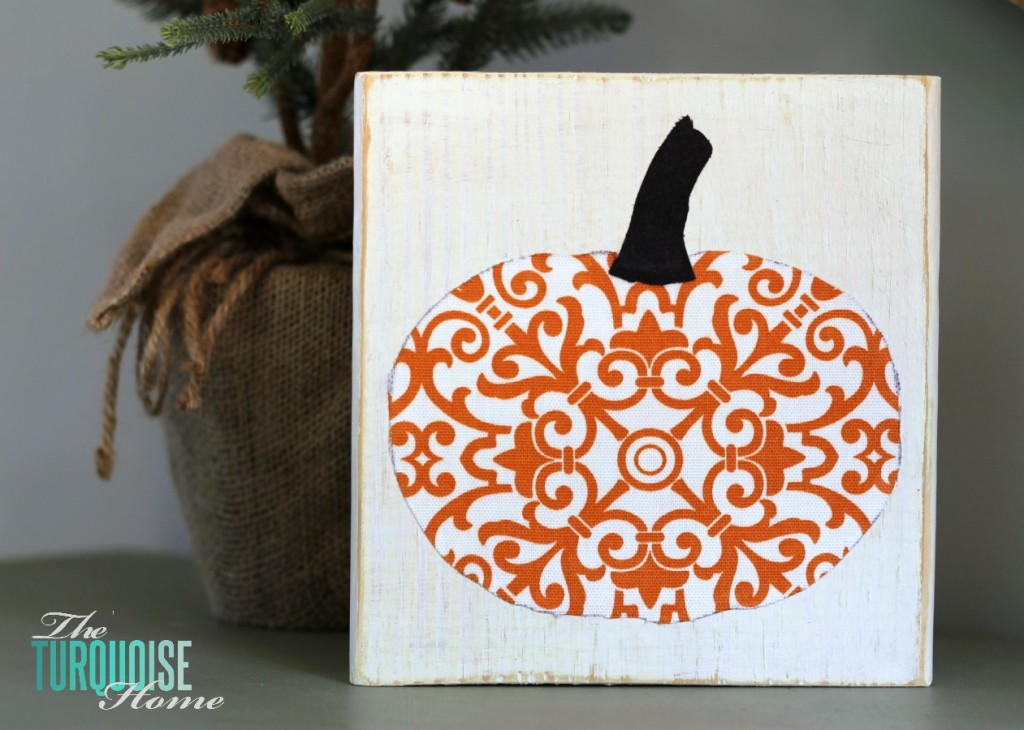
“Scrappy” Pumpkin Fall Decor
Use scraps of wood and fabric to make this adorable “scrappy” DIY pumpkin decor!
You wanna know what I love? I love it when I can take old and forgotten things I have on hand and make them something functional or cute for my home! And don’t we all? That’s what DIY is all about: redeeming what is ugly, plain or forgotten.
That’s where the “scrappy” comes in! I took a piece of wood from my scrap pile and some scraps of fabric and made this adorable little pumpkin to go with the rest of my fall decor. I only used things I already had on hand for this project. Nothing like free!
And making this little pumpkin got me into the fall decorating spirit. I finally put away most of my summer decor and started playing around with the mantel.
Want to Save This?
Enter your email below and I’ll send it directly to your inbox!
This post contains affiliate links for your convenience. See my full disclosure policy.
What you’ll need to make Scrappy Pumpkin:
- Wood scraps – oh, you don’t have a garage full of them? You should! They come in handy quite often.
- Fall-ish fabric or paper … or whatever fabric/paper you want to use.
- A cutout shape
- Paint
- Mod Podge
- Miter saw, optional
- Sand paper, optional
How to Make a Scrappy DIY Pumpkin Decor
Here’s how I pulled this cute little project together … and in an hour, nonetheless! {Minus paint drying times.}
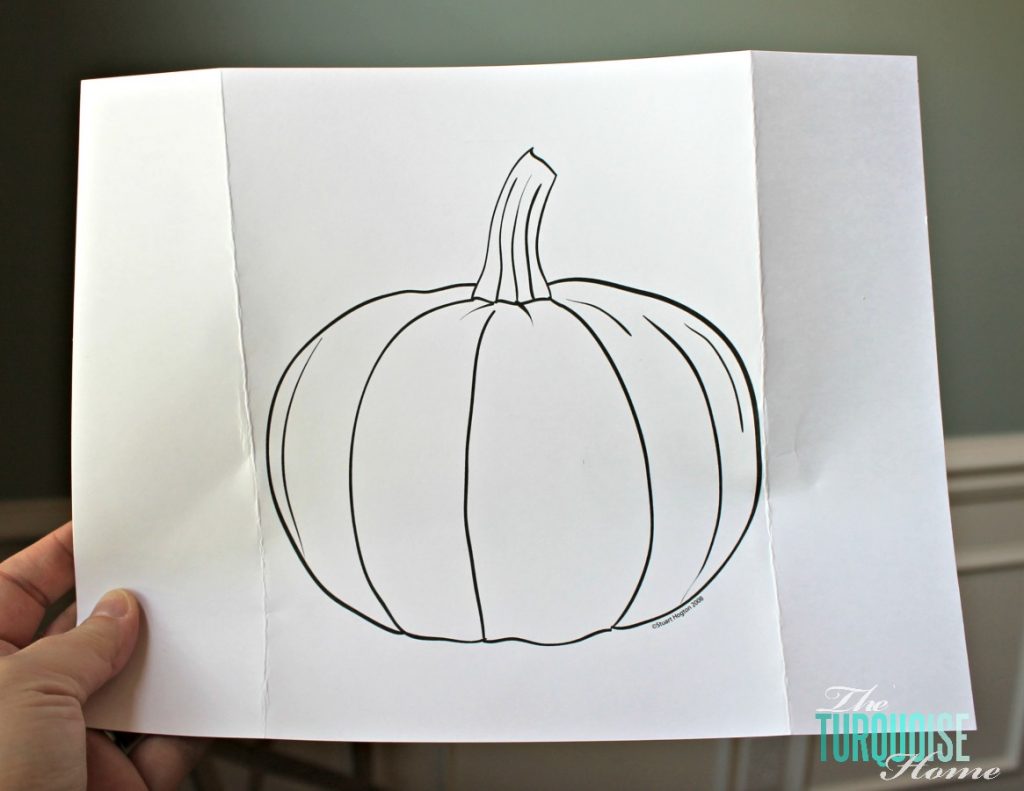
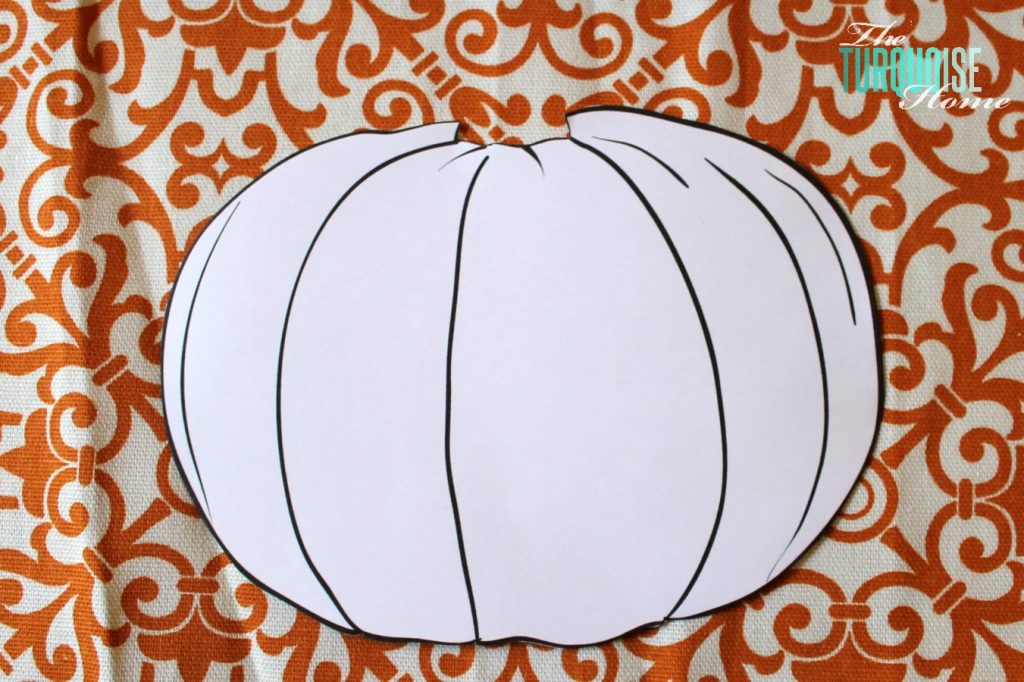
1. Find a Pumpkin Shape and Print it Out
I found a pumpkin shape online that I thought would work for this project. You can get it HERE. Really, you could do any kind of shape you want to! The only limit is your own creativity.
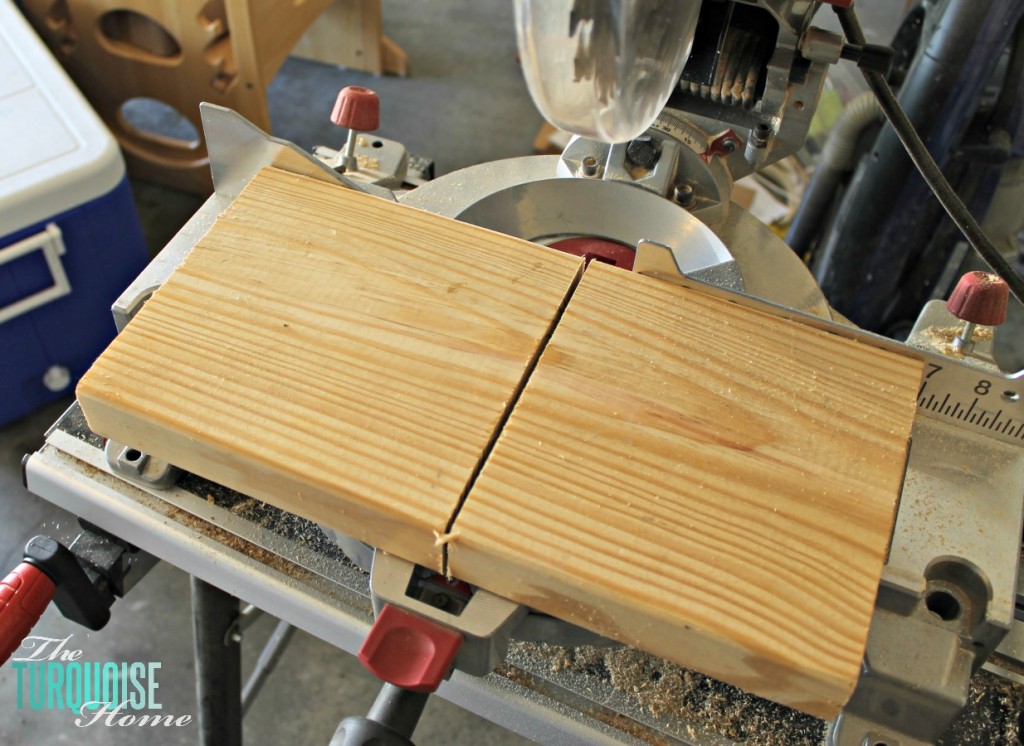
2. Cut a Block of Wood to Fit the Pumpkin
I printed it out at 100% scale, and found a piece of wood that would fit my shape. I had to cut it down with my miter saw.
3. Sand the Rough Edges of the Block
Then, I sanded down the rough corners.

4. Paint the Block
I painted it with Sherwin Williams antique white, leftover from this project. I painted both the front and the back of the board since I knew this was going to stand up and might be seen from behind. If I were going to hang it on the wall, I wouldn’t have bothered with the back side.
5. Sand the Edges for a Rustic Look (Optional)
Once the paint was dry, I sanded the corners a bit to give it a slightly rustic look. Sorry, I don’t have a picture of the sanding, but you know what that looks like.
6. Cut Out Your Fabric using the Pumpkin Shape
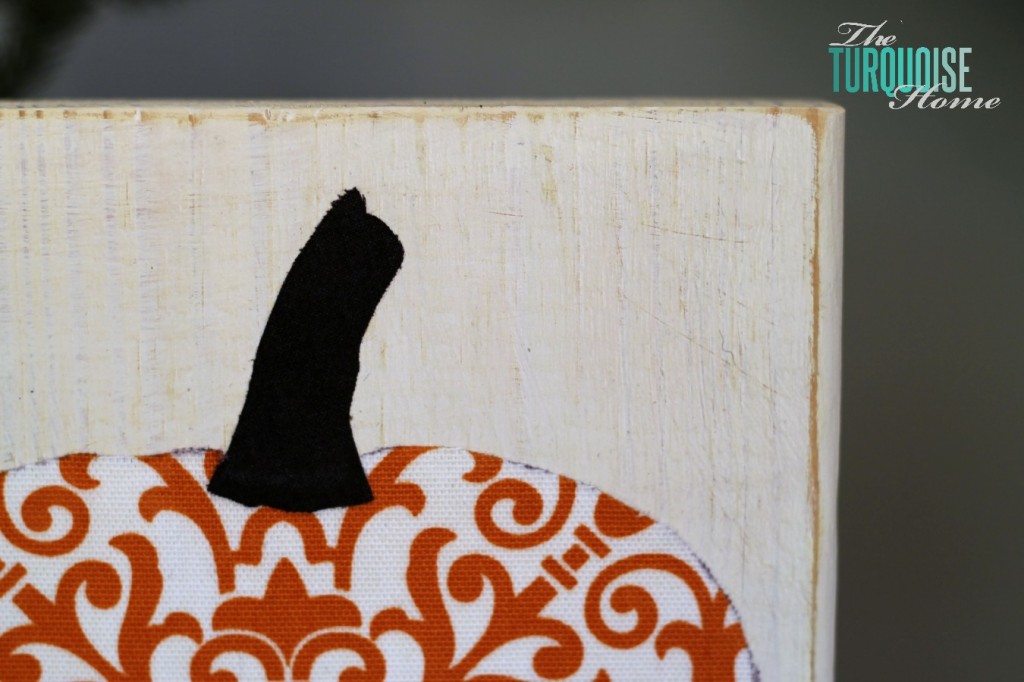
While I was waiting for the paint to dry, I cut out my fabric using my printed shape. I decided to make the stem of the pumpkin a different fabric, so I cut it out separately.
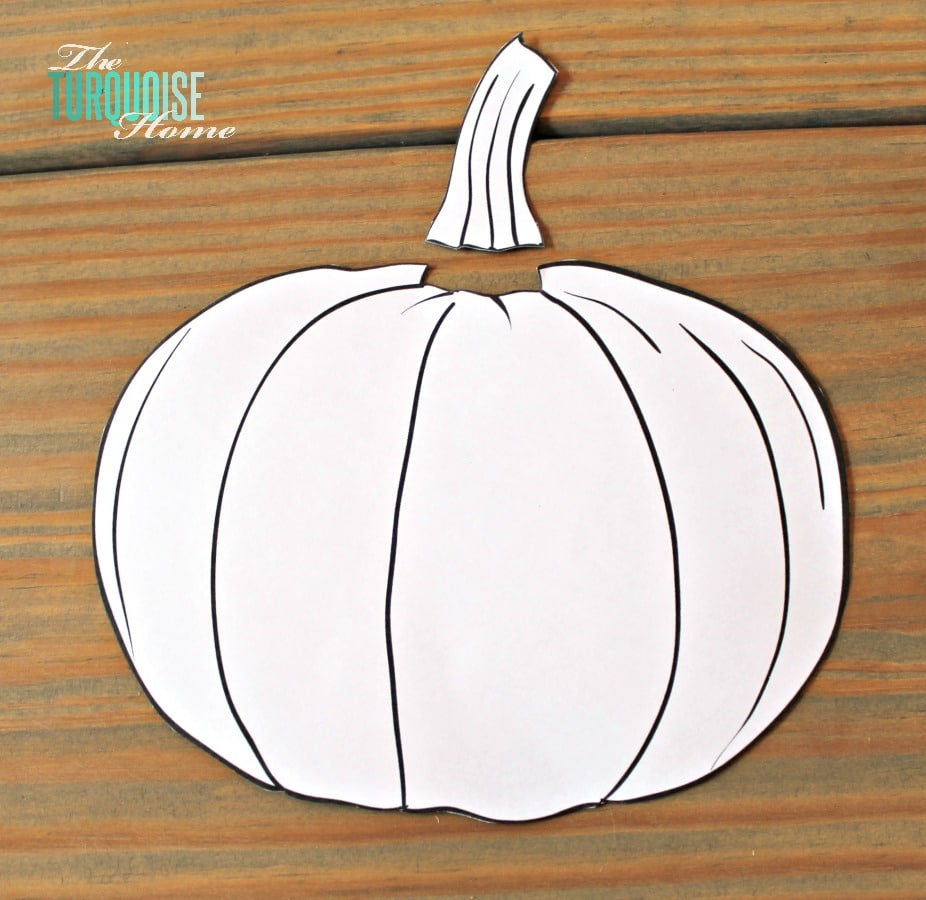
I know the picture shows the shape on top of the fabric, but I turned both of them over and traced the shape on the back of the fabric with a pen.
If I were high-tech and had a fabric blade, I would have used my Silhouette. So, if you have the Silhouette and a fabric blade, I’m sure you’d probably use that instead. Oh, and make sure you iron your fabric if it has wrinkles.
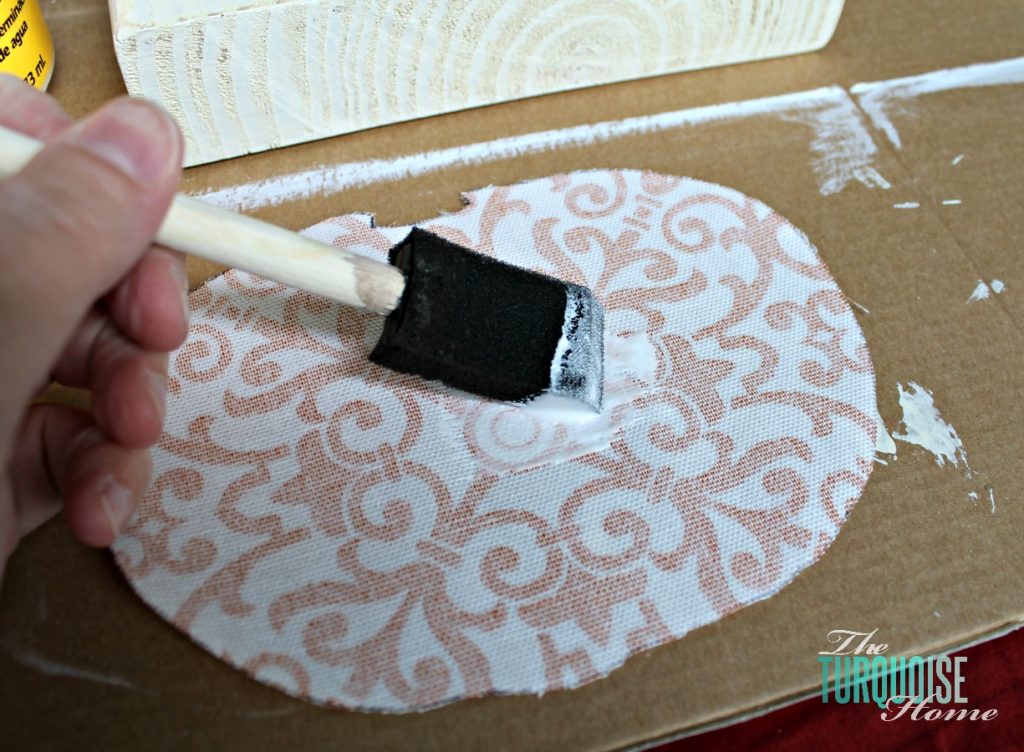
7. Glue the Pumpkin on the Wood Block
Then I just “glued” down the pumpkin and stem to the board with Mod Podge. And then I “painted” Mod Podge all over the front and the fabric to help seal it on the block of wood. It’s not going anywhere!
And that’s how I made my free-to-me scrappy pumpkin fall decor.
I couldn’t figure out for the life of me what this should be called. I was like, is this a plaque? A wood and fabric craft board? What to call it? I asked a few friends last night and came up with the title. But what would you call this thing?
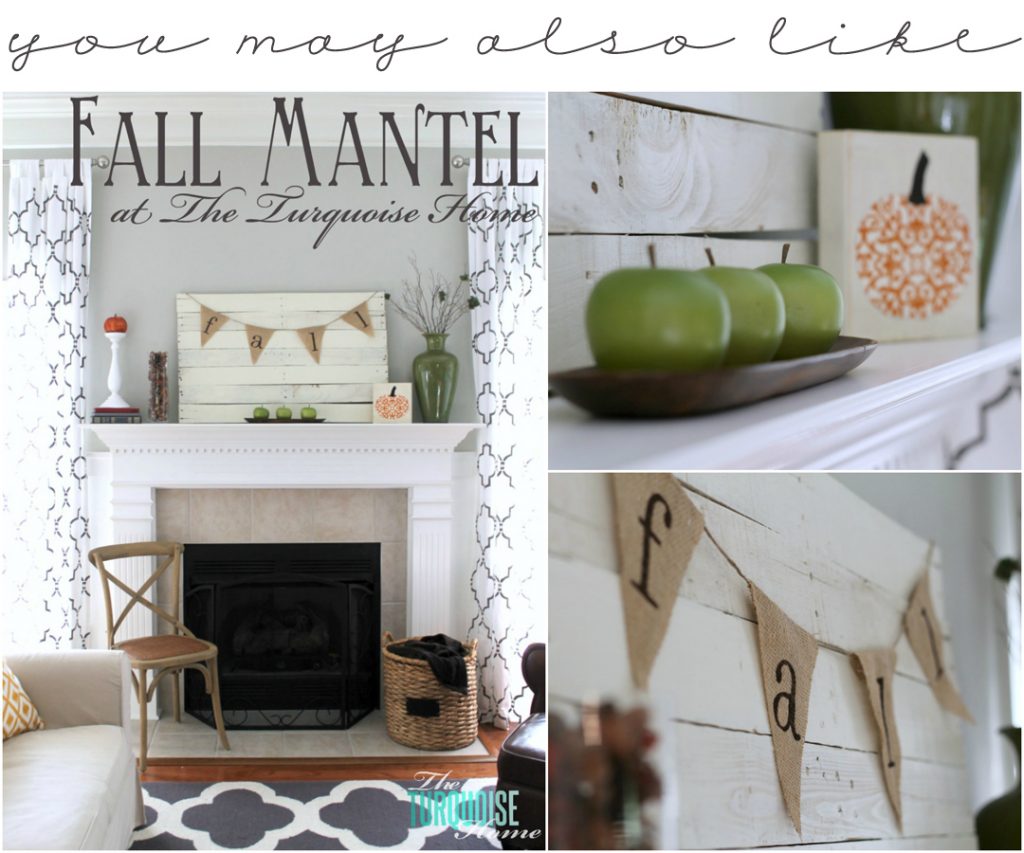
If you were around here a year ago, you may recognize this fabric. I used it to decorate my fall mantel last year. So, since I’m going to do something totally different this year, I was happy to find a way to use the fabric. I may even make some of these to sell at my upcoming yard sale. Might as well make some money on my old decor items, right?
I hope you have a wonderful day!!
More Posts You Will Love:
I love the fabric and the concept! I’m thinking I could do it with patterned scrapbook paper on an old box top. Love this idea; thank you for sharing it. I’m visiting from The Lettered Cottage link party.
Christy @ Creating a Beautiful Life
I think the possibilities are endless, Christy. 🙂 I’ve had several people mention scrapbook paper. And really you can mod podge it to most anything flat. Happy crafting!!
This is super cute!
Love this!! I need to get moving on creating some new Fall decor!! 😉
Cute idea, Laura. Thanks for sharing!
Thanks Marianne! I’m so glad you stopped by! 🙂
Just wanted to let you know that you were featured on my blog! Thanks so much for sharing at The Scoop!…hugs…Debbie
Thank you so much, Debbie!!
Hi Laura! I love this project! It’s simple but very cute! Thank you for linking up to last week’s Get Crafty Friday link party. Your scrappy pumpkin has been featured this week. Have a wonderful weekend!
-Amy
Thanks so much for the feature, Amy! I hope you have a great weekend!!
Super cute!!! I love the fabric you chose for the pumpkin!
Found you over at Rae Gun Ramblings Block Link party!
Thanks so much, Megan! Have a great weekend!!
Laura, this is just adorable! It makes such a bright and graphic Fall statement!
Super cute! Pinned!
Thanks so much, Maryann!
What a cute idea! I think I’ll try it…..thanks for sharing!
Tammy
You are always making the cutest thing, now I have to start following along so I get everything, not just what you share with the Pinworthy Project Link Party! Thanks for sharing.
Yay! Thanks for following along, PJ! 🙂
What a cute pumpkin – and I think I have some very similar fabric leftover from an IKEA duvet that I cut up so I might copy your great idea. Thanks.
I’ve been looking for fall decorations and this is going on the list. Thanks!
Thanks so much, Britni! Hope you’re having a great week!!
Such a cute pumpkin, love that you only used scraps. I have a pile of scraps including an old frame without glass and some orange patterned paper. You have inspired me!
Visiting from Give me the Goods link party.
Sarah
Creative Ramblings
Awesome! I’d love to see it if you make something. 🙂 Have a great week, Sarah!
This pretty little pumpkin is quite popular – I’ve seen it all over the place! It’s about time I popped on over to tell you how much I like it. Great idea!
Aww, thanks so much Marie! I’m glad you like my scrappy little pumpkin. 🙂
Love it! I’ve been inspired, thanks. 🙂
I love the simplicity and ease of making your project. I have all the supplies needed so will be having hubs cut the wood for me. Ah, as I typed that I realized I have a wood plaque already cut that will be perfect for this. Love it when I can start a project I love so much. I have some fabric already also (if I can find it) so I’ll be working on this tomorrow, can hardly wait. Think I’ll go look for that Fall fabric, save time tomorrow. Happy weekend. You sure inspired me.
Awesome JaneEllen! I’m so happy to inspire! I hope your project turned out awesome!!
This is so simple and cute it’s BRILLIANT!!!! Love this idea… I have wood…I have fabric….I have Mod Podge…. I can do this!!! Thanks for the inspiration! Have a wonderful weekend!
Awesome!! I’d love to see what you create!!
This is such a cute project! I love the fabric you used! We’d love to have you link this up to our All Things Thursday Blog Hop if you haven’t already. Have a wonderful weekend!
Blessings,
Nici
We love what you have done. Please come share it with us at Craft Frenzy Friday! The party starts Thursday to 7pm cst. I won’t be a party without you!
What a great idea! I love that you had all the stuff on hand and were able to fashion such great fall decor. Answering your question about what to call it, I would describe it as “wood art”.
You know, I almost called it Wood & Fabric Fall Decor. And then I asked some of my friends, and they came up with the “Scrappy Pumpkin” part. 🙂 Thanks for stopping by!!
Well this is just too cute! What a great way to use up some leftover! Love love it!
Thanks so much, Abby!!
love love love that wonderful fabric. super cute and fun for Fall!
Love the pattern! This project is cute and looks so simple. Thanks for sharing! Stop by my Friday’s Five Features tomorrow and link up this post (and others)!
Seriously sooo adorable Laura! Love it! Sharing on facebook too:) Hope you are having a great week!
~Krista
SUCH a perfect decoration for fall…I love this! This would be great to link up to Create It Thursday … hope you’ll join us!
Thanks Leslie .. I just put you on the calendar to link up tomorrow. What time does your party start??
It usually starts sometime between 7-9 on Wednesday night!
Hi, I love this pumpkin you made! I saw it on wow me wed. link party.
Julie from julieslifestyle.blogspot.com
This is really pretty and very creative. Love how you use fabric for the pumpkin shape.
Thank you,
Ellya
I love this!! I will have to add this to my ever growing crafty to-do list. Visiting from 36th Ave link up.
Thanks April!!
This scrappy makes me happy! Love it!
Thanks girl. 🙂
Oh how sweet! What a fun fall craft, I love it! 🙂
Super cute! Halloween is my favorite holiday so I’m totally doing this! Pinned.
Aww, thanks Kathleen!!
Great idea – the pumpkin is super cute!
Pinned!
Sue
Thanks so much, Sue!
Adorable! Love your scrappy pumpking! Sharing on my FB page today 😉
Hugs,
Jamie
Thanks so much, girl!!
Love using things I already have. This is so unique and easy! TFS!
SO cute and super easy to make! I have scrap wood that I can totally use to make this. Thanks for the idea!
Katie
This is so cute! I love it.
I call it adorable! What a great way to use what you have!
Thanks Kim! 🙂
Very cute–I love projects like this too. It happens when I can put a garage sale find from LAST year together with a find from this year. It totally justifies my hoarding 🙂
Oh, I love it, too!! I think it justifies my hoarding, as well. 🙂 Have a great day!