How to Hang a Christmas Mantel Garland + Video
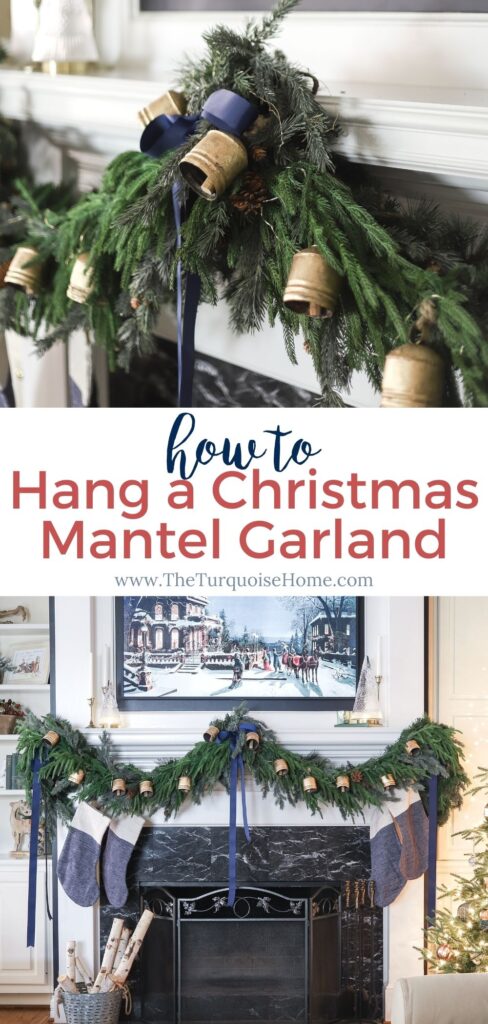
Learn how to easily create a lush, full Christmas garland on your fireplace mantel for a beautiful holiday look! Using easy DIY step-by-step instructions, you’ll have a lovely layered look in no time!
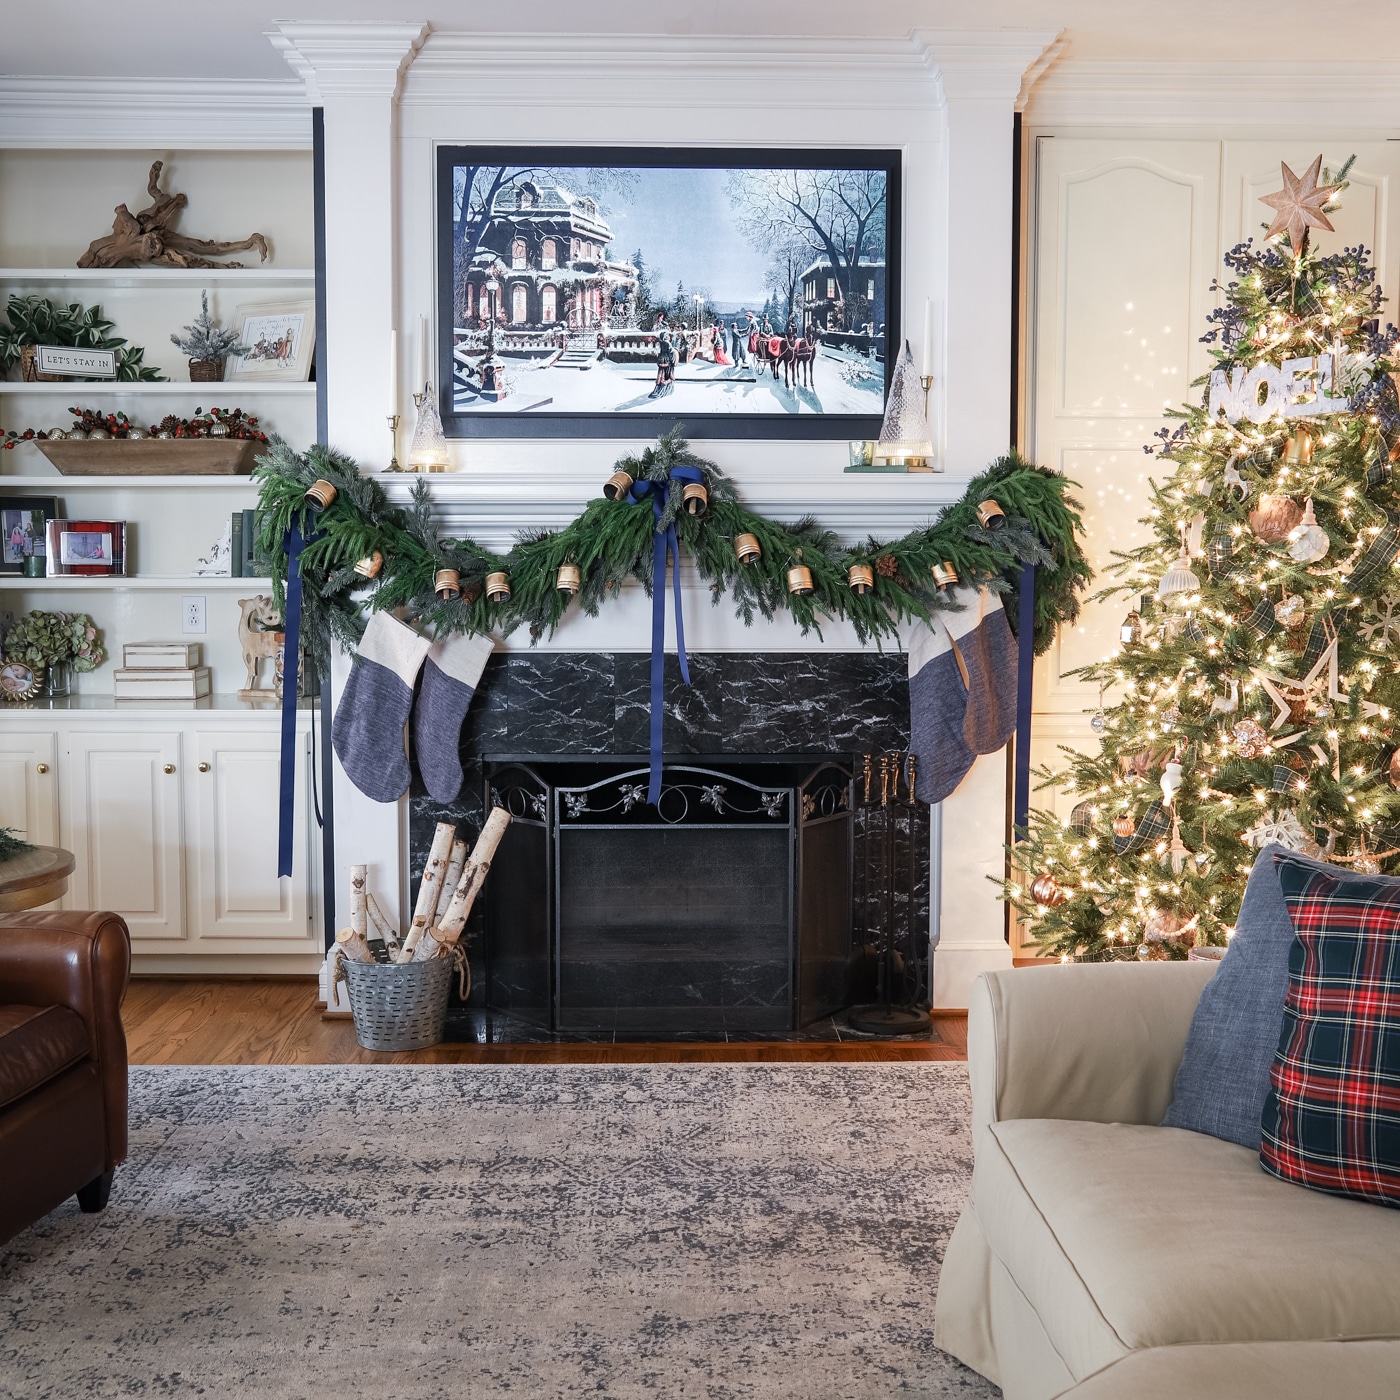
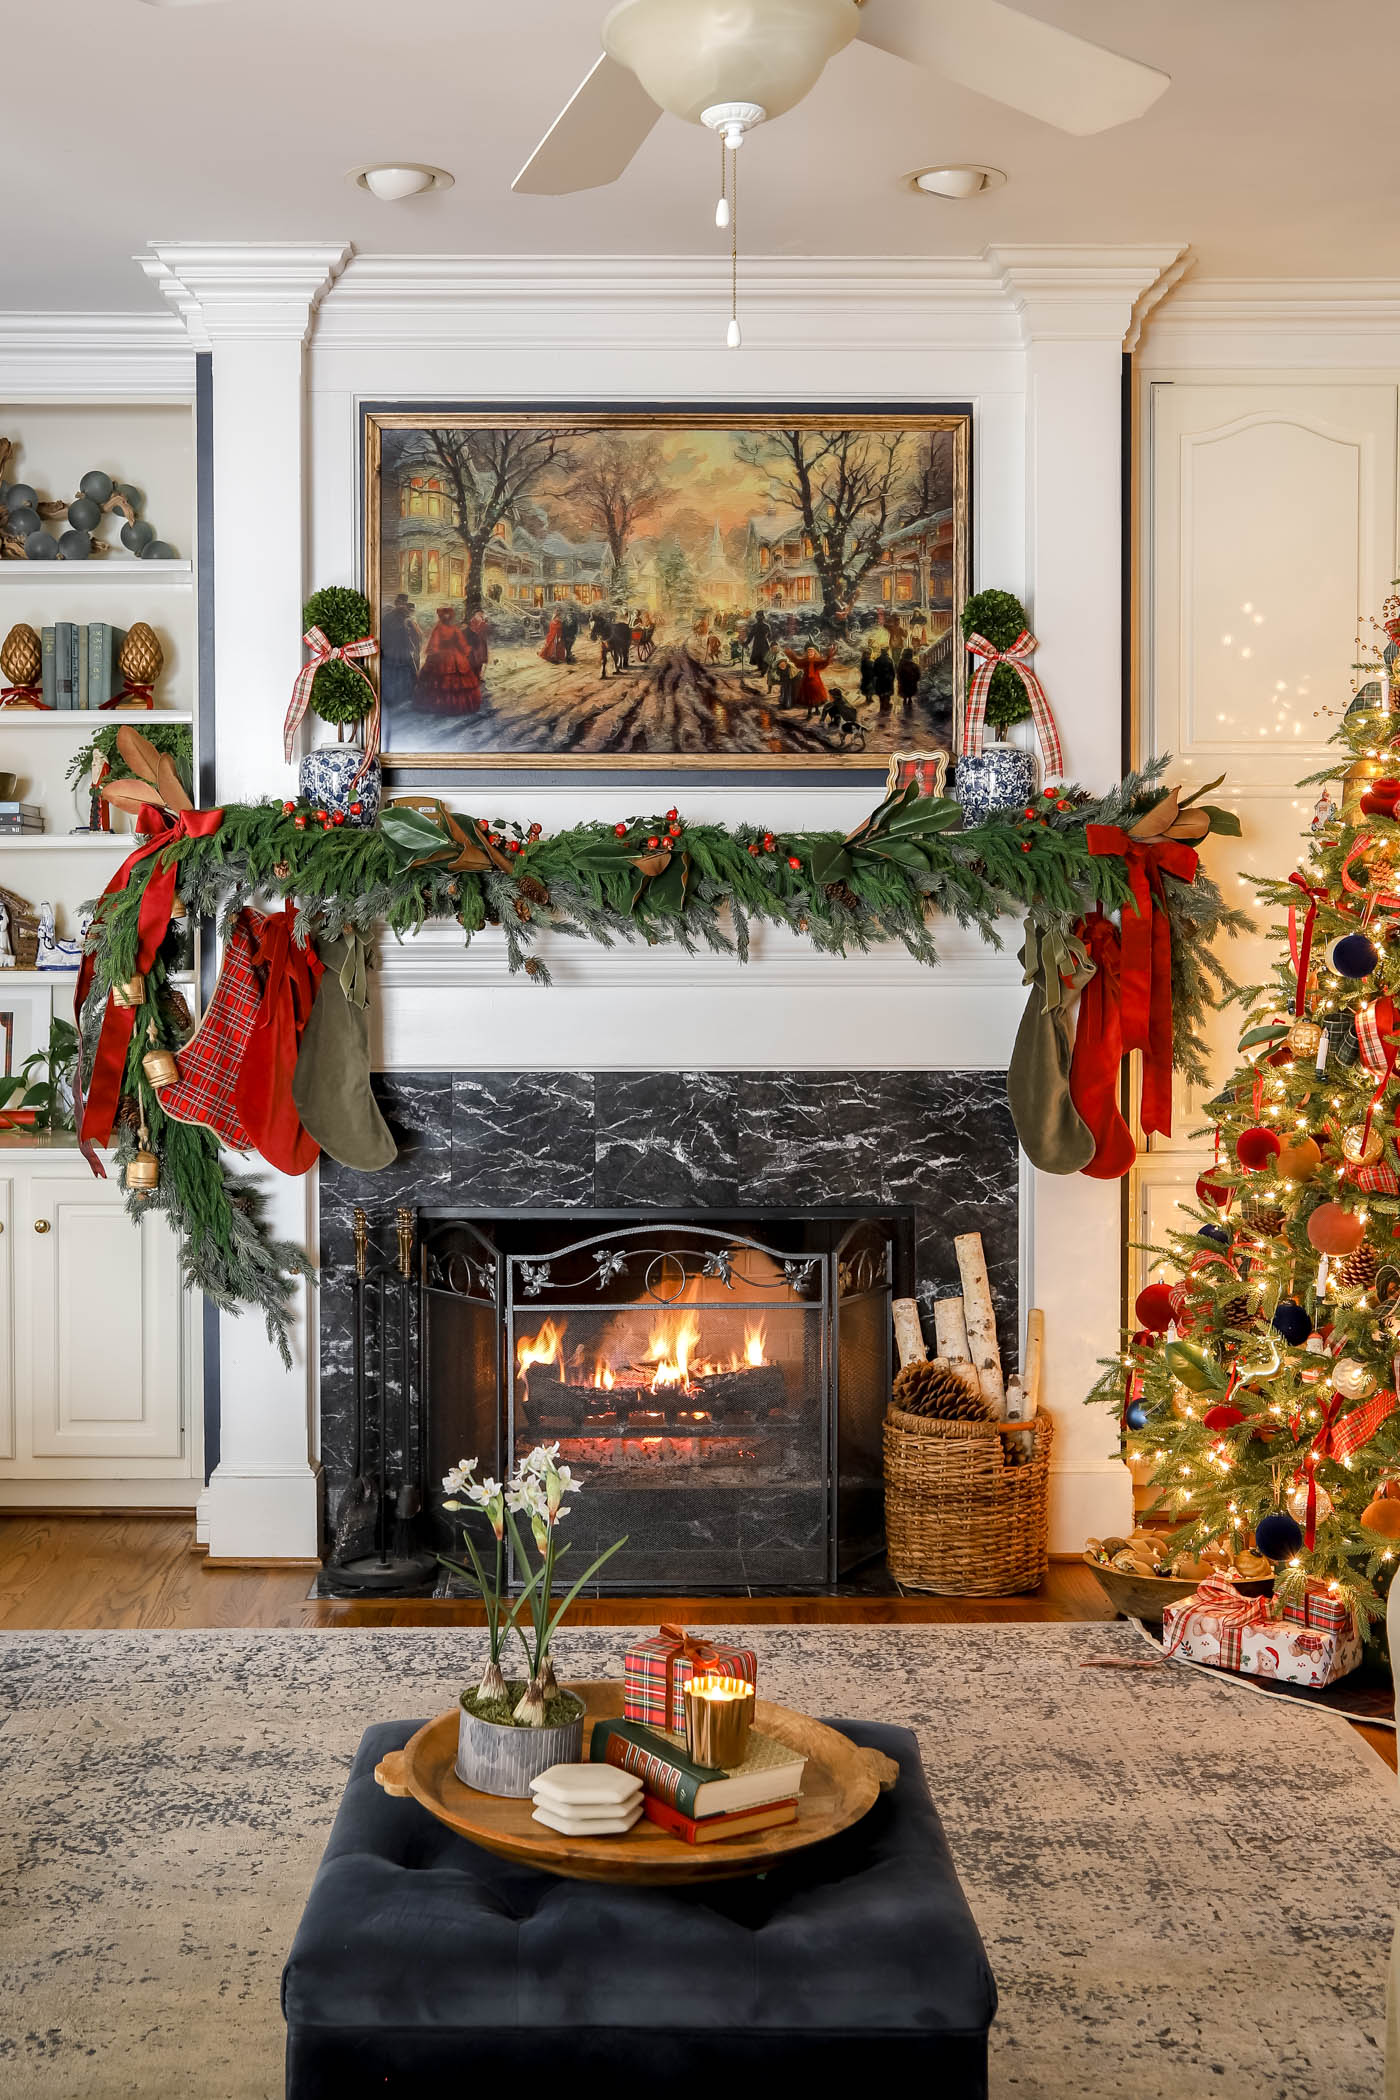
This is the first year I’ve decorated a Christmas mantel with a TV above it, so I challenged myself to use as much of the front real estate as possible for my holiday decor! See my whole Christmas living room right here.
I knew that I wanted a full and beautiful mantle garland, but didn’t want to spend a ton of money. I was able to use several garlands that I already had and only needed to buy two new ones to get the look I wanted! And I’ll show you exactly how I did it.
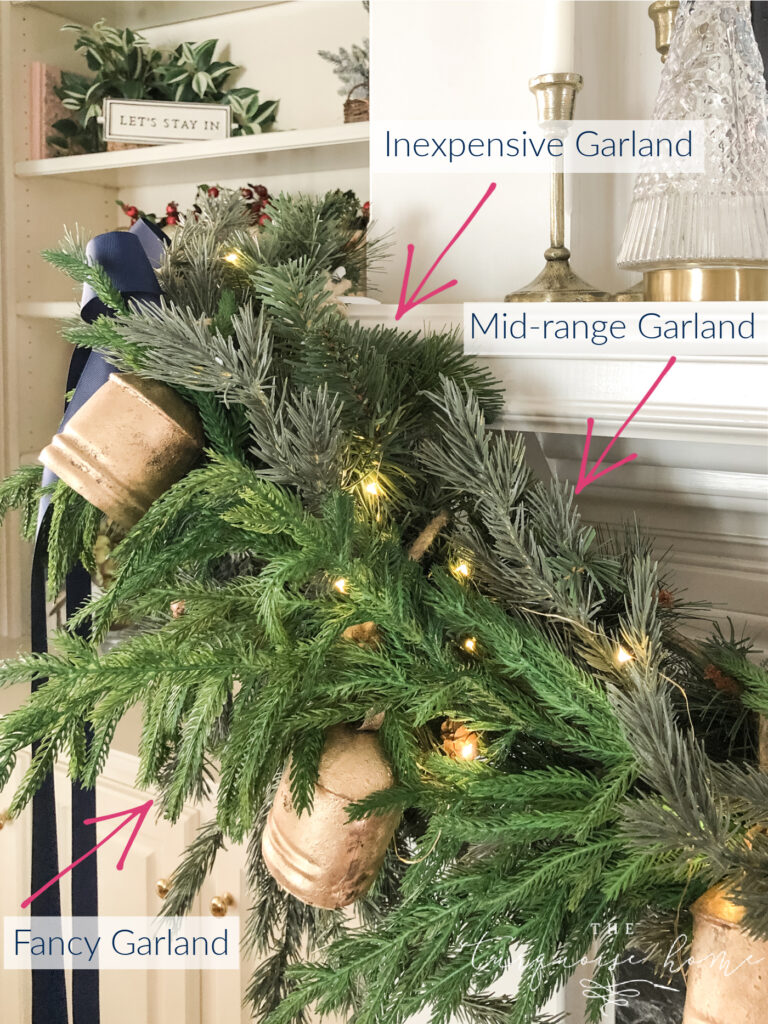
By using multiple garlands together, and a very inexpensive garland as the base, you’ll get a full garland look without spending as much money! The first garland will set the shape of your whole design, so choose one that is pretty structured, yet bendable.
I chose not to use a pre-lit garland because I don’t have an outlet super close to my mantel. But if you do have an outlet nearby, I think a pre-lit garland would be so pretty!
If you want to get a good idea of how this garland works, you’ll want to watch the video I made below! It’s so much easier to show it on video than through words and pictures. The video isn’t anything super fancy, but it’s easier to follow each step that way.
Where to Find Beautiful Faux Garlands
These beautiful garlands will enhance your holiday season decor!
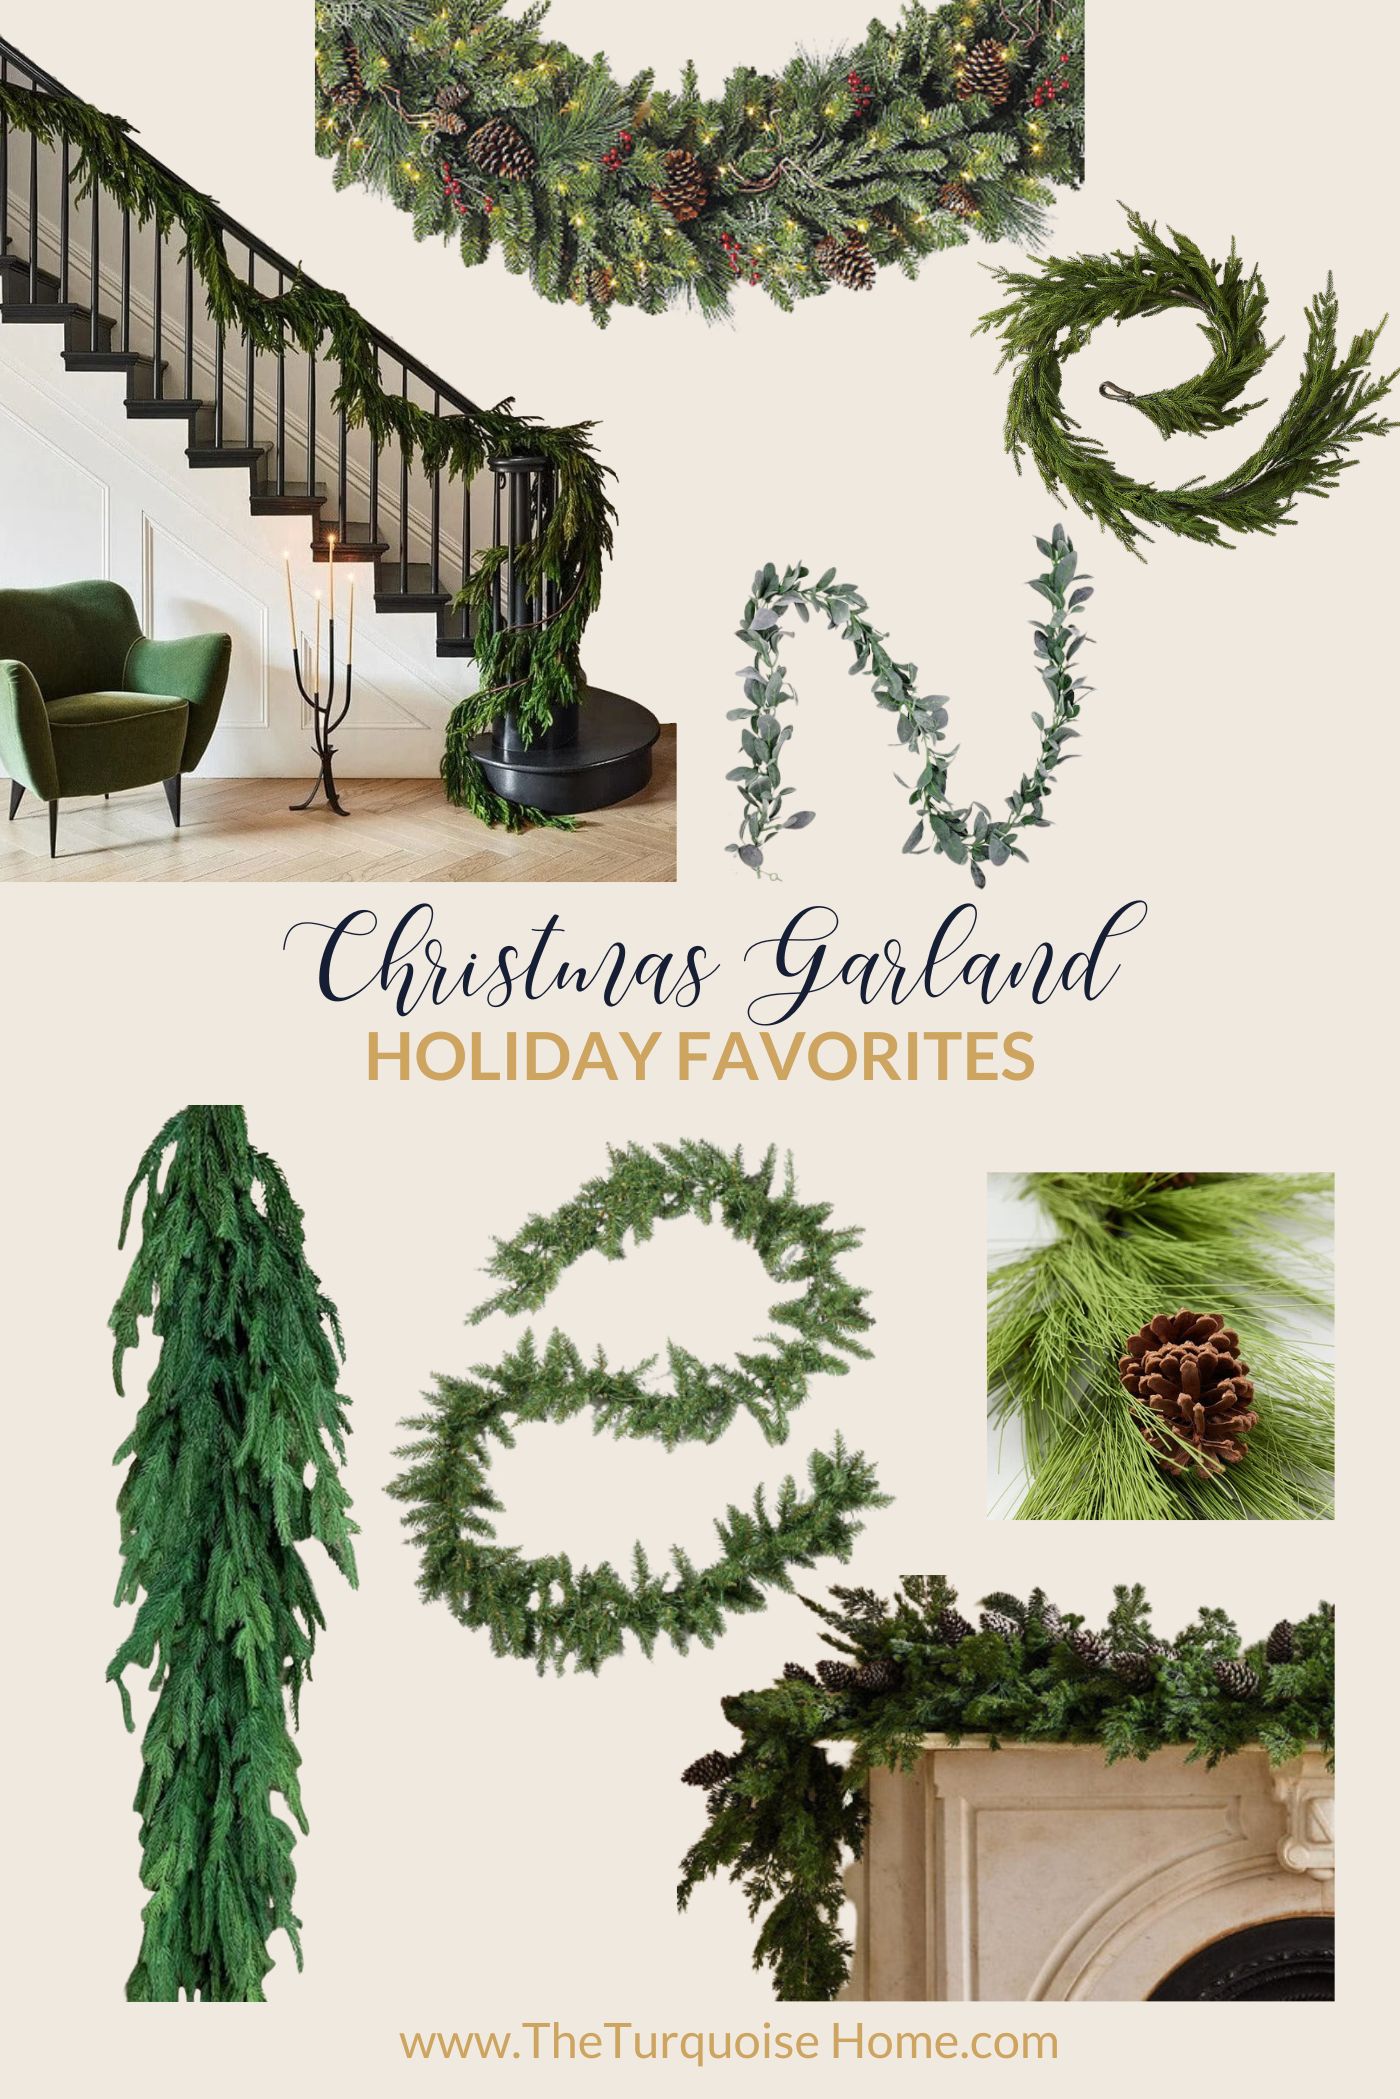
SOURCES: 9′ Unlit Pine Garland | Christmas Cheer Cordless Garland | Norfolk Pine Natural Touch Garland | 6′ Cypress Garland | Real Touch Norfolk Garland | Faux Pine Needle and Snowberry Garland | Faux Long Needle and Pinecone Garland | Real Touch Spruce and Pinecone Garland | Faux Juniper Berry Garland | Eucalyptus Garland | Faux Cypress Real Touch Garland
Supplies You’ll Need to Create a Full Christmas Mantel Decor
Layering garlands is how you take your mantel decor to the next level. Let’s take a look at the materials you’ll need for optimal creativity and cozy charm!
- Command Hooks – I love this mega pack because I use these same hooks to hang wreaths on my kitchen cabinet doors.
- 2 Cheap Christmas Garlands – Use a basic 6-9′ garland that’s about $10-$20. I used two 6′ garlands, but if you can only find a 9′ garland, you can either use it all or cut off what you don’t need.
- 2 Mid-Range Christmas Garlands – I got my mid-range cedar garland at Hobby Lobby for about $30-$40/each.
- 2 “Real-Feel” Christmas Garlands – use something like a Norfolk pine or cedar garland. These will run about $60-$100 each.
- Floral Wire (and floral wire cutters)
- Bells (optional embellishment)
- Battery-powered fairy lights (optional embellishment)
- Ribbon for bows (optional embellishment)
Note on finding garland: Over the past couple of years, the greenery garlands have sold out in record time. If you’re having trouble finding a garland online, check your local greenery stores. I found some in a few places just this week, so hopefully you can find them too!
Want to Save This?
Enter your email below and I’ll send it directly to your inbox!
How to Make a Beautiful Christmas Garland without Damaging the Mantel
1. Attach Command Hooks to the top of the mantel.
Attach three command hooks on the top of the mantel with the hook part facing outward depending on how you want to drape your garlands.
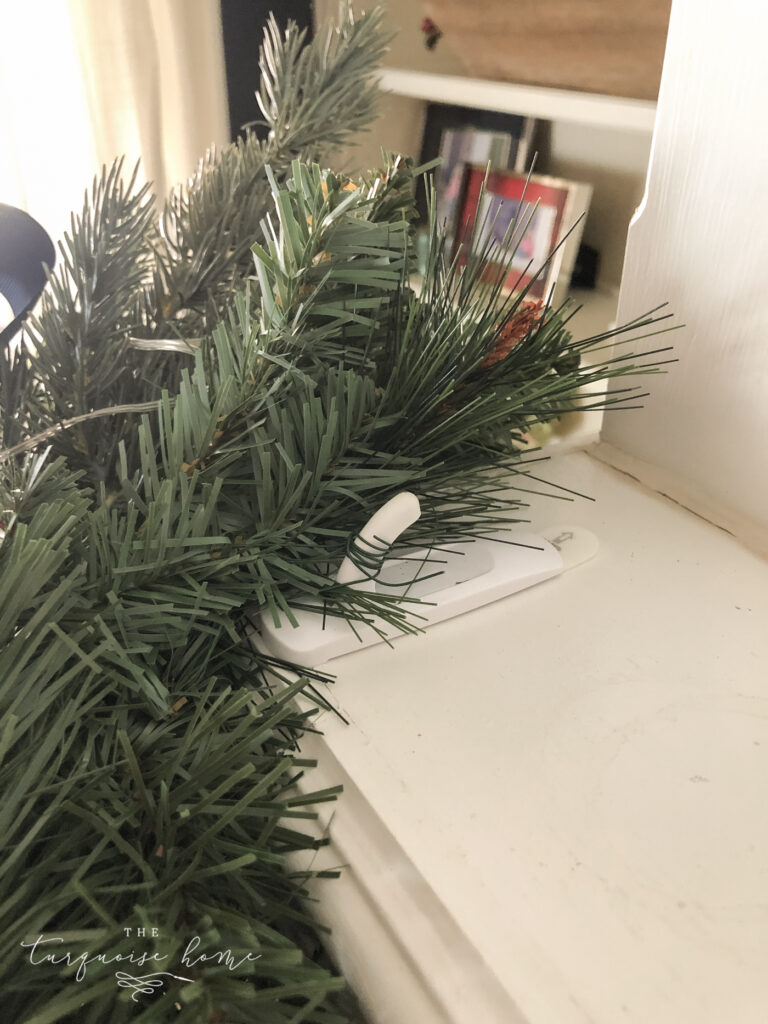
A traditional swag garland will use one in the middle and two on each end. If you have really heavy garlands, you may want to double up on your command hooks.
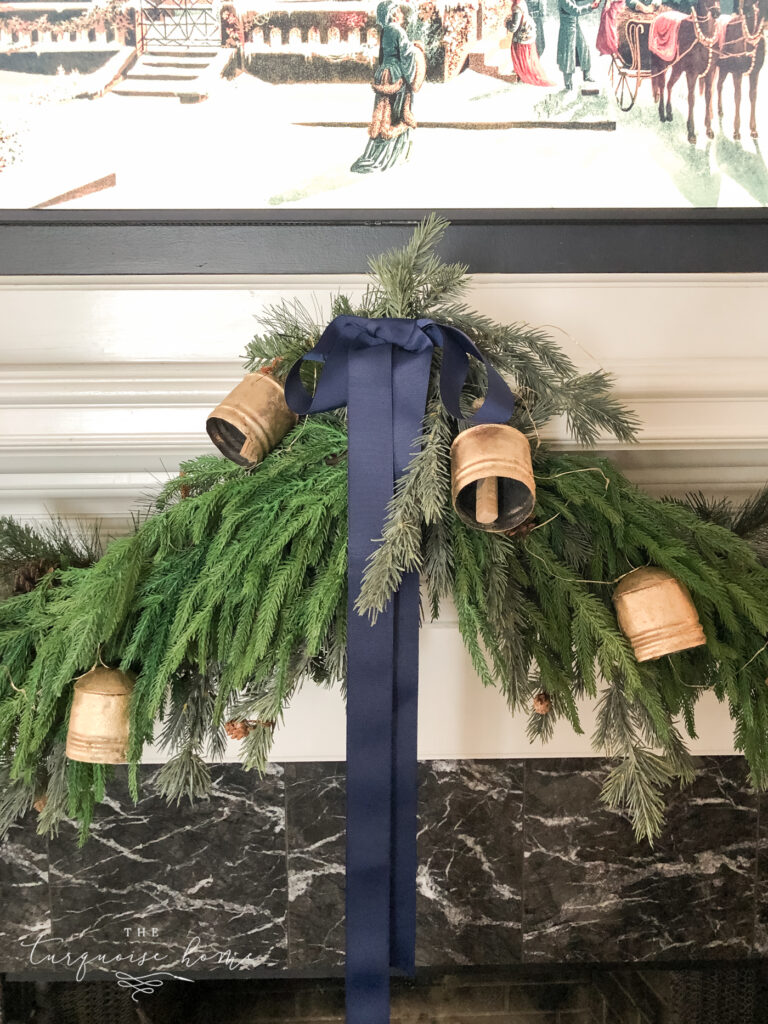
If doing an asymmetrical garland, you may only need command hooks on either side of the mantel, like I did in this photo below.

If you have a wood beam mantel or something more rustic than a white woodwork mantel, you might get away with just using nails.
2. Fluff the Garland
You’ll want to fluff the garland and make sure it looks nice and full. Do not skip this step, because the more you fluff, the fuller the whole garland will look!
I like to fluff the garland after it’s in place, so that I can see where the bare spots are, but you can also do it before you hang it up.
3. Attach your base (cheap & bendy) garland to the command hooks with florist wire
I used two 6′ long garlands and attached each one at the center of the mantel using floral wire. Then I draped each one in front of the mantel, and over the side command hooks (attaching with the floral wire) and let them cascade down the sides.
You will use this base to attach the rest of your garland, so make sure they are nice and secure on the command hooks.
4. Attach your next garland to the first one.
I don’t even attach the second garland to the command hooks. Instead, I use the bendy stems of the first garland to “grab” onto the second one.
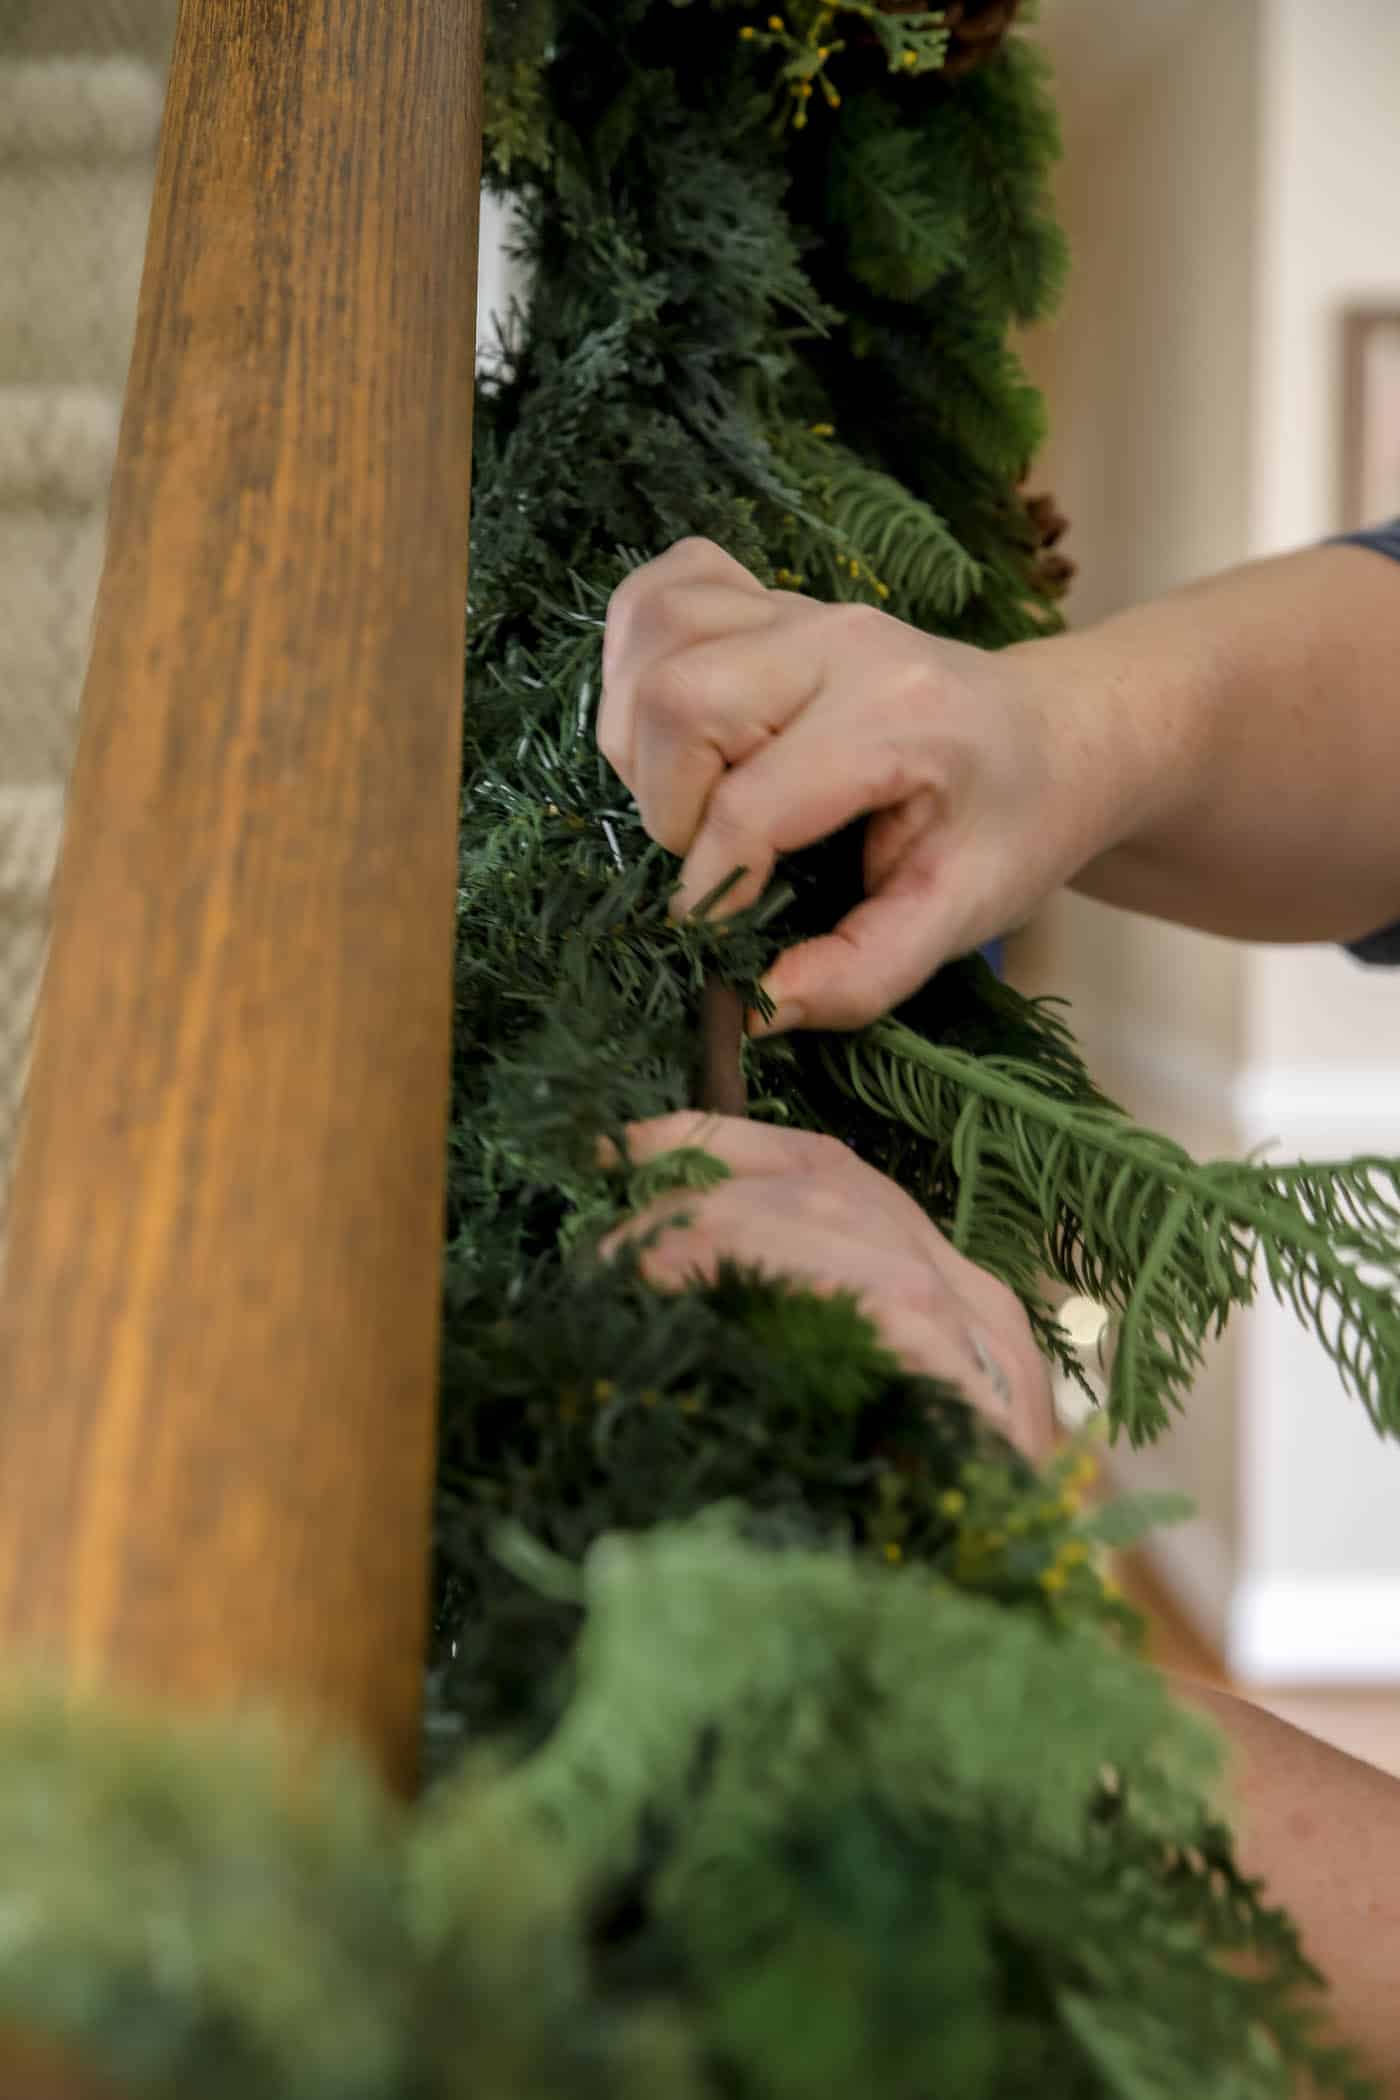
Once you have it securely in place, fluff the second garland as much as you can!
5. Attach the last, nicest garland to the first garland.
I repeated the previous step with the final garland. There’s plenty of bendy stems from the first garland to grab onto this third one.
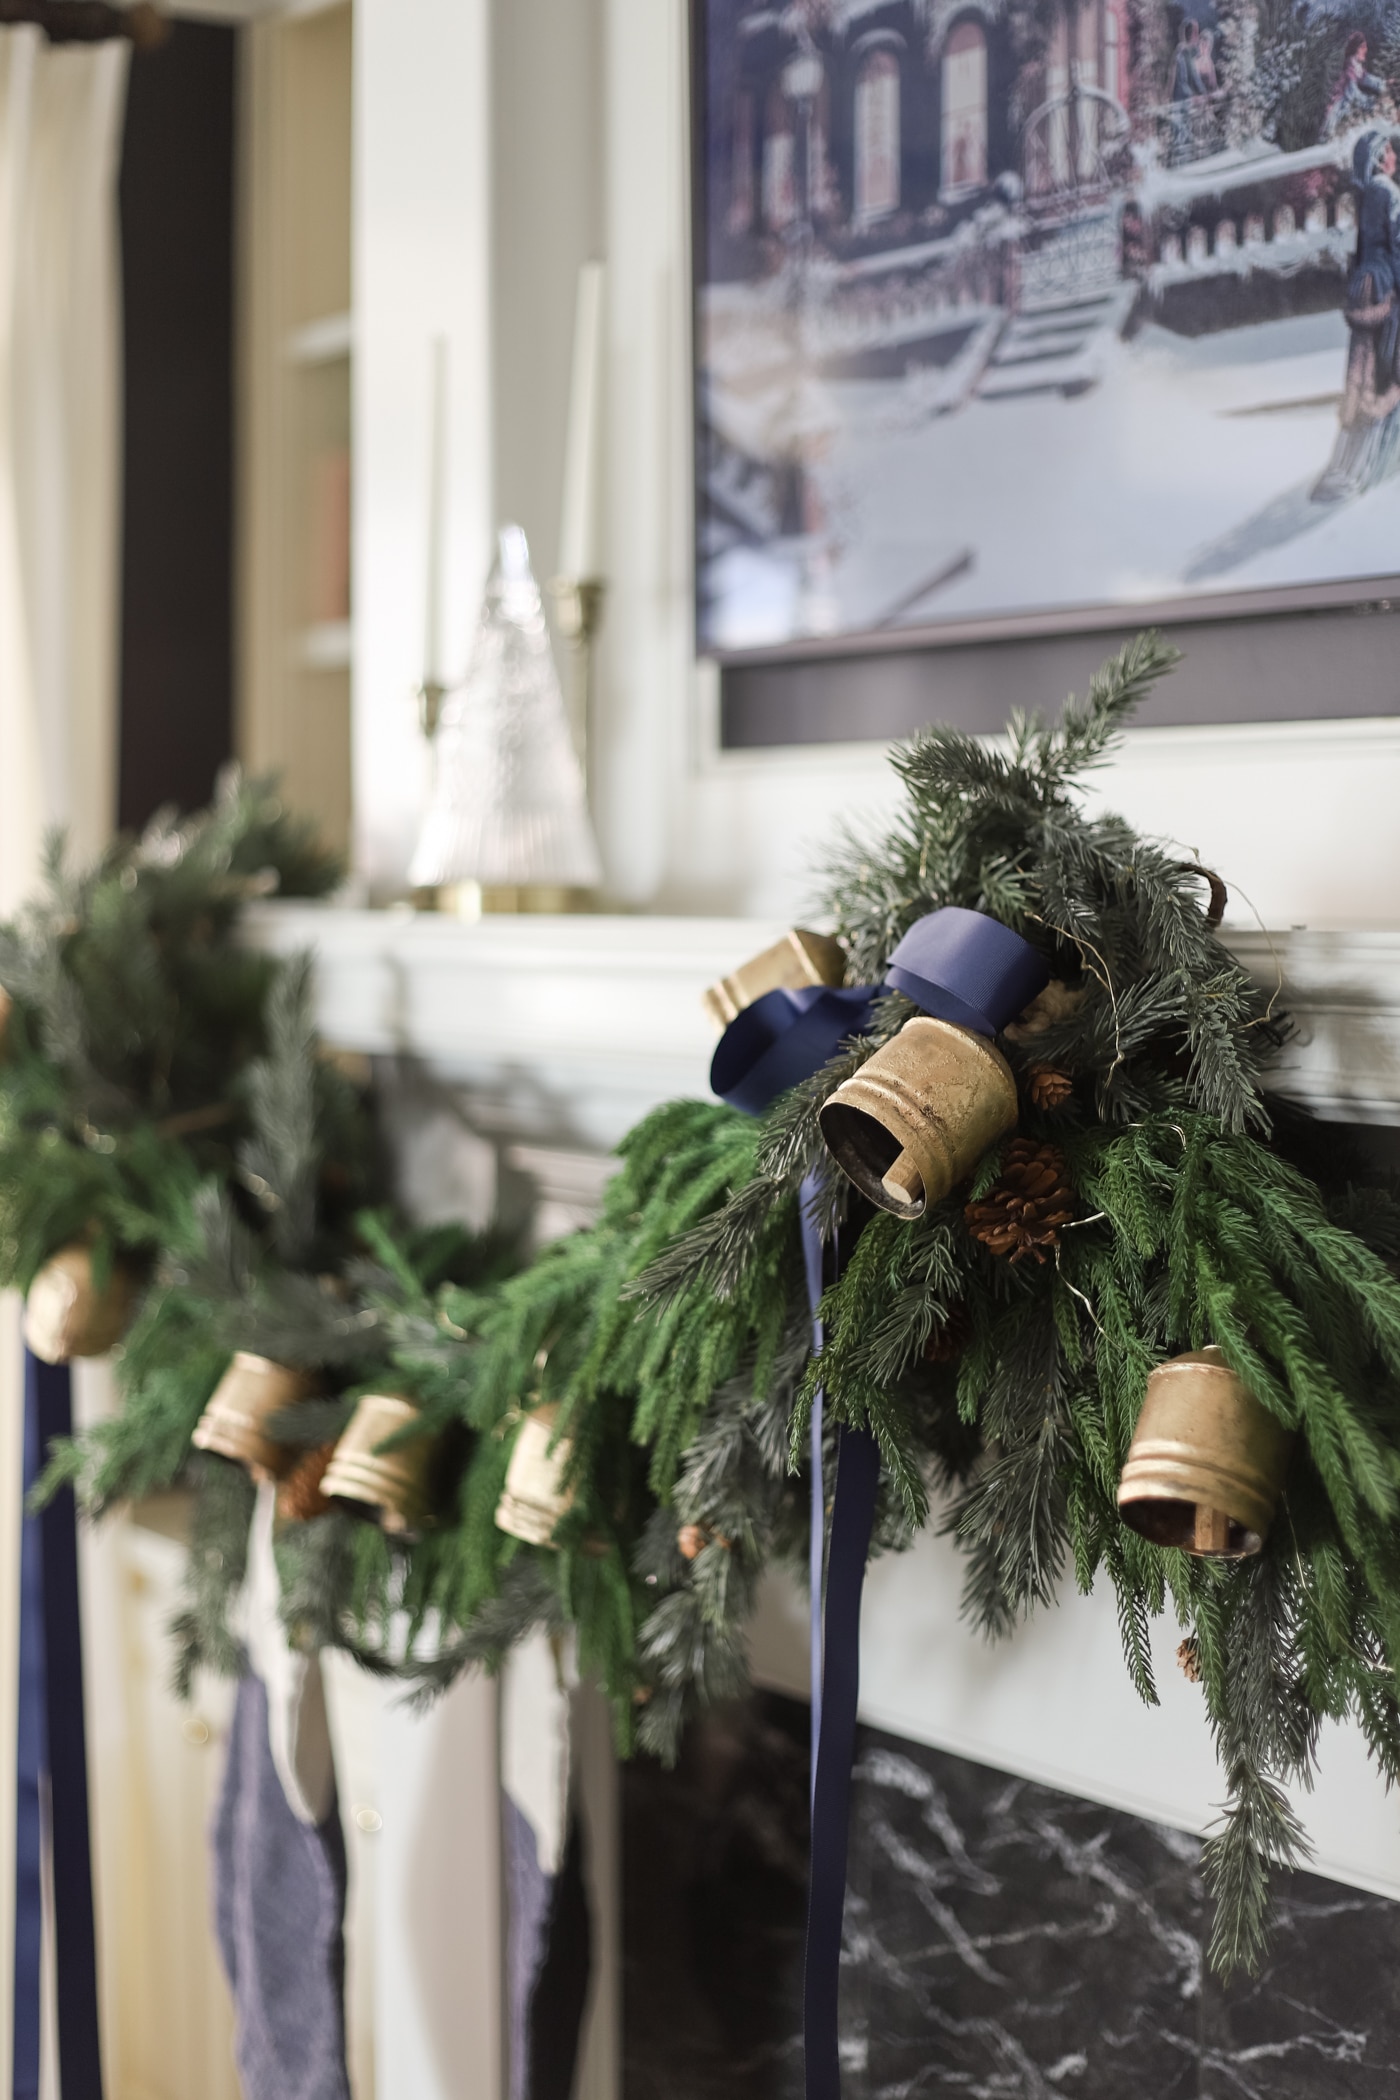
6. Optional embellishments: Bells, ribbons, bows and fairy lights.
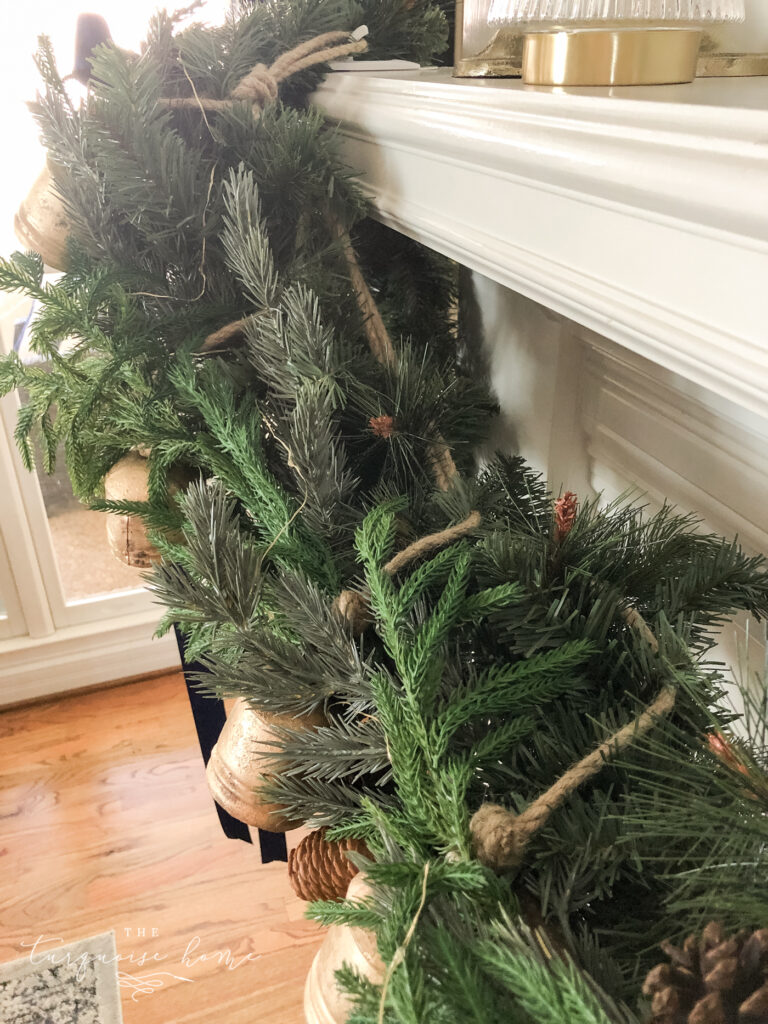
These are the bells that come in a 4-pack all hung on one jute rope. They are sold all over the place but sell out early each year. Hopefully, you can find them if you are still looking for some!
I used three sets of bells on my mantel for a total of 12 bells peeking through. I simply hung the top of the bells on the corner command hook and positioned the main jute rope at the back of the garland while weaving the bells through the garland so they would peek out the front.
Hopefully, the above photo helps you envision what I’m talking about, but it’s much easier to see in the video below.
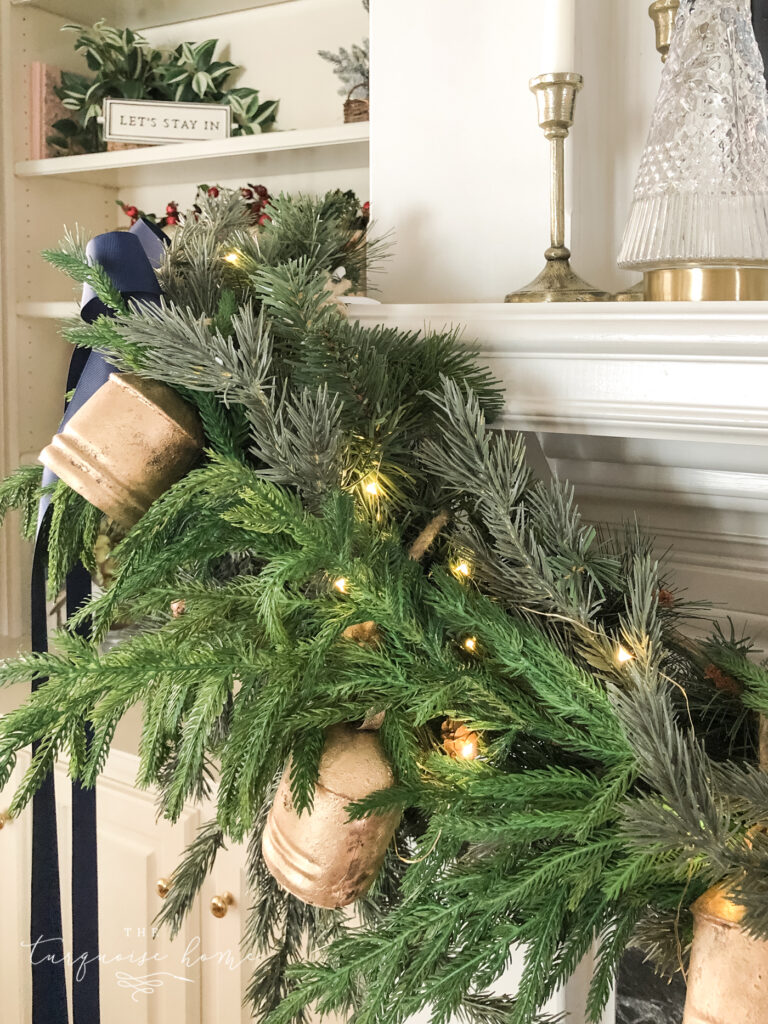
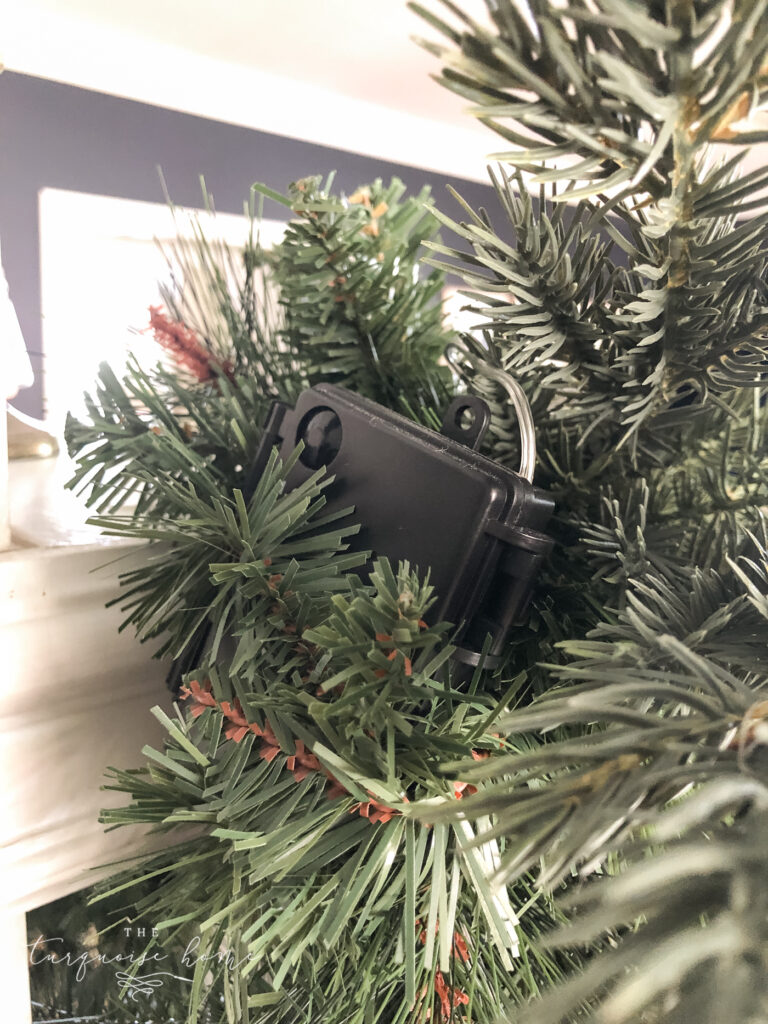
Then, I added some battery-powered fairy twinkle lights to each side of the garland and attached the battery packs to those bendy stems in the back of the first, cheap garland.
The navy bows are simply tucked into the garland on each point and they stay on fine! Other accents, like red berries, pinecones or ornaments would be cute additions, too!
I would highly recommend watching the video, because I talk you through and share each step. Even though I don’t take it apart, I think you’ll understand it all better seeing it “in action.” I will try to remember to take a video next year when I put it together again!
Note: Also, I apologize for saying “just” & “and then” so many times! 😜 I did it in one take and didn’t realize how annoying it was until I was almost done editing it.
You can also watch it on YouTube here.
I hope this helps you see how I made my mantel garland. I’ve been thrilled with how it turned out! I’d love to see yours if you add it to your mantel. Tag me on Instagram if you share it there: @turquoisehome.
Today in 2026, I’m still using the same garland on the mantel methods, but I like to change the look up a little every year. See if from all angles this year here.
Final Thoughts
Decorating your fireplace garland is more than just an aesthetic upgrade—it’s an opportunity to express your creativity and bring warmth into your home. From classic greenery to modern, dried arrangements, the possibilities are endless.
Even if you’re not feeling like a DIY expert, start small. Pull together elements you already have at home, or visit your local craft store for inspiration. Before you know it, you’ll have a mantel display you will love to admire in the glow of the Christmas lights!
Are you feeling inspired but need a little extra guidance? Share your fireplace garland ideas or questions in the comments—we’d love to help bring your vision to life!
More Posts You Will Love:

Whenever I want to add some lights to a place where I don’t have an outlet, I use battery operated lights. They are a Godsend. Now I have fairy lights everywhere; including inside little hanging wall cabinets. You can have a lit garland that will probably last throughout the month of December without having to replace the batteries. I purchased two packs of large sets of string lights with remotes and timers on Amazon for around $14.99 a set. I’ve used them in vignettes, around my railings, my entertainment center, and inside holiday decorations and even crystal vases. So many possibilities!
Yes!! I love fairy lights, too! So convenient and cute when you don’t have an outlet nearby!
You’re a genius! Thank you so much for sharing your secrets with us!
Thank you sooo much Debra. I never ever thought of command hooks at all. Lol. Makes sense and the multi garland…never thought of this ever, either. Again, you’re great and thank you. ❤️❤️