DIY Lighted Pumpkin Candy Holder
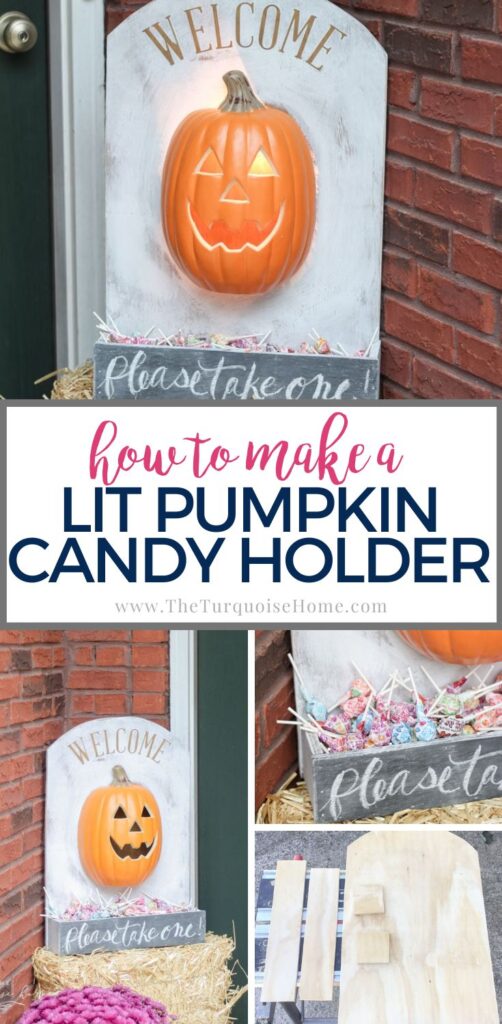
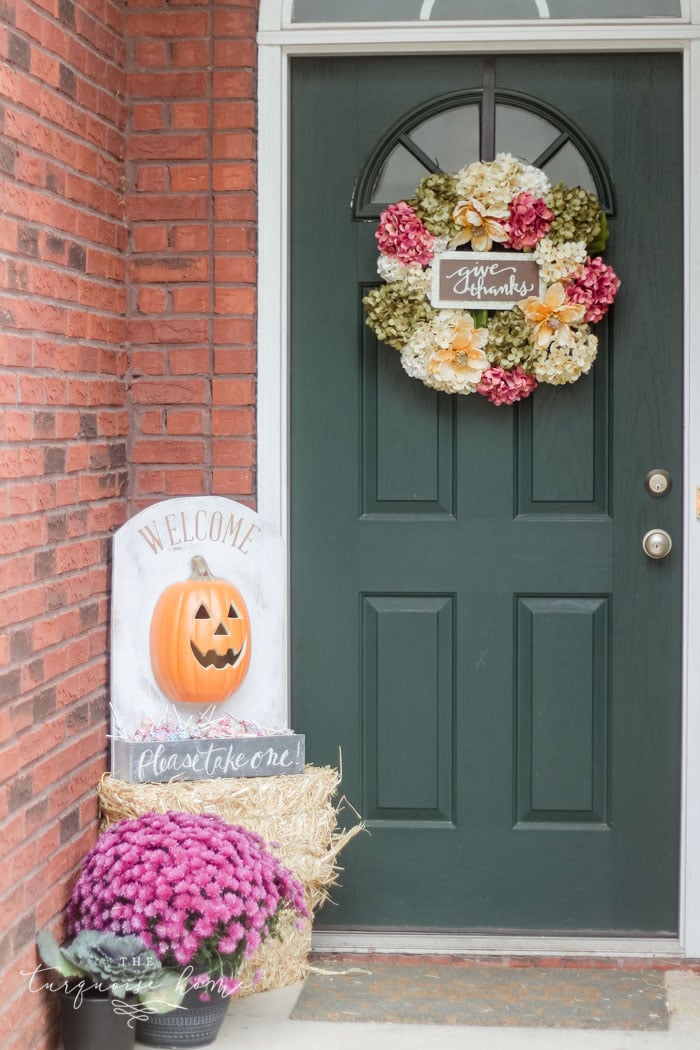
A DIY Lighted Pumpkin Candy Holder is just what you need to share the goodies on Halloween night in a festive and fun way without having to be home!! I love the idea of leaving a bucket at the front door for trick-or-treaters while you take your little ones around the neighborhood.
This project was originally part of a Home Depot DIH workshop, an event where you could go to the store to make your own DIY Halloween decorations. The event has since passed. The original idea was a little more “scary” than this idea.
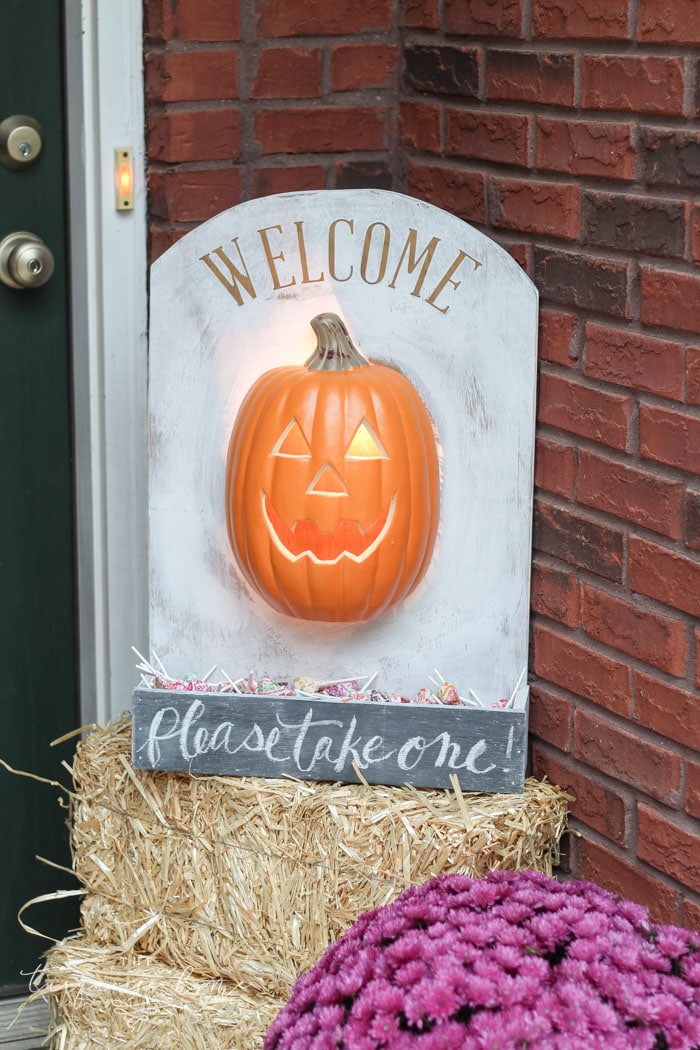
I’m more of a friendly pumpkin, Disney princess Halloween girl. So, I switched out their suggested skeleton bag of bones for a lighted pumpkin and “welcome” sign. It just fits my whole pretty pumpkin theme at my house a little bit better.
Honestly, the box and gravestone would make the perfect background for any type of Halloween candy holder you’d like. So, sweet or scary – decorate it however you’d like!
Regardless of how you make it, we’ve been using this adorable pumpkin candy holder every Halloween night for almost a decade and I love bringing it out every year! My kids love it, too! I feel like it will be something they fight over taking with them when they have kids of their own. So, I may be making another one day. Ha!
What You’ll Need to Make a DIY Lighted Pumpkin Candy Holder
- 1 – 2′ x 2′ x 1/2″ plywood (my store only carries the 1/2 inch plywood in 2′ x 4′ sections, so if that’s all you can find, no worries! Just make two and share! Or save the rest for another project.) 😉
- Lighted Jack-o-Lantern –
- Jig Saw
- Circular Saw
- 1 1/2″ Brad Nails
- Brad Nailer
- Measuring Tape
- Carpenter’s Square
- Clamps
- Pencil
- Safety Goggles
- Sanding Block
- Paint or stain of your choice
- Vinyl lettering, if you want to add words to your project
- Mod Podge, if you want to add words to your project
Want to Save This?
Enter your email below and I’ll send it directly to your inbox!
How to Make a DIY Lighted Pumpkin Candy Holder
1. Measure out all of the pieces you need to cut on your plywood.
I’ve labeled all of the cuts on my photo for you.
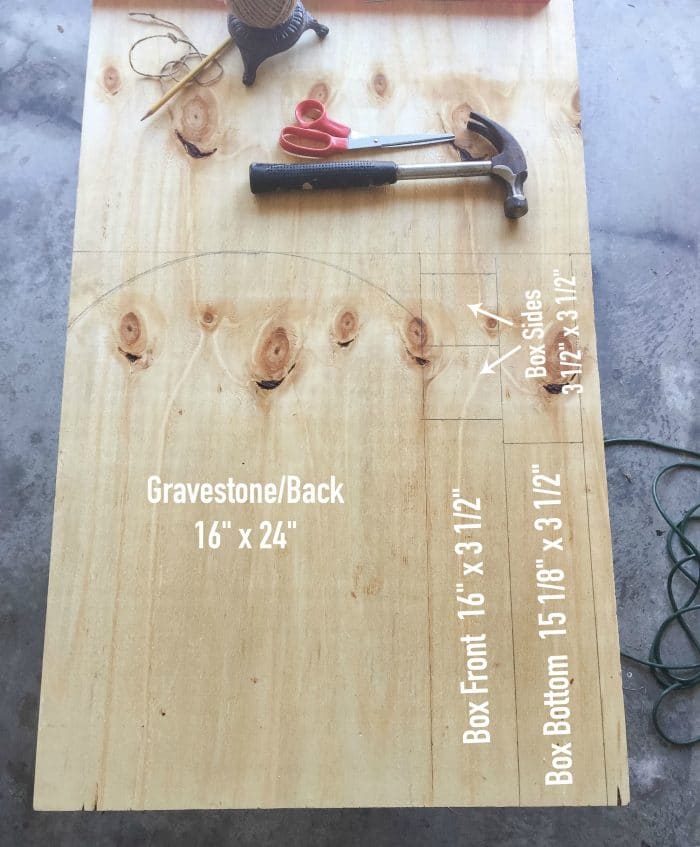
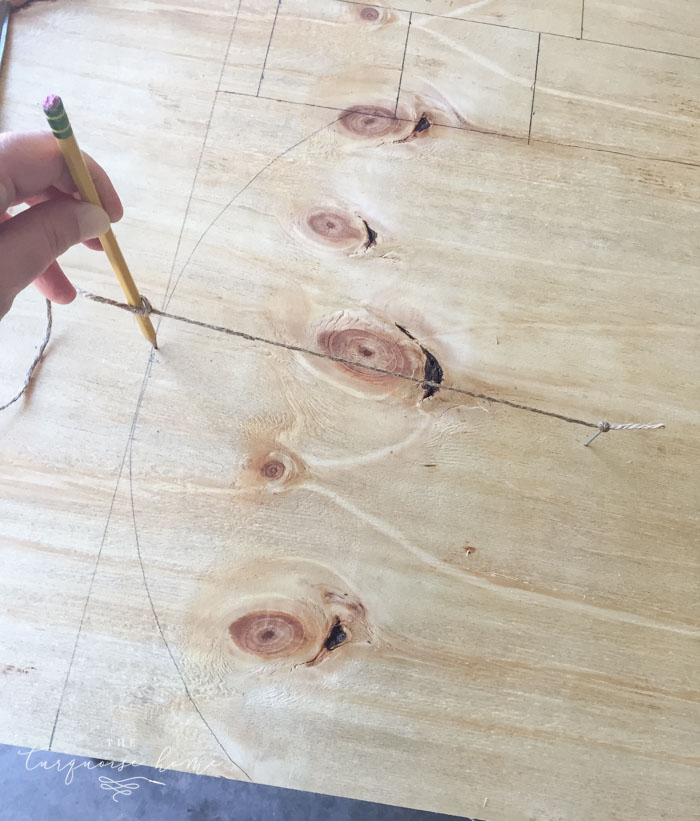
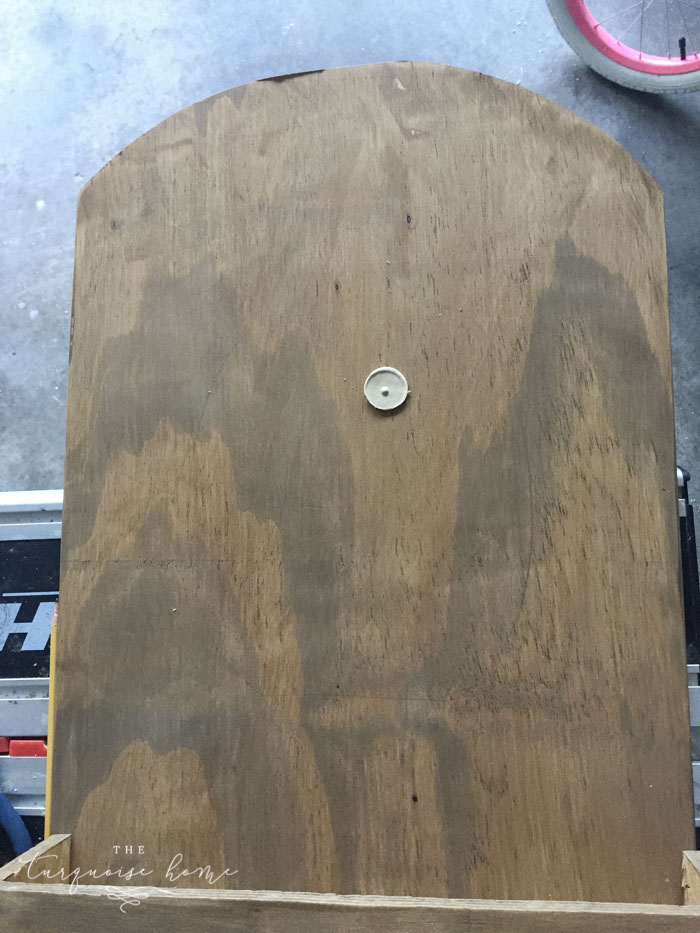
1b. Draw the arc of the gravestone/back piece.
You’ll do this by measuring down 10 inches from the top of the back piece. Hammer a nail into that spot. Tie a string at 10 inches long to the nail and a pencil and draw the arc.
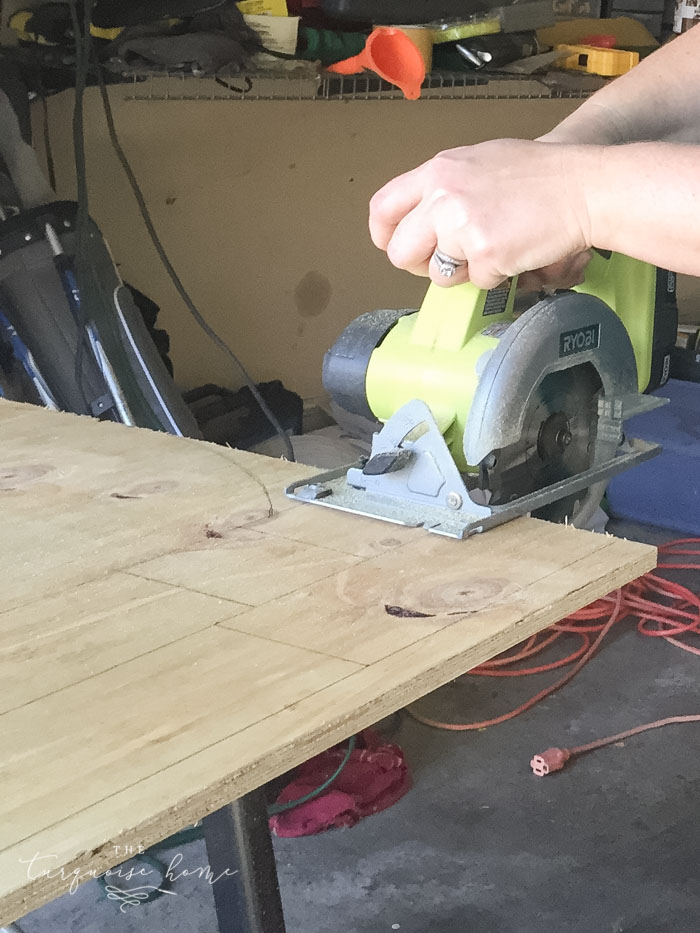
2. Cut the straight lines on the plywood with a circular saw.
I use this Ryobi circular saw that came in my Ryobi starter kit and love it! It’s light weight and will get the job done! Always make sure you use safety goggles when cutting and use all safety precautions.
3. Cut the arc on the top of the back piece with a jig saw.
(Don’t forget those safety goggles!) I have a confession… I have had a jigsaw for years, but I have never used it before! This was the first time and it wasn’t nearly as hard as I thought it would be. Yay!
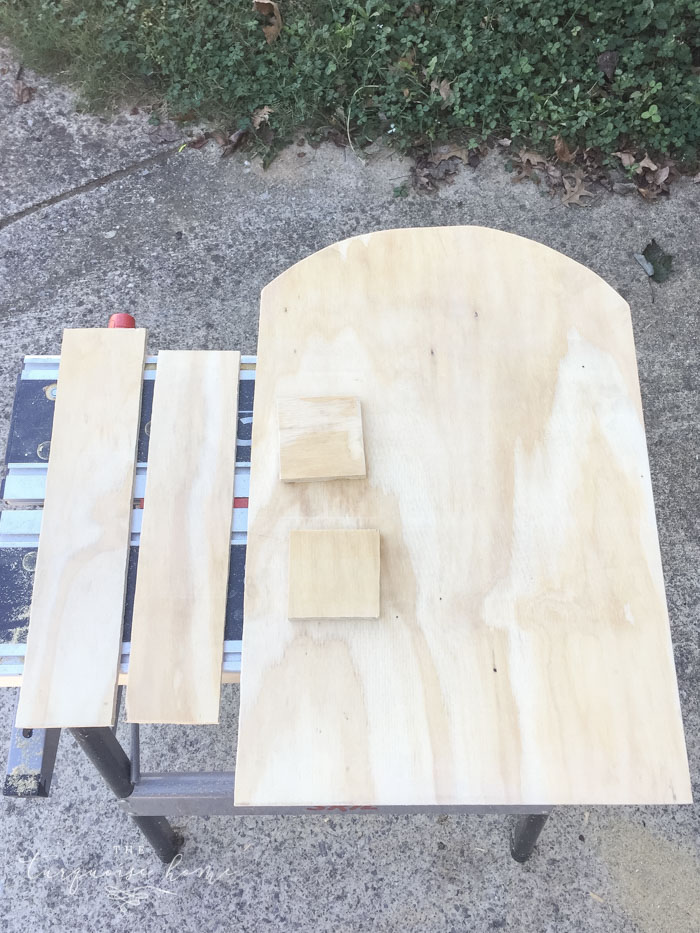
Tip: Use a sanding block to smooth down any rough edges.
4. Paint or Stain your box.
I chose to just stain my box at this step because my paint was going to have to be a little more detailed after the box was put together. But staining it before I put it together definitely helped!
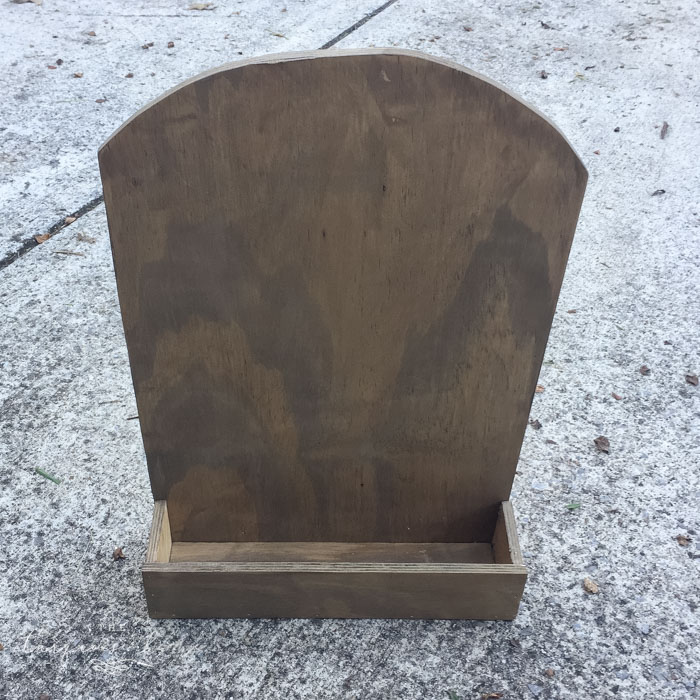
5. Attach all of the box pieces.
Hold the box sides up on the front piece of the box form, making sure they are flush with the sides, and attach with a brad nailer and 1 1/2 inch brad nails. Then you will attach the box sides to the back of the box form, making sure they are flush on the sides. Attach with the brad nailer.
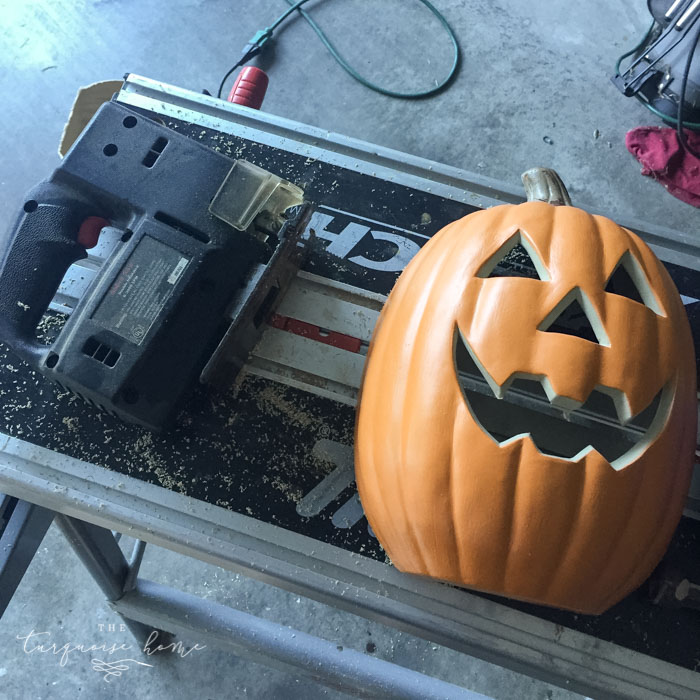
6. Cut the jack-o-lantern pumpkin in half, so that it can sit flush on the back of the board.
The pumpkin is made out of plastic, so it wasn’t easy to cut. I used my jigsaw, but please use all safety precautions when doing so. I recommend having someone help you if you don’t feel comfortable going this route.
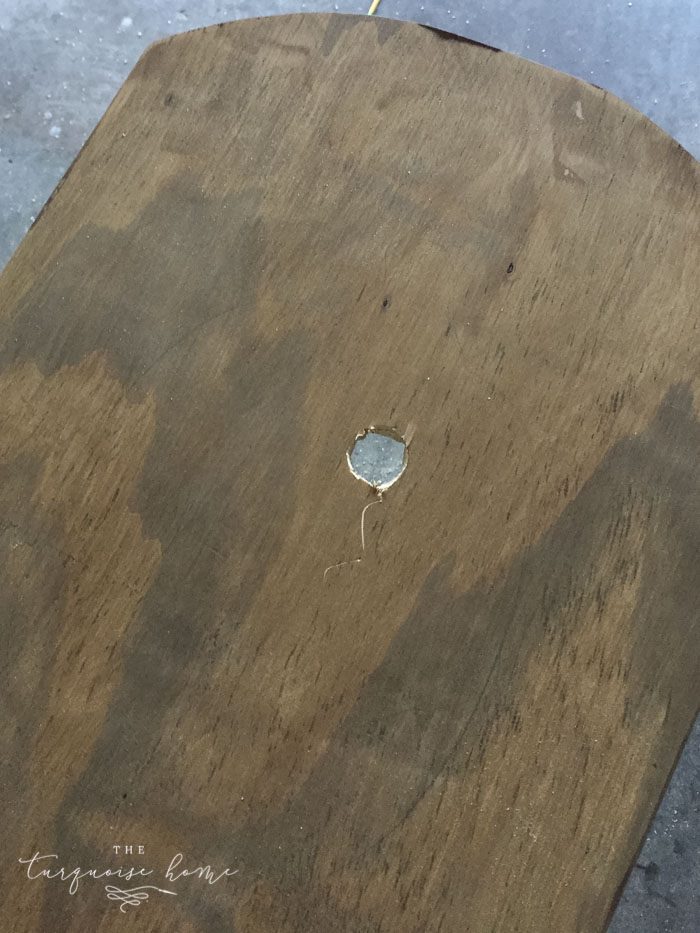
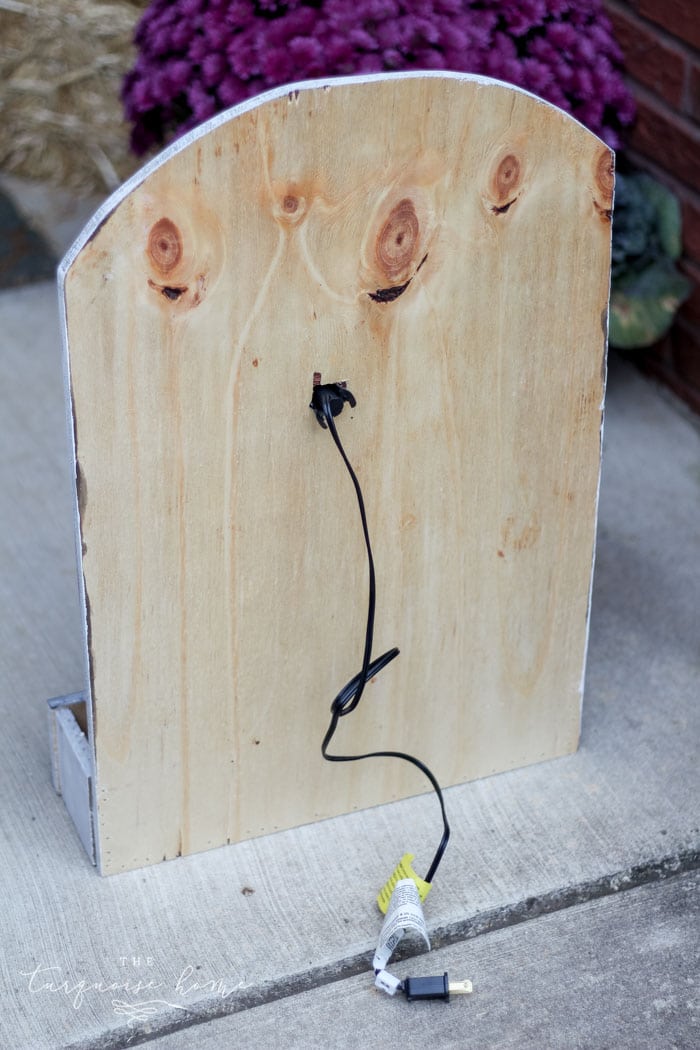
7. Cut the hole for the back of the pumpkin light.
Since I cut the back of the pumpkin off, I had to make a hole in the backboard for the light to fit through. So, I traced the pumpkin where I would put it on the board, and then traced the spot for the light hole using the hole cut out from the pumpkin.
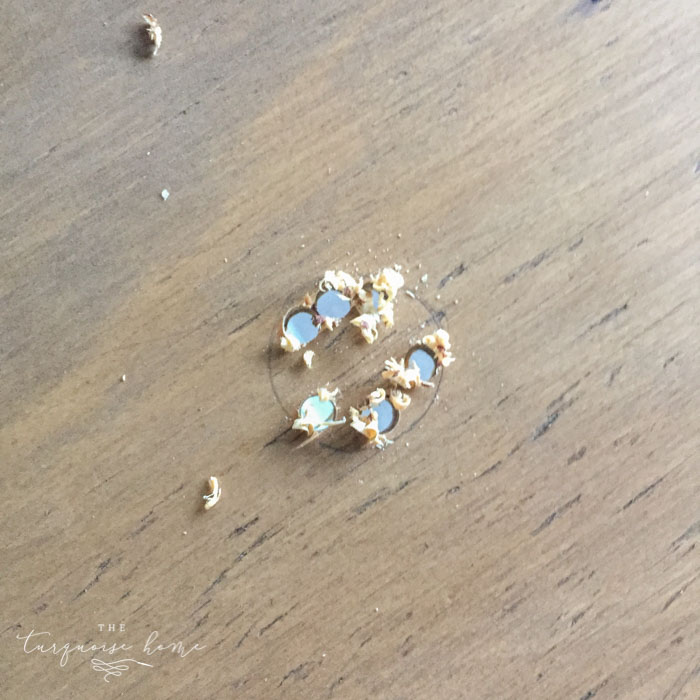
I used a large drill bit to drill several holes around the outside of the light hole, and then cut it out the rest of the way with the jigsaw.
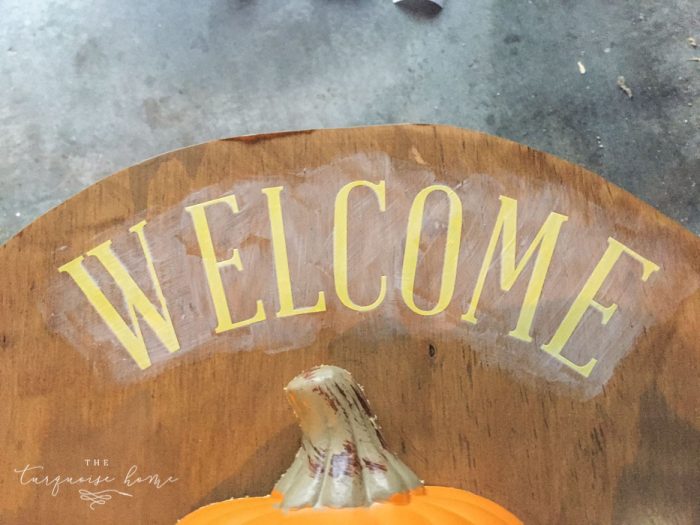
8. Add the “Welcome” sign.
I cut out the “welcome” letters using the Abraham Lincoln font on my Silhouette Cameo. I put the vinyl on the top of the sign above where I had traced where my pumpkin would go.
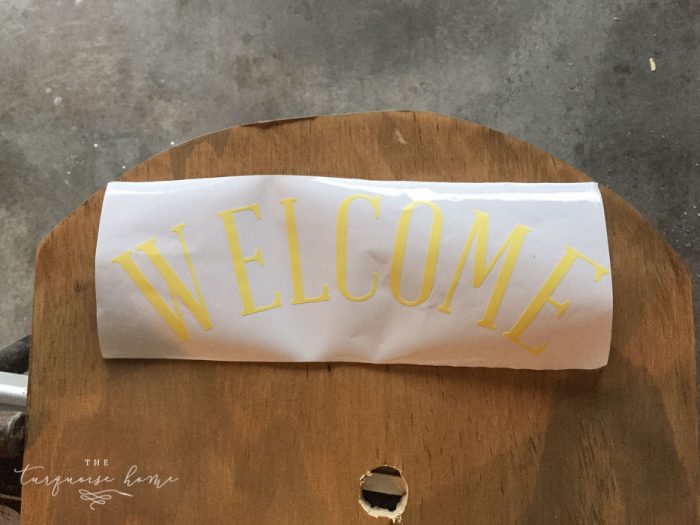
Then I applied Mod Podge to the letters so that the lines would be crisp when I painted over them.
9. Paint the box.
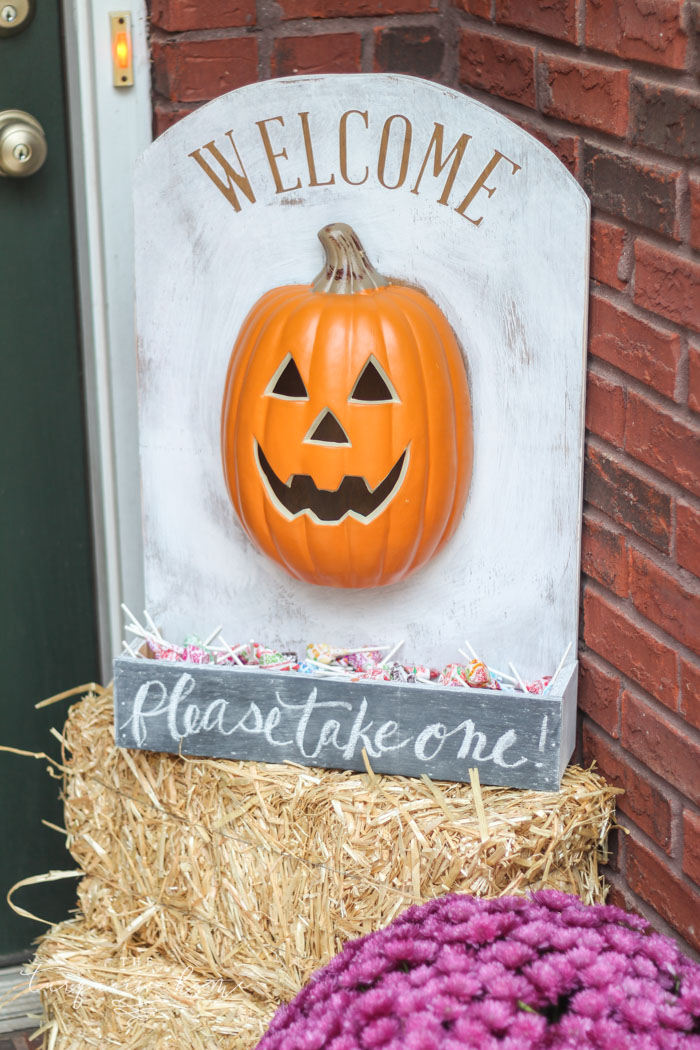
I painted my box with some white chalky-type paint. I dry brushed it on everywhere except where the pumpkin would be and the very front board on the box.
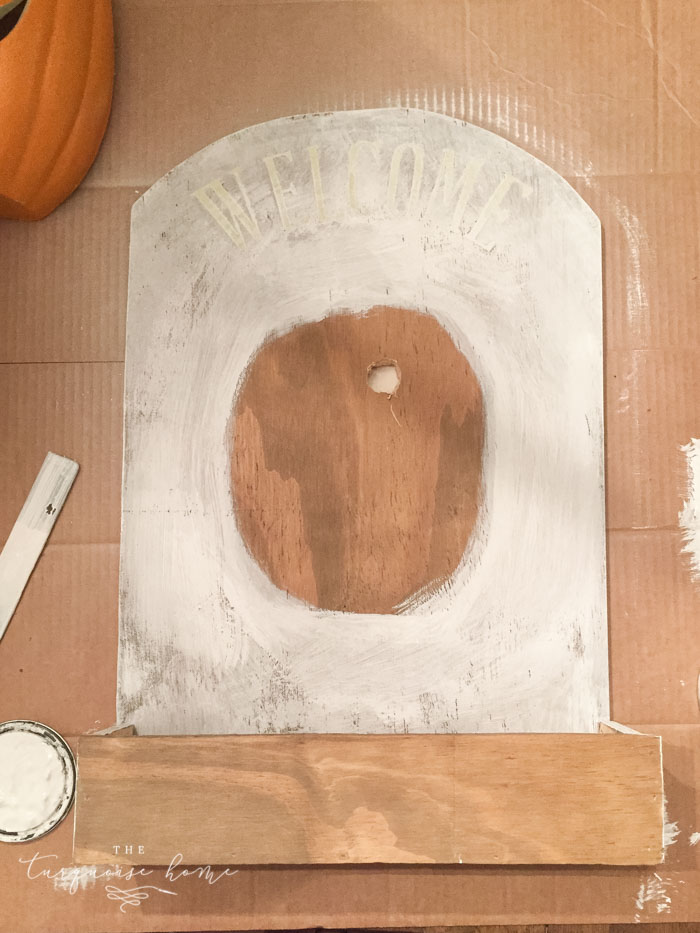
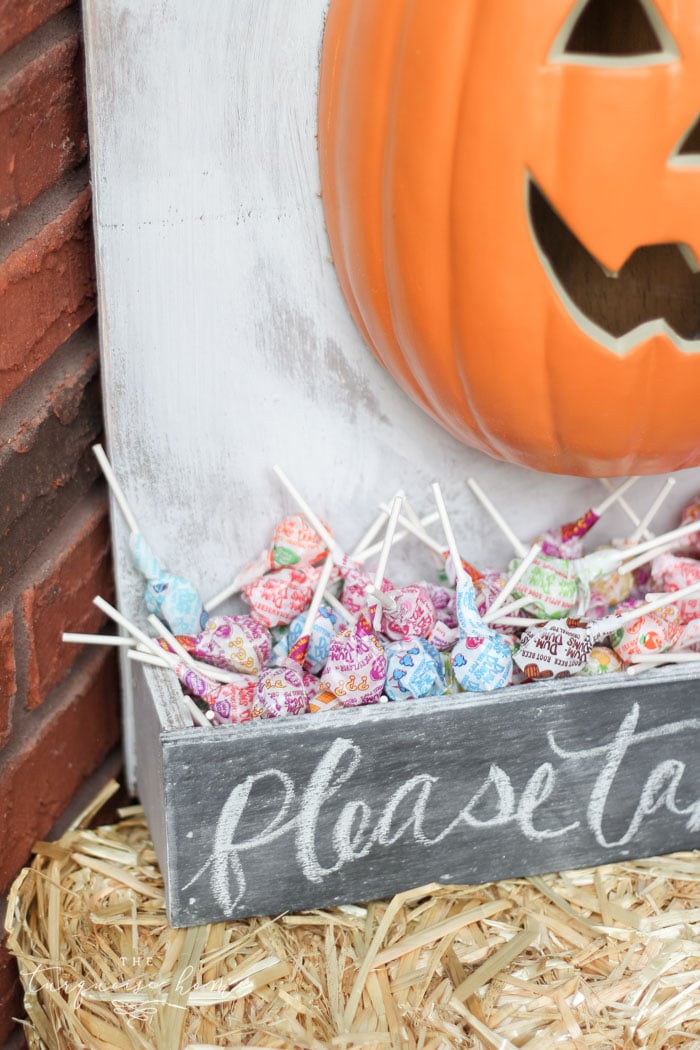
Then I painted the front board of the box with black chalkboard paint.
Let it all dry.
10. Remove the vinyl letters.
This is easy and now you have a cute saying on your project!
11. Attach the pumpkin with super glue.
I used Gorilla glue and it works great! I will note that I didn’t cut the pumpkin perfectly straight, so not all of the sides touched the board. So I just glued the parts that DO touch the board really well and it’s holding up perfectly!
12. Add the light to the back of the board.
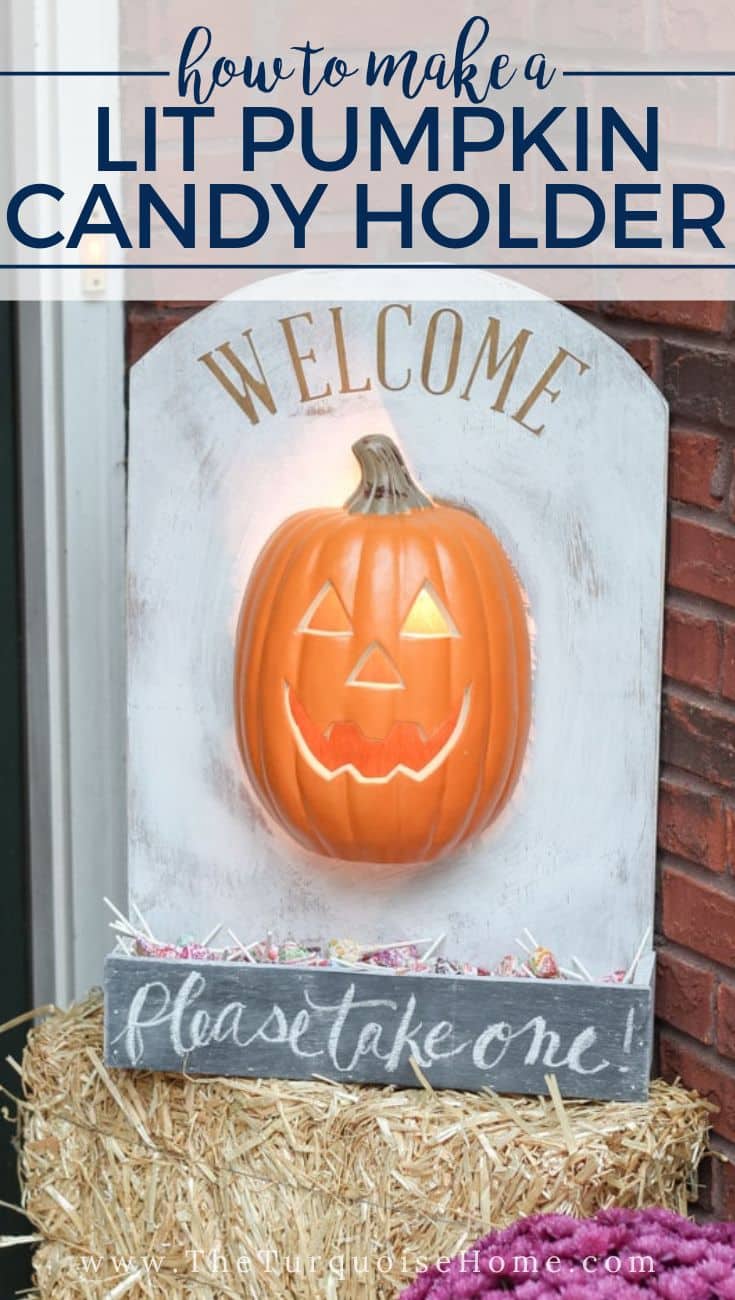
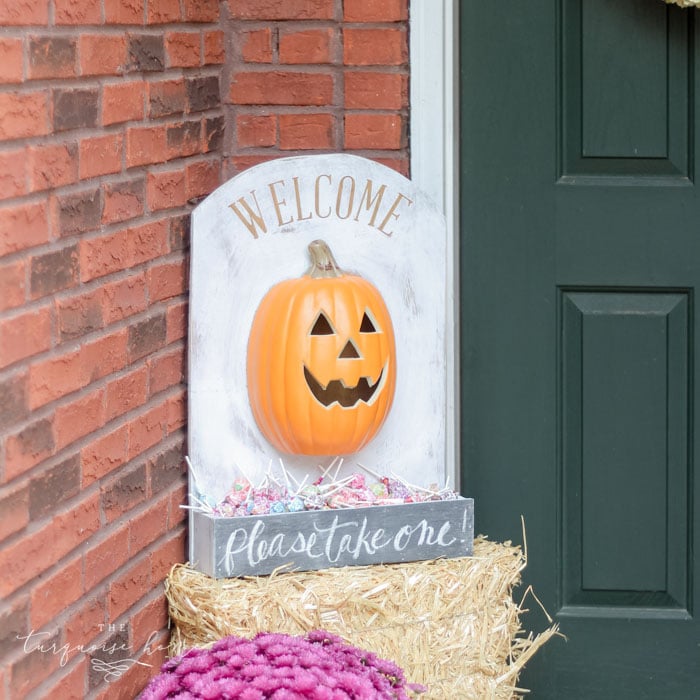
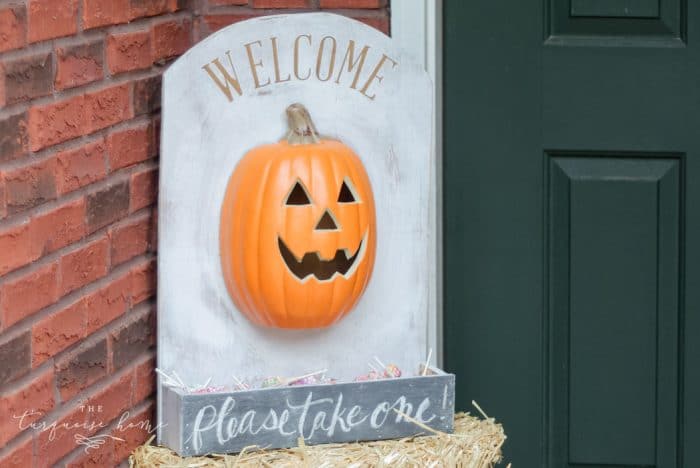
13. Add candy and a chalkboard message to the front, and you’re ready for trick-or-treaters!!
I’m so happy that my vision came together just how I imagined! I love how it turned out!
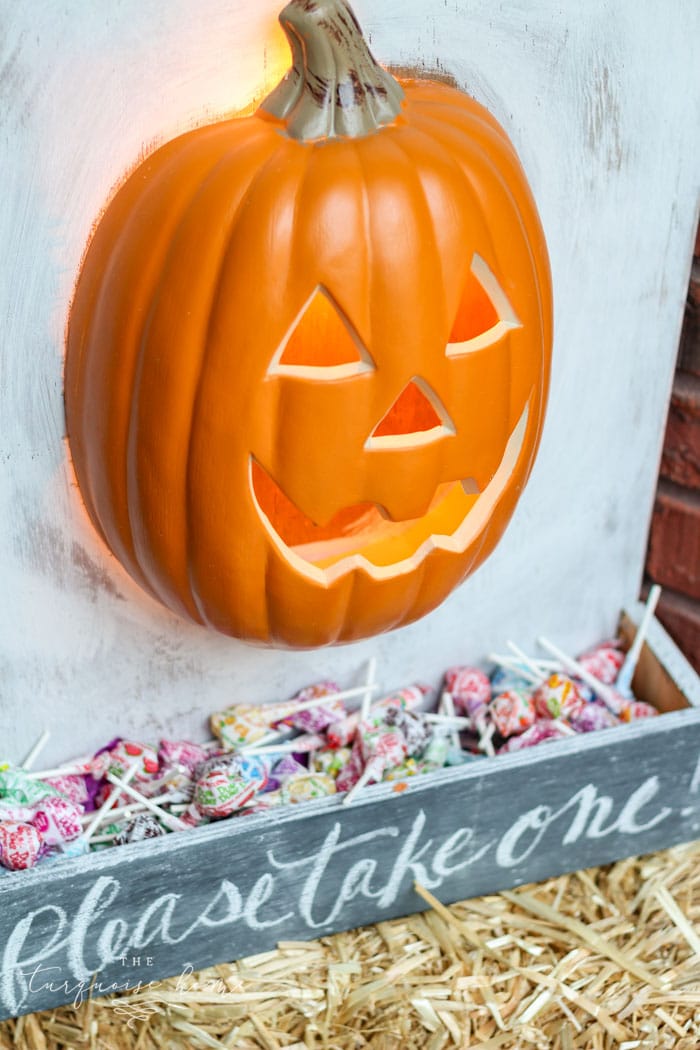
As you can see, the light is coming up from the back of the jack-o-lantern. As I mentioned before, I wasn’t able to get the pumpkin completely flush to the board. I may go back and Try to add some hot glue or clear caulk to close it off and not let the light through. But then again, I may just leave it. 😜
And you can see here why I left the board behind the pumpkin stained and not painted. I wanted it to be dark behind the pumpkin when the light wasn’t on. I didn’t want you to be able to see white-painted brush strokes back there.
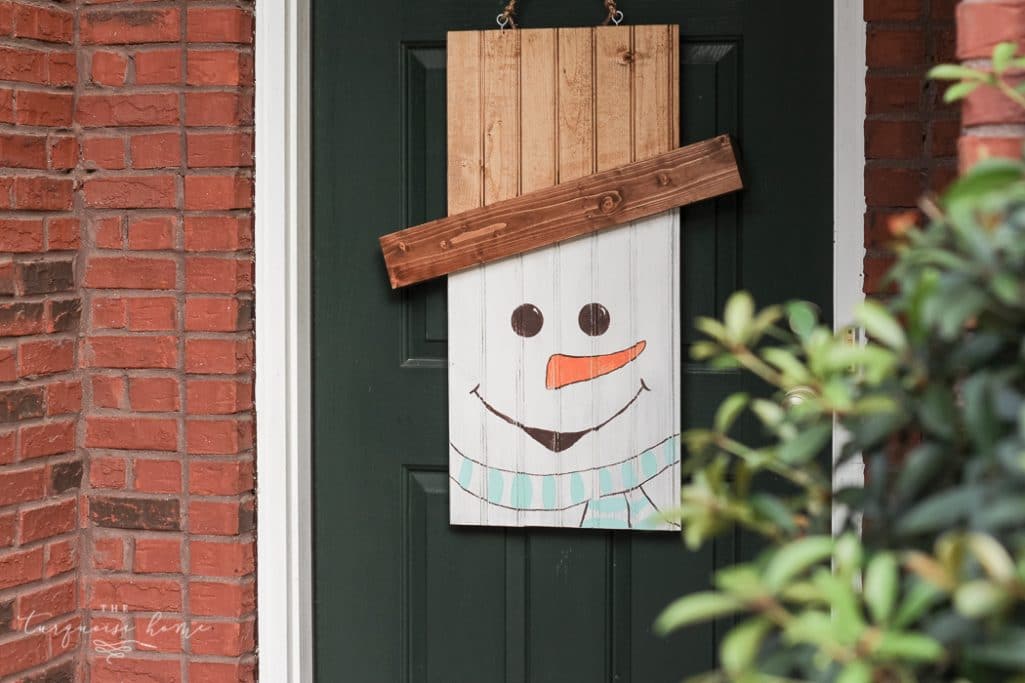
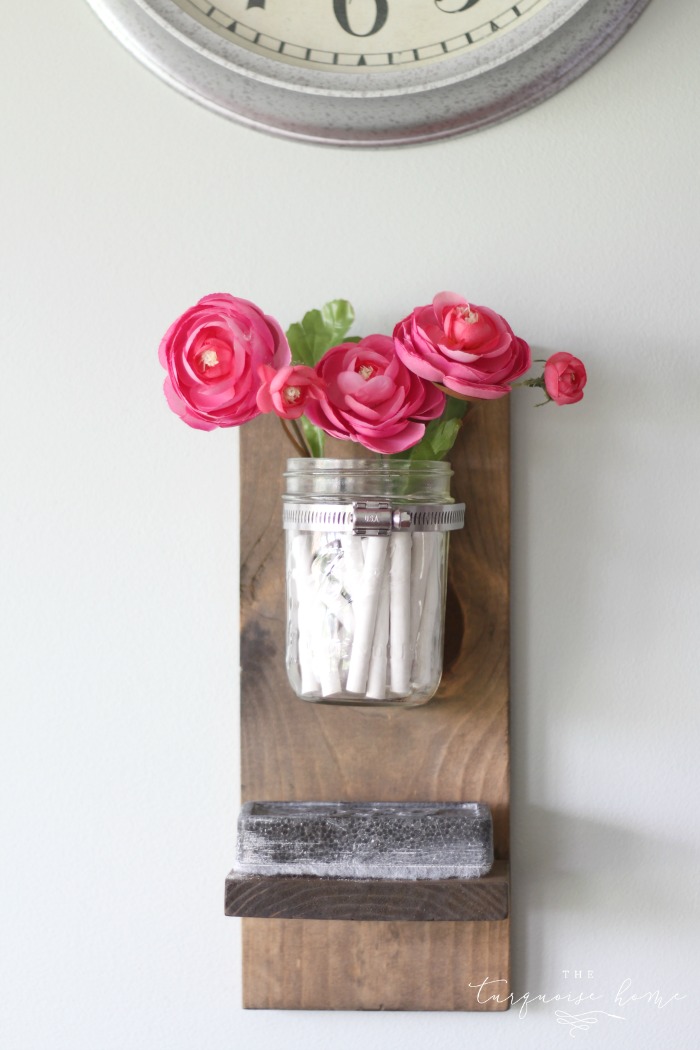
More Posts You Will Love:


Thanks for the tutorial on how to make the pumpkin! It is really cute. I am thinking that you could even stand up a battery operated candle inside the pumpkin vs drilling the hole for the light? Do you think that would work?
Hmmm, that might work! Although I’m not sure how you would stick your hand inside to turn the candle on and off. The mouth and eye holes aren’t very big. But it might could work! Try it and let us know. 😉
I like the way you used the pumpkin instead! It is adorable!!!
Thank you, Candy!