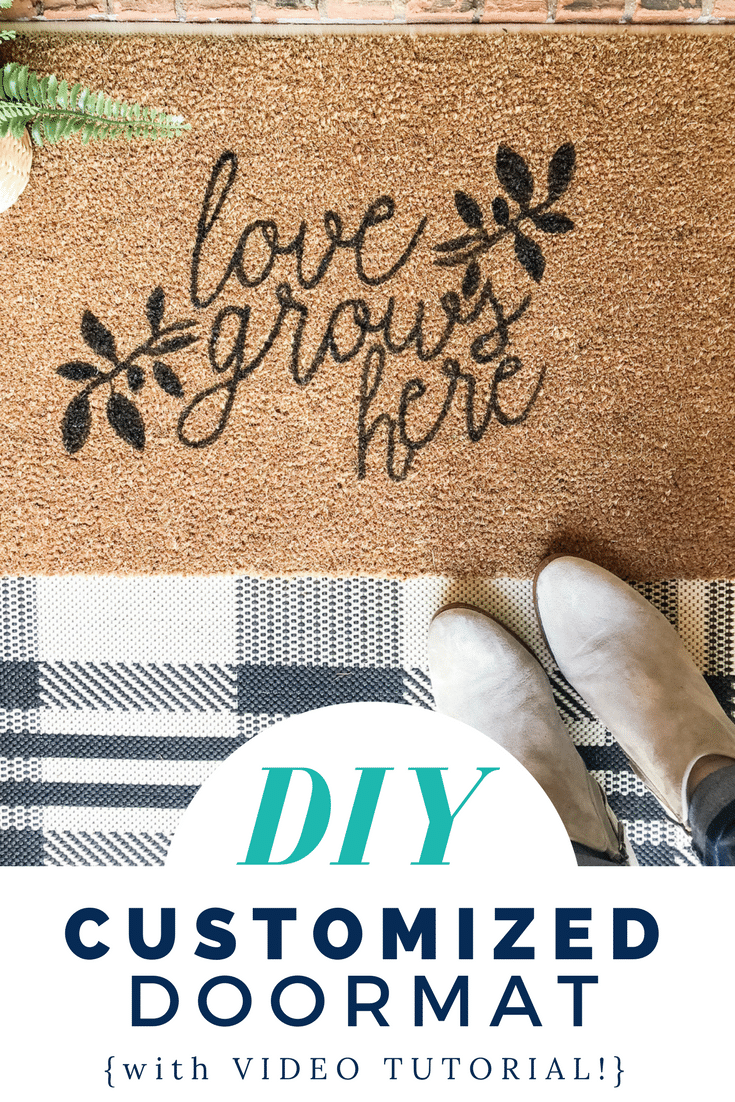
How to Customize a Cute DIY Doormat
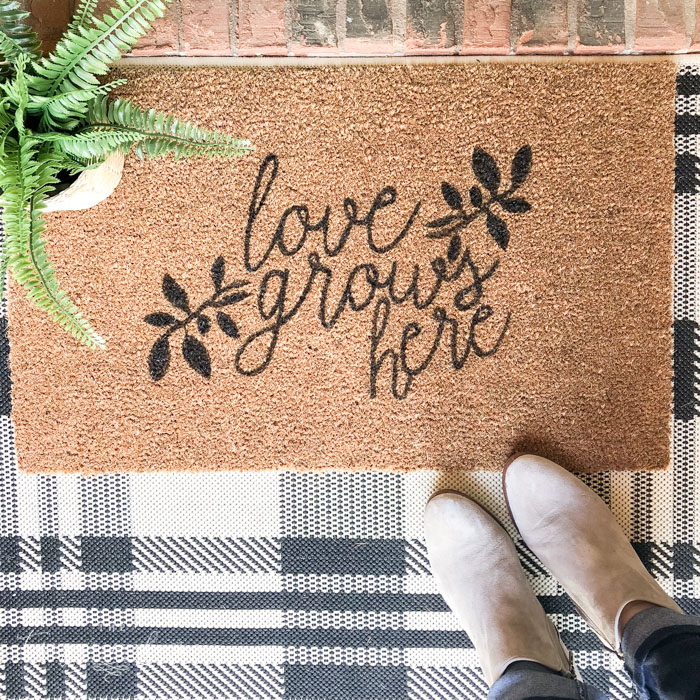
Learn how to make an adorable DIY Doormat with a cute saying today for less than $20! This easy DIY project will give you the look you want for a fraction of the price. Also included is the “love grows here” free Silhouette .studio file. Have fun!

Those cute doormats with fun sayings like “welcome y’all” or “oh hello” or “wipe your paws” are everywhere! Really the sky is the limit when it comes to what the doormats can say. but some of the more custom doormats can be a little pricy.
So we’re going to learn how to create our own today!
** {If you aren’t interested in making your own, I’ve gathered a few of my favorite doormats here!} This post contains affiliate links for your convenience. See my disclosure policy here. **
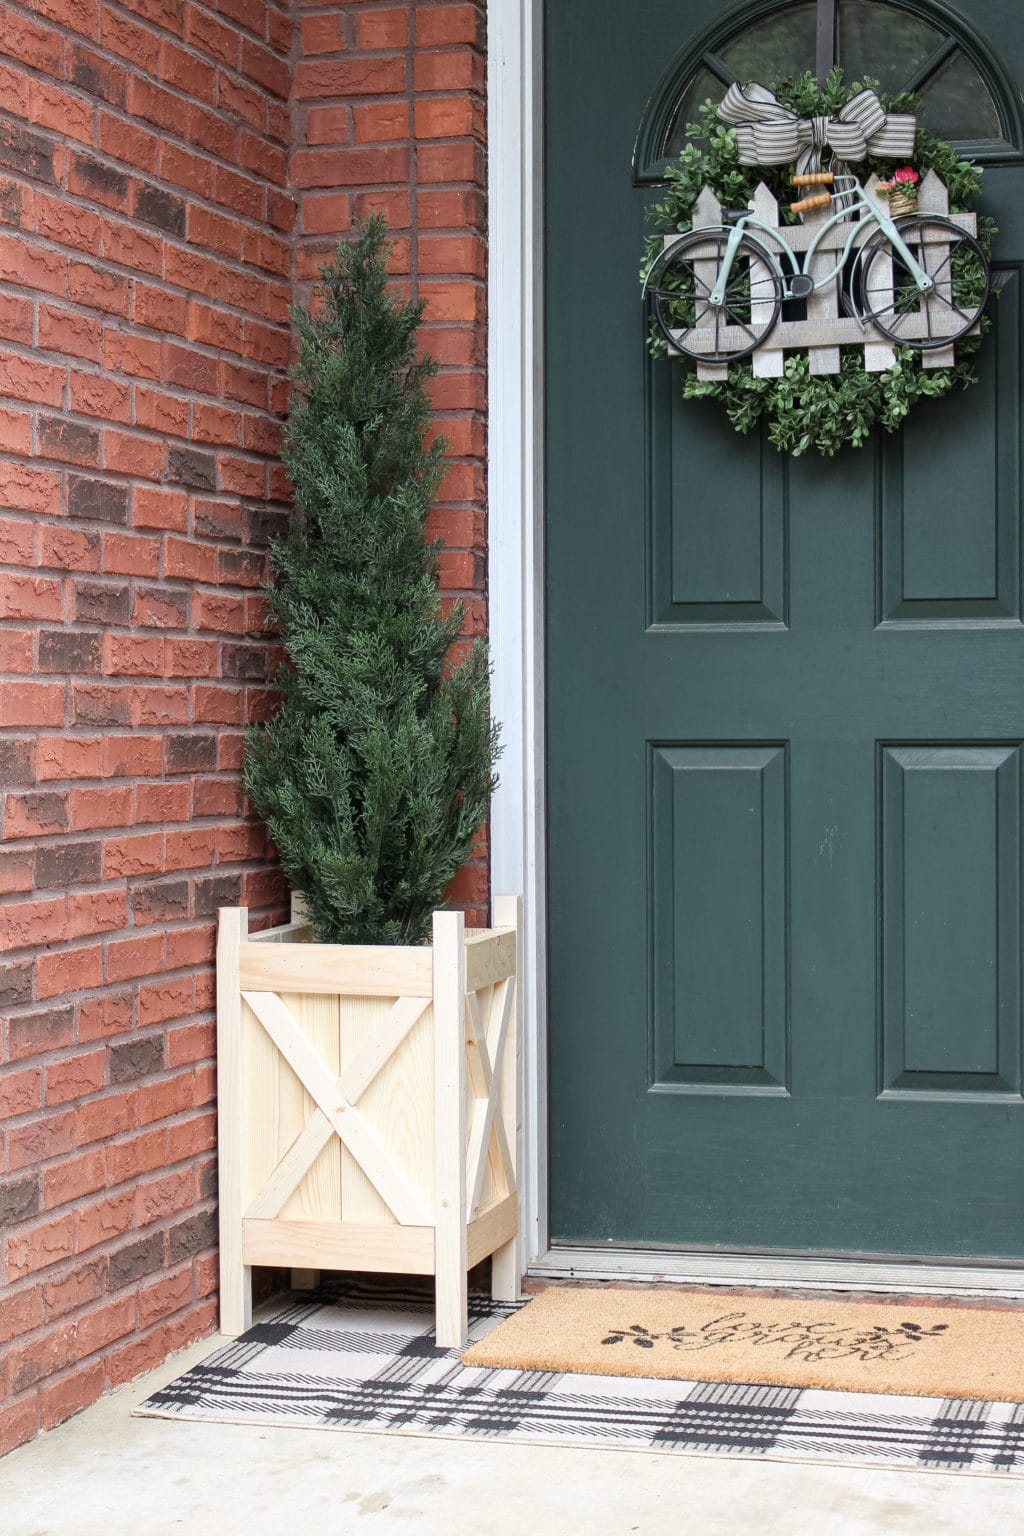
The black and cream plaid rug is still one of my favorite purchases ever! It has held up so well and looks just as good as it did the day I bought it! {Mine is the 2’7″ x 5′ size. Find it here, here and here. Sign up for notifications if they are out of stock!}
I actually learned a few things while making my own rug – not a shocker! – so I’ll be sharing what I did and what I would do differently the next go ’round. You will probably want to follow my advice and not do exactly what I did because there are definitely much easier ways to accomplish the goal. 😜
Alright, let’s jump in!
Want to Save This?
Enter your email below and I’ll send it directly to your inbox!
Supplies Needed for the DIY Doormat
1. Plain Coir Doormat – I got mine here!
2. Stencil cutting machine (like a Silhouette Cameo) – I you don’t have a cutting machine, see my tip at the end of Step 1.
3. Cardstock or thick paper for your stencil. Stencil material would work well, too, if you want to be able to reuse it.
3. Black Outdoor Acrylic Paint
4. Stencil Brush (with bristles, not a foam brush)
5. Small Art Brush
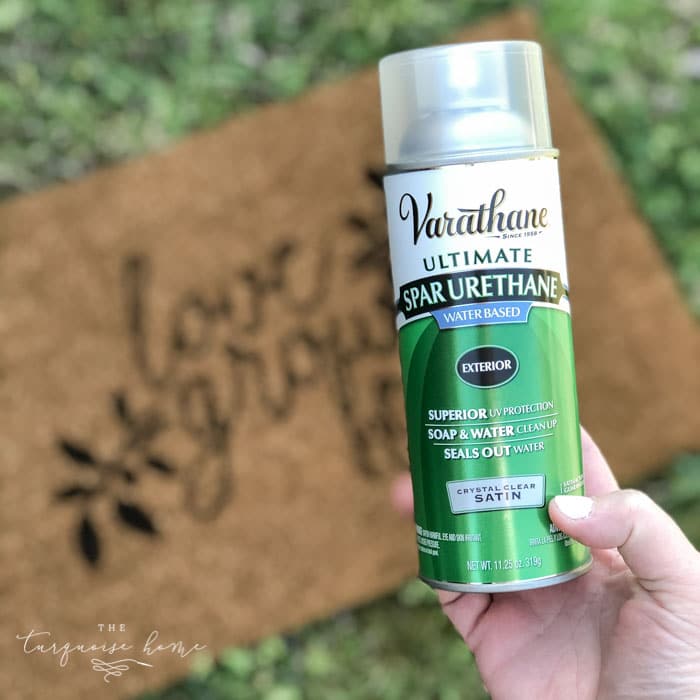
4. Exterior Clear Coat Spray
Instructions for Making a DIY Doormat
1. Make Your Stencil.
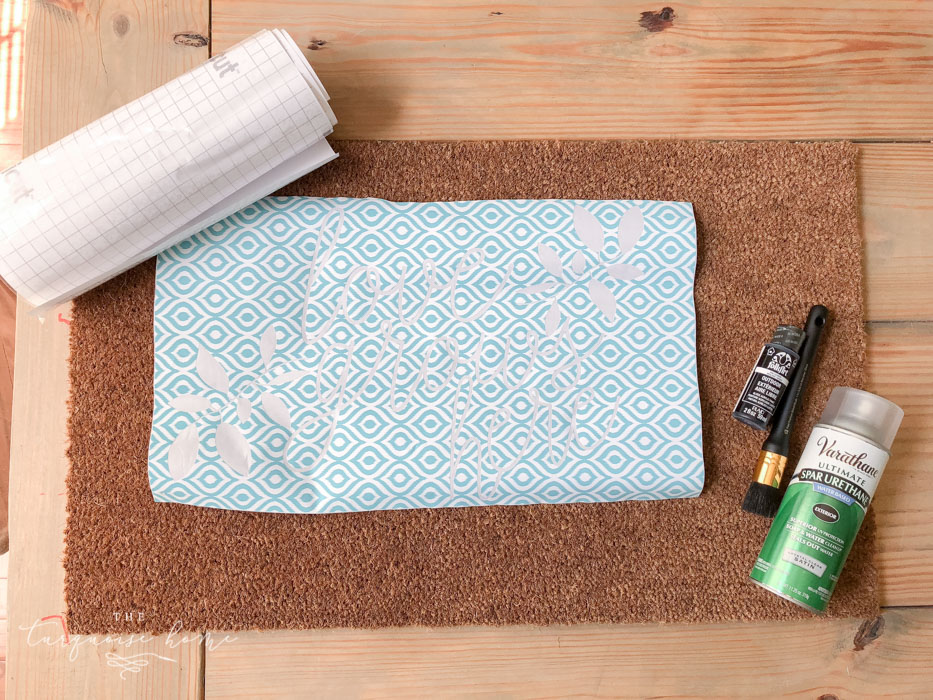
I messed up big time on this step when choosing the material I used to make my stencil. Ha! I am used to creating stencils to use with fabric and I didn’t think about the fact that adhesive paper would not necessarily adhere to a coir doormat. So … I would suggest cutting your stencil out of cardstock or stencil material and then pinning down the paper stencil with straight pins.
I found this image online and I think this stencil method would work much better than mine! (I would still use paint and a stencil brush instead of a Sharpie, though!)

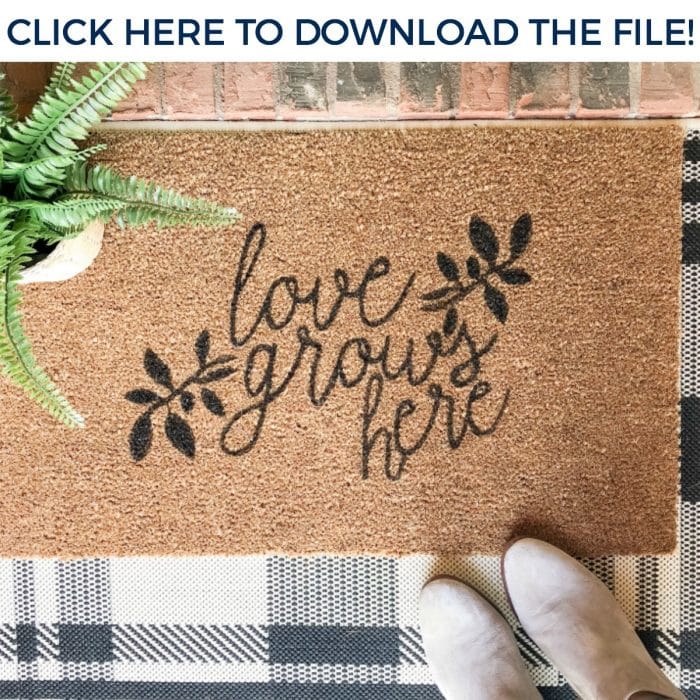
I’ve added the free Silhouette .studio file below so that you can use mine to make yours. But there are tons designs out there you can use or create your own!
Obviously if you are creating your own stencil you are limited by the doormat size and the size of your cutting machine, so take those both into consideration.
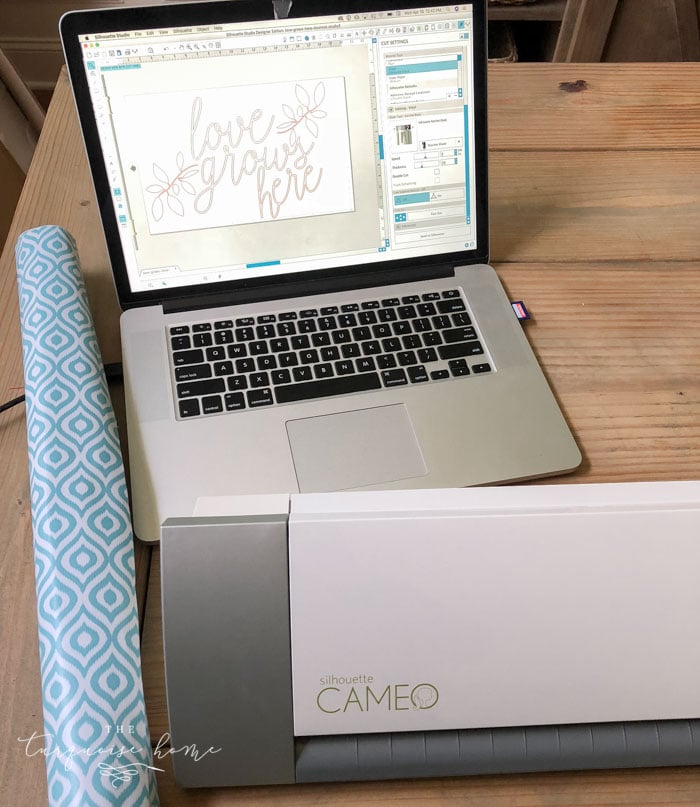
So, just grab your stencil material, cut out your design with your cutting machine and then let’s move on to the next step!
Tip: If you don’t have a Silhouette or other cutting machine, I think printing out large letters on cardstock and cutting them out by hand would work just fine as well!
2. Gather your Supplies.
3. Stencil Your Image.
Line up the stencil on your doormat so that it’s centered. I didn’t think about the fact that my design is a bit off centered, so I centered up the whole thing and started stenciling. It wasn’t until I lifted the stencil up that I realized my design was a little off. It bothers me, but not enough to redo it. 😂
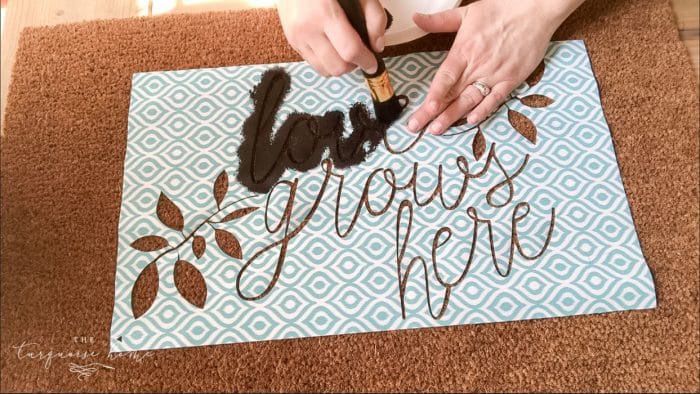
I used my large stencil brush for the first “pass” on the rug. I loaded my brush with the black outdoor acrylic paint and carefully dabbed it on the rug over the stencil.
See the video below for exactly how I stenciled the doormat.
My stencil moved around a lot because it was adhesive vinyl and not a thicker paper. So, I pressed down pretty lightly so as not to move the vinyl too much. It worked well enough to create an outline for me to see and “free-hand” paint a second pass.
Once I pulled the stencil off, I realized the paint wasn’t dark enough for me. So, I went back over the image with a smaller art brush. I loaded up the paint quite a bit and made sure to use an up and down motion to get the paint down in the fibers of the doormat.
Let it dry for 24 hours before the next step!
4. Finish the Doormat with a Clear Coat Spray.
I bought this outdoor clear coat spray in order to try to protect the rug a little bit. It won’t be 100% protected because the rug has a rough surface, but it will help keeping the rug looking great for as long as possible. I sprayed 3 light coats over the rug and let it dry for 24 hours before using the rug!
That’s it! Your rug is now ready to greet new visitors and make your front door look super cute in the process. Have fun!
Here’s a little video that shows you the process I used…
Free “Love Grows Here” Silhouette .studio File
Thank you for taking the time to read all about my new DIY doormat! I hope you’ll try it and share with me on Instagram. That’s where I love to hang out every day, so be sure to tag me in your photo if you decide to make one, too!
More Posts You Will Love:
- DIY No-Sew Garden Flag
- {DIY} No-Sew Bunting Tutorial
- How To Make A Patriotic Wreath
- DIY Chinoiserie Egg Wreath
- DIY Lighted Pumpkin Candy Holder

Love it. I need to find a stencil in reference to disney. Like welcome to Goofys Grotto or Welcome to our happy place
Just wondering if you have a Cricut compatible file? Or if there is a way to convert the file to one once downloaded? I got all excited and bought everything to make the mat and when I went to print the stencil today realized I couldn’t open the file 🙁
I just googled how to make it Cricut compatible and I think I was able to make it successfully! I’ve added the svg file to the drive folder where the other one is. So check back there and you’ll find it. Hope this help! xo, Laura
Yay, thank you so much 😊
Hi Laura,
This is Linda Peters. Just wanted to let you know I changed my email address.
I love your new custom mat. Looks great. I have filled out my name and new e-mail address below.
Take care and God Bless,
Linda
this is fabulous. Nicely done, wow!
Such a great idea, yours turned out so cute! Thanks for sharing!
Great idea! I want to try it. I have been trying to download the design with no success. Can you help?
Hi Josee, send me an e-mail and I’ll send it to you! laura @ theturquoisehome .com {no spaces}. xo, Laura
The stencil work really saves time! Gonna make one tomorrow 🙂
So adorable!!! Hoping I have time to make this in the near future. Thanks for sharing!!!
Yay!! It’s super easy! I’d love to see it when you’re done!