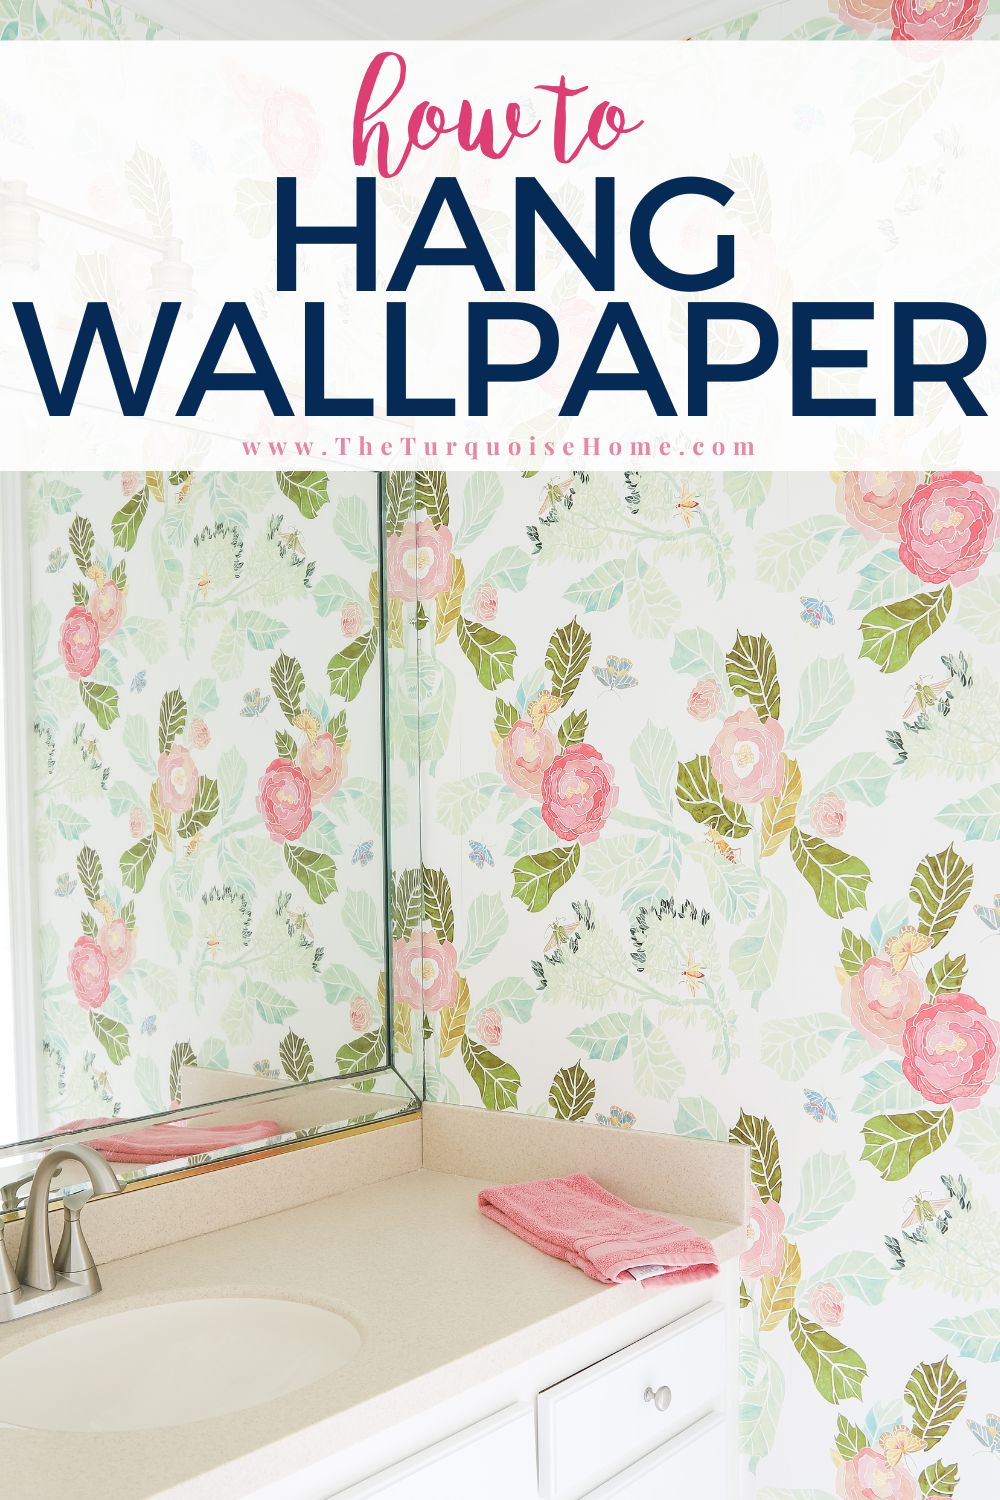
How to Hang Pre-Pasted Wallpaper (tutorial for beginners)
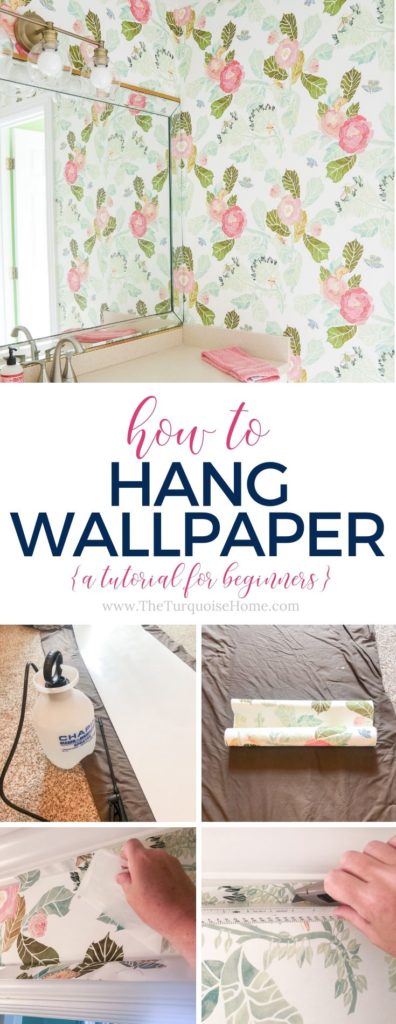
Are you scared to tackle a wallpaper project? I’m sharing my best tips for hanging wallpaper (pre-pasted) for a newbie!
Newbie here! 🙋🏼♀️ From one beginner to another, I’m going to share how I hung pre-pasted wallpaper for the very first time. I was so nervous to start. I’ve been wanting to wallpaper a room for a couple of years now, but was just too scared to start. So, if you’re nervous, I get it.
And while I would have loved to begin my wallpapering journey with a peel-and-stick type style, I fell in love with real, pre-pasted wallpaper. So, I jumped in with both feet. And honestly, I kind of liked the process. It wasn’t nearly as challenging as I thought it would be (although I cursed a few tight corners) and I’ll definitely be hanging wallpaper in more rooms in my home!
The end result was totally worth any cursing at corner door frames. 🤪
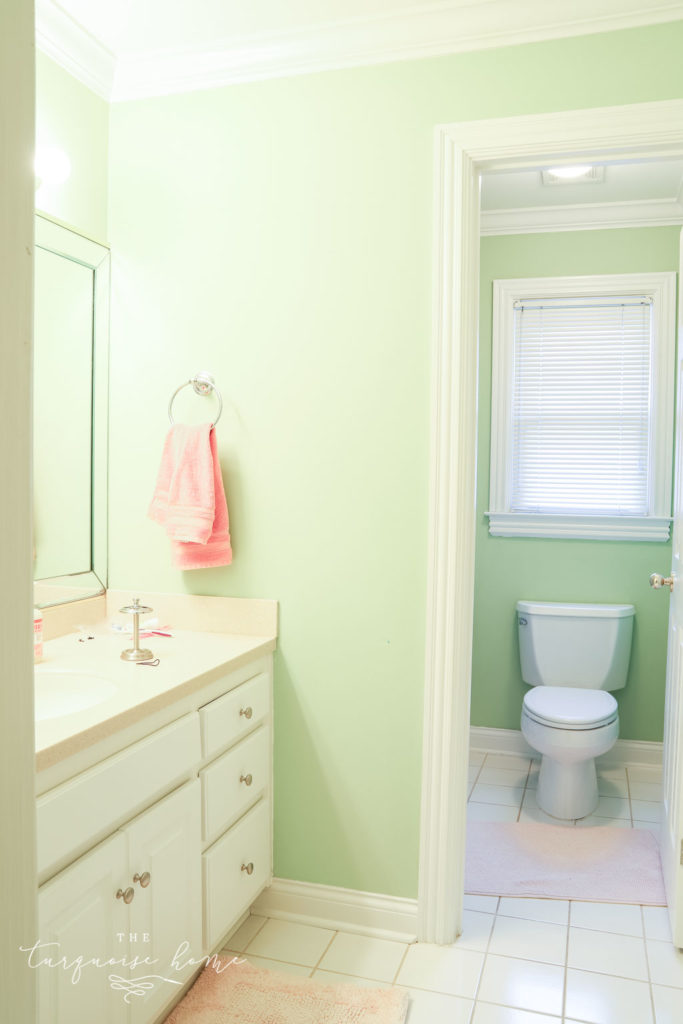
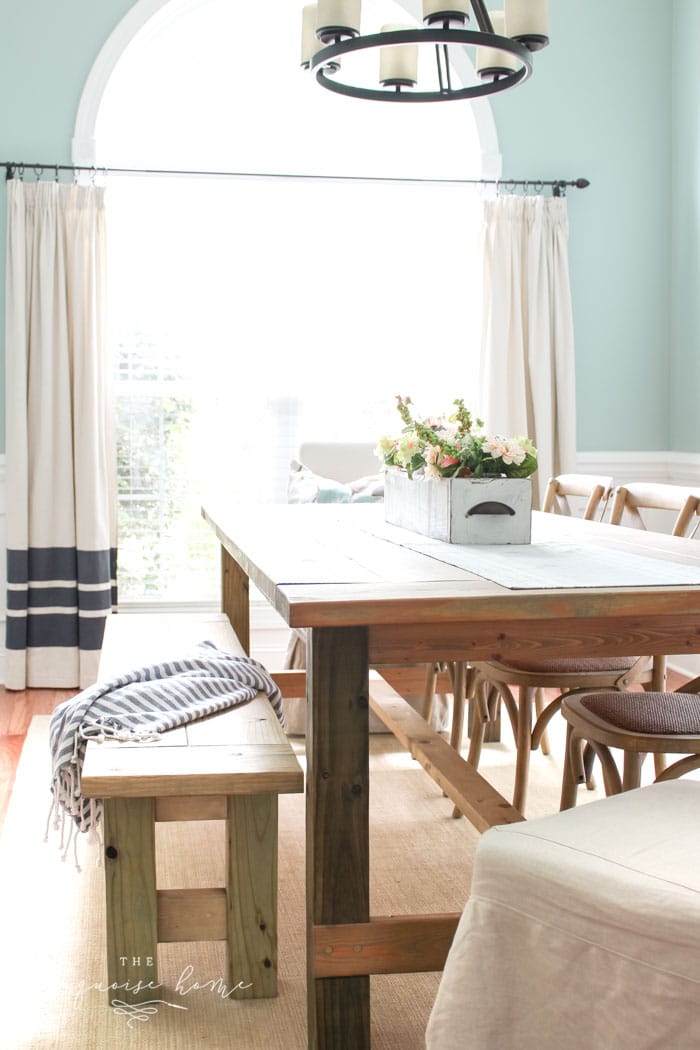
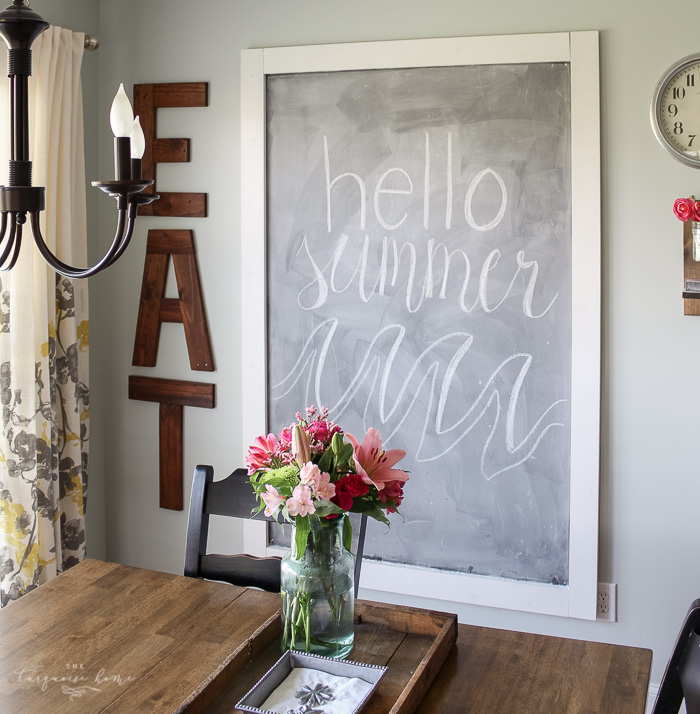
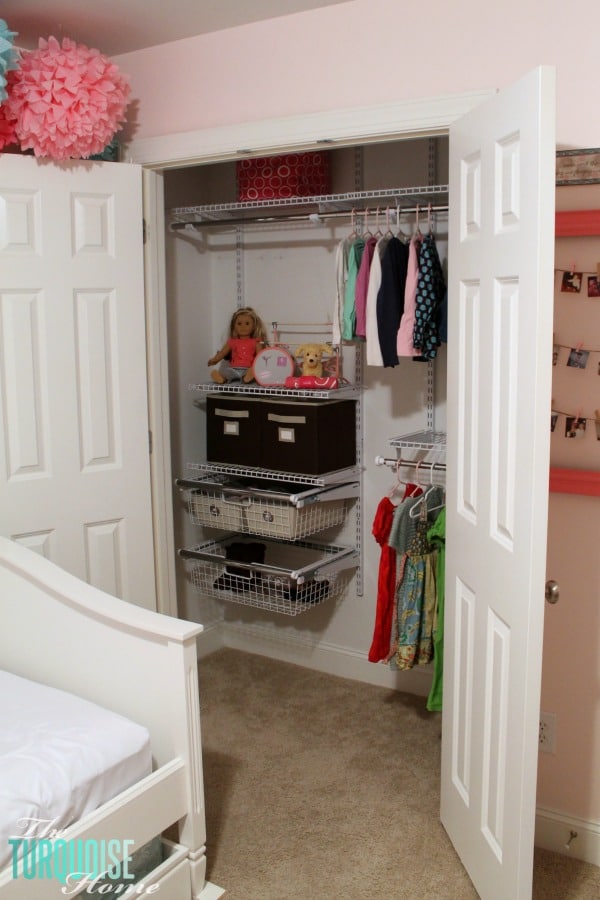
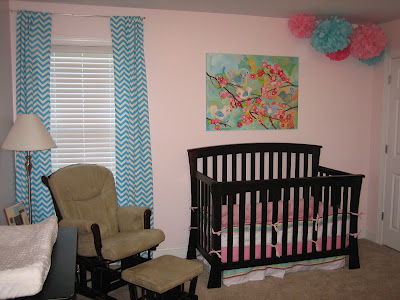
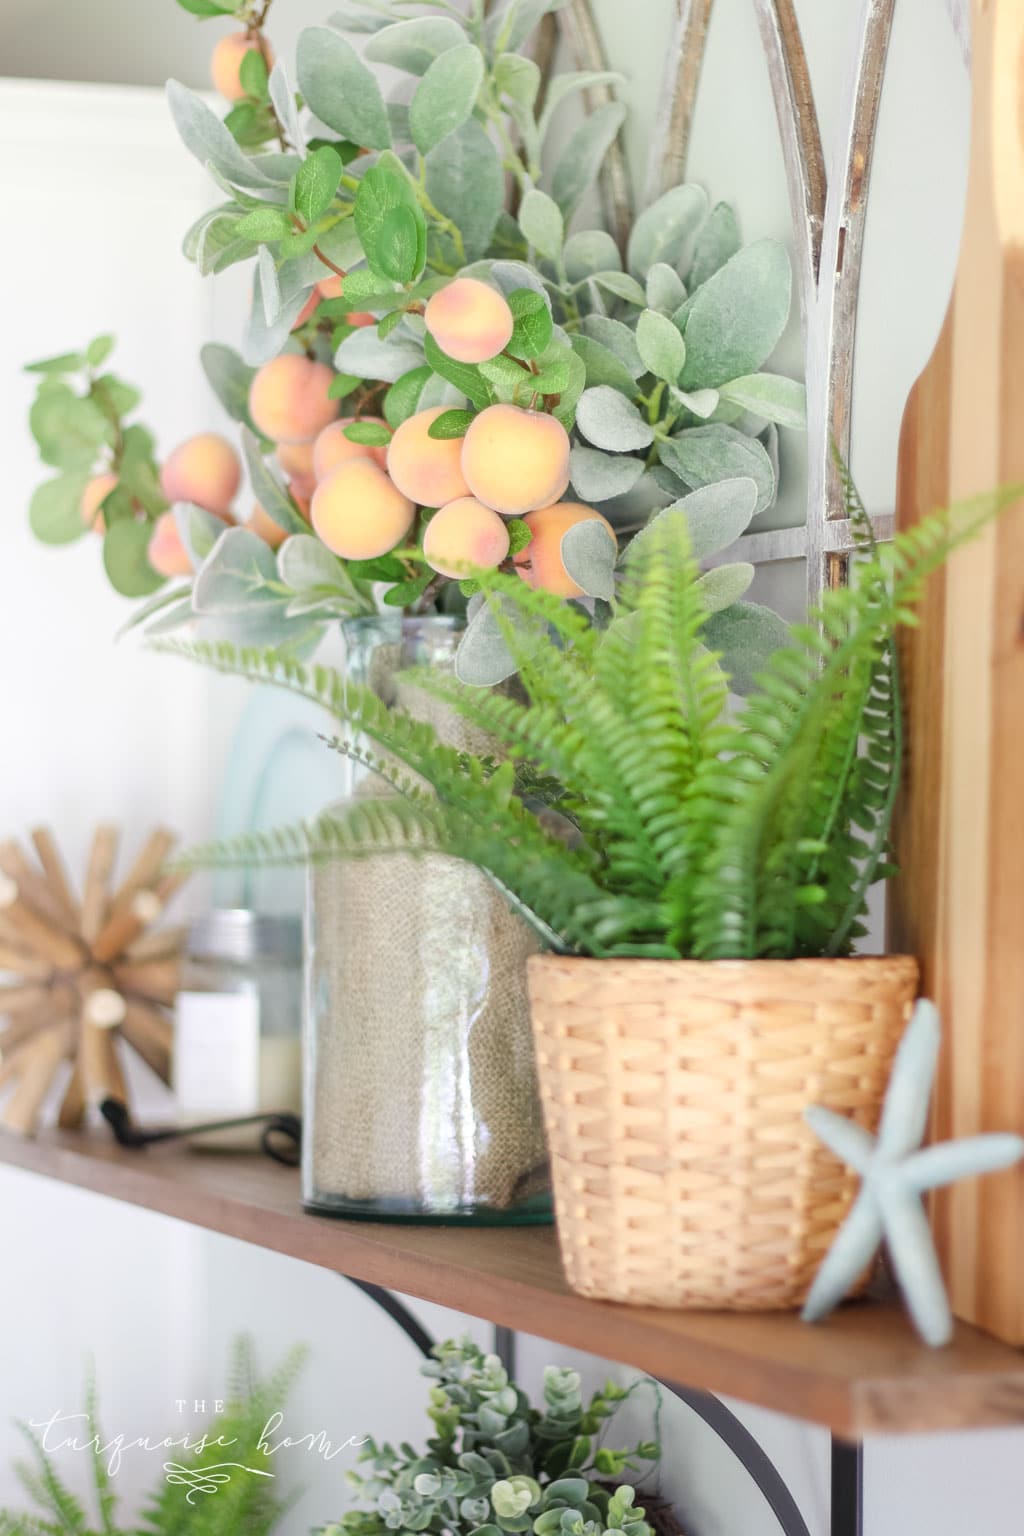
This is a step in the girls’ bedroom/bathroom makeover I’m working on. And below is a reminder of where we were starting…
This post contains affiliate links for your convenience. See my full disclosure policy.
Want to Save This?
Enter your email below and I’ll send it directly to your inbox!
Wallpaper Installation Tips for Beginners
Things I wish I’d known before I started.
Pick an Inconspicuous Room: I started my first project in my girls’ bathroom. It’s an en suite bathroom upstairs, so nobody really sees it except for my little family of four. (It’s kinda sad because the pattern is so cute. But also OK because it was my first job.🤪) So, maybe start in a secondary bathroom or bedroom and not in, let’s say… the living room. ☺️
Choose a Small Space. Maybe an accent wall or a small room. I picked a small room, which was good. But also it was a challenge because of all of the doorways and corners I had to plan around.
Check for Level Frequently. I missed this step and my wallpaper got a little unlevel at one point. I was able to shave a little bit off of the edge and fix it, but this would have bothered me more if it was in the kitchen or a room that was going to be seen more often. (I didn’t even think about using a chalk line or plumb line, but those might have been handy. I just used my level tool to check.)
Be OK with imperfections. I’m not saying you won’t nail your wallpapering skills from GO, but also, you might have to be OK with a little imperfections here and there. Ha!
Change your cutting blade frequently. You will never regret having a sharp blade!
Overestimate your paper needs. You’ll want to measure your square footage of the space and then plan for double. Just make sure you can return any unused rolls of paper.
Supplies You Will Need for Hanging Wallpaper:
- Wallpaper – I chose this adorable Watercolor Flora Wallpaper. It’s pricy, but worth it!
- Tape Measure
- Pencil
- Seam Roller
- Straight Edge Ruler
- Level or Plumb Line
- Smoothing Tool – this thing was my BFF for this process. Do not skip this one!
- Wallpaper Sprayer – I used this small plastic sprayer, but I saw this wallpaper sprayer tool, also.
- Sponge
- Razor Trim Knife with extra blades
- Drop Cloth
- Step Stool or Ladder
Step-By-Step Instructions for How to Install Wallpaper
Be sure to follow the instructional steps of the wallpaper you bought, but I hope that walking you through the steps I took will help you feel more comfortable with hanging your own paper.
1. Prep the Walls
You will want to make sure any holes are filled with spackling and sanded down smooth. I have heard something about wallpaper primer, but I didn’t look into it any further. So, you might want to. 😜
I also knew I would be changing out the ginormous circus light fixture above the mirror and replacing it with a much less offensive bathroom light.
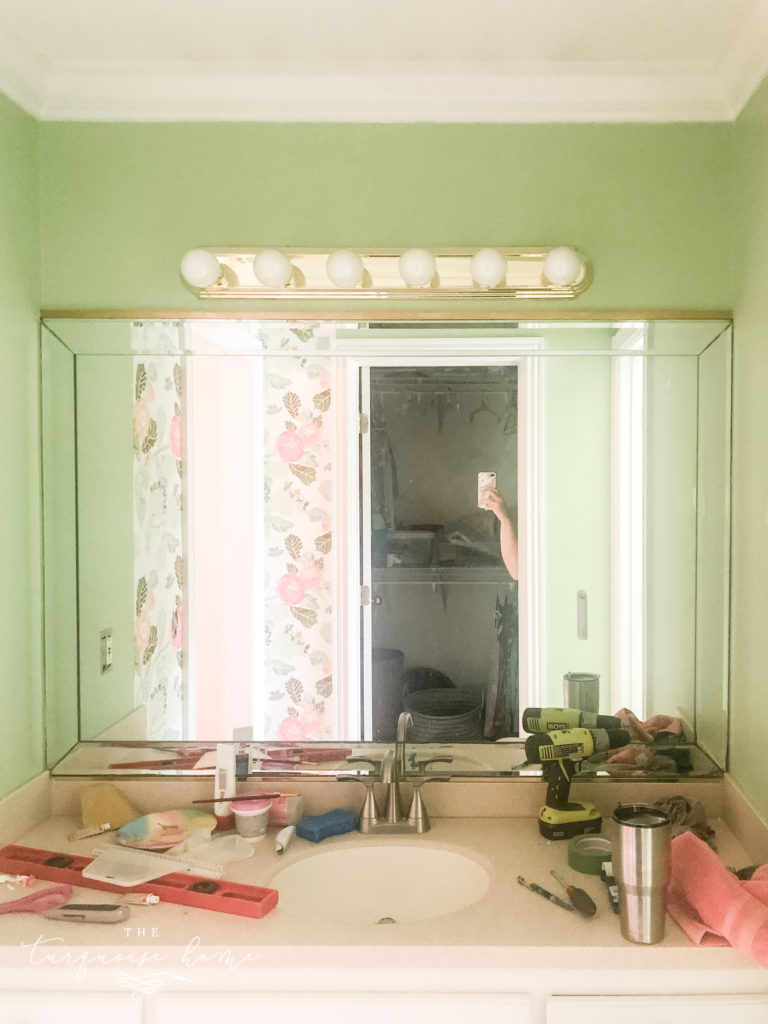
So, I did that before I got to that wall and had to paint the previous wallpaper that we discovered under the old light fixture. Do any of that stuff first!
2. Measure the Length of the First Wall
Tip: When choosing where you want to start your paper, select a place that’s not noticeable or is behind a piece of furniture. I started at a spot that wouldn’t be looked at all the time, above the door to the closet. I also figured out where to start that would allow me to use the most whole pieces on the full wall places. I hope that helps!
3. Cut Wallpaper to the Length of the Wall
You’ll want to cut it a couple of inches longer than the wall on both sides and then cut the excess off after you’ve stuck it on the wall.
Check each piece for level before you hang the next strip. Just to keep yourself aware of any unleveling you’re dealing with.
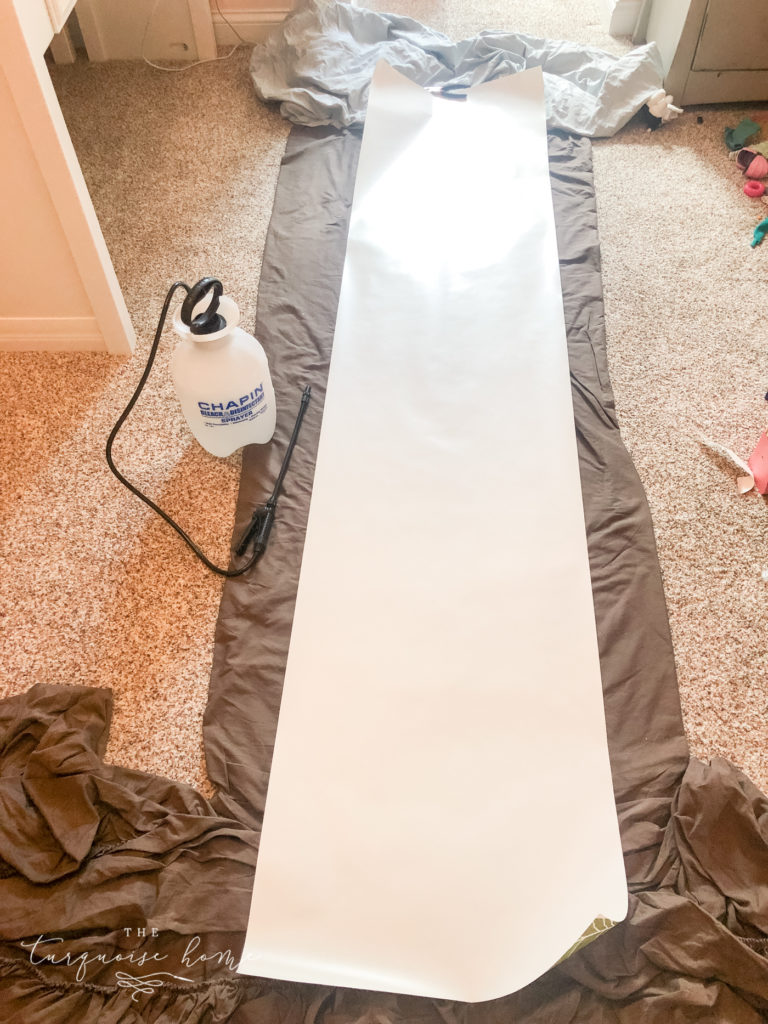
4. Lay the wallpaper Down, pasted side up, and mist it with water.
Put down a drop cloth or something underneath the wallpaper to protect your floors from the overspray.
I used this basic pump sprayer, which worked perfectly! Follow your wallpaper instructions, but I sprayed my paper from long end to long end, making sure I got the edges and corners!
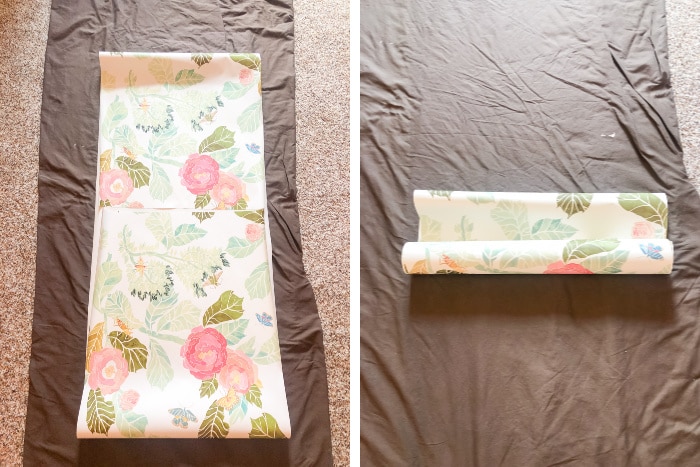
5. Immediately fold up each long end to meet in the middle, then roll it up like a newspaper. Let it sit for 2-3 minutes.
Make sure not to crease the paper during this step!
This is called “booking” wallpaper and it will help the paper to expand, relax before you try to hang it. It will help keep the seams from separating and will make it easier to maneuver.
I was most concerned about this step, because once you mist the water on, you’re on a time clock to get the paper up and in place. But it worked out fine! Don’t be nervous. ☺️
This helpful guide from Magnolia really helped me envision this step before I did it the first time.
6. Unfold the top part of the paper and apply it to the wall
Match up the pattern on the paper’s edge, if you have a repeatable pattern.
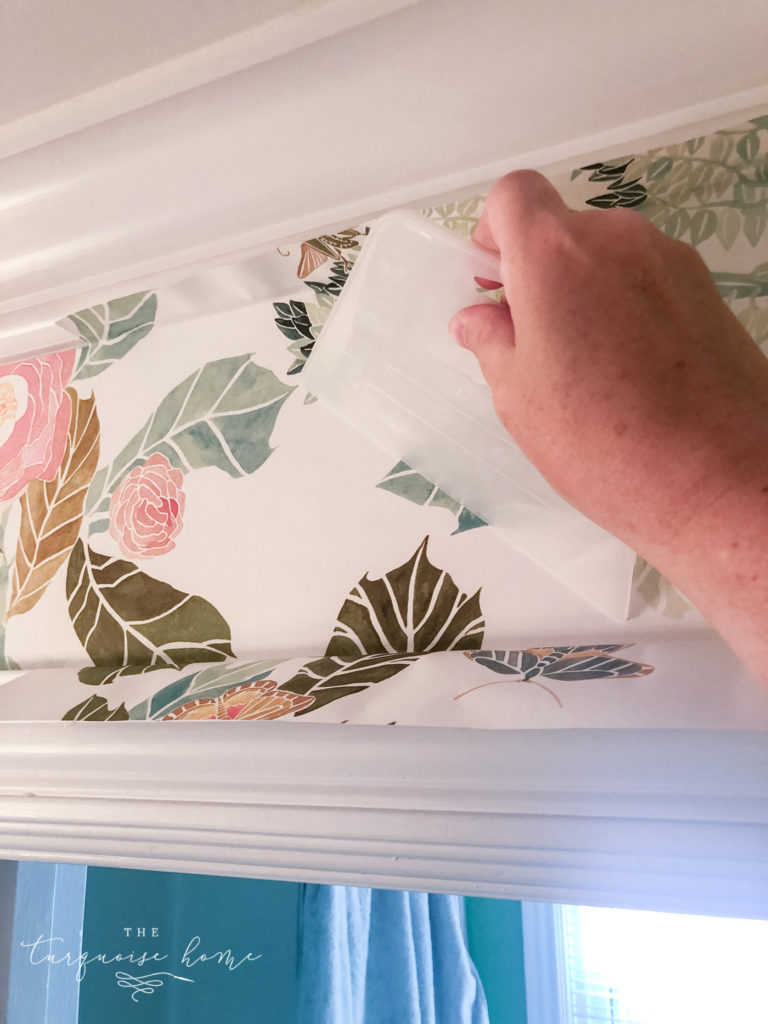
7. Use a smoothing tool to smooth any air bubbles out of the paper
Smooth the paper from the center to the outside and from top to bottom. This was the most satisfying step for me and I could NOT have lived without my smoothing tool. Do NOT try to do this project without one.
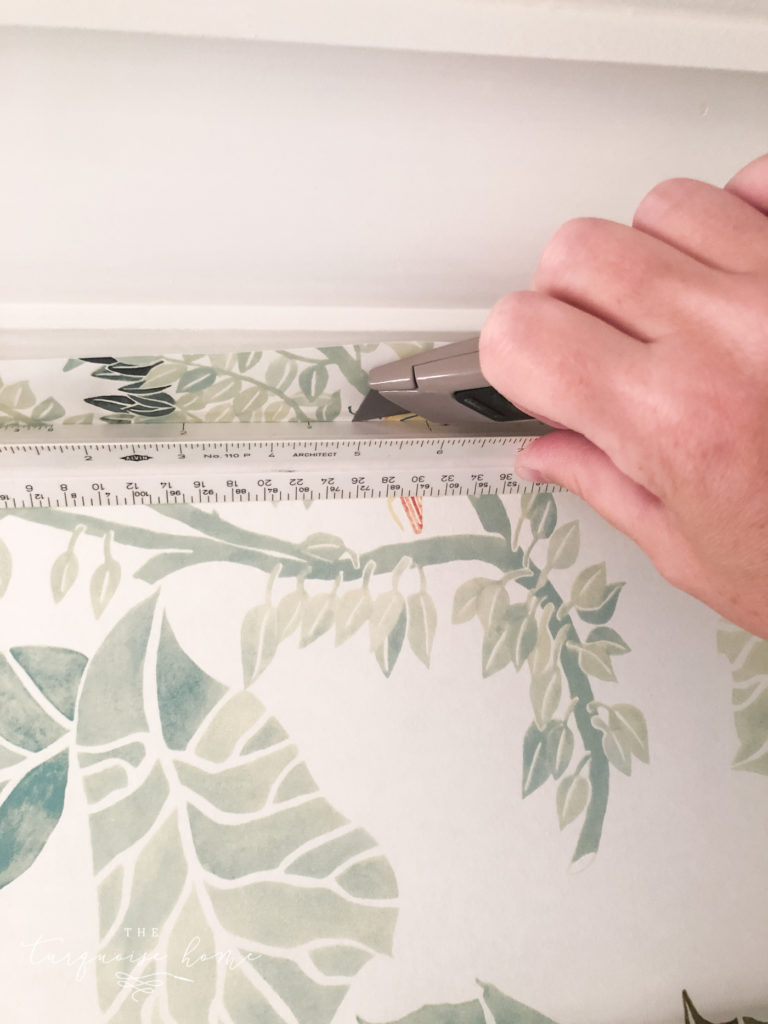
8. Cut off the excess paper with a straight-edge ruler and razor trim knife
Don’t forget to change the blade frequently for a straight cut! The corners were a doozy for me, but fresh blades helped tremendously. This was definitely the challenging step of hanging wallpaper for me since I had so many cuts to make.
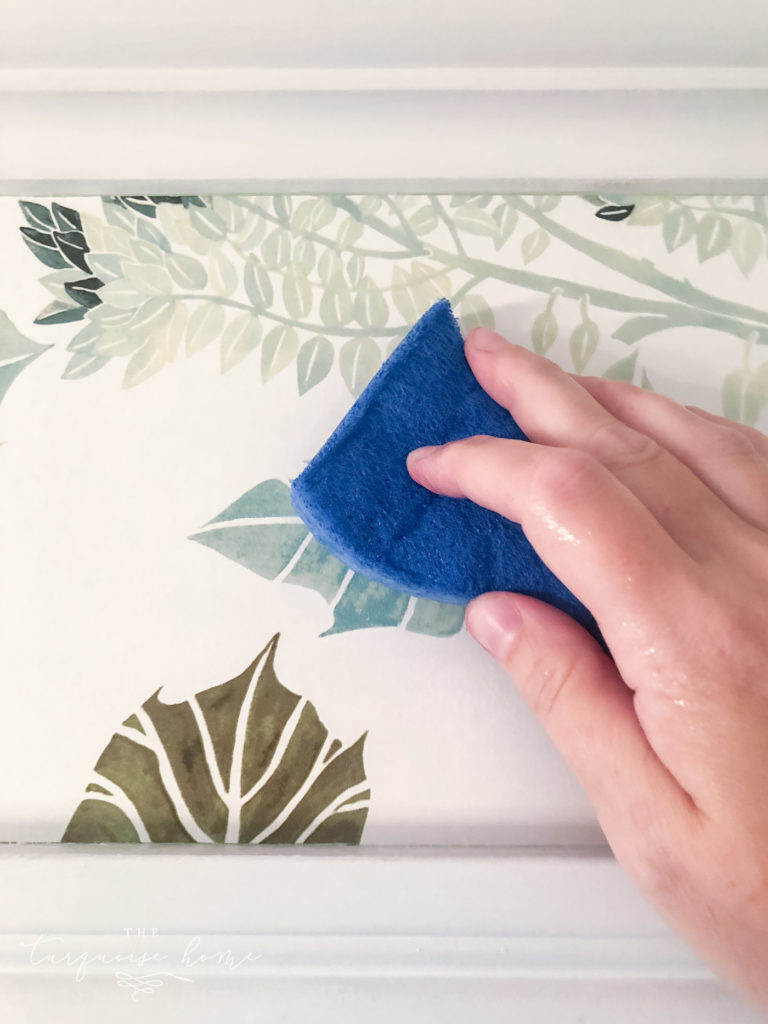
9. Run a damp sponge over the paper and the seams. Use a seam roller to get the seams good and sealed together.
Make sure everything is stuck down! I had some very crazy pieces that I had to spend a LOT of time making sure the top was in place before I could get down to the bottom. And the adhesive dried quite a bit before I got to it, so the damp sponge on top really helped with those pieces.
That’s it! Just go back and repeat all of the steps until your room is done.
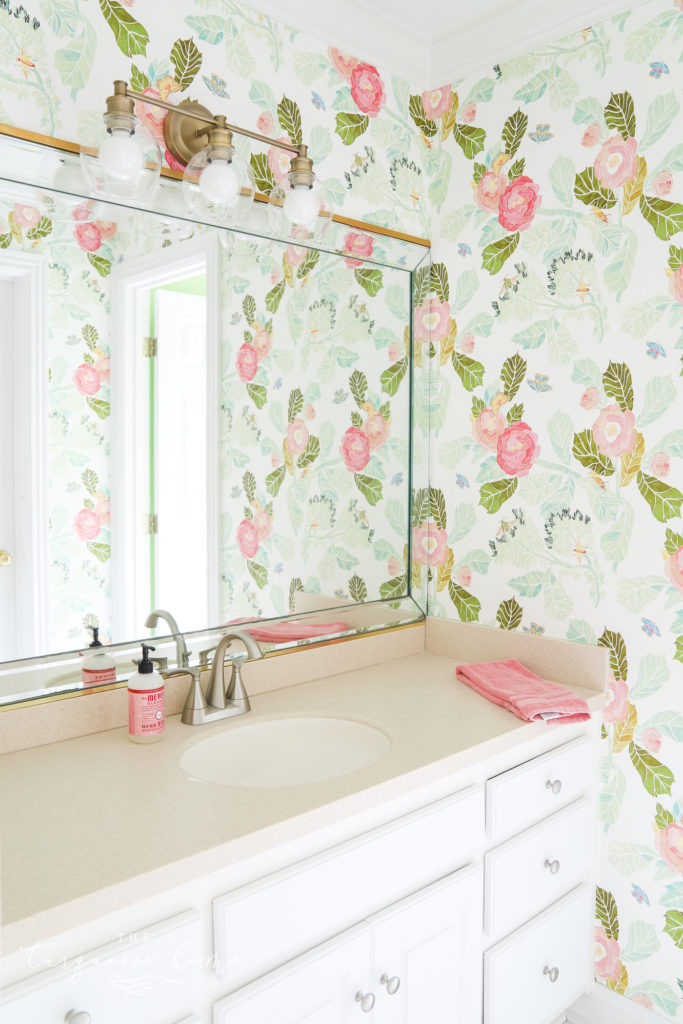
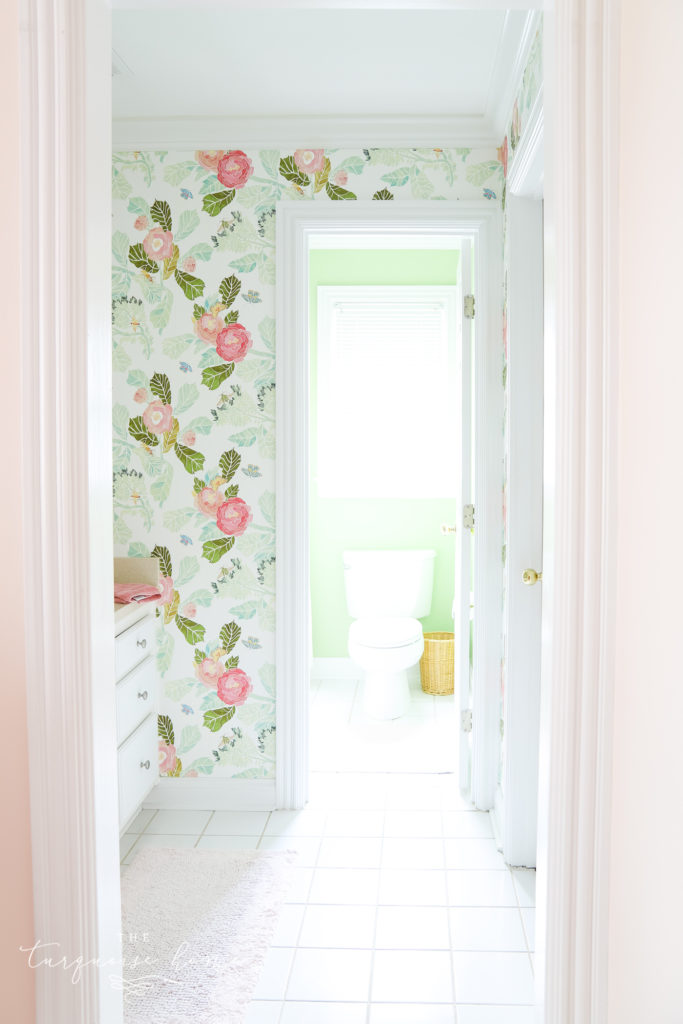
I LOVED watching the girls’ lime green bathroom transform into this beautiful jewel box in between their water closet, clothes closet and their bedroom.
It’s just the cutest view from any spot in their bedroom and goes perfectly with the Pink Ground paint color in their room. I still want to change the green paint color in their water closet, but I haven’t decided that color to choose. Honestly, the green doesn’t look so terrible anymore, but the room needs some fresh paint, so I’ll do something in there.
Isn’t it just the cutest pattern ever?
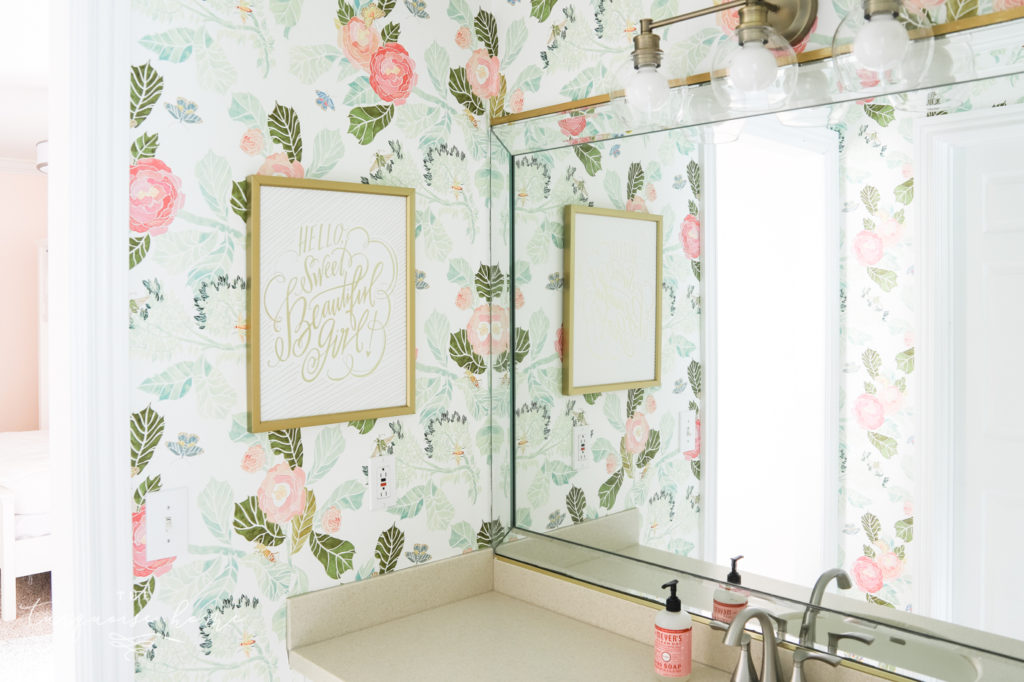
And that aged brass vanity light is the perfect addition to the room! I would have ideally hung it higher above the mirror, but didn’t want to take the time to change the light box on the wall. It’s fine!
Find more of my plans for the girls’ bedroom makeover here! Here’s where we stand:
Paint the bedroom walls Pink Ground by Farrow and Ball– I got a sample of Pink Ground from Anthropologie and had it color matched at Lowe’s.Add an accent wall with wallpaper or stencil– still deciding, but will definitely be using the wallpaper in the adjoining bathroom. DONE!!Buy loft bed with full size bed below.(I’ve had my eye on this full loft bed over full bed for years!)Buy new bedding – from Beddy’s!I swore I would never get a loft bed or bunk beds without also getting Beddy’s bedding. We have them already and we’re in love! So easy for the girls to zip it up and no more wadded up sheets at the ends of their beds! (Use code TURQUOISE to get 15% off your order!)- Either buy new or get an old dresser and paint it white. I’m still waiting for the dresser I want to go on sale.
Reuse old decor for the walls.I’m using as much decor from their old bedrooms and bathroom as possible!- Hem the curtains.
Change out their ceiling fanfor a fan without exposed blades. We had to put the loft bed close to the ceiling fan and we can’t turn it on anymore, so I needed to find something that would work with the loft bed in place.
I LOVE your choice of wallpaper!! You are doing such a great job. I hung paper in the 70’s & 80’s when it was so popular. I found it so much fun & very rewarding when the room was finished. Alas,, I had breast cancer in my right breast (I’m very right-sided) & due to radiation I can no longer use my right arm due to “issues.” I’d love to paper again; the patterns are just beautiful. Good luck & keep on papering. You seem to be a natural.
Cookie
Having a good primer underneath wallpaper is a must. Once you decide to take wallpaper down and the walls aren’t prepped correctly you will have one huge headache on your hands. Zinnser bullseye 1-2-3 is a great wall primer for wallpaper.
Hey Laura! Oh my gosh your wallpaper looks gorgeous! You have such a great sense for what will work in a space. It’s so fresh and pretty. I had a thought for the water-closet portion as well… in that second photo, the one looking in through the bathroom with the w-c in the background… the Lido Green you used in one of your kiddo’s rooms might work. Or, if you wanted to give a nod to your daughters’ former bathroom, Woodlawn Blue or Wythe Blue might be worth a try. Whatever you choose will be gorgeous.
The wallpaper pattern is truly adorable and your job looks professionally done. I too was afraid of wallpapering until a few years ago when I finally got up my nerve and did it. The wallpaper had been bought 10 or 15 years before so I mean it when I say I was afraid to start. I also discovered that one wall would have to be papered with liner paper first becau. se it was paneled. I used some really good tutorials that I found on you tube- it helped that I could play parts of the videos over as many times as I needed to understand. Thank you for sharing your video. Being able to see someone else do it is a big help. Looking forward to seeing what you do in the future.
I am loving the modern floral pattern you chose! This post definitely made me less afraid of wallpaper! Now I just need to pick an accent wall!!