
How to Make a Beautiful Bed in 6 Simple Steps

Learn how to make a beautiful bed in six simple steps, with easy layers and a pillow arrangement you can recreate at home.
For years, I loved the look of beautifully styled beds but felt overwhelmed by all the layers and pillows. Our bed had a duvet and two matching shams, and I wasn’t sure what to add, or how to put it all together.
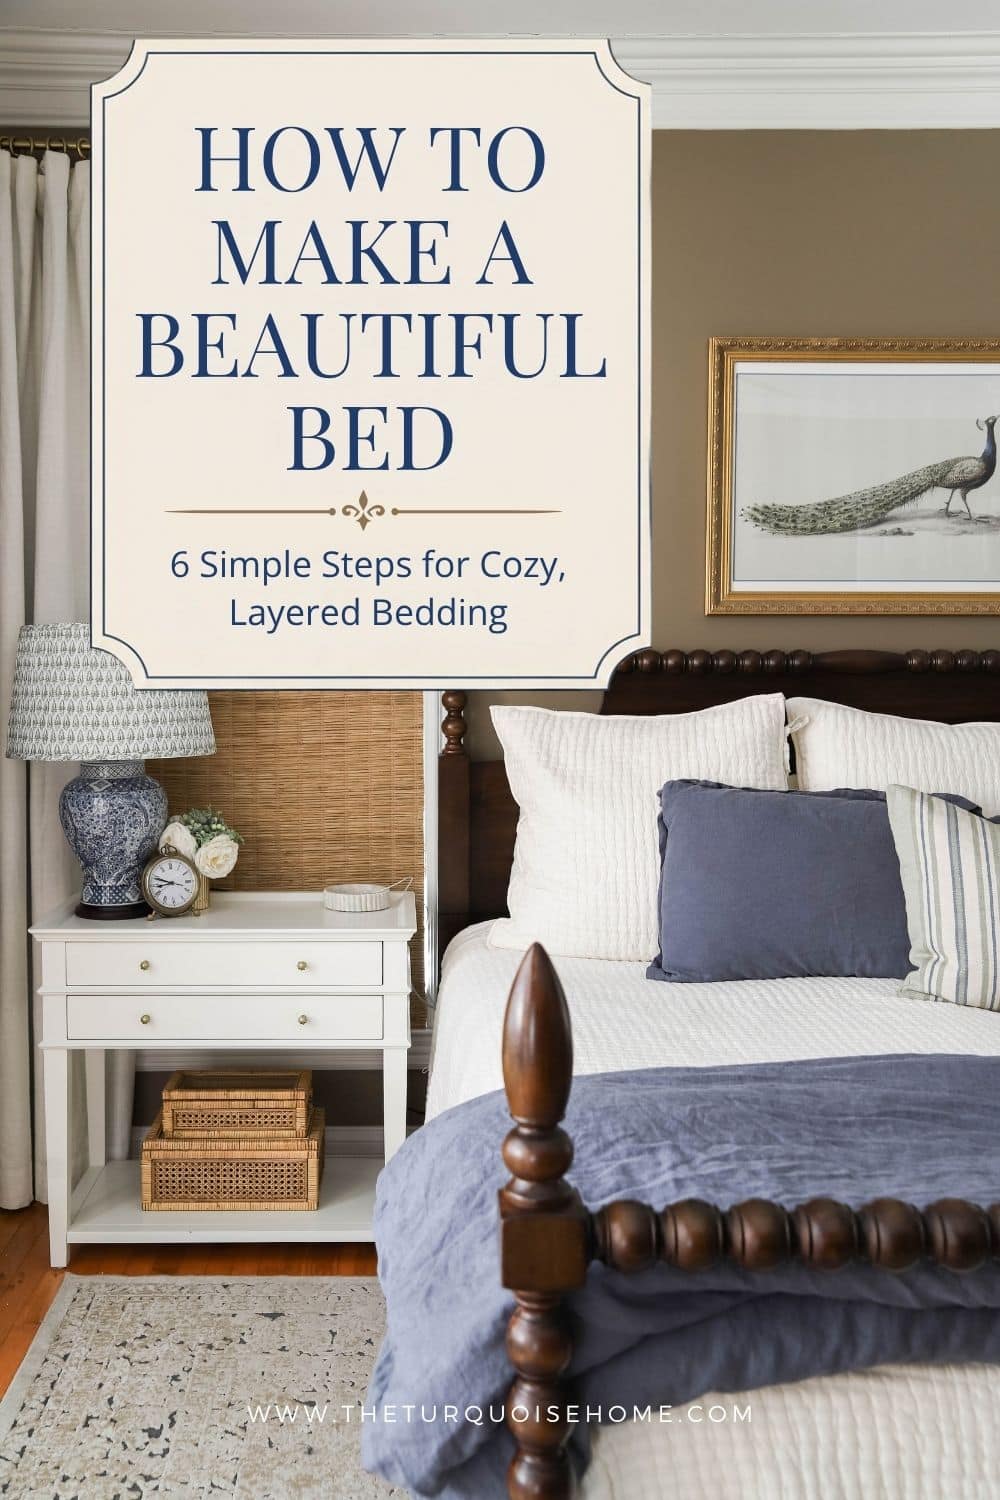
When I started our primary bedroom makeover, I finally researched what kind of bedding to put on a bed. And once I found a simple bedding formula, everything clicked! A lightweight quilt, a folded duvet and a few thoughtfully arranged pillows made our bed feel cozy and pulled together. And knowing exactly where everything goes finally gave me the motivation to make it each morning.
Here’s the six-step formula I use, with tips for adjusting the layers to your comfort and the season.

Want to Save This?
Enter your email below and I’ll send it directly to your inbox!
This post contains affiliate links for your convenience. See my full disclosure policy.
Note about my bedroom decorating journey: Throughout this post you’ll see my bed in various stages of our bedroom makeover, which has been years in the making. (The Davenport Tan walls are the most current version.) But you will see how the bedding formula still works with all stages of the decorating process. I haven’t had to re-purchase any of the foundational pieces since I got the formula down, which is a relief for my wallet and my schedule!

The Formula for Making a Beautiful Bed Like a Pro
This is the simplest way I’ve found to make a beautiful bed! I hope this formula helps you make a beautiful bed without going overboard on unnecessary layers or throw pillows!
Step 1: Smooth the Fitted Sheet and Add the Flat Sheet
Start by pulling your fitted sheet snugly over each corner of the mattress and smoothing out any wrinkles. Center the flat sheet over the bed, leaving enough fabric at the top to fold back over your quilt. If your sheet has a printed or finished side, place that side facing down so it shows when you fold the top edge back.

Tuck the flat sheet under the foot of the mattress. You can tuck the sides, too, for a crisp look, or leave them loose if you prefer a little more room for your feet!
I love our 400-thread-count cotton sheets and have been buying them for years. The corner elastic helps keep the fitted sheet in place, and the top/bottom labels make it easy to get everything facing the right direction.
For a split king bed like ours, each mattress needs its own twin XL fitted sheet. A king-size flat sheet, quilt and duvet can cover both sides.
Step 2: Layer on a Lightweight Quilt or Blanket
Spread a lightweight quilt or bed blanket over the flat sheet, keeping it centered so both sides hang evenly. Leave a little room near the head of the bed; you can then fold the top edge of the sheet back over the quilt for a neat, finished look.

This is the layer that gives your bed a simple, cozy foundation. Choose a weight that feels comfortable for you in all seasons, especially if you plan to sleep under it during the warmer months.
I love my ivory pick-stitch quilt because its subtle texture adds interest without competing with the other bedding. We use it on its own in summer and layer it with our duvet when the weather gets colder.
Step 3: Add and Fold Your Duvet or Comforter
Lay your duvet or comforter over the quilt and center it on the bed. For the layered look shown here, fold it back toward the foot so it rests across the lower third of the bed. This lets the quilt show while adding a little fullness at the bottom.
If you prefer more coverage, pull the duvet higher and fold back just the top edge. There’s room to adjust the look based on the season and how you like to sleep!
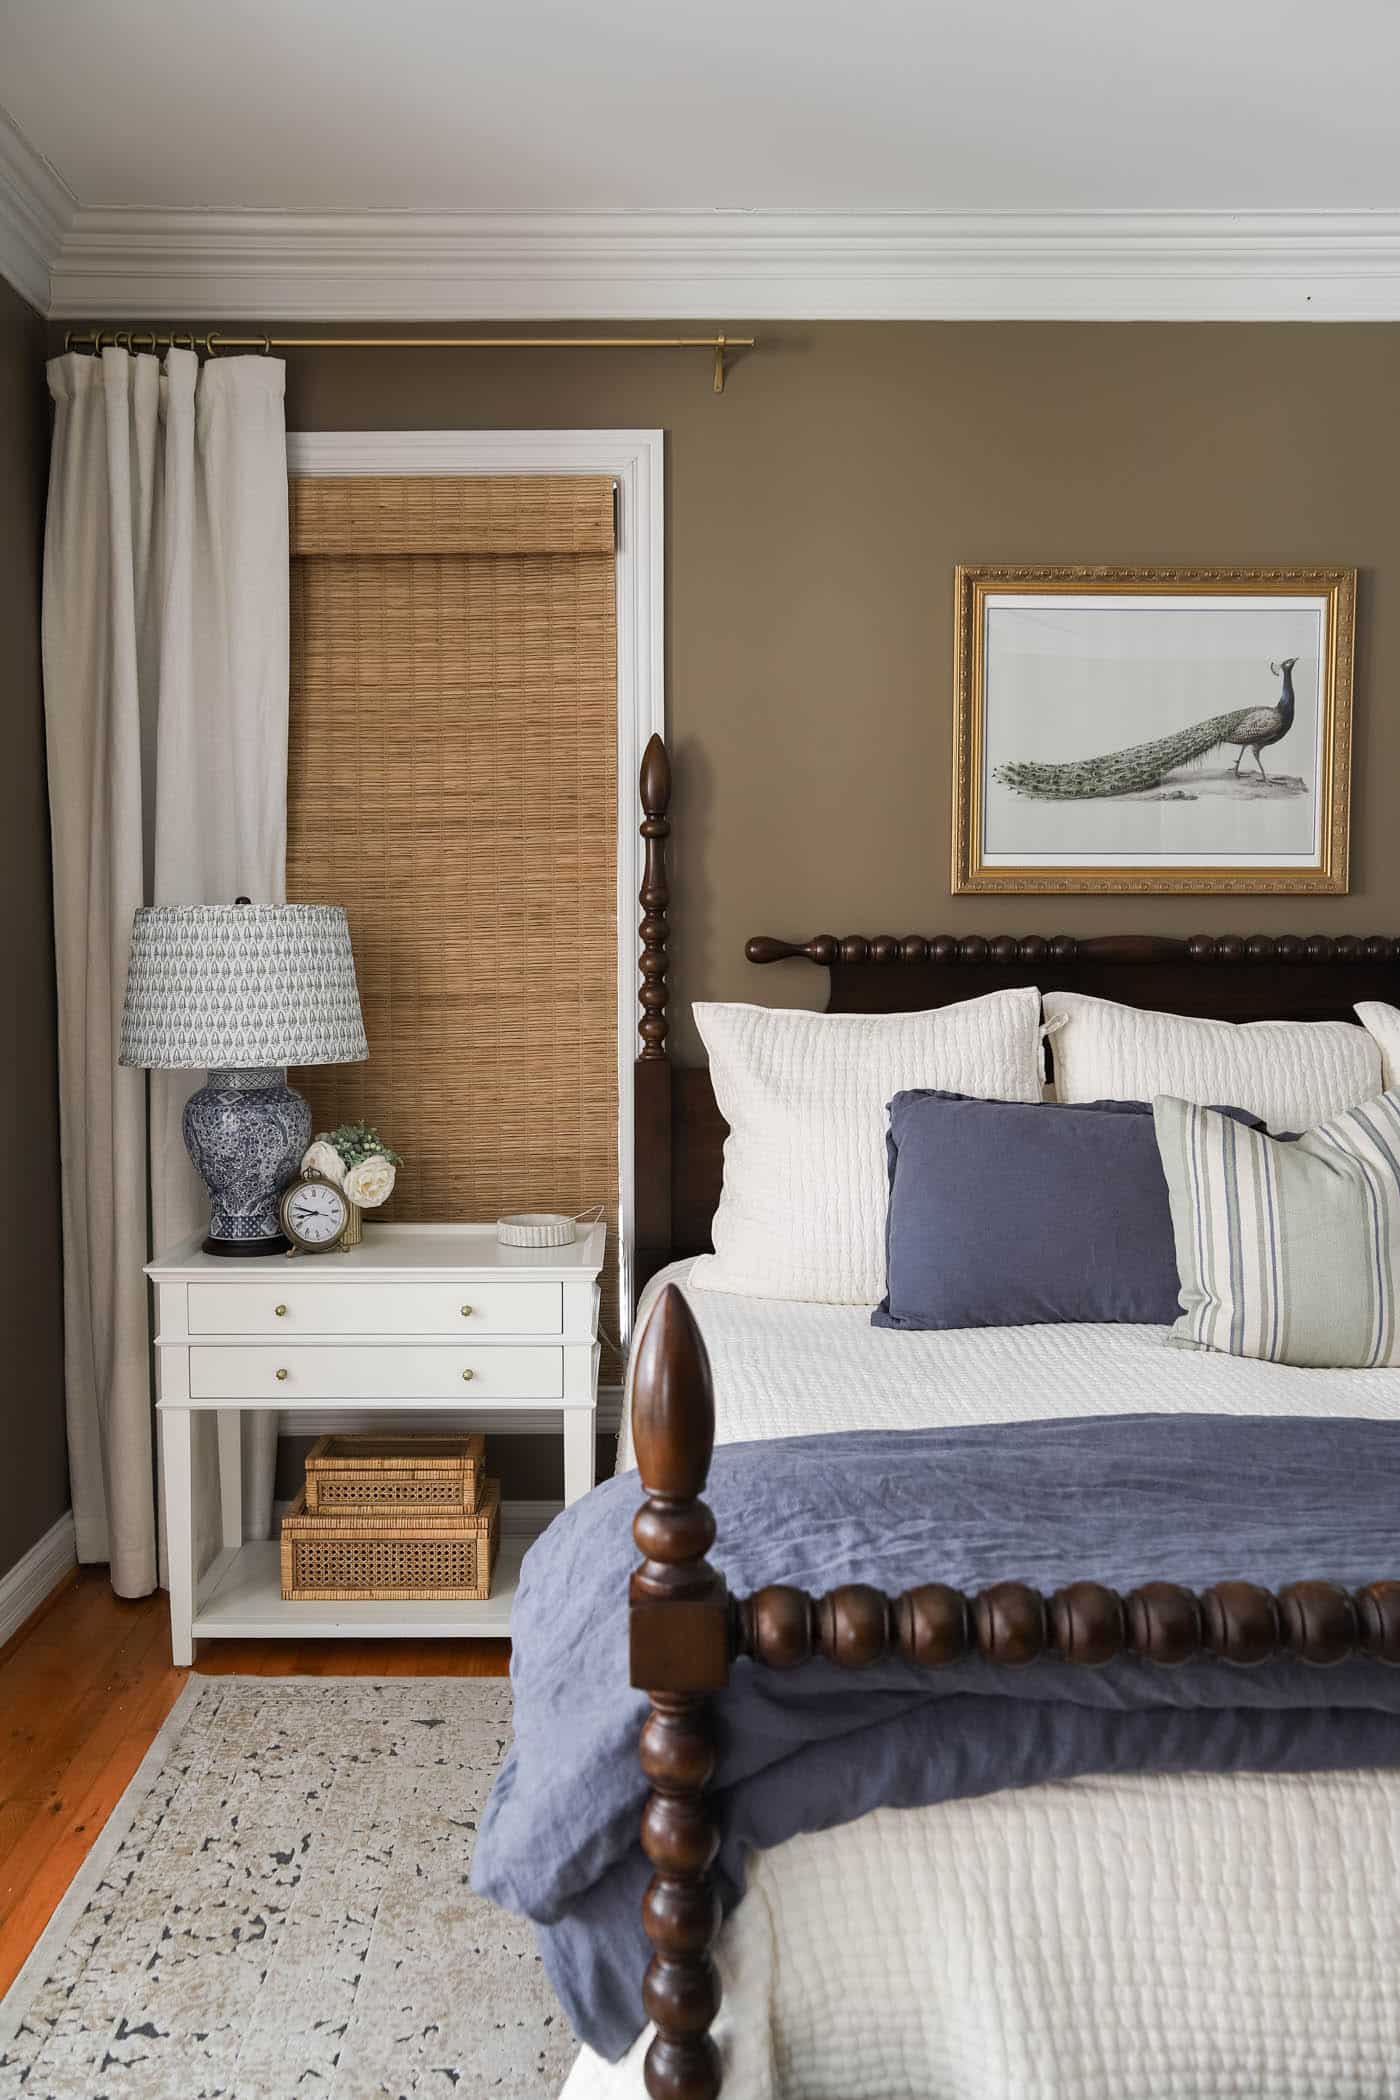
I use a down-alternative duvet insert with a steel blue linen duvet cover. The blue adds color to my neutral bedding, and a removable cover makes it easy to change the look without replacing the whole duvet. A comforter works for this step, too. (I love how the blue pulls some of the color from the peacock art above the bed and how it grounds the bedding as well.)
My practical tip: Secure the cover’s interior ties to the loops on your duvet insert before making the bed. It helps keep the insert from shifting and bunching inside the cover.
Step 4: Place a Throw Blanket at the Foot
Fold a throw blanket lengthwise and lay it across the foot of the bed, or drape it over one lower corner for a more relaxed look. I like to let some of the quilt or duvet show around it so you can see the different textures.
This layer is optional, but it’s an easy way to add a little softness, pattern or seasonal color. You don’t need another full-size quilt unless you want the extra warmth.

Because we live in Alabama and don’t have super cold winters, I find that a throw blanket works great! I use my favorite chunky knit throw for the texture, and for those afternoons when I want to curl up for a nap without unmaking the whole bed!
Keep size in mind: a throw may not reach across the entire bed, especially on a king. Draping it over one corner works beautifully when it’s too short to span the foot.
Step 5: Arrange Euro Pillows Behind Your Shams
Stand your sleeping pillows against the headboard, then arrange your Euro pillows in front of them. These large square pillows add height and create a backdrop for the smaller pillows you’ll place next.
For this look, I like three Euro pillows on a king bed and two on a queen or full bed. That’s a starting point rather than a rule. Use fewer if you prefer a simpler arrangement or want more of your headboard to show.

Euro pillows are typically 26 inches square, but check the dimensions of your shams before buying inserts.
I chose ivory pick-stitch Euro shams (with my favorite inserts) that coordinate with my quilt base. Repeating the color and texture makes the layers feel connected, and our sleeping pillows tuck neatly behind them.
Step 6: Finish with a Decorative Pillow
Place two rectangular pillows in shams in front of the Euro pillows, then center one decorative pillow in front. A long lumbar pillow is my favorite finishing touch because it brings the whole look together without adding several more pillows.

For a simpler version, skip the rectangular shams and place a lumbar pillow directly in front of the Euros. You can adjust the number of pillows to fit your bed and your everyday routine.
I used the two shams that came with my duvet cover, then added a long lumbar pillow for a little pattern. This front pillow is an easy piece to swap when you want a seasonal change.

I’ve since changed the long lumbar pillow out for a standard sized striped blue and green pillow that matches my new room decor, but if I had to choose, I still prefer the shape of a long lumbar pillow.
Happy Husband Tip: Before adding more pillows, decide where they’ll go at night. A bench, basket or nearby chair gives them a home and makes putting the bed back together easier the next morning. (And keeps my husband from complaining about all of the pillows I use. Ha!)
Simple Changes for the Holidays
I used the same formula to decorate my bedroom for Christmas. And I simply switched out the blue duvet cover for a plaid duvet cover, pillow covers and added a new decorative pillow on top! The art got swapped out, too!

You may have noticed that we also got a bed frame since I took the original pictures. It’s the best!
Frequently Asked Questions About Layering a Bed
Do you sleep under both the quilt and the duvet?
We sleep under both in winter, but only the quilt in summer. When it’s warm, we leave the duvet folded at the foot or take it off at bedtime. We don’t sleep on top of the quilt, we simply adjust the layers to stay comfortable!
How do you keep the duvet insert from shifting inside the cover?
My duvet insert has corner loops, and my cover has ties inside. Tying them together helps keep everything in place. I didn’t need to sew any on, but I would add ties and loops if they were missing.
Where do your sleeping pillows go?
We tuck them behind the Euro pillows during the day. At bedtime, we remove the decorative pillows and leave our sleeping pillows on the bed.
Where should you put decorative pillows at night?
A bench, chair or roomy basket makes a convenient spot. Choose somewhere clear of your nighttime walking path. If storage is limited, simplify the arrangement with fewer pillows. We have a column near the bed, and the pillows stack perfectly between the column and the wall every night.
Is your duvet smaller than your bed?
No! Our king bed has a king-size duvet. Folding it at the foot creates the layered look.
Final Thoughts
Making a beautiful bed doesn’t have to mean buying all-new bedding or adding a mountain of pillows. Start with what you have, smooth your layers and try folding your duvet at the foot for a more finished look. Then add the pillows and textures that feel right for your room.
Once everything has its place, making the bed each morning becomes so much easier. That little bit of effort makes our whole bedroom feel more welcoming!
Bedding Sources

Pick Stitch Quilt & Euro Shams
Our soft lightweight quilt (in ivory) is perfect for a year-round bedding staple. It’s perfect by itself in summer and paired with a duvet cover in fall, winter and spring! You can purchase the matching euro shams, too!

100% Cotton Sheet Set
You will only find these 400-count performance sheets in my home! I love the coolness of a cotton sheet and these are high quality without a huge price tag. I especially love the deep corners with double elastic to keep them nice and tight on the beds.

Linen Flax Duvet Cover
My solid steel blue linen and flax duvet cover is perfect for our southern winters. It keeps things fresh and cool, yet warm and toasty when we need a little extra warmth at night. This comes in lots of colors, so you can find one that works in your home.

All-Season Down Alternative Duvet
This budget-friendly down-alternative insert gives our duvet a soft, full look without feather fill. Choose the weight that suits your climate and how warm you like to sleep. Double up the duvet insert if you want extra fluffiness.
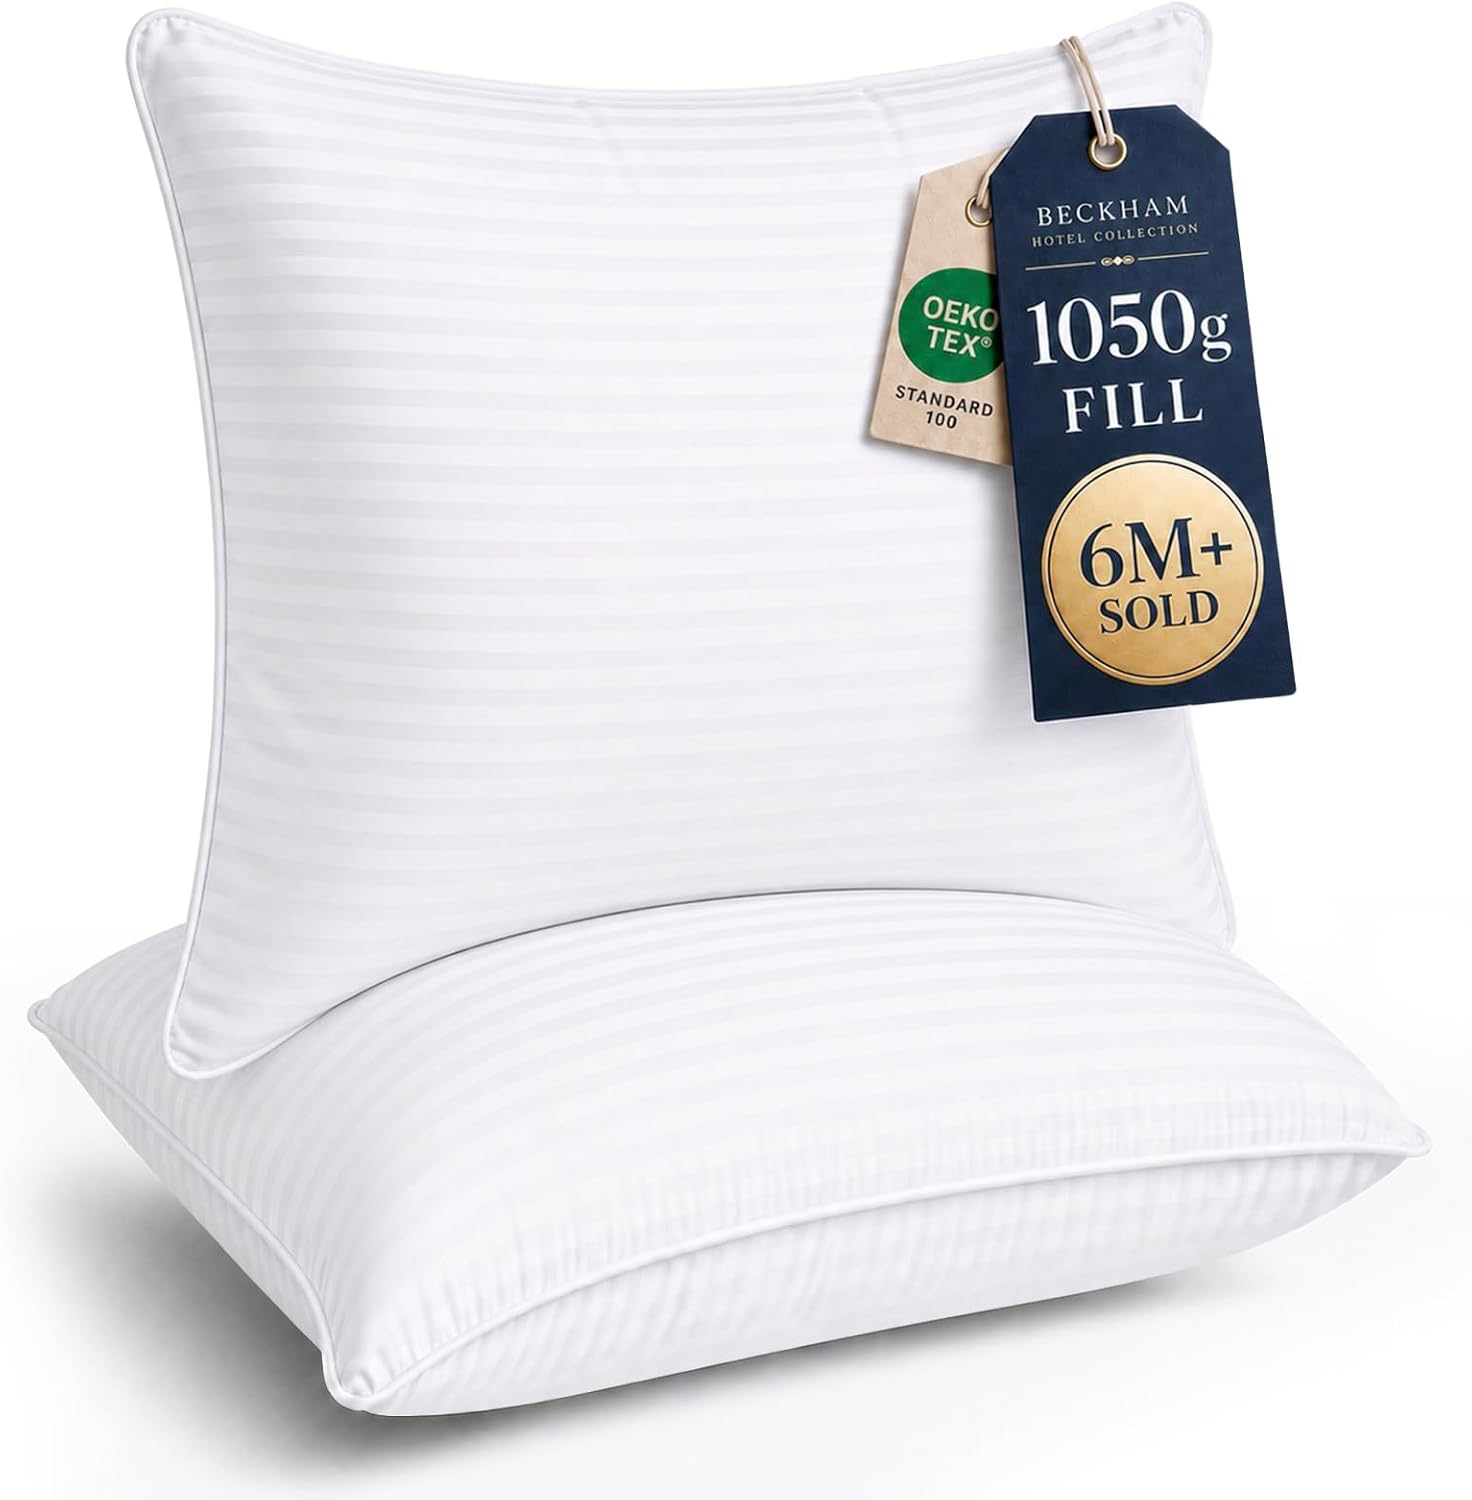
Down Alternative Euro Sham Inserts
My favorite pillows also come in a 26″ x 26″ Euro insert size! They have just the right balance of fullness and softness to make your shams look beautiful and feel comfortable. The down-alternative fill is also a great option if you prefer to avoid feathers.

Adjustable Bed & Mattress
We have luxury-firm split king mattresses with an adjustable base, and I’ll sing their praises forever! Each side has its own controls, so we can adjust our sleeping positions independently. And because a split king is essentially two twin XL mattresses side by side, I barely feel any movement when my husband turns over. It’s the best sleep I’ve had since we got married, and I can’t recommend this setup enough!

Colossal Hand Knit Blanket
My beautiful, chunky knit blanket comes in a bunch of colors. Its lovely texture is perfect for any bed or sofa!

Decorative Pillows
Lumbar pillows make a great decorative piece on a bed. It’s the finishing touch and you can bring in a variety of color, pattern and texture with a lumbar pillow. Etsy is a great place to find one!
Other Bedroom Sources

Sea Glass Coast Art
This gorgeous canvas wall art is a favorite abstract painting reproduction from Lindsay Letters. I chose the gold frame in the 48″ x 16″ size.
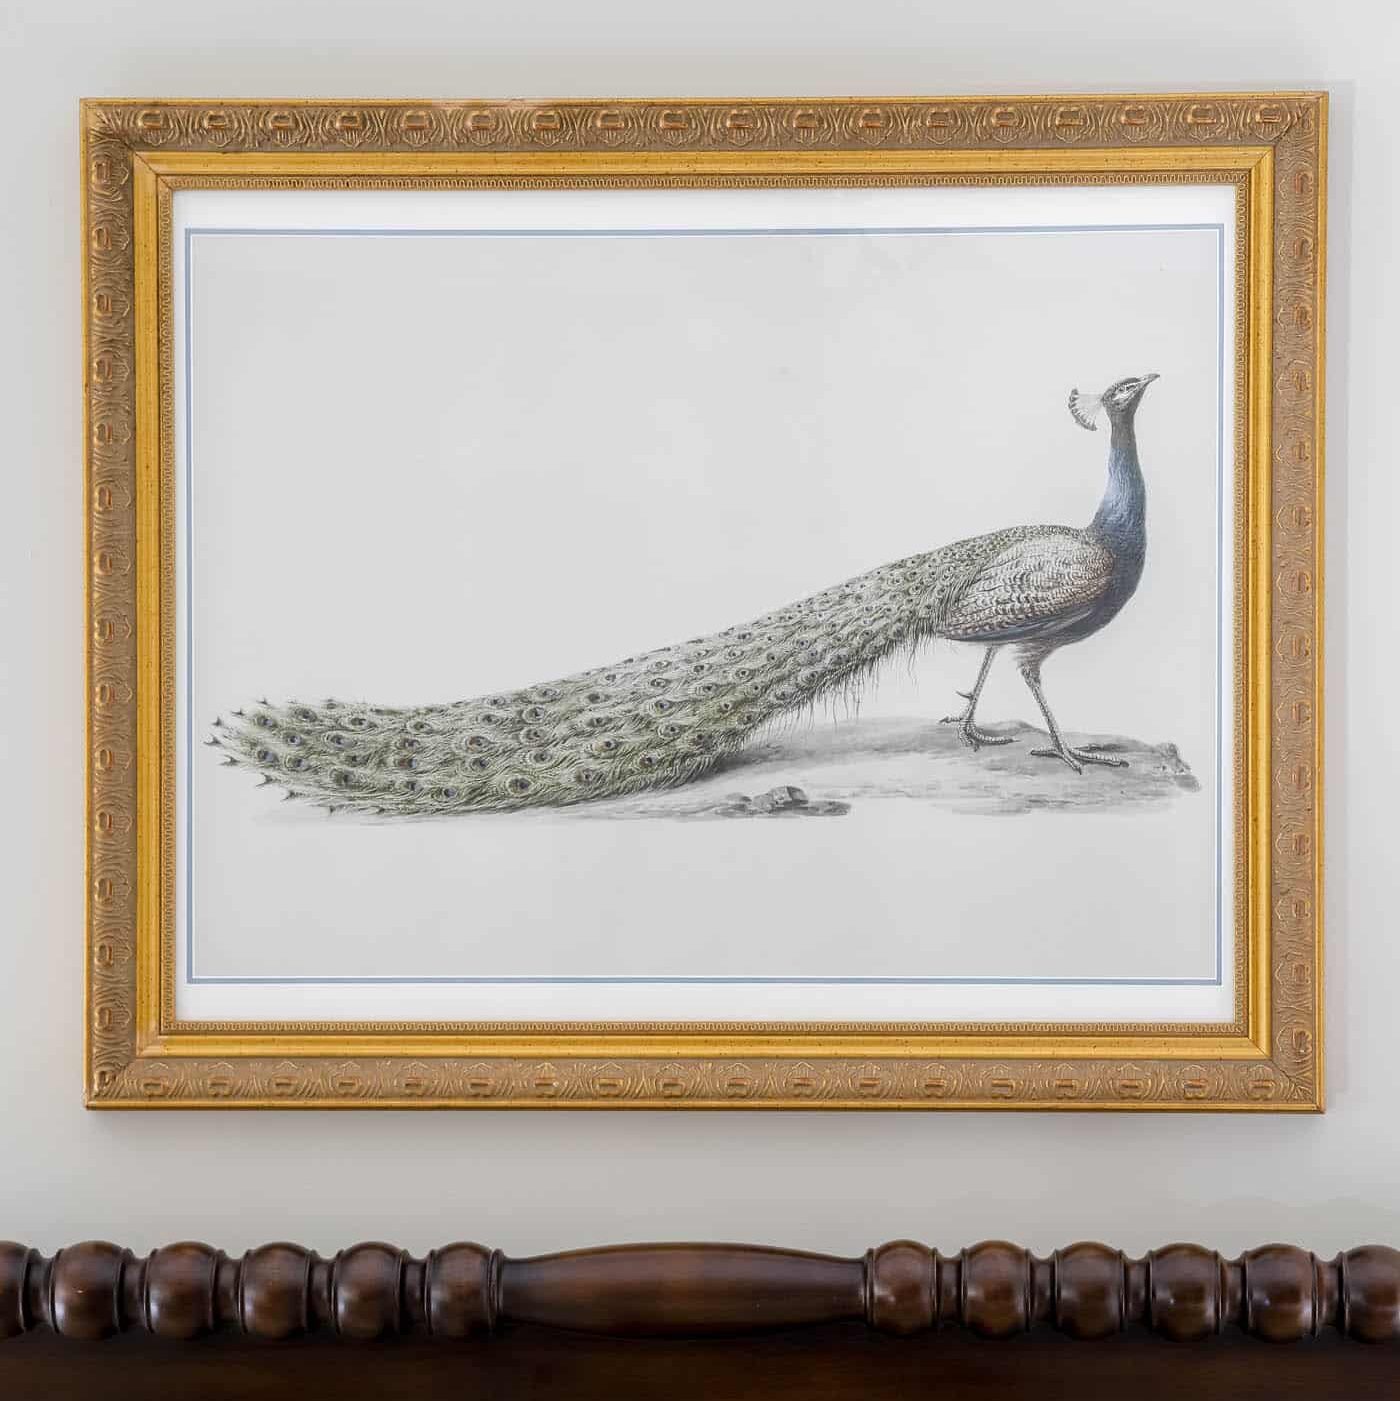
DIY Peacock Art
This peacock art was made with some downloaded art and a roadside find! Check out the DIY project to learn how to make your own!

Four-Poster Bed
Get the look of a 4-poster bed with this inexpensive wood bed frame. We have the king size and use our adjustable bed frames inside of it instead of the boards it came with or box springs.

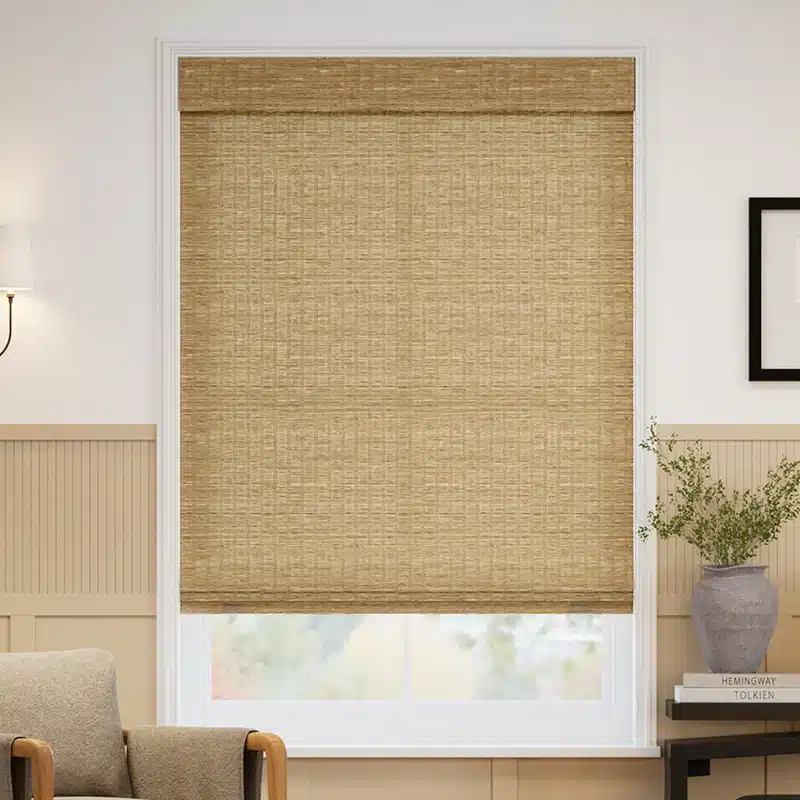
Woven Bamboo Shades
These Bamboo Blinds in Gold Beach are my favorite bamboo shades of all time! Yes, they are a little pricey, but I promise they are worth every single penny! I’ve installed these shades on 15 windows across two homes.

Ivory Linen Curtains
These beautiful, high end cotton-linen blend curtains are designed with a soft, luxurious drape. You can get them in light-filtering or black out style curtains.
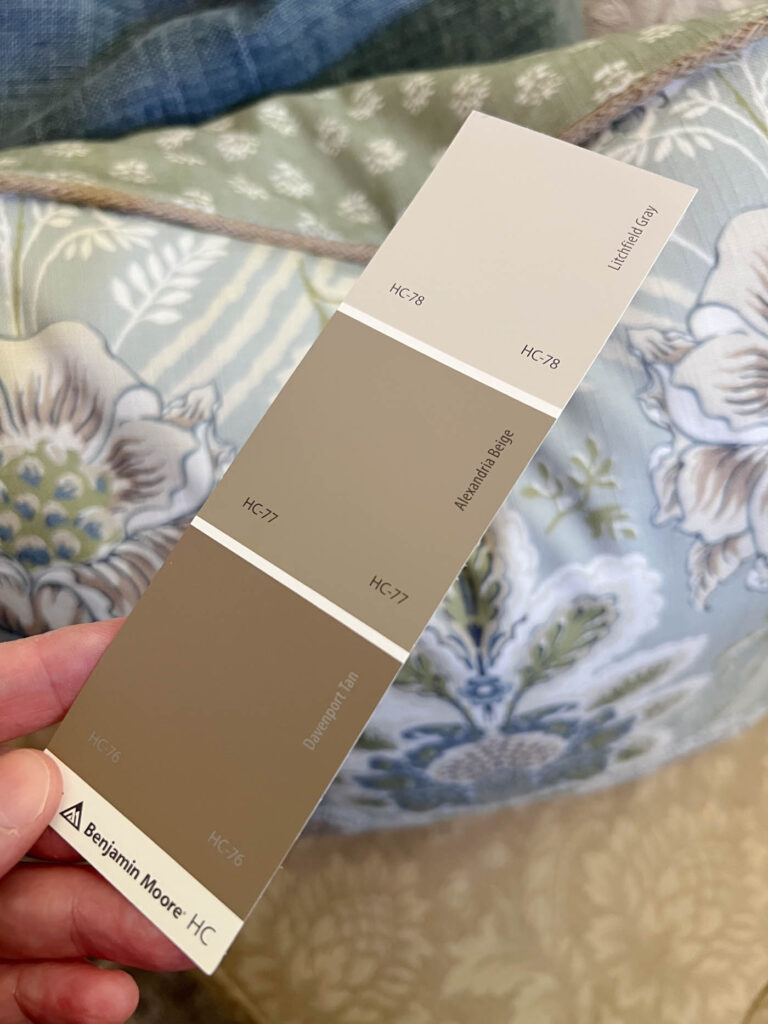
Wall Color
Our bedroom is currently painted Benjamin Moore Davenport Tan, a warm brown that creates such a cozy backdrop for our blue and ivory bedding!
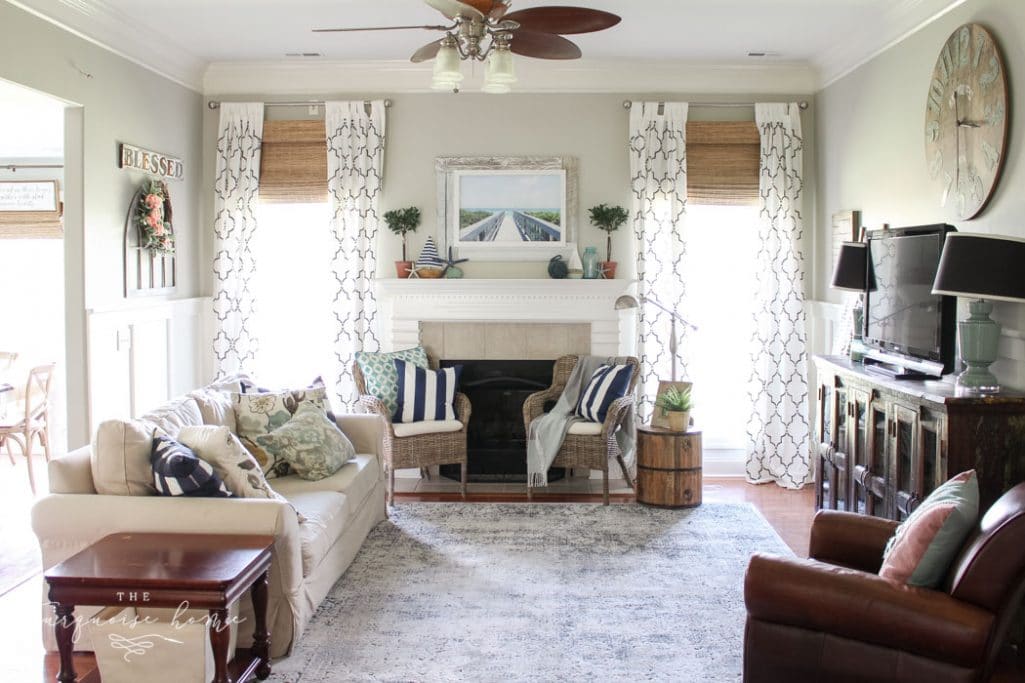
In the older photos, you’ll see Benjamin Moore Revere Pewter. It’s been one of my favorite neutrals for years. I loved it in our previous home and used it again when we moved here.

Brass Curtain Hardware
My exact curtain rod is no longer sold, but you can still get a matching curtain rod set and the curtain rings and standard finials I used. The brass hardware feels elevated and luxurious.

2-Drawer Nightstands
Our nightstands were one of my favorite bedroom splurges! Their generous size feels just right beside our king-size bed and gives me plenty of room for larger lamps. I especially love the recessed tops, which help keep everything in place.



This is beautiful. Just curious, does this mean you would sleep on top of the quilt? I wouldn’t think you would sleep under a quilt AND duvet/ comforter, right?
Hi Megan! We sleep under both in the winter/colder months. But in the summer we just leave the duvet folded at the bottom of the bed or we put it to the side when sleeping. Hope that helps! xo, Laura
I was looking at the Beckett bed on Wayfair like yours and it says not comparable with adjustable beds. We have the Saatva split king like you. So I guess I would be safe ordering this bed frame??
Should read “not compatible”
Hi Deb, I know I answered this via e-mail, but if anyone else is looking for the same question, I wanted to answer here. Yes, that bed worked with our adjustable king bed frame. We just didn’t put the slats in the bed. And the frame surrounds the adjustable bed just fine! xo, Laura
How do you keep your duvet cover in place? Did you sew some ties to your duvet insert?
Debby
Hi Debby, my duvet comes with loops on the corners and the duvet cover comes with ties on the inside corners. So, I do tie them together, but if I didn’t have those, I would add them. They help tremendously! Thanks so much for reading! xo, Laura
Hello Laura,
What a wonderful, helpful, article! I imagine that a lot of your readers will be dashing off to buy the ‘new’ bed sheets, etc.
I’m looking forward to doing just that!
Thanks again!
🙂 Win
They really are great sheets! We love them at our home. 🙂 Thanks for commenting, Win! – Laura
What color is your walls. Thanks! Thanks
Hi Erica, they are Revere Pewter! xo, Laura
thank you this was very helpful!
you’re so welcome! 🙂 – Laura
Love this post! It’s so helpful and simplifies how to layer your bed! Question about your duvet…did you get it in a size smaller than your bed or is it also a king? Thank you!!
Hi Kim,
The duvet is also king size. Hope this helps!
Yes, thank you!
Which blankets are you supposed to sleep under? The quilt and the comforter/duvet? I feel like that’s awfully hot. Or do you just sleep on top of the quilt and use the comforter on top?
Hi Whitney, we sleep under the duvet and quilt in the winter, but only the quilt in the summer. We just leave the duvet folded at the bottom in the summer, or take it off sometimes. Thanks!! Laura
Fabulous!!! Thanks for sharing. Happy 2022
I really enjoyed your post 6 steps to making the perfect bed.
You mentioned you lie in Alabama & I live in Tuscaloosa. Do you mind sharing where you live???
Thanks
Hi Linda, we live near the Huntsville area. 🙂
Beautiful bed, easy directions! Thank you!
I love your rig but couldn’t get the link to work?
Suggestions?
Thanks,
Melanie
Obviously, my comment should have said rug!
Melanie T
Hi Melanie – I’m sorry the link didn’t work. I’ll check it out. But here’s a link that should be working for the rug! https://rstyle.me/+dmzlw77ejCryZWASXV3n1Q
This looks great! Now that I have a taller headboard, I’ve decided I really need to invest in Euro shams for height and found some awesome ones on sale that coordinate with my quilt. Do you have a good source for Euro sham inserts? I know they are available lots of places but wanted to narrow down my options before I went down the rabbit hole of online shopping and reading reviews😬! It’s a real problem for me, as I get decision paralysis. Thanks!
Great article! I’ve always used a comforter on my bed. But I’ve been hearing duvet a lot from all of the bloggers I follow. Your 6 steps do make it look easy to have a pretty bed every day, and mine needs help!
Thanks!
Its a beautiful bed and of course I love the plaid bedding!! Keep it up Laura!!
Very pretty and calming bedroom. I like your simple directions. Thanks!
P.S. My husband is from Brantley, Alabama.
Thanks so much, Shirlee! (It’s a great state!) xo, Laura
I’ve always struggled with how to make the bed look put together. I have a question though. Which pillows do you sleep on? Do you have to remove the shams every night or do you have other pillows you sleep on? Thanks.
Hi Cathy, the pillows we sleep on are tucked behind the “pretty pillows.” We just take those off the bed each night and leave our sleeping pillows there!
Love the look of the bed and the colors are what I’ve been thinking of using! Could you say where the ivory quilt and shams are from?
Thanks!
Hi Julie, you can get the pick stick quilt and shams here!
I love this! You made it all very simple! Thank you!!!
You’re so welcome, Becky! I’m glad it helped you!!
Love this! It looks so easy. Thank you for posting.
You’re so welcome, Nancy! Thanks for reading!!
Hi Laura! I love the look of your bed. So inviting…
I come from the make-your-bed-every-single-day-before-leaving-your-room camp. My bed looks much like your original one, but with a patchwork bedspread instead of paisley.
I have a question:
What on Earth do you do with all those pillows at night? I’ve often wondered about this.
Do you heap them on the floor (or a chair)? (My room is too small to have a chair in it, and I feel I’d trip over the pillows on my way to the bathroom…..) Seems like so much extra work.
Regardless, I love the look of your bed!
Hi Lori, We have a large room, so we don’t trip over them. But for right now, the fit perfectly between the column and the wall to the left of our bed, so I just stack them up there. Eventually we will have a bench at the end of our bed, so we’ll put them there. Or once we get a chair in our room, we’ll put them there. With a smaller room, you’ll have to get more creative, but I bet it can be done! 🙂 – Laura
Hmmm… gotta put my thinking cap on and see if I can figure this out. 😉
Thanks!!