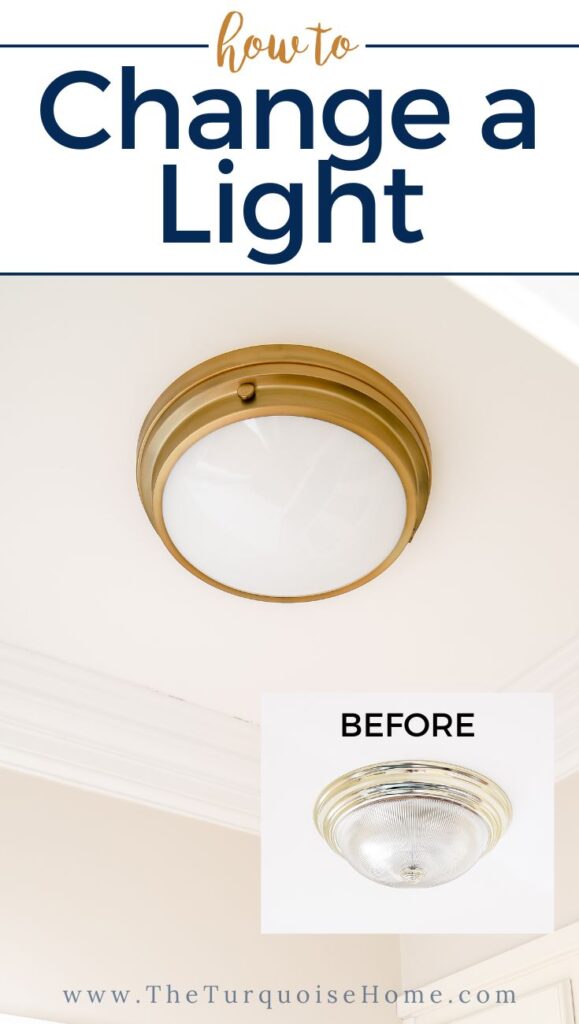
How to Change a Light Fixture
Learning how to change a light fixture is a simple way to update a home. New lighting easily makes a room feel updated, almost instantly!
When we moved into our first home, I waited entirely too long to change the light fixtures. I was paralyzed by the idea of working with electricity. So, after probably 5 years, I asked my husband to help me change the chandelier in our former dining room. It was stressful, but we had no idea what we were doing. Now, many light swaps later, it’s not big deal to change out a light fixture!
This post contains affiliate links for your convenience. See my full disclosure policy.
In fact, we’ve been in our current home for less than 3 years and I’ve replaced 10 of the lights in our home. And eventually we’ll replace them all!
Quick note: this DIY project requires you to work with electricity. It’s so important to turn off the electricity to the light junction box you’re working with. Electricity should be handled with extra care. If you feel at all uncomfortable with doing that, please call an electrician. Please be safe and if you feel comfortable that you CAN turn off the electricity, you can tackle this simple DIY.
I love sharing my best tips and tools for DIY with you! I’ve shown you how to remove dry wall anchors and how to select the best light bulbs, as well as my top 5 tools for a beginner DIYer! I hope these help you create a home you love on a budget!
- What You Need to Change a Light Fixture
- How to Replace a Light Fixture
- 1. Choose a New Light Fixture
- 2. Turn Off Electricity to Light
- 3. Remove the Old Fixture
- 4. Disconnect the Electrical Connections
- 5. Prep to Install the New Light
- 6. Replace Grounding Bar in the Box in the Ceiling, if needed
- 7. Connect the New Wires
- 8. Secure the Light to the Mounting Bracket
- 9. Add Lightbulbs and Install the Light Shade(s)
What You Need to Change a Light Fixture
- New Light Fixture
- Wire Cutter and Stripper
- Ladder
- Power Drill or Screwdrivers (both Philips and flat head)
- Electric voltage tester, optional
- A helper is nice, too!
How to Replace a Light Fixture
1. Choose a New Light Fixture
Choosing a new light when replacing a light fixture can sometimes be the hardest part! Narrowing down my favorites is always hard, but I have several lighting posts that will help you pick one out if you’re stumped.
- 17 Beautiful Dining Room Chandeliers
- 15 Flush Mount Lighting Ideas For Your Home
- Modern Wall Sconces for Every Budget
- Gorgeous Kitchen Chandeliers You’ll Love
- Traditional Brass Chandelier in the Kitchen
2. Turn Off Electricity to Light
Turning off the power to the light fixture by finding the switch on the breaker box and flipping it off. I will leave the light on while I flip the switch and when it turns off, the electricity is off! I always check by flipping the light switch a couple of times to make sure and then leave it in the off position.
And if you have an electrical voltage tester tool, this is a good time to use it!
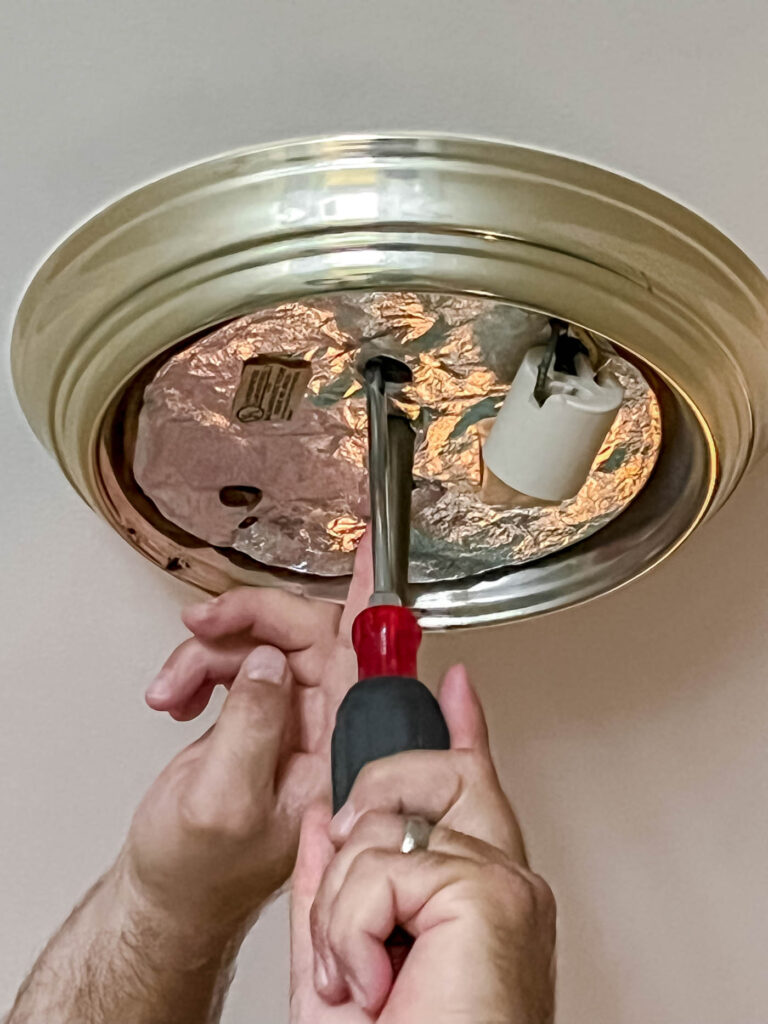
3. Remove the Old Fixture
Usually the old light is screwed into the mounting bar or electrical box on the wall or ceiling. So, find the screws and unscrew it. This will allow you to pull the light away from the ceiling in order to reach the electrical connections.
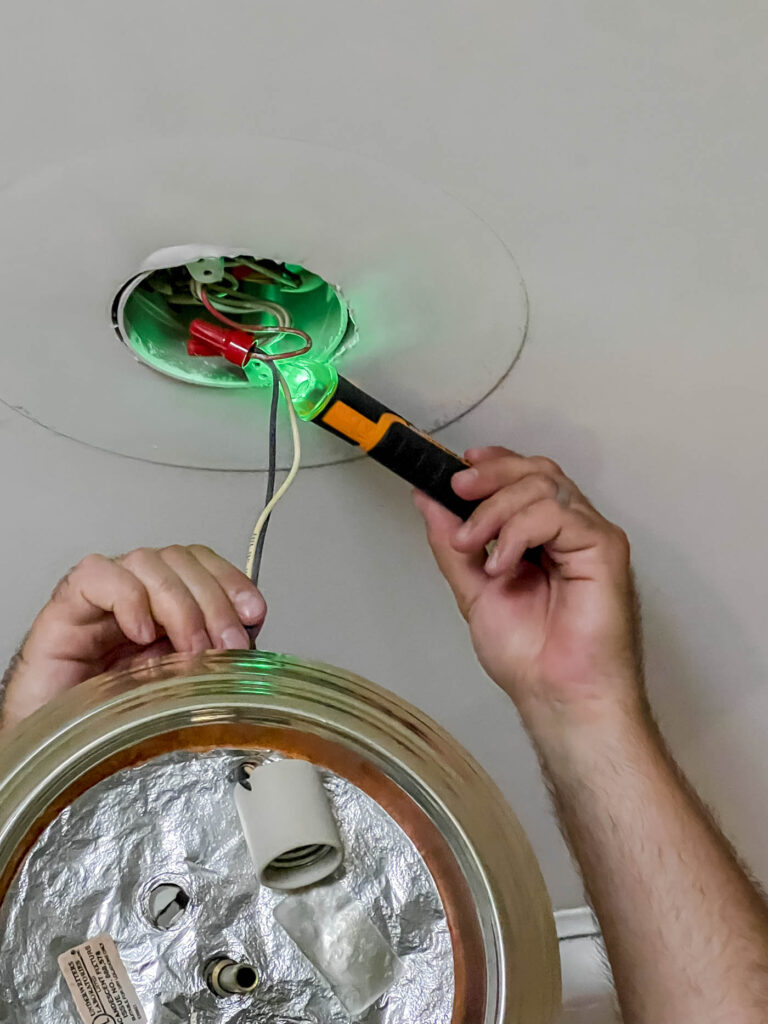
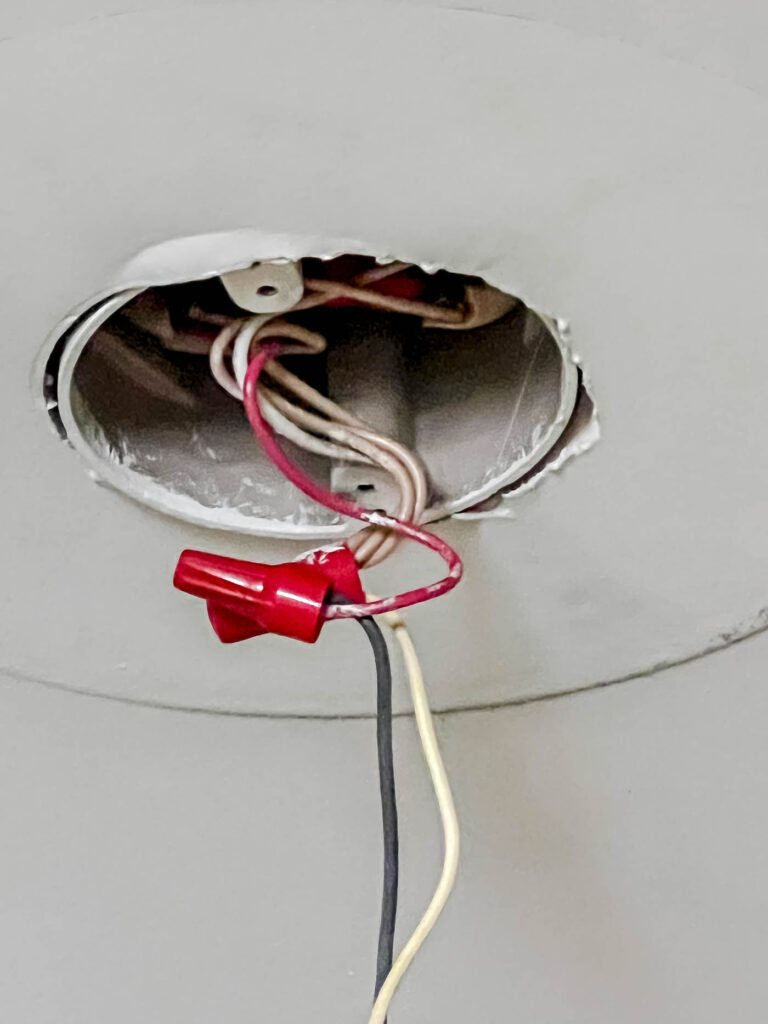
4. Disconnect the Electrical Connections
I recommend taking a picture of the connections before disconnecting them. That way, if you have questions later, you have a reminder of how it was connected.
Untwist the wire nuts and the light should be ready to come down!
5. Prep to Install the New Light
Read the new light’s instructions before installing. Usually a new fixture comes with wires, wire connectors, screws and a new cross bar.
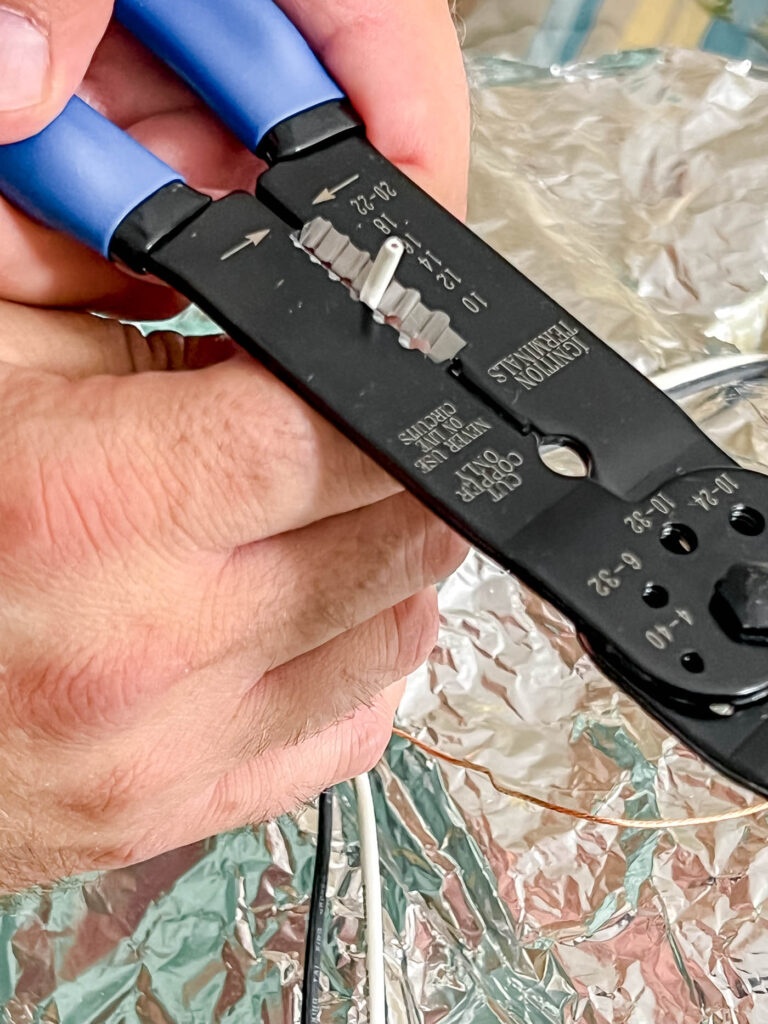
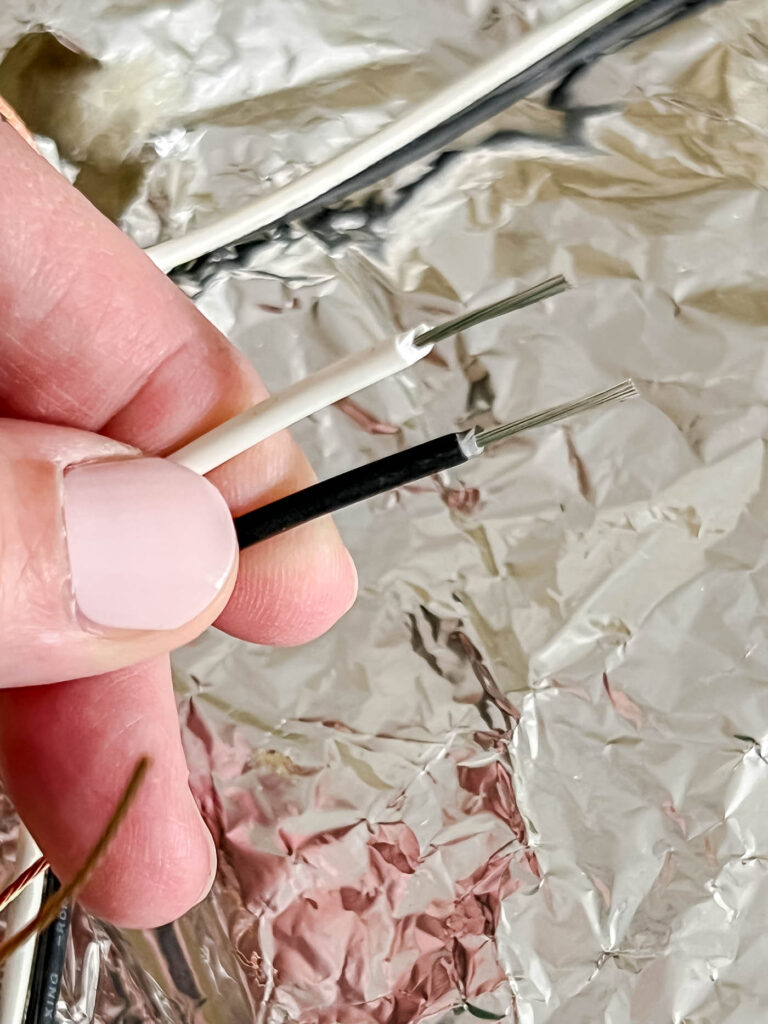
Some light fixtures will have the wire coating cut on the wires, so you can easily pull it off. Some wires will need you to use wire strippers. Either way, you’ll want about a 1/2 inch of wire exposed on the ends.
If there are more than 1 white wire or more than 1 black wire, twist them together before you get up on the ladder.
6. Replace Grounding Bar in the Box in the Ceiling, if needed
Different lights need different cross bars (or grounding bars), so see if the two lights you’re using have the same type of cross bar. If they are different, replace the one that’s there with the new one that came with the new light. If they are the same, and the original one is in good condition, you can leave it in place!
Our old light didn’t have a cross bar, so we had to install the new one. This is how the light attaches to the ceiling. It also will include a green grounding screw for the grounding wire to connect to, if the fixture junction box doesn’t have a grounding wire (copper wire).
7. Connect the New Wires
It’s usually helpful to have two people on this step, so one person can hold the light while the other attaches the wires!
Locate the grounding wire (copper wire) on the new light and either connect it to the copper wire in the light box with a wire connector, or wrap it around the green screw on the cross bar.
Then attach the rest of the electrical wires. Typically there are two wires coming from the ceiling, one white and one black. The white wire connects to the white wire on the light, and the black (hot) wire connects to the black wire on the light by twisting them together with wire nuts until they won’t twist anymore.
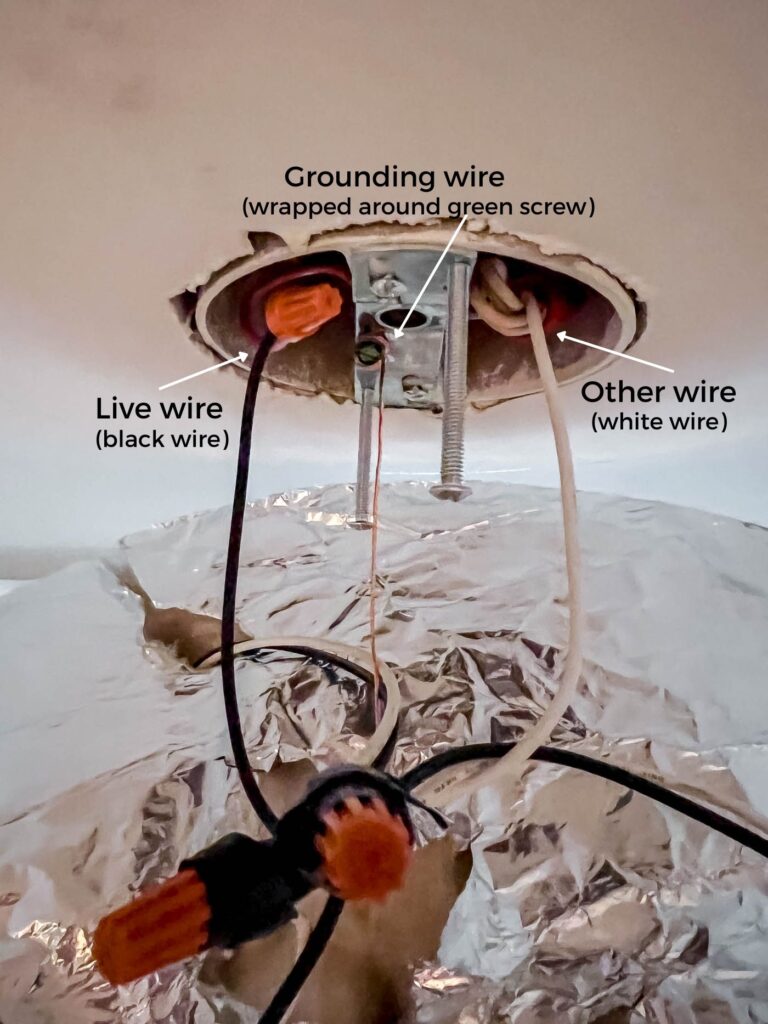
In our case, the hot wire from the ceiling was red, so we attached the red wire to the black wire on the light.
Push the wires up into the junction box as best you can.
8. Secure the Light to the Mounting Bracket
Follow the instructions that came with the light fixture for this part. The attachment methods vary widely.
9. Add Lightbulbs and Install the Light Shade(s)
You’ll want to follow the light bulb recommendations on the light fixture. I have a great post on how to choose the best light bulb for each room in your home. It really makes a big difference in the feeling of your home!
Then add the shades or the cover, per your light.
And you’re done! It’s time to step back and enjoy your new light and how it updates your space, beautifully! I hope that learning how to change a light fixture will help you make your home your own!
More Posts You Will Love: