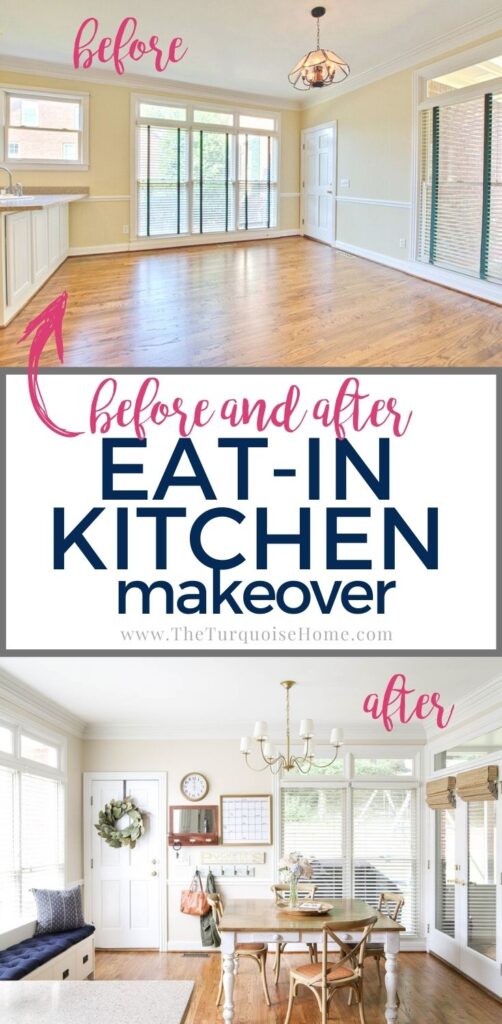
Traditional Eat-In Kitchen Makeover
Our eat-in kitchen makeover is done! Our kitchen nook got a little glow up this week, so I decided to share the small space before the big reveal. I love how it turned out!
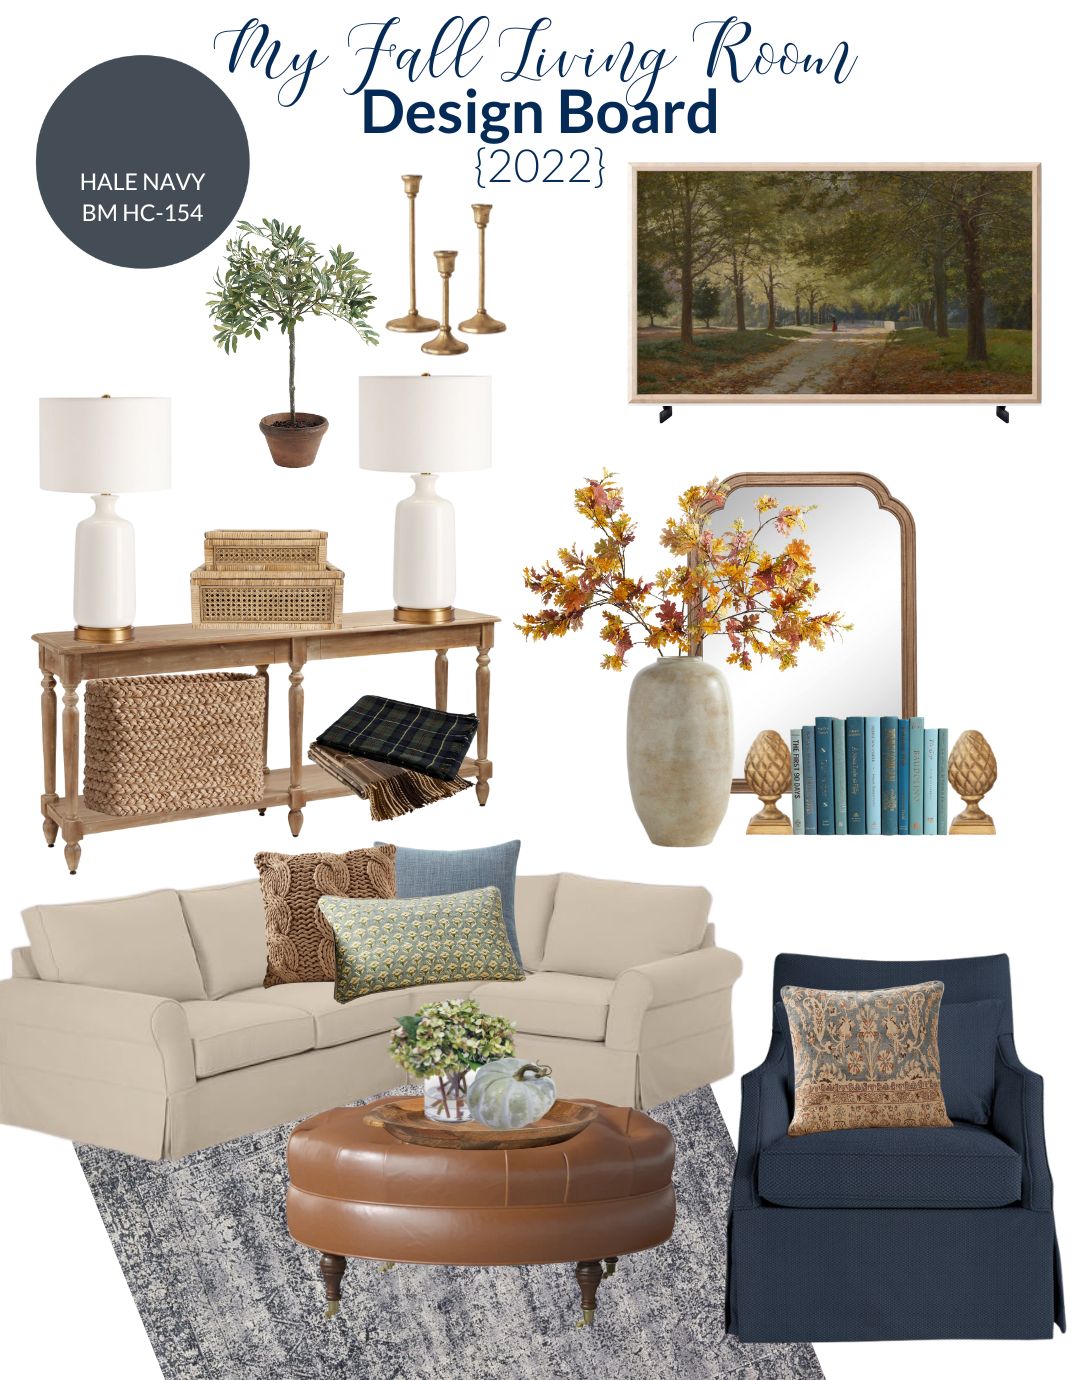
You may remember our kitchen makeover vision board from almost a year ago… 😳 Soooo long ago! Little did I know it would take a year to finish up these minor changes. But alas, shipping delays and decision fatigue on my part were a big part of it taking forever.
This post contains affiliate links for your convenience. See my full disclosure policy.
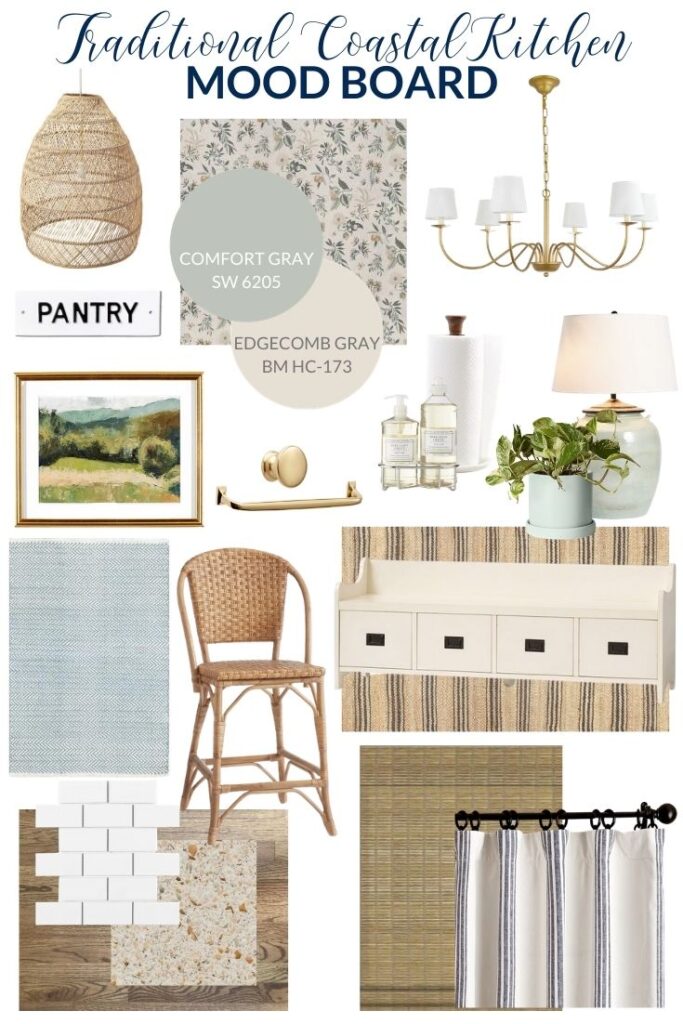
Tap/Click the Images Below to Shop This Look:

So, since this side of the kitchen is finally done, I thought I’d share it first!
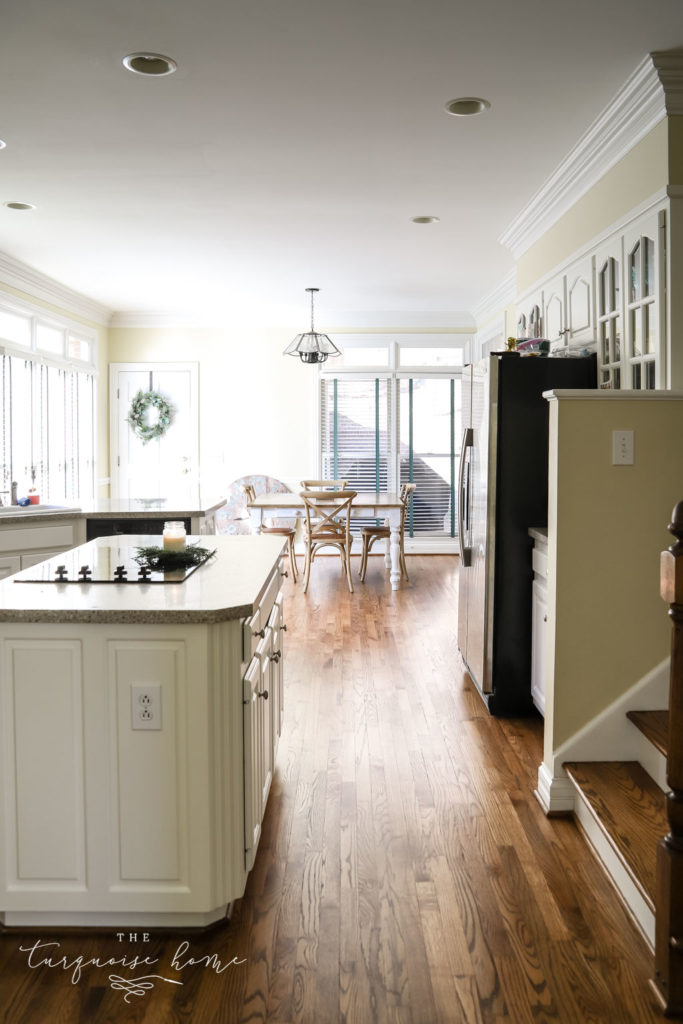
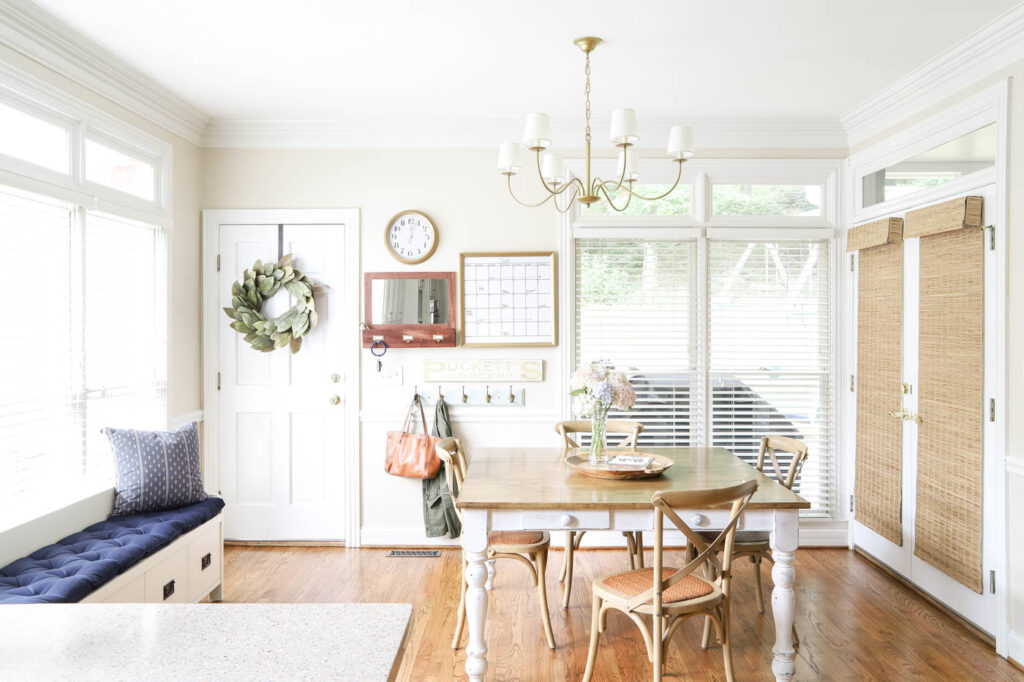
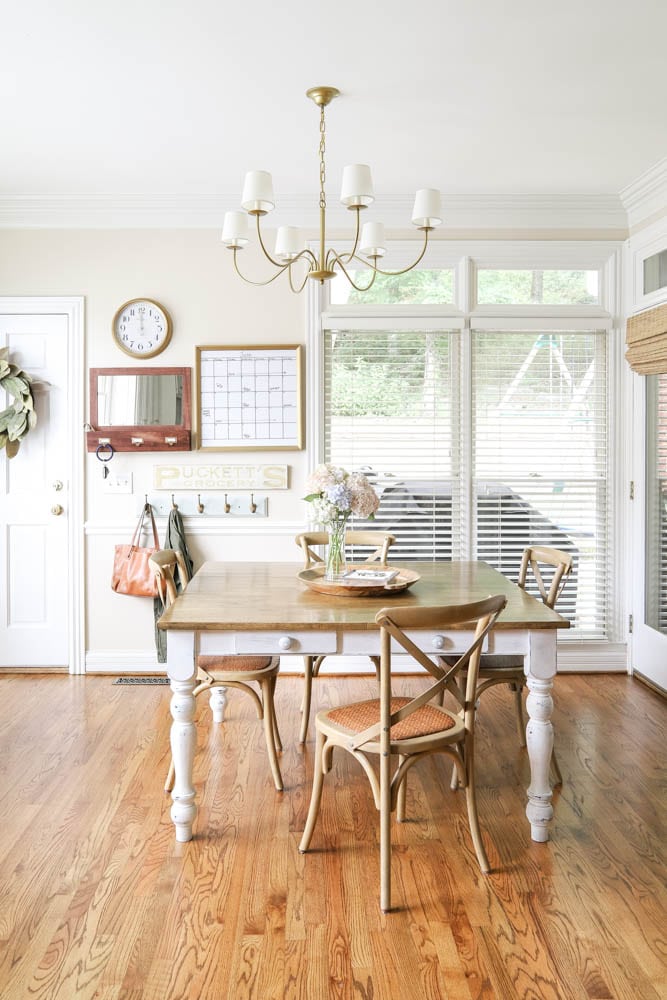
First of all, our eat-in kitchen area is mostly windows, plus French doors leading to our screened-in patio and a door leading to our garage. So, not only is it where we eat our meals and do projects but it’s a pass through room. We LIVE in this part of our home.
I love all of the natural light in this space. Since the garage door is the door we use to enter and exit our home 99% of the time, I needed to make this room functional for our stuff as well. And since so much of the room is windows and doors, it didn’t leave me much room for adding function.
The closest coat closet is near our front door, so it would be next to impossible to get my family to around to the other side of the house to store their bags and shoes. So figuring out how to make this space both beautiful and functional was high on my list of priorities!
Starting the Makeover
First things first, I had the whole main floor common areas (kitchen, hallway and entry way) painted Edgecomb Gray. Then we removed all of the blinds in the living room and added curtains in there. Thankfully the windows in the living room are the exact same size in the eat-in kitchen, so I was able to swap the blinds and remove the kitchen blinds with the hunter green cloth tape. 🙌🏻
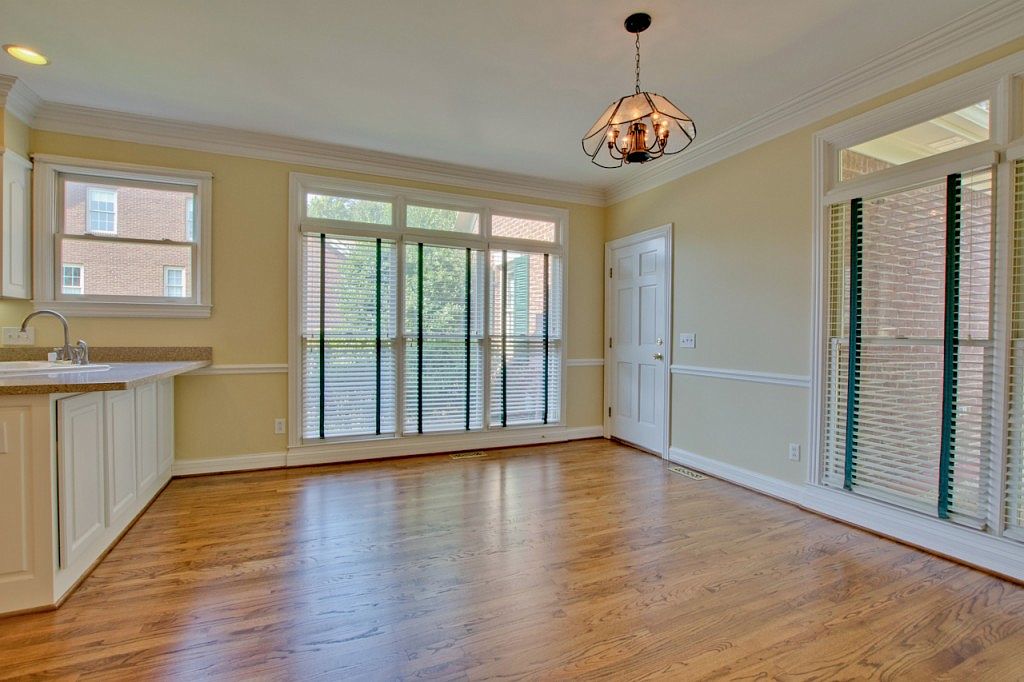
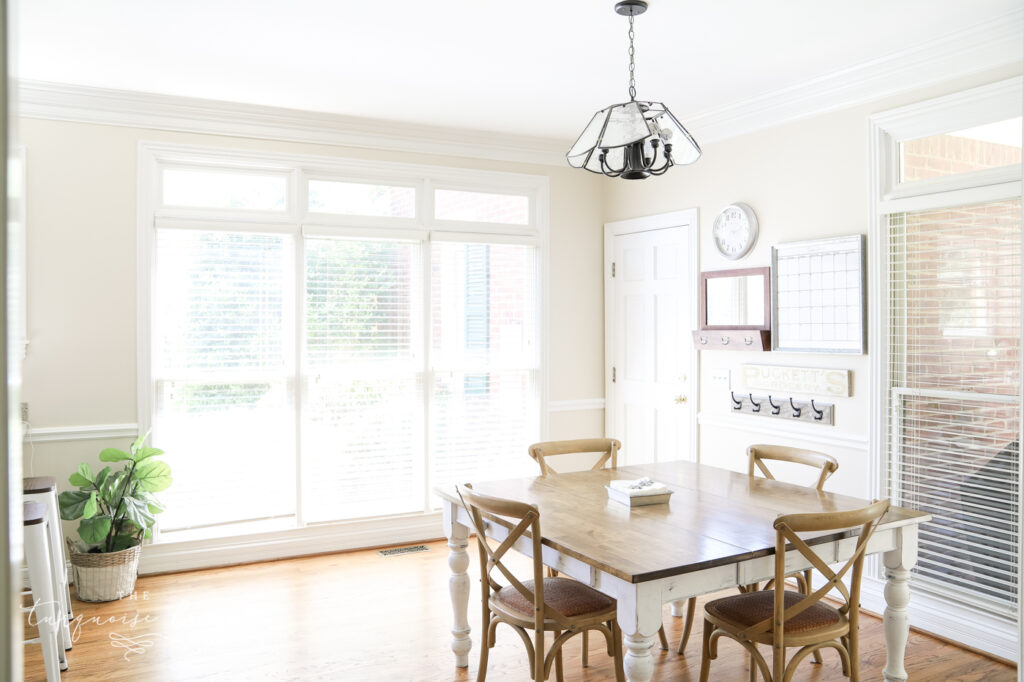
Next thing to do was to change out the light over the table. The light in the above picture was old, broken and not my style. It wasn’t until one of the glass panes started sliding out that we realized we needed to replace it ASAP. So, we did that last summer.
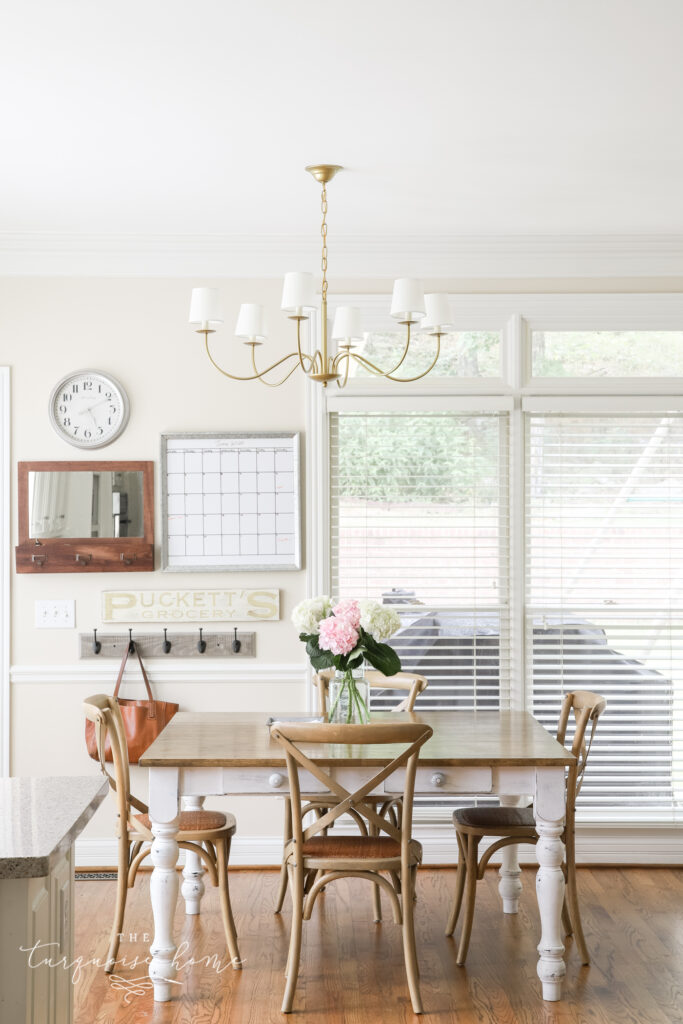
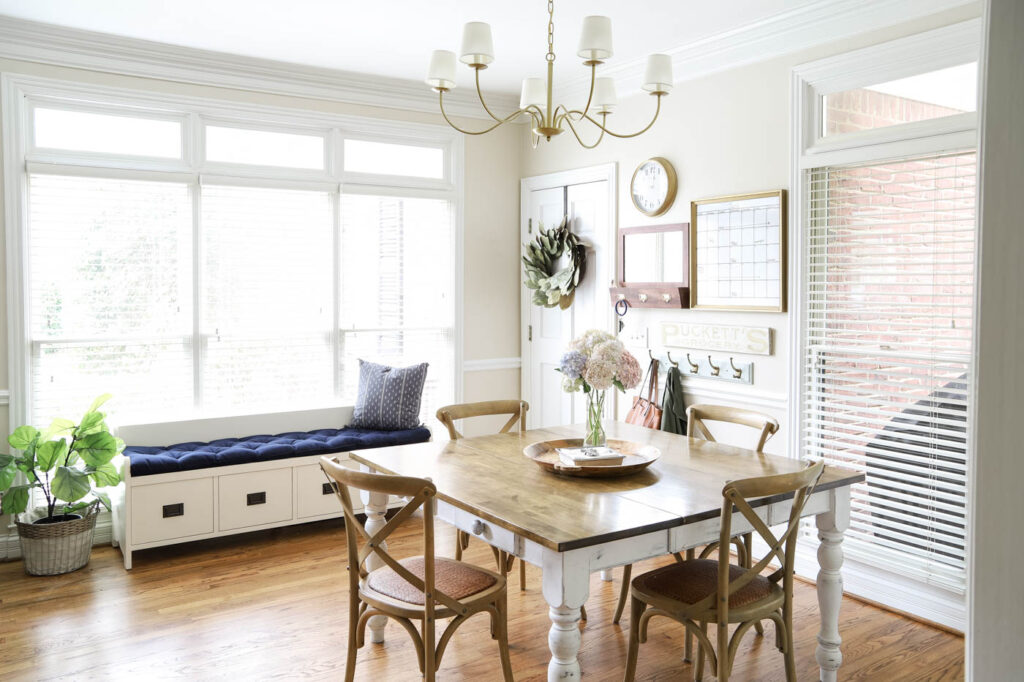
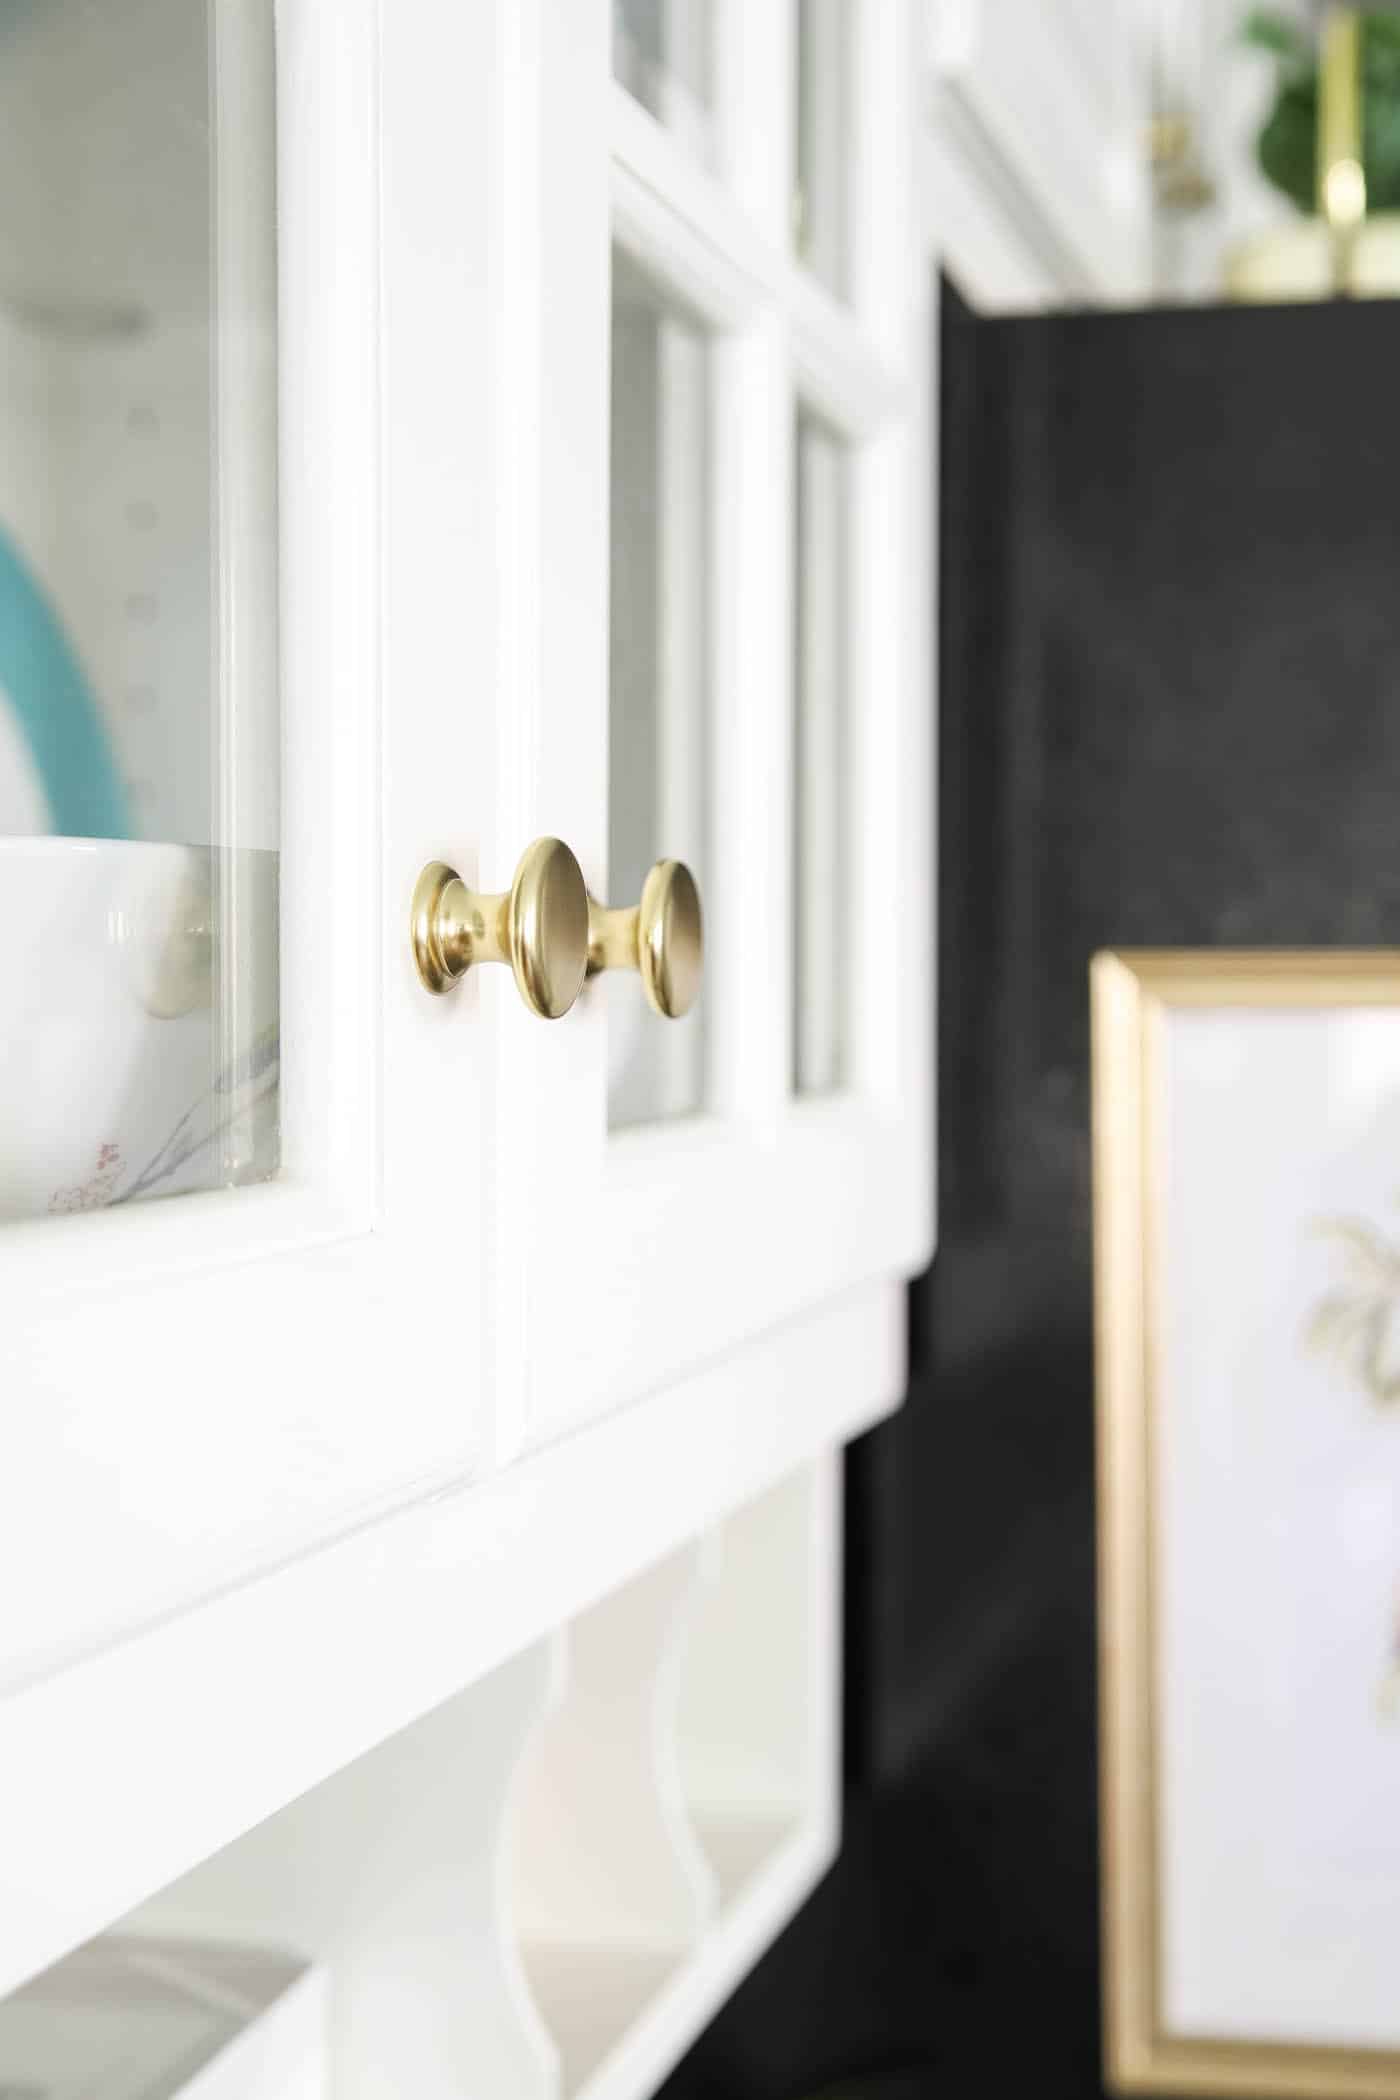
I love the budget-friendly traditional brass chandelier we picked and it still makes me smile every time I am in the kitchen.
If you need help replacing your own kitchen chandelier, check out these Gorgeous Kitchen Chandeliers You Will Love.
We brought the table and chairs with us from our old house and they worked perfectly in this space, so no need to change them!
Our Drop Zone Glow Up
Those three changes made a huge impact. But then I had to figure out how to make a drop zone for all of our bags and my husband’s stuff (glasses, pocket knives, wallet, etc.).
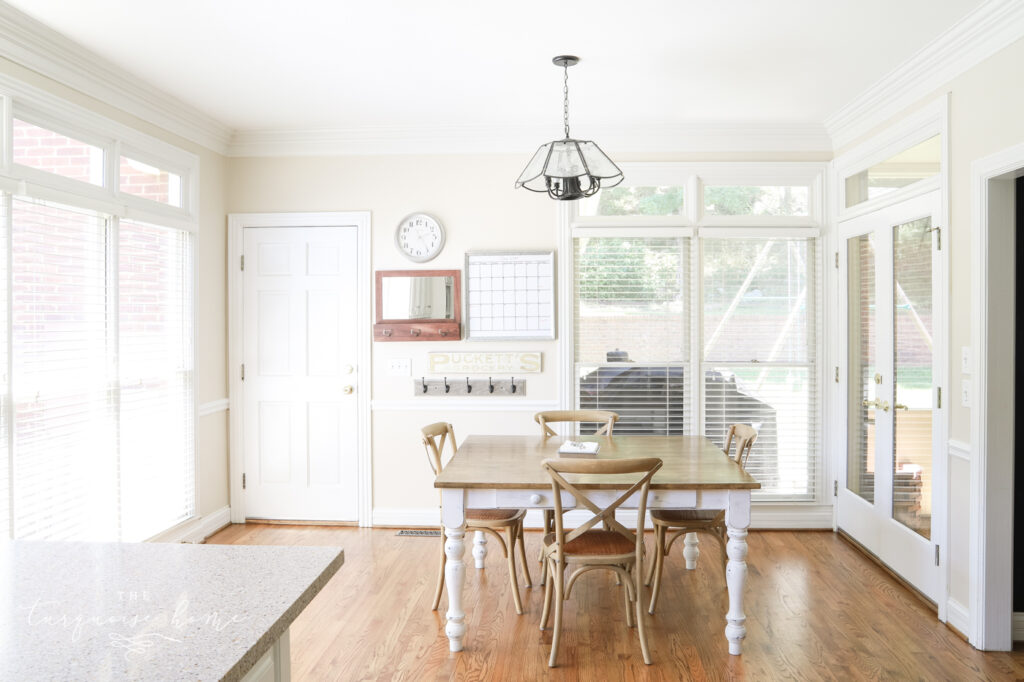
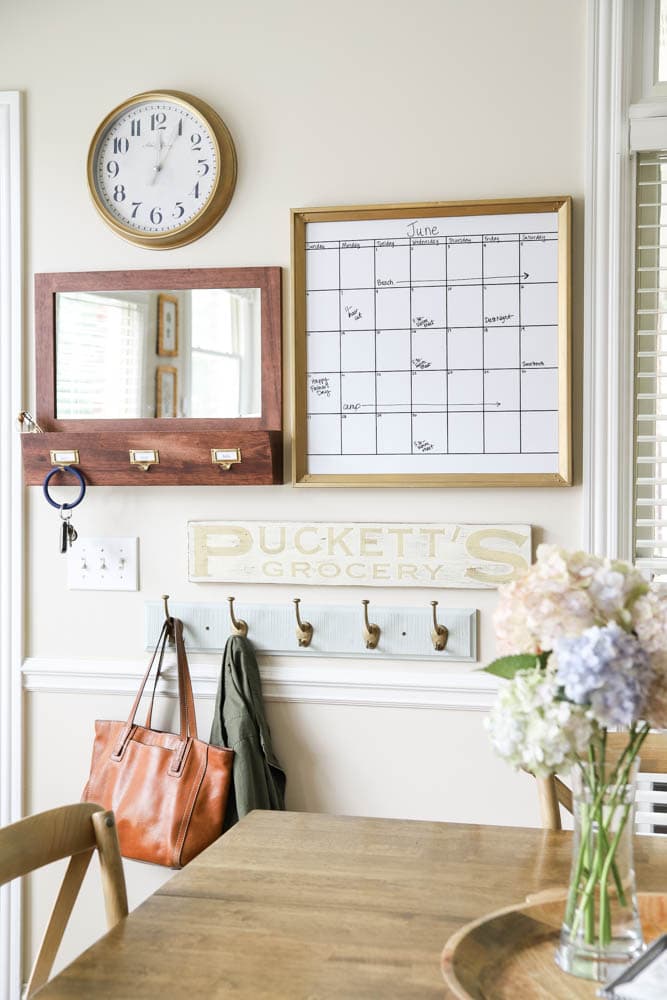
So, I took the small amount of wall space I had to work with and made it a drop zone for the family. I already had the clock, mirror with cubbies (from Target 10+ years ago) and the “Puckett’s” sign. And I added the wall calendar and row of hooks.
I never loved it all together, because I felt like it looked like a hodge-podge of things in the wall. But I thought they might be temporary, or I could paint or refinish some of then if needed. I also wanted to wait and see if it worked for our family’s needs.
You May Also Like:
Well, after over a year of having the drop zone this way, I can tell you that it works for our family! The hooks are perfect for the girls’ backpacks and coats during the school year and our hats and bags for the summer. The clock and calendar help keep us on track. And the mirror and cubbies are perfect for a last minute hair check and a place for my husband to empty his pockets.
So, I went on a mission to make it all look more cohesive.
Enter Rub ‘n Buff. The magical metal colored wax that was all the rage about 10 years ago. Haha! I never really picked up the stuff until last year. I’ve always used spray paint or paint. But Rub ‘n Buff is a wax and I thought it would be perfect for making this drop zone look more cohesive.
I tried 3 different colors: Antique Gold, Grecian Gold and European Gold. And the winner was European Gold. I found this Rub ‘n Buff color guide helpful when it came to picking out colors. And if you need a tutorial, there are tons out there, so just google them. I love how it all turned out!
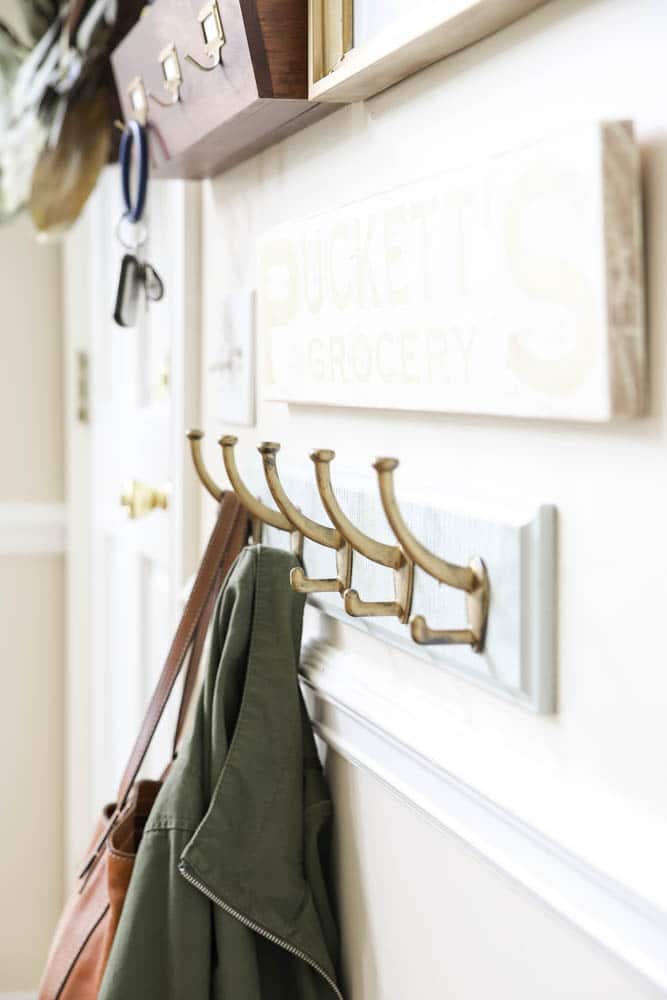
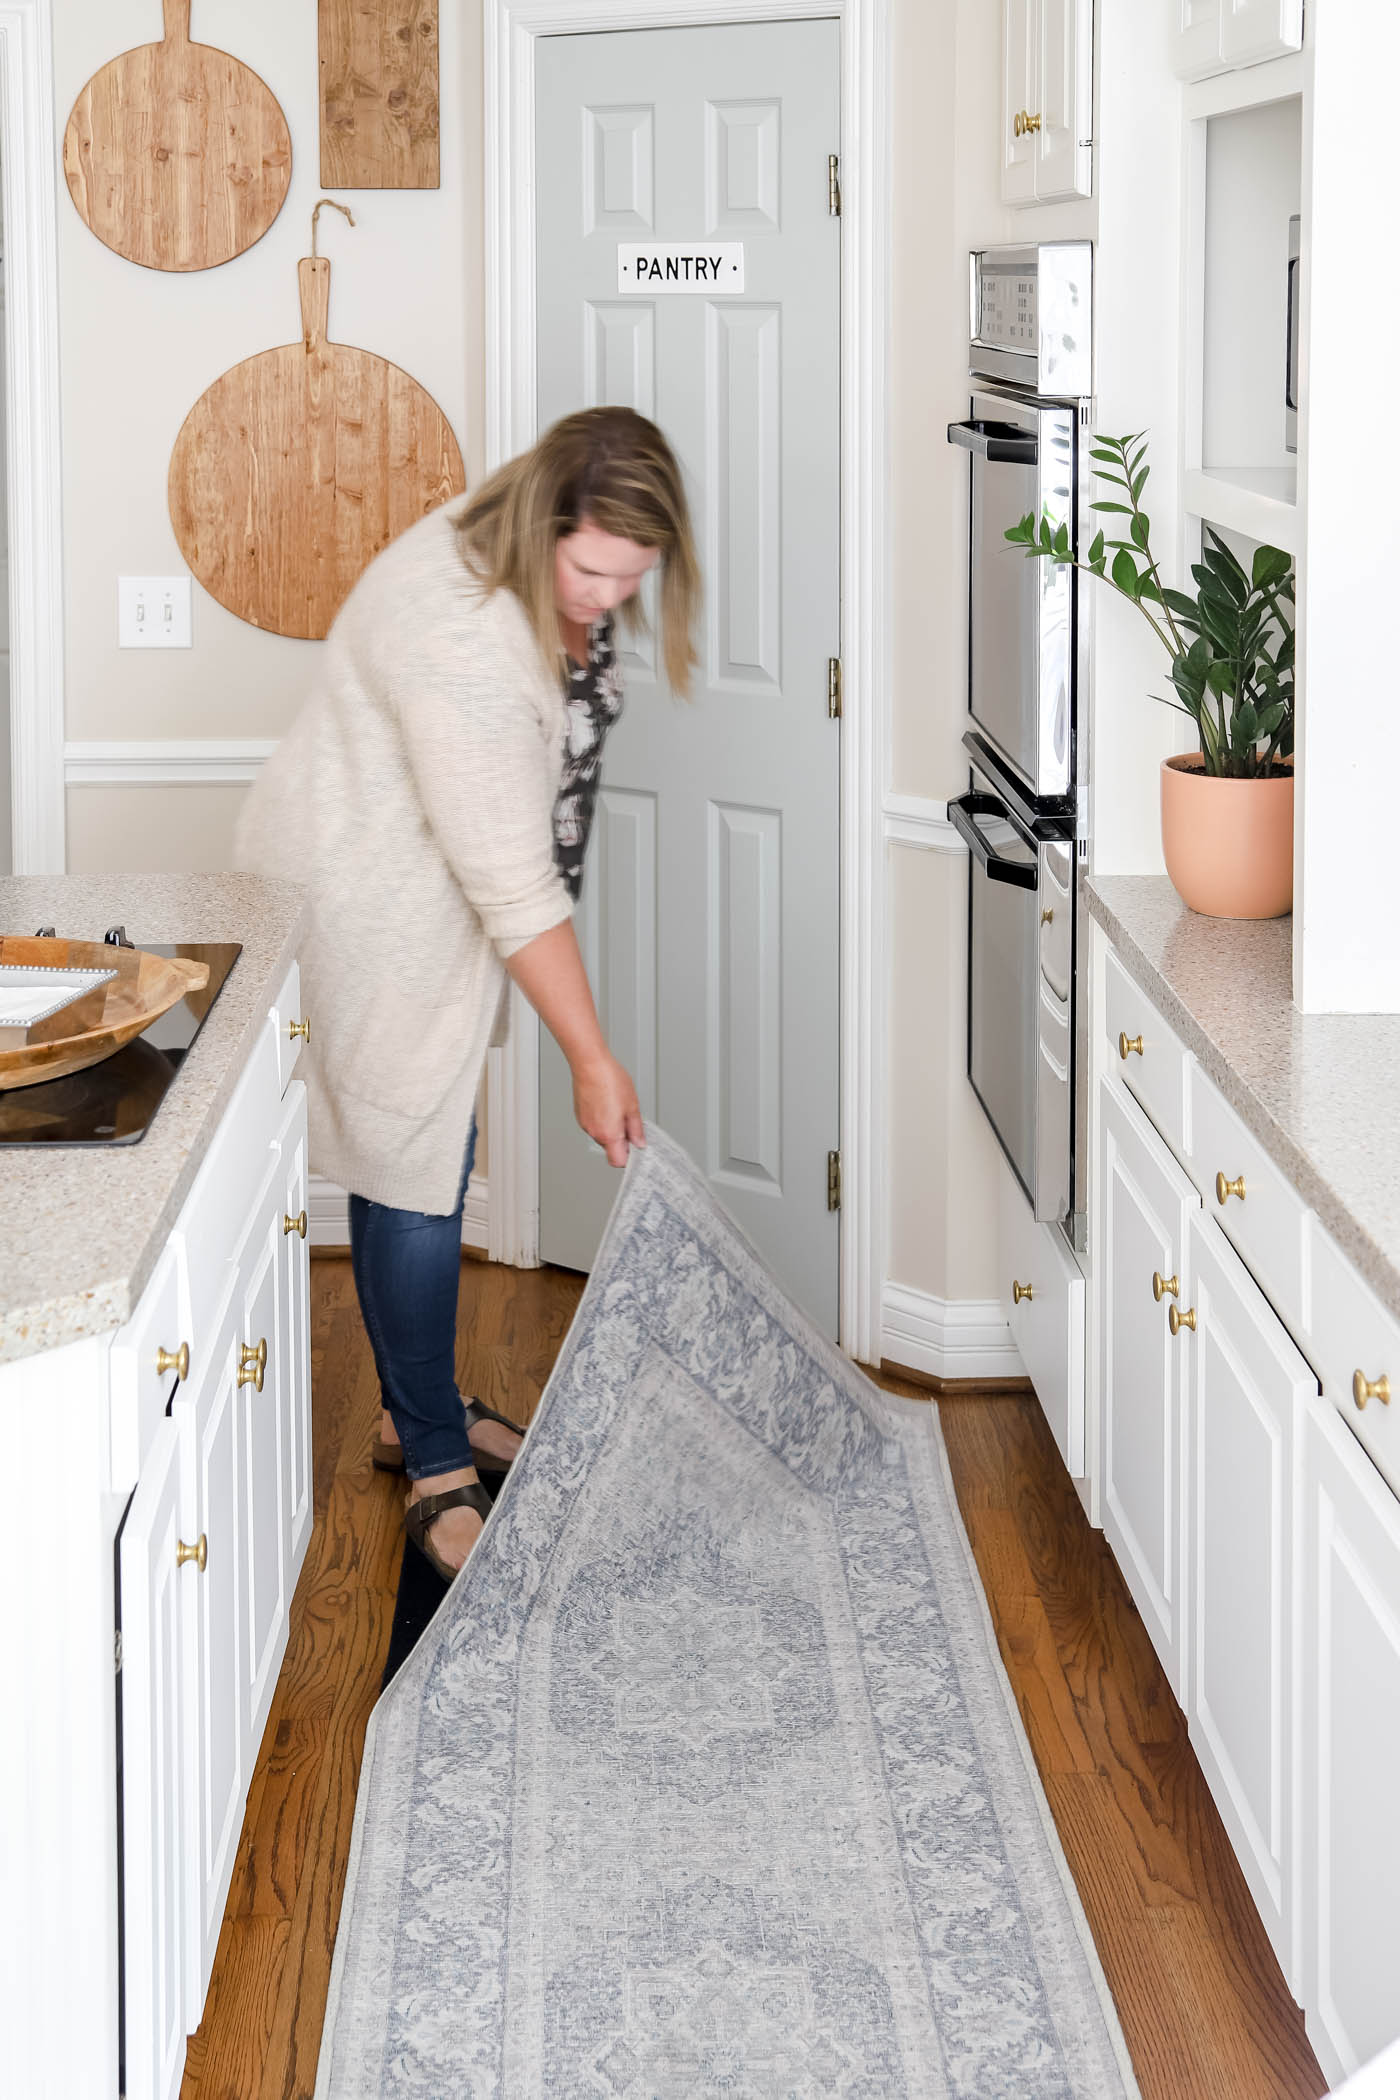
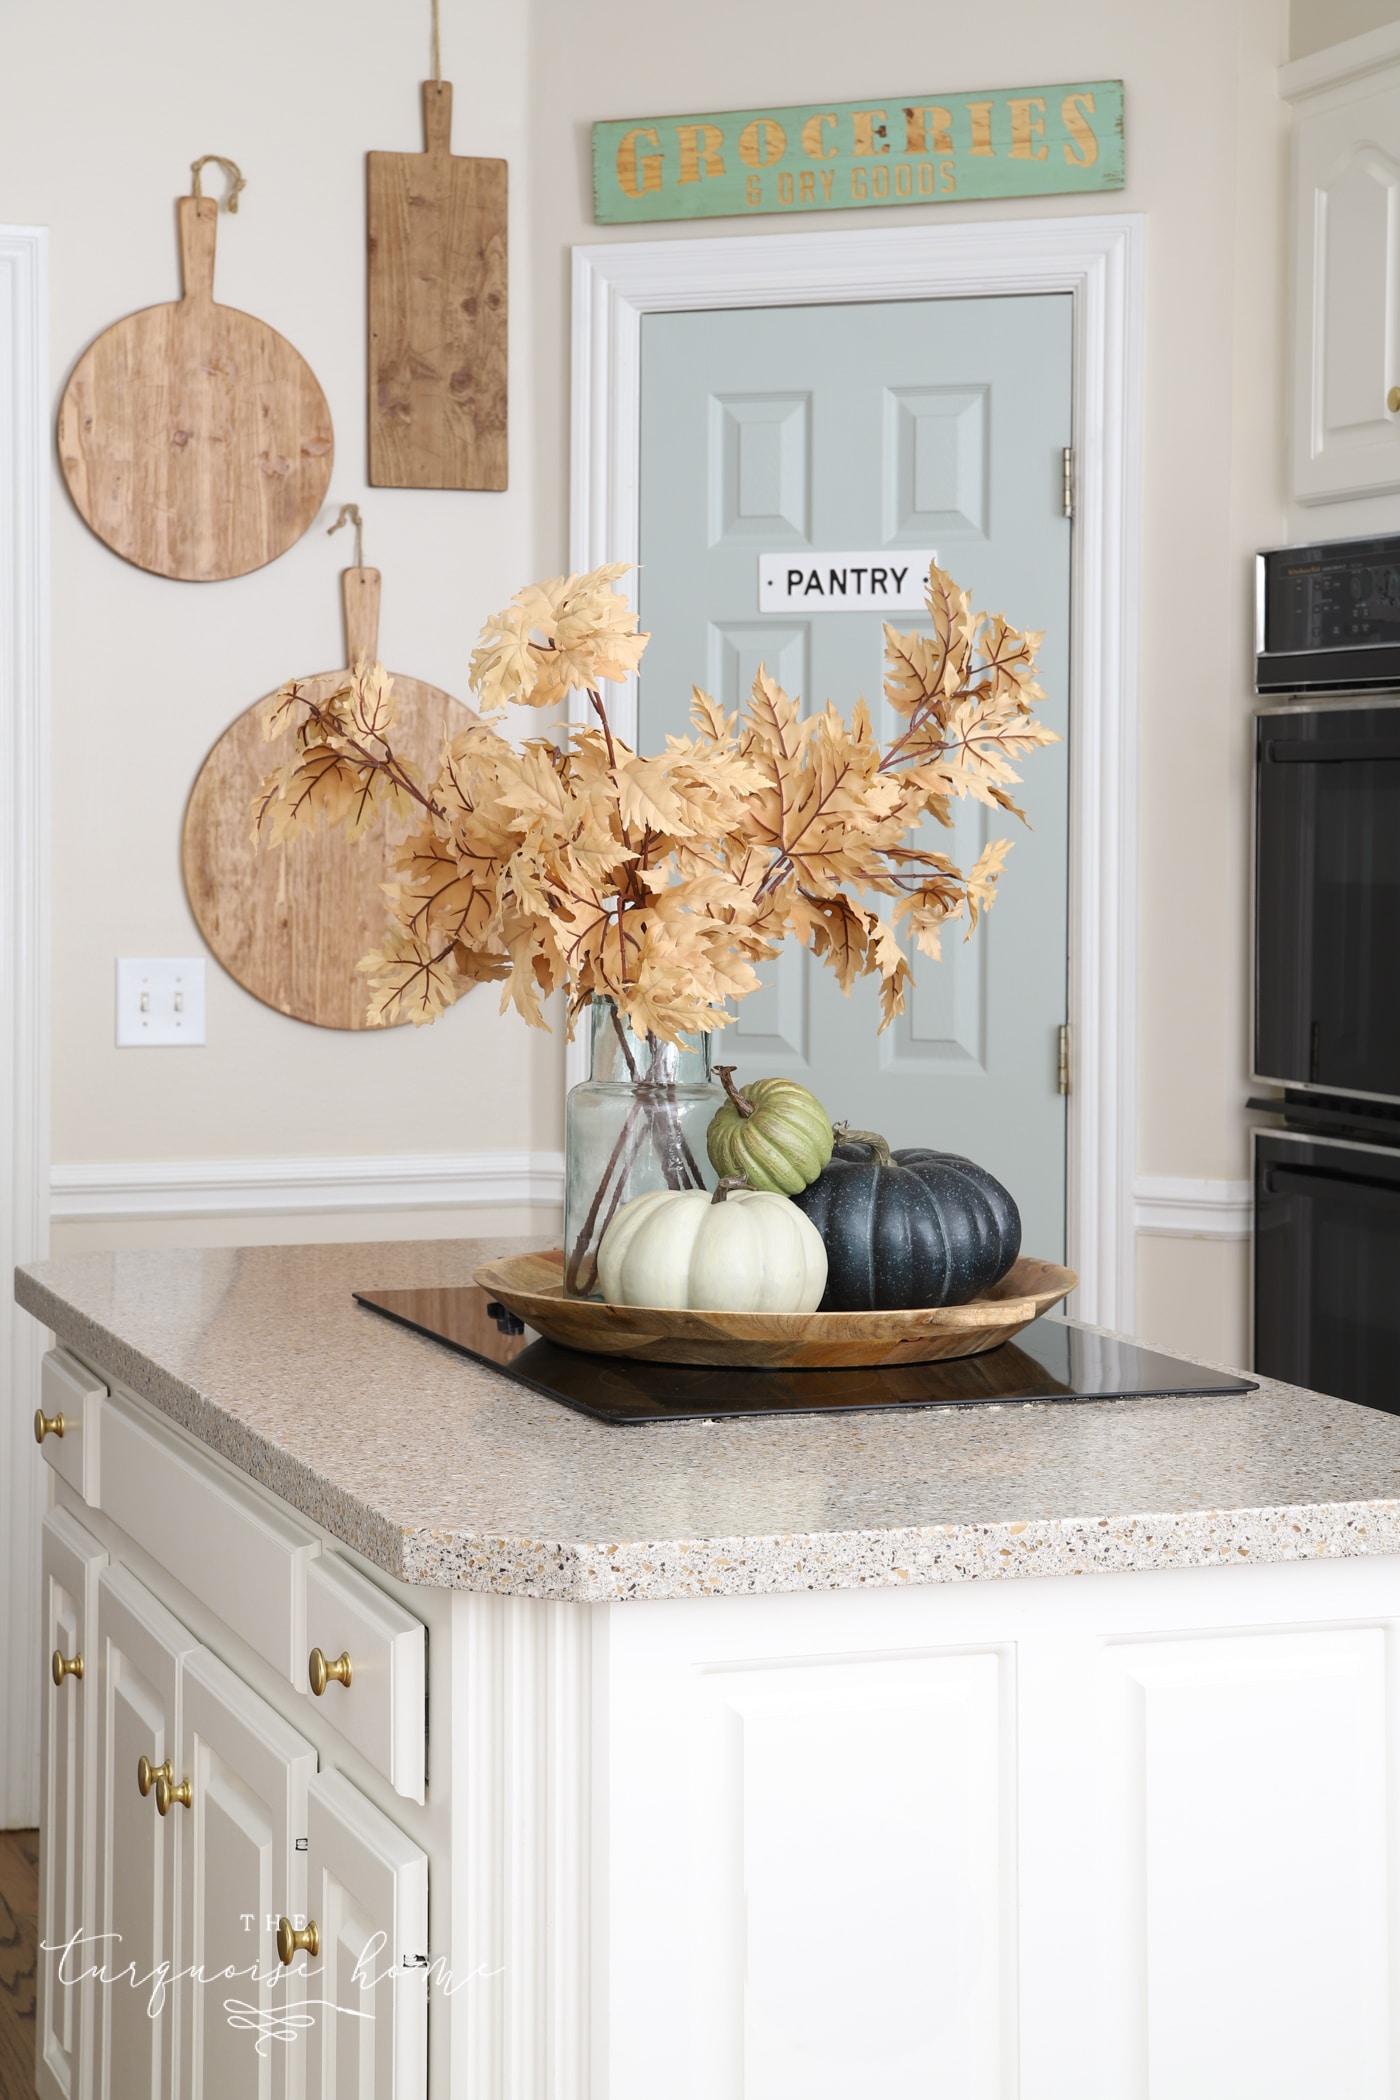
In addition to changing all of the metallics to be the same, I painted the board for the hooks Comfort Gray. It matches my pantry door on the other side of the room. And I love the warm brass metal and the cool blue/green color combo. Be still my heart!
Click/Tap the Images Below to Shop my Kitchen
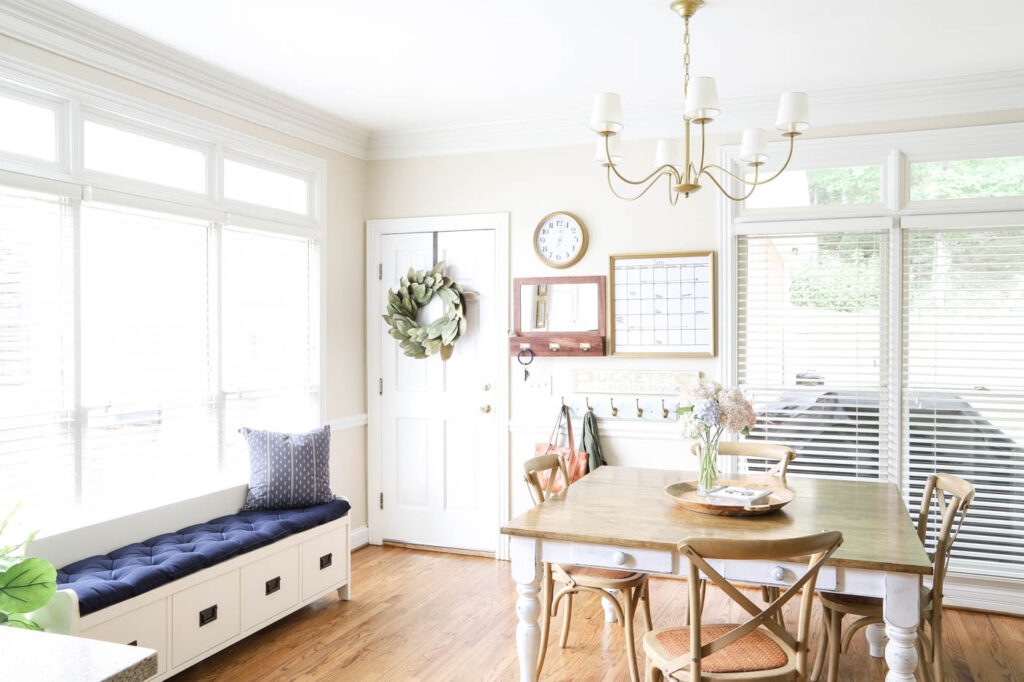
Bamboo Blinds on the French Doors
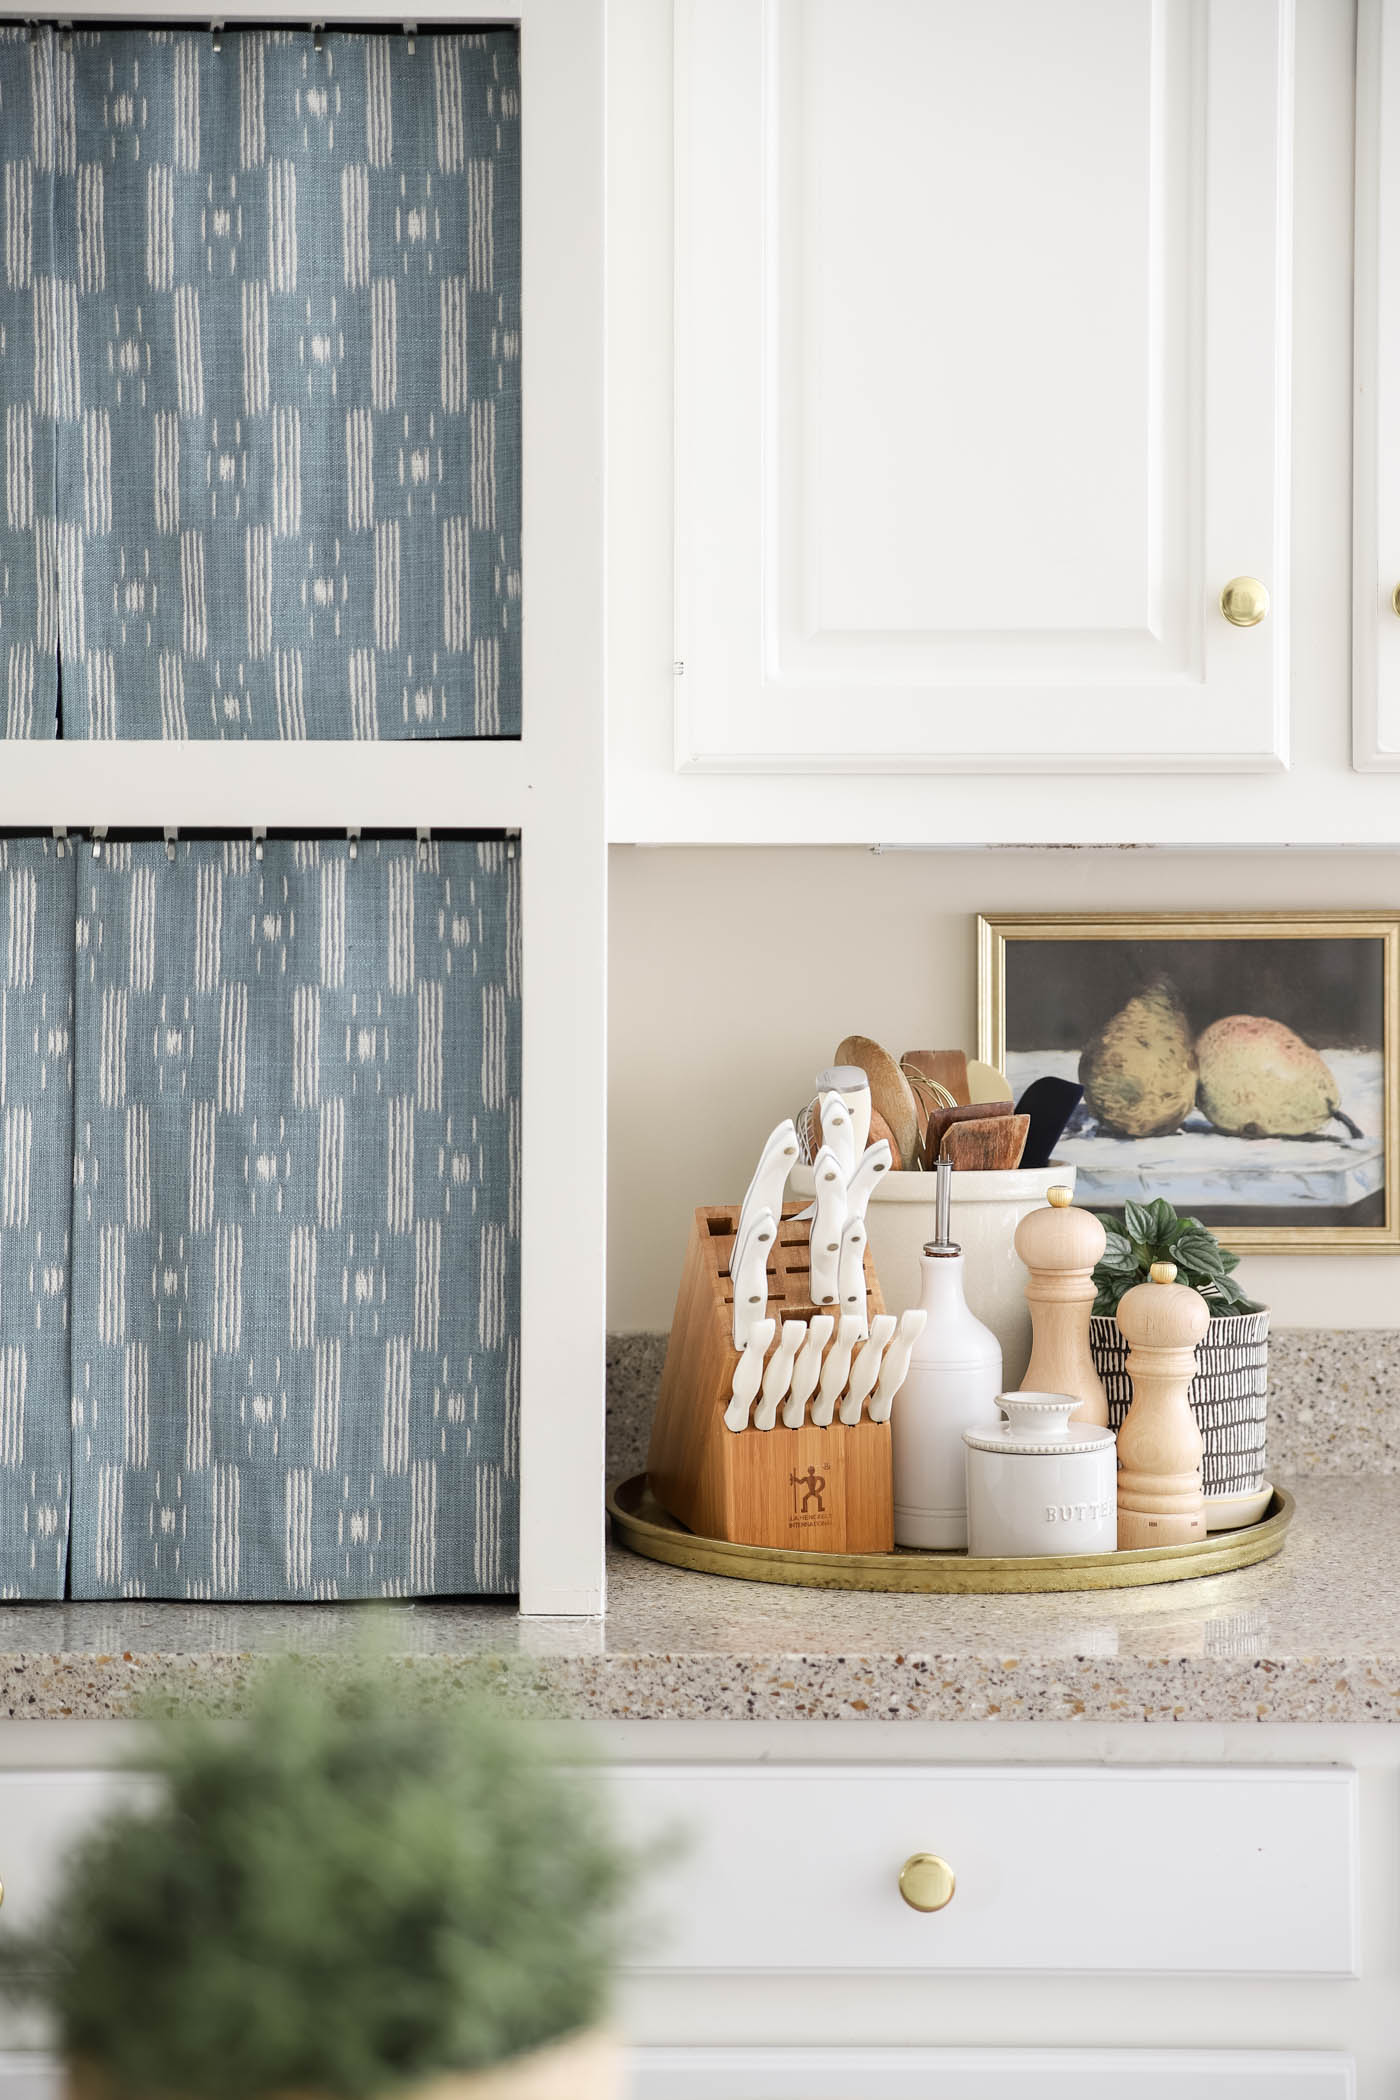
If you’ve been around here for a little bit, you know I LOVE to incorporate my beloved bamboo shades in my rooms. So, every French door in this house has gotten its own set of bamboo shades. My office and master bedroom have the exact same shades.
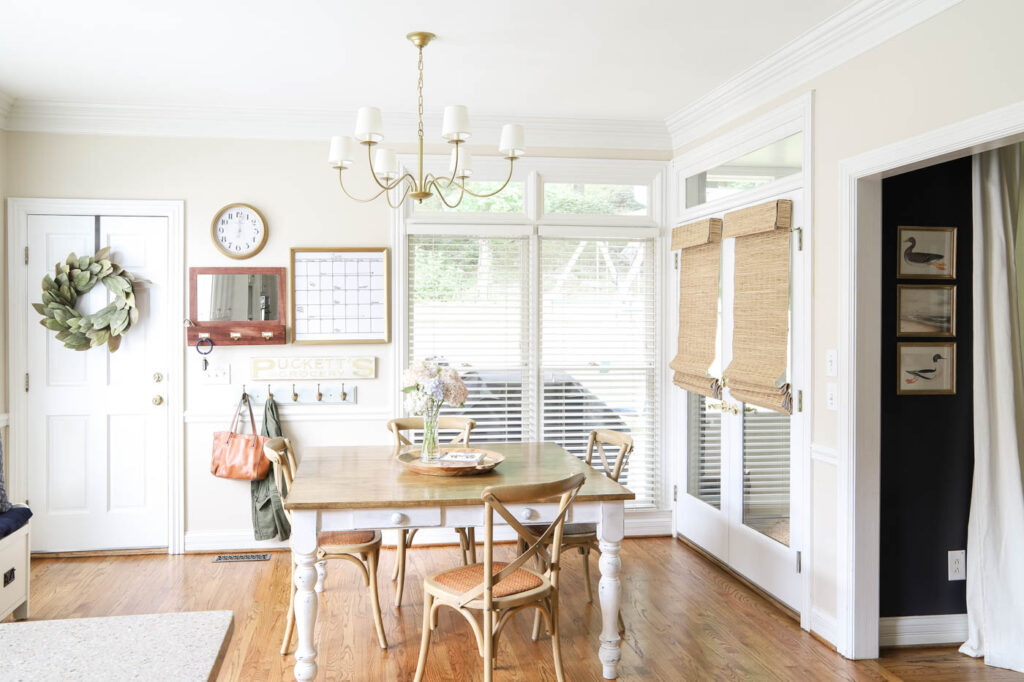
This house didn’t come with anything covering these doors that lead from the kitchen to the back porch. So, I knew my favorite shades would be the perfect thing to not only cover the windows, but bring in some beautiful texture and warmth.
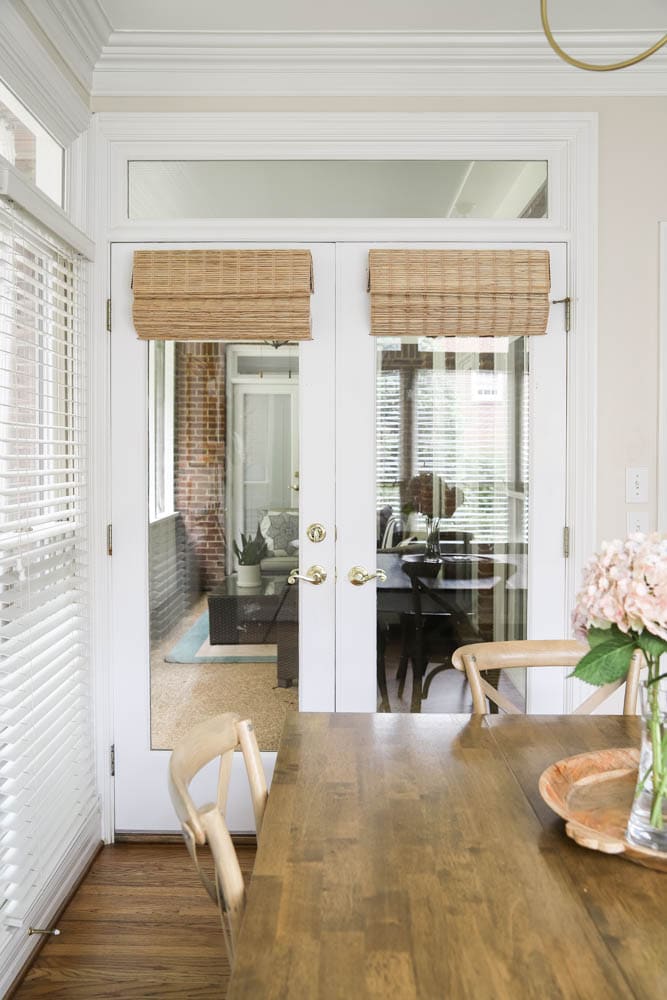
The color is jute wheat, which is no longer available, but the jute natural color is beautiful as well. And you can order free samples to decide which colors works best for your home.
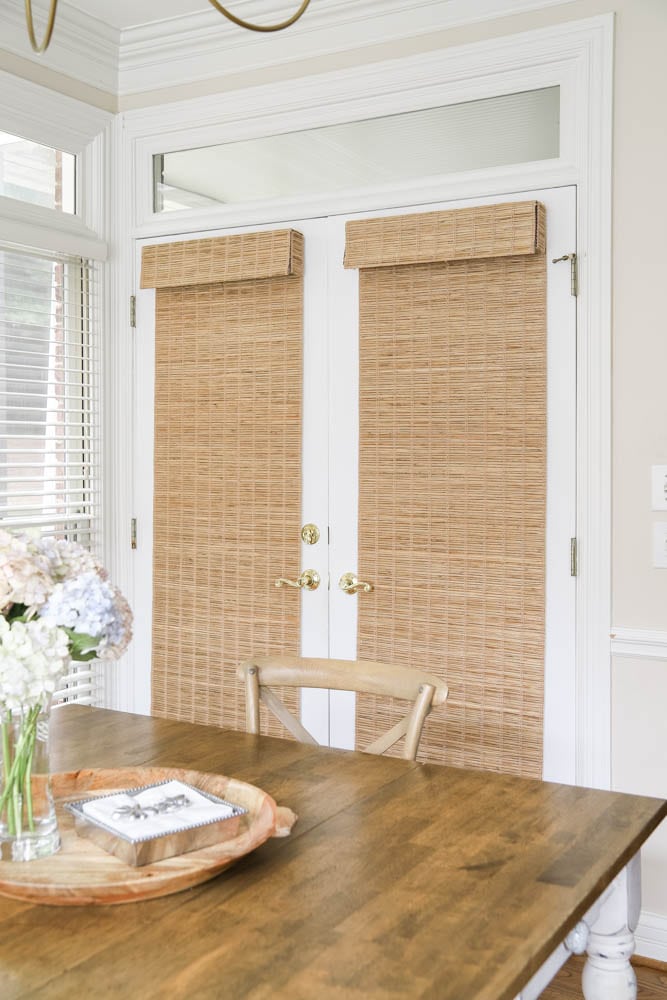
I do get the privacy liners on the back of my bamboo shades, because I don’t like the filtered look. But if you don’t need privacy and want light to filter through, no liner would be a good option for you!
The Storage Bench
Last of all, I wanted to find a way to add storage to this long wall of windows on the left side of the room. I needed a place to store extra shoes and a spot for us to sit down to put on those said shoes.
Since there are four of us in the family, I wanted something with four drawers. I did not want baskets or cubbies that looked messy. So, I set my eyes on this Wade Bench and saved my pennies for it.
Y’all. This bench is amazing!! It is as sturdy and solid as they come! I love that it leaves a space underneath so that the air vent still works. And it’s just such a pretty profile and classic piece. I love it!
Click/Tap the Images Below to Shop my Kitchen
You can choose different bench cushion fabrics and colors. I wanted to tie in with the navy in the adjacent living room, so I chose their navy Sunbrella fabric. But I’m also glad to know that I could order another color and switch it out down the road if I change my mind.
I’m still not decided if I want to Rub ‘n Buff the handles to make them coordinate with the rest of the metal finishes. But I think for now I’ll leave them black because I our appliances still have some black on them, so it works.
I love that I can finally check this part of the kitchen off my “makeover” list. Sometimes it’s just those last little details that make a room feel complete. I knew I had to do something about that drop zone wall to make it more cohesive for me to call this done.
I was afraid that I might mess it up, but I’m so glad I went for it.
Now, we’re simply waiting on our bar stools to arrive and a couple more details to be finished up and the whole kitchen will be done – for now! No room is ever completely “done”, but you know what I mean!
I hope this has helped inspire you that you don’t have to make huge changes to make over a room to what you like. Swapping out a few items, making intentional decisions with paint and adding some storage are sometimes all you need to do!
More Posts You Will Love:
- Colorful Kitchen Island Ideas
- Gorgeous Kitchen Chandeliers You’ll Love
- 17 Beautiful Dining Room Chandeliers
Where did you put the cute wall paper or fabric you chose?
Hi Tracy! I ended up with a pretty roman shade over the sink window. Come check it out in the big reveal —>>> https://theturquoisehome.com/7-ways-to-refresh-a-kitchen/
It looks great!
Can you tell me if you have a discount code and link to the blinds?